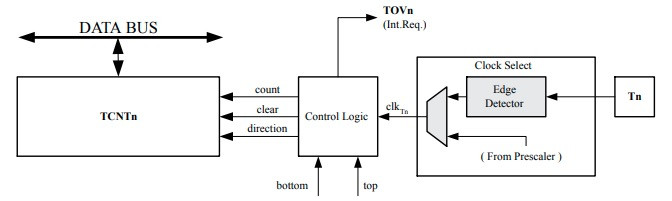
Timer Interrupts: Improve Your Arduino Skills
https://makerv2.webteractive.co/arduino/projects/timer-interrupts-improve-your-arduino-programming-skills
Timers are a vital part of working with microcontrollers. Here I look at types of timers used with Arduino.
PIC Microcontrollers: Timer0 and the Watchdog Timer
https://makerv2.webteractive.co/pic/tutorial/how-to-get-started-with-pic-microcontrollers-timer0-and-the-watchdog-timer
In this article, learn about another useful peripheral for PIC microcontrollers: timer0 and the watchdog timer.
Arduino Handwashing Timer
https://makerv2.webteractive.co/arduino/projects/hand-wash-timer
This project helps you clean your hands carefully and according to the instructions for avoiding COVID-19.
Raspberry Pi Three-in-one Timer: Clock + Countdown Timer + Stopwatch
https://makerv2.webteractive.co/raspberry-pi/projects/raspberry-pi-three-in-one-timer-clock-countdown-timer-stopwatch
In this article, learn how you can use a Raspberry Pi to make a three-on-one timer using a MAX7219 LED dot matrix!
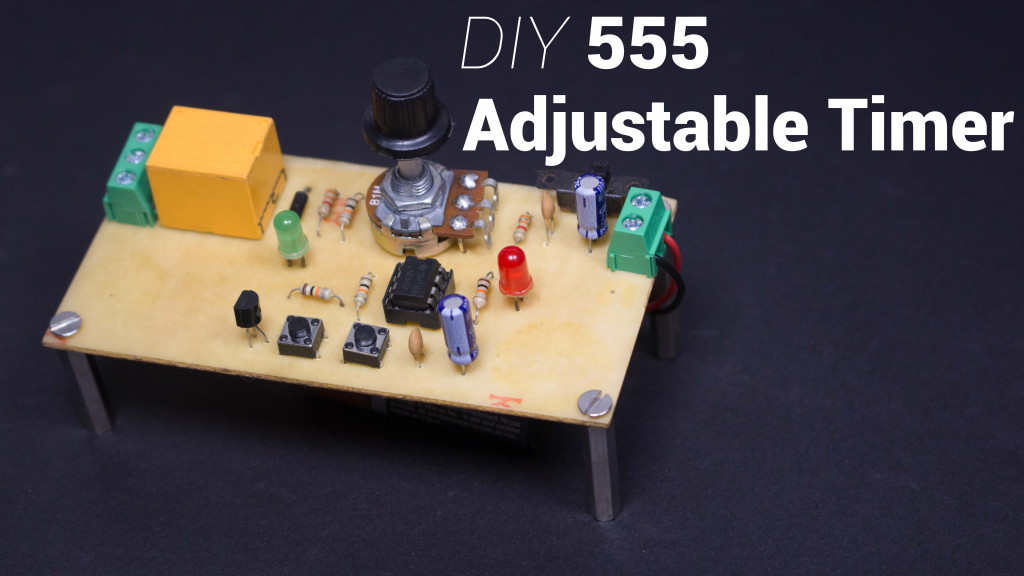
How to Use a 555 Timer in Maker Projects
https://makerv2.webteractive.co/custom/tutorial/how-to-use-a-555-timer-in-maker-projects
555 ICs are used in a variety of projects. Learn why they're important and how you can use them in your projects!
How to Build a Digital Kitchen Timer Using GreenPAK
https://makerv2.webteractive.co/custom/projects/digital-kitchen-timer
Create a digital kitchen timer, complete with a knob, buzzer, and digital display, using GreenPAK.
Police Car Led Effect Using 555 Timer IC
https://makerv2.webteractive.co/arduino/projects/police-car-led-effect-using-555-timer-ic
In this tutorial I am going to create a Police Light themed LED Flashing circuit using the 555 timer IC.
How to Build an Arduino-Controlled Kitchen Timer
https://makerv2.webteractive.co/arduino/projects/how-to-build-an-arduino-controlled-kitchen-timer
Build an Arduino-controlled kitchen timer and learn how to interface your Arduino with LCDs and buttons along the way.