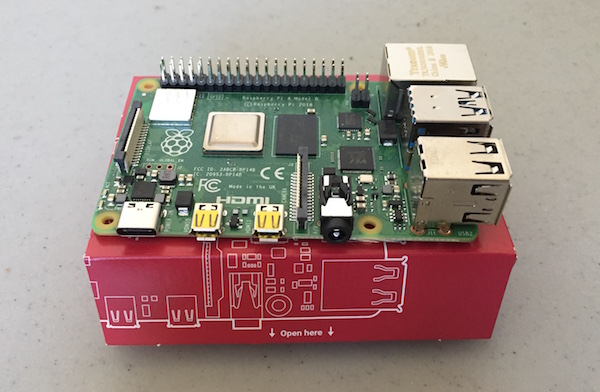
Do you have your new Raspberry Pi 4 in hand? Here are the first steps to take to get it ready for projects.
After purchasing a new Raspberry Pi 4, it is imperative to correctly set up the board. Not only do you need to make a list of specifications to fit your projects, but you need to make sure you have the appropriate hardware for it.
Let’s take a look at the first steps of setting up your new RPi 4.
Classifying Your Project
First of all, ideally before purchasing a Raspberry Pi or any other hardware, you need to know what your project actually needs to run successfully.
Will your project require any peripherals? Will it run in a headless (no monitor) setup? Will it run off of a battery pack, or will it be constantly connected to a wall outlet? After taking these questions into consideration, you can begin to collect the items required to set up your Pi.
If you are still torn between the Pi 4 and older iterations, check out the article I wrote comparing the Pi 3 and Pi 4.
Setting Up Your Workbench for the Pi 4
After checking the requirements of your project and deciding that the new Raspberry Pi 4 is the best fit, it’s time to set everything up. Let’s look at what you’ll need.
Decide on a Power Source for Your RPi 4
Begin charging any battery packs your project will be using, or find a suitable wall adapter. Since Pi 4’s USB-C port does not work with all cables, you will need to select an appropriate charging cable.
Look for a cable that does not contain an emarker. Those used by the Nintendo Switch console and Switch Pro controllers, for example, work perfectly fine with the RPi 4.
Prepare the Required Peripherals
Regardless of whether your project will be headless or not, you will need a monitor and keyboard to set up your Pi 4 for the first time.
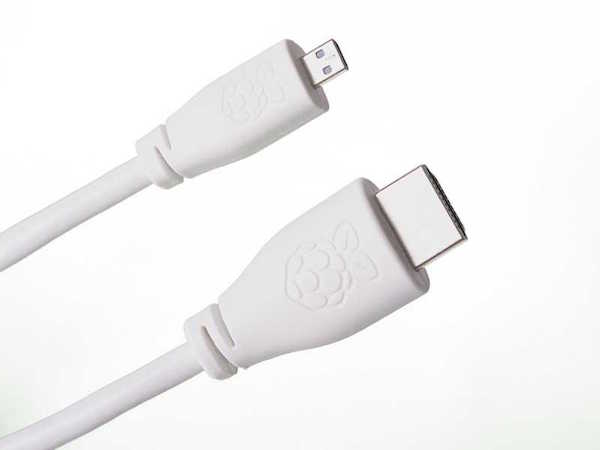
Since the Pi 4 has a micro-HDMI port, you will need to purchase a micro to standard HDMI adapter if you do not have one already. Do not mistakenly purchase a mini-HDMI adapter like I did, as they are two completely different sizes.
The micro HDMI to standard HDMI adapter cord. Image courtesy of Raspberry Pi.
Have a microSD Card Ready
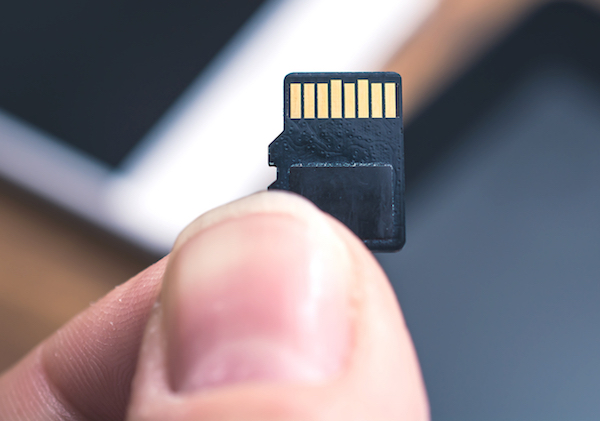
You’ll need a microSD card and an SD card adapter to flash your chosen operating system on your RPi 4.
You'll need a microSD card to set up your chosen OS on your Pi 4.
If you are using your work computer’s monitor temporarily for this setup, remember to flash your OS first to avoid having to unplug everything again during the process. If you need help picking out a microSD card for your project, you can read up on different micro SD options for different needs.
Have Your Internet Network Info Handy
Once you boot up your Pi successfully, you will need to connect it to the internet to perform any updates needed, as well as download packages your project may need in the future.
Verify Your Case Layout
If you purchased (or plan to purchase) a case for your Pi 4, please make sure it is made for the Pi 4 and not the Pi 3. Though they may retain the same B-style form factor, the Pi 4 has swapped the positions of the Ethernet port and two USB connections. Along with pushing the ports a little further out, this makes the Pi 3 cases inadequate for this new version.
On to the Next Steps!
Once you’ve completed the above checklist, you should be ready to begin working with the new Pi 4! From here, you can use NOOBS if you're a first-time user or head straight to downloading Raspbian if you're more experienced.
If you want to start your Pi 4 journey with a different OS than you are used to, check out some OS Options for the Pi 4.


