In this article, I'll show you how to trigger videos to play on a Raspberry Pi by tapping an RFID on the RFID reader!
I will be using an 860MHz UHF RFID reader module (UART-based) through Raspberry Pi. The applications demonstrated in this project can extend into a variety of domains, for example, a retail experience where customers can tap products on a reader to see a product video about it. It is also a great project for folks that are really new to programming.
This project will show you how to set up the RFID module with a Raspberry Pi with the help of a USB to serial converter cable. We will then write a Python script to interact with any serial-based device such as this RFID Module. You can also integrate this project by adding a 16x2 LCD by following the tutorial How to Connect a 16X2 LCD to a Raspberry pi.
What is the FM-503 RFID Reader?
I got the FM-503 860MHZ UHF RFID reader from China. The most attractive part about this module to me is that it can trigger from long distances — it all depends upon the antenna of this module. The FM-503 is basically an 860-960MHz UHF RFID reader on a development kit board. It can be connected via TTL/USB/UART with Android, Arduino, and Raspberry Pi.
This particular module comes with ISO18000-6C/EPC C1 GEN2 and it can work under 865-868 (EU standard) and 902-928 (US standard). The antenna RF output can trigger from 0-25dbm which means that the reading distance of this module is under 3m — it all depends on the antenna.
A 3dbi ceramic type antenna is used in the current module. We can connect this module via different types of interfaces such as RS232, MINI USB or 5p/12p/15p/20p interface UART. If we talk about the transmitting and receiving data rate, this device can transmit data of 26k bps and receive at around 40K bps. Some more information can be found in the table below.
Frequency | 840-960MHZ | Working Voltage | DC 3.5V – 5 V |
|---|
Working area support | US, Canada and other regions following U.S. FCC, Europe and other regions following ETSI EN 302 208, Mainland China;Japan; Korea; Malaysia; Taiwan | PCB size | PCB size: 40*40mm , Ceramic antenna size: 50*50mm Overall height: 8.5mm |
Protocol | EPC global UHF Class 1 Gen 2 / ISO 18000-6C | Standby current | <80mA (EN pin high level) |
Output power | 0-25 dBm | Sleeping current
| <100uA (EN pin low level |
Read/write | Read: 200-250cm;write: 10-50cm(adjusted) | Operation current
| 180mA @ 3.5V (26dB Output, 25°C). 110mA @ 3.5V (18 dBm Output, 25°C). |
Output power accuracy | +/- 1dB | Operation temp. | - 20 °C - + 70 °C |
Output power flatness | +/- 0.2dB | Storage temp. | - 20 °C - + 85 °C |
Receive sensitivity | < -70dBm | Working humidity | < 95% ( + 25 °C) |
Read tag peak speed | > 50pcs/sec | Communication interface | TTL UART interface |
Operating time | <100mS. | Heat-dissipating method | Air cooling(no need for out install cooling fin) |
Communication baud rate | 115200 bps(default and recommended 38400bps | | |
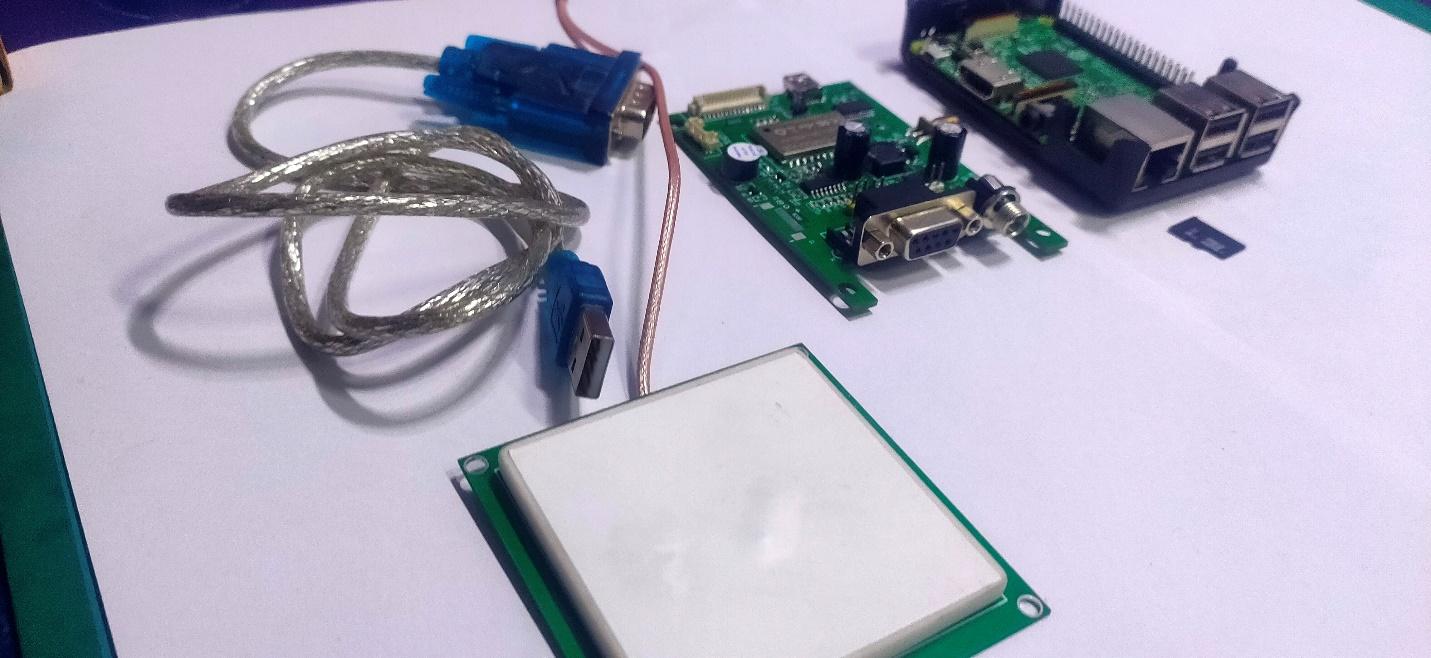
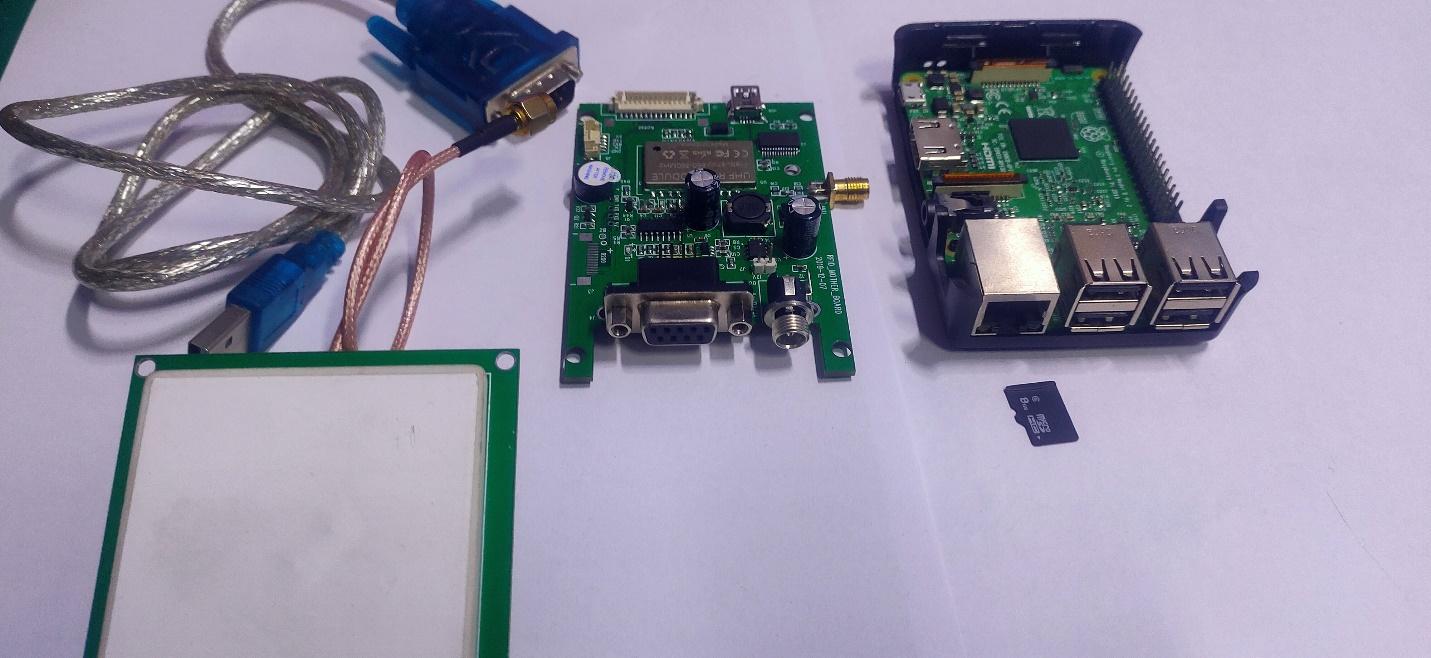
Required Hardware
- Raspberry Pi 3 (or newer)
- FM-503 or any UART RFID reader
- HDMI display
- Keyboard and mouse
- MicroSD card 8GB minimum
- MicroSD card reader
- USB to Serial converter
Setting Up Your Raspberry Pi
First of all, boot up your Pi in Raspbian. If you don’t know how to setup Raspbian, check out the tutorial How to Setup Raspbian in Raspberry Pi.
After installation, insert the microSD card into your Raspberry Pi and connect the keyboard, mouse, and HDMI display to your Pi. Once everything is connected, open the Raspbian terminal and perform the following commands:
$ sudo apt-get update
$ sudo apt-get upgrade
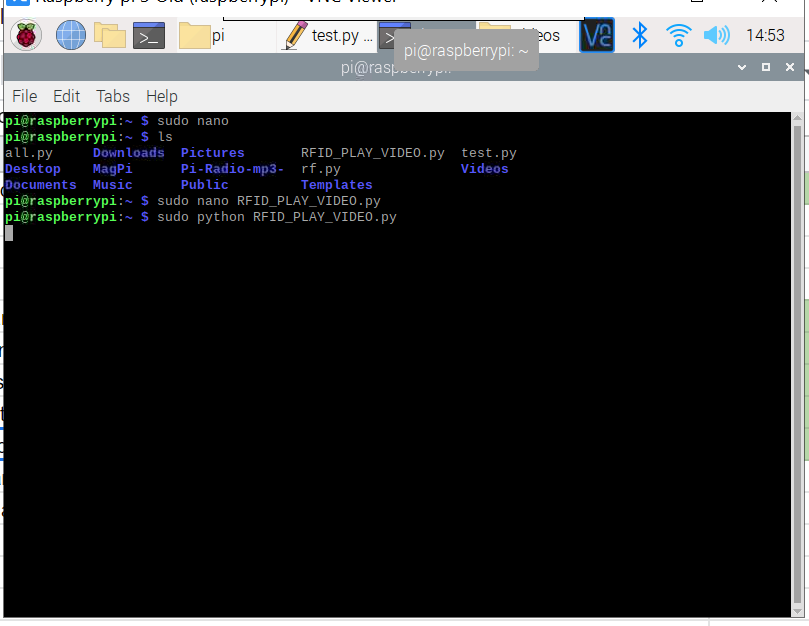
Uploading RFID Python Scripts to Raspberry Pi
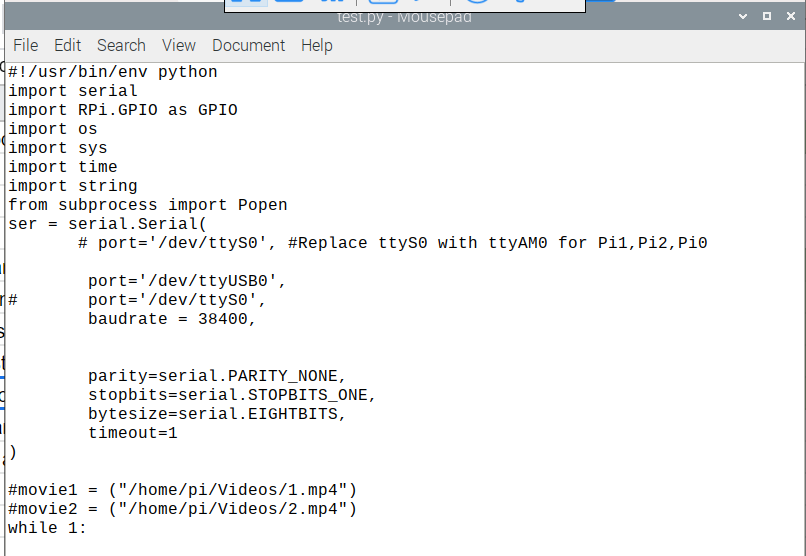
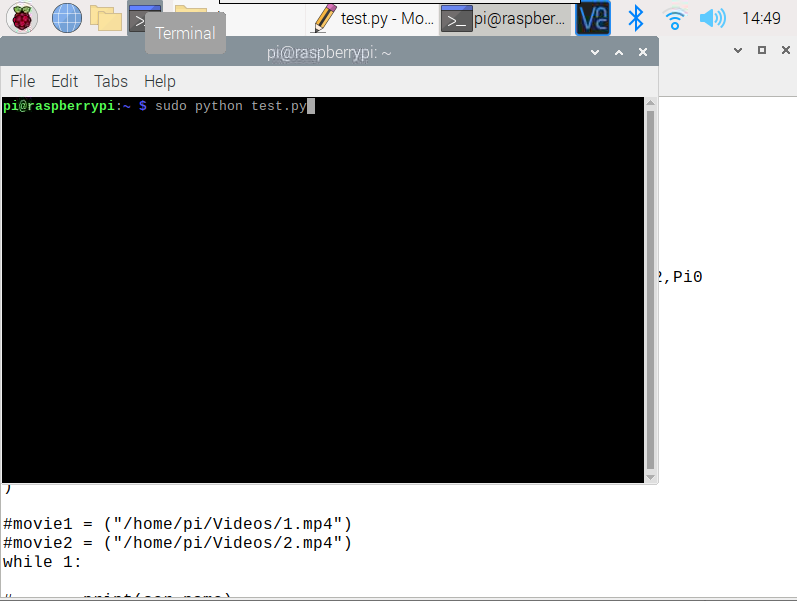
Copy and paste the test.py Python script to your Raspberry Pi home folder.
With the script loaded, go to your terminal again and navigate to the folder containing the test.py script and type the following command:
$ sudo python test.py
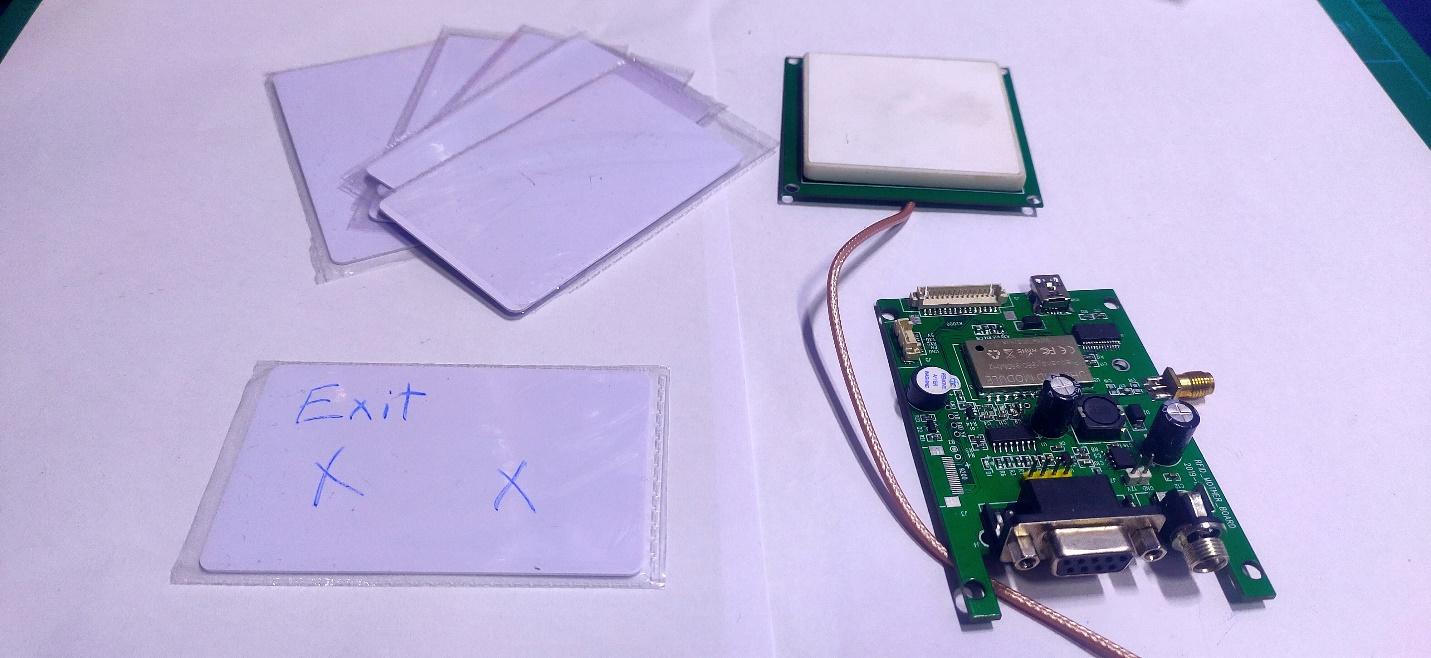
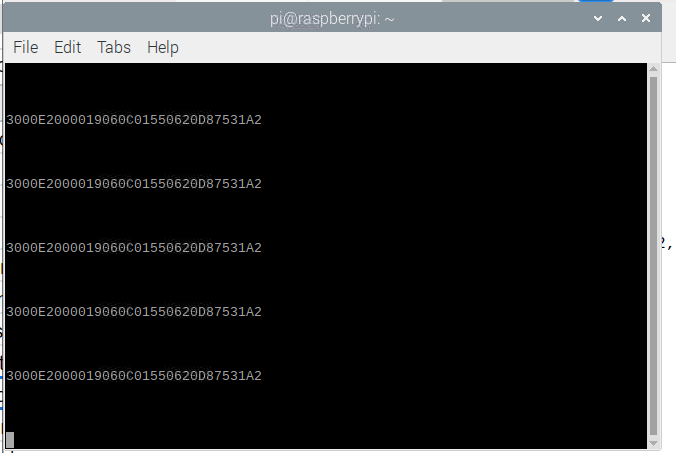
The script will start reading all of your RFID cards. Now, let’s read all the cards through the terminal and save them in a notepad file in order to reuse again in the next Python script.
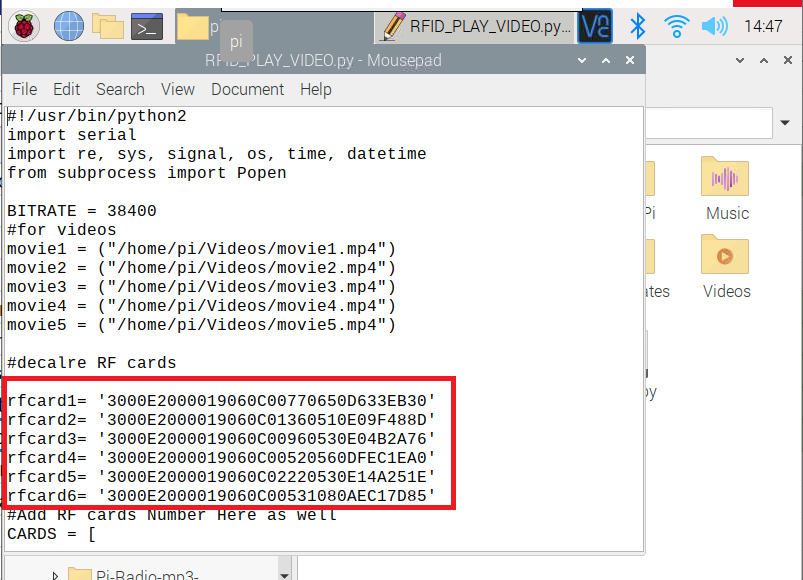
After the above steps, copy and paste the Python RFID_PLAY_VIDEO script into the home folder of your Raspberry Pi.
Open the Python script in the built-in editor of Raspberry Pi called Mousepad and replace the RFID ID tags with your own ID tags which were already saved in the notepad.
In the above script, each RF TAG ID will call each video from this directory: /home/pi/Videos/moviex.mp4.
For example, rfcard1 will call movie1 and so on. We are making this project with six cards for five movies, the sixth one will be used for ending.
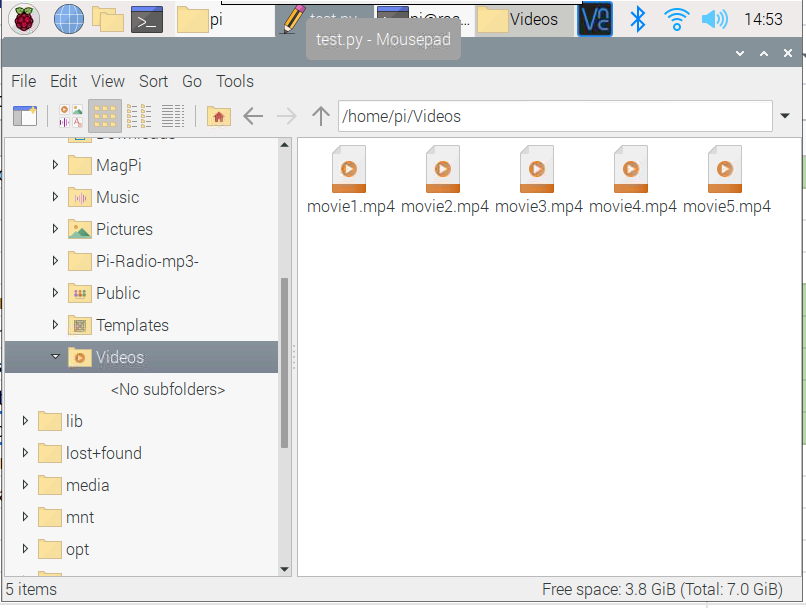
The next step is to copy and paste the videos you want to use into your Raspberry Pi’s directory:
/home/pi/Videos/
and name the files as movie1.mp4, movie2.mp4, and so on.
Next, open your terminal and run the following command:
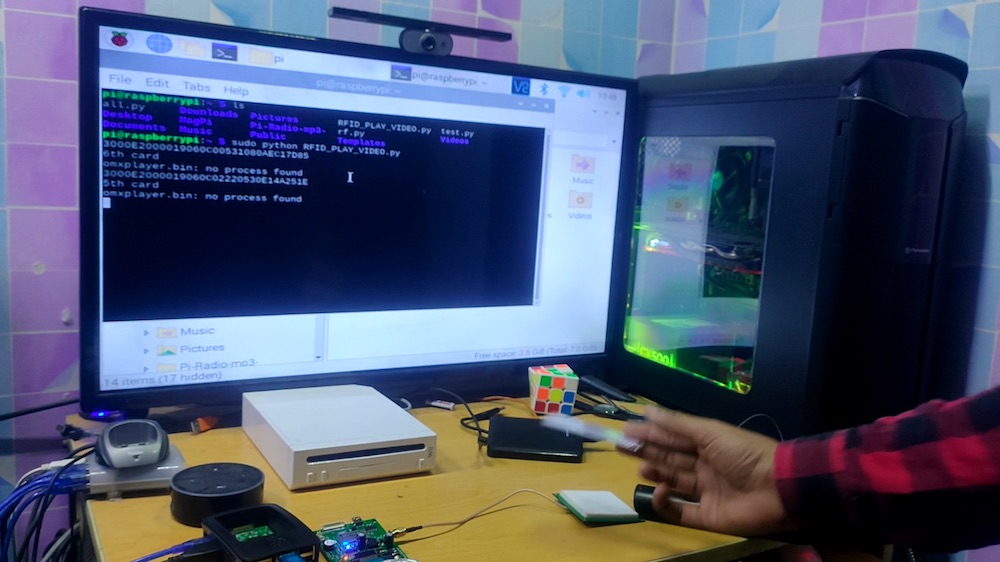
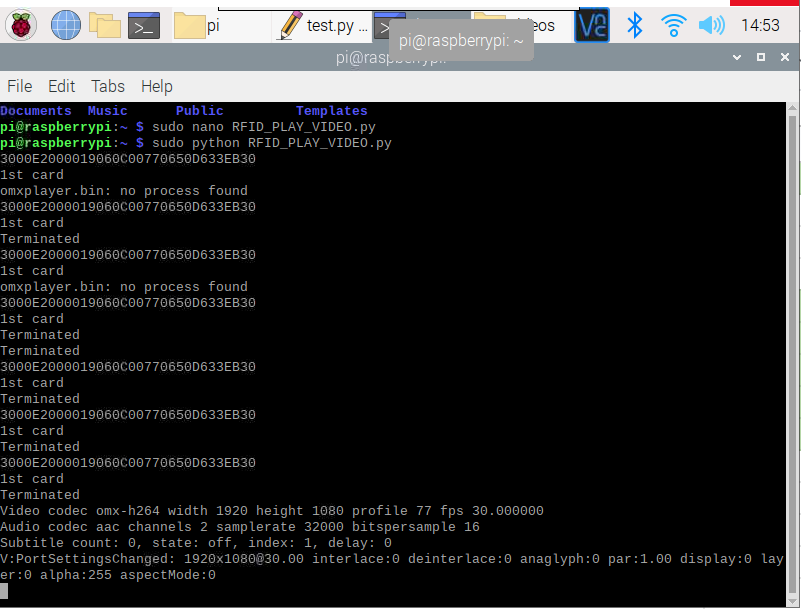
sudo python RFID_PLAY_VIDEO.py
Tap your RFID card near the RFID antenna. It will start playing your video.
When you take the first card, you will see something like the screenshot below. Soon after, the Raspberry Pi will start playing that video.
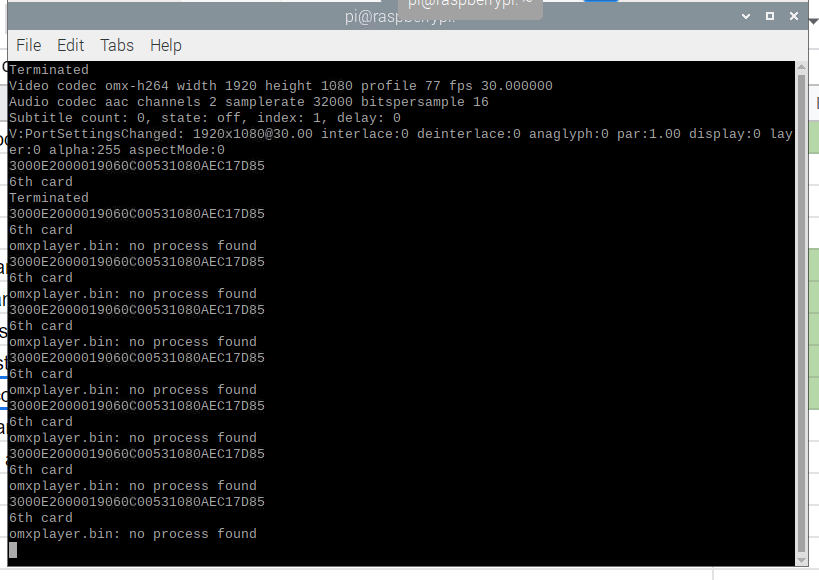
When you take your sixth card (which is actually used for terminating the video) you will see Terminated at the top of the screen: