With the new Raspberry Pi 4 boards coming out, learn how to set up your OS with Raspbian Buster.
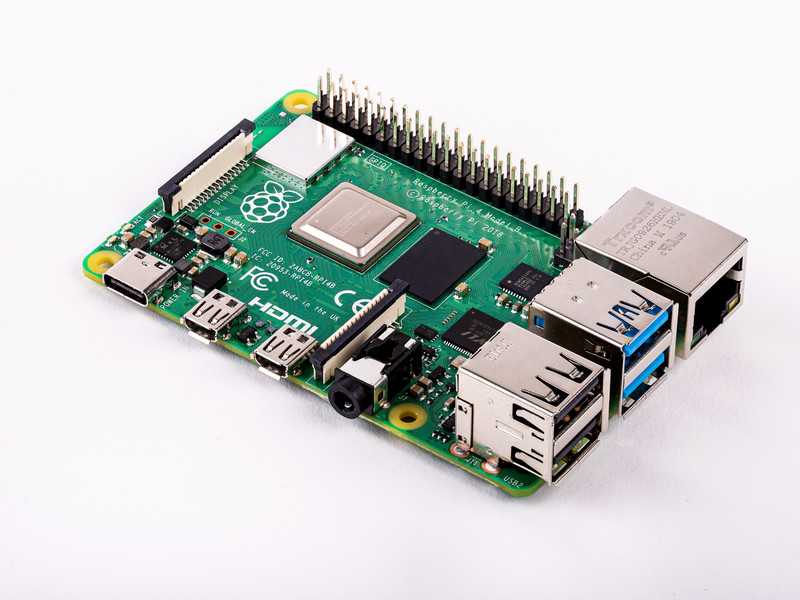
Your new Pi 4 arrived in the mail, you’ve set up your work desk, and you’re ready to install an OS.
For beginners and experienced users alike, Raspbian offers a great desktop experience and a perfect starting point for Pi makers. On top of that, Raspbian Buster was created for the Pi 4. With these things in mind, we’ll be flashing this OS on a microSD card to install it on the new Pi.
If this is your first time ever using a Raspberry Pi, consider using NOOBS to get started.
Downloading Raspbian Buster
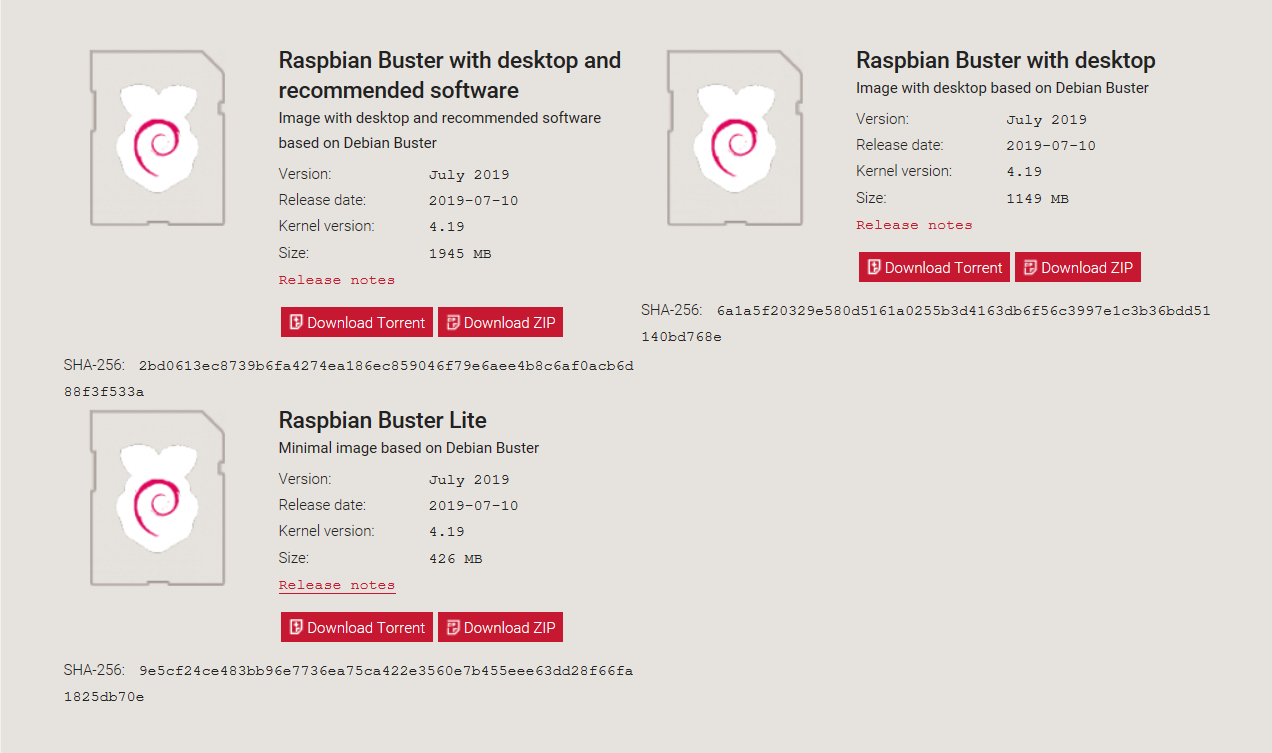
First of all, visit the Raspbian download page to download an image file (.img) of the latest version of Raspbian Buster.
The Desktop + Recommended Software version comes with everything you need to start working on most projects, so I recommend it for beginners. If you don’t need more than a simple desktop, the second option is best. If you plan on running your Pi in a headless setup, you may not even need a desktop and should download the third option.
Once you have downloaded an OS, you can move on to the next step.
Flashing the SD Card
For this step, you will need to download an OS Etching software. Though the Raspberry Pi Foundation recommends Etcher, I recommend using Win32DiskImager for Windows users. The newest version of Etcher bricked a couple of my SD cards, and the support team wasn’t very helpful.
While the OS etching software downloads, go ahead and unzip the version of Raspbian you downloaded. You will find a .img file inside. After extracting that file, copy its location as you will need it for the next step.
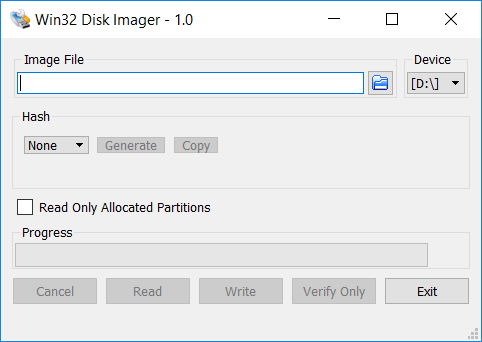
Win32DiskImager with SD card as the selected device
Open up your preferred disk imager, then select your SD card. Verify that it is your microSD card instead of another drive by double checking the drive name in your File Explorer.
Note: If you accidentally select the wrong drive, you will lose a lot of data.
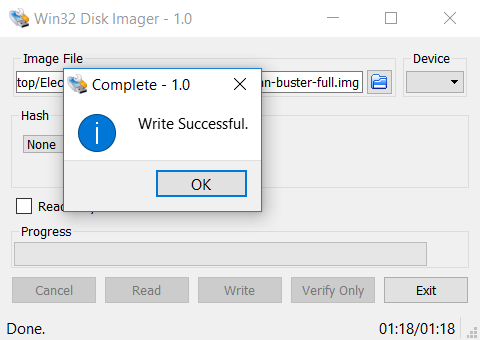
Once you are confident in your selection, paste the location of your .img file in the program. Win32DiskImager lets you browse for the file if you did not copy the address before. Click “Write”, then wait for the process to finish. It should take less than two minutes, so feel free to get up for a quick stretch in the meantime. After this is done, you should get a “Write Successful” message like the one below.
Now you can safely eject your microSD card and move on to the final step.
Booting up the Pi 4
Insert your flashed SD card into the slot in the bottom of your Pi 4. Plug in your Pi with an appropriate USB-C cable, and hook up your monitor and keyboard. You should see the colorful startup splash screen, then a couple of Raspberry Pi logos at the top right of your screen while your Pi boots up for the first time.
Raspbian will boot significantly faster than NOOBS because NOOBS is heftier and delays startup on purpose to give you a bigger window to select and install alternative operating systems. Once it boots up, you should see the beautiful default wallpaper and the Raspberry Pi setup wizard. Simply follow the on-screen instructions to set up your language, location, and network settings.
Congratulations! You have successfully installed a shiny new OS on your Raspberry Pi 4! If you decide to move on from Raspbian, read up on some alternative OS suggestions.