This project uses a RaspberryPi3, camera, and openCV to make a magically secured box.
Project Summary
This project uses a RaspberryPi3, camera, and openCV to trace wand movements and trigger the opening of an iris mechanism at the top of the box when the right spell is cast and a little music to let you know you cast the right spell. The box has a small platform where you can place your Horcrux of choice.
The box can react to 3 different spells.
Square (shown below) - Opens the box all of the way plays music.
Triangle - Opens partially and light slowly gets brighter
L shape - Plays the famous line "It's Leviosa, not Leviosar"
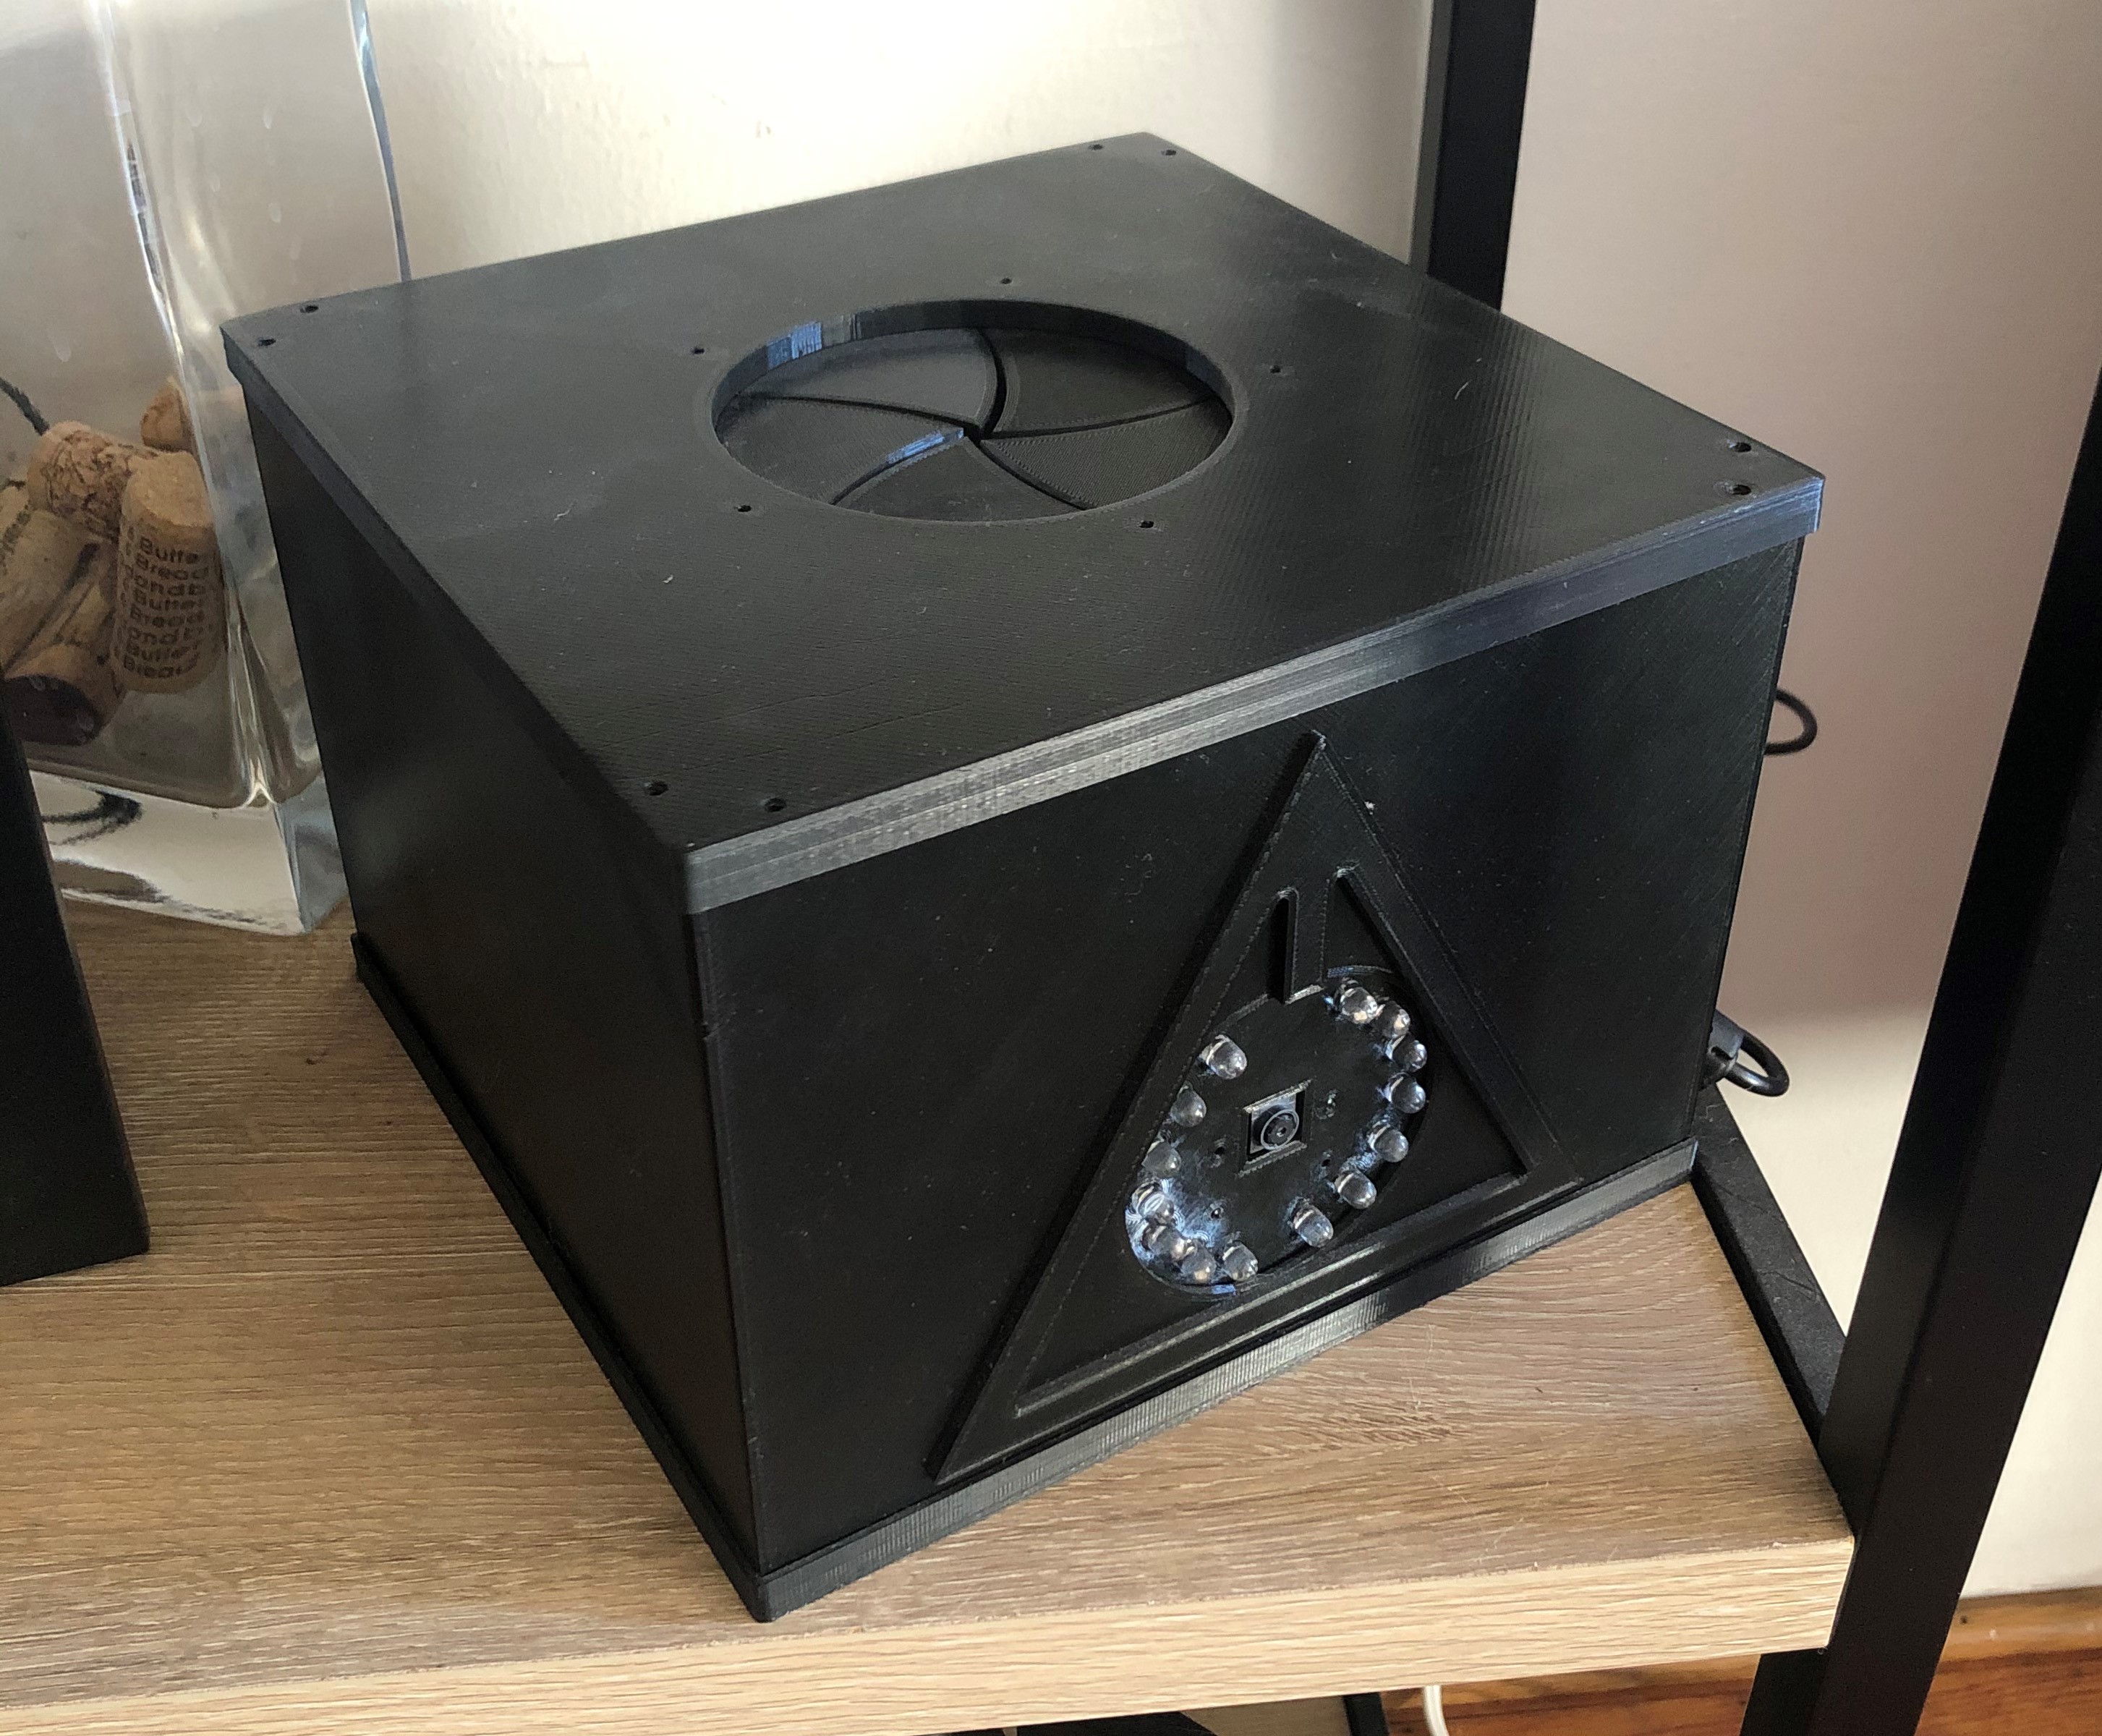
The Final Product
How it Works
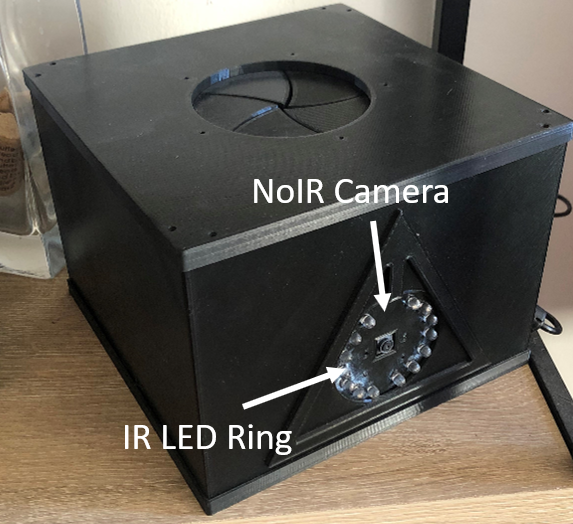
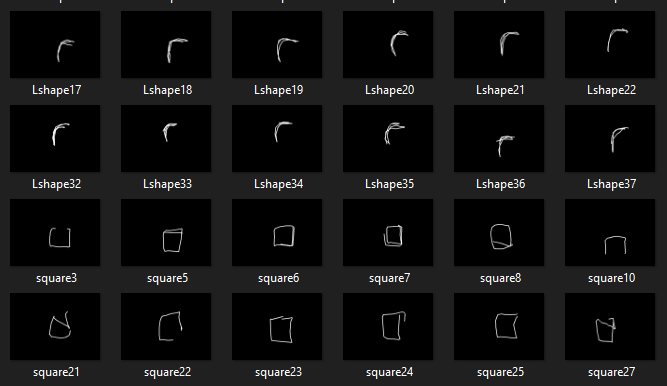
The short wave infrared LEDs emit short wave IR light that is reflected off the tip of the wand. The Raspberry Pi NoIR camera sees both visible light and part of the shortwave IR spectrum. The wand tip reflects the IR light from the IR LED's and is easy to detect with the NoIR camera using some image processing. OpenCV's blob detector package was used to detect the tip of the wand and trace out a shape of a given length. I created a small dataset of ~150 images of simple shapes and trained a support vector machine learning model using those shapes. See the classifying handwritten digits in the useful resources section. The camera looks for a wand trace and if the shape matches a specified spell the box will open or play a sound effect.
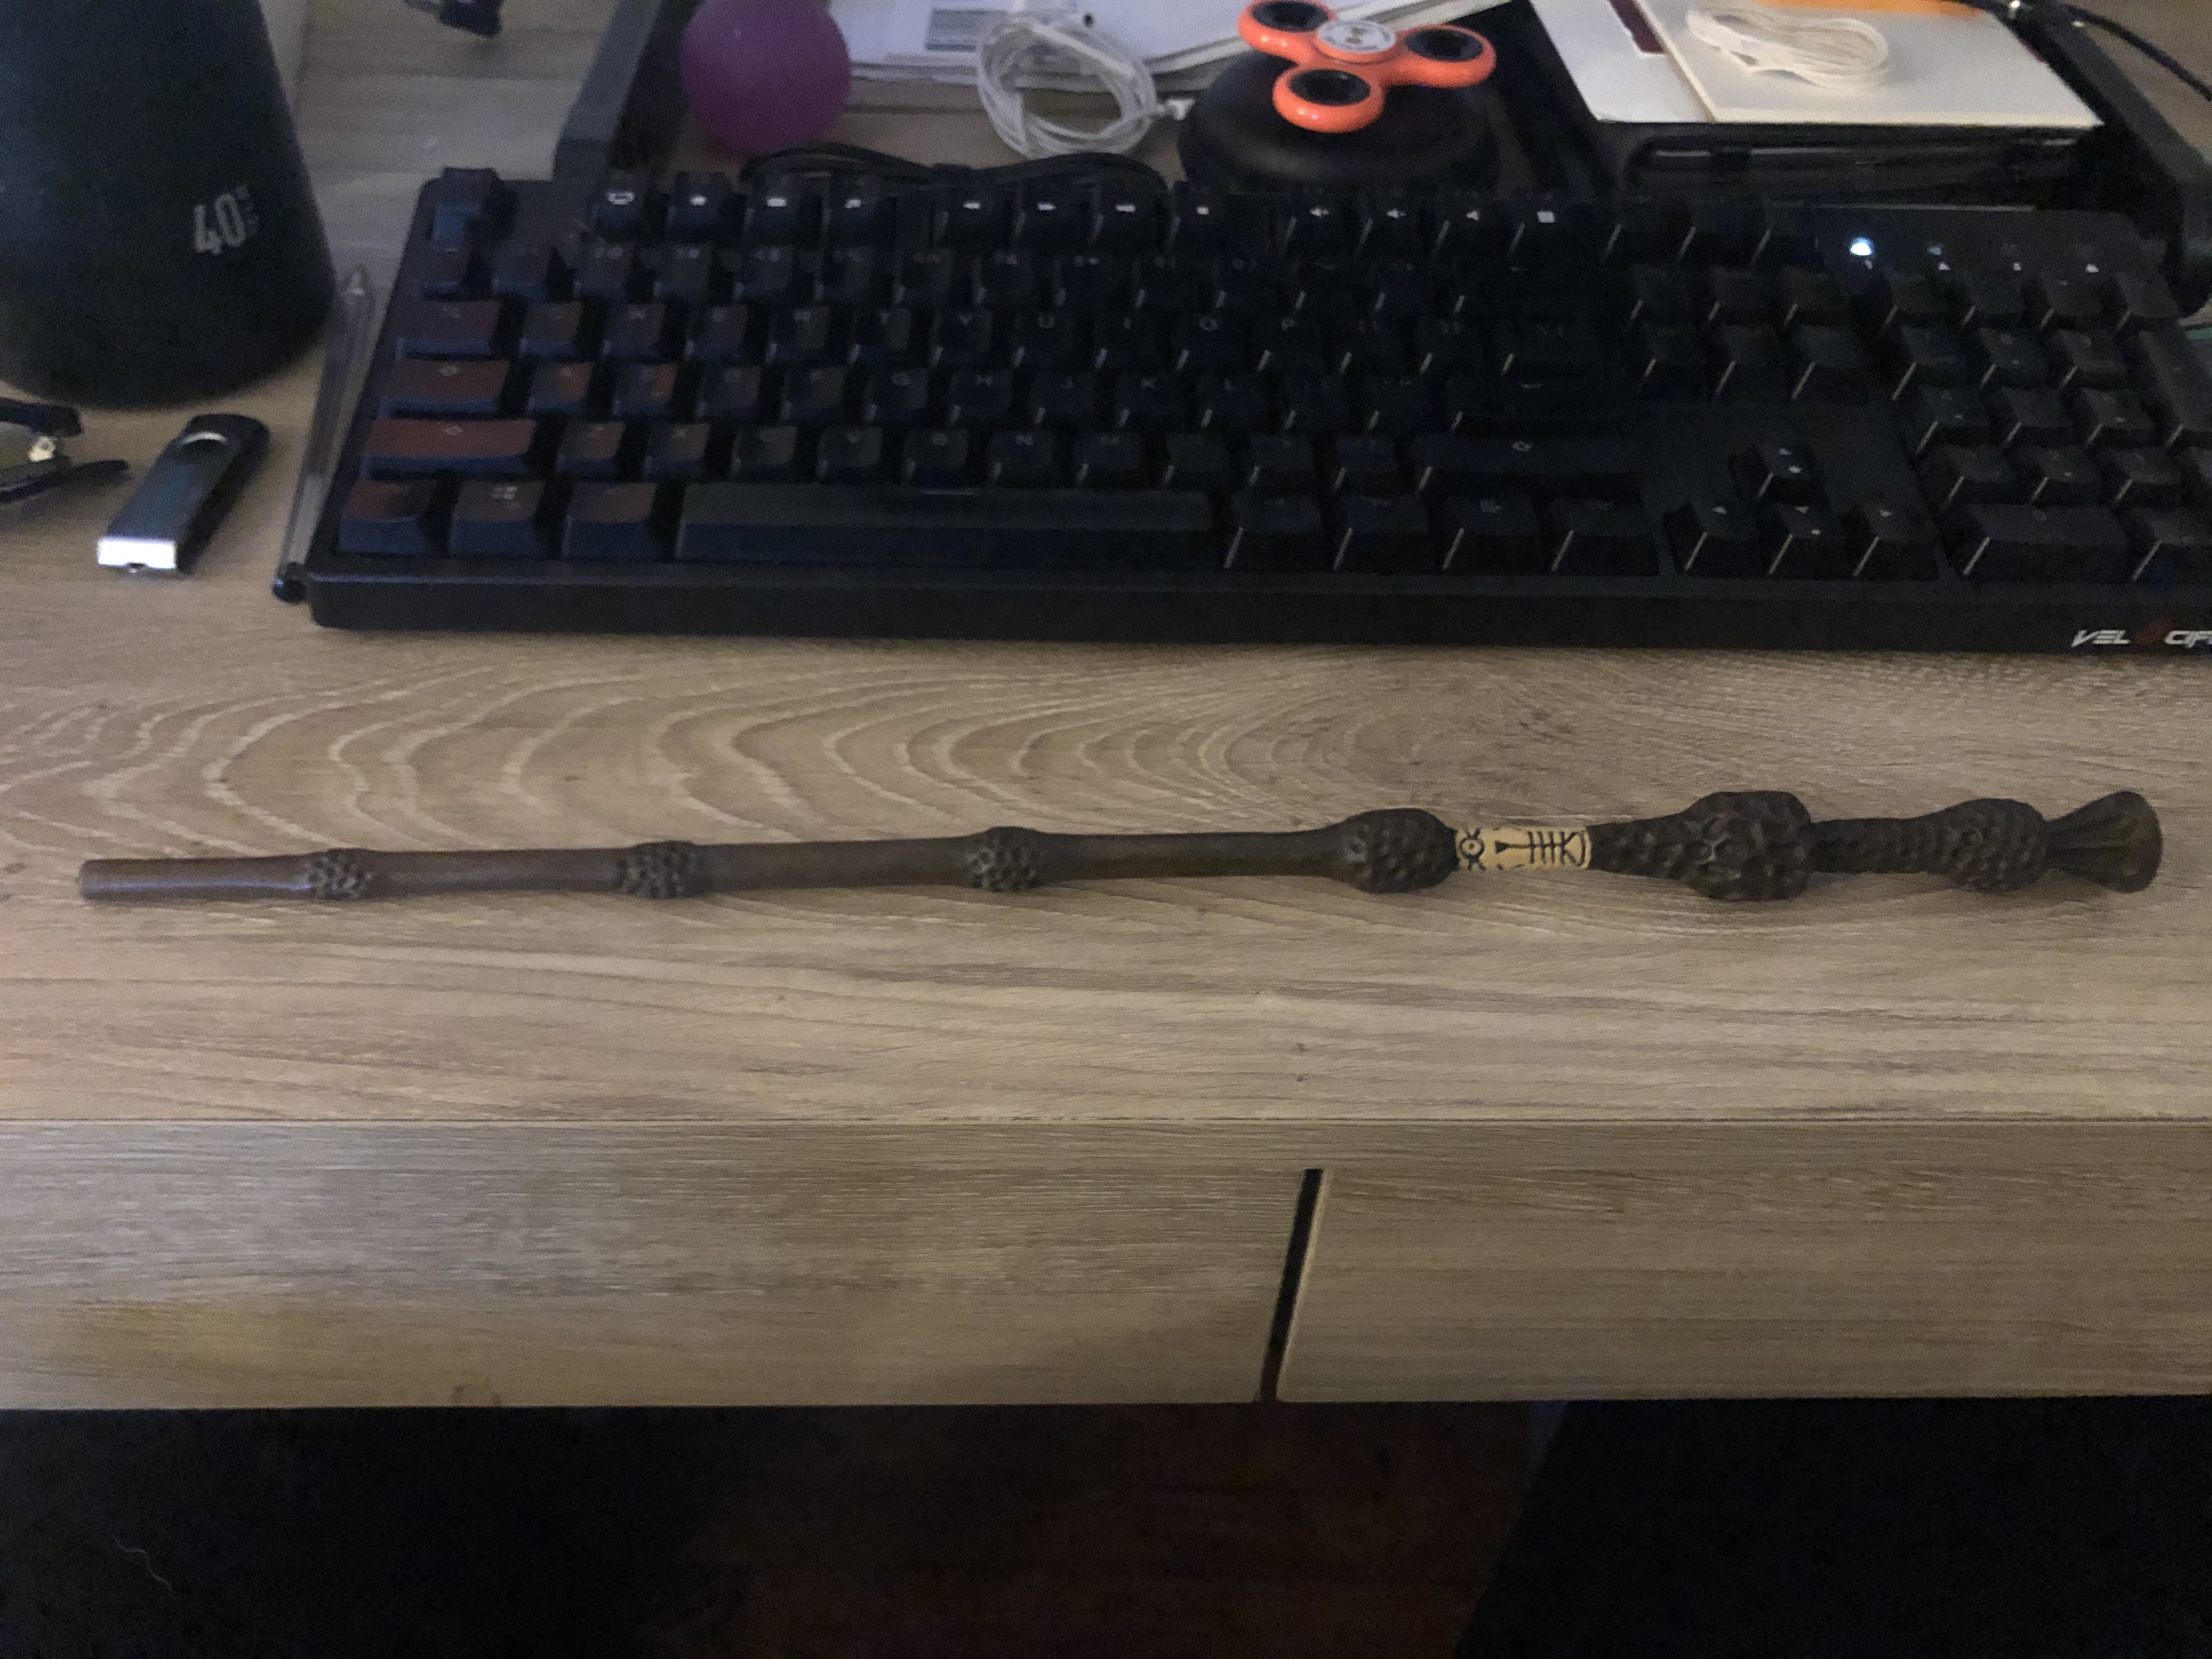
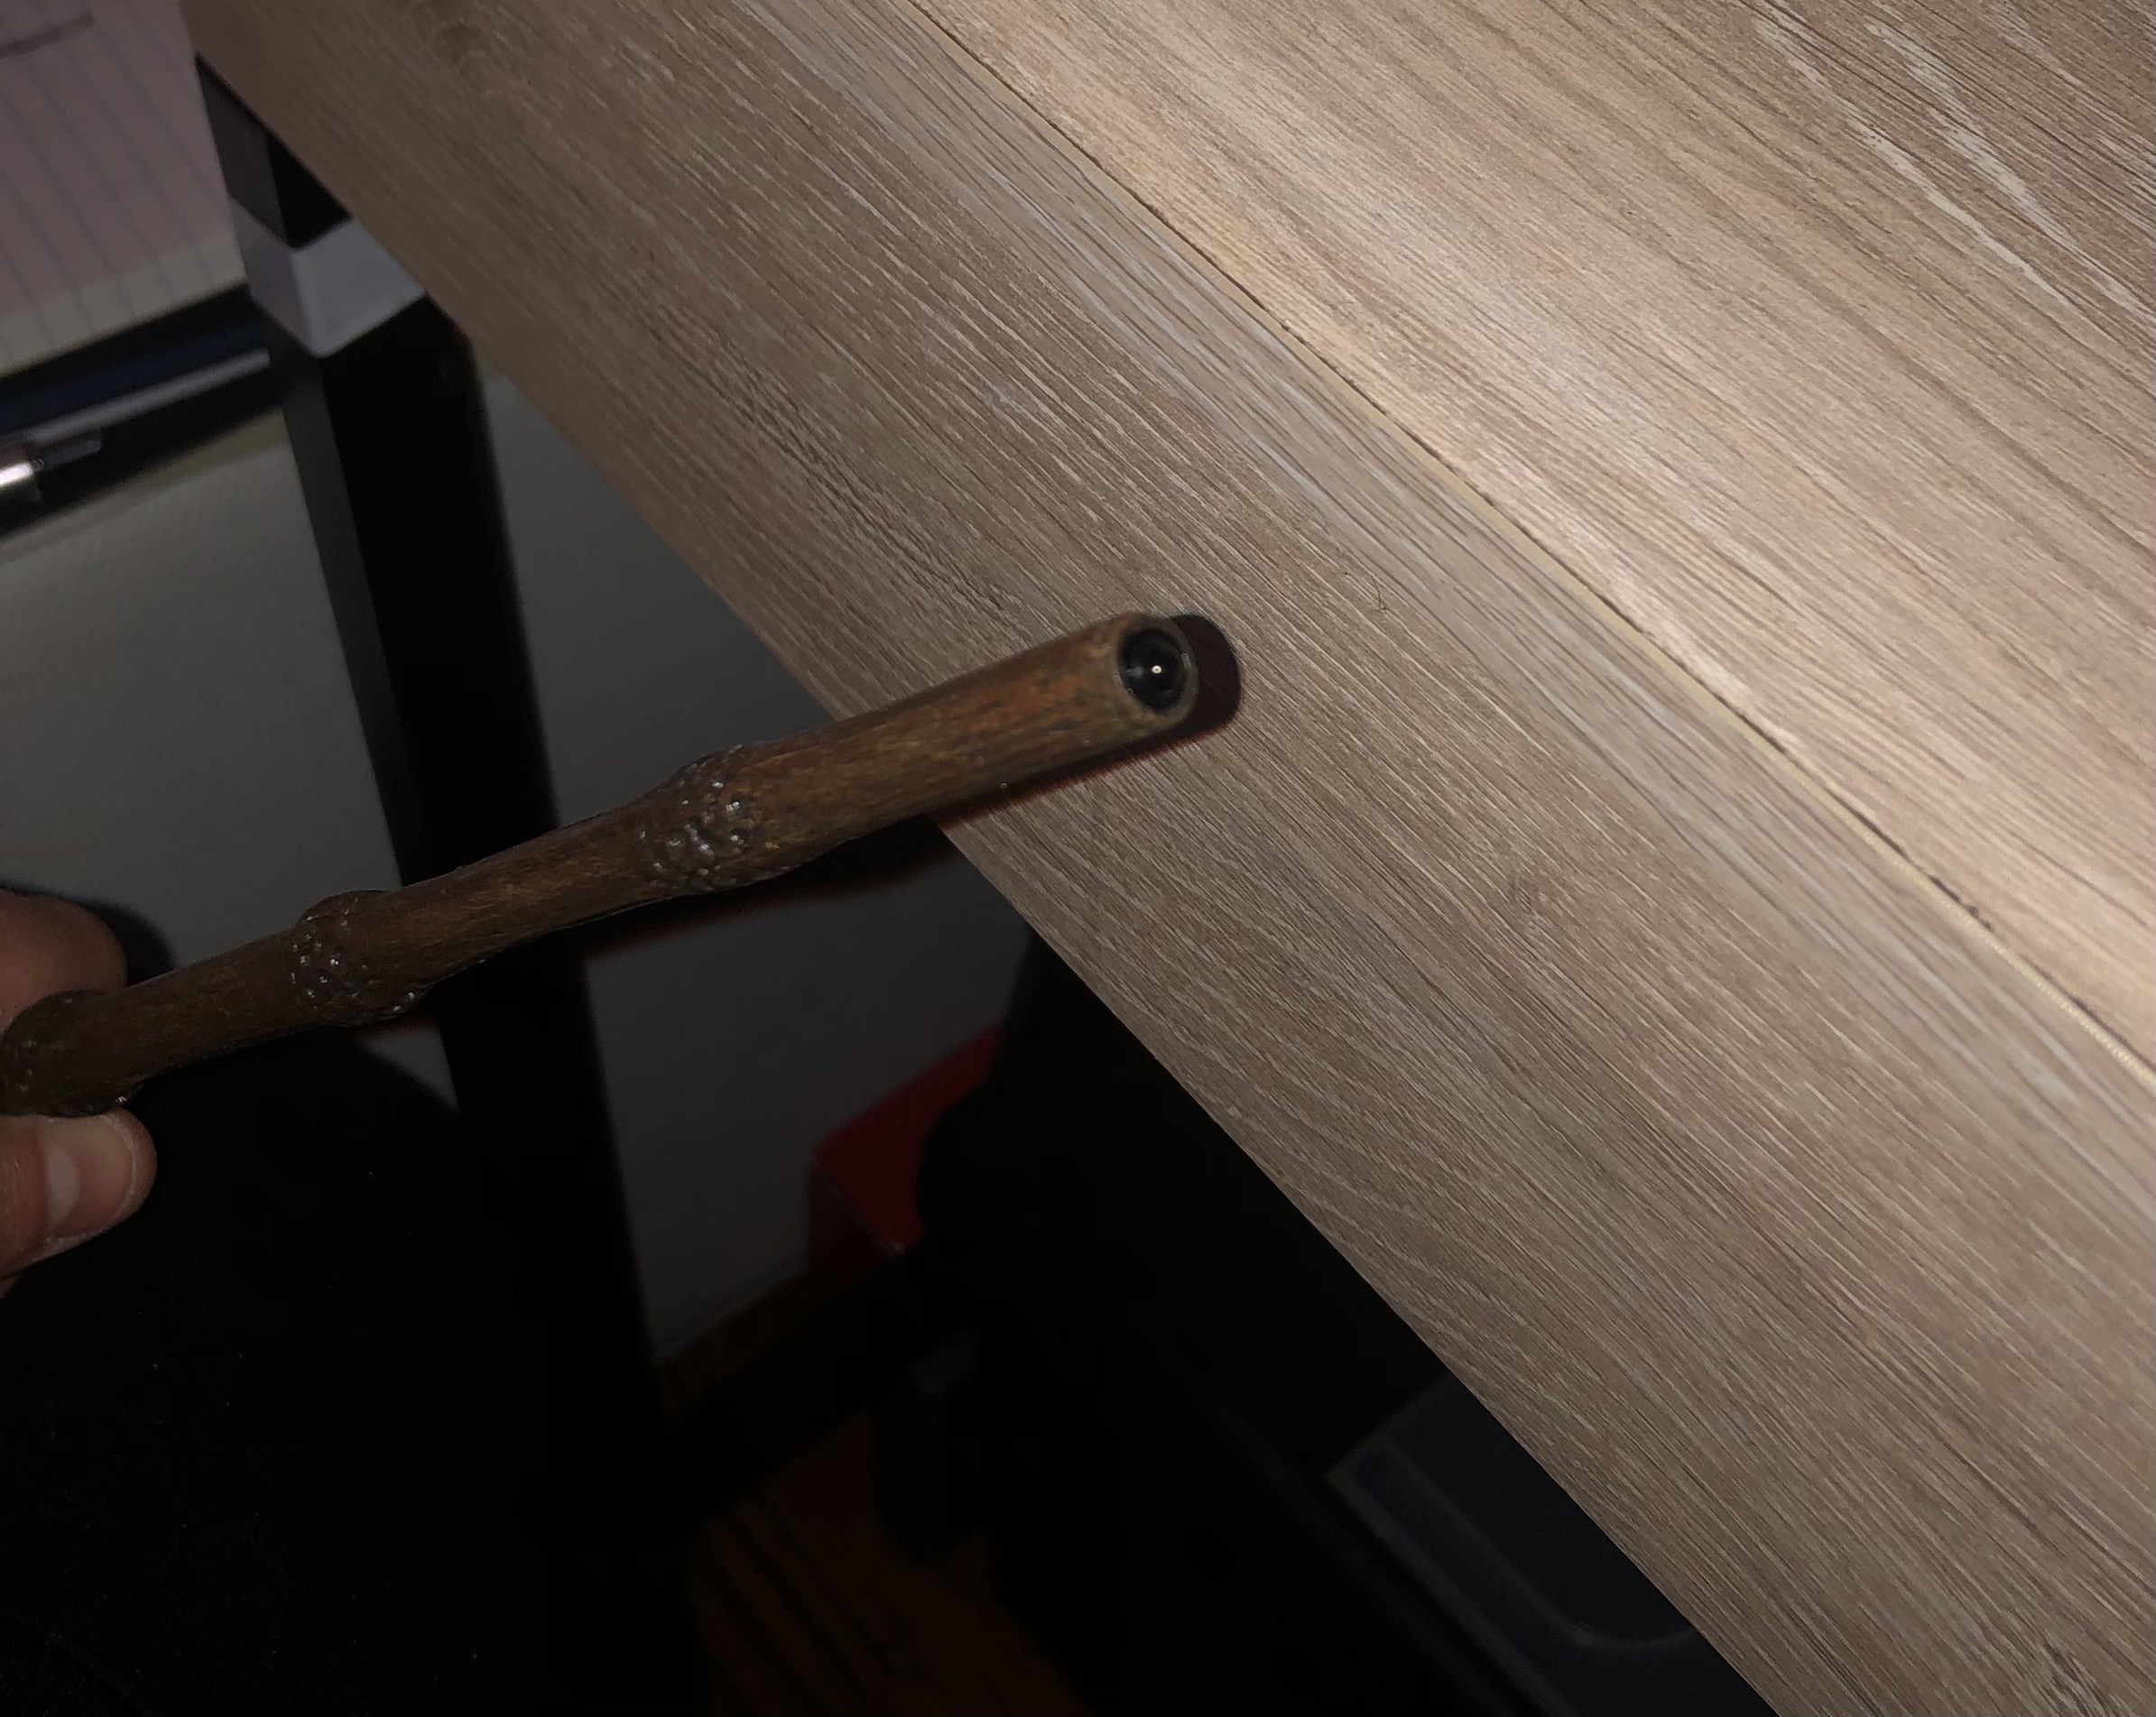
Short Wave IR reflective tip
Sample of captured training images
The Software
Repository Here: https://github.com/johneveringham/Raspberry_Potter_1.0 (Description of the code is on github)
I molded my algorithm very closely to the one described here:
https://learnopencv.com/using-harry-potter-interactive-wand-with-opencv-to-create-magic/
The Hardware
Most of the components are 3D printed and electronics can be found on Amazon. Fritzing diagram and CAD are attached.
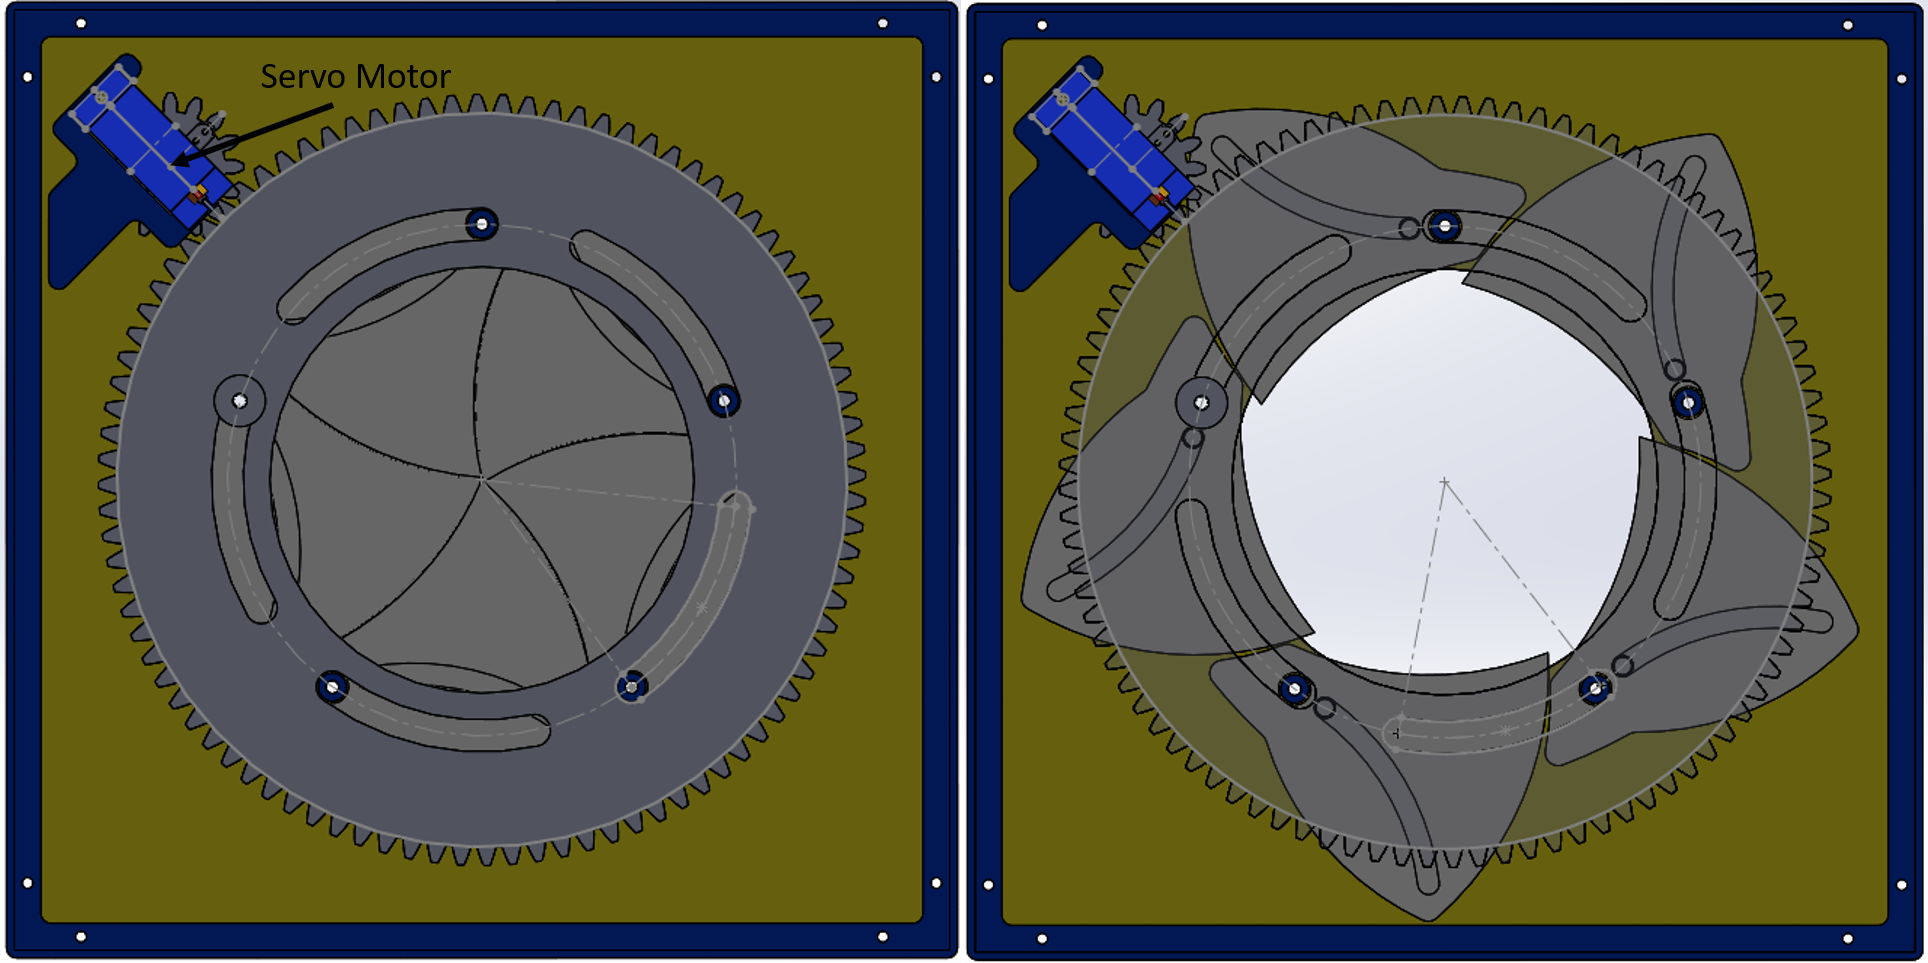
The IRIS Mechanism
The IRIS Mechanism was fun to design and I had to reverse engineer it from what I could find online. So to save yourself some time here are some details on how I made it. There are a number of different ways to actuate the leaves that I was able to find online. For this design, I used a slot in the leave and peg on the gear that drives the rotation.
Iris Mechanism open and closed positions.
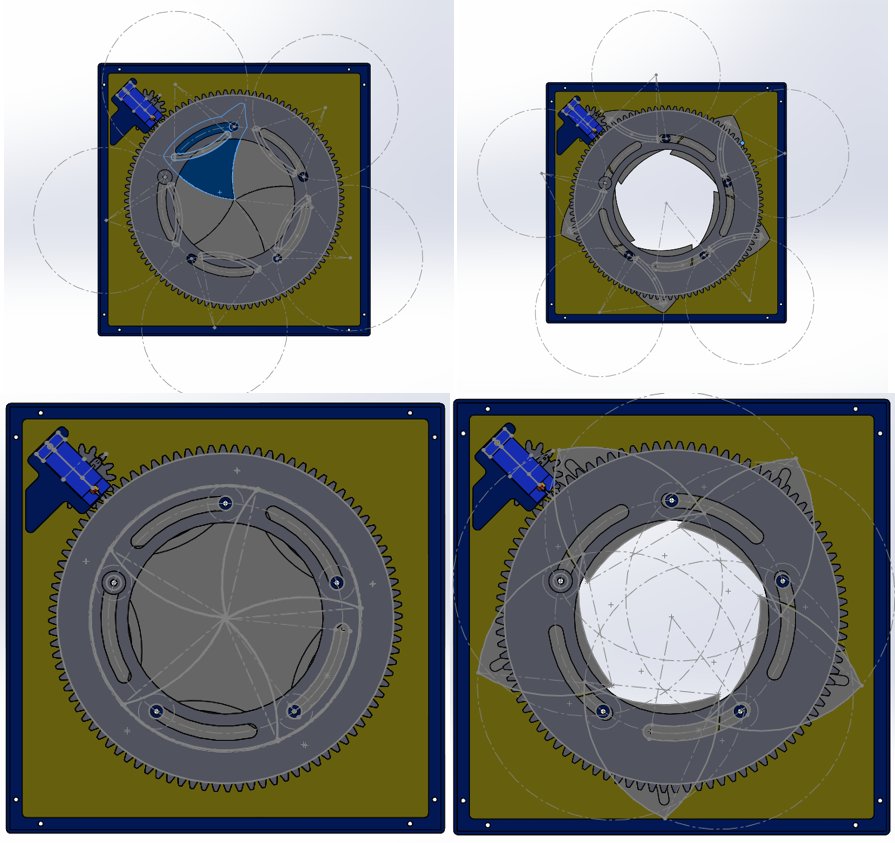
Circle A is the diameter of the opening that will be made by the iris. Circle B defines the arc of rotation for each iris leaf and is the same diameter as Circle A.
Open and closed positions showing Circle A (Bottom) Circle B (Bottom).
Future Work
Brighter lights and a more powerful speaker would really make the spells pop. Some of the sound effects are really difficult to hear.
While the iris mechanism was cool the box was not as Harry Potter-like as I envisioned. I think the code could be recycled and the box could be redesigned to be a little more interesting.