Build a Pi-based temp and humidity logger using a mySQL database and an Android app to track the readings.
I’m the owner of a sailboat, and in my part of the world, we usually wrap a big tarp around the boat during wintertime. I also do that, but I’m curious about the humidity and temperature in the cabin under the tarp. This curiosity is what inspired me to make this device: a humidity and temperature logger, using a DHT11 and a DS18B20.
The DHT11 doesn’t measure negative degrees, which is why I also used the DS18B20. Negative degrees are therefore taken care of by the DS18B20. You could use the DHT22, which is the same as the DHT11, but it measures down to approximately -40⁰C. My little twist is that I’ve also made an Android App so I can check the humidity and temperature, regardless of where I am.
The Goals of the Project
- Read humidity and temperature from two different sensors
- Add the humidity and temperature to a remote webserver mySQL database
- Connect to the webserver with an Android App to read the temperature
Required Hardware
- One Raspberry Pi Model A+, one Raspberry Pi 3 Model B and a mobile internet modem or some other way to connect the Raspberry Pi we’re using as sensor and webserver to the internet
- DHT11 and DS18B20
- Samsung mobile phone or tablet running android
- Perfboard, sockets, and resistors
Required Software
Setting Up the Server
On the server side, I’m using the Raspberry Pi 3 Model B. This has NOOBS installed and I’ve also installed LAMP (Linux, Apache, MySql, and PHP). There are a ton of guides online about installing LAMP on Raspberry Pi, so I’ll not go into detail here.
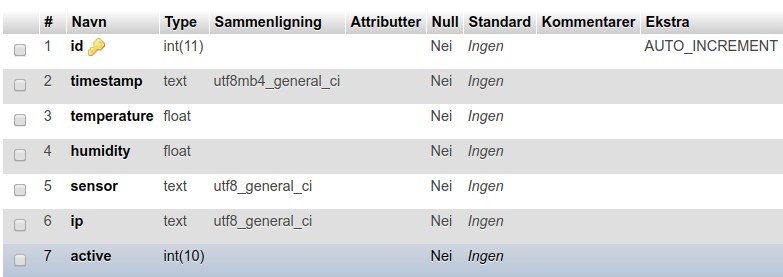
I used phpMyAdmin to make a database, and in that database I created this table:
I’ve named the database db_Kajsa and the table tbl_temperature. The sensor inserts data into this table.
tbl_temperature explained:
id | Integer, primary key, auto-increment |
|---|
timestamp | Text, this will hold the exact time for the reading |
temperature | Float, in celsius |
humidity | Float, in percent |
sensor | Text, this will hold the name of the sensor. In this case Kajsa |
ip | Text, the external IP address of the sensor |
active | Integer, this is either zero or one. It’s good practice when working with databases that instead of deleting a post, you just hide it or make it inactive. |
To add records to the table I’ve made a php-file which is in the root folder of the Apache server. I’ve got three of these sensors: one each for my boat, a friend’s boat, and outside my house.
The file that adds records to the database is called add_temp.php. The data is transferred as parameters to that file. A Python script on the sensor performs this task:
http://my.domain.com/temperature/add_temp.php?temp=4.562&humi=95.0&time=2020-01-18-09:08:01&sensor=my_sensor&ip=xxx.xxx.xxx.xxx
To pass parameters to a PHP file you add a question mark after the file extension. Then you separate the parameters with an ampersand. Let’s break my parameters down:
- temp=4.564: the temperature in Celsius
- humi=95.0: the humidity as a percentage
- time=2020-01-18-09:08:01: the timestamp of when the reading was done
- sensor=my_sensor: the sensor name — tt’s actually the Raspberry Pi’s hostname
- ip=xxx.xxx.xxx.xxx: the sensor’s external IP address
These parameters will then be inserted to the tbl_temperature - table in my database.
Since I have three sensors, I need a way to separate the different sensors apart. I do that with the sensor name. First the parameters are extracted and assigned as values to variables. The extraction is done like this:
# Get the data from the variables that are sendt with the file
$temperature = $_GET["temp"];
$humidity = $_GET["humi"];
$time = $_GET["time"];
$sensor = $_GET["sensor"];
$ip = $_GET["ip"];
$active = 1;
Then, based on the value that’s in the $sensor variable, I perform a switch-case selection:
# This switch-case statements use the $sensor variable from the files argument to determine which database to use and which sensor is "reporting" to the server.
switch ($sensor) {
	case 'Kajsa':
		$dbname = "db_Kajsa"; # My boat
		break;
	case 'fortuna':
		$dbname = "db_Fortuna"; # My friends boat
		break;
	case 'home':
			$dbname = "db_Home"; # My house
			break;
	default:
		# Nothing to do here
		break;
}
The the Python script inserts the data like this:
$sql = "INSERT INTO tbl_temperature (temperature, humidity, timestamp, sensor, ip, active) VALUES ('$temperature', '$humidity', '$time', '$sensor', '$ip', '$active')";
All the source code is attached below and it’s reasonably well commented.
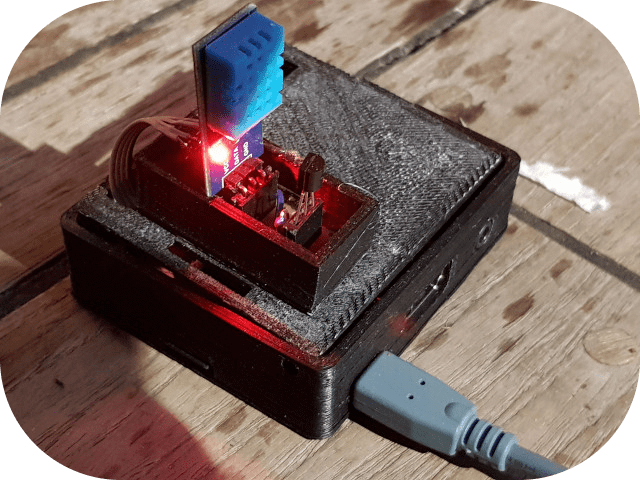
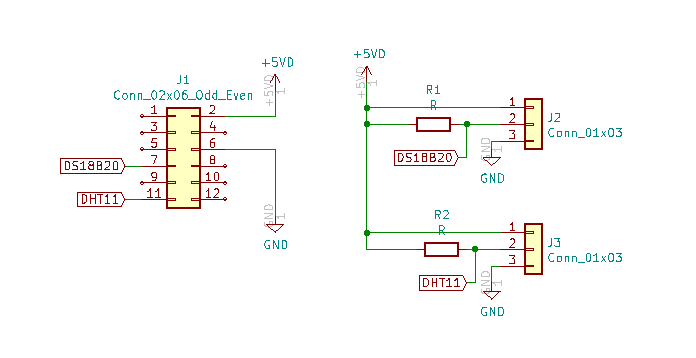
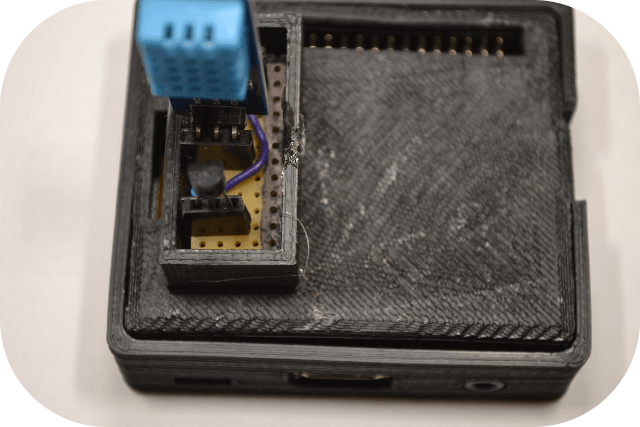
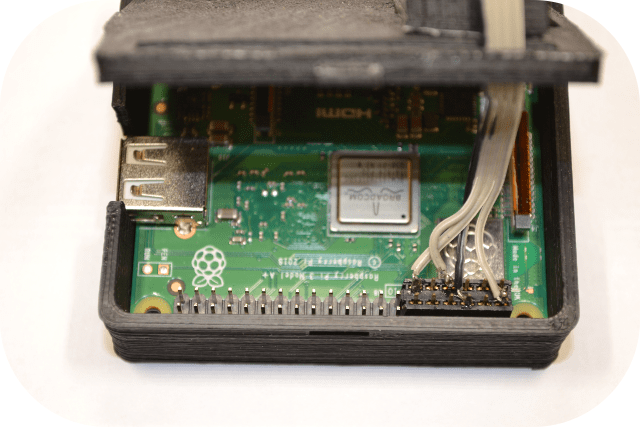
Sensor Side Setup
The hardware and sensors are mounted on a perfboard, with female pin-headers. Here is the schematic:
I cut a 2 x 40 female pin-header, down to 2 x 12 because we’re not using all the GPIOs on the Pi.
Log on to the Raspberry Pi you’ll be using as a sensor, and enter the following commands:
sudo apt-get update
sudo apt-get install python3-pip
sudo python3 -m pip install --upgrade pip setuptools wheel
This will install the latest version of pip3 and Python.
The Raspberry Pi that functions as a sensor is running NOOBS and has the latest version of Python installed. In order to get the DHT11 to work with Raspberry Pi, you have to install software from AdaFruit. That’s easily done with this command:
sudo pip3 install Adafruit_DHT
The program terminates after each run, so I’ve made an entry in the crontab file. This makes the program run every two minutes.
*/2 * * * * python3 /home/pi/ds18b20_dht_mysql_v01.py >> /home/pi/ds18b20_dht_mysql_v01_LOG.txt 2>&1
All the print statements in the program are written to a log-file. This makes troubleshooting much easier.
Setting Up the Android App
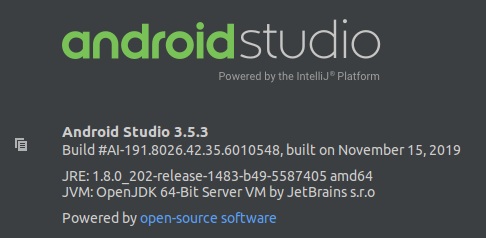
First, make sure you have the latest version of Android Studio installed, along with Kotlin. This is my version:
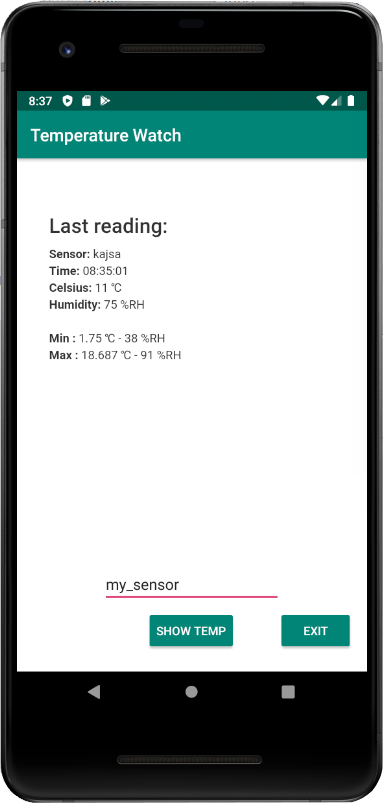
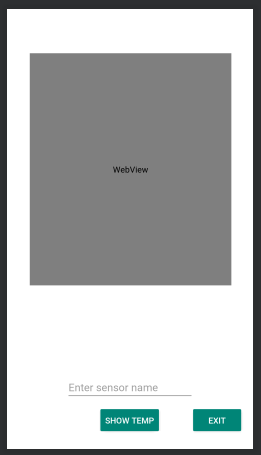
The application we’re going to make is really simple. We’re using the webview component to show a file from the web server. It’ll look like this:
Note: The application needs an internet connection and the correct permissions. Set the permissions in the AndroidManifest.xml file.
The most crucial permission is:
<uses-permission android:name="android.permission.INTERNET"/>
I started by placing the controls. That’s two buttons: one editText and one webView. The controls are named:
- btnShow
- btnExit
- ediText
- webView
The complete source code, which is well commented, is attached at the end of this article.
Additional Information
This software and article do not handle errors or faults very well. So to refine the project, one should add some error checking or error correction. What if one of the sensors stops working?
We should have some sort if function to perhaps check for data five times. If we can’t get any valid data, the sensor should send an email to the owner. We could also make a weekly summary, with some graphs that visually show us the temperature and humidity, in a more user-friendly way.
Conclusion
This project shows you another way to use a DHT11 and a DS18B20 sensor to monitor your surroundings. In my case, it’s under the tarp, covering my boat.
Source code
The full source code for this build can be accessed from the link below:
Raspberry Pi Temp/Humidity Logger Code
Files on the server:
- add_temp.php
- apk_top.php
- apk_handler_app.php
- apk_end.php
- dbconfig.php
Files on the sensor:
Android Studio Kotlin source files:
- activity_main.xml
- AndroidManifest.xml
- MainActivity.kt
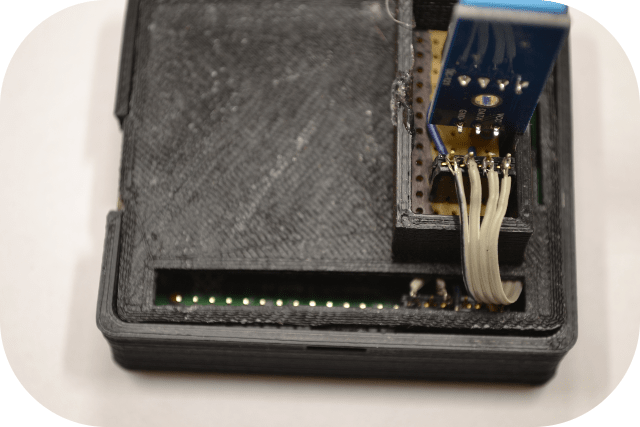
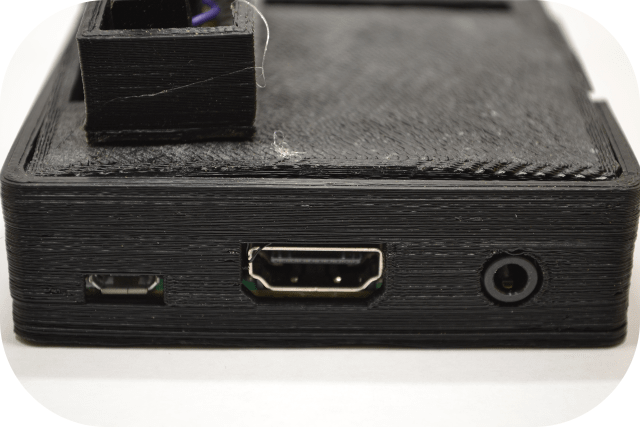
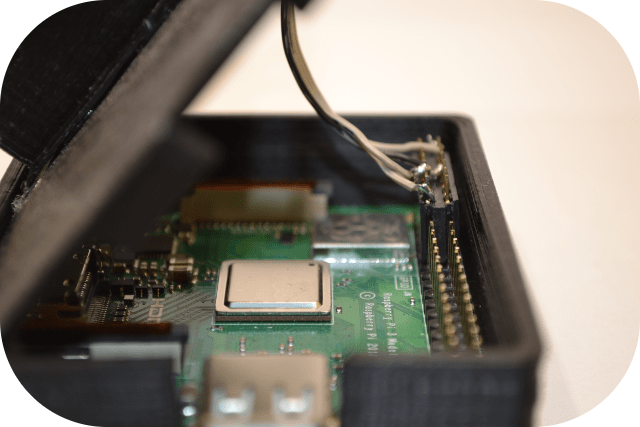
Pictures of the Finished Device