Raspberry Pi Google Home with Custom Actions, using the Google Assistant API.
Using Google Cloud Platform's Google assistant SDK, turn your raspberry pi into a customizable Google home. Create custom Device Actions, to allow for voice controlled hardware.
Hardware Setup
To start ensure that your raspberry pi is connected to the internet, whether through wifi or an ehternet cable. Google has a set of instructions for setting this up which can be found here. I would refer to them if you want extra information or get stuck, but here are the key steps.
To implement Google assistant on your raspberry pi you will need a microphone, to record audio, and a speaker, so you can hear its reply. I got a cheap USB mic off of amazon, and I used my headphones as the playback device for testing.
Configuring Playback and Recording devices
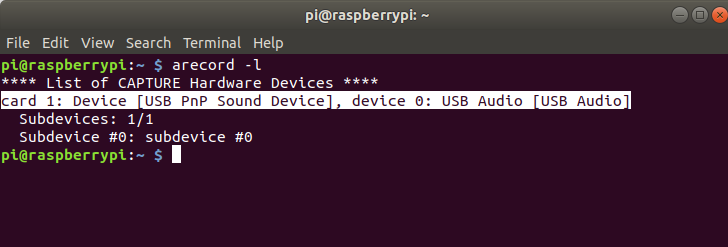
First we have to locate the playback and recording devices in the system, create a config file and then adjust their volume levels. To locate your mic, display the list of your systems capture devices using:
This should display something like the screen below. If you're using a USB mic then look for the device with the '[USB Audio]' tag at the end. Record your devices card and device number as you'll need it in a sec.
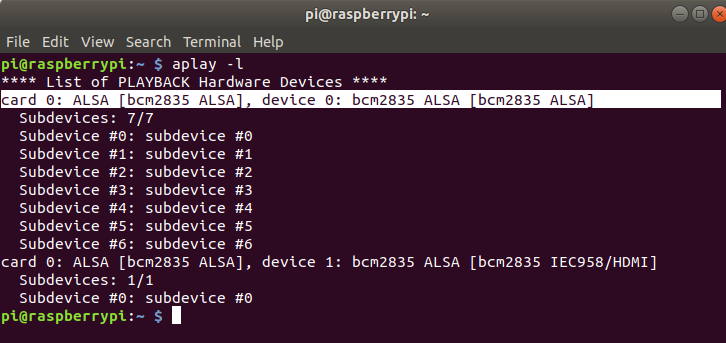
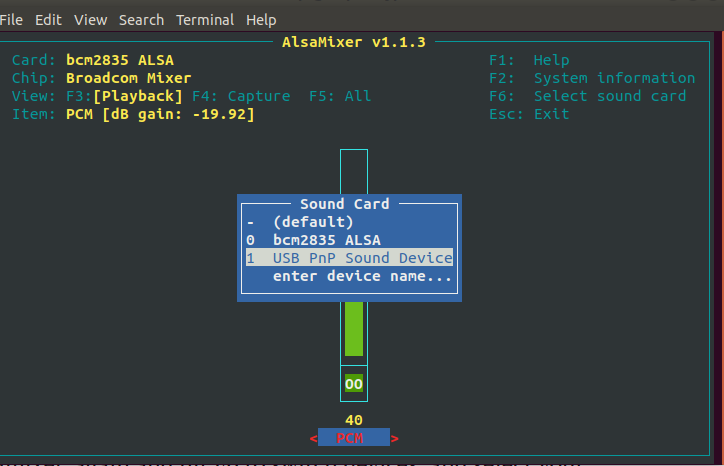
To find your speaker use:
Which should turn out something like this:
If you are using the headphone jack, which I am, look for 'bcm2835 ALSA', not 'bcm2835 IE958/HDMI'. Once you've found it record its card and device number as well.
Now create a new file '/home/pi/.asoundrc'. The code was waken directly from Google's instructions. Fill in your card number a device number for both your speaker and microphone.
#*****.asoundrc*****#
#code copied from Google
pcm.!default {
  type asym
  capture.pcm "mic"
  playback.pcm "speaker"
}
pcm.mic {
  type plug
  slave {
    pcm "hw:<card number>,<device number>"
  }
}
pcm.speaker {
  type plug
  slave {
    pcm "hw:<card number>,<device number>"
  }
}
Once you've saved the file above in the '/home/pi' directory test your playback device by typing the following into your command line.
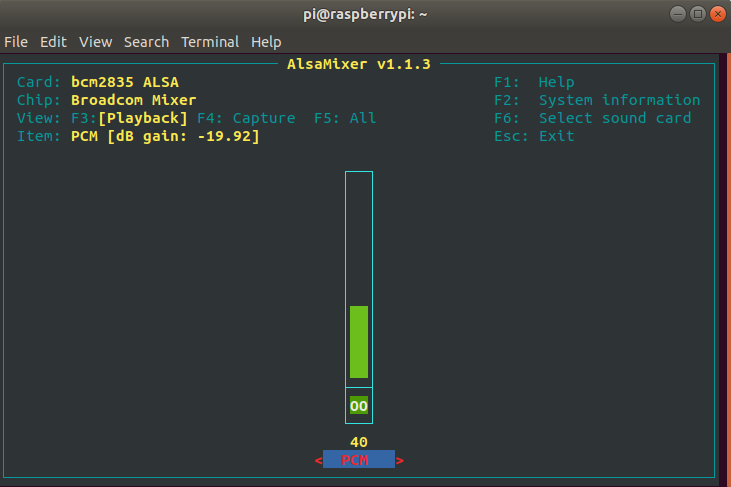
If you hear the test clip and are happy with the volume then your speakers are configured. If not you can adjust the playback volume using:
From here you can use the up and down arrows to adjust your playback level. You'll probably want it around 70 but thats up to you
Once your speaker is set up you can record a clip and check your mic using:
arecord --format=S16_LE --duration=5 --rate=16000 --file-type=raw out.raw
aplay --format=S16_LE --rate=16000 out.raw
If you can't hear your recording or want it to be louder you can use 'alsamixer' again and hit F6 to switch devices, and select your microphone from the list of devices.
And then press F4 to switch to it's capture settings, and you can adjust it's pickup using the up and down arrows. I had to crank mine pretty high because it was such a cheap microphone so don't be afraid if you have it close to the 90's, just record test clips as you adjust to where you want it.
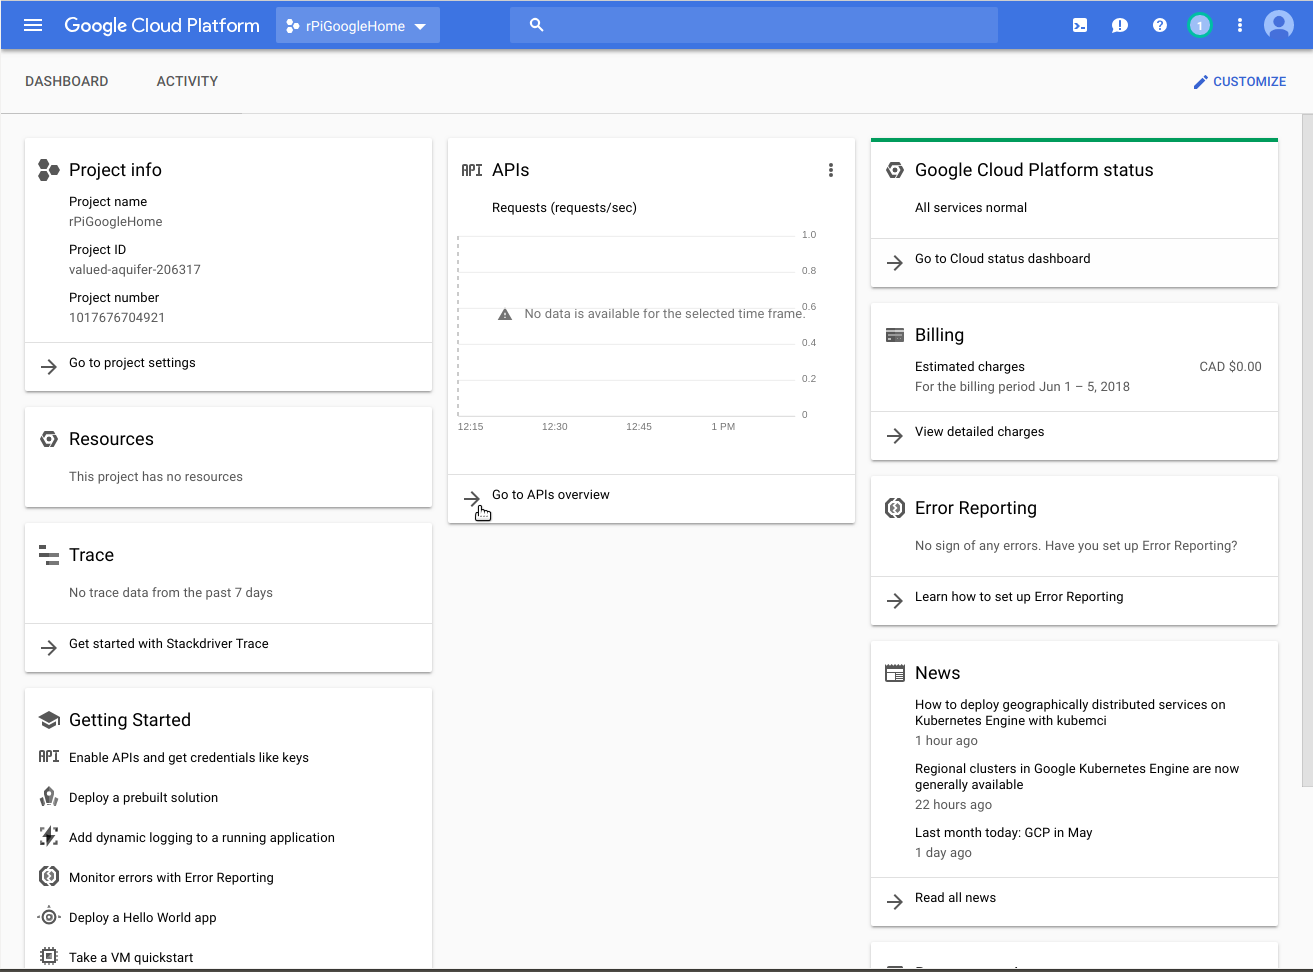
Google Cloud Platform Sign-up
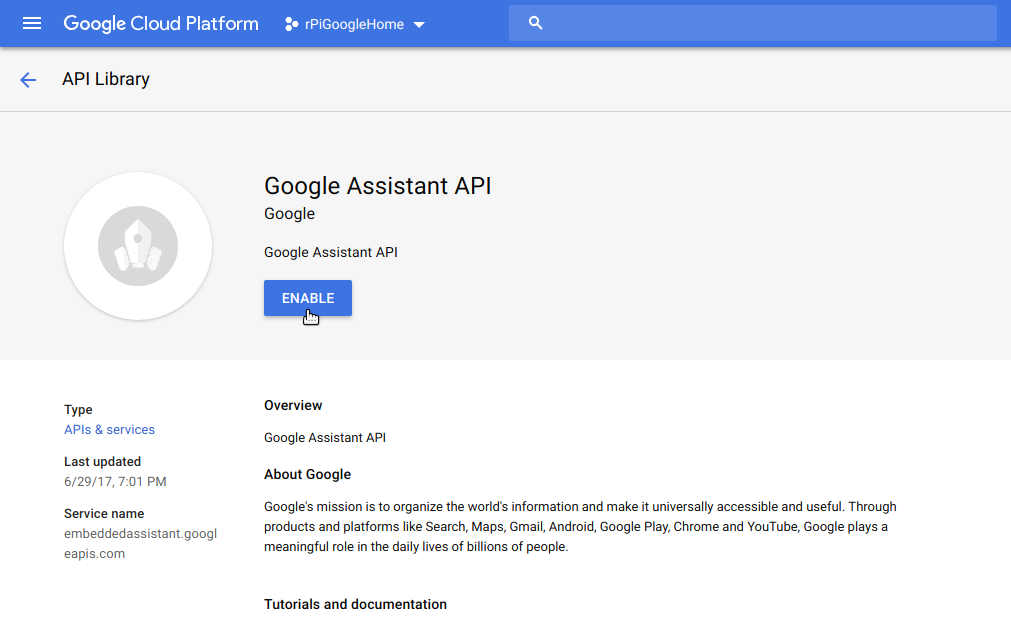
Google Cloud Platform offers a one year free trial with a credit of $300. Once you've signed up head to the console and create a new project. To enable the Assistant API go to the 'Go to APIs overview'.
And then 'ENABLE APIS AND SERVICES'. From there search for the 'Google Assistant API', and hit Enable.
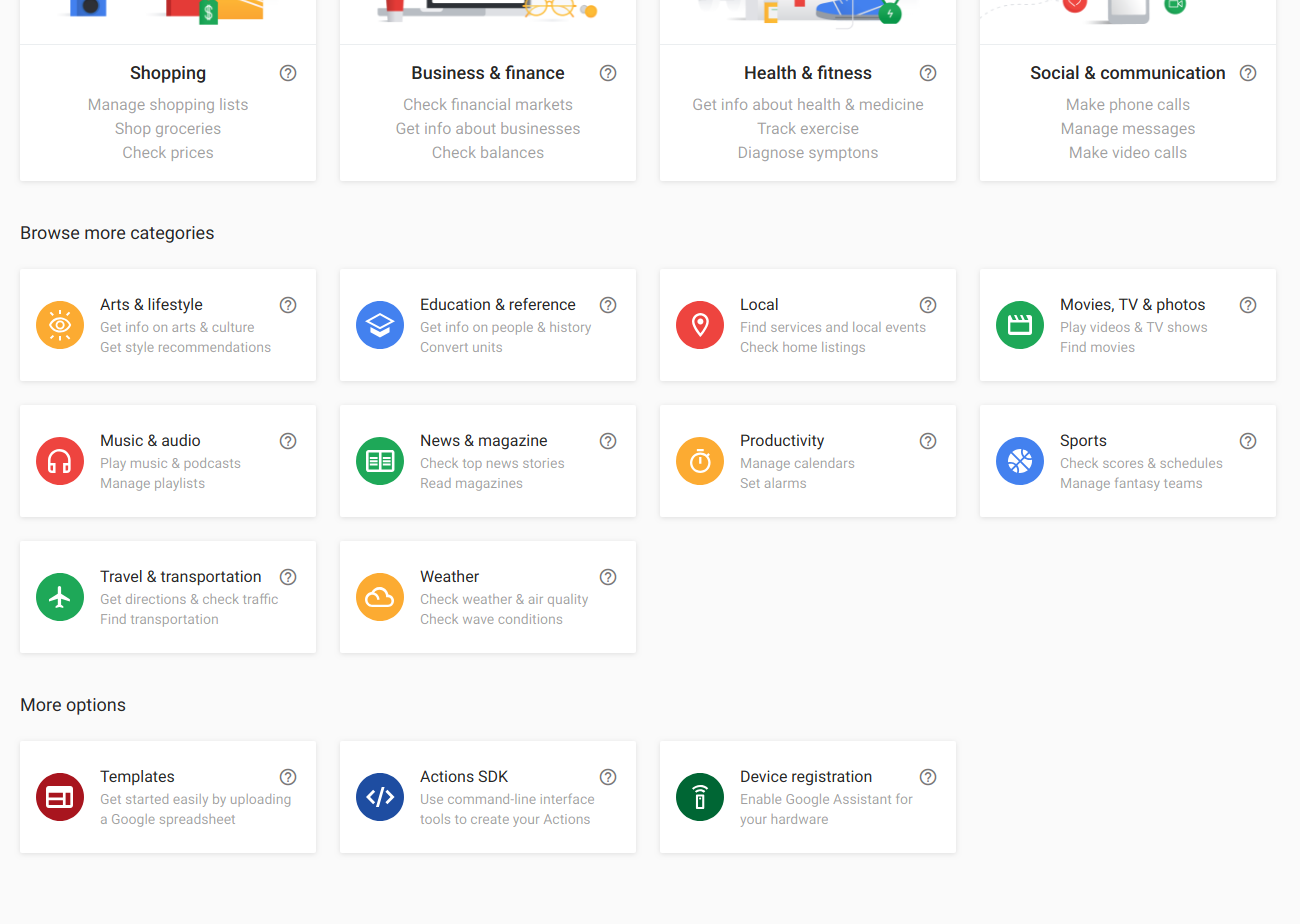
Now go to Google's action console. Click 'Add/import project', and import the project you just created. That should open you to a new page and at the bottom there should be 'Device Registration':
Click on device registration and follow the steps. If you are working with your raspberry pi through ssh, make sure you download your 'credentials' file to the '/home/pi' directory. I just downloaded it do my desktop and moved it over with FileZilla. There is a command line ssh way to do it using 'scp', here's an example.
Once you get to the specify traits section, I just enabled them all. Save your traits, and registration is complete.
Google Assistant-SDK Installation
Google has pretty good instructions for setting up and starting python virtual environments, as well as installing the Assistant SDK, so follow the instructions found here.
Once you're done that it's time to test! Use the following command:
googlesamples-assistant-hotword --project_id my-dev-project --device_model_id my-model
Where 'my-dev-project' is your project id, which can be found in your cloud platform console under 'Project Info', or in the Actions Console under 'Project Settings'. 'my-model' is your model id which is specific to the device you registered. Your model id can be found in the Actions Console under 'Device Registration' near the bottom of the side menu.
After filling in the code above, and executing the command try saying 'Ok Google' followed by 'who am I?' and listen for the response. If you can't hear anything, but the command line is printing the body of the response then try and adjust your recording and playback levels again, if that's not the case, Google has some trouble shooting steps.
Customizing Hotwords
Now that we have the assistant up and running, it's time to add some custom device actions. I created one that takes a photo with the raspberry pi camera when the querry 'Ok Google, take a photo' is spoken.
Install gactions
To get started you will have to install the 'gactions' tool. You don't have to do this part on your raspberry pi, as you are going to just be uploading a file to Google. Depending on your operating system its a little different. I'm using a linux machine so I downloaded it and moved it to my '/usr/local/bin'. To do this navigate to the directory the 'gactions' file is in and use the command below.
sudo mv gactions /usr/local/bin/.
To test if you've installed it correctly just type 'gactions' and hit enter, if the list of instructions comes up you are good to go.
Create a Custom Action
An Action Package is just a json file. The reference for how they should be formatted can be found here. Mine was pretty simple as it takes no parameters, so is just recognizing hotwords.
{
    "manifest": {
        "displayName": "Take Photo",
        "invocationName": "Take Photo",
        "category": "PRODUCTIVITY"
    },
    "actions": [
        {
            "name": "TakePhoto",
            "availability": {
                "deviceClasses": [
                    {
                        "assistantSdkDevice": {}
                    }
                ]
            },
            "intent": {
                "name": "com.example.intents.TakePhoto",
                "trigger": {
                    "queryPatterns": [
                        "Take a photo"
                    ]
                }
            },
            "fulfillment": {
                "staticFulfillment": {
                    "templatedResponse": {
                        "items": [
                            {
                                "simpleResponse": {
                                    "textToSpeech": "Taking a photo"
                                }
                            },
                            {
                                "deviceExecution": {
                                    "command": "TakePhoto"
                                }
                            }
                        ]
                    }
                }
            }
        }
    ]
You can add any number of query patterns, and also take in parameters if you wanted. Google has a good example for blinking lights here, if you want to try parameters. Copy the file above and save it as 'TakePhoto.json'.
Upload and Test using gactions
Now that we have an Action Package we have to upload it to Google so you can access it through the voice activated API calls.
Upload it using this:
gactions update --action_package <Path to TakePhoto.json> --project <your project_id>
This should return you a URL, click on it and allow the permissions to your account, and you should get an authorisation code which you paste back into the terminal window. If your activation was successful you should see a message kinda like this:
"Your app for the Assistant for project <Your Project ID> was successfully updated with your actions."
Now to be able to test it, put it in test mode using:
gactions test --action_package <Path to TakePhoto.json> --project <your project_id>
These next steps have to be done on your raspberry pi or through ssh in the virtual python environment we set up earlier. Use your terminal to navigate to the directory that contains your 'hotword.py' file:
cd assistant-sdk-python/google-assistant-sdk/googlesamples/assistant/library
Add the following code to your 'hotword.py' file.
# add these among the other import statements
from picamera import PiCamera
import datetime

.  .  .

# look for this existing bit of code
if event.type == EventType.ON_DEVICE_ACTION:
    for command, params in event.actions:
        print('Do command', command, 'with params', str(params))

# and add this below it

        if command == "TakePhoto":
            camera = PiCamera()
            camera.rotation = 180
            date = datetime.datetime.now().strftime('%m_%d_%Y_%M_%S')
            camera.capture('/home/pi/Desktop/' + date + '.jpg')
Save it with ctrl-O, and exit. Now run it
python hotword.py --device_model_id <your model id>
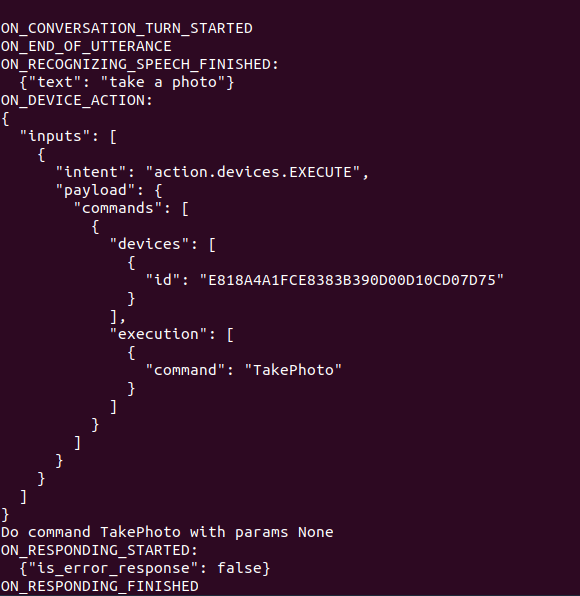
and say 'Ok Google, take a photo'. If successful you should get a json response similar to this.
and of course check your desktop for the photo. You can make custom device actions for just about anything using these basics, if you have any cool recommendations or projects, please comment below.