Use a Raspberry Pi 3, Kodi, and an OpenElec image to turn any display into a smart TV.
You’ve probably noticed that the boundaries between televisions and computer monitors are now very thin. In fact, if you have a high-end monitor, it may look better than your TV. In most cases, the only thing your monitor really lacks is the appearance of the TV. The monitor can’t receive TV signals, the built-in speakers are not very functional (if they exist), and no remote control allows you to change channels. Ultimately, this is why monitors are cheaper than TVs of the same quality.
You can further blur the lines between TVs and monitors by installing Kodi on the Raspberry Pi 3. Pi 3 handles Kodi very well, making it easy to create a TV-like experience. If you have already set up Pi 2 with Kodi, the installation is the same. There are two major installation packages that can install Kodi to RasPi 3: OSMC and OpenELEC.
So which one is preferred? OSMC has an installer that makes it easier for OpenELEC to require image authoring software. There is image authoring software so it can be downloaded and installed for free.
Follow the steps to install Kodi to Raspberry Pi 3 using an OpenElec image.
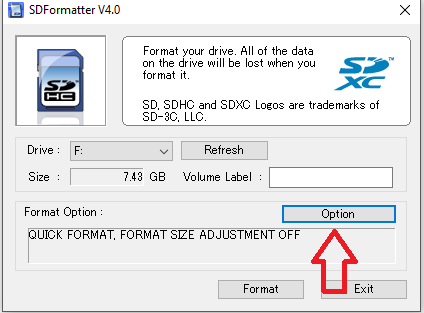
Format Your microSD Card
Download the SD Formatter and follow the steps below.
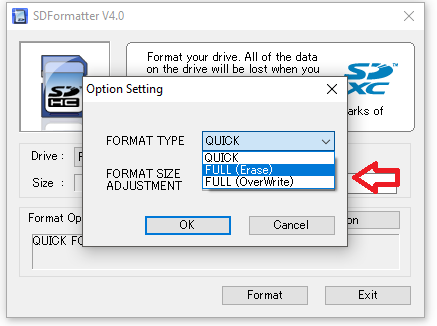
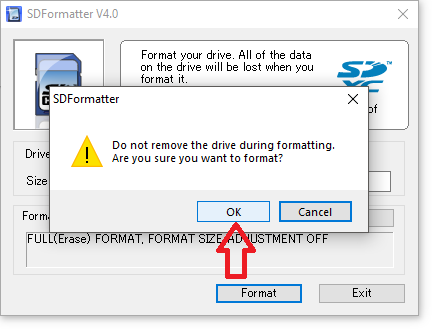
Choose "FULL (Erase)" and click "OK"
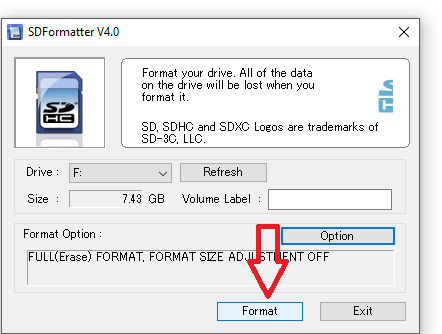
Click "OK" to acknowledge that you won't remove the drive during the format
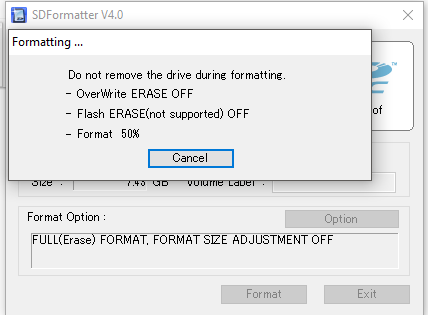
Click "OK" again to complete the format
Download Image of Kodi
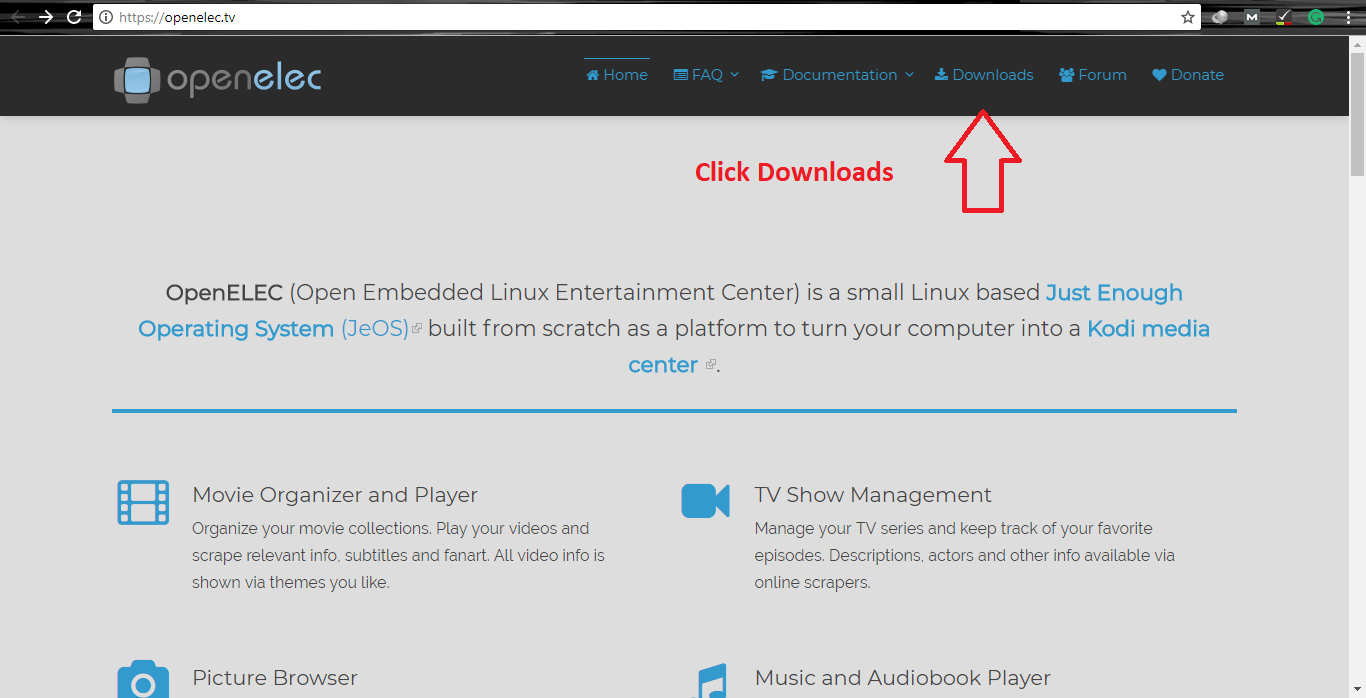
- Go to http://openelec.tv/
- Click on the "Downloads" button
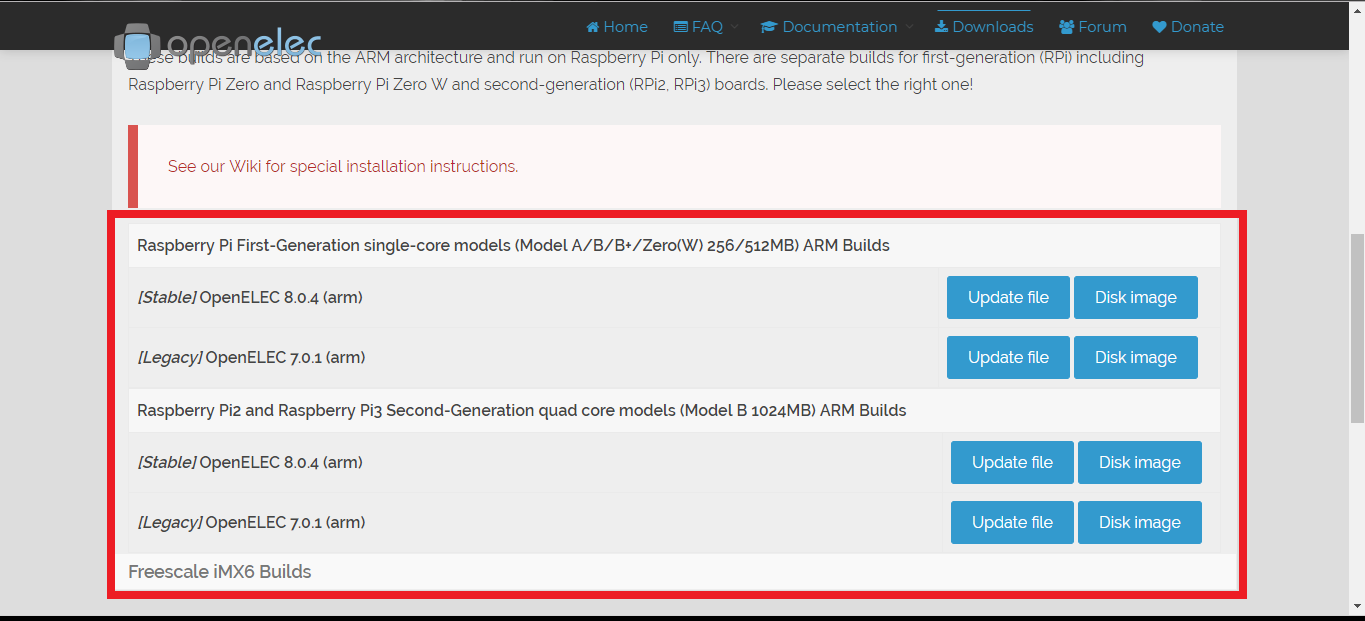
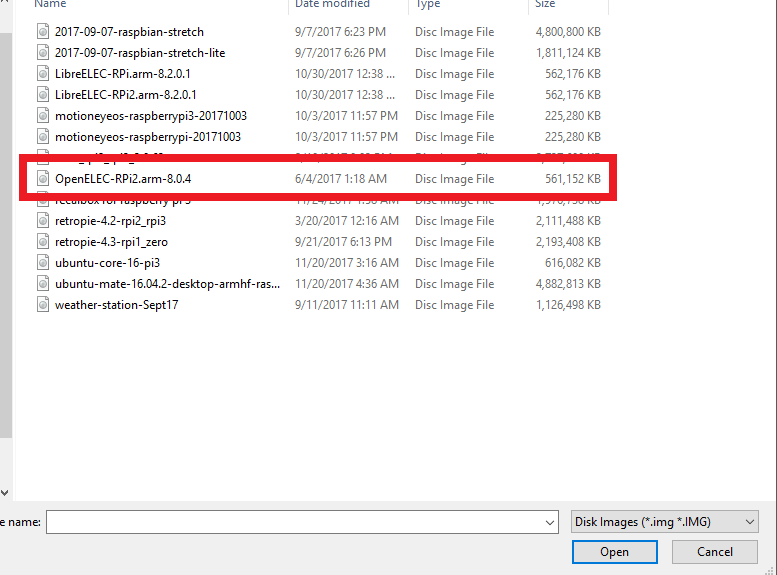
- Select the latest stable build for your Raspberry Pi
- Select the "DiskImage" file
- Wait for it to download
Write an Image to You microSD Card
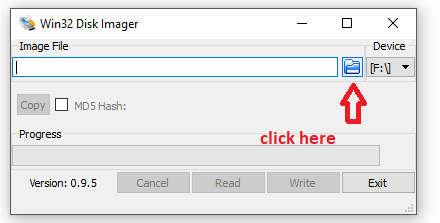
- Once it finishes downloading, open Win32DiskImager
- Select the file we just downloaded
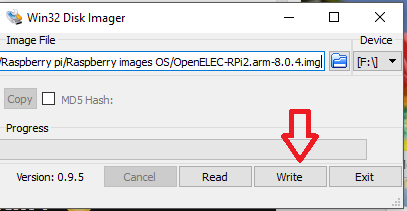
- Select the correct Disk (the MicroSD Card)
- Click on "Write"
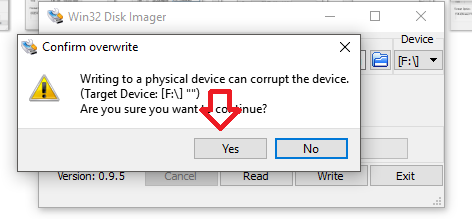
- A warning prompt will appear, click "Yes" to continue
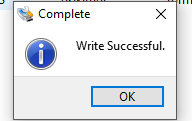
- Unmount the MicroSD Card once the process finishes
- Burn image into SD card
Final Step
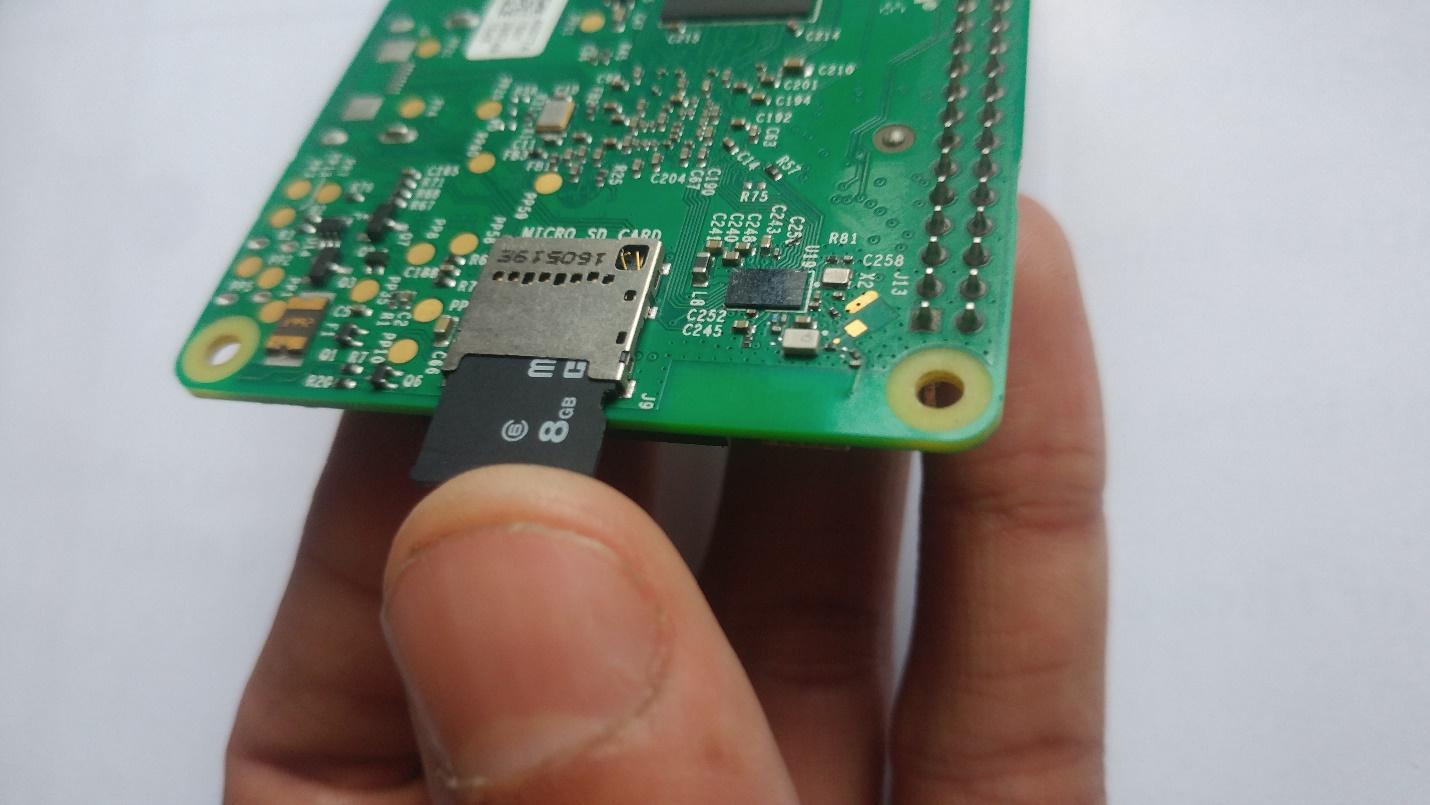
- Insert the microSD Card on your Raspberry Pi
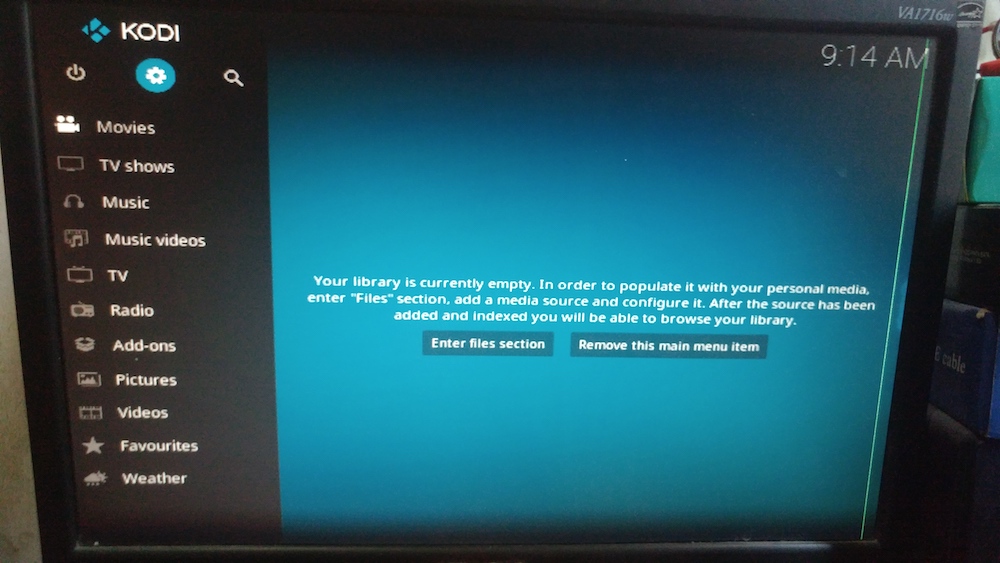
- Wait for it to boot and properly finish its configuration
- Once you're in the main screen, wait for a couple of seconds and the First Time Setup Wizard will appear
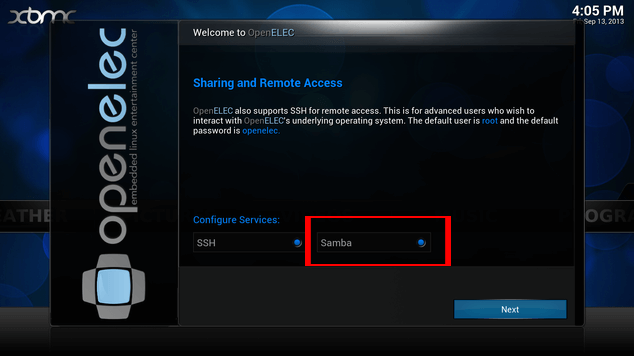
- Follow the on-screen instructions to properly configure your Kodi Installation
- Turn ON the Samba shares when you reach the sharing and remote access section
- Copy the files with samba share features
Enjoy your newly installed OS! Our Kodi installation is now complete, and you are ready to start binging on your favorite shows.