Turn your USB printer into a wireless one by creating a network printer with a Raspberry Pi Zero W and CUPS.
Printers may not be the most convenient peripheral devices for your computer. They look inappropriate at most desks, but you can also spend hundreds of dollars on a sleek new network printer in one corner and receive print orders from any computer on your local network.
Or, if you are a maker, you can connect a regular USB printer to the Raspberry Pi and hack together a network printer! If you have not used your printer on Linux, before you start, go to the Open Printing website and check if your printer is compatible with CUPS print server software.
If your printer is listed, use one of the USB ports to connect it to the Raspberry Pi. For this project, we use the Raspbian distribution, and the Raspberry Pi connects to the local network via a compatible wireless adapter. You can also connect the Raspberry Pi to your network via a wired Ethernet port.
Follow the instructions in this article by accessing Raspberry Pi remotely from any other computer on your network. Just be sure to enable Raspbian's internal SSH server using the raspi-config tool. It is also a good idea to assign a static IP address to the Raspberry Pi as shown here.
The network printer offers a great deal of flexibility in choosing where to put it and where you want to work. We will be using CUPS printing systems and Samba to operate.
What is CUPS?
CUPS is a printing system originally developed by Michael Sweet for the Unix-like operating system owned by the GNU General Public License (GPL) and now owned by Apple Inc. It uses an internet printing protocol (IPP) that allows it to run locally via the internet.
Like all systems that run on the Internet, CUPS has client and server components. If the printer is connected to a computer, you need to use a CUPS server, but only clients are required when using shared computers. In order for your printer to work on Windows machines, you can install Samba.
Install Raspbian
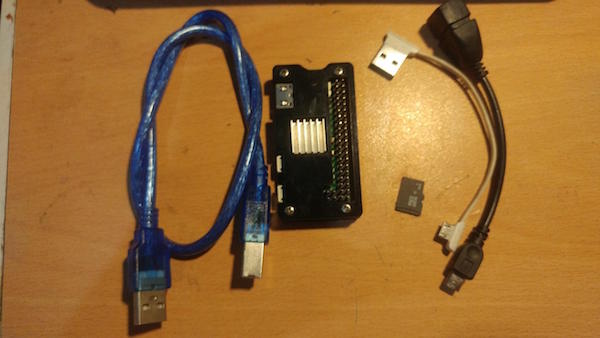
- Raspberry Pi Zero W (or any Raspberry Pi that can access the network)
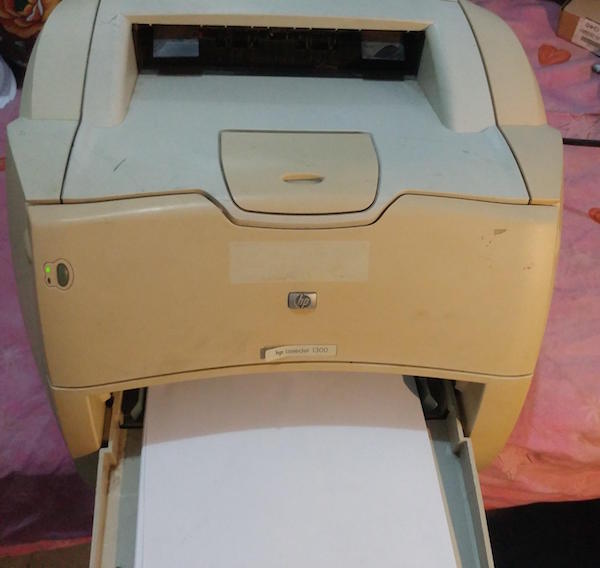
- A printer compatible with CUPS print server software (check Open Printing).
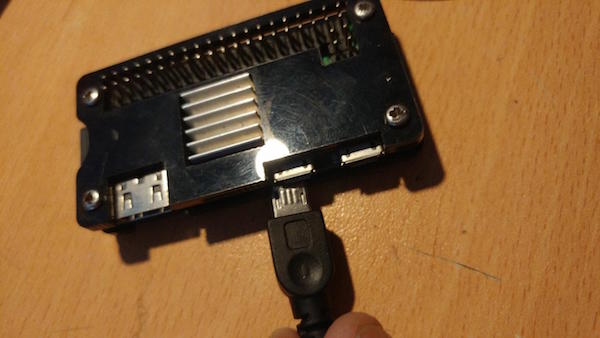
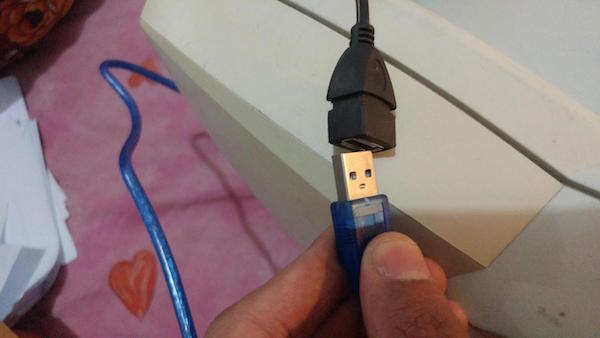
- USB-to-OTG Converter
- Raspbian-installed micro SD Card (8GB)
Setting up the Project
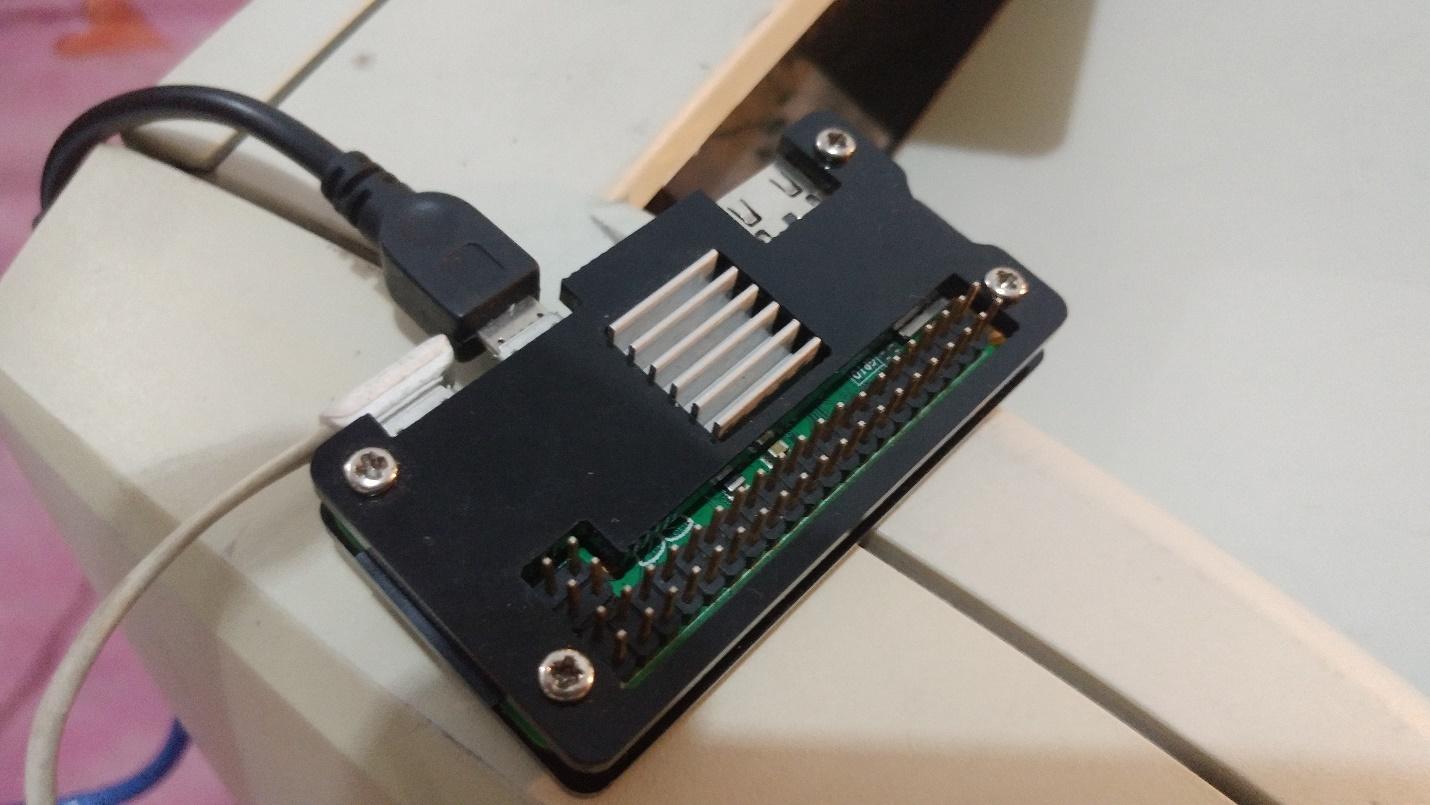
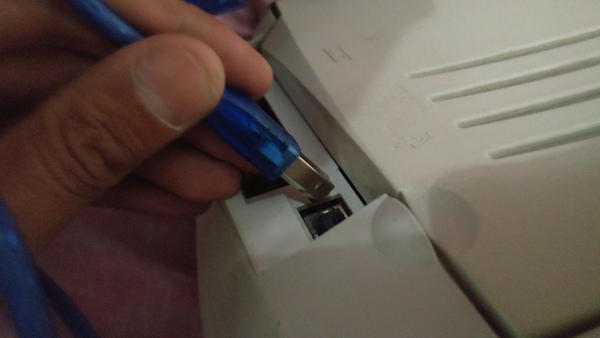
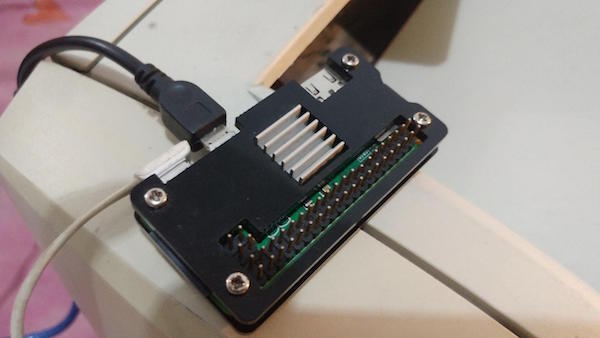
Plug the USB printer to Raspberry Pi micro USB OTG port.
How to Use Your Wireless Printer
Step 1 - Check Your Connection and Perform Updates
Make sure you have an internet connection and update the package on your Raspberry Pi.
sudo apt-get update
sudo apt-get upgrade
After the upgrade and update, install the required packages for setting up the CUPS printing system.
sudo apt-get install avahi-daemon avahi-discover libnss-mdns cups cups-pdf python-cups
Step 2 - Enter Username in CUPS
Now enter your username to the CUPS server on the Raspberry Pi SSH Terminal.
sudo usermod -aG lpadmin pi
Step 3 - Check Installation
Check to see if CUPS and Avahi are properly installed.
sudo /etc/init.d/cups start
sudo /etc/init.d/avahi-daemon start
Step 4 - Configure CUPS
After everything is okay, we will set the port to listen to. Open the cupsd.conf file and add a hashtag at the beginning of the line that reads "Listen localhost: 631" to comment it out. Add a new line to read "Port 631". Another necessary change is to add the * directive before <Location /> after annotating "# restrict access to the server" to make CUPS work with any hostname. Finally, add the "Allow, Deny, and Allow @ Local" lines after each comment containing "Restricted Access." Save the new profile and restart the CUP.
sudo nano /etc/cups/cupsd.conf
sudo /etc/init.d/cups Restart
Enable printer sharing
Use the ifconfig command to find your Pi's IP address and use it to get into the CUPS web interface. Ignore any warnings, go to the Admin tab, and enable printer sharing.
Step 5 - Setup a Local Printer
You can easily set up a local printer by connecting a local printer to the USB port and using the CUPS web interface. Fill in the required information and enable printer sharing. The web interface then asks for the driver and settings. You can get this info from the printed test page.
Step 6 - Install Samba
Install Samba using apt-get and check the Samba configuration file in the / etc / Samba directory. It must contain the following lines and configurations. Since the document is quite long, you can use nano ctrl + w to search for rows.
#CUPS printing. See also cupsaddsmb (8) man page
# Cupsys-client package.
Print = cup
printcap name = cups
[printer]
Comment = all printers
browseable = no
path = / var / spool / Samba
Print = yes
Ok = yes
Read only = Yes
Create mask = 0700
# The Windows client looks for this share name as a downloadable source
# Printer driver
[Print $]
comment = printer driver
path = / usr / share / cups / drivers
browseable = yes
Read only = Yes
Alright, no guests
Restart and start the test print.
Check out the video below to see this project in action!
