In this project, learn how to make your own Android tablet using a Raspberry Pi 3, a 7-inch display, and a camera&
As you might know, Raspberry Pi is available for use in many different platforms over many years, but installing Android OS on the Raspberry Pi presents a challenge.
In this article, I will show you how to make your own Android tablet by using a Raspberry Pi, a raspi official camera module, and a 7-inch touchscreen display. I will also explain how to use a Raspberry Pi CSI camera with this Android OS.
To set up the Android OS with Raspberry Pi, we will use an Android distribution image by the Emteria team. This Android distribution is basically designed for industrial applications but it is the perfect solution for running the compatible Android OS in Raspberry Pi.
The free version of this OS has a watermark on the screen, but because this is the only Android OS distribution that fully supports the Raspberry Pi and is being actively developed, we will use it regardless.
What is Emteria.OS?
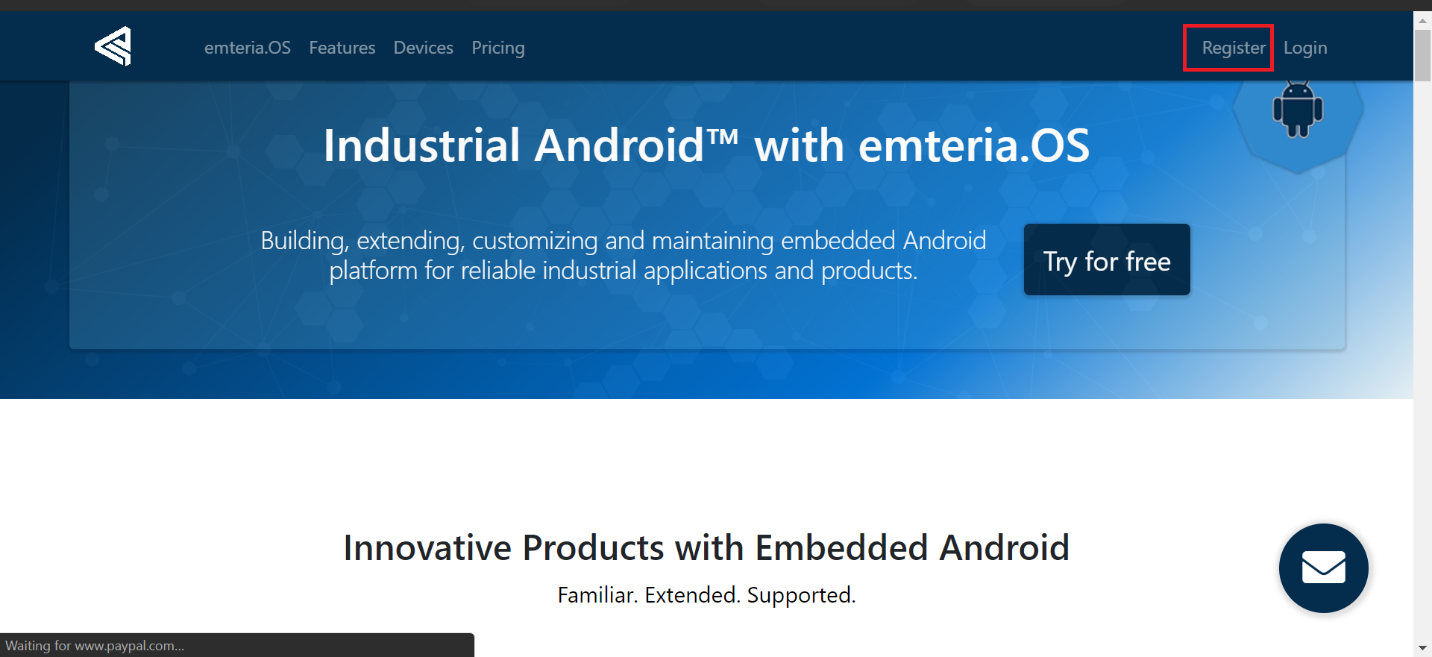
Emteria.OS is a full build of Android OS available for Raspberry Pi. This OS is aimed more towards industry and offers paid versions of Android builds. However, it is free for individuals. You will receive notifications from the OS saying that this is an evaluation license, but restarting the OS suspends that notification for some time.
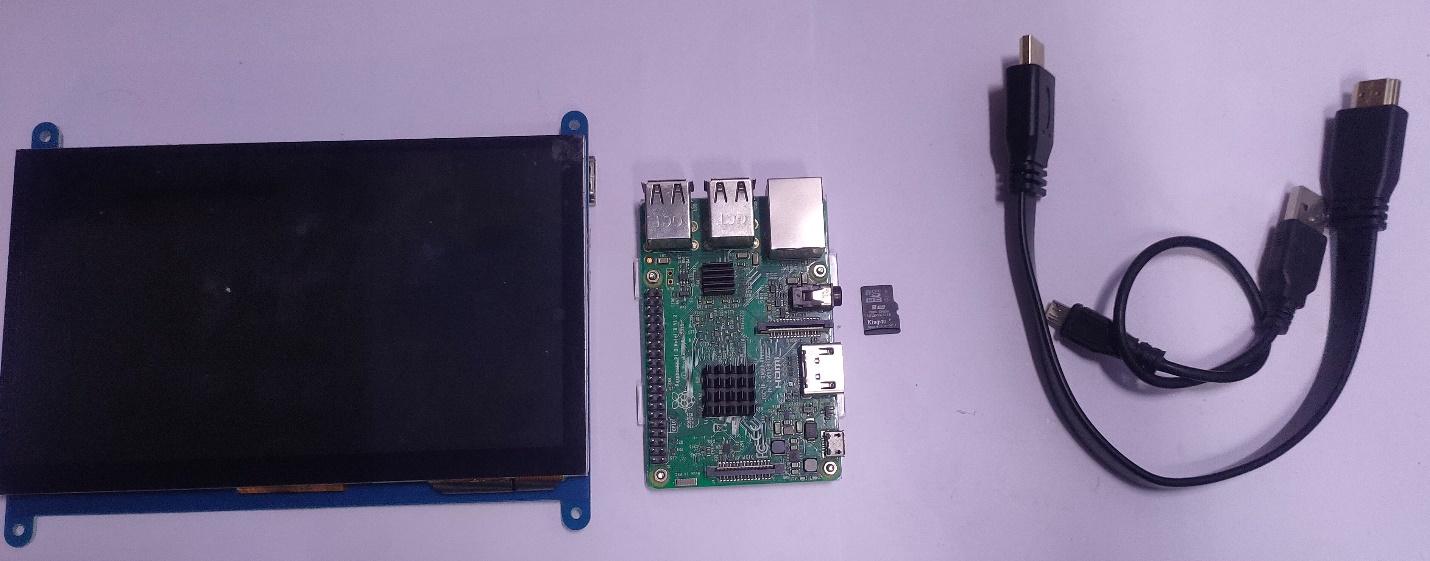
Hardware Requirements
- Raspberry Pi 3 Model B or Raspberry Pi 3 Model B+
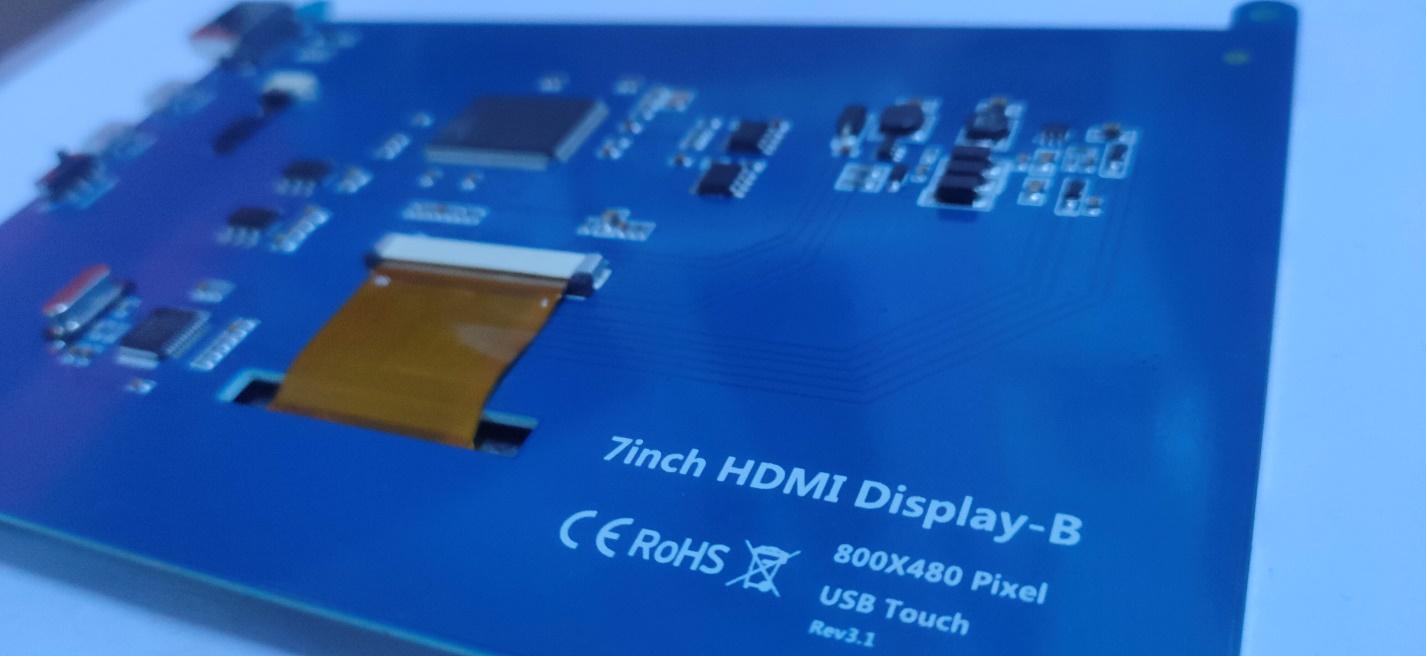
- 7-inch HDMI-based touchscreen LCD
- CSI ribbon cable
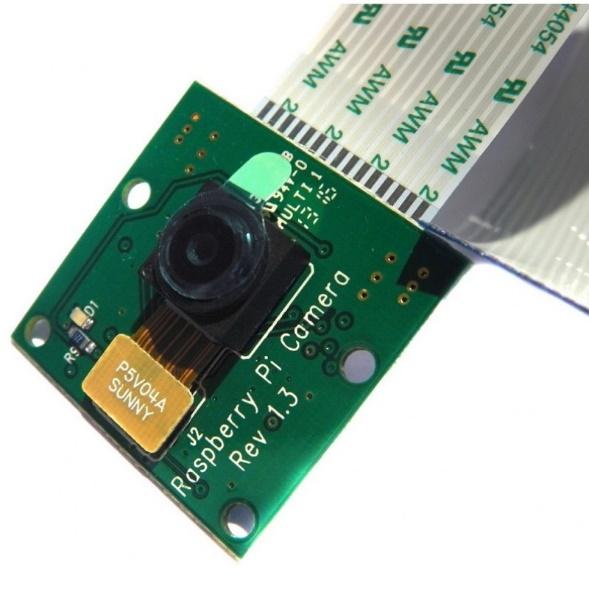
- Raspberry Pi official camera module
- 8GM (minimum) microSD card
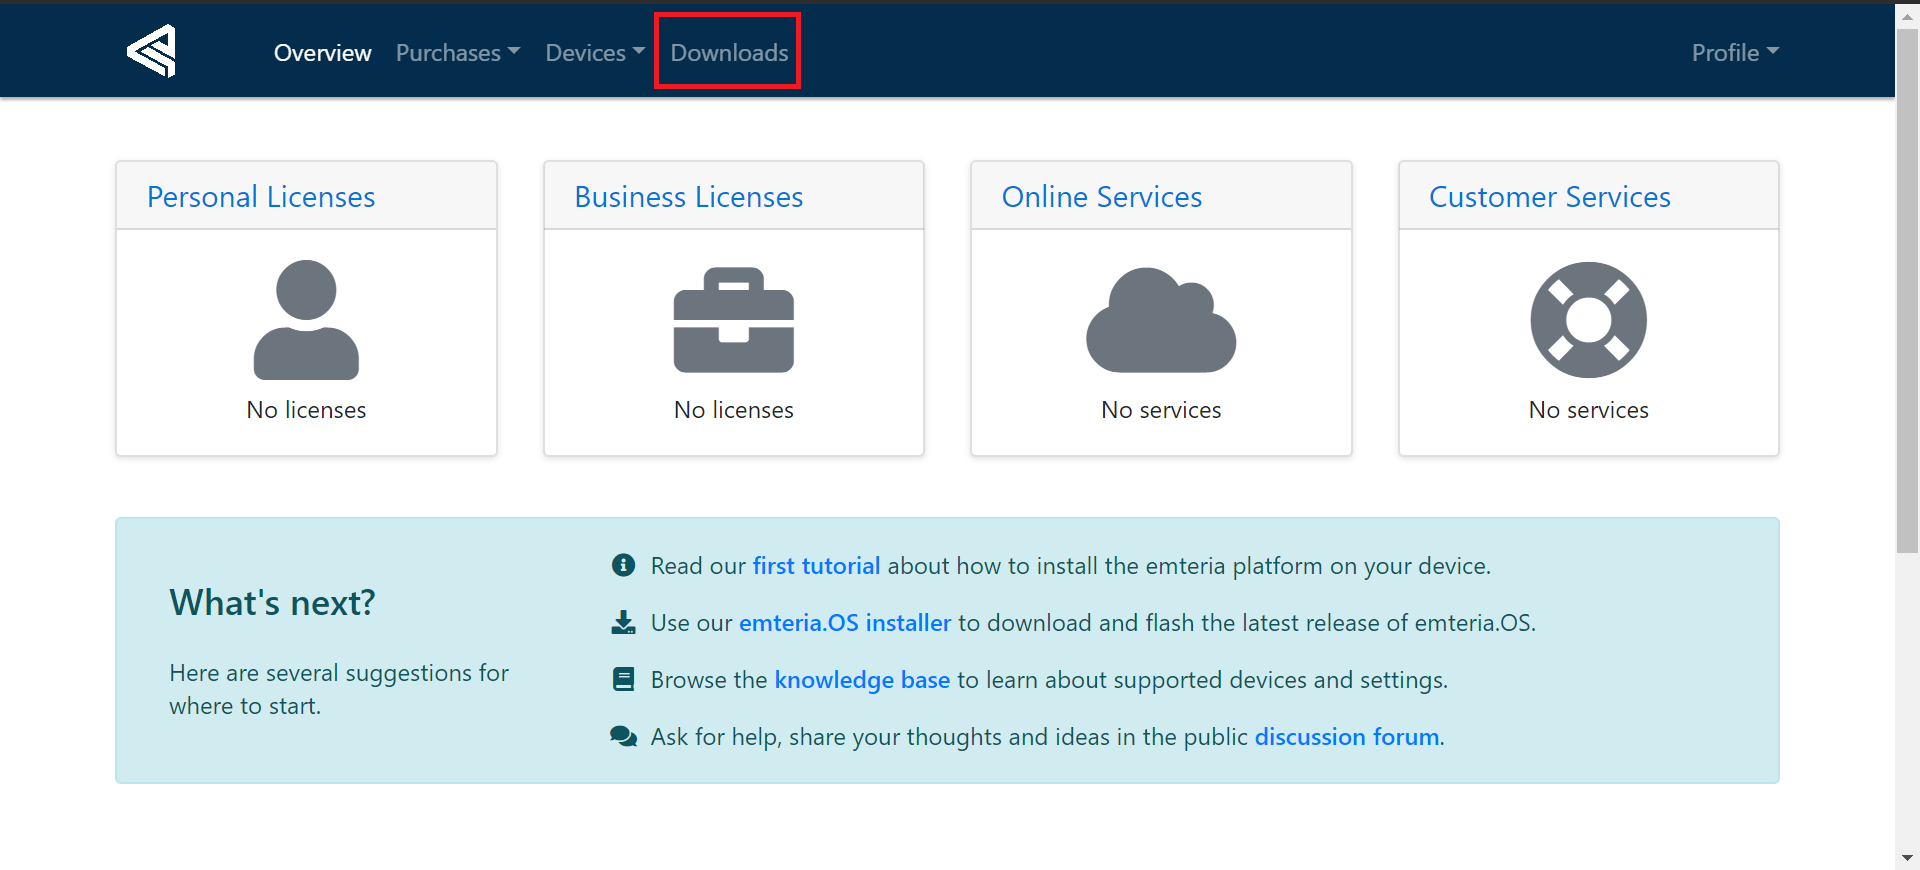
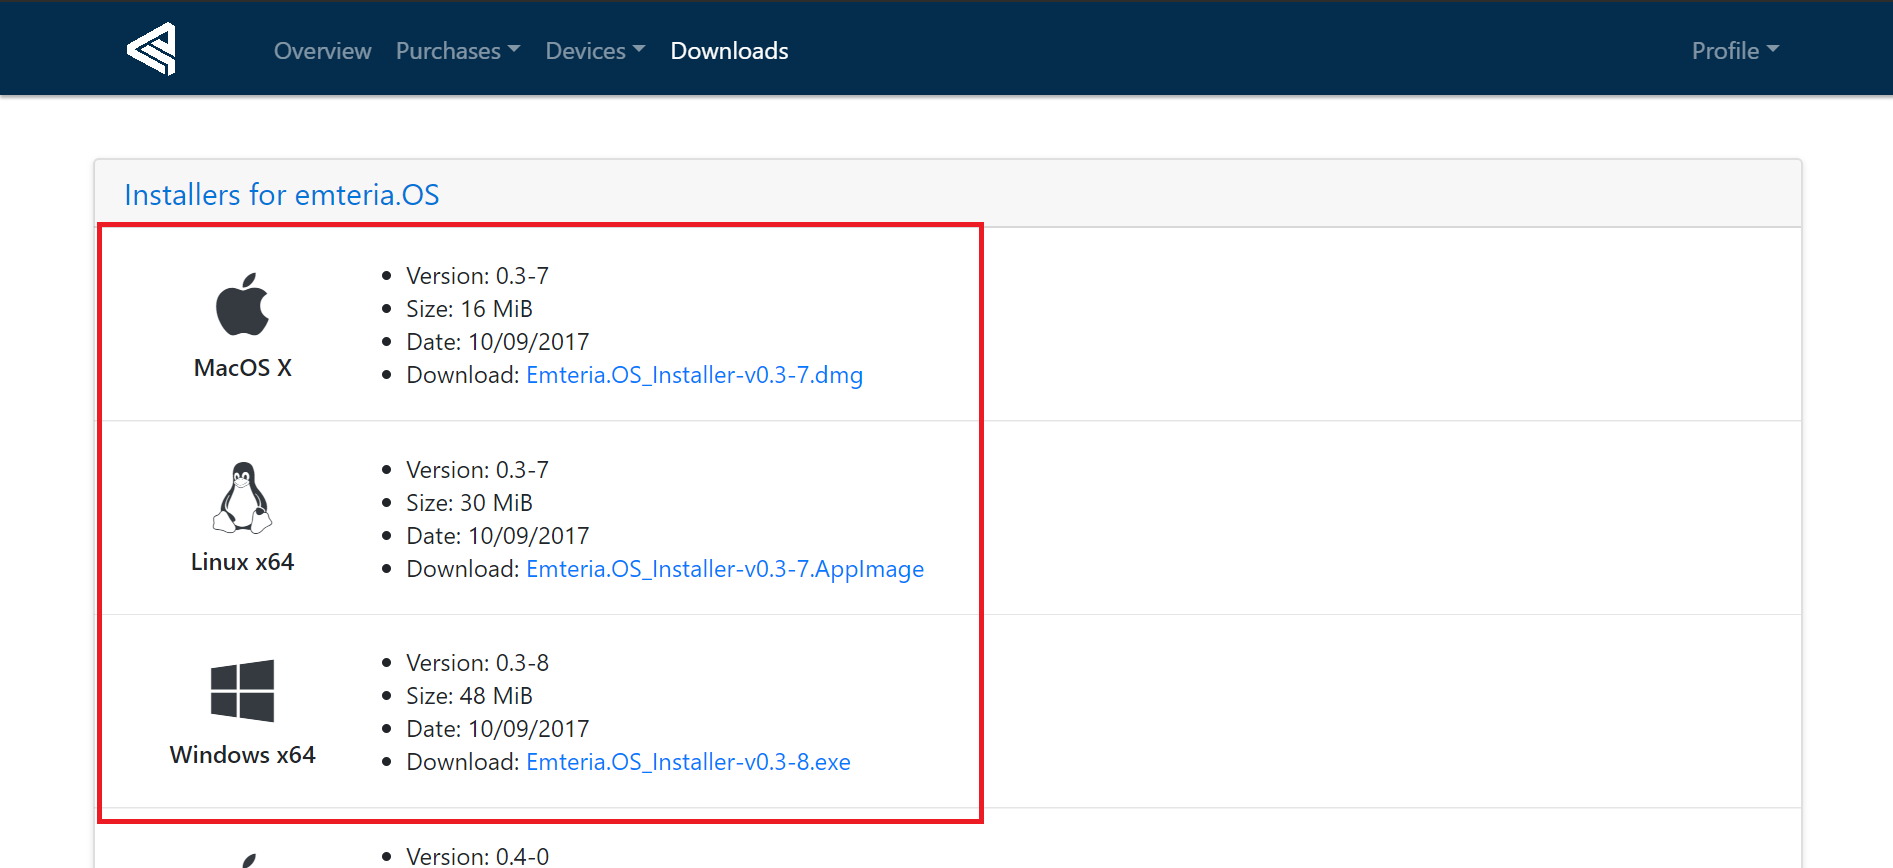
After signing up, log into your account and click the Downloads section.
After clicking Download, you will see the Emteria.OS installer for different operating systems. Select your computer’s OS and download the Emteria.OS installer.
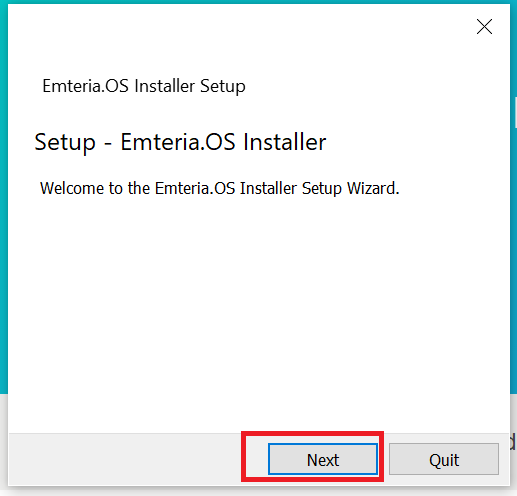
After downloading the file, open the installer and install the software onto your computer.
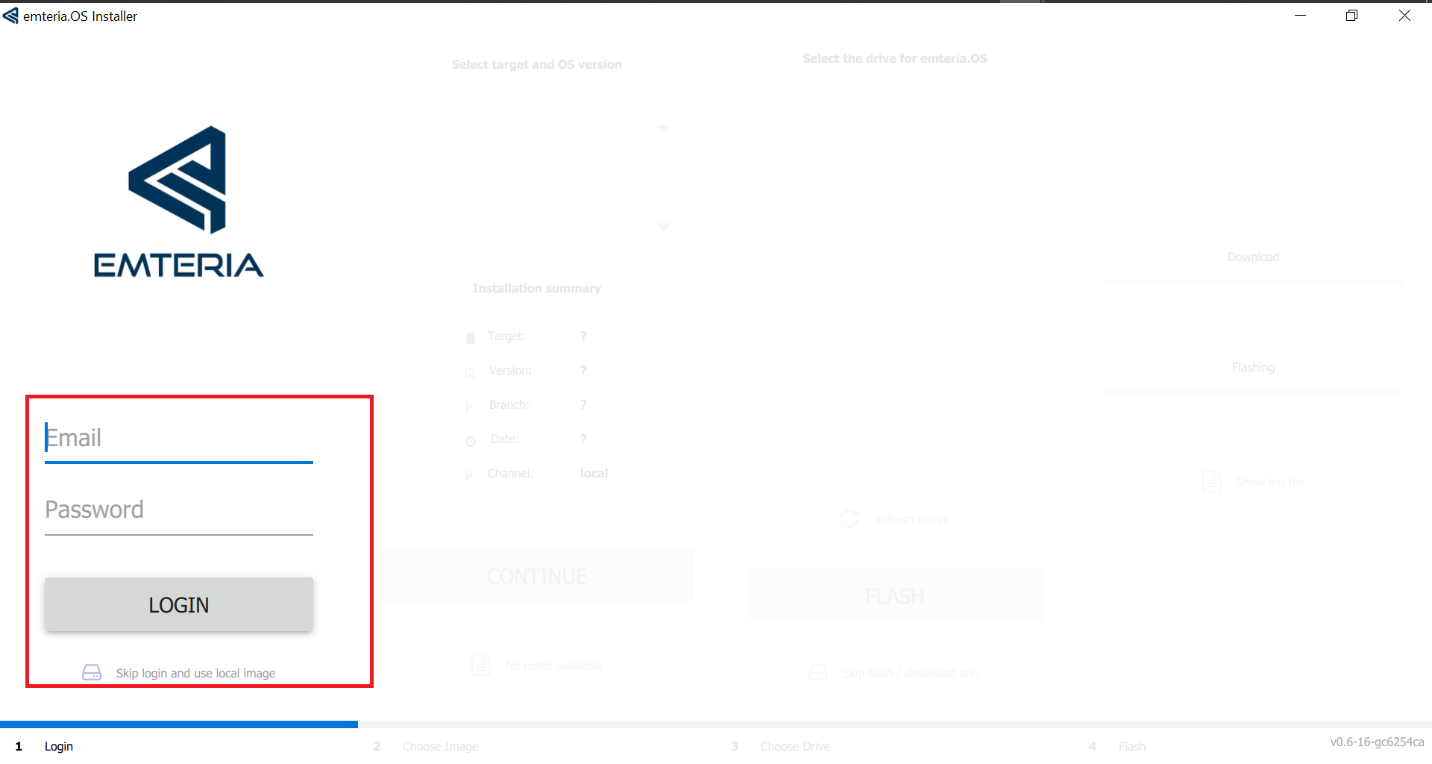
Once the installation is complete, open Emteria.OS and login with your Emteria account credentials. Enter your username and password and click Login.
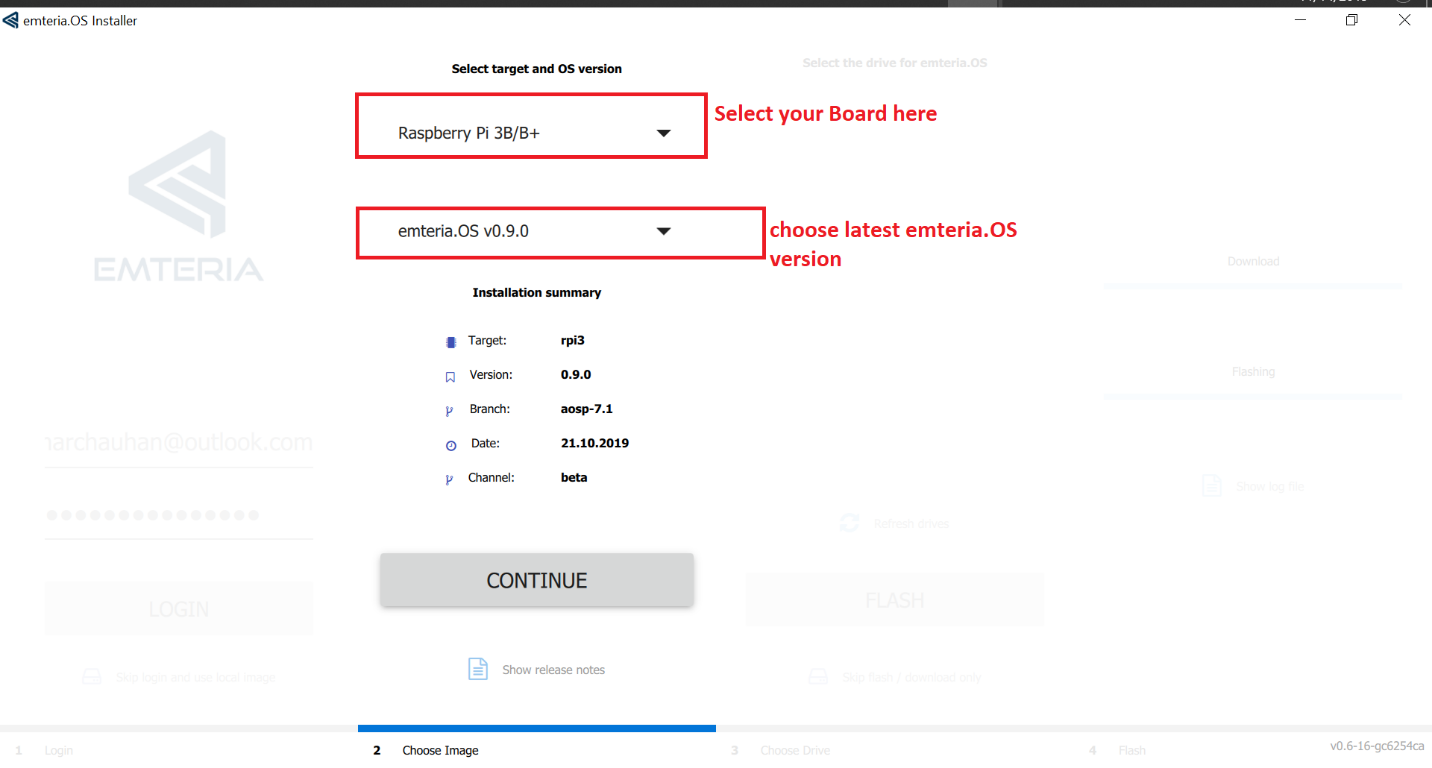
In the next window, select your Raspberry Pi 3B/3B+ as your device for installing the Emteria.OS. Then select the latest version of Emteria.OS and click Continue.
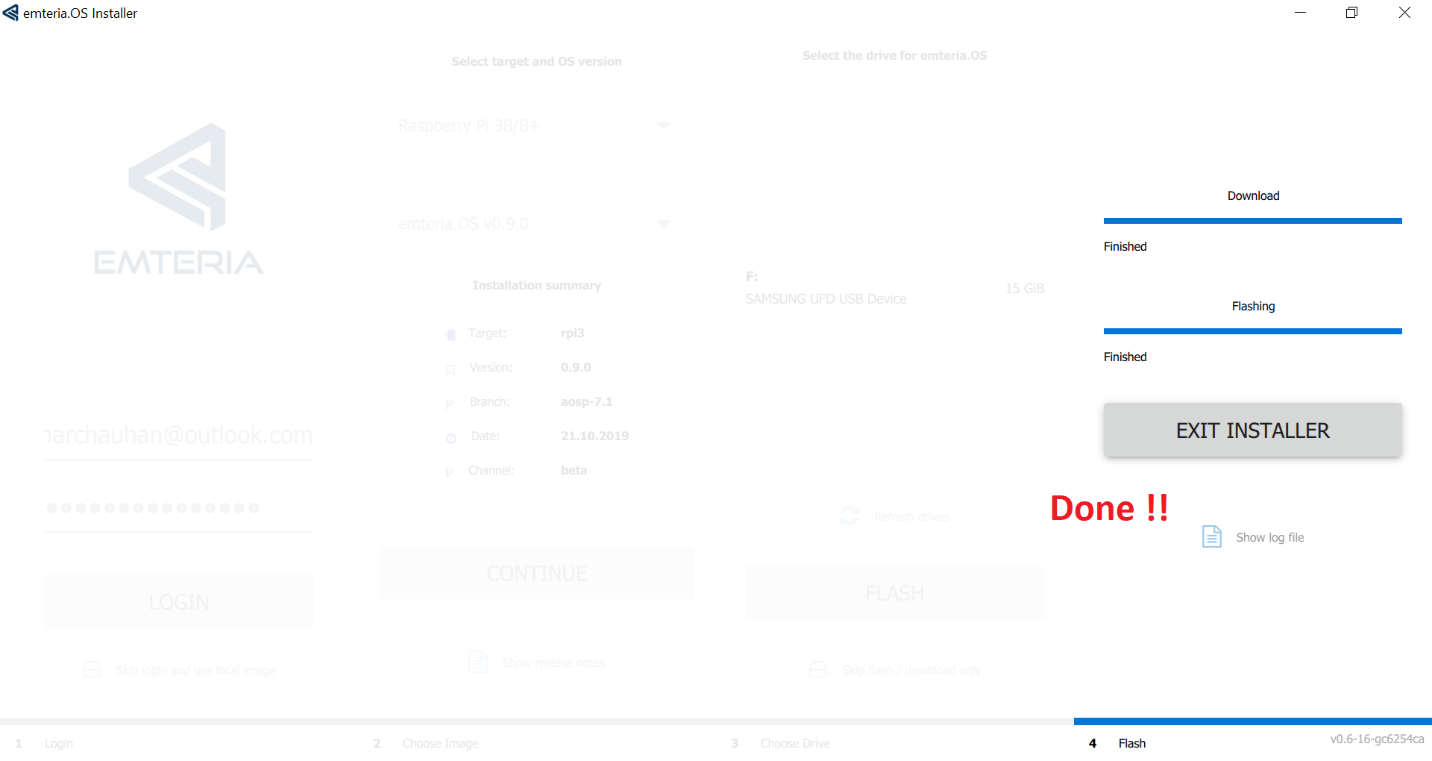
Click on the Flash button and wait while the installer downloads the Android OS file on your memory card.
Once the image successfully installs onto your MicroSD card, remove it from your computer and insert it into your Raspberry Pi.
How to Load Android OS onto Raspberry Pi
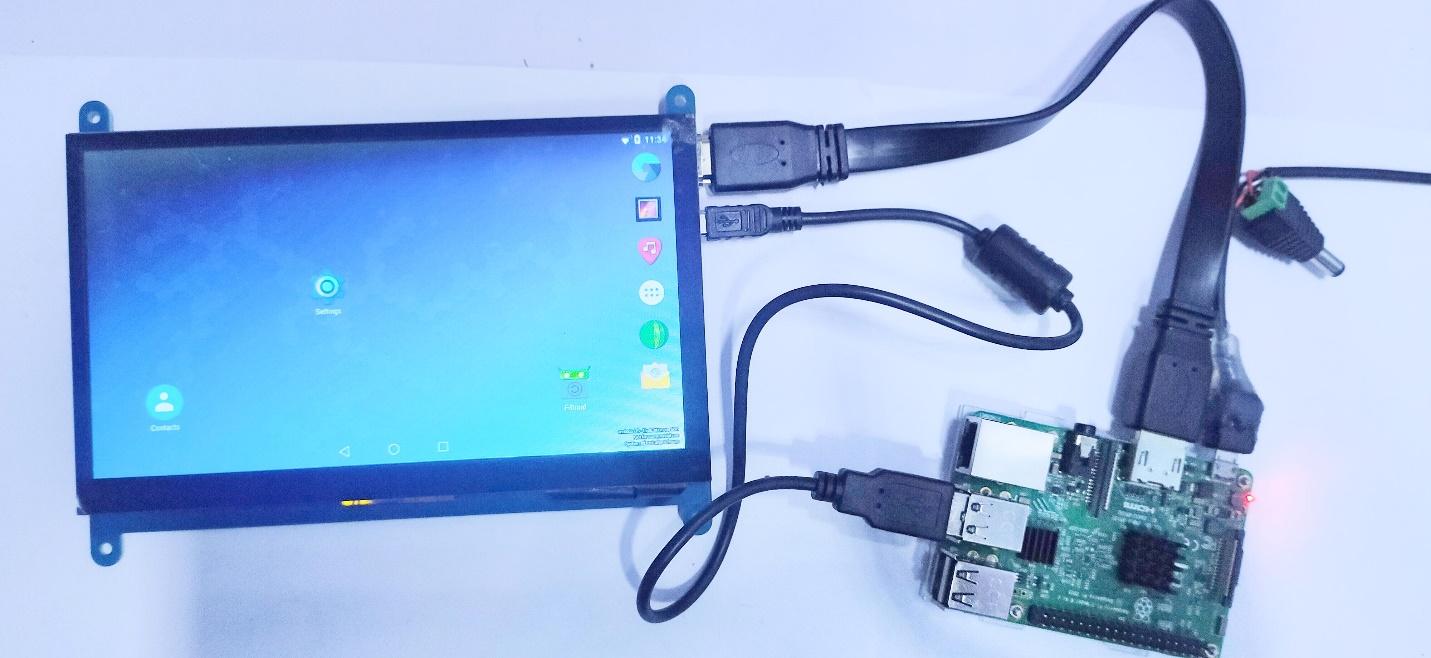
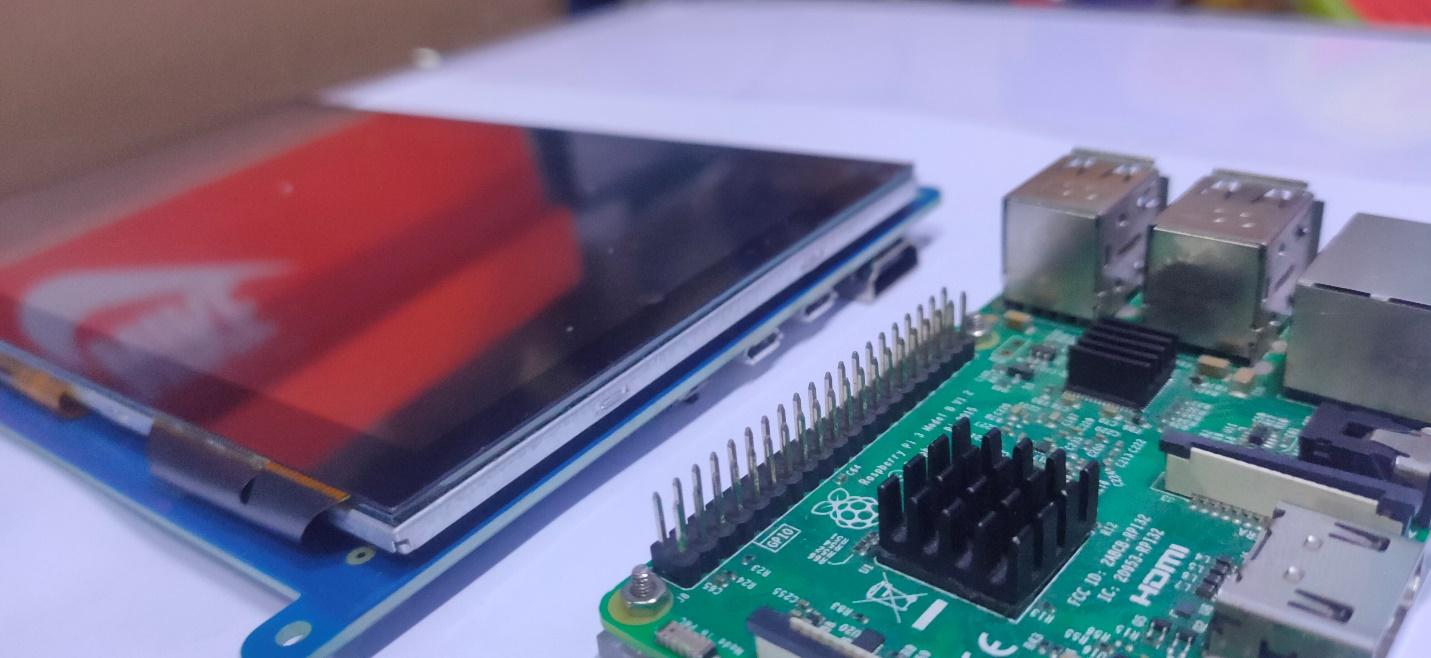
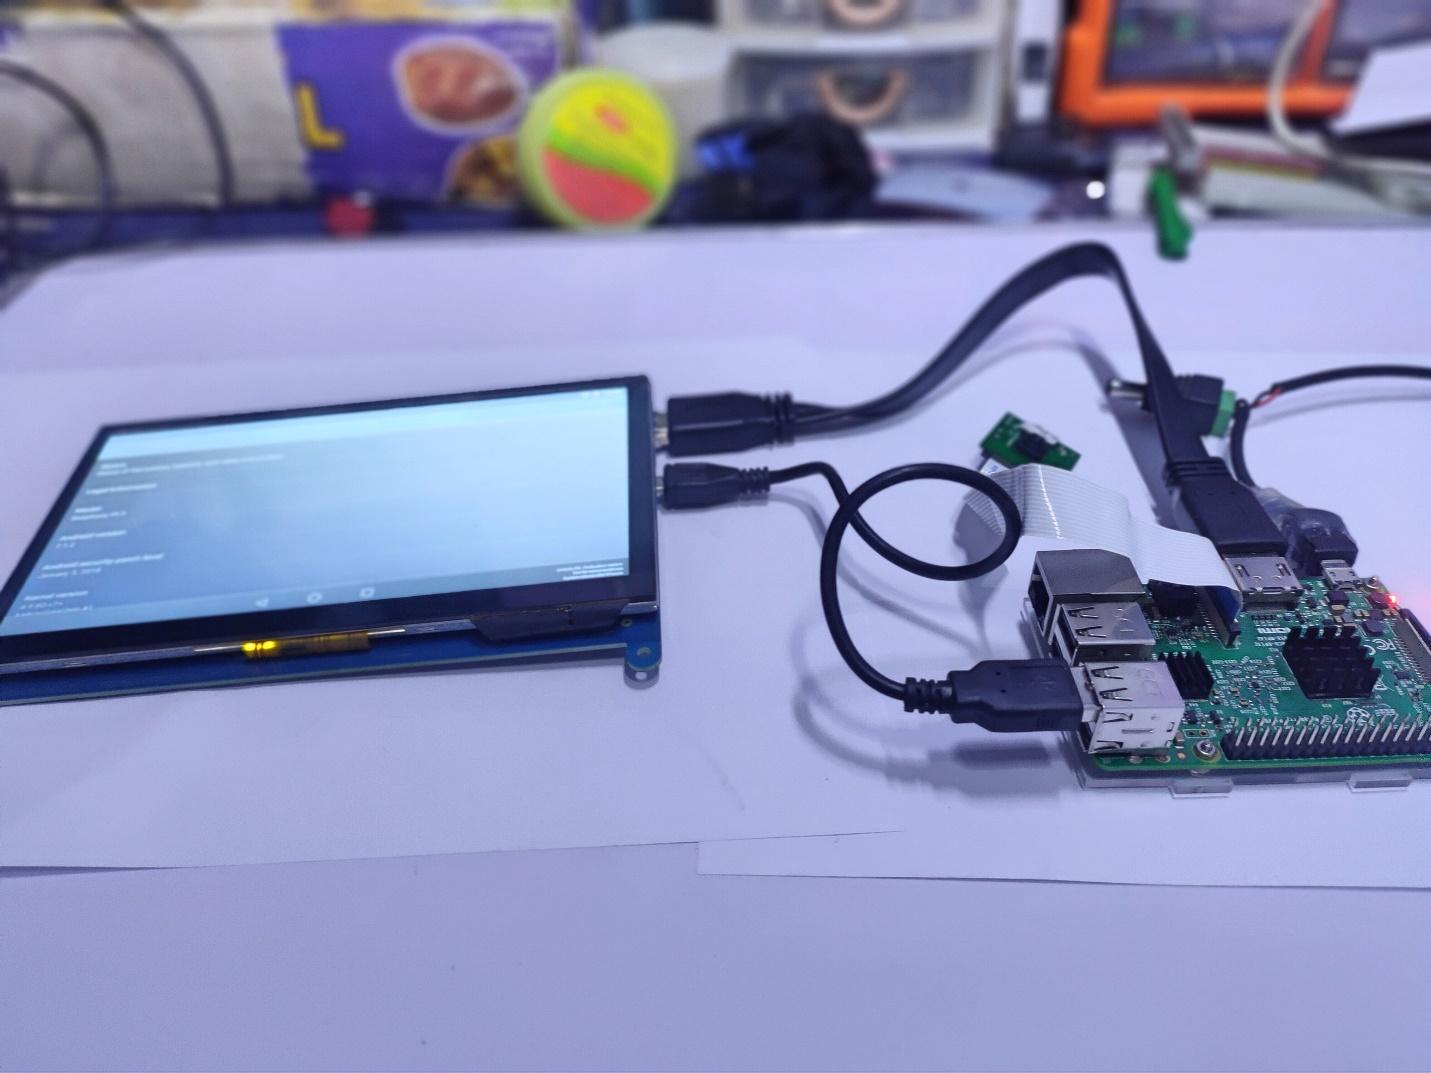
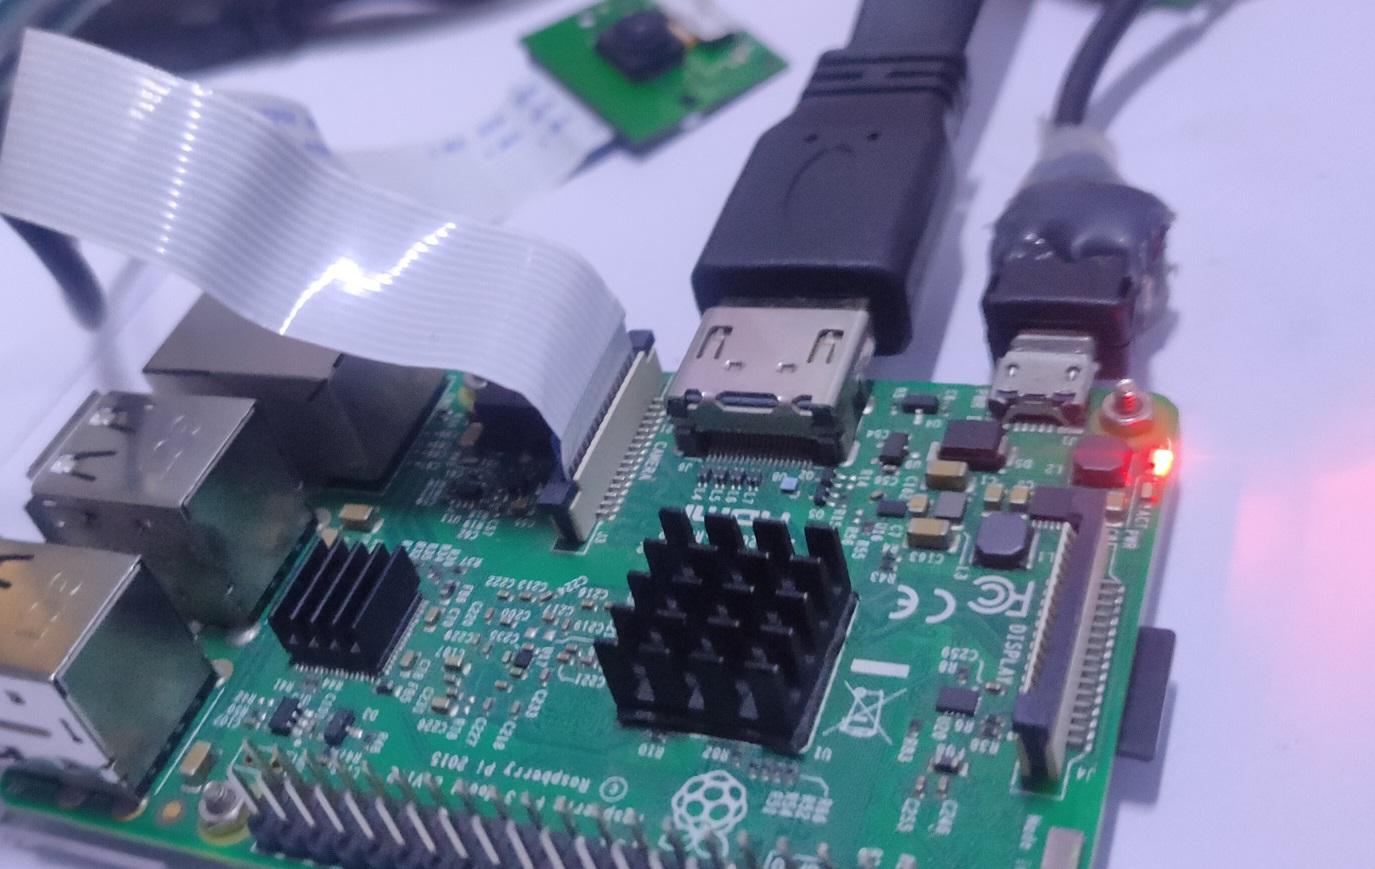
Attach a keyboard, mouse, USB touchscreen cable from the touch LCD, and the HDMI cable to your Raspberry Pi. Connect the official Raspberry Pi camera module to the CSI Port. To lock the cable in place, open the clip, put the cable with the metal leads through it, and lock the connector back down.
Now power the Raspberry Pi with a 5V USB charger and boot the Android OS. On the very first boot, Raspberry Pi will take some time to load the home screen.
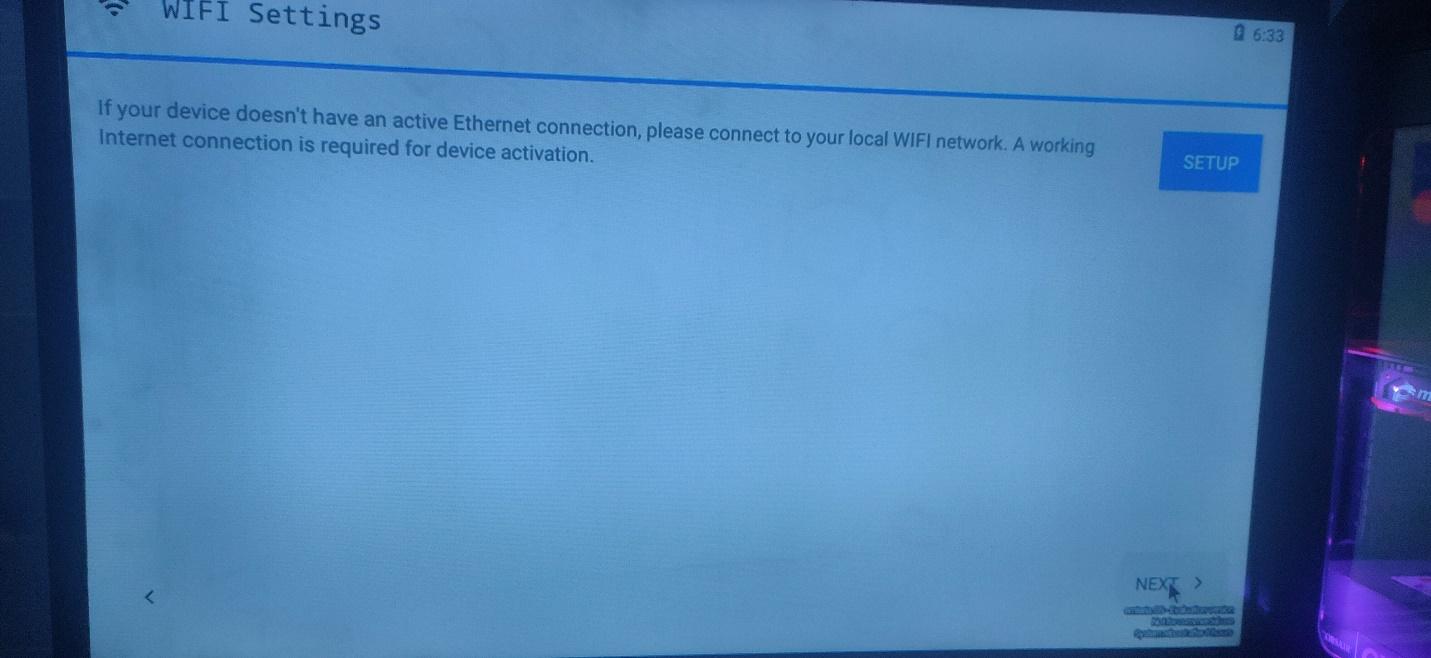
After booting the Android OS, you will see settings to select a language, time zone, and Wi-Fi. Follow the steps to enter the required information.
Android Emteria.OS is now installed on your Raspberry Pi! You can use the built-in camera app for taking photos from the CSI camera module.