Learn how to use the Pulse sensor with a Nano and Raspberry Pi to plot your heartbeats!
In this article, we will create a portable pulse sensor system using a Raspberry Pi, an Arduino Nano, and a portable LCD.
Reliable optical pulse sensors have been coming up for quite some time now and a lot of people have been using them to build creative projects that link a heartbeat to technical installations. We can get the pulse sensor used in this project for around $2USD. We will hook the sensor up to the Arduino and then, through the Raspberry Pi, will plot out the heart rate on the LCD screen.
Note: These types of sensors should NOT be used in the form of a reliable medical tool for diagnosis. But for DIY projects and experiments, I have found it to be very accurate in its readings.
How Does PulseSensor Work?
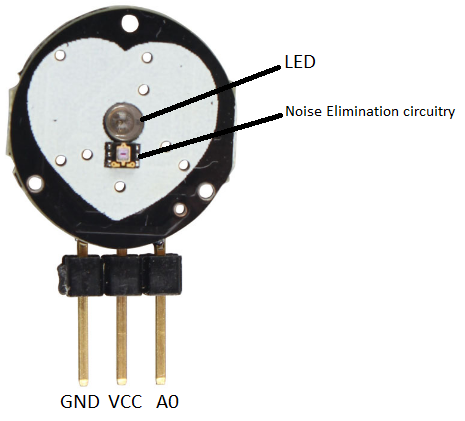
As can be seen in the image above, there are only three wires in this sensor.
The + is Vcc, - is GND, and S is the signal. This is not like a digital sensor akin to the temperature sensor DHT22/DHT11. Instead, this sensor gives output voltages from 0V to VDD directly correlated to your heartbeat.
The PulseSensor has three wires, an LED, and noise elimination circuitry.
The sensor works by emitting an infrared signal in the form of an LED light from an IR-diode onto your body or skin.
You can put this sensor on your skin (preferably on your fingertips or earlobes) and whenever your heart pumps, there is a small increase in blood flow/pressure. This affects the reflected light from the skin. The reflected light is higher in between heartbeats and lower during a heartbeat, which has to do with the volume of the capillaries.
Required Hardware
- Arduino Nano
- Raspberry Pi
- A mini HDMI display
- Pulse sensor
- Jumper wires
- Breadboard
Setting Up the Arduino Nano
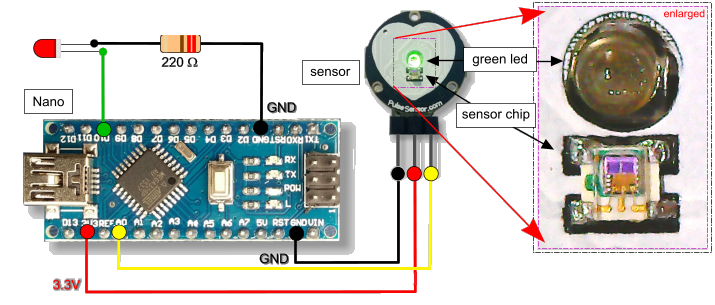
Download Arduino IDE and install it on your computer. Now connect the pulse sensor with Arduino as seen in the image below.
Connecting the PulseSensor to the Arduino Nano.
Connect:
- PulseSensor GND to Arduino GND
- PulseSensor VCC to 5 Volt of Arduino
- PulseSensor signal to A0 of Arduino
After that, connect an LED to pin 10 and GND of the Arduino. This LED will blink with your heartbeat.
Copy-paste the Pulse Sensor Amped code into Arduino IDE. Credit for this code goes to Joel Murphy and Yury Gitman.
After uploading the code, connect your Arduino Nano to your Raspberry Pi over the USB Port.
How to Setup the Raspberry Pi
If you haven't already, install Raspbian OS on your Raspberry Pi.
After installing Raspbian, boot it up and perform the following commands in your terminal to get the latest version of Raspbian:
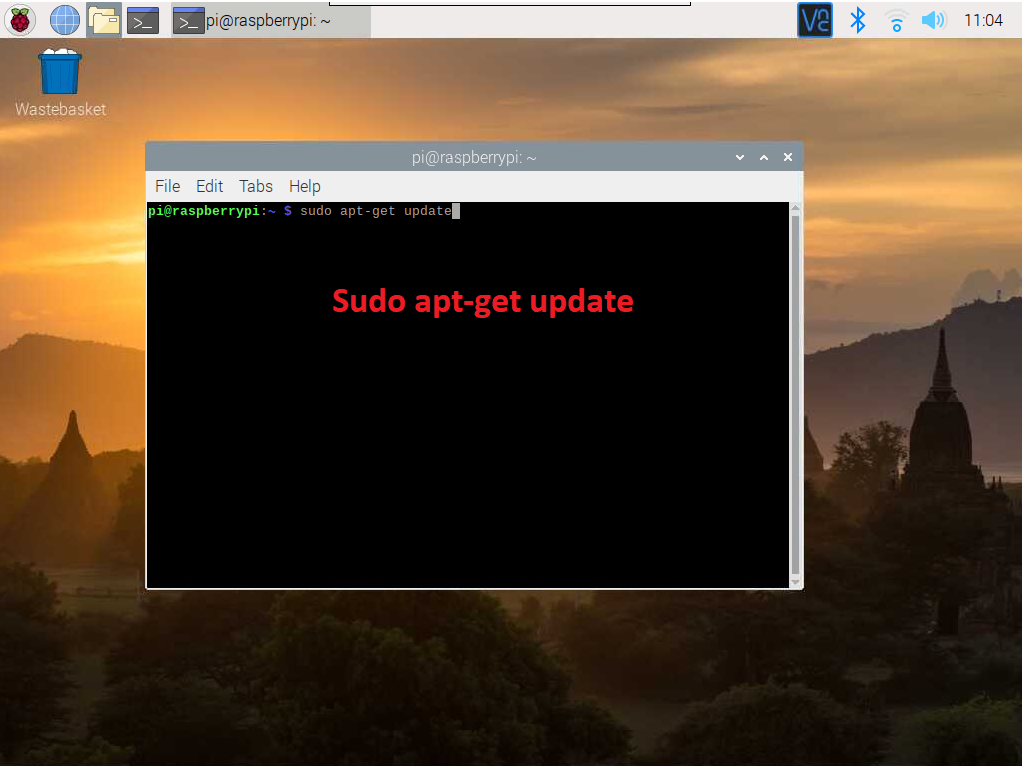
$sudo apt get update
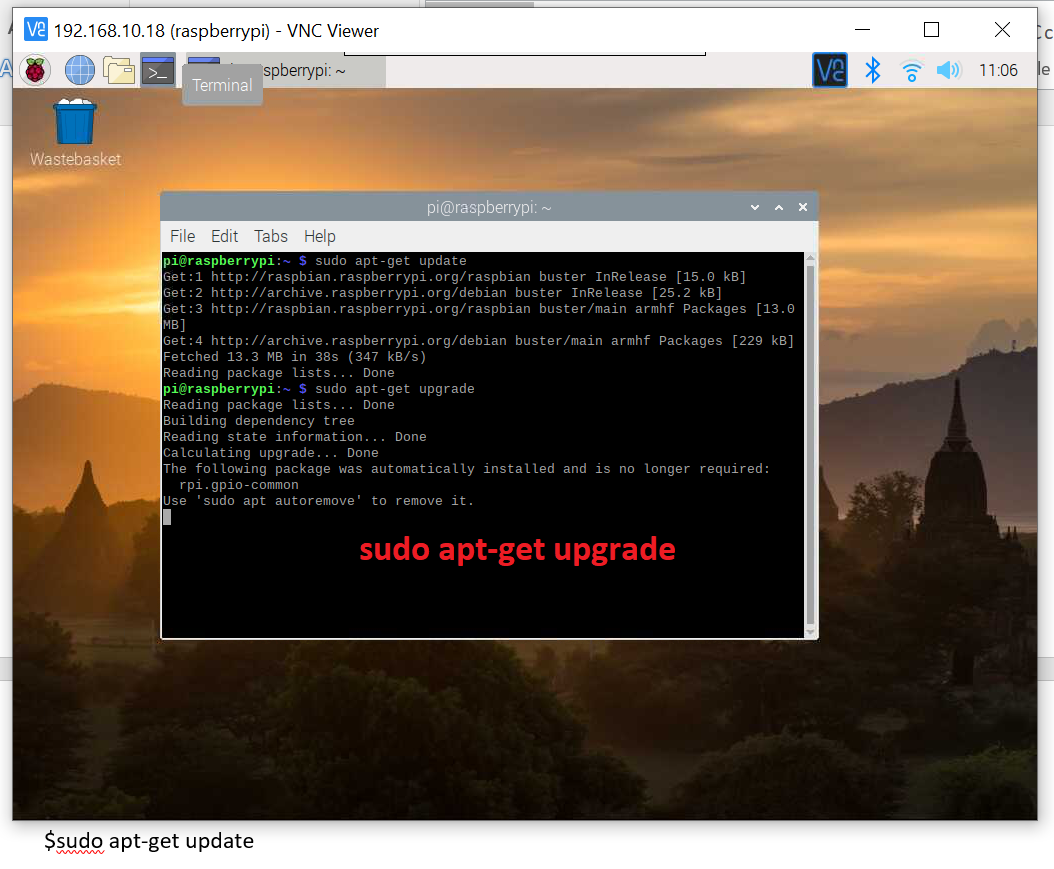
$sudo apt get upgrade
If you have a portable LCD, connect it to your Pi using the HDMI port. Otherwise, you can view the plot on your default screen.
Install Processing for the Graph Plot
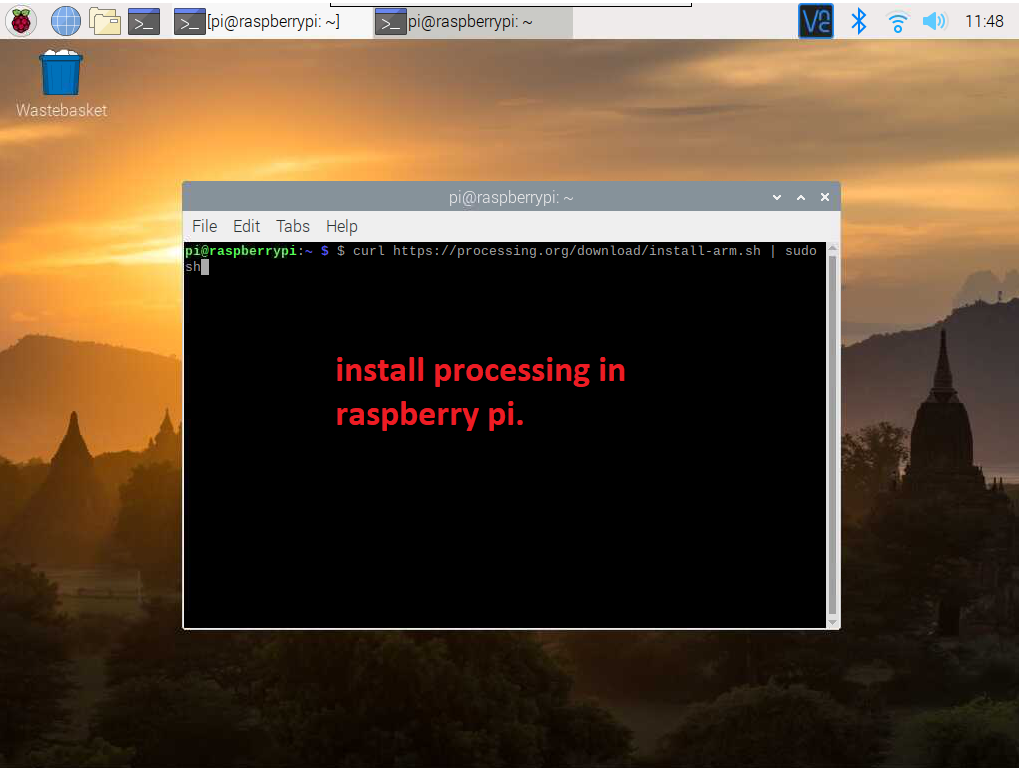
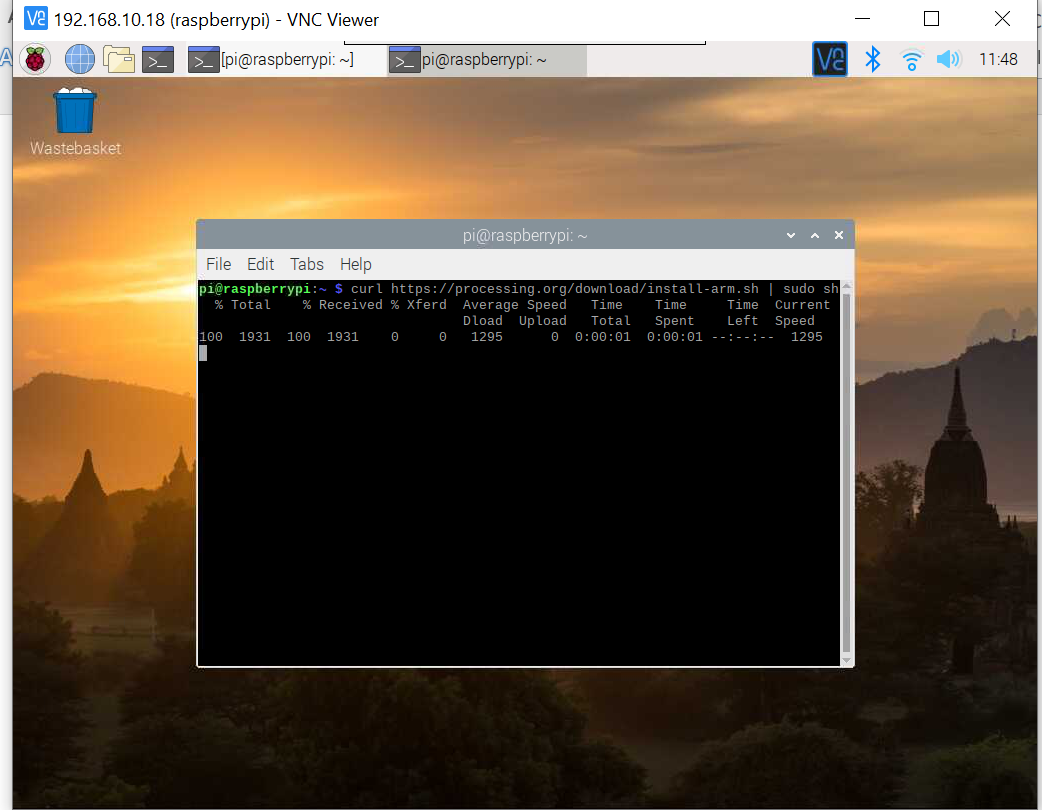
You can install Processing on your Raspberry Pi by running the following command in a terminal:
$ curl https://processing.org/download/install-arm.sh | sudo sh
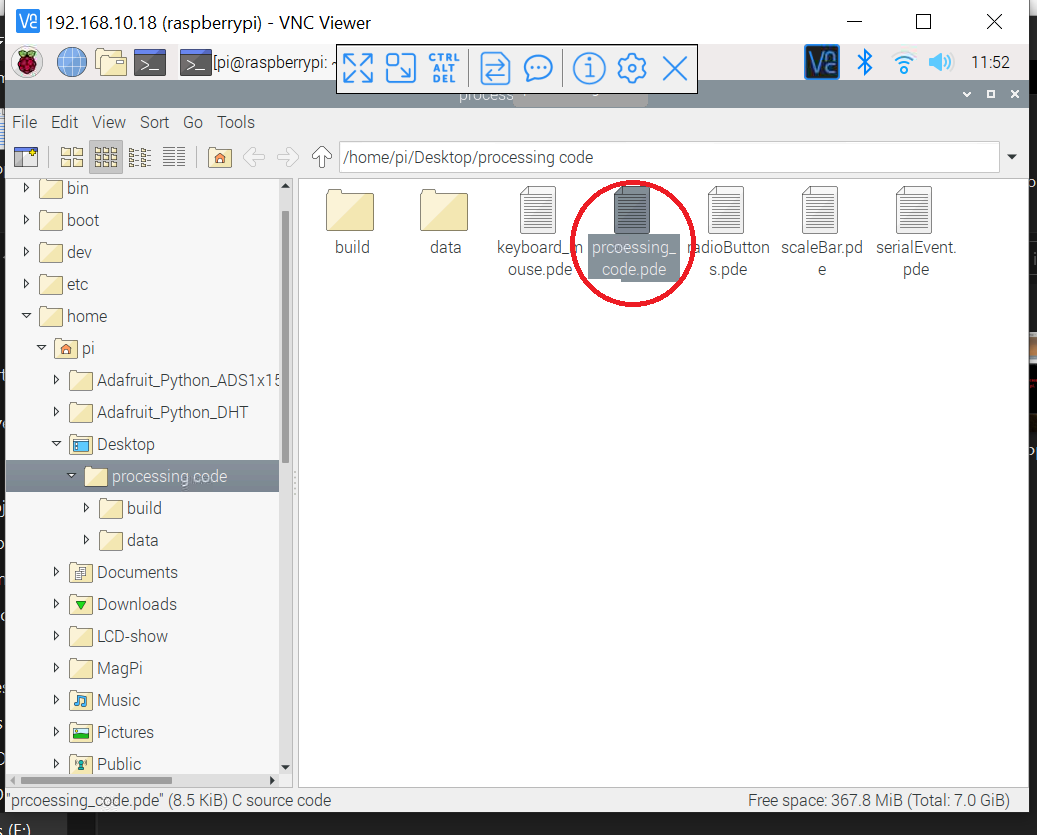
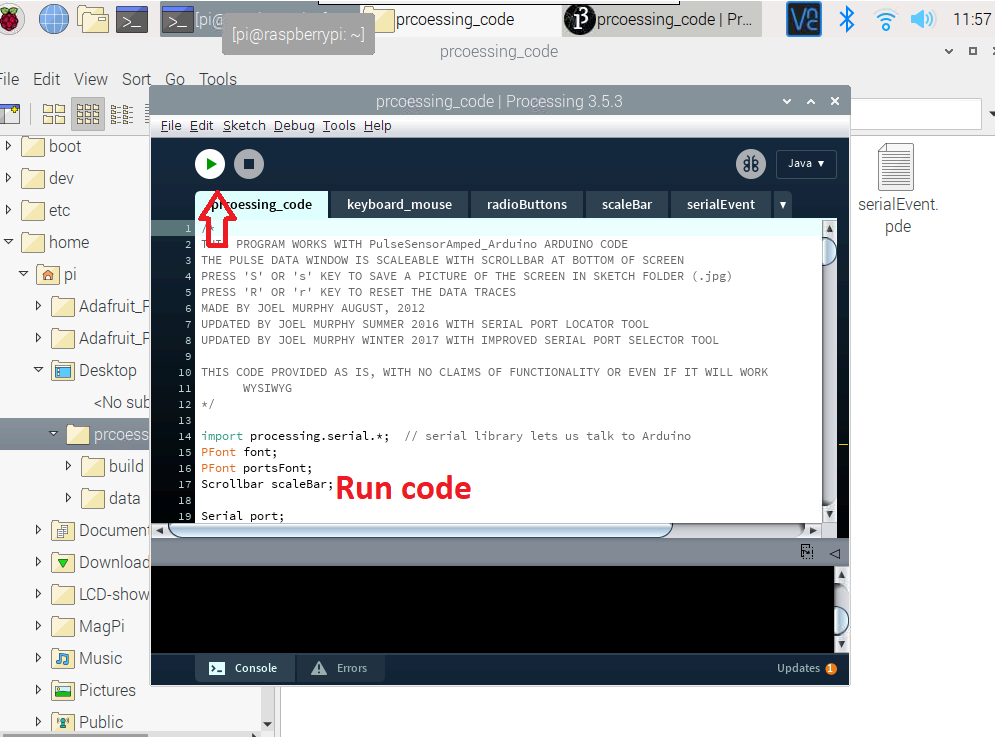
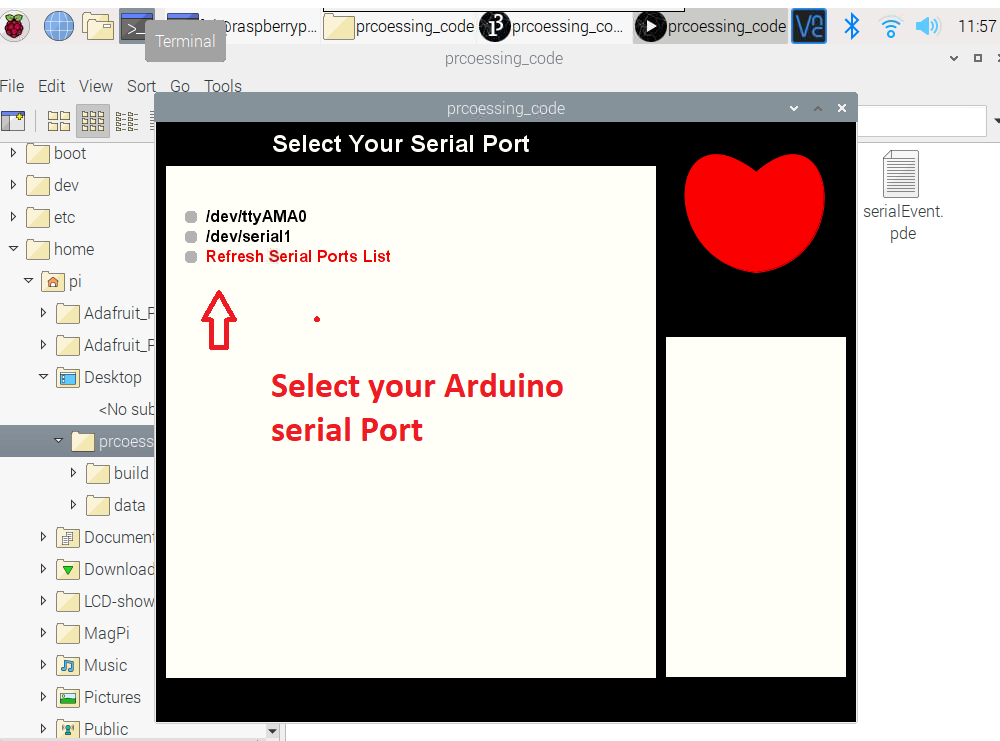
After installing Processing, download the Processing code for Pulse Sensor. Now open the file processing_code.pde from Raspberry Pi and select the serial USB Port of your Arduino as shown in the images below.
Open the Pulse sensor processing code.
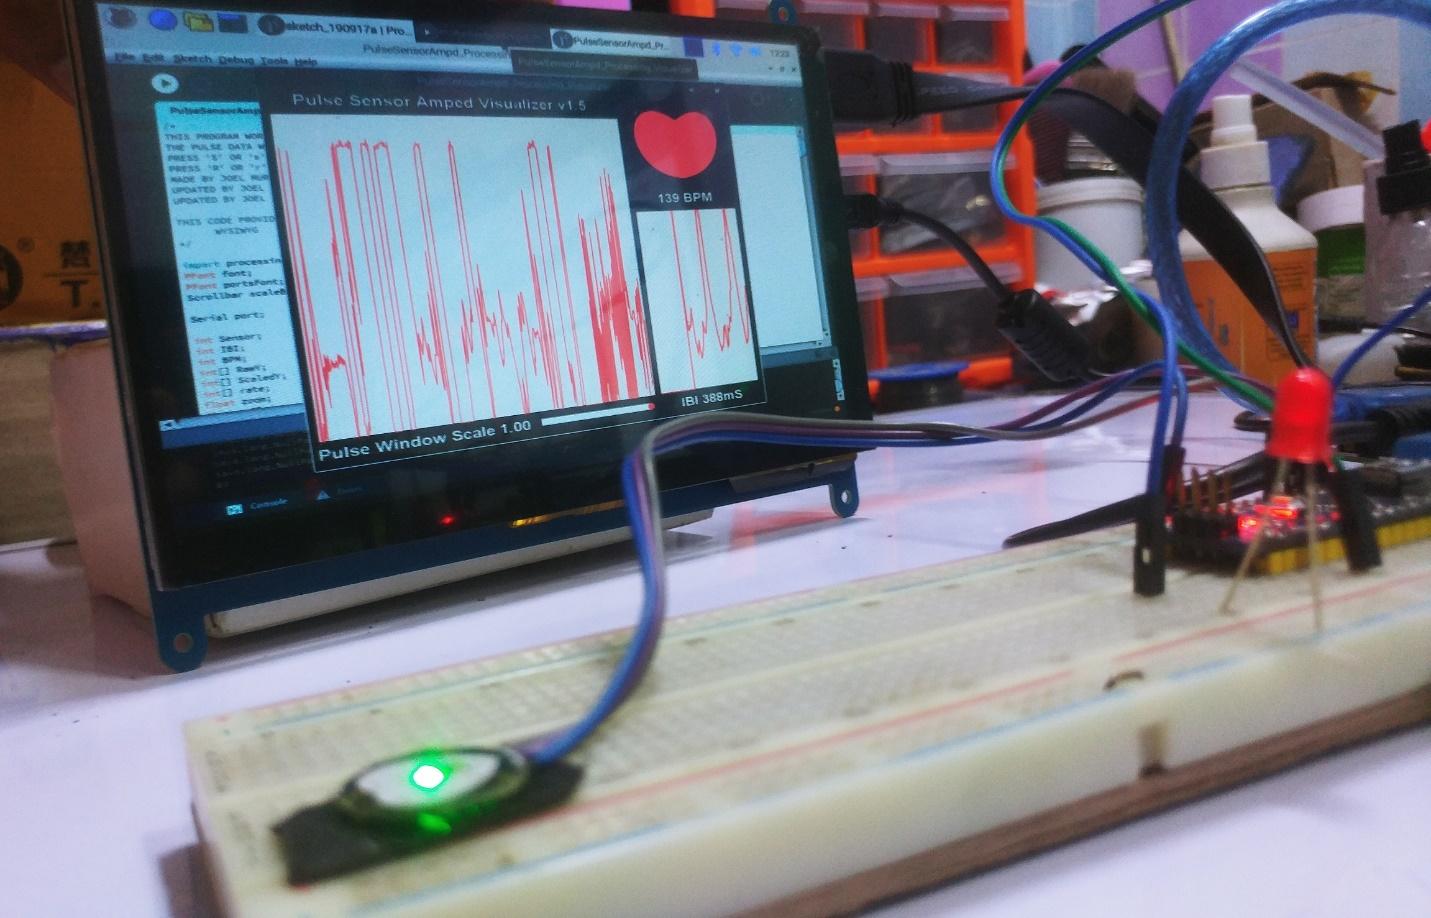
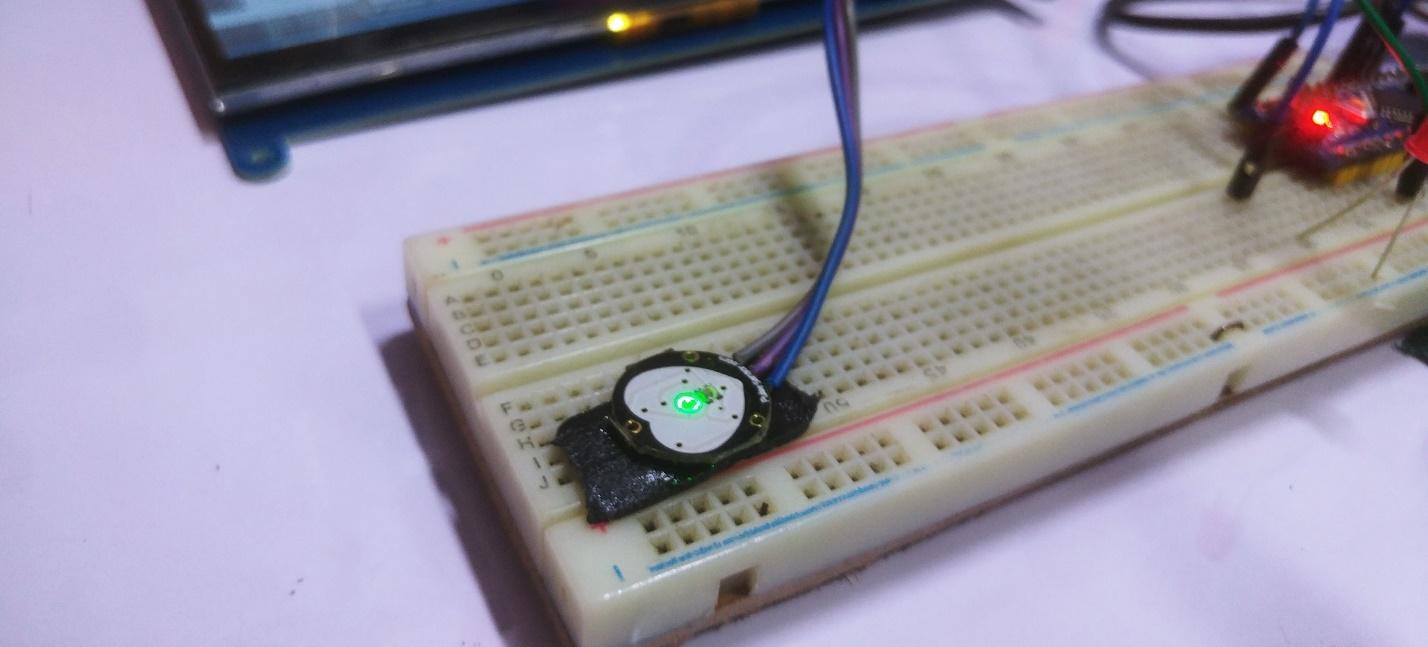
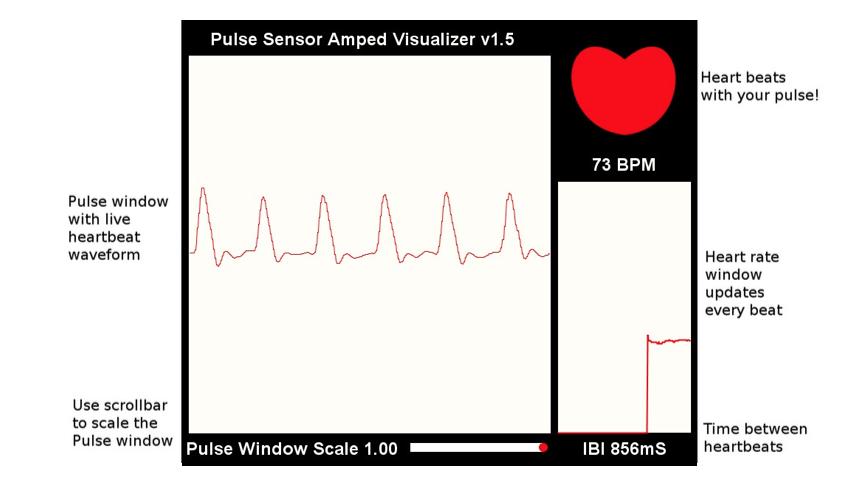
After running this code in the IDE, the Raspberry Pi will start displaying the PulseSensor plot in the LCD screen.
Press 's' or 'S' on your keyboard to take a screenshot of the plot graph. The image is saved in the sketch folder in jpg format. You can also press 'r' or 'R' to reset the data of the plot to zero to start the plot over.