Learn how you can use PiVPNwith a Raspberry Pi to create a secure internet connection anywhere you go!
There are numerous public Wi-Fi networks setup everywhere. However, even though they're convenient, how many do you suppose are encrypted? Would you dare to do your financial transactions through an unencrypted Wi-Fi network? A solution to Wi-Fi security concerns is to create your own VPN server.
Having a VPN server extends your own private network anywhere through a secure connection. You can watch movies stored in your local network at home when you are traveling by simply connecting to your VPN server—it almost feels as if you never left home! The best part of all? You can set up this server on a Raspberry Pi and have it running all the time without the need for a dedicated computer.
In this post, I'll show you how to set up a VPN server on a Raspberry Pi that can cater to your connections from home.
Installing PiVPN
Plug in your Raspberry Pi to power up and open the terminal. To begin installing PiVPN, type in this command:
curl -L https://install.pivpn.io | bash
This command is going to do everything for you. It takes a few minutes to install if you haven’t updated your Pi in a while.
After performing any necessary updates to your Raspberry Pi, PiVPN asks you to proceed. Press enter.
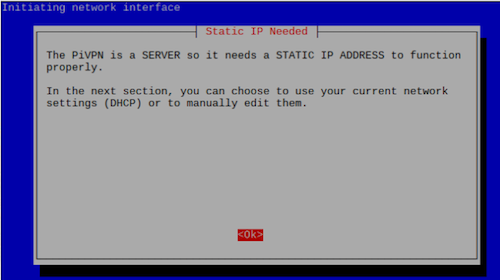
Next, it lets you know that it is going to use the static IP address. Press enter again.
Then, it asks for your permission to use the current IP address and Gateway. Press enter on yes to allow it.
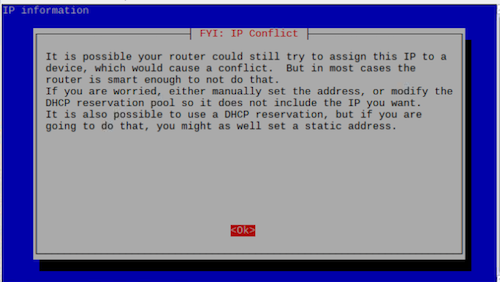
Next, it shows you a note saying that the router can assign this IP address to other devices which will cause a conflict. Ignore this message and press enter.
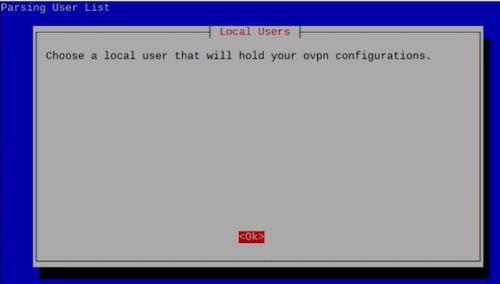
Then it asks you to select the user to save your ovpn configurations. Press enter to move to the user selection.
Select the user where you want to save your data. I have only one user, so I selected that.
After you select the user, PiVPN shows you a note explaining that it is recommended to allow for unattended upgrades, meaning whenever a new security package becomes available, the system will automatically upgrade. Press Enter.
Press yes if you want to allow it to automatically upgrade any new packages. Because it is recommended, I pressed yes and I highly suggest you follow suit.
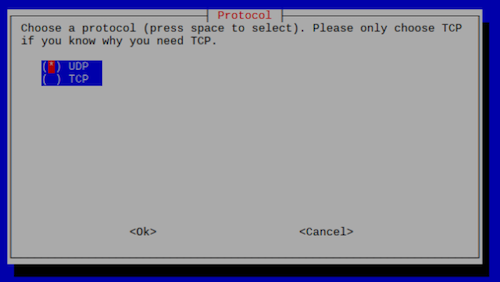
There are two protocols through which the OpenVPN runs. We are going to select the UDP connection because it is faster.
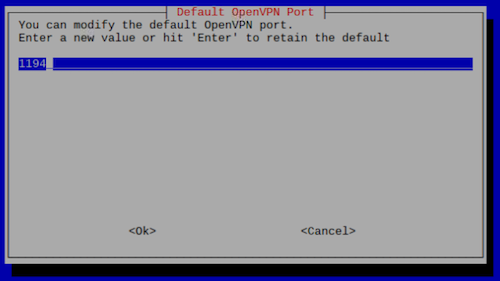
After selecting the protocol, it asks you to select the port number. The default port is 1194 but I recommended you change it to add more security and to make it harder for someone to know that you are using a VPN.
However, if you are a beginner, I recommend using the default port number.
Press enter on yes to use the port number that you selected in the last step.
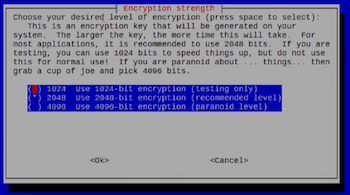
Next, it asks you for the encryption key. The recommended encryption key size is 2048, it will give you good encryption without compromising on speed.
This step takes a bit of time to set up with the 2048 key size. If you want it to be faster, select the 1024 encryption key size.
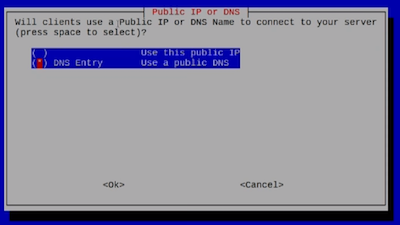
After choosing the encryption strength, it gives you the option to use the public IP or use the DNS entry. Navigate to the DNS entry and press enter.
If you have your own domain, enter the DNS name of the server here. Otherwise go to the np-ip.org and make a free domain name there.
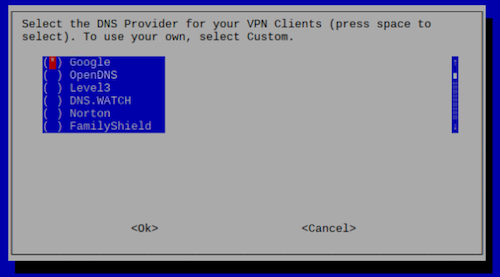
Next it asks for the DNS provider. For simplicity's sake, we are going to choose Google. However, you can any provider you want.
At this point, installation of the OpenVPN is complete!
Adding Users to OpenVPN
Now we can add new users!
Next, it asks you to reboot your Raspberry Pi. Click yes.
Traditionally, it can be a difficult task to set up the OpenVPN, because we would need to make individual certificates for each user. Luckily, the pivpn command does all of it for us! Type the following command in the terminal to add a new user:
sudo pivpn add
After this command, it asks for the name of the client. Type the name and then type the password.
**Note: Remember the password for upcoming steps.
The new user file will be stored in the home/pi/ovpns folder. Go to that folder and you will see a file with your client name. You have to send this file to your mobile storage. There are many ways to do that but the easiest route is to send it to your email and download it in your mobile.
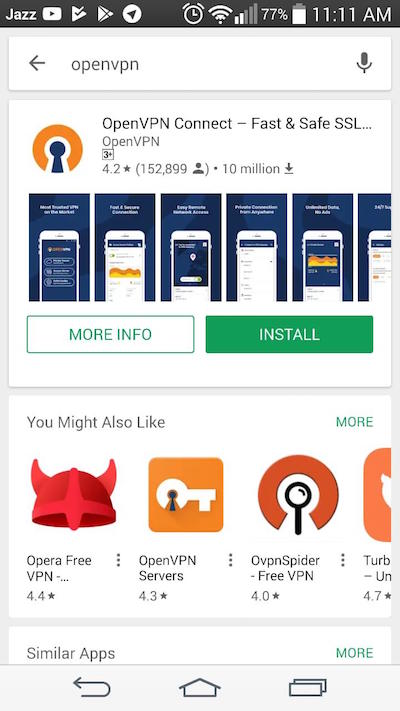
Next, download the OpenVPN app on your mobile phone. Go to the Play store, download the OpenVPN, and connect from there.
After downloading the program, open it. The app will look like shown below.
Press on OVPN Profile.
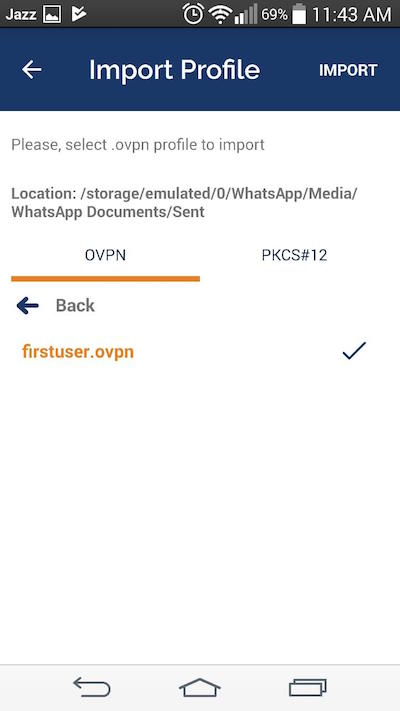
Go to the folder where you downloaded the client file and import it into OpenVPN. While loading the file, it will ask you for the password, type the password that you entered while creating the user profile.
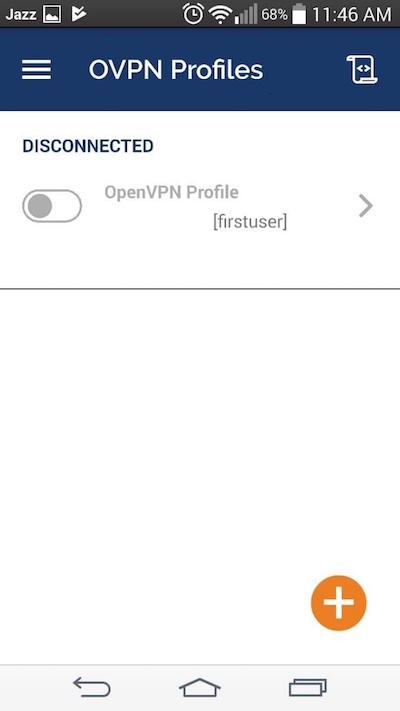
After uploading the file, you can find it in the OpenVPN. Now turn off your mobile’s Wi-Fi and drag the button to connect. The OpenVPN client will attempt to connect to the Raspberry Pi VPN server.
Upon successful connection, you'll see the connection stats.
So at this point, you have successfully created your own VPN server! If you were unable to get it to work, this may be be due to port forwarding. If you think that is the issue, this guide is a helpful resource.
Enjoy the feeling of security by using your own secure connection wherever you are.