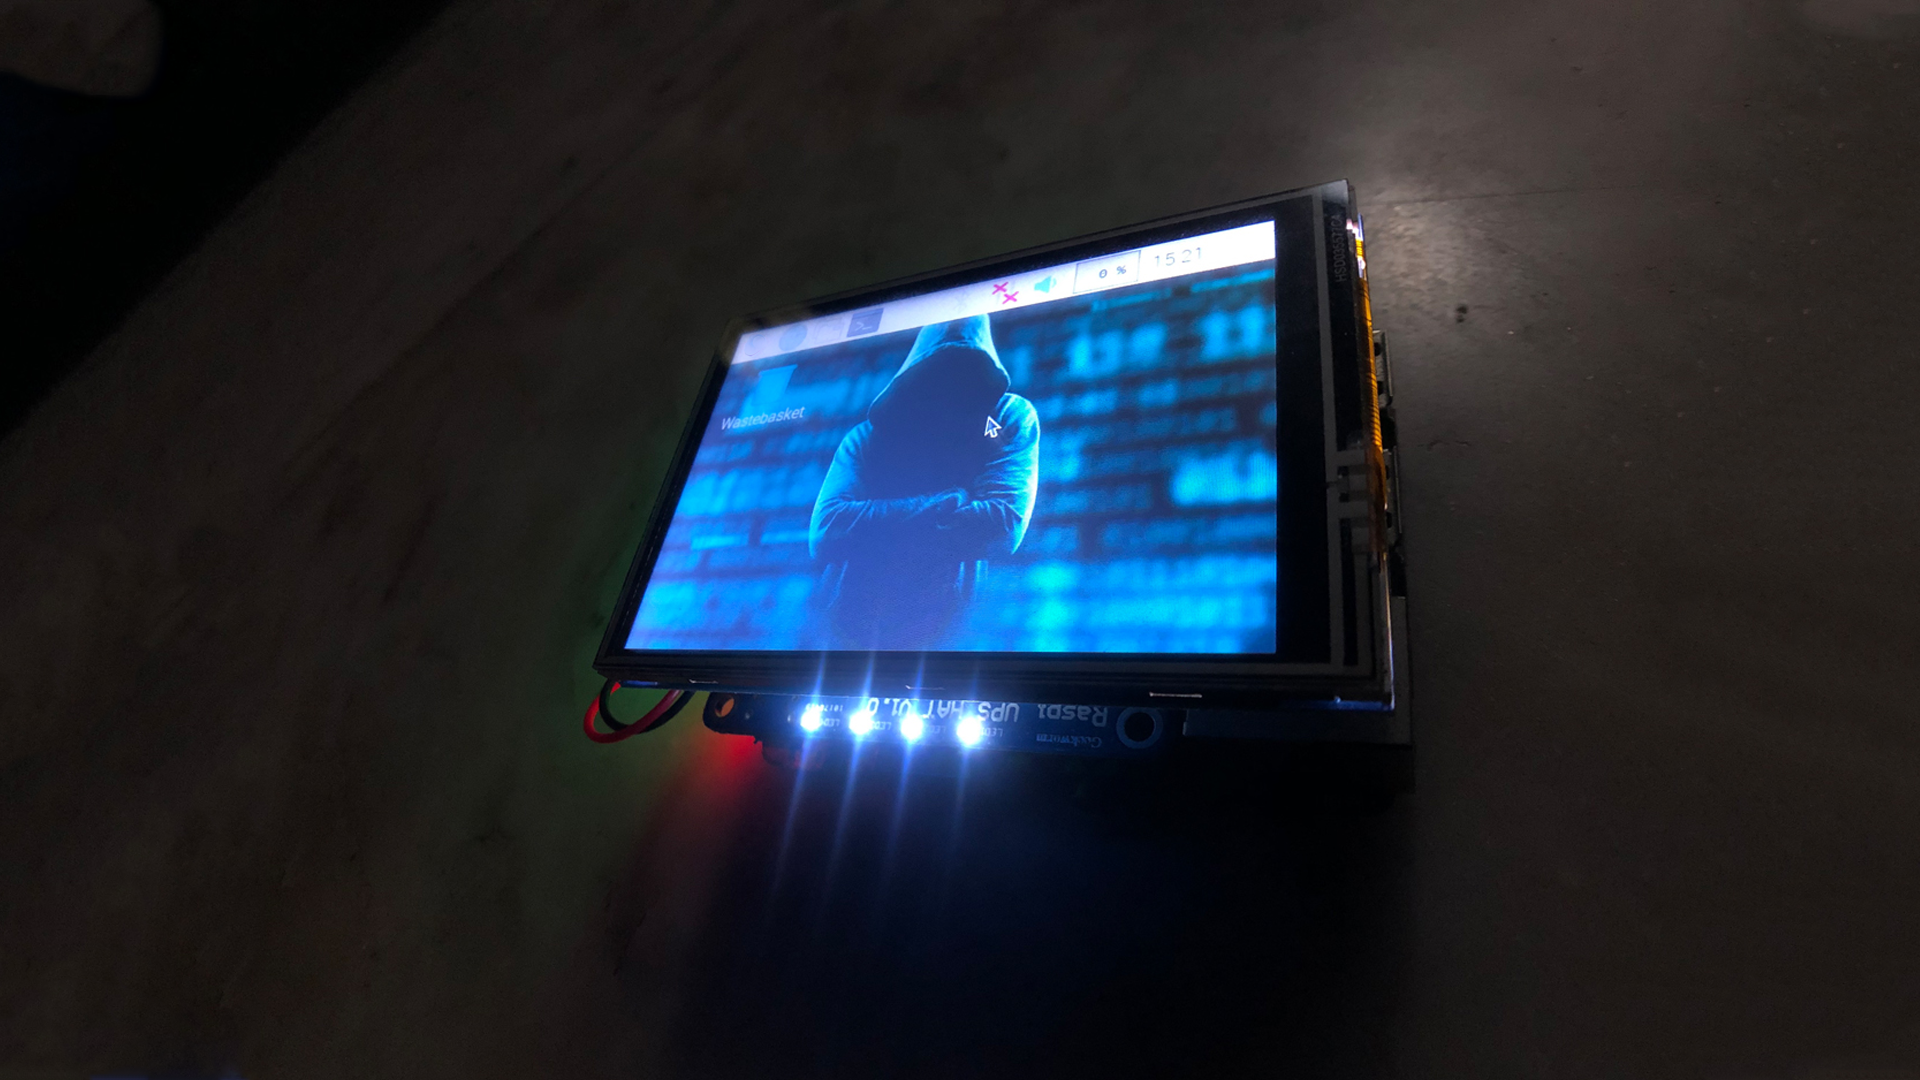
Learn how to make a Hacking machine with Raspberry pi
Learn how to setup a hacking machine with raspberry pi
Software part..
First lets get started with the software part...
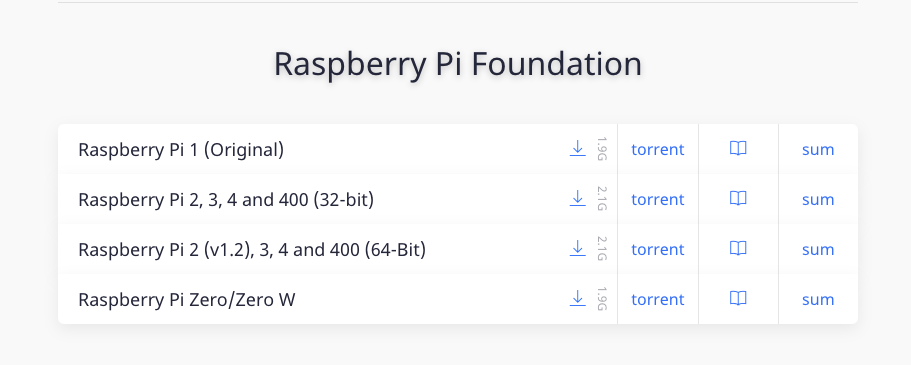
Ok so the first step is to download the Image file of kali linux, for this click here to download the image file . download the file according to the Raspberry pi you are using.
after downloading the Image file , you have to flash the Image file into the SDcard, for that you should connect your SDcard to your laptop or PC using SDcard Reader then format your SDcard using any SDcard formatter and then download a software called Etcher(software to flash the image file into SDcard).
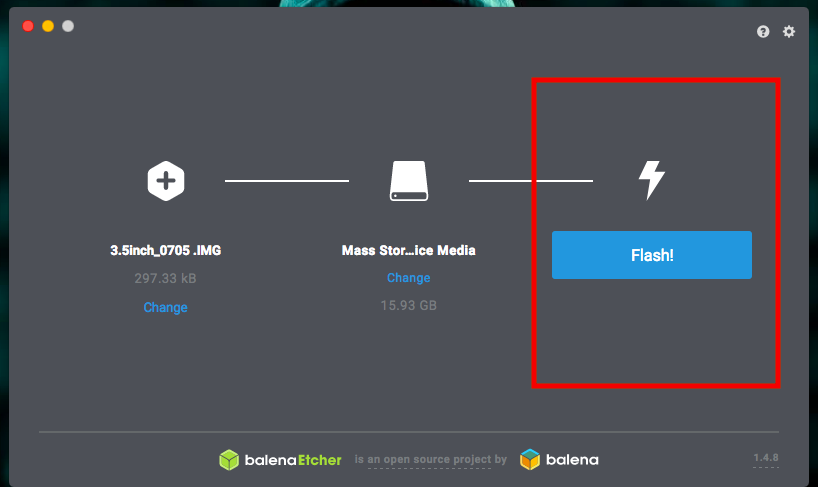
Flashing the SDcard with Etcher
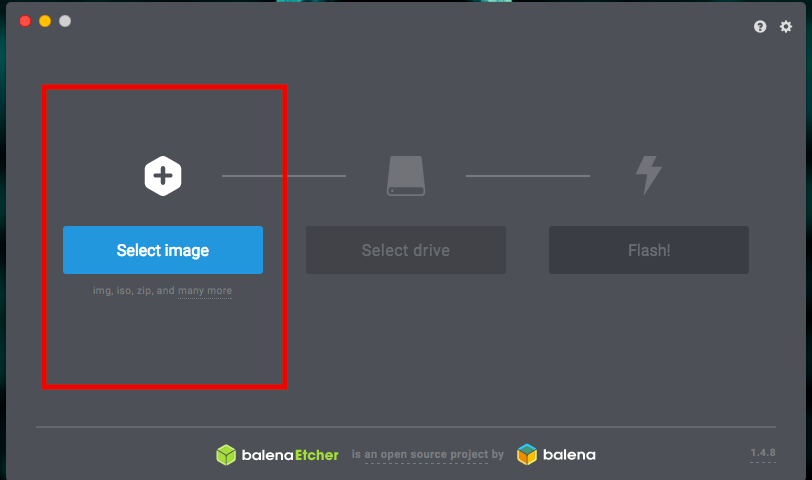
So first you have to open the Etcher software and select the image file
you should select the image file from the download folder while clicking the highlighted button
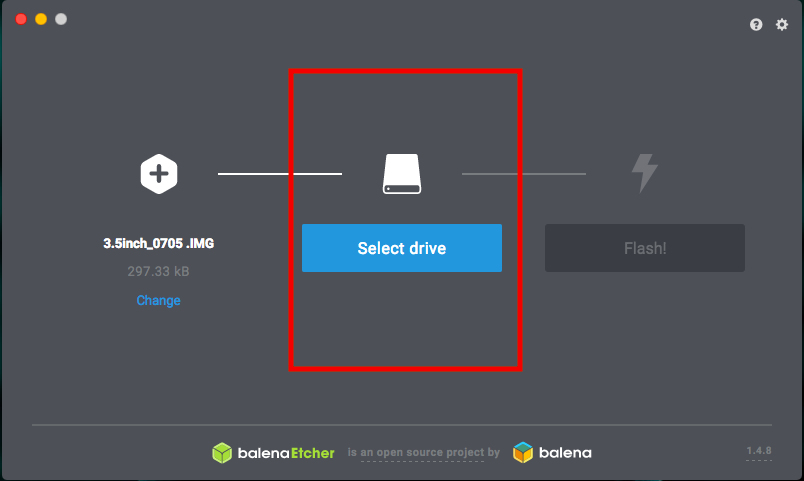
connect the SDcard to your system and select the drive
Now click the flash button
Thats it... now remove the SDcard from your system and connect it into your raspberry pi.
Hardware part..
Now lets start to assemble the parts..
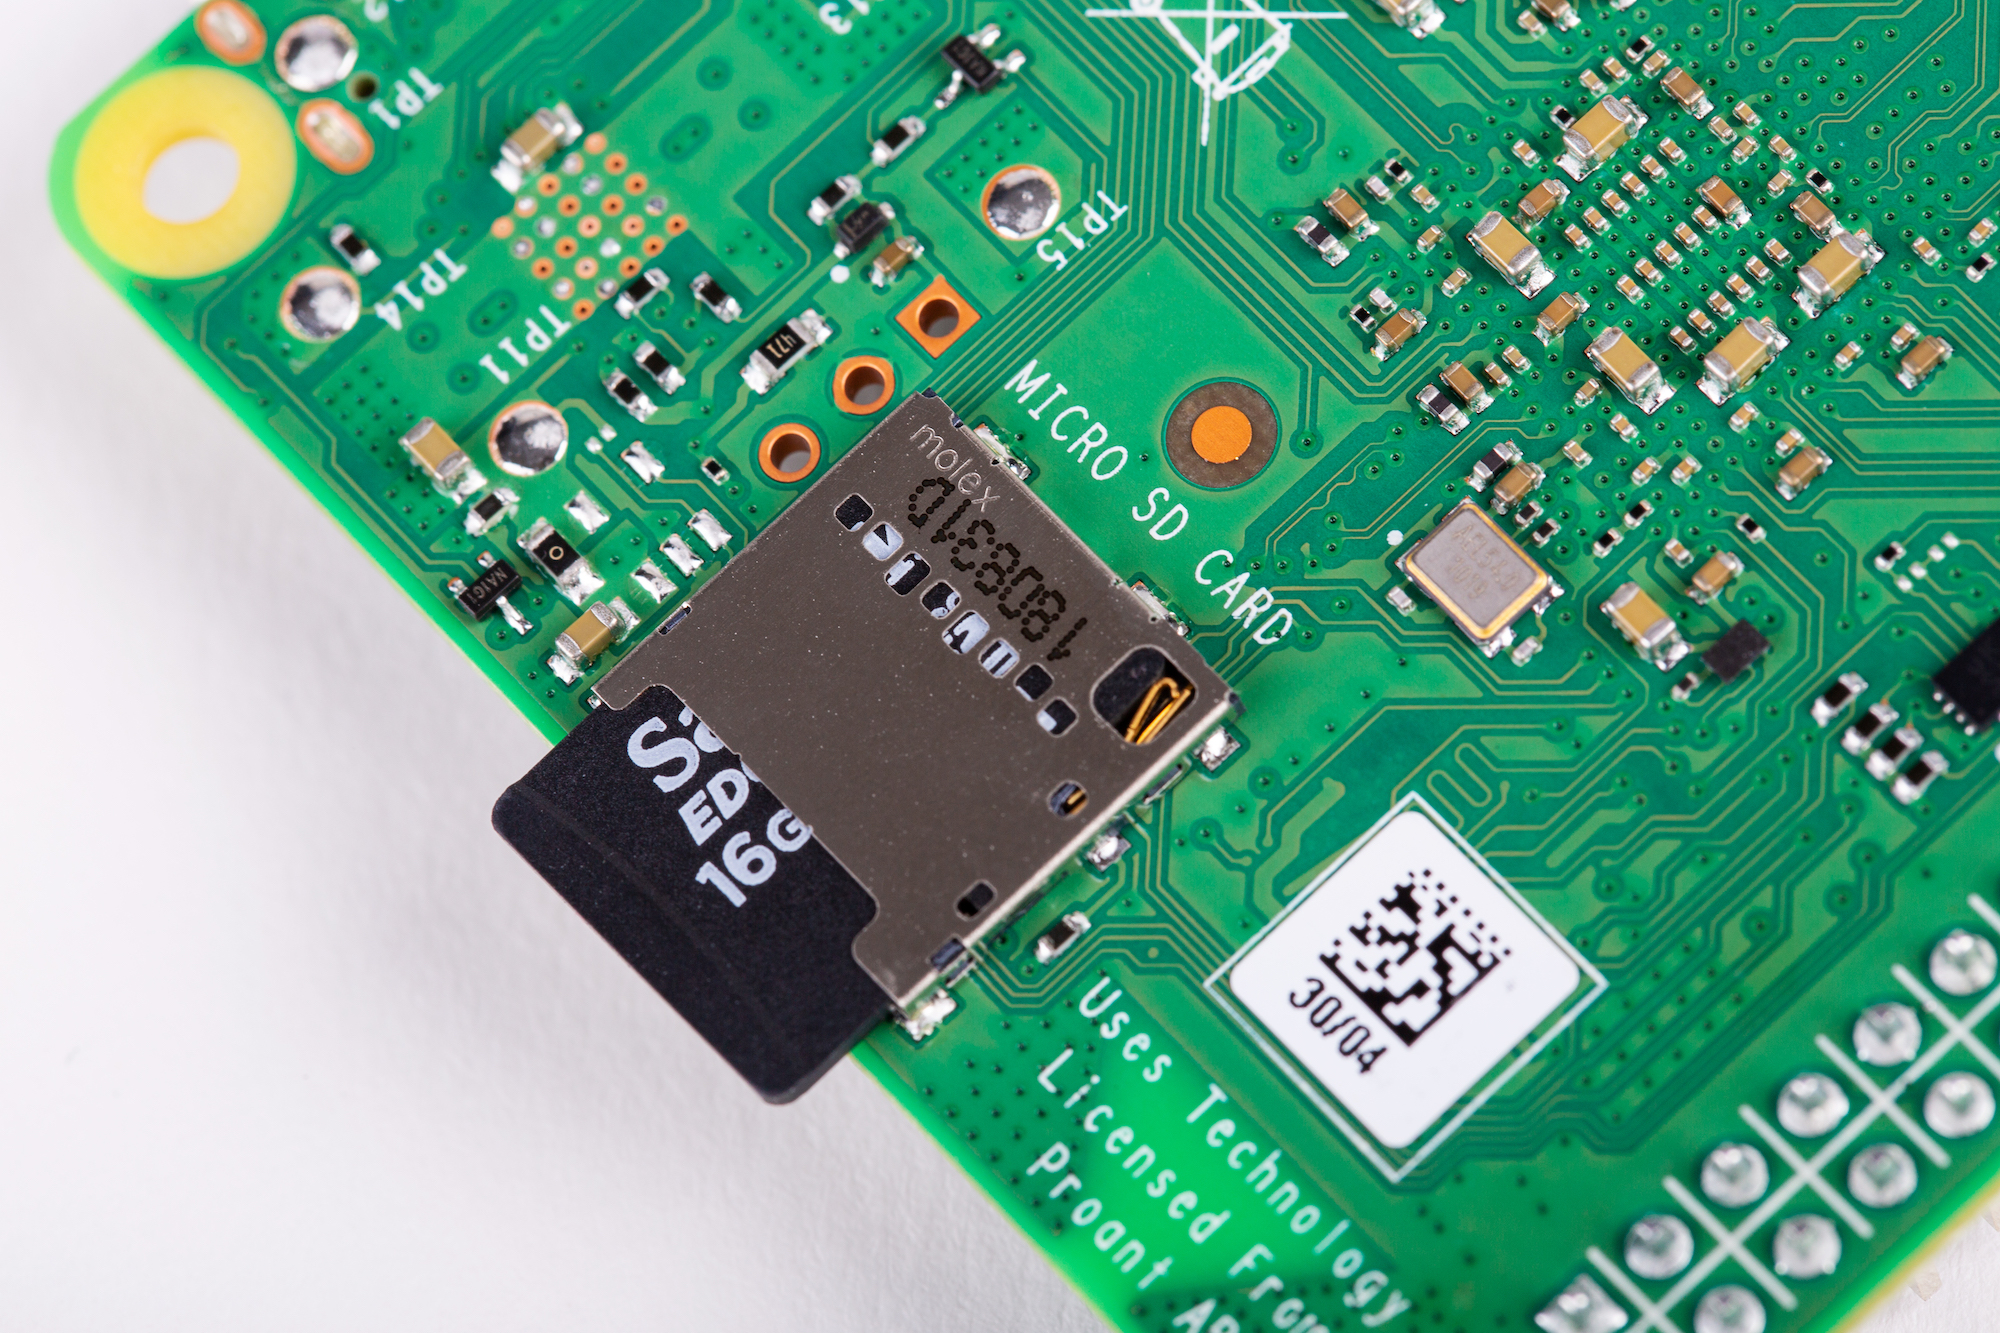
first remove the SDcard from your pc or laptop and insert it to Raspberry pi
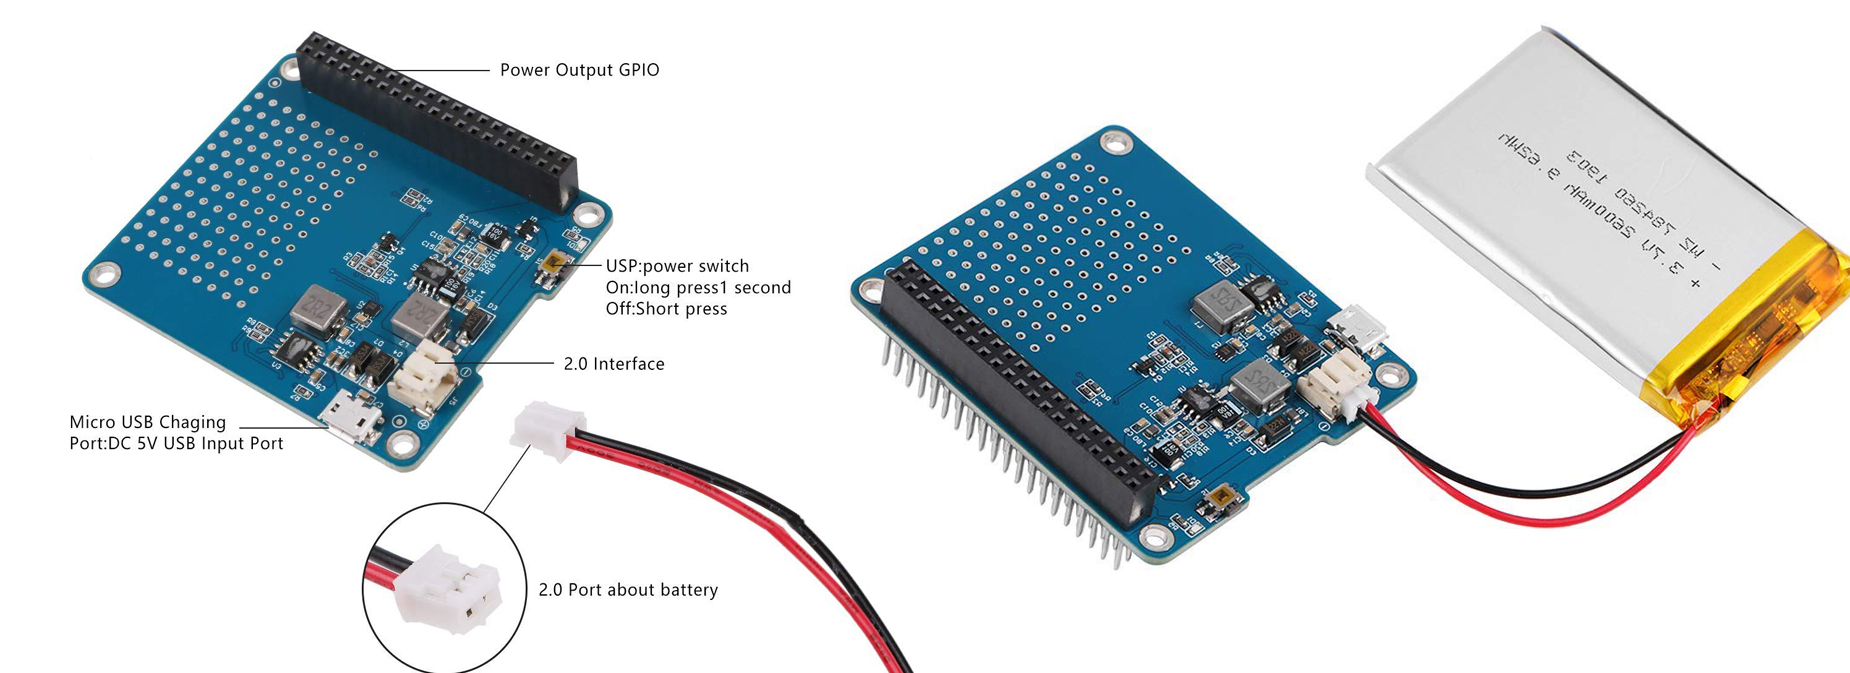
Now connect the Battery to the UPS HAT Board
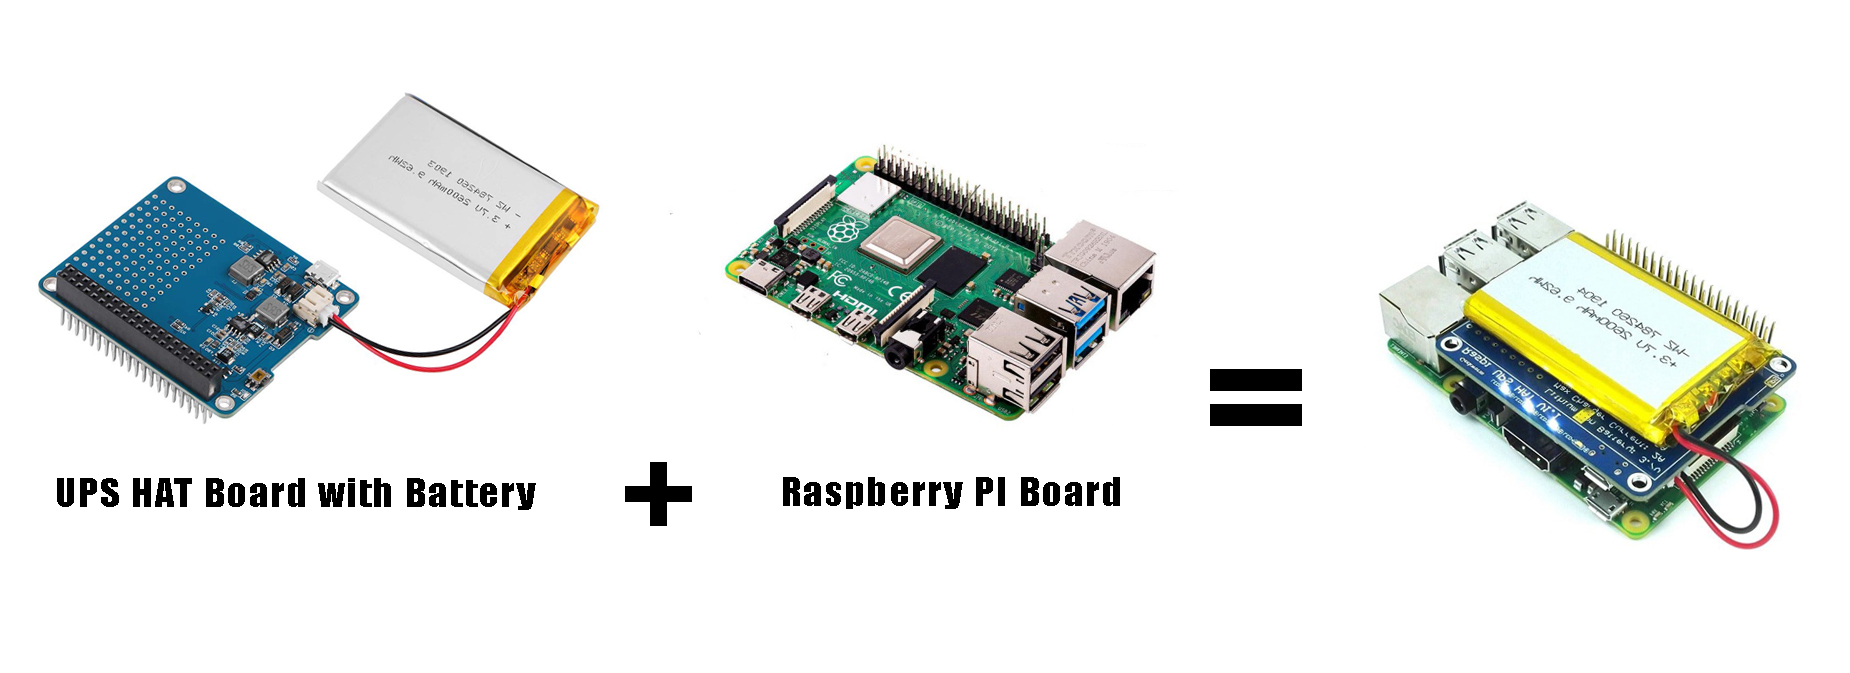
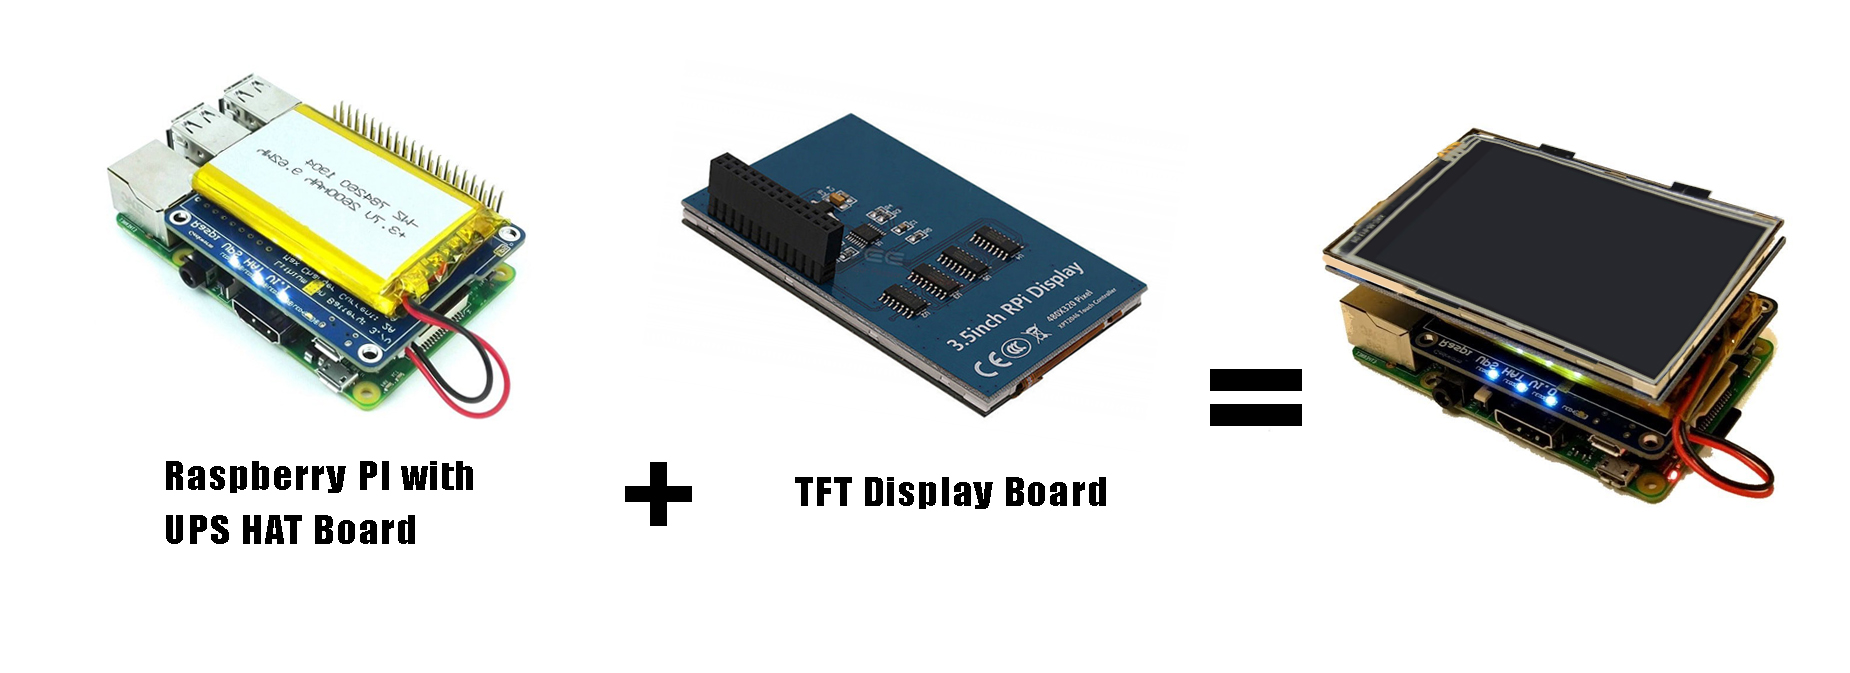
Now lets move on to the main assemble..
Take the Raspberry pi 3.5 , TFT Display ,UPS HAT Board and connect them according to the GPIO pins.
Don't worry get confused guys.. connecting them is as simple as connecting LEGO Brick toys..
First connect the UPS HAT Board and Raspberry PI board like this..
Now connect the TFT Display and thats all with the Hardware part..
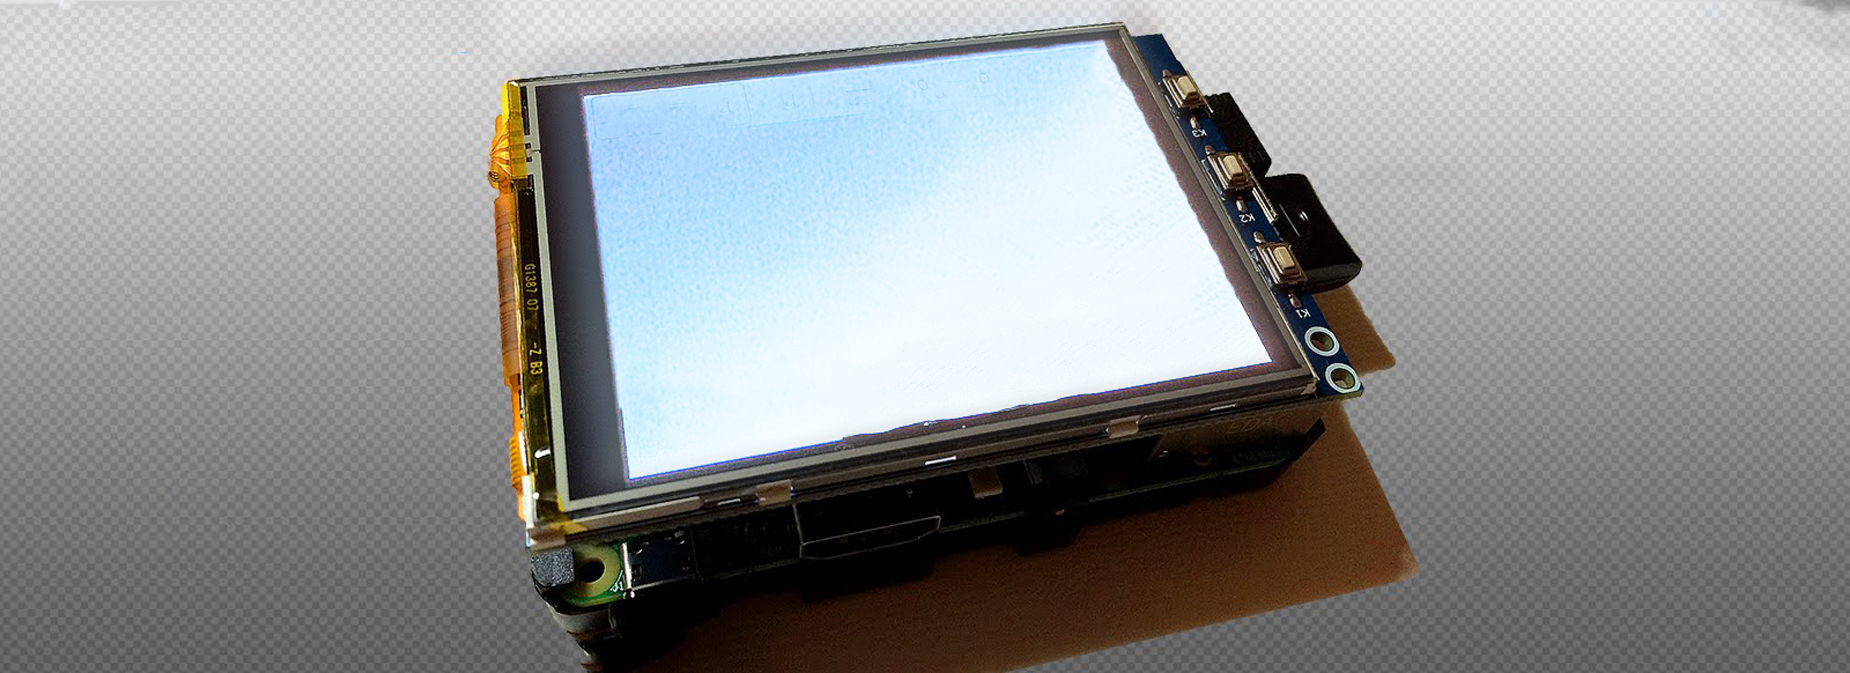
Now connect the PI to network using an Ethernet Cable and turn on the PI by a 1 second long press on the USP Power switch
and you will be seeing a white screen ...
don't get panic, we didn't burn the display..
we need to configure the display now..
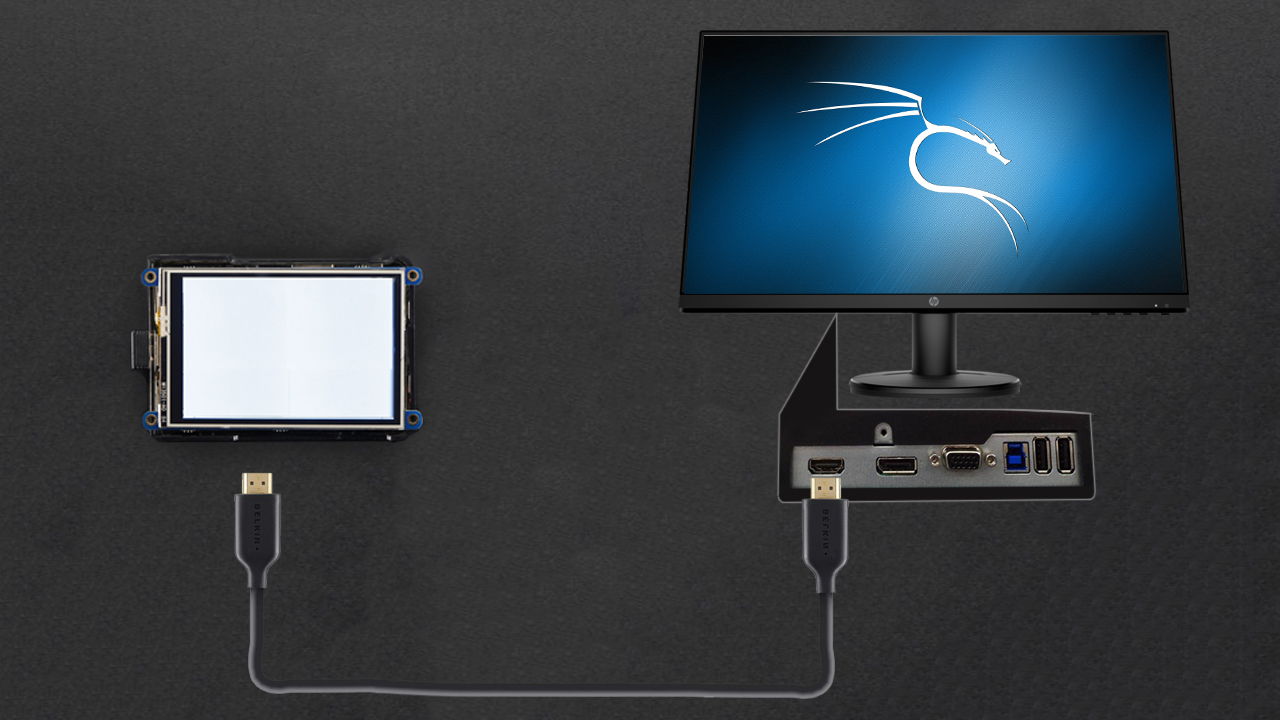
you can do it in two ways.. either connect your PI to a monitor via HDMI or you can connect the PI via putty shh client.
Connect via HDMI cable is simple as shown here
Connecting PI via Putty shh client
First you have to get the Ip address of your Raspberry PI. for this you have to browse your router page and get the ip address from connected devices.
To get into to Router page, open your browser and type...
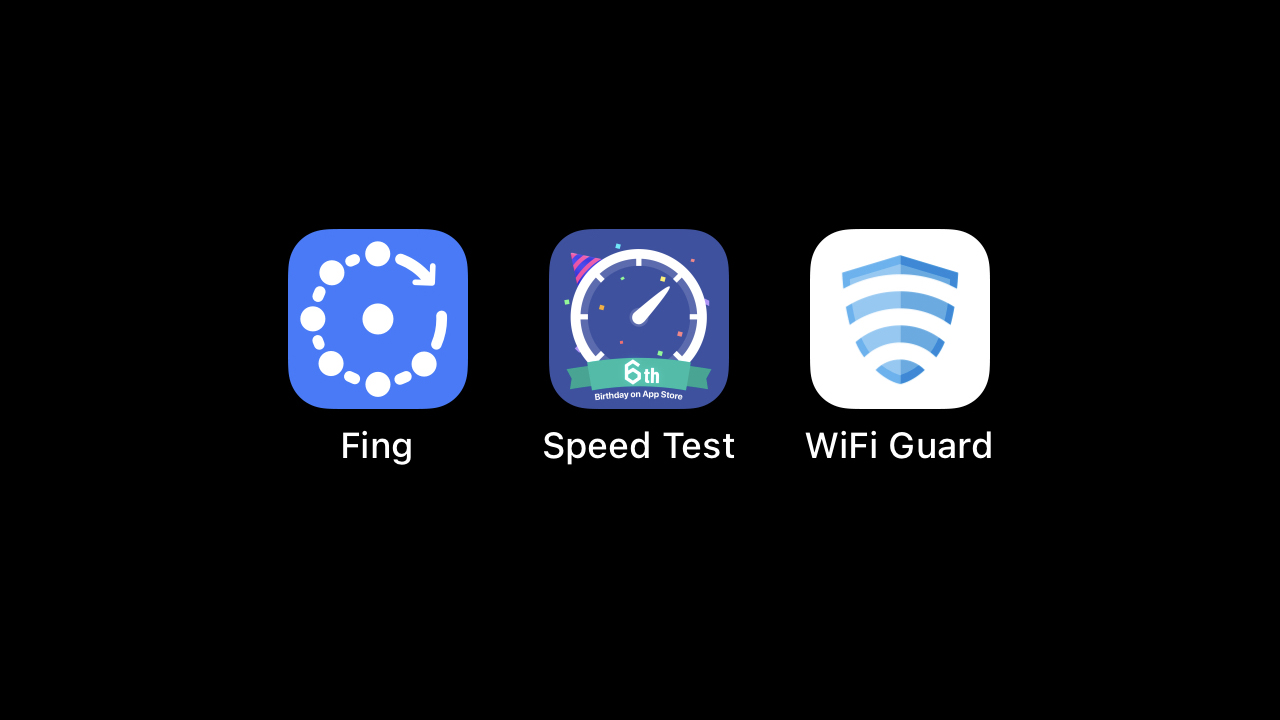
For some routers it will be difficult to find the connected devise . In such case you can also use the mobile apps which will scan the network and get IP
These are the three apps that i found usefull..
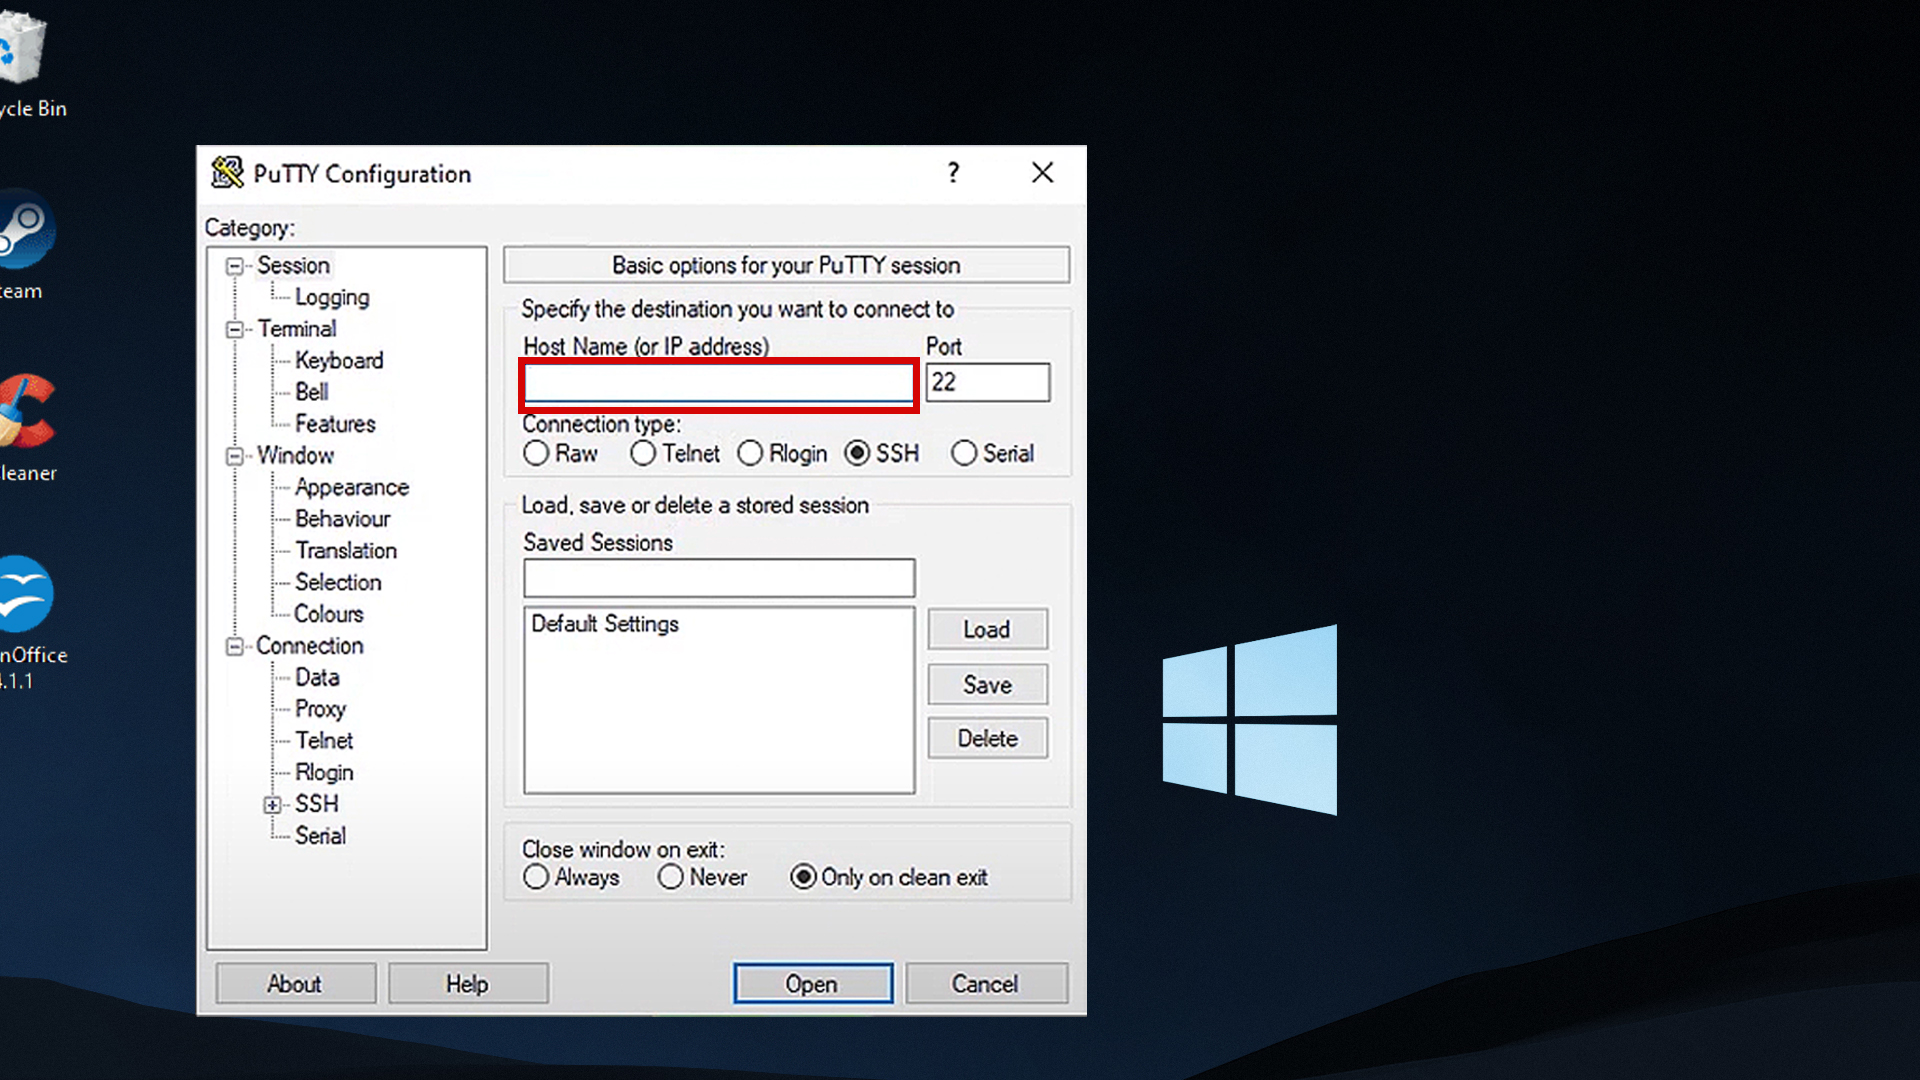
Once you find the IP address of PI, open the putty shh client
paste the IP address of your Raspberry PI here and click the open button..
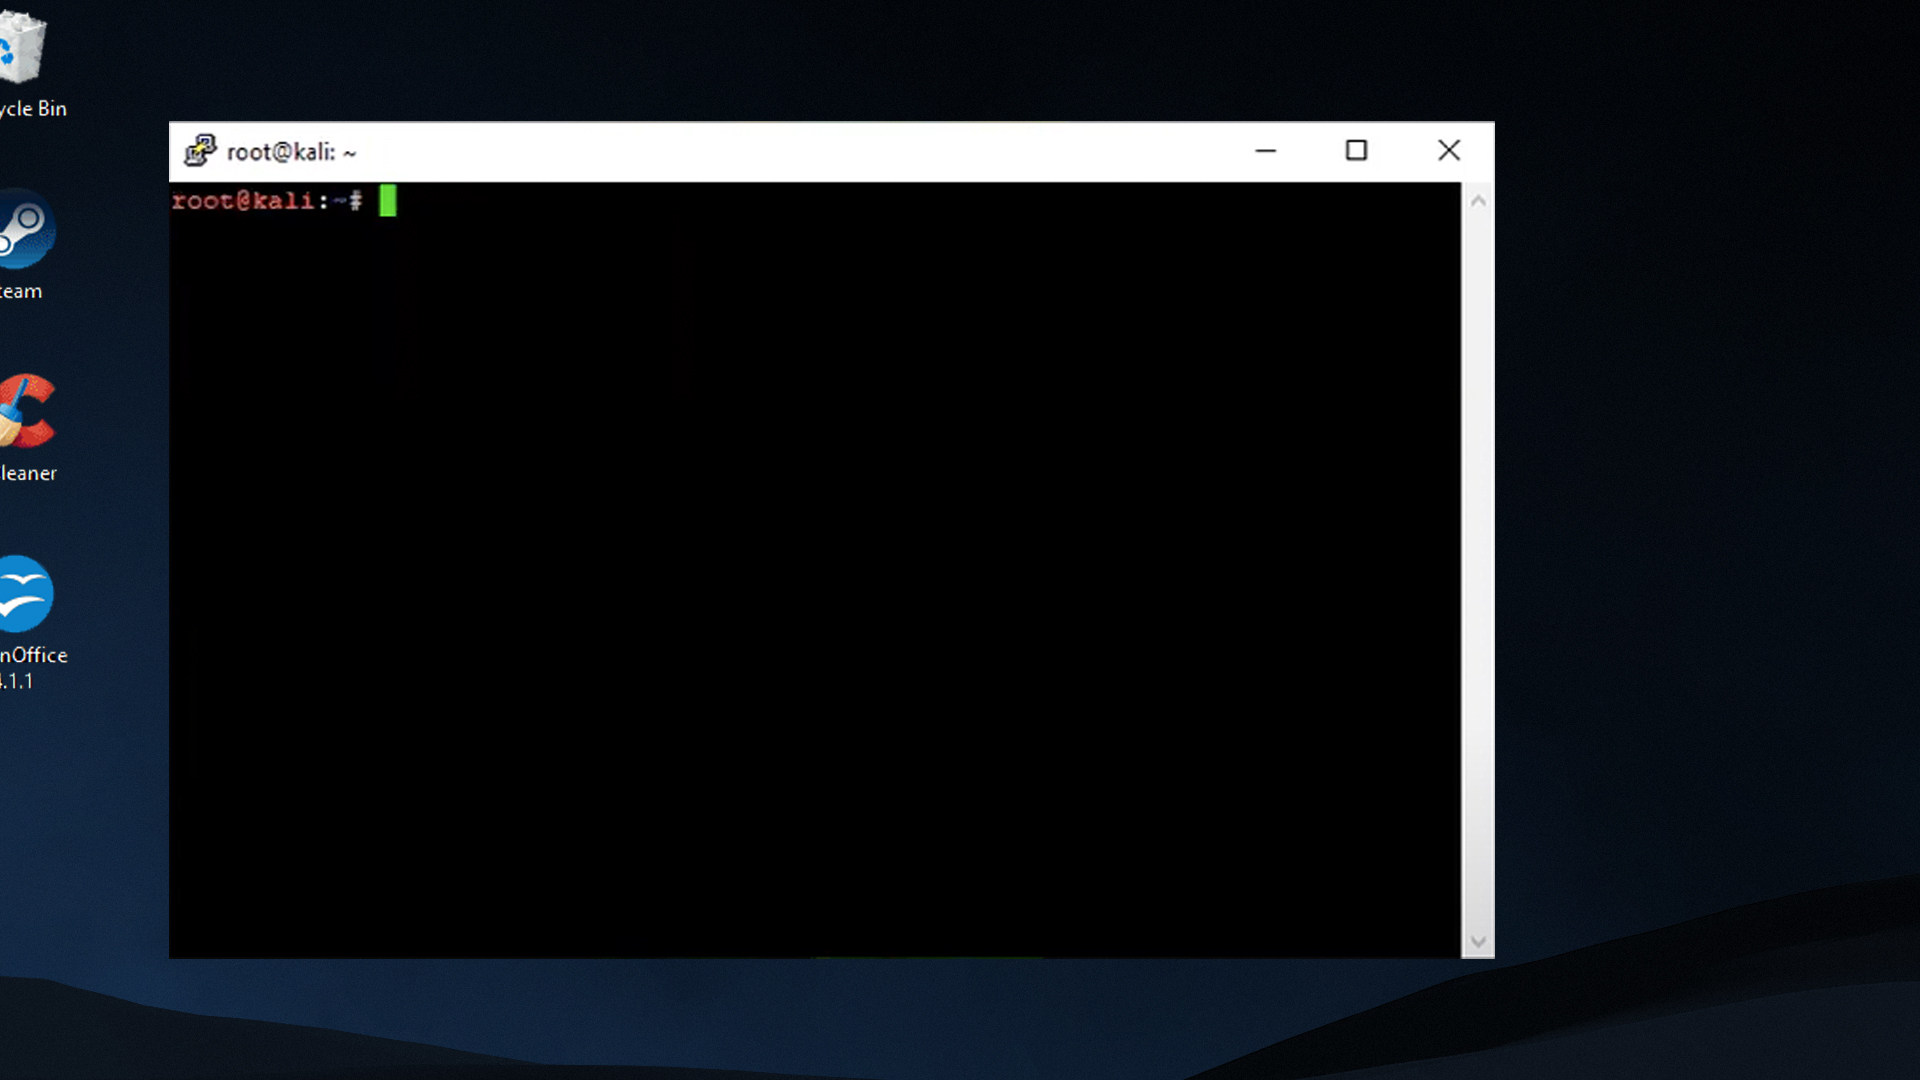
This will open the shh connection to your Raspberry PI
Now you have to enter the username and password.
Username : | root |
|---|
Password : | toor |
so now we are inside the kali linux terminal.
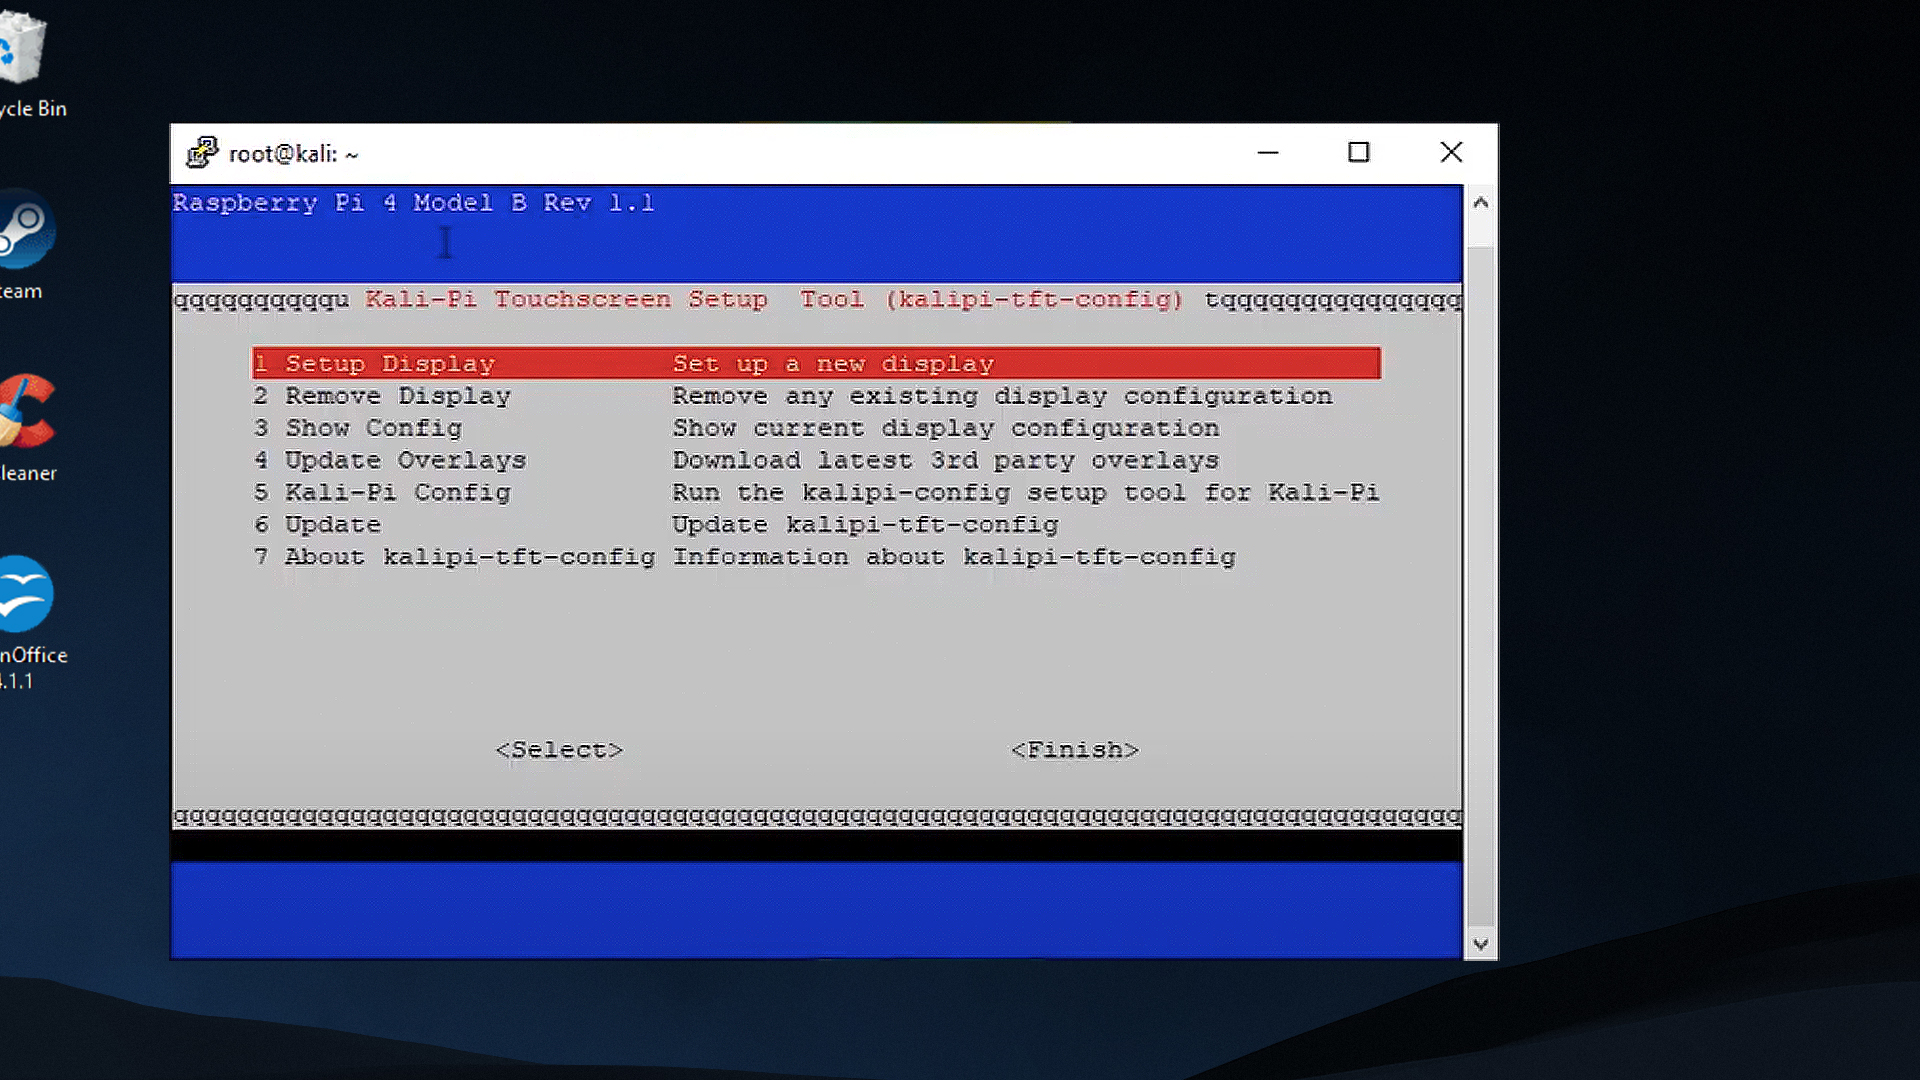
Now this is where we actually starts configuring the tft display.. first we need to get into the kali-pi touchscreen setup tool, for this type this command in the terminal.
This will take you to the kali-pi touchscreen setup tool..
select the first option "Setup Display" and from the next page select your display manufacturer name, size, and location( keep the location default and click ok ). it will take you back to the main menu.
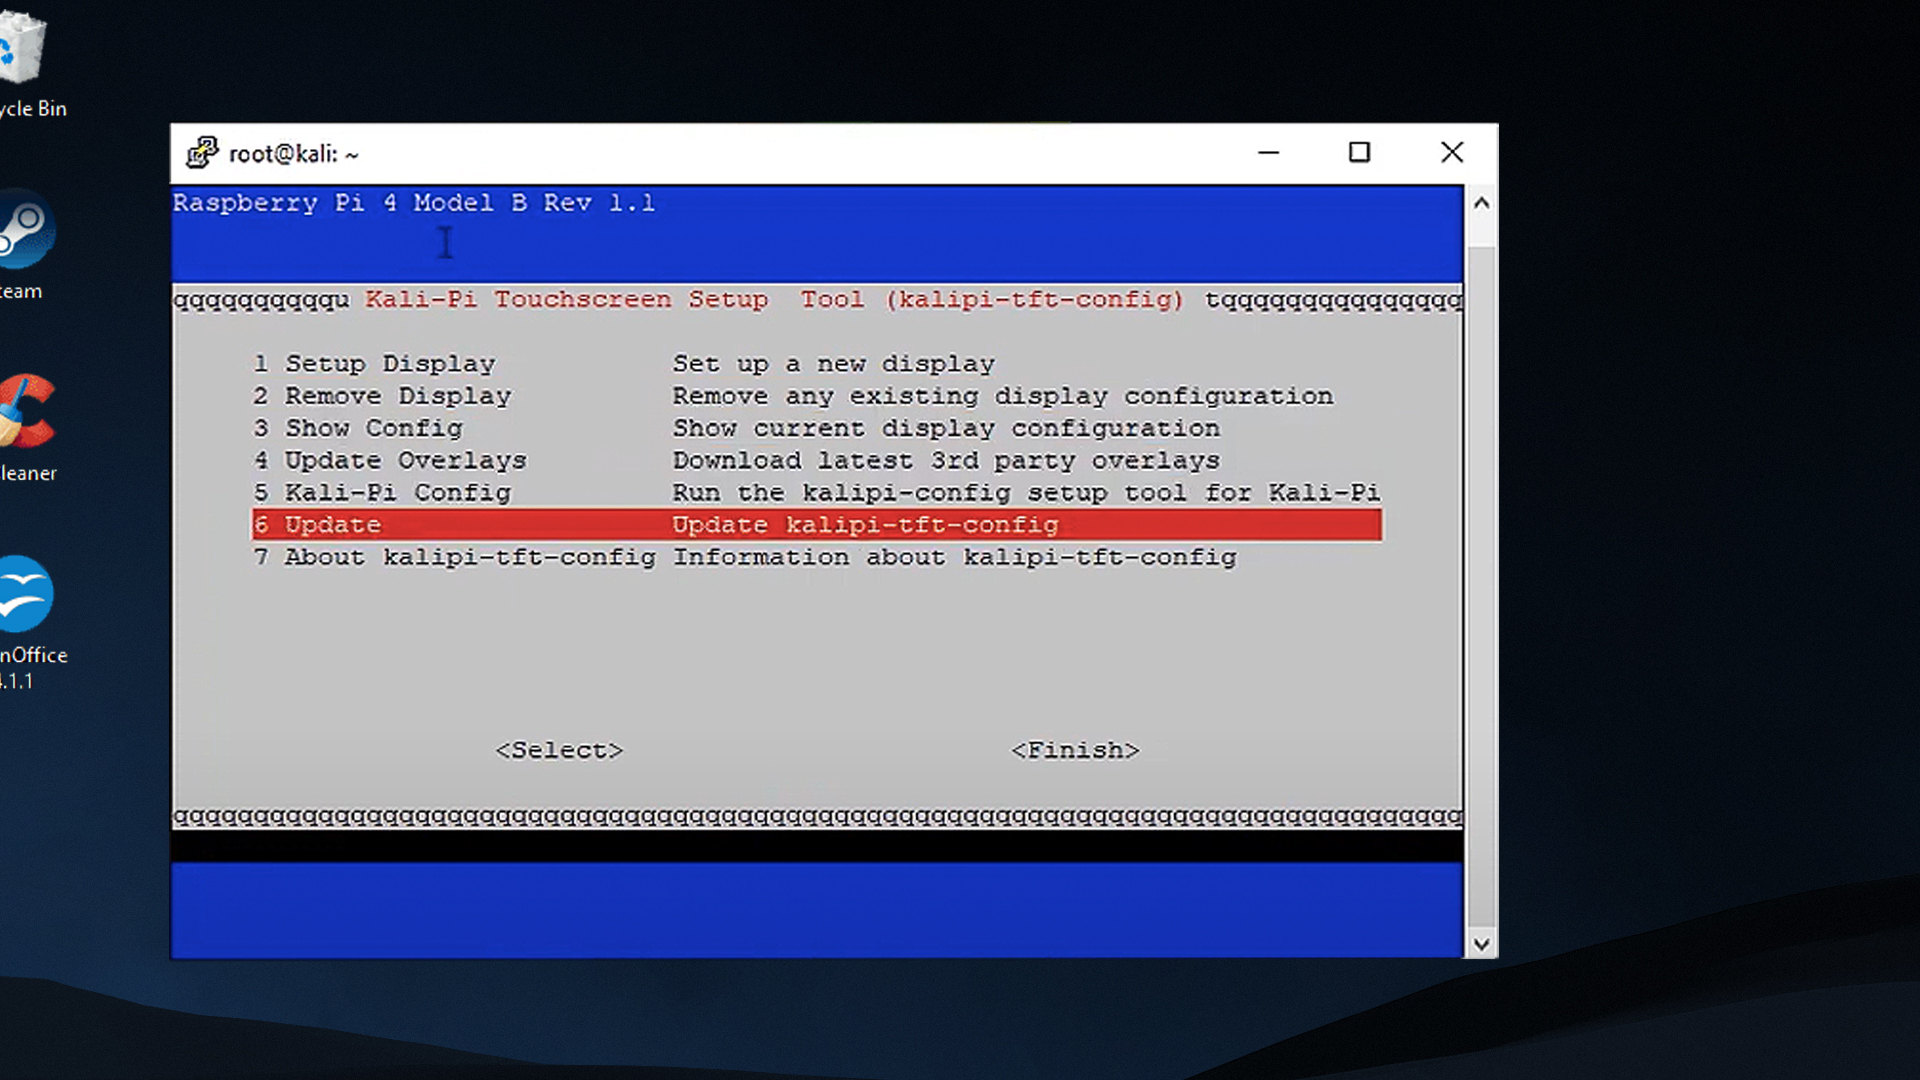
Now select the 6th option in the menu "Update"
This will update the configuration, after the update click "Finish" it will take you out from the setup tool to Kali Terminal.
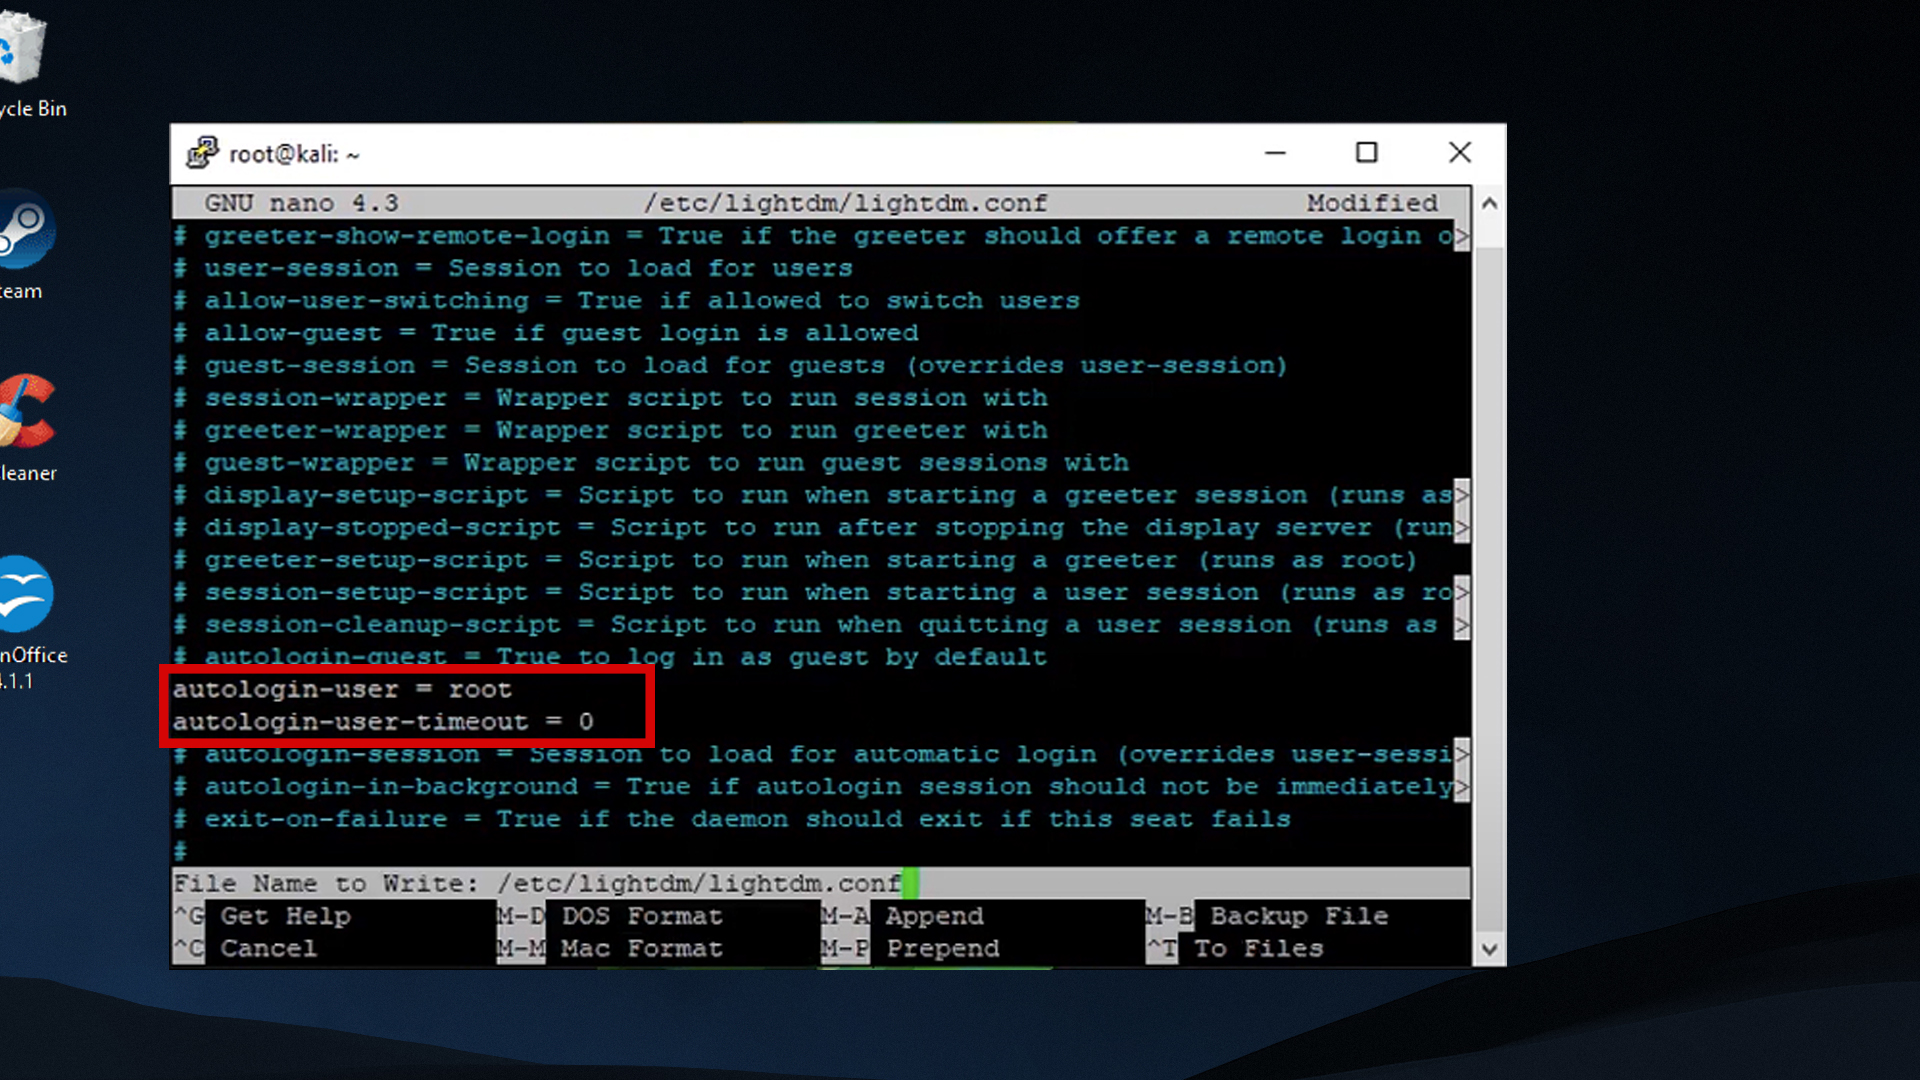
Now you need to edit some config files for the auto login. for that type the command given below and hit enter
nano /etc/lightdm/lightdm.conf
here you have to find two line saying "autologin-user" and "autologin-user-timeout". remove the commenting "#" from them and type the userid
autologin-user = | root |
|---|
autologin-user-timeout = | 0 |
Then write out(^O) and exit(^X)
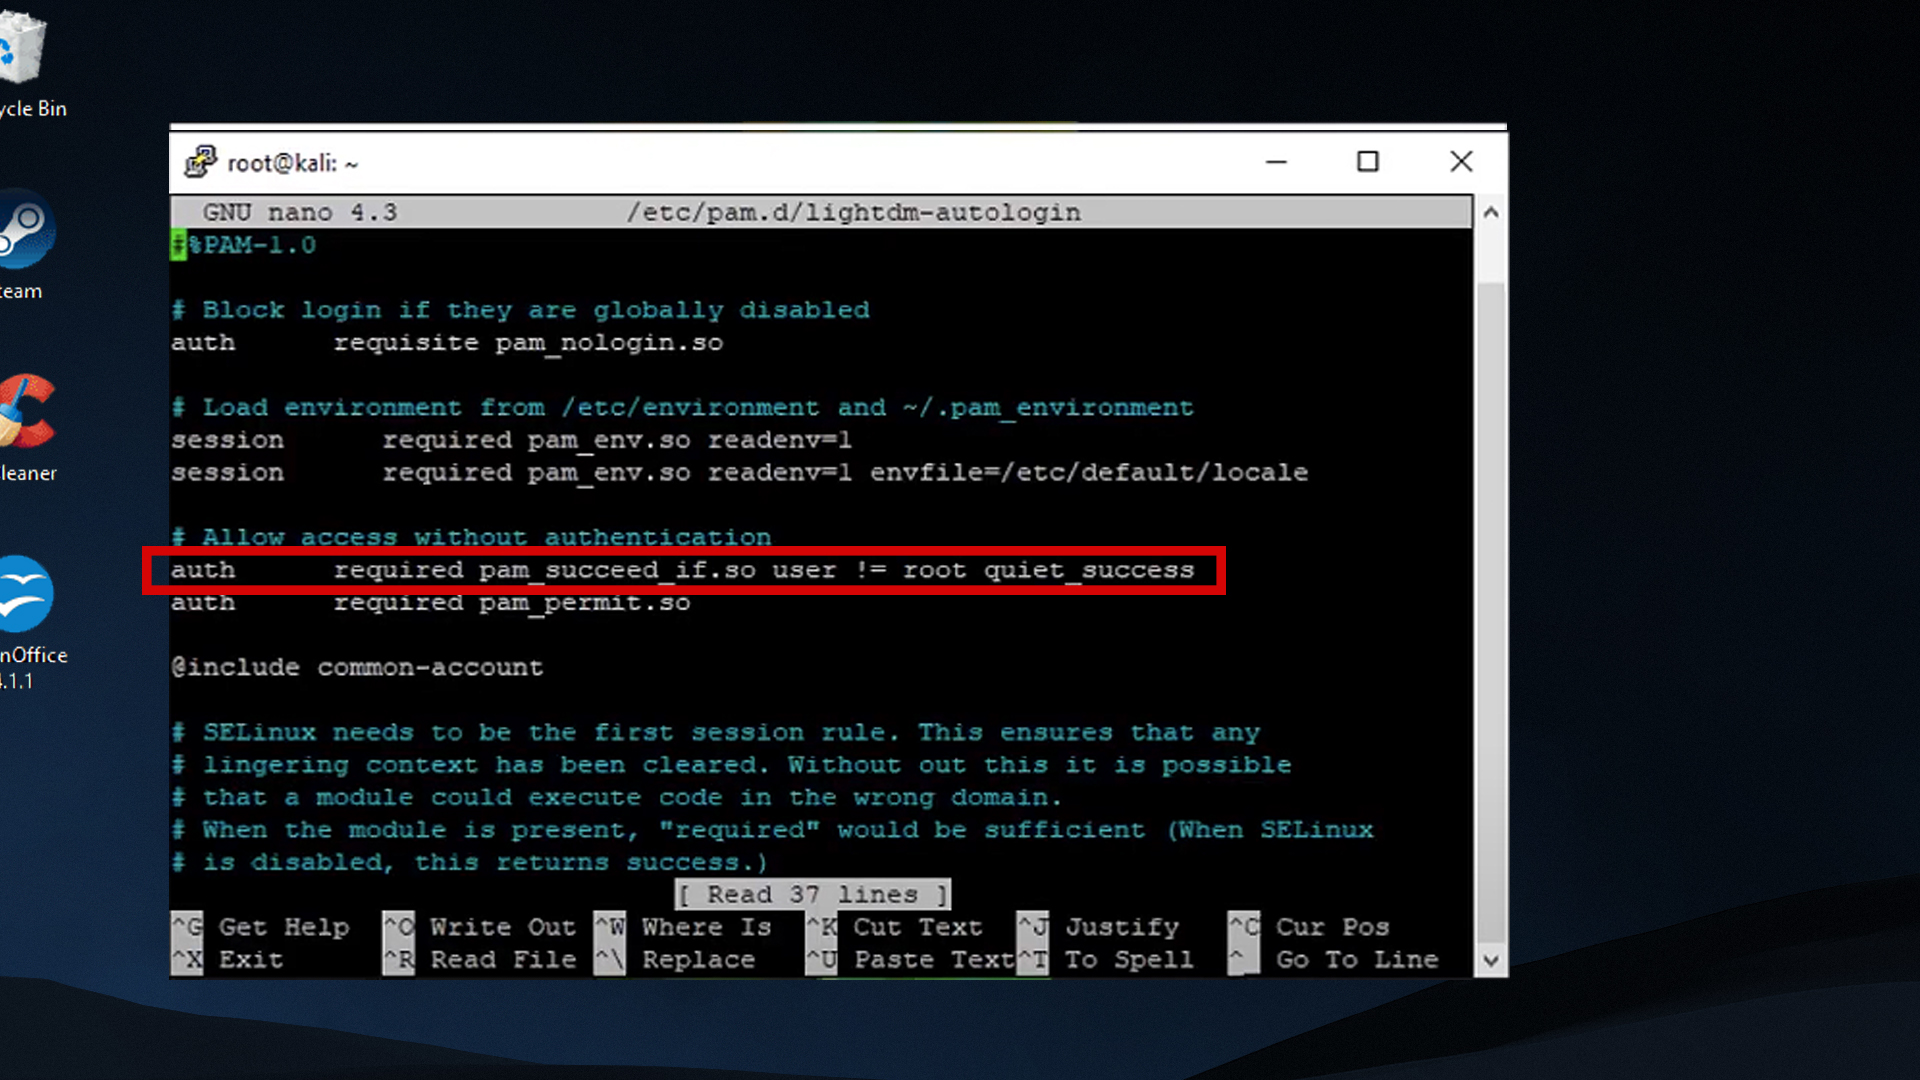
now let move on to next file..so type the command given below and hit enter
nano /etc/pam.d/lightdm-autologin
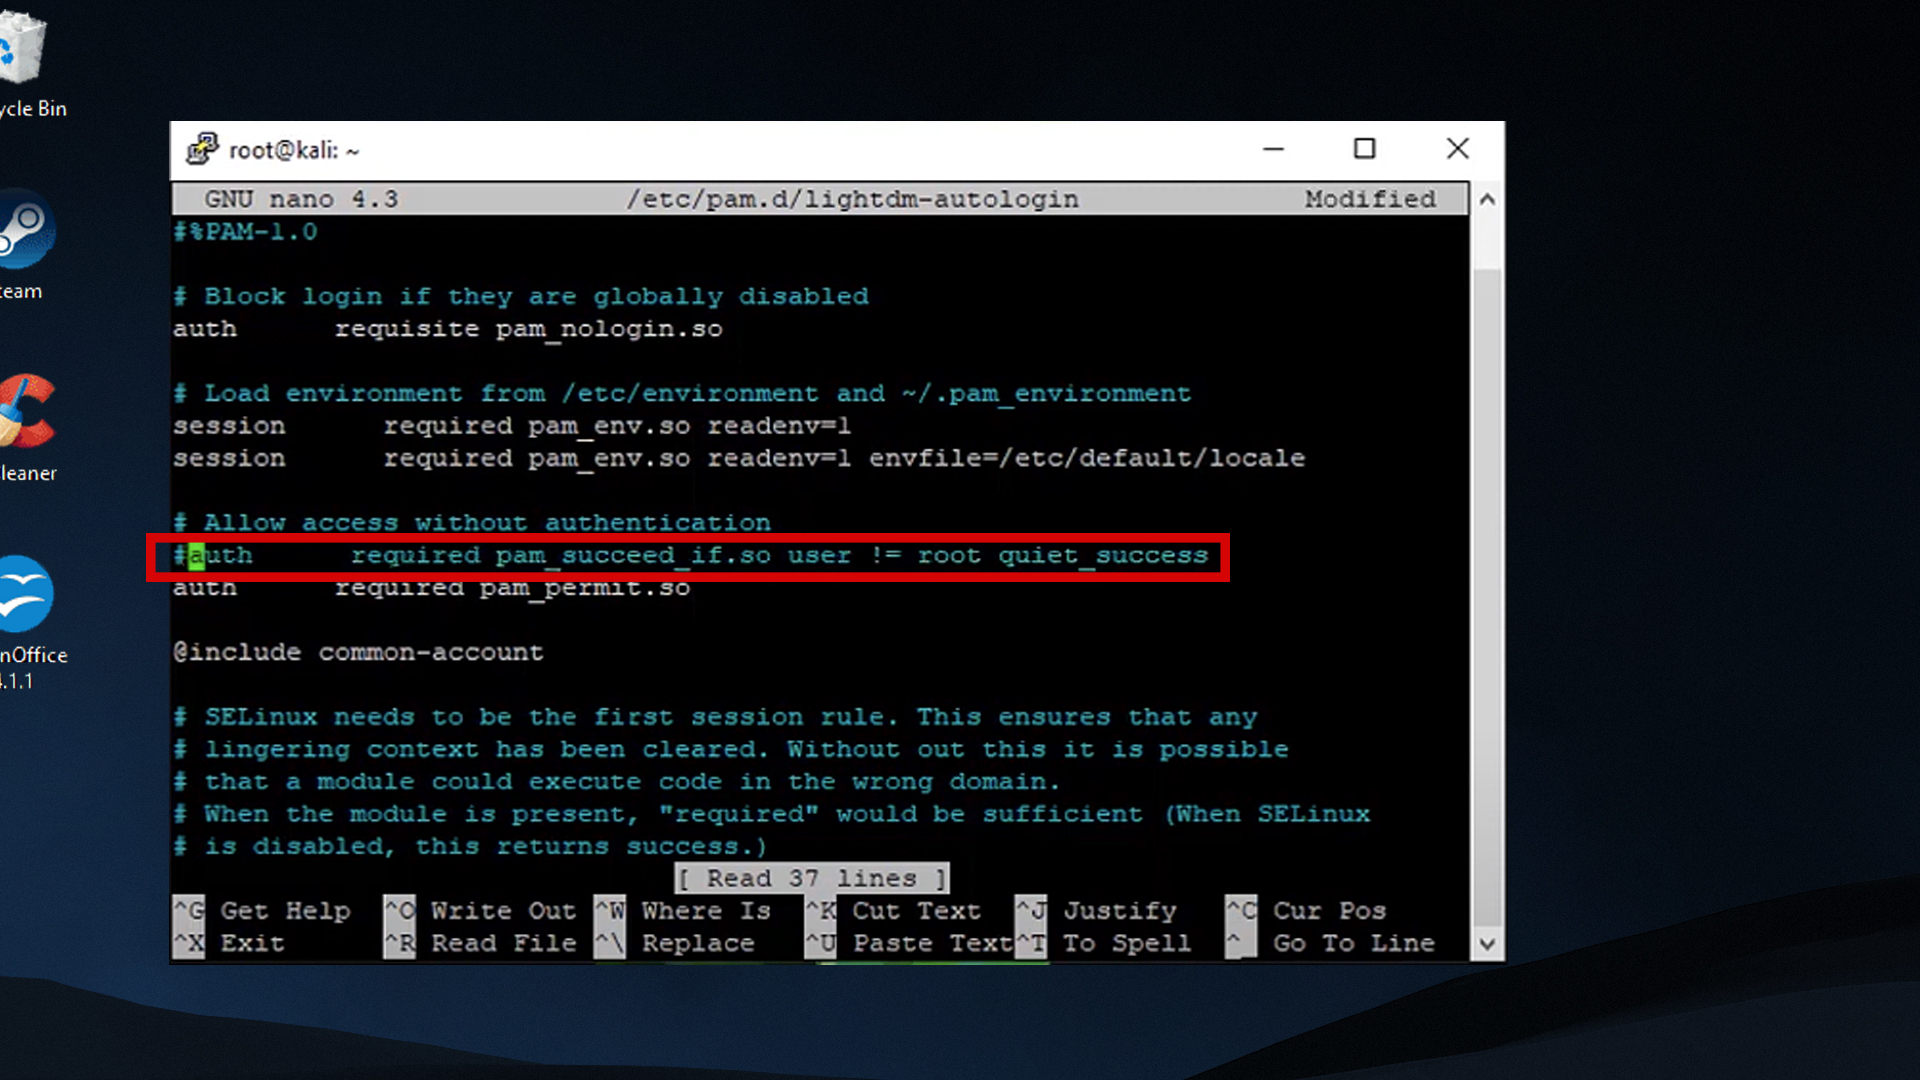
now we have to comment out an authentication ..
Then write out(^O) and exit(^X)
Now reboot the PI by typing..
After the reboot you will be able to see the display working...... and thats all..
Raspberry pi does have wifi but its more like command-and-control Wi-Fi. where you can log into the PI and tell it to do things you should not be using the internal card to do hacking stuff because it's just not suited for it.. so i recommend you to use an external card for it, such as..
- Alfa AWUS036NHA 150Mbps Wireless USB Adaptor
- Alfa Long-Range Dual-Band AC1200 Wireless USB 3.0 Wi-Fi Adapter