In this tutorial, you’ll learn how to use and connect a camera to Raspberry Pi 4 Model B.
In this tutorial, you’ll learn how to use and connect a camera to Raspberry Pi 4 Model B.
Brief overview
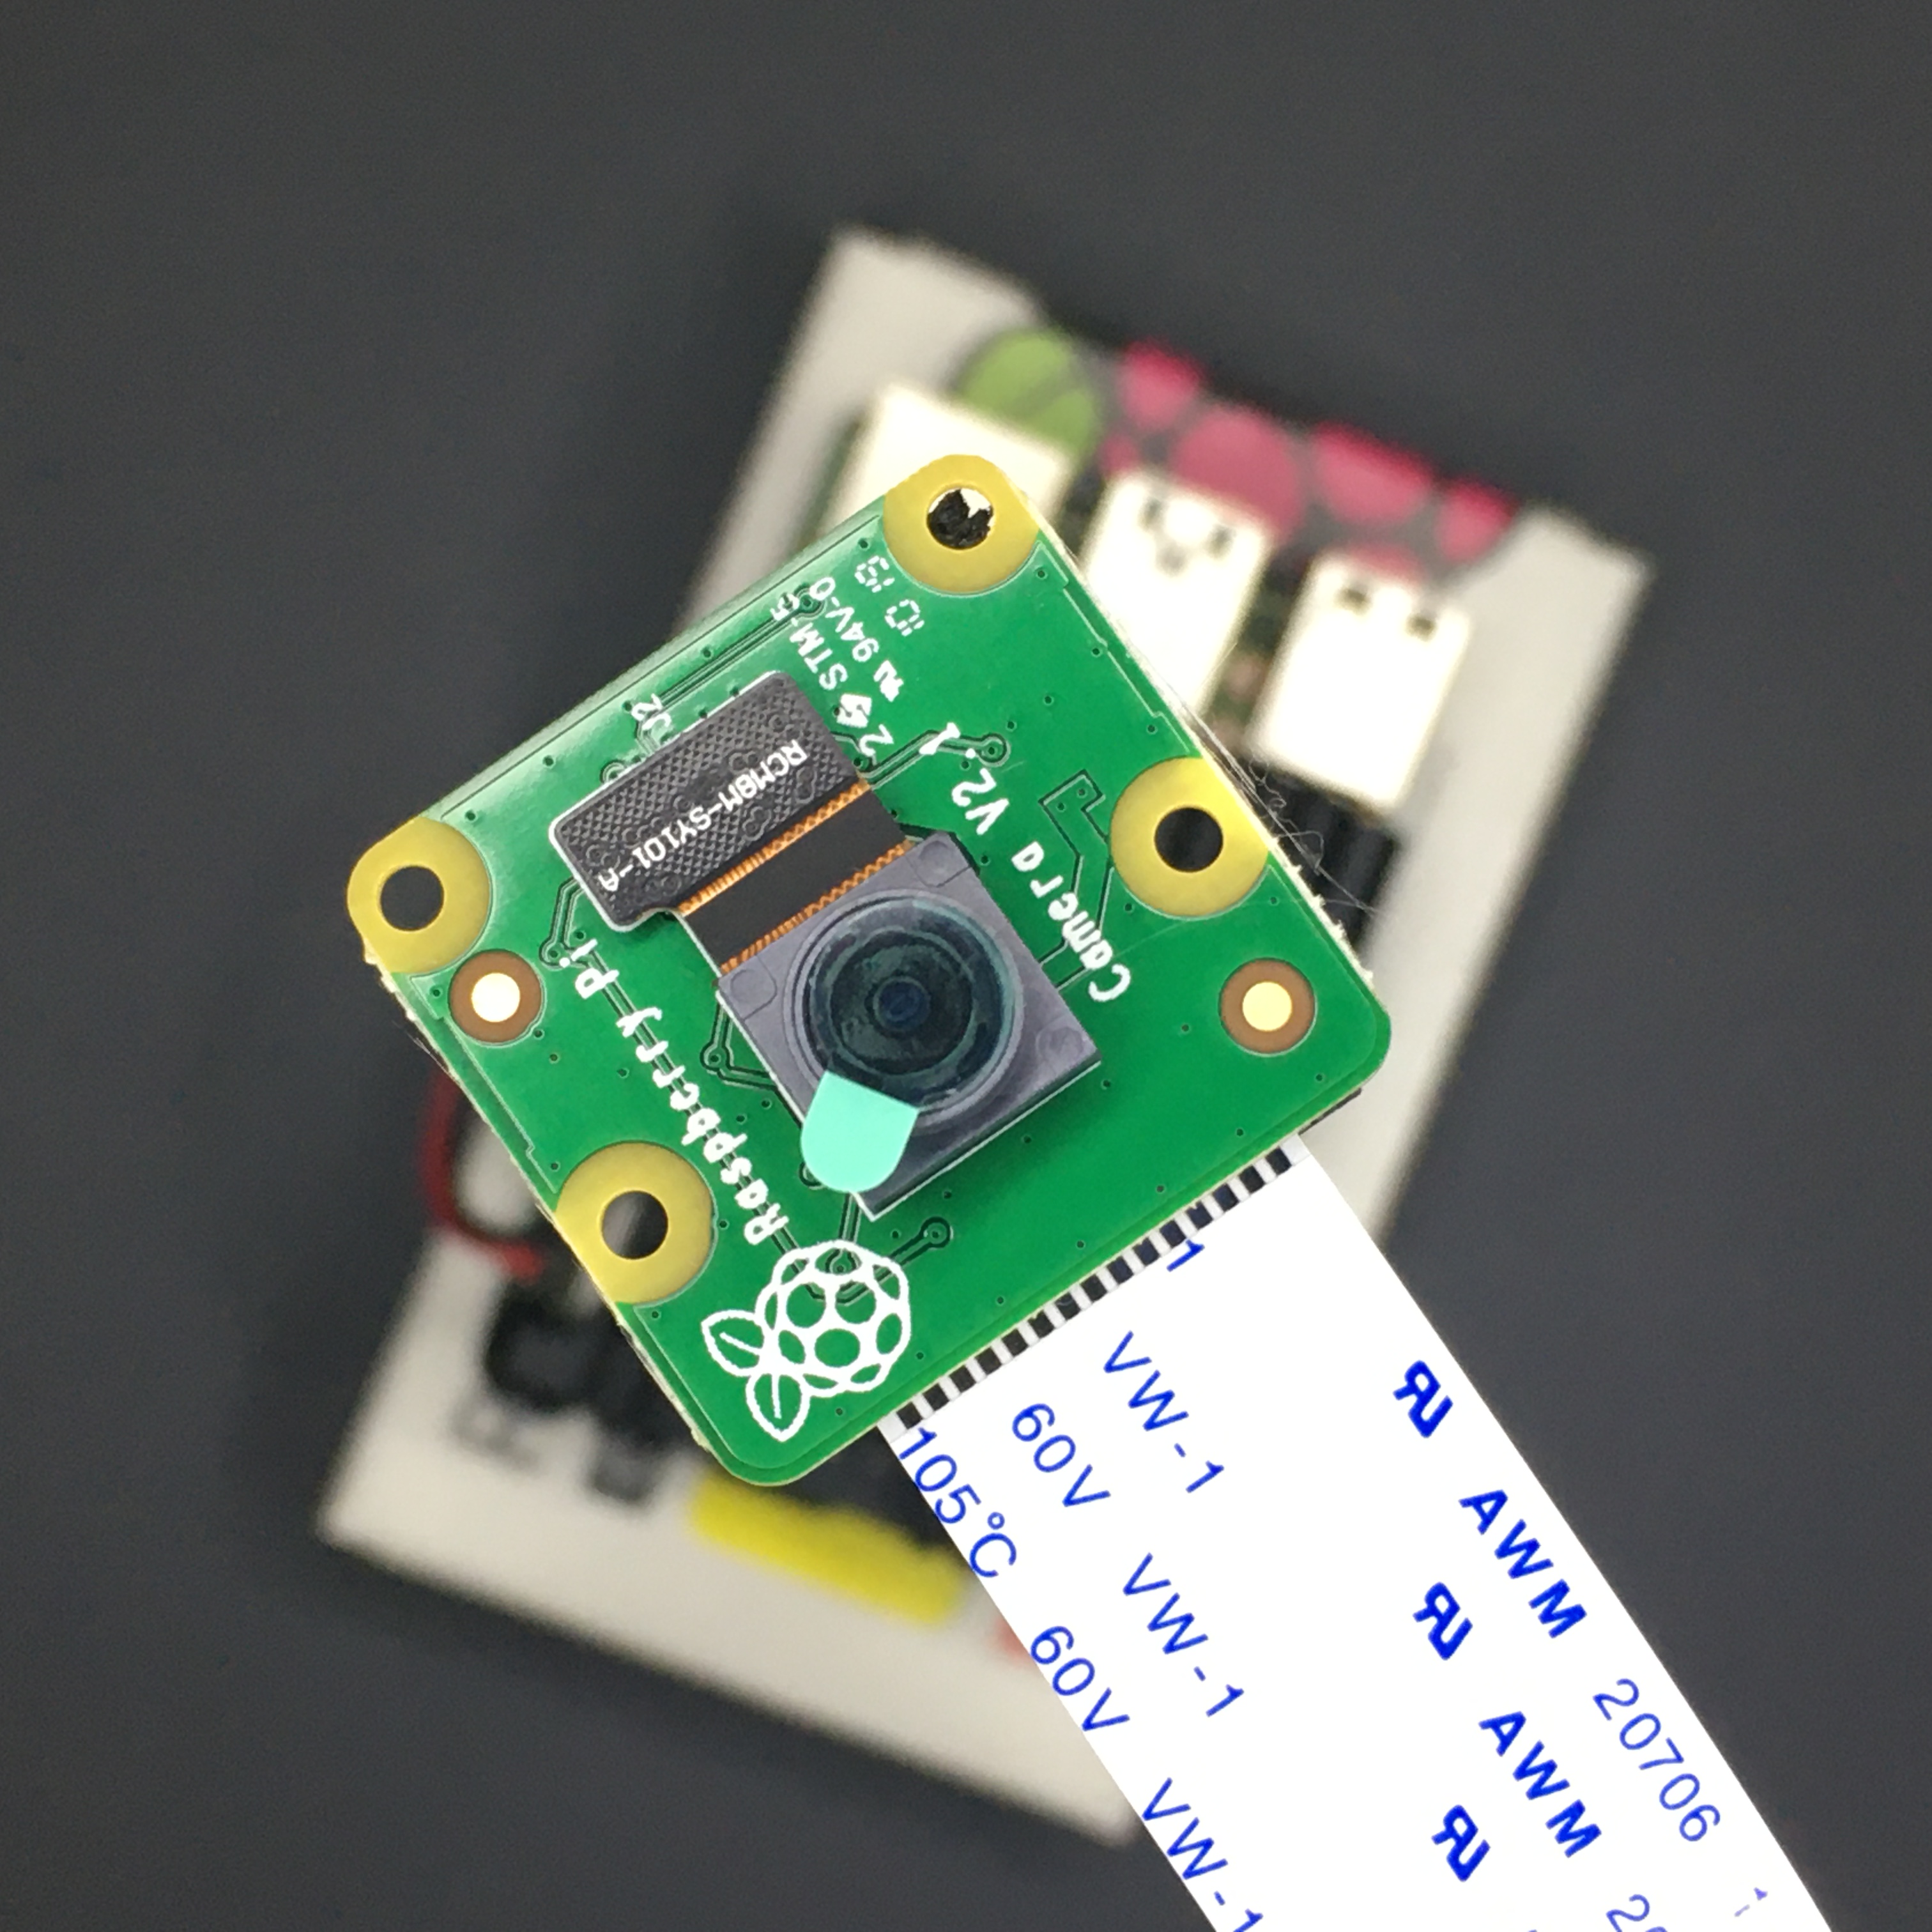
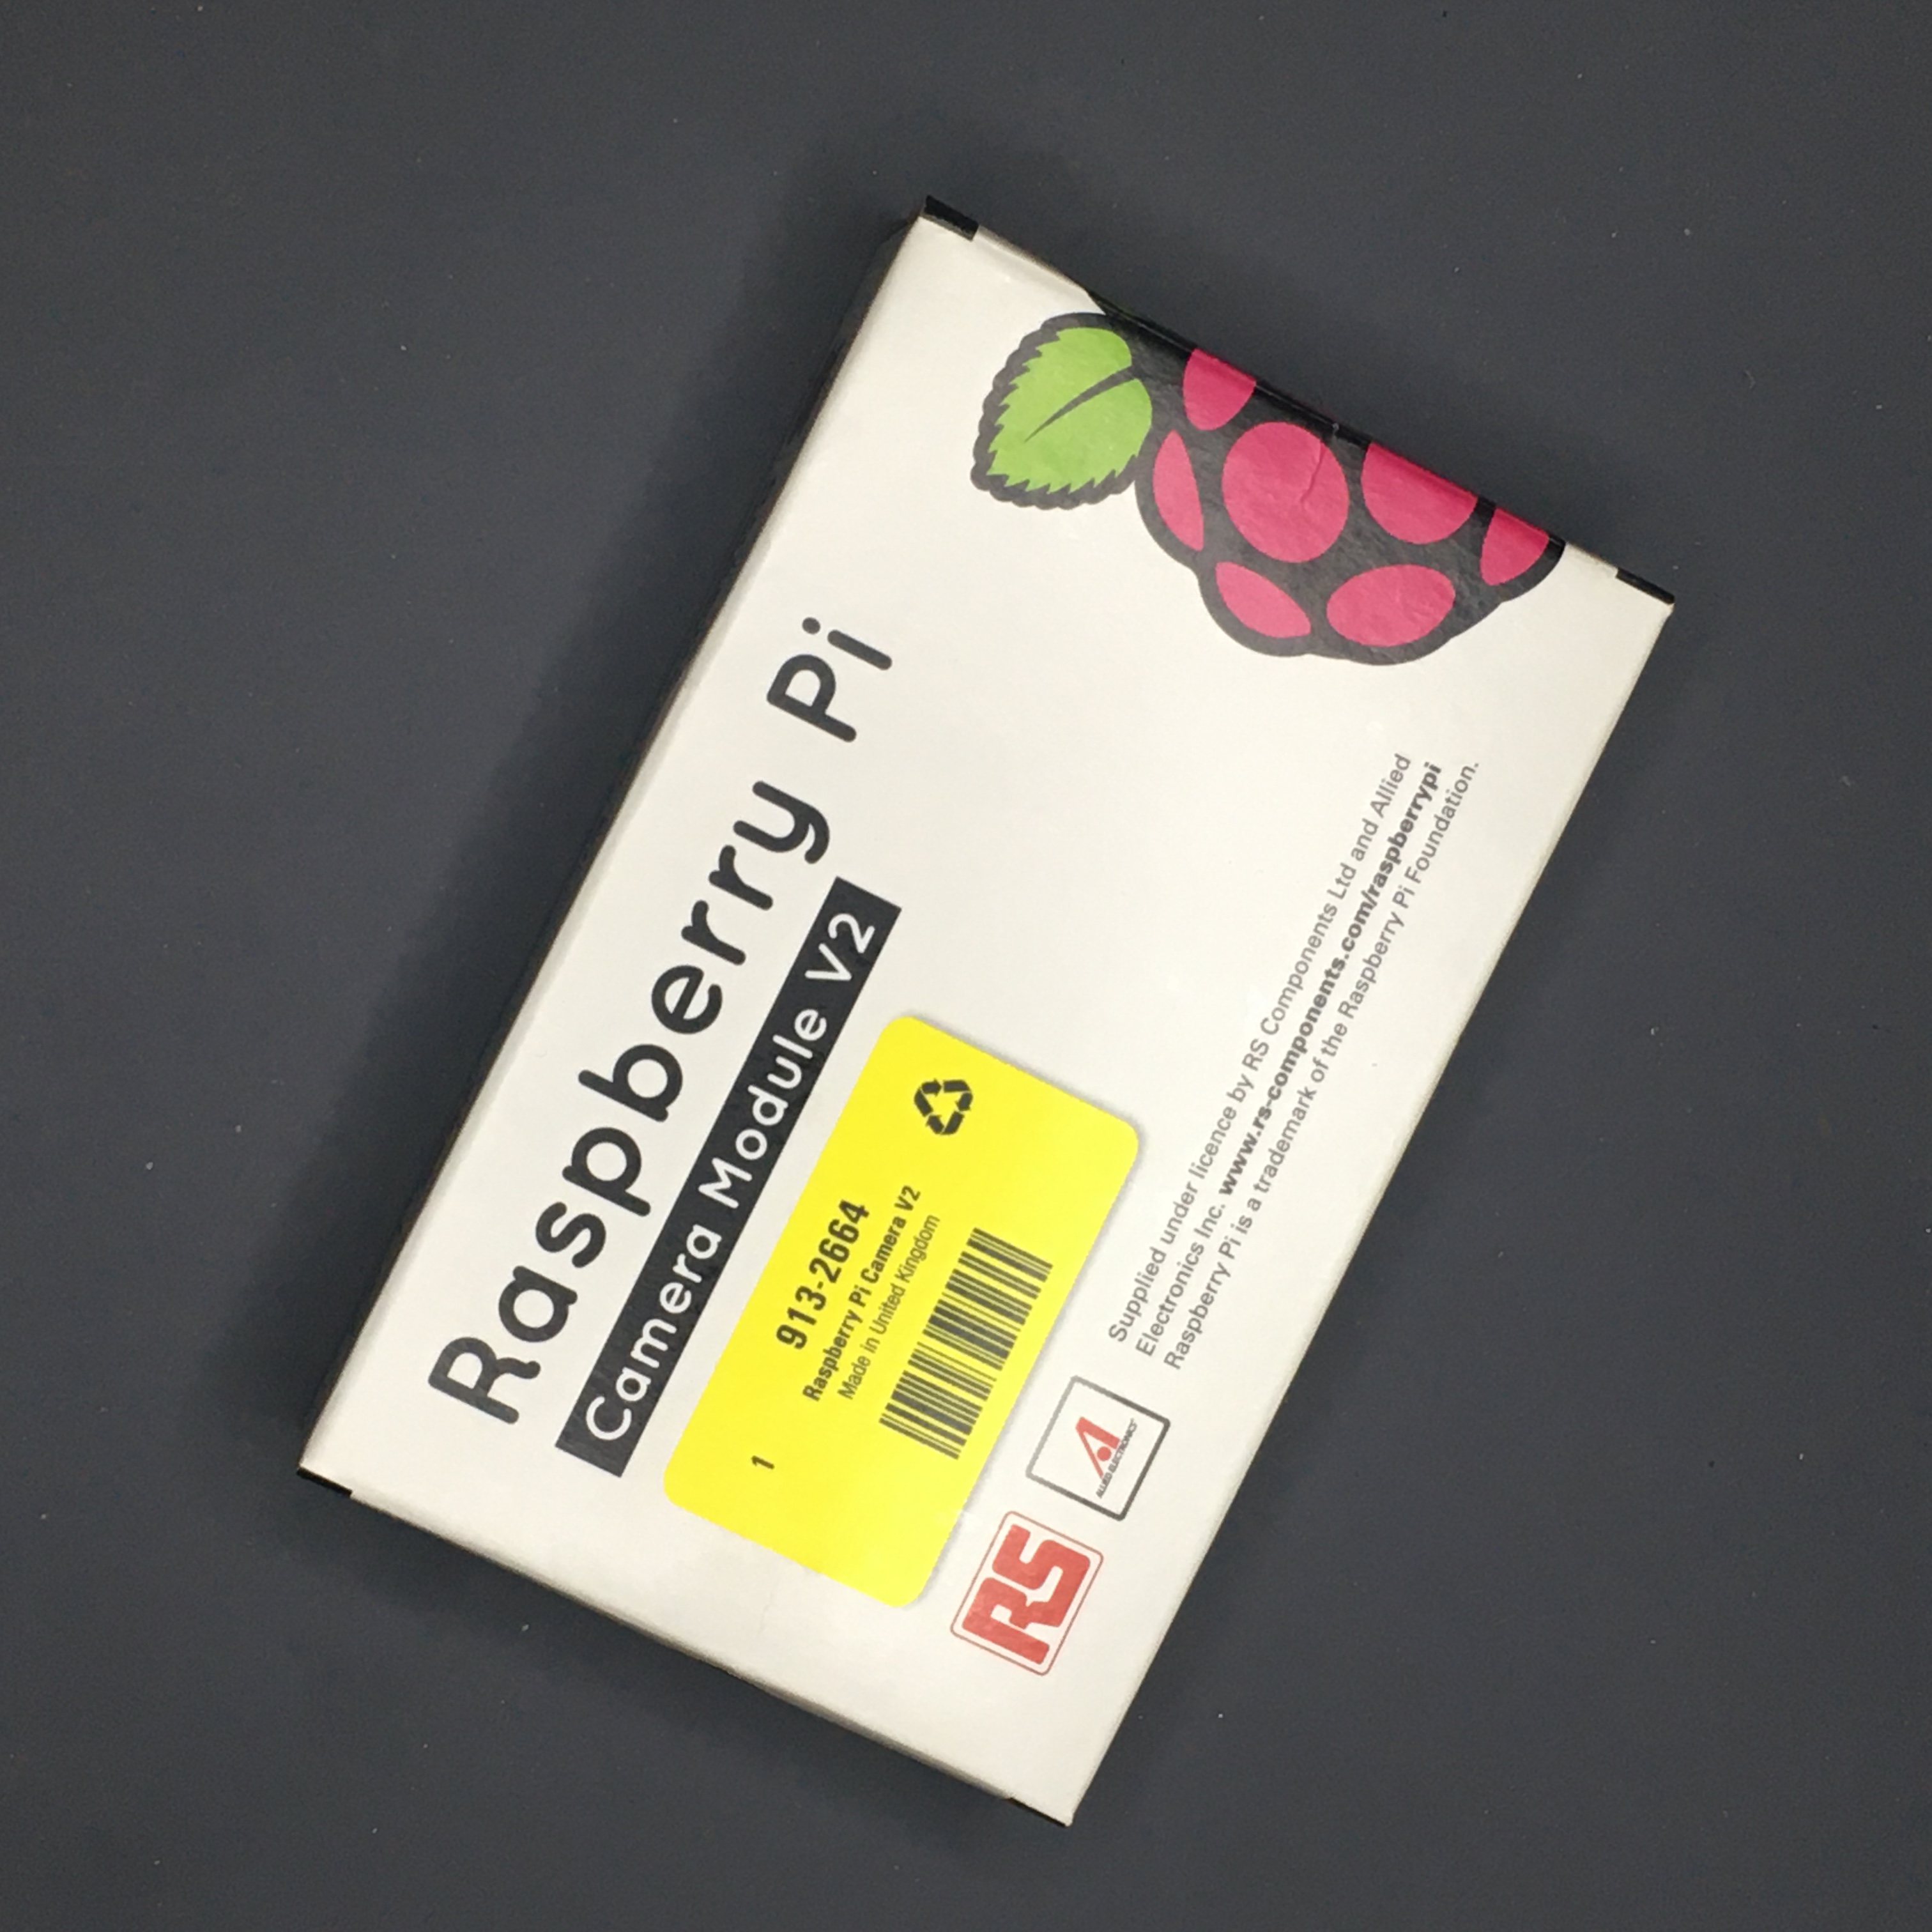
Raspberry Pi Camera v2.1 is equipped with a 8 megapixel Sony IMX219 image sensor and improved fixed focus. It is compatible with all Raspberry Pi models. It's also capable of 3280 x 2464 pixel static images, and also supports 1080p30, 720p60 and 640x480p90 video.
What You Will Learn
- In this tutorial, you’ll learn how to use and connect a camera to Raspberry Pi 4 board.
- How to control the camera using Python
- How to use raspivid,raspistill and raspiyuv utilities
- How to use start_preview() and stop_preview() to display the image from the camera
- How to take photos using the capture() command
- How to record video using start_recording() and stop_recording()
- How to view video via omxplayer
- How to change the brightness, contrast and resolution in photos
- How to apply visual effects to video
Items for Getting Started
You can buy Raspberry Pi Camera Board and Raspberry Pi 4 Model B on Seeed Studio store. Check it out.
Preparation
Make sure you have the latest version of the Raspbian operating system You can download the latest version from the official Raspberry website.
After installing the OS, we will check whether the latest drivers are installed with the following commands.
sudo apt-get update
This command updates the list of available packages and their versions.
sudo apt-get upgrade
Now enable the camera interface by opening the Raspberry Pi configuration menu:
- Go to Preferences menu -> Raspberry Pi Configuration
- Enable the camera from Interfaces option and click OK.
- After turning on the camera, the system will ask you to restart it. Reboot the system.
How to Connect a Camera to the Raspberry Pi
The camera module is connected to the Raspberry PI board via a special CSI (Camera Serial Interface) connector, which has sufficient speed for transmitting video data in formats up to 1080p at 30 frames per second or 720p at 60 fps.
The CSI interface, unlike USB cameras, allows you not to load the Raspberry processor and use the camera as efficiently as possible.
Connect the camera to the Raspberry Pi board
To do this, you need:
- Turn off the Raspberry Pi.
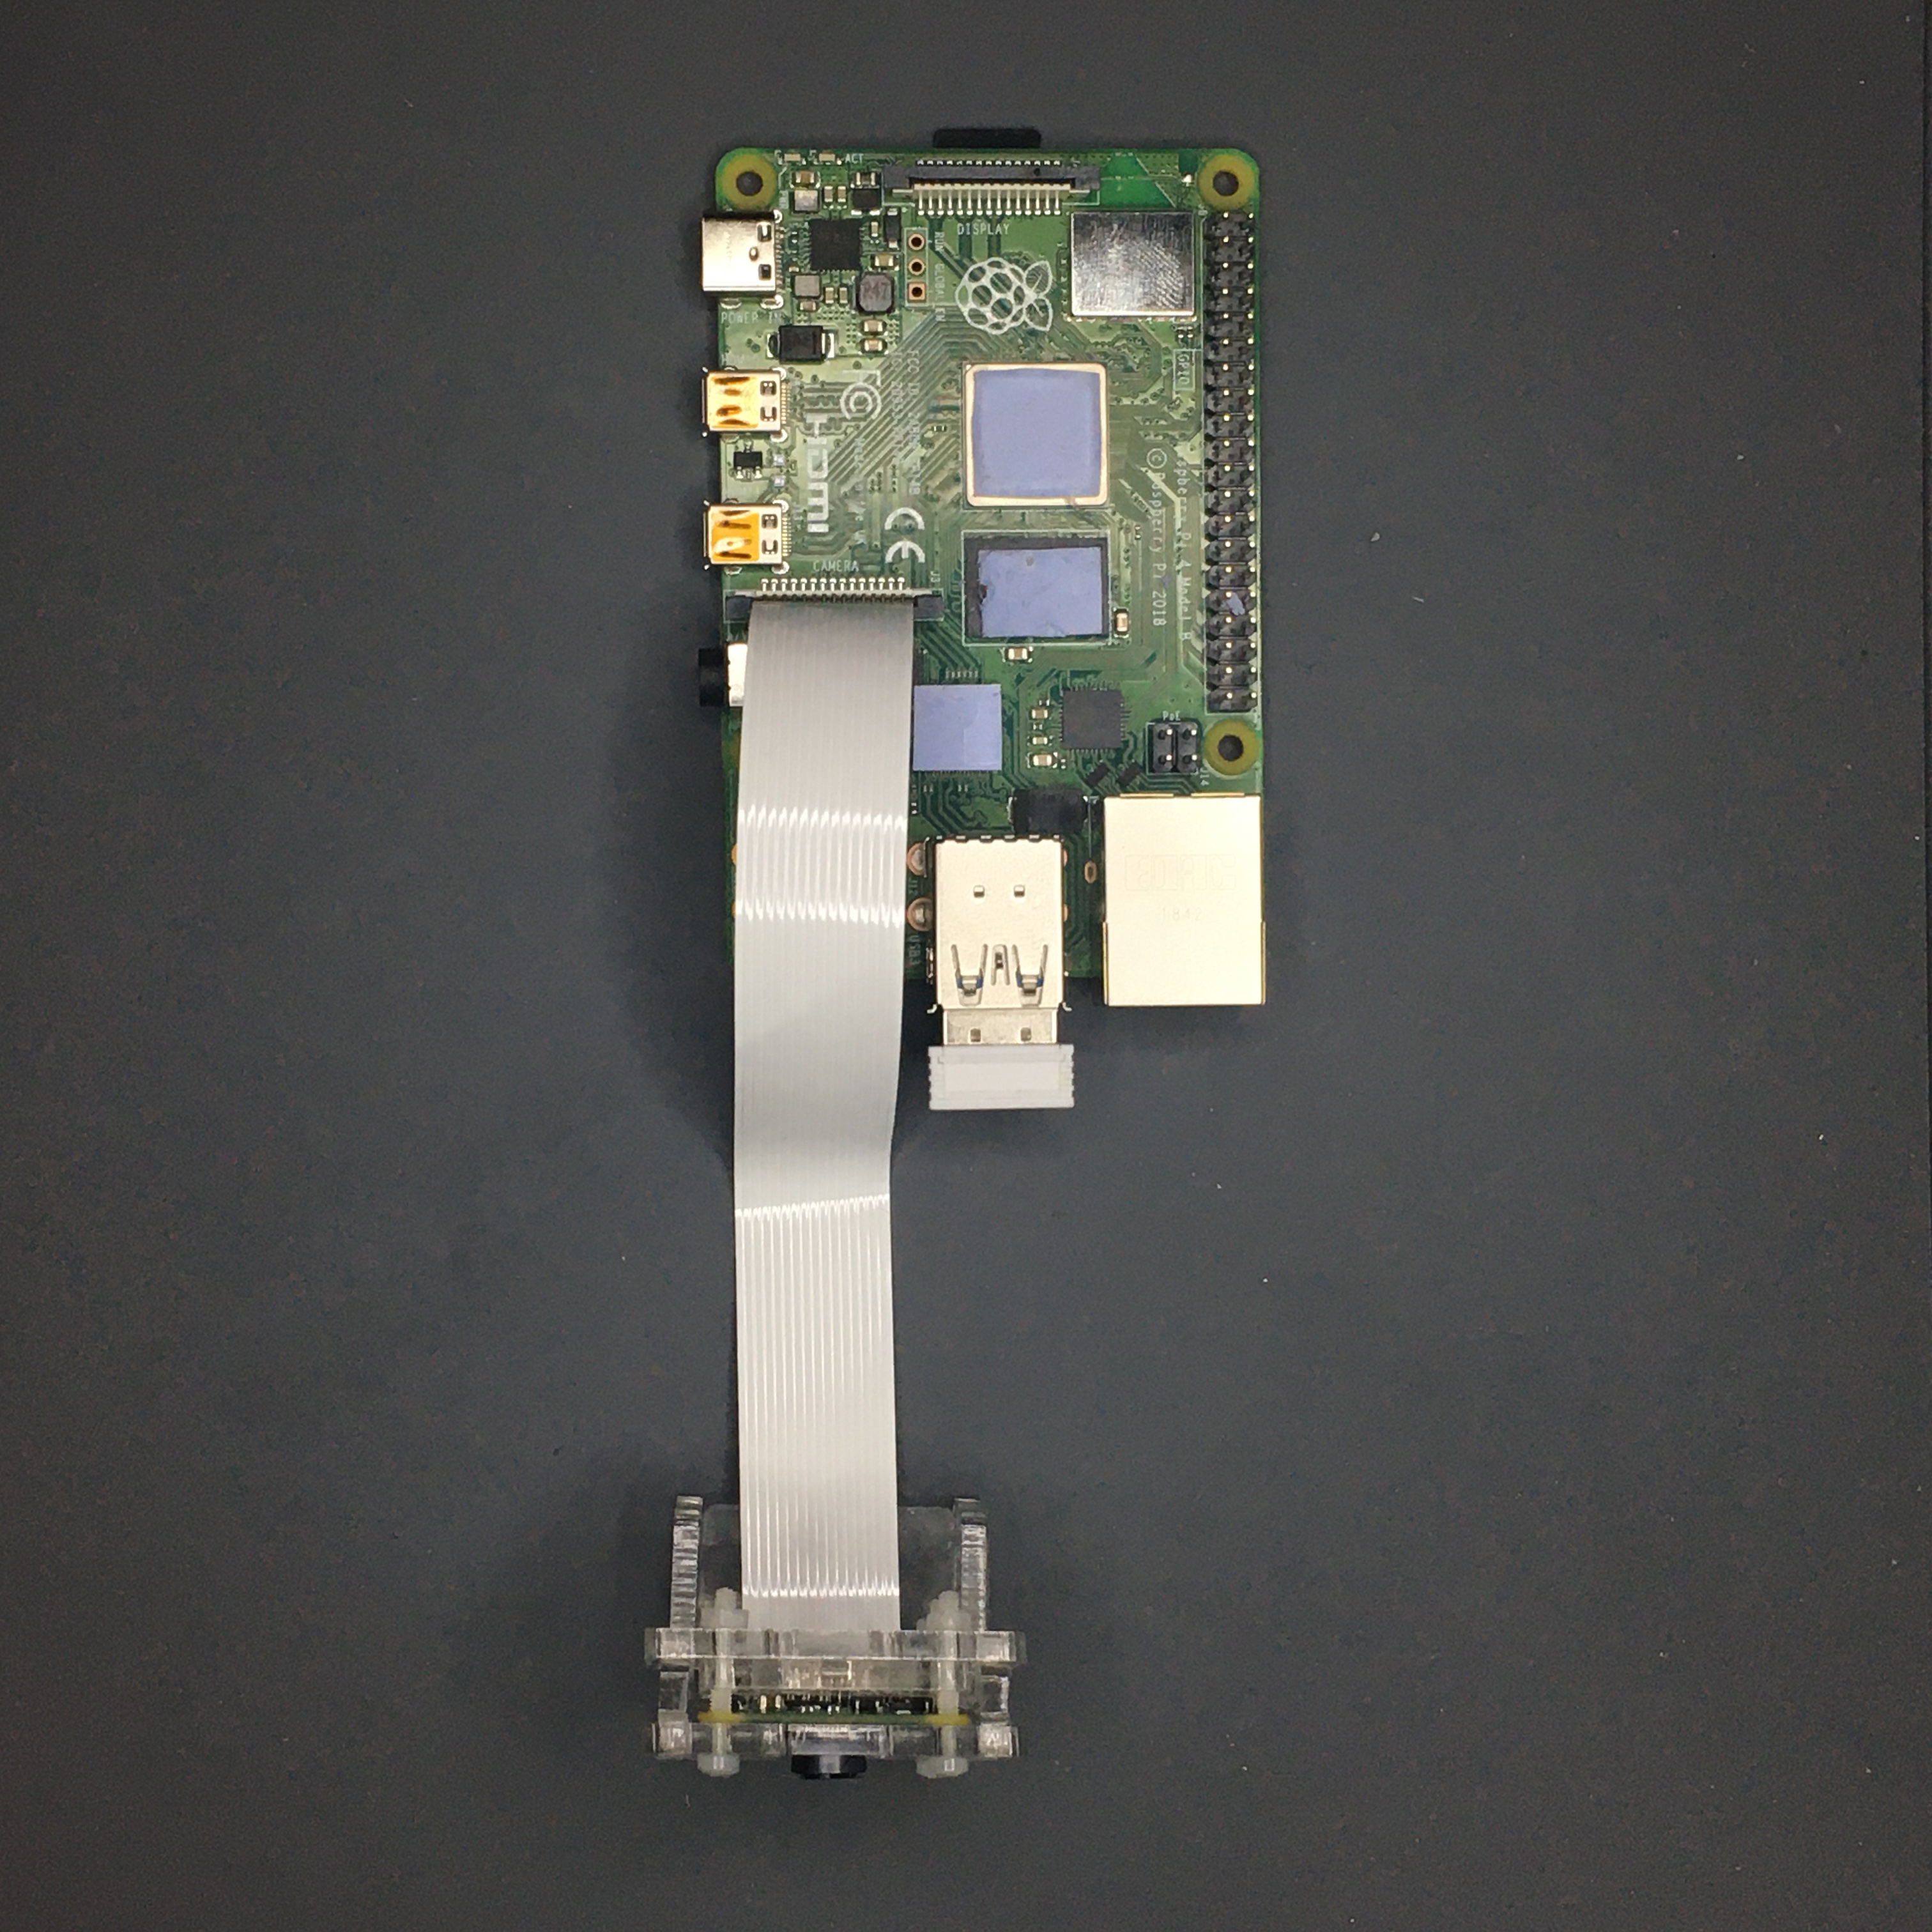
- Carefully locate the camera port and lift the tabs
- Carefully insert the flex cable from the camera into the connector and lock the tabs.
Now the cable should be clamped in the CSI connector and you can turn on the Raspberry Pi.
Taking photo using using Raspbian Terminal
For basic manipulations with the camera, there are 3 command line utilities that are preinstalled on the system:
- raspivid - video capture utility
- raspistill - photo capture utility
- raspiyuv is a utility similar to raspistill, but instead of jpg files, as a result it generates raw files (uncompressed, unprocessed).
A complete list of parameters for each utility can be obtained if you run the utility without parameters
raspistill
either execute the utility with the --help parameter:
raspistill --help
The following are examples of utilities:
raspistill -t 2000 -o image.jpg -w 640 -h 480 -v
Take a photo with a delay of 2 seconds, a resolution of 640 × 480 with the output of information during the operation of the utility (-v) and save to image.jpg.
raspivid -t 10000 -o video.h264
Record a video 10 seconds long and save to video.h264.
Taking pictures using python library - PiCamera
In addition to standard utilities, the camera can be used by software methods. For example, when building security systems, when it is necessary to activate recording, when an event occurs or according to a schedule.
To work with the camera in Python, you will need the PiCamera library, which is preinstalled on the system. If for some reason it is not there, then you can install the library with the following command:
sudo apt-get install python3-picamera
Sketches with the name picamera.py cannot be used - this will make it impossible to use the PiCamera library in Python.
When the library is installed, it must be imported in the sketch:
import picamera
The following code enables the camera in preview mode for 10 seconds
The following code enables the camera in preview mode for 5 seconds, then take a photo and save it as “image” on your desktop.
Recording video using python library - PiCamera
To shoot the video, we will use the start_recording() and stop_recording() commands.
import picamera
from time import sleep
camera.start_preview()
camera.start_recording('/home/pi/video.h264')
sleep(10)
camera.stop_recording()
camera.stop_preview()
After 10 seconds, the video will end and will be saved to the video.h264 file in your user’s root folder. To watch the video, use the omxplayer program.
Effects
The Picamera library for Python allows you to use a large number of settings and filters that can be applied to both the preview and the photo itself.
Adding the text
You can add any text to the photo using the annotate_text command. You can also change the text size with annotate_text_size command. See the following example.
Change image resolution
By default, a photo is taken of the resolution that is configured on your monitor, but you can change it using the camera.resolution() command.
camera.resolution = (2592, 1944)
Adjust the brightness or contrast of a picture
You can adjust the brightness on the photo by setting it from 0 to 100. By default, 50 is used. If you want to set the brightness, for example, to 70, specify the following code after starting the preview:
To set the contrast, use the camera.contrast command.
Visual effects
You can use camera.image_effect to overlay a large number of different visual effects: negative, solarize, sketch, denoise, emboss, oilpaint, hatch, gpen, pastel, watercolor, film, blur, saturation, colorswap, washedout, posterise, colorpoint, colorbalance, cartoon, deinterlace1, deinterlace2, none.
With the help of the following program you can see all available filters. The code will change visual effects every 5 seconds:
You can find a complete list of functions and features of the picamera library on the official website.
I hope you found this guide useful and thanks for reading. If you have any questions or feedback? Leave a comment below. Stay tuned!


