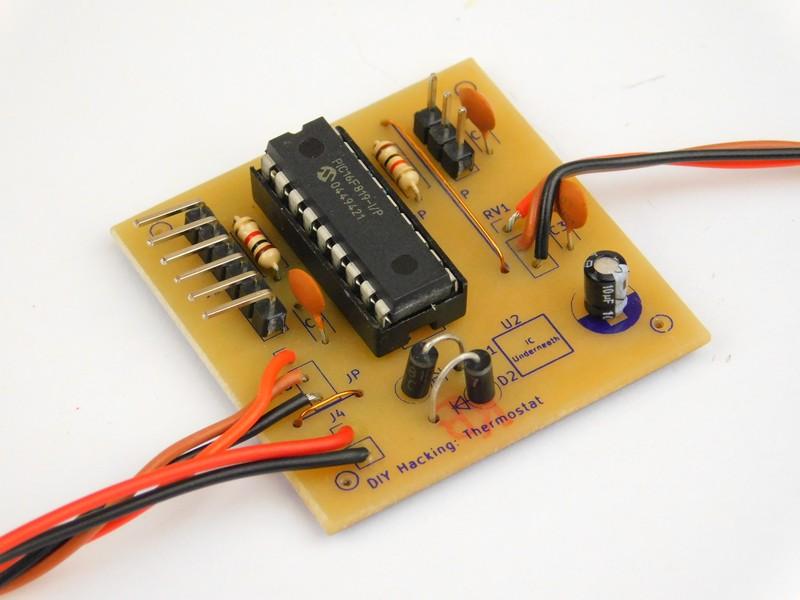
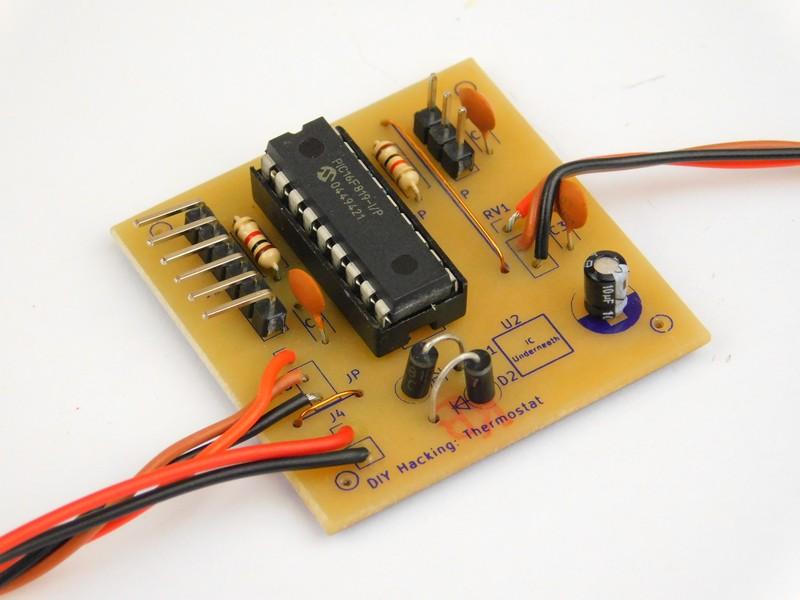
This wireless thermostat that will turn an electric heater into a room temperature-controlled heater.
Electric heaters are great for heating up a room, but they don't come with room thermostats (only those arbitrary 1 to 10 dials). In this DIY Hacking project, we will build a wireless thermostat that will turn these heaters into a room temperature-controlled heater.
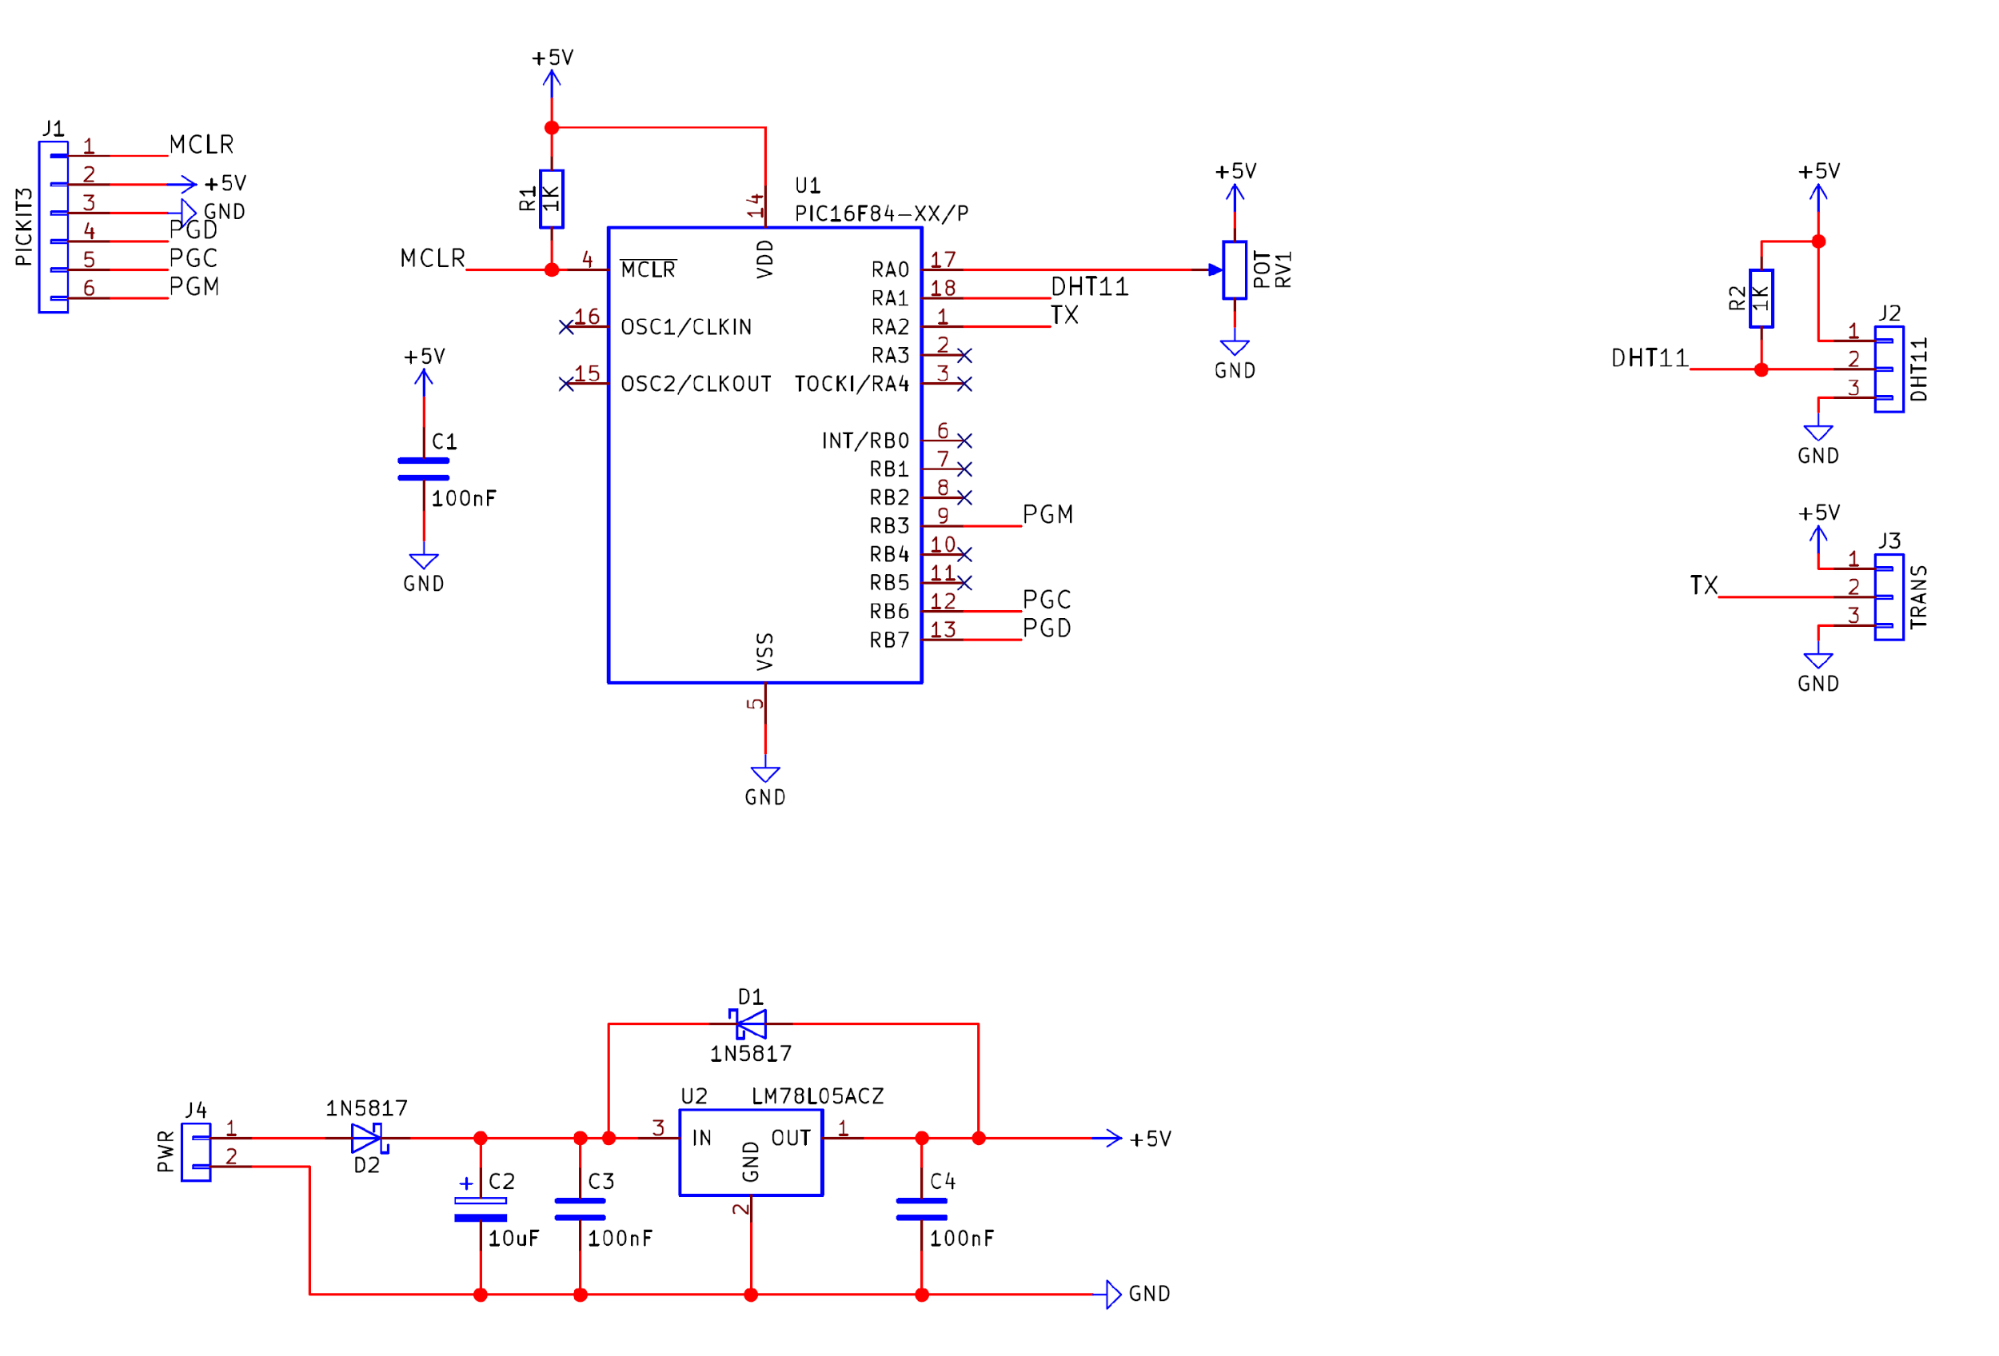
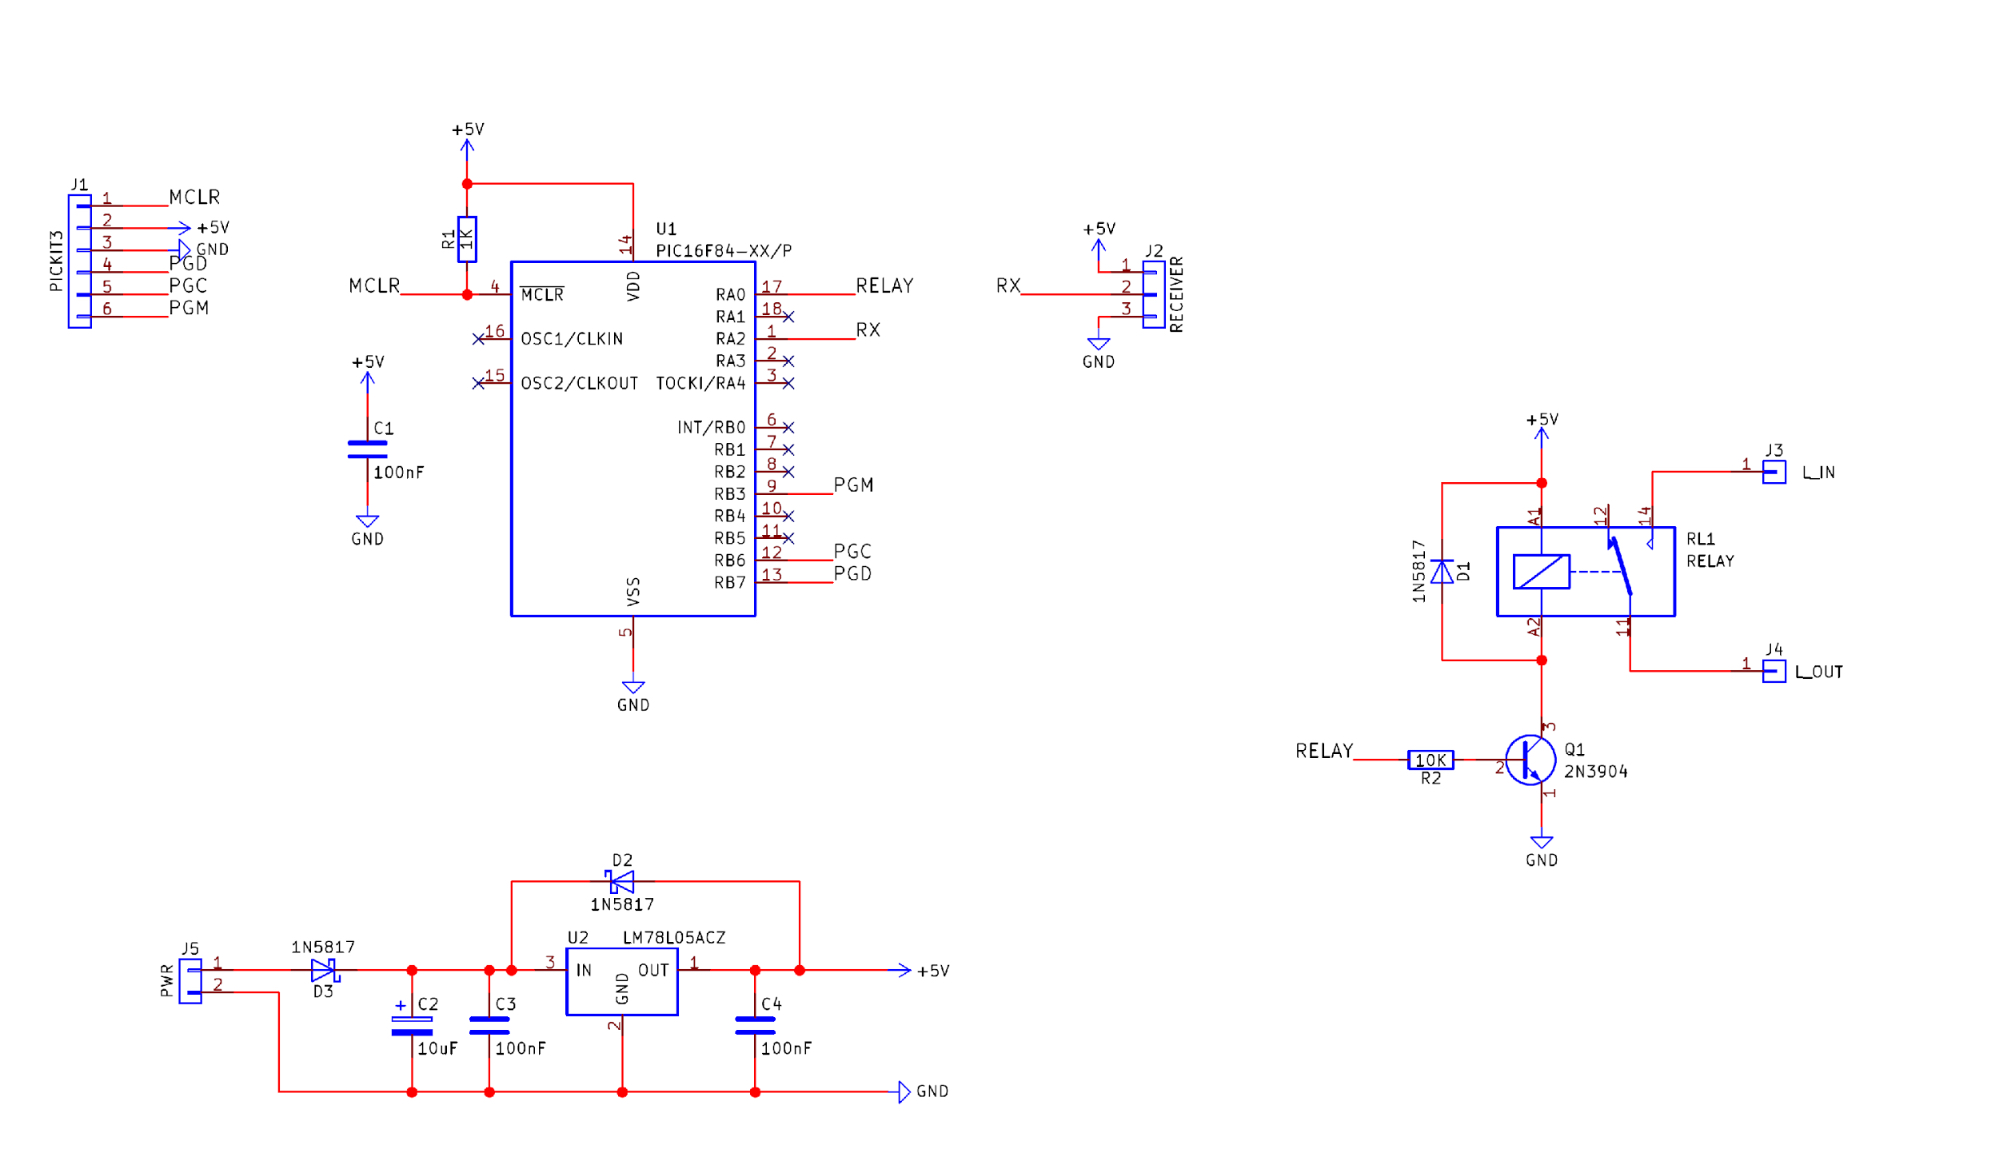
Wireless Thermostat Schematic
How the Wireless Thermostat Works
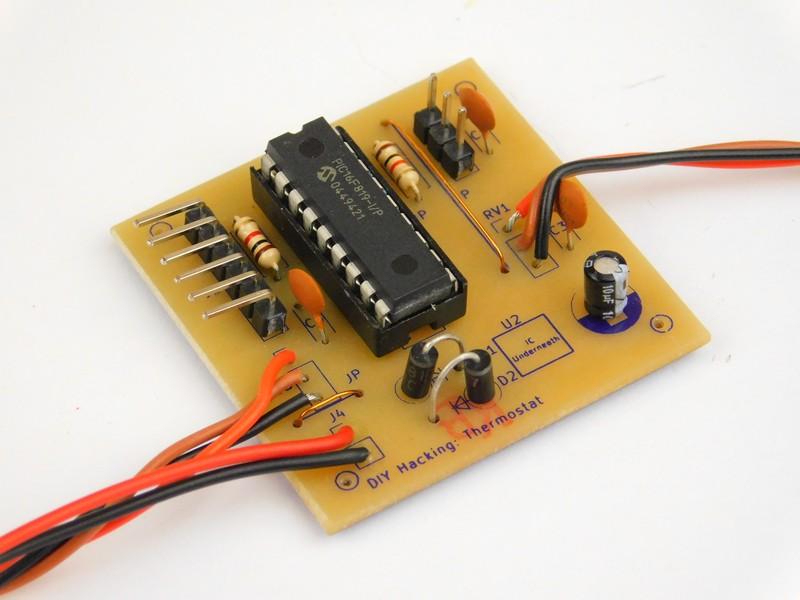
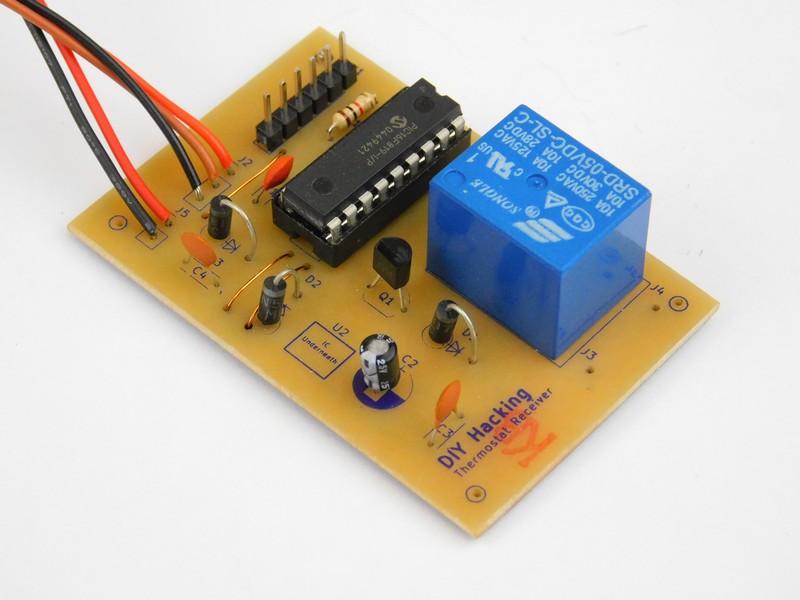
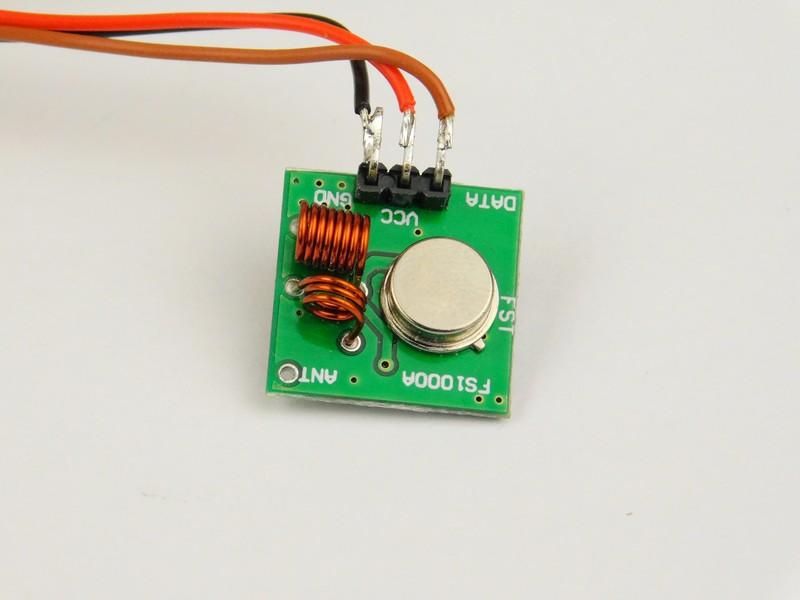
The project is composed of two main circuits — the transmitter and receiver — and the code found on the microcontrollers. The transmitter circuit is very trivial, with a PIC16F819 as the main controller, a potentiometer to be used as a temperature dial, a DHT11 module for measuring the room temperature, a simple 433MHz transmitter module, and a power-regulation circuit. The receiver circuit is also very simple, with the main microcontroller (also a PIC16F819), a relay and transistor to drive the relay, a 433MHz receiver module, and a power-regulation circuit. The PIC16F819 was chosen for this circuit due to its small size, its cost (a buck a piece in the right place), and its DIP package (18 DIP).
The complexity of the circuit is in the coding of the two circuits, and due to their length, the entirety of the code will not be explained here. However, the code will be explained as well as the reasoning behind the design.
Both the transmitter and receiver use similar start-up code, which involves configuring the internal oscillator, the IO pins, and various other modules. For example, the transmitter needs to configure the ADC to allow readings from the POT while the receiver needs to disable all ADC pins. Once ready, the transmitter circuit continuously takes readings from the DHT11 and compares the temperature to the temperature setting on the POT. The voltage output of the POT can be between 0 and VCC, which corresponds to values between 0 and 255. Since we don't want a temperature above 30 degrees or one lower than 10, a simple formula is used to convert the position of the POT to a desired temperature:
temperatureSetting = 10 + (temperatureDial / 12)
If the temperature setting is greater than the current temperature, the transmitter will change the heater status to 1 (else 0). With all of that done, the transmitter transmits the heater status wirelessly to the receiver so the receiver can configure the output relay to either turn on the heater or turn it off. But how do we transmit this data?
The 433MHz band is very noisy, and chances are, your receiver will pick up much interference. Because of this, we cannot send pulses of different length to indicate if the heater is to be turned on or off. Instead, we need to send a data packet that is somewhat unique so the receiver can distinguish between noise and information.
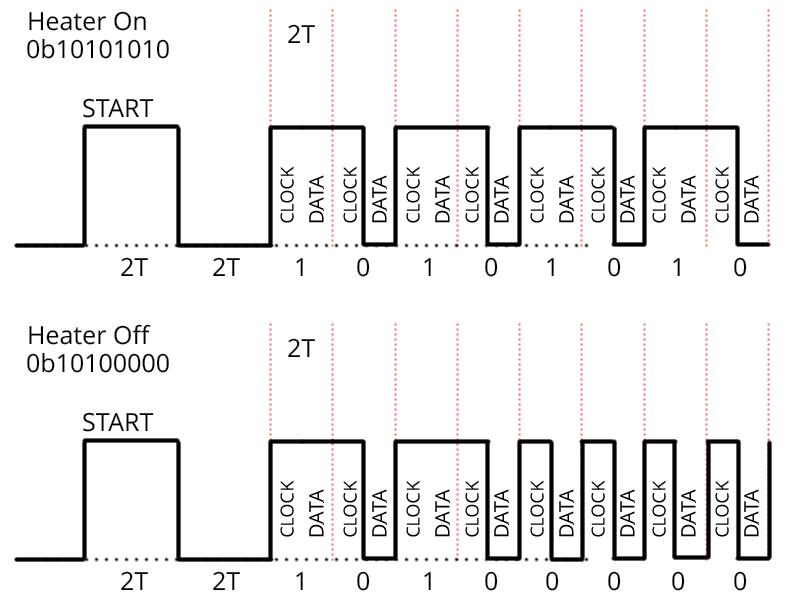
The protocol used for transmitting data
Key points about the protocol:
- The start bit is 2T high and 2T low
- A data bit is 2T wide
- The first T unit in the data is the clock signal (logical high)
- The second T unit in the data is the data bit (either high or low)
The length and speed of the transmission is not too important; it only matters that the receiver reads the data bits at the correct time. In theory, the two project files attached to this project should work out of the box, but if you find that the receiver is never picking up the transmission, yet you can see the receiver module receiving the data, you may need to edit the receiver code delays or adjust the oscillator to match the pair.
Construction
This project can be built with many different circuit construction techniques including stripboard, matrix board, and PCB. However, it is advised not to use a breadboard if the electrical heater uses a voltage above 12V. For this project, I have used a PCB (because wiring is boring), and I am now using 7805 ICs in a SOT-89 package, which is very small (and not hobby-friendly).
Please understand that high voltages are DANGEROUS and WILL KILL if mishandled or abused. DO NOT use this project in a mains environment if you are neither competent to install electrics safely or not able to ensure that the circuit will be safely installed and safely operate. Always remember to switch lives, keep neutrals unbroken (unless an isolation switch is needed), use fuses on the live wire, and have earths connected when needed.
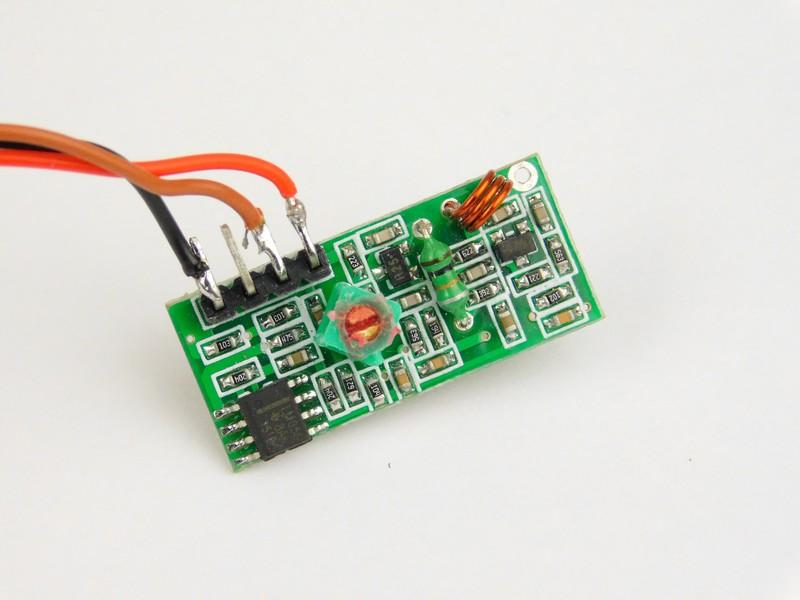
The 433MHz receiver module
Downloadable Files
