This analog mixer improves the quality of recorded sound onto a cassette player for use in digital information storage.
The digital age has seen a tremendous transformation, ranging from the rapid increase in hard drive space to the speed of processors. However, some computer users in the past had to rely on more ancient technology to save and load files. In this project, we look at a simple analog mixer that is used to improve the quality of recorded sound onto a cassette player for use in digital information storage.
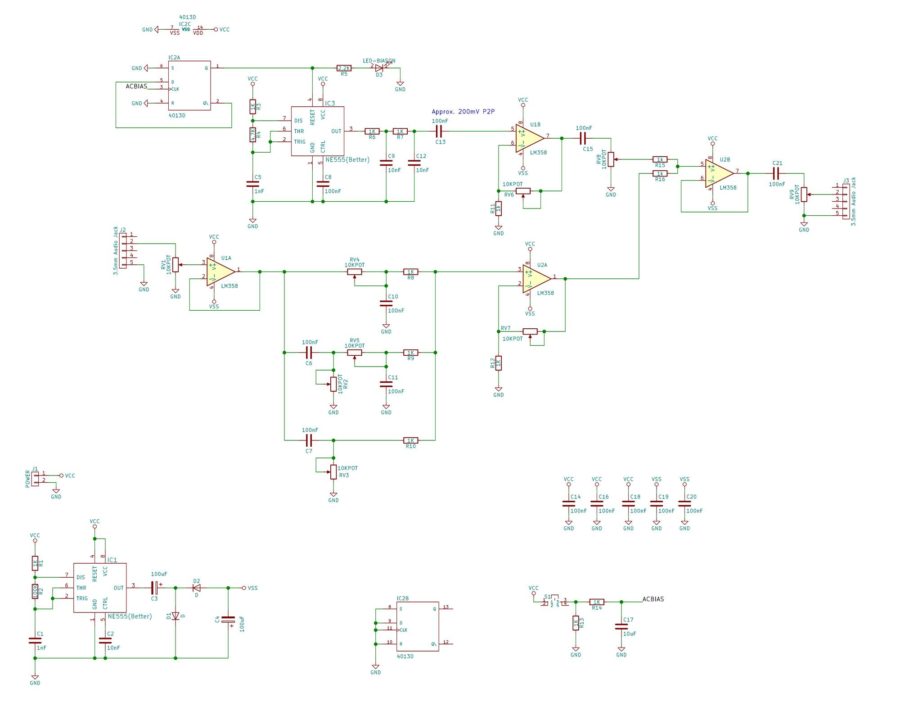
Cassette Audio Mixer Schematic
How Does the Audio Mixer Work?
Cassettes are typically not very good at recording and playing back audio for many reasons, including the quality of the cassette player itself and the inherent properties of tapes. While audio such as speech and music can be understood, data for computers (depending on the recording protocol) may not be easily read back. This circuit has multiple sub-circuits that try to improve the quality of recorded data so that, when it is played back, errors are minimized. The circuit has four main sub-circuits: a negative voltage generator, an AC bias circuit, a filter circuit, and a simple mixer.
The first circuit that we will look at is the negative voltage generator, whose main component is a 555 (IC1). As the 555 oscillates, the capacitor/diode network (C3, D1, D2, and C4) creates a negative voltage on the VSS net, whose magnitude is approximately the supply voltage.
The second sub-circuit is a filter stage that contains a low pass, band pass, and a high pass (RV2, RV3, RV4, and RV5). The purpose of this circuit is to adjust the incoming audio encoded data so that unwanted frequencies are blocked while keeping desired frequencies.
The third subcircuit is a sine wave generator, which is needed to produce an AC bias signal. Cassette players use an electromagnetic head to record information, which can have a tendency to face magnetic issues (i.e., saturation). This results in a low-quality recording, but this can be overcome by introducing an AC bias signal.
Essentially, an inaudible high-frequency sine wave is modulated with the incoming audio signal so that the audio signal is recorded, but the magnetic polarity of the head is constantly changing. This helps to prevent saturation and the result of using AC bias is improved recording quality.
This circuit includes a sine wave generator (IC3), which consists of a 555 timer with a two-stage RC filter on the output. This small sine wave is amplified by U1B, which then feeds the AC bias signal into the last sub-circuit: the mixer. The mixer is a simple voltage summer that adds the filtered audio signal and the AC bias signal to produce the final output audio signal.
Construction
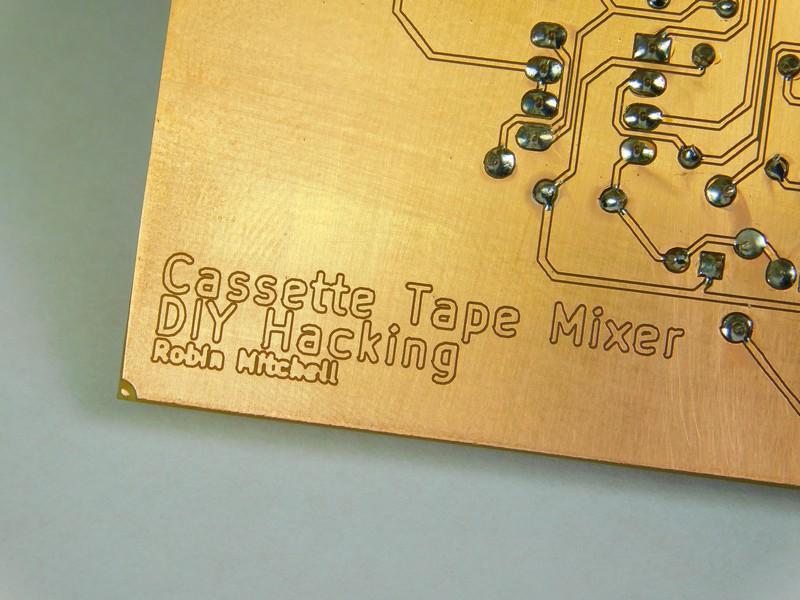
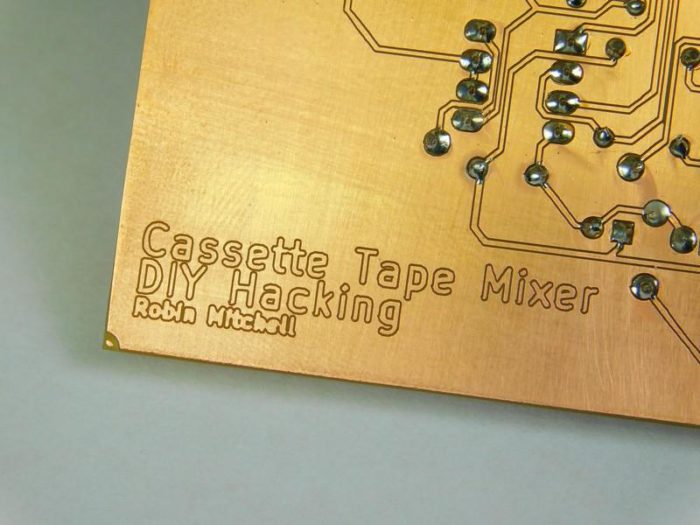
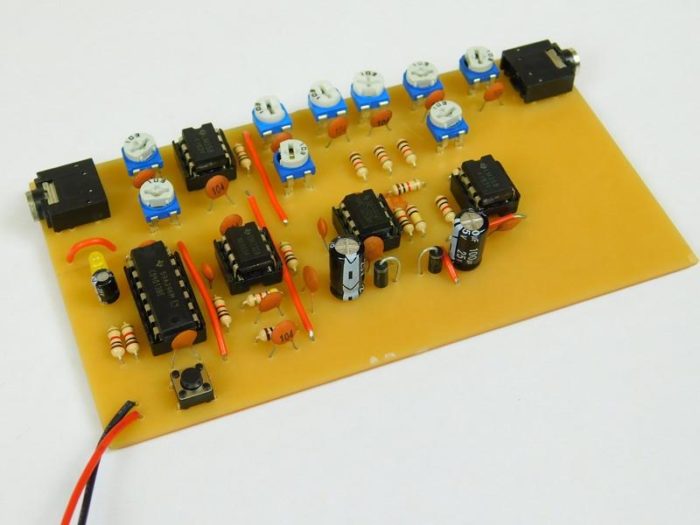
This circuit can be constructed using most electronic construction techniques, including breadboard, stripboard, matrix board, and PCBs. Due to the large number of components needed, a PCB was better suited, as it reduces the number of wires needed.


