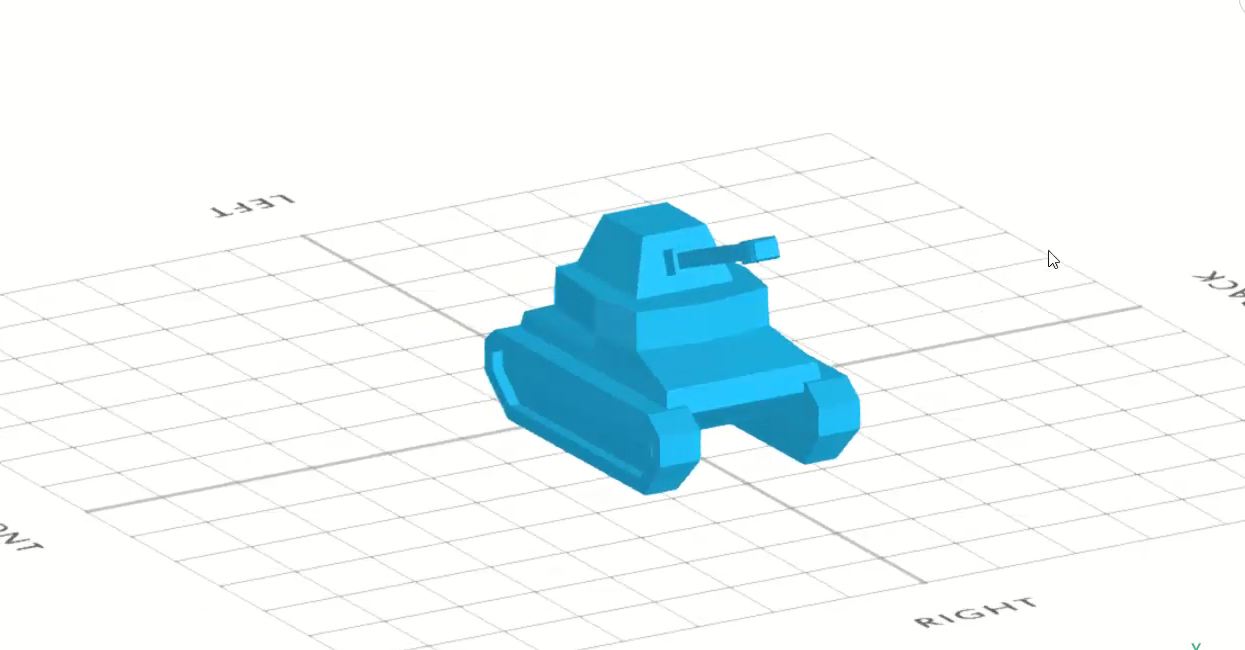
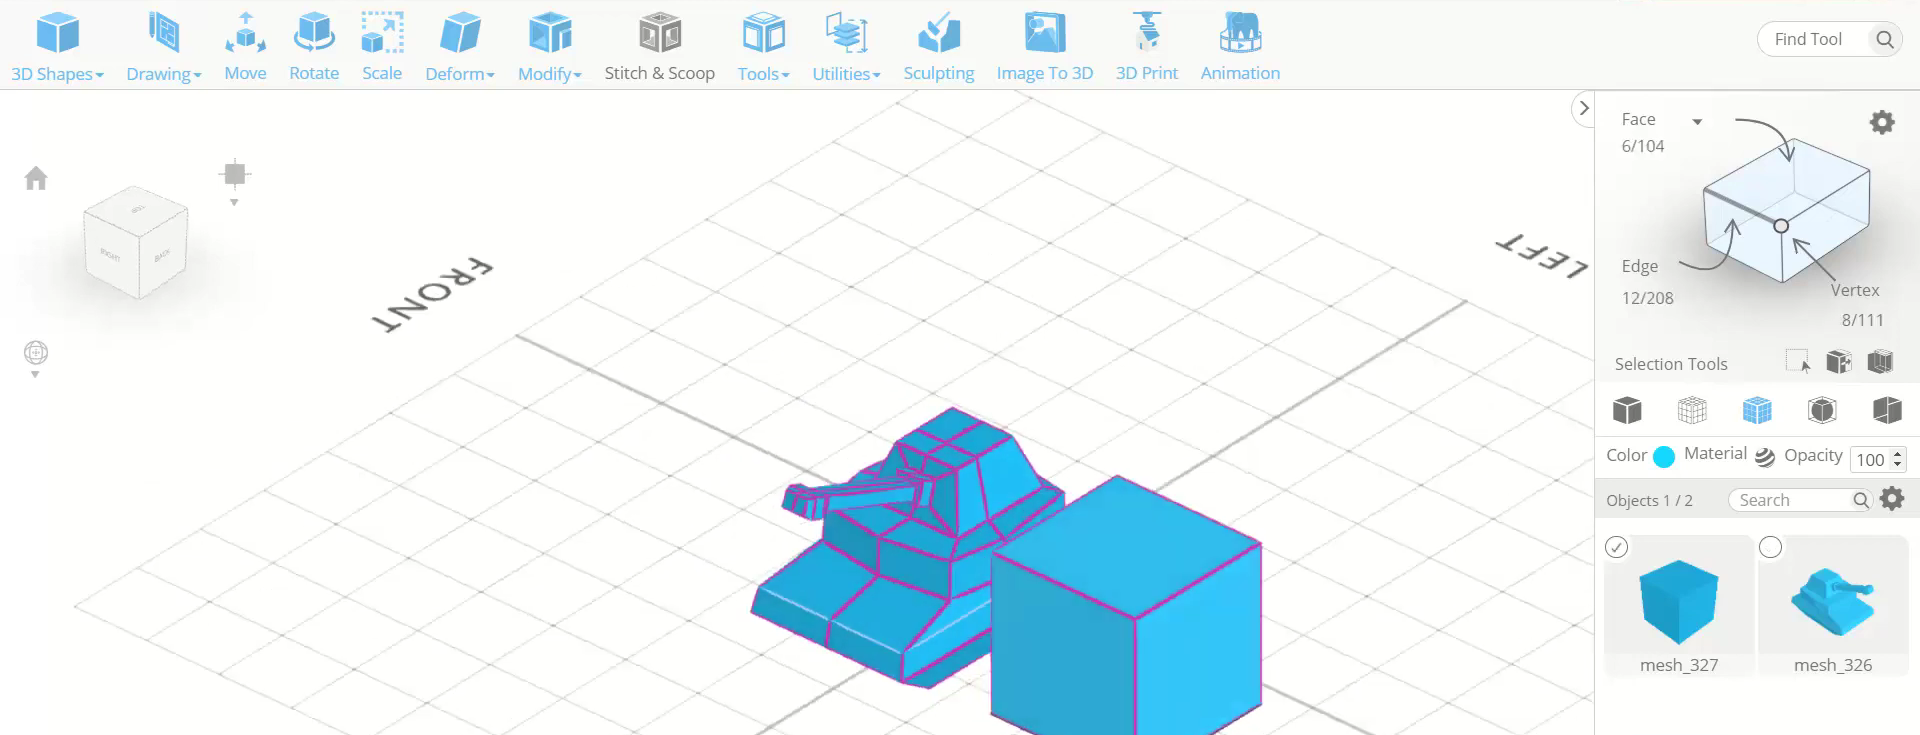
In this tutorisl article, we will be designing a 3D tank using SelfCAD as the 3D modeling software.
In this tutorial article, we will 3D design a tank. The 3D modeling software that we are using is SelfCAD. The tools of SelfCAD that we will utilize are the 3D Shapes, polygon selection, scale tool, Move tool, etc. We will begin by 3D designing a cube and developing it. By figuring out approaches to 3D design this tank, you will get to know how to control various tools of SelfCAD.
You can also check our other articles like how to design a 3D T-shaped pipe by visiting our page.
So, let's start!
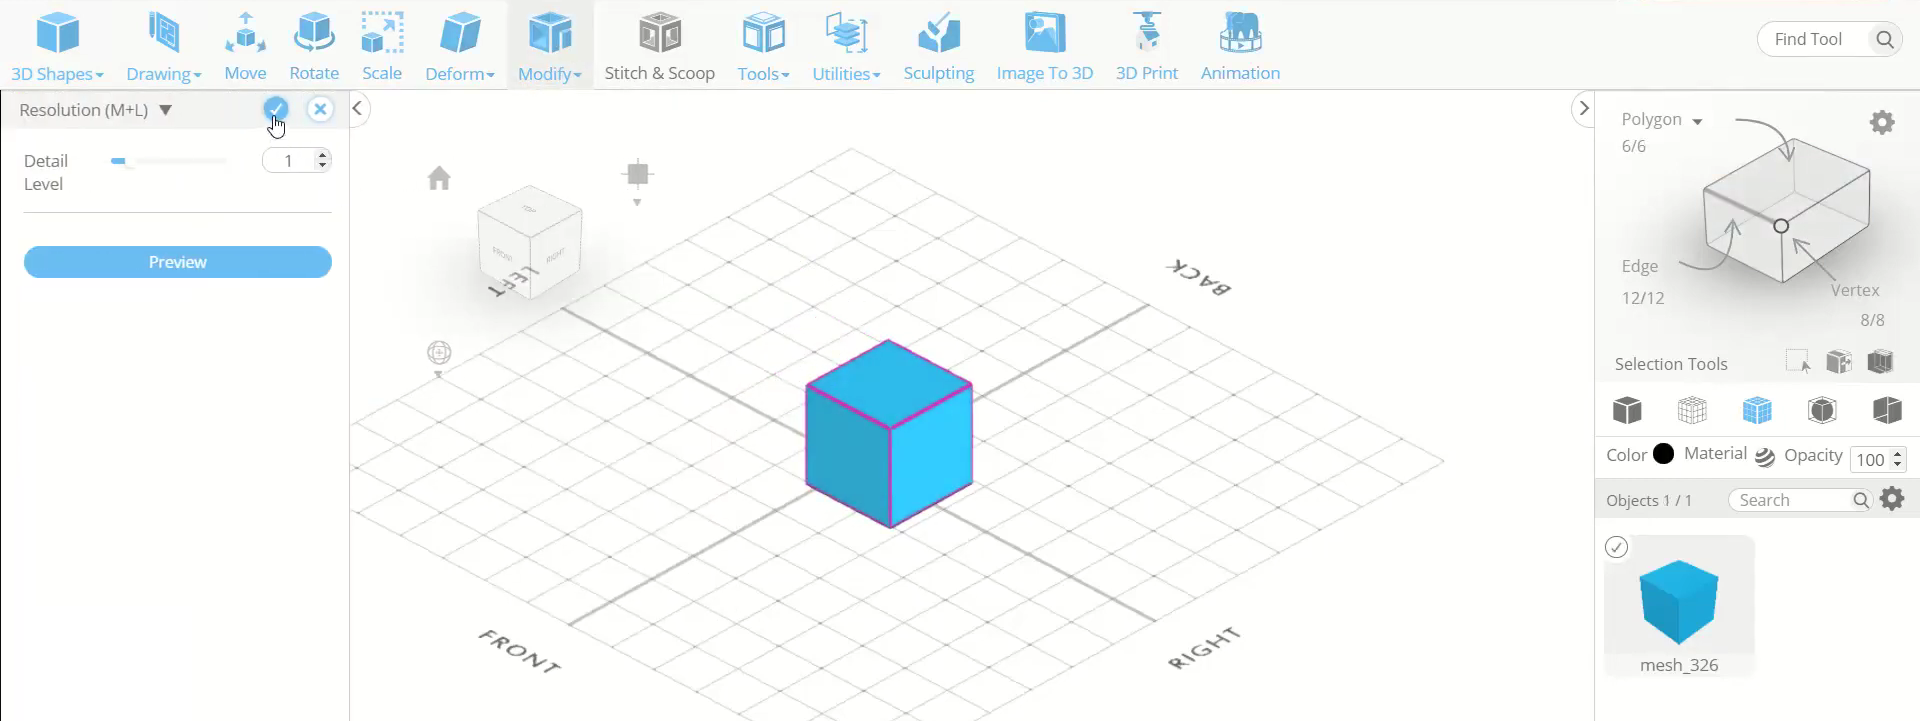
Step1: Insert a cube and set its resolution
First of all, go to 3D shapes and insert a cube on the working interface. Then go to modify and select resolution. Set the details level to 1.
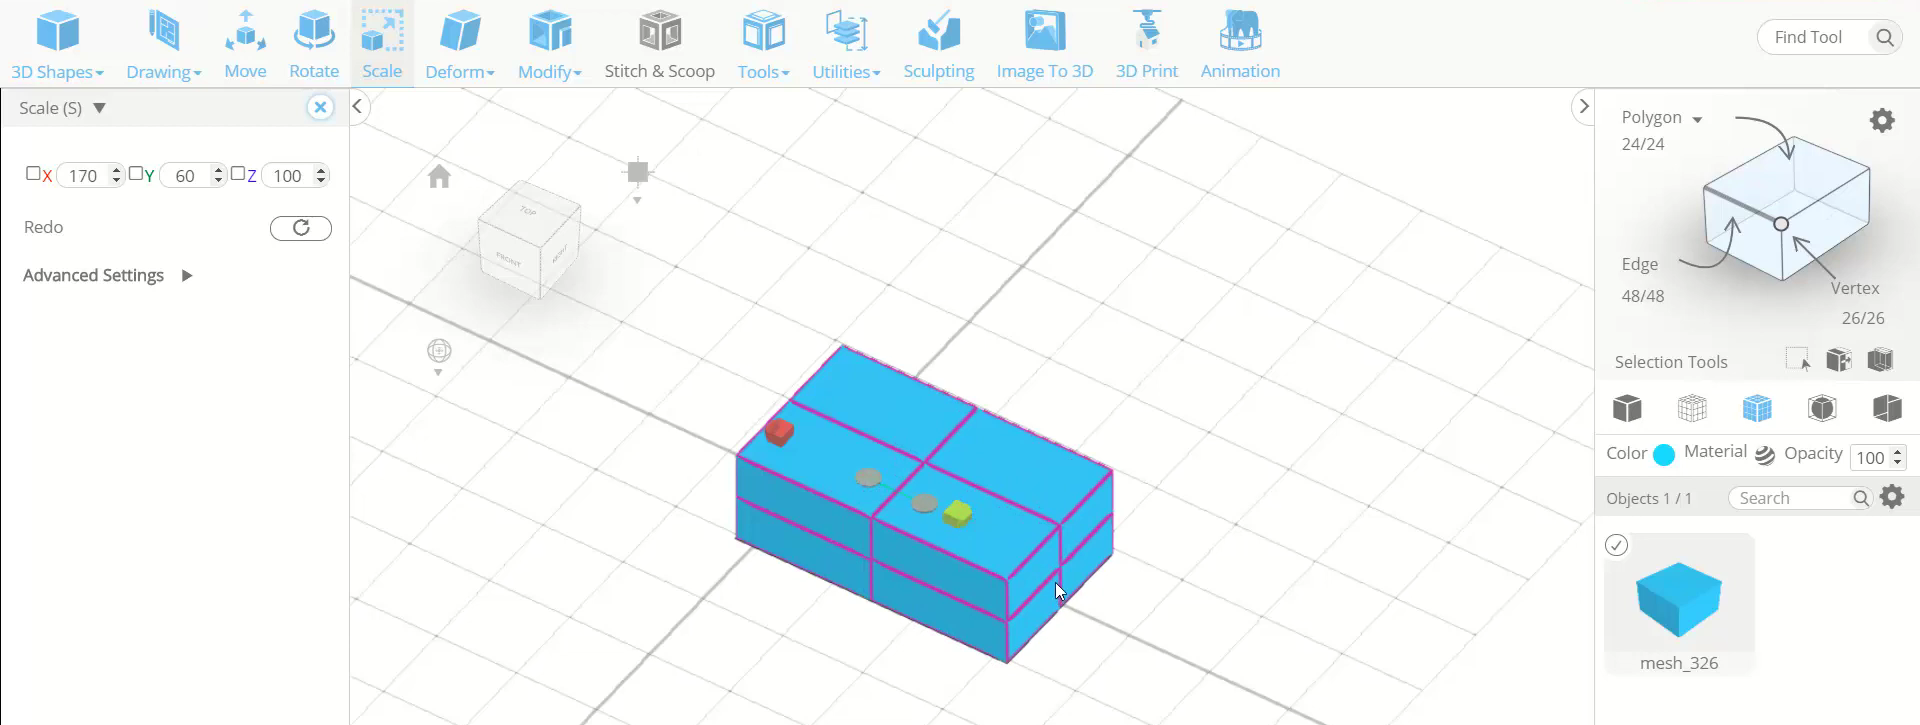
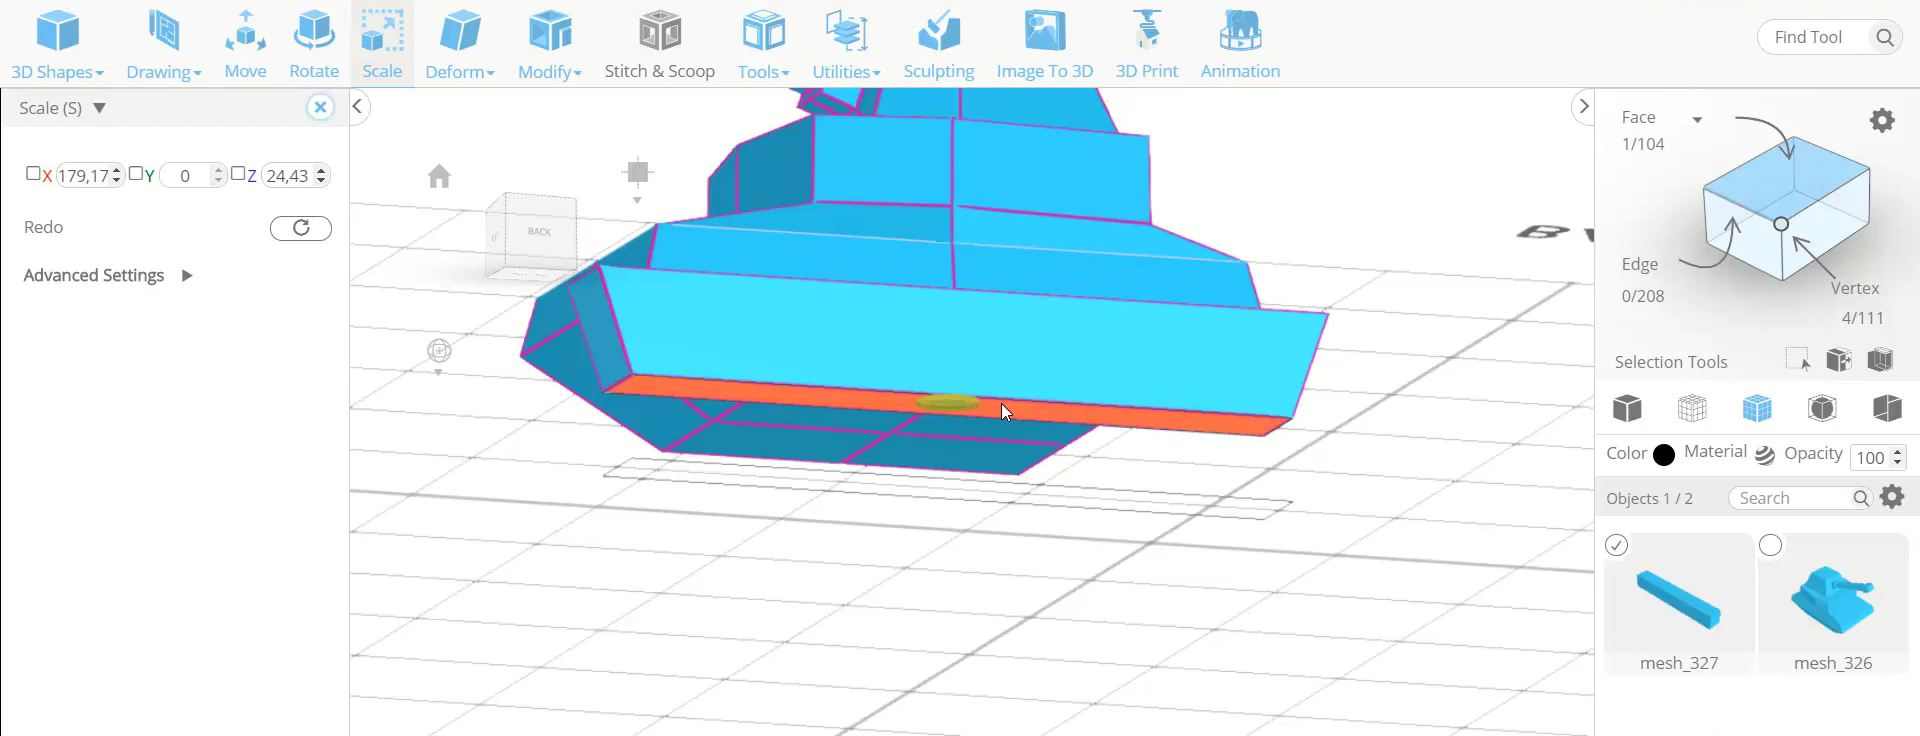
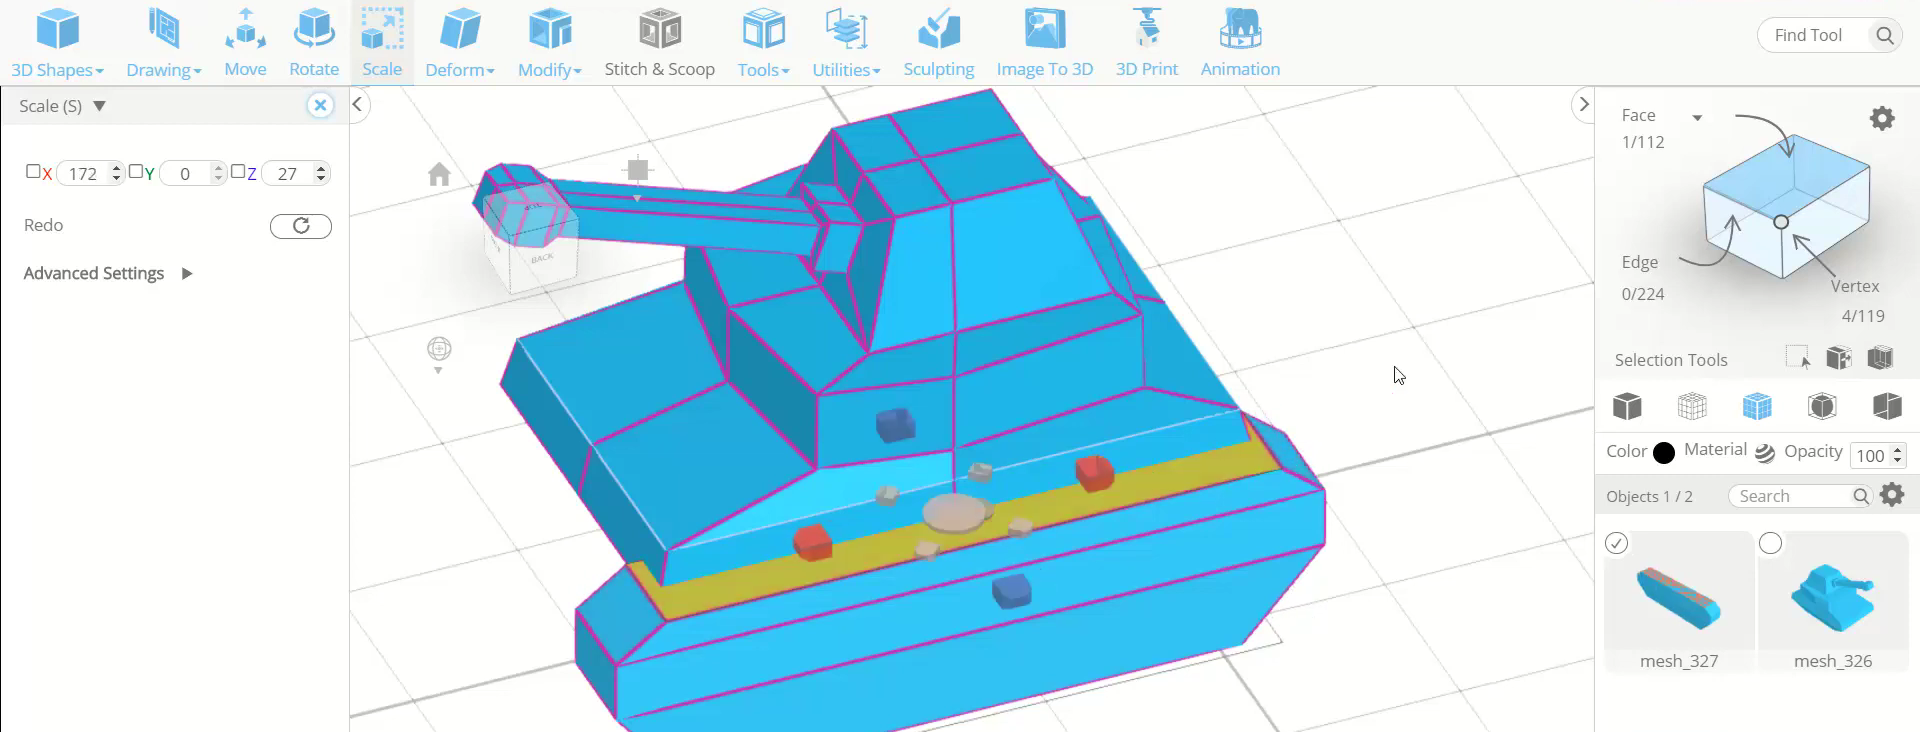
Step2: Scale it
Next, use the scale tool and scale it along the green axis towards the bottom. Then scale it along the red axis towards the outside.
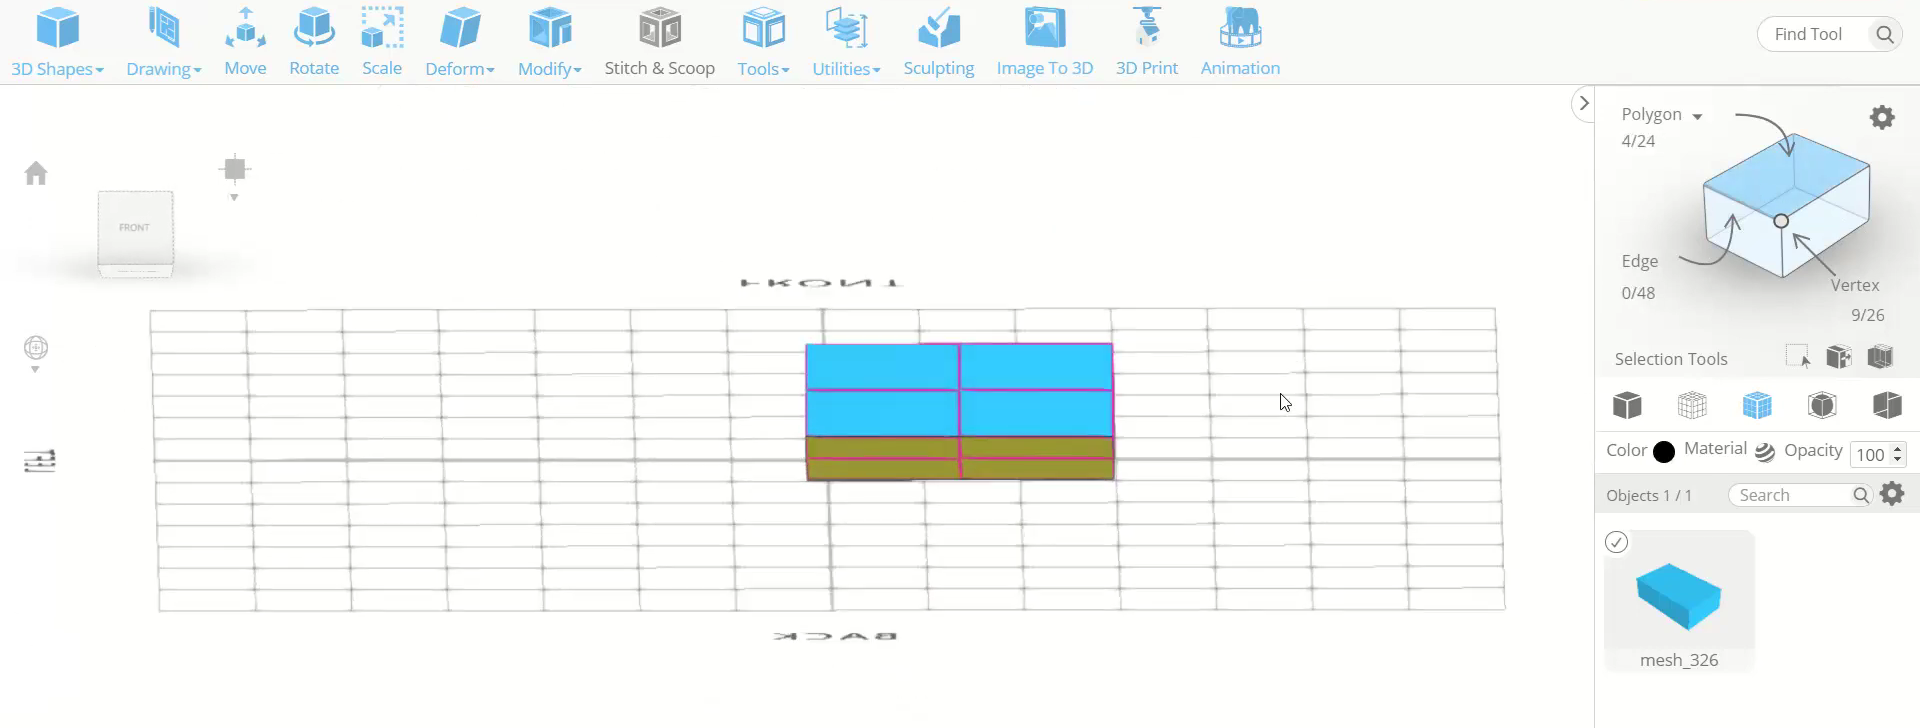
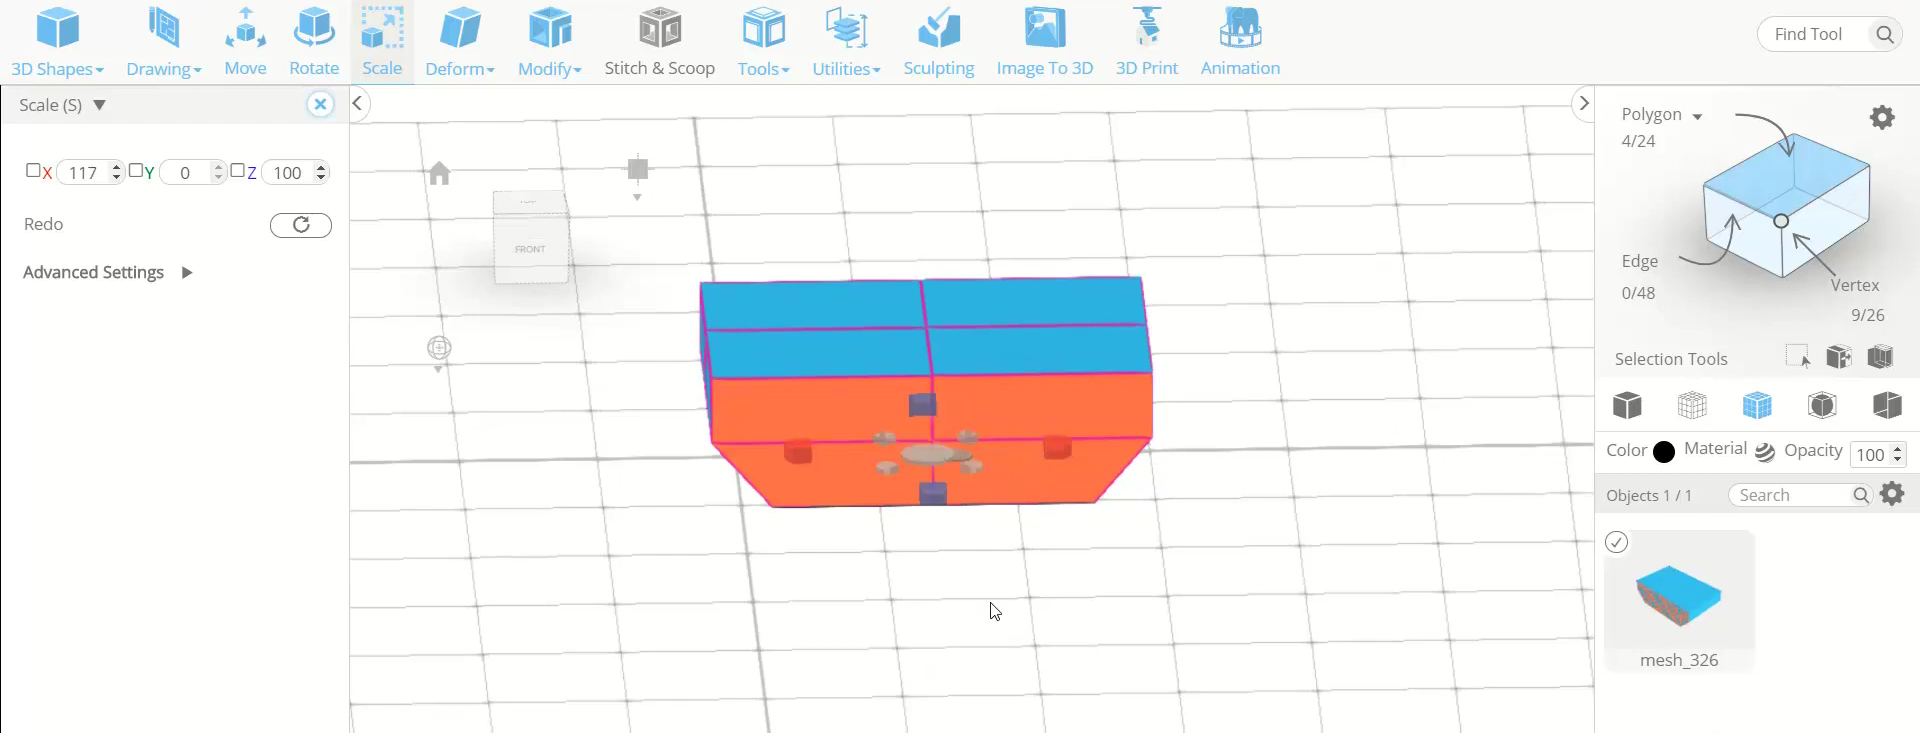
Step3: Scale the bottom face towards the inside
Now, opt for polygon selection and select the bottom face. Then scale it along the red axis from both sides towards the inside.
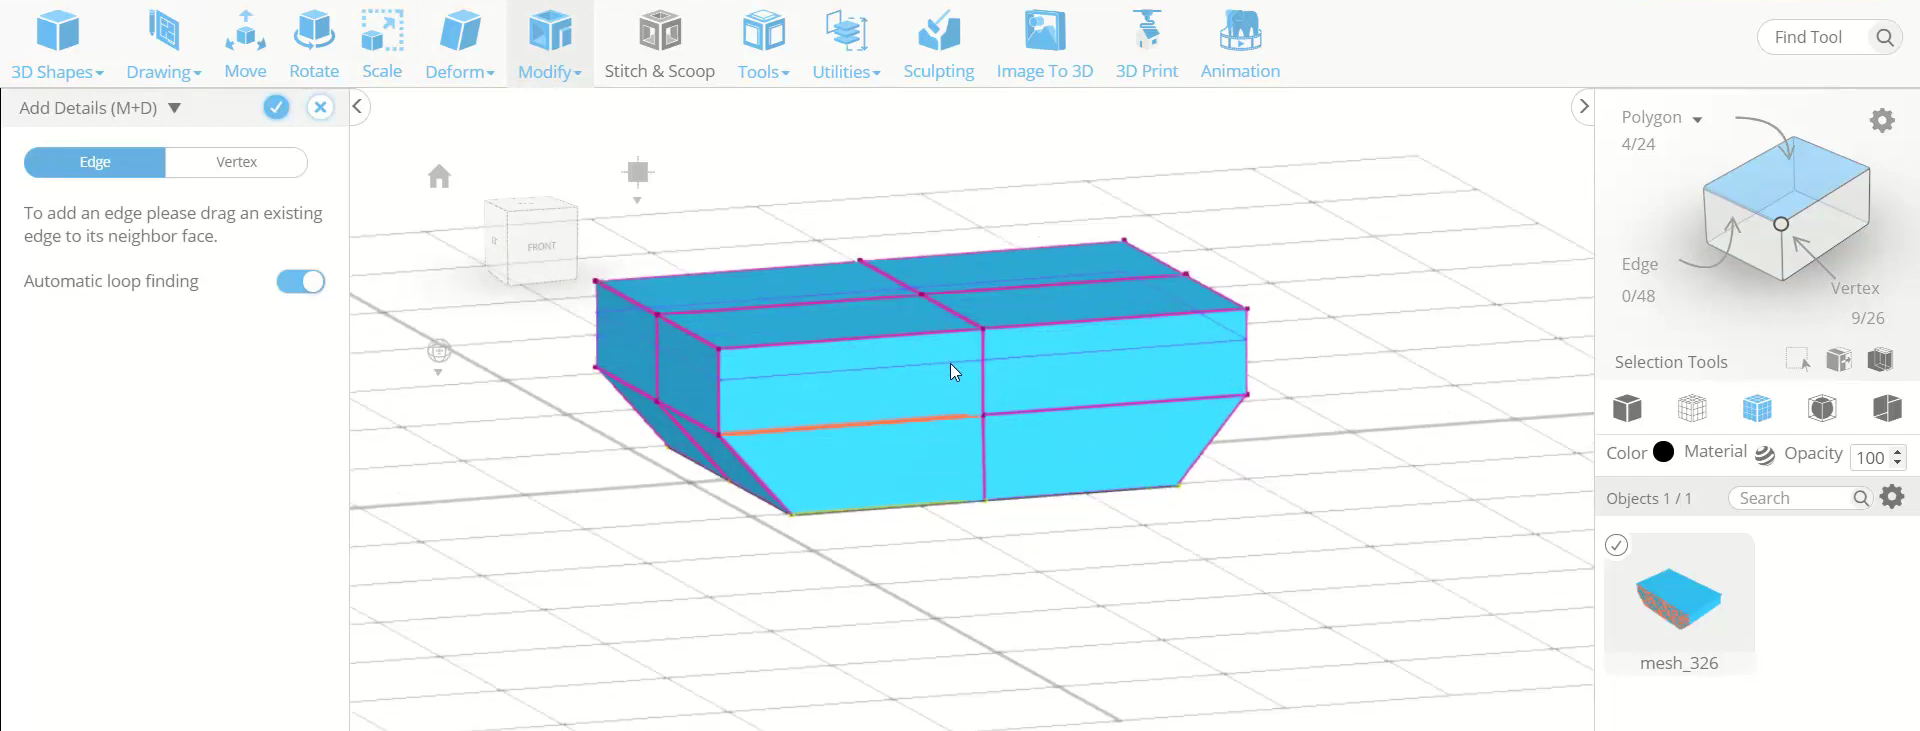
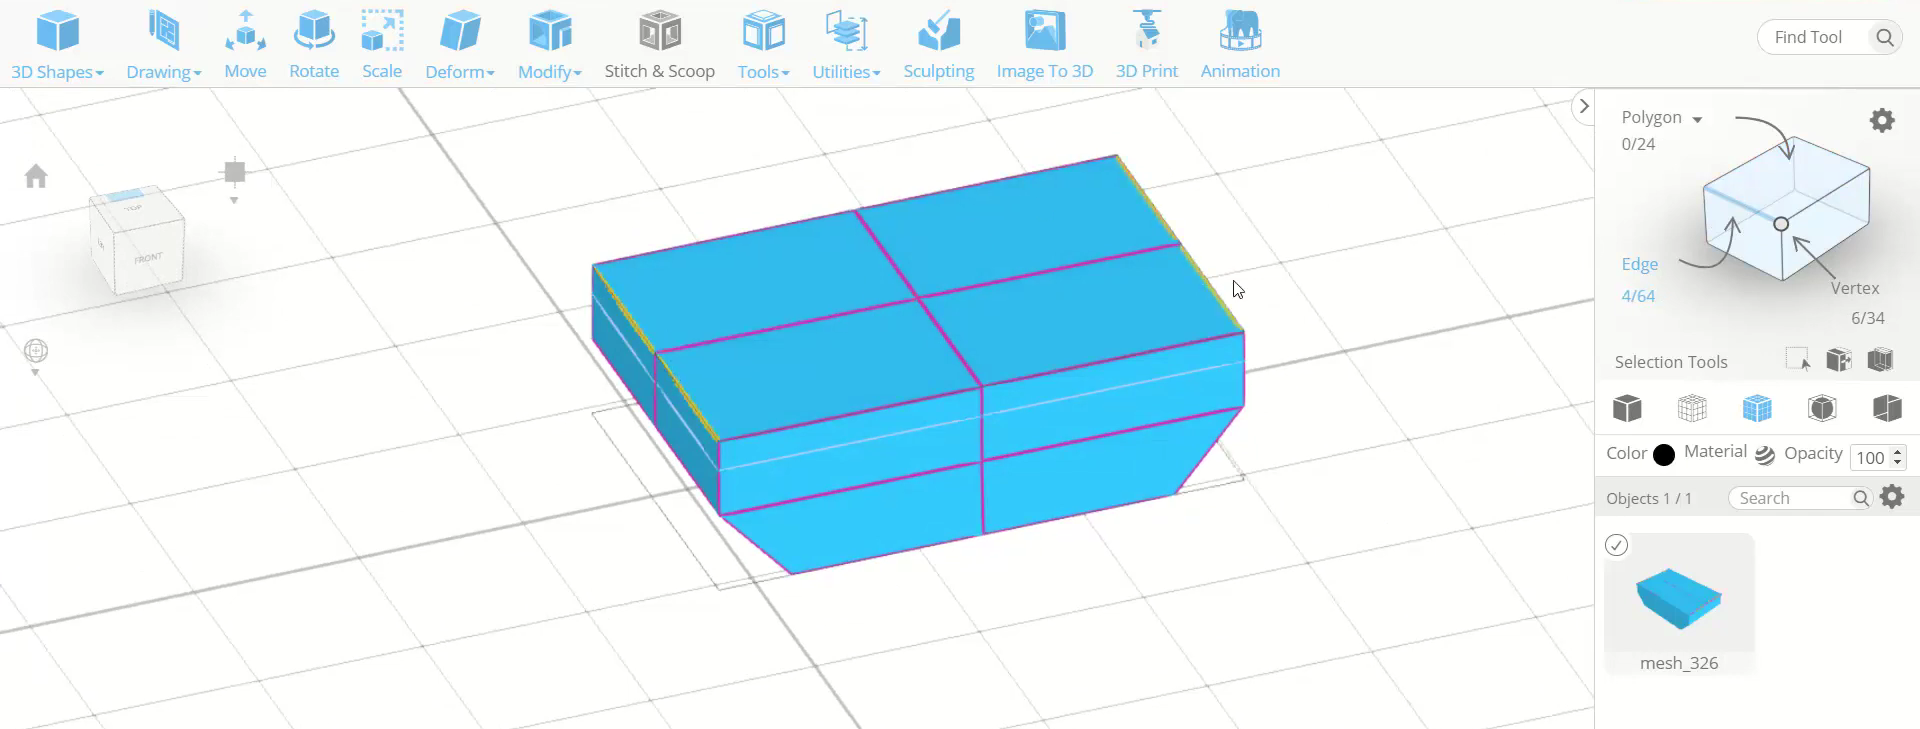
Step4: Add an edge to the object and scale the side edges of the top face
Next, go to modify and select the add details tool. Add an edge on the top division of the side face. Then opt for edge selection and select the vertical edges of the top face. After that, scale these edges towards the inside.
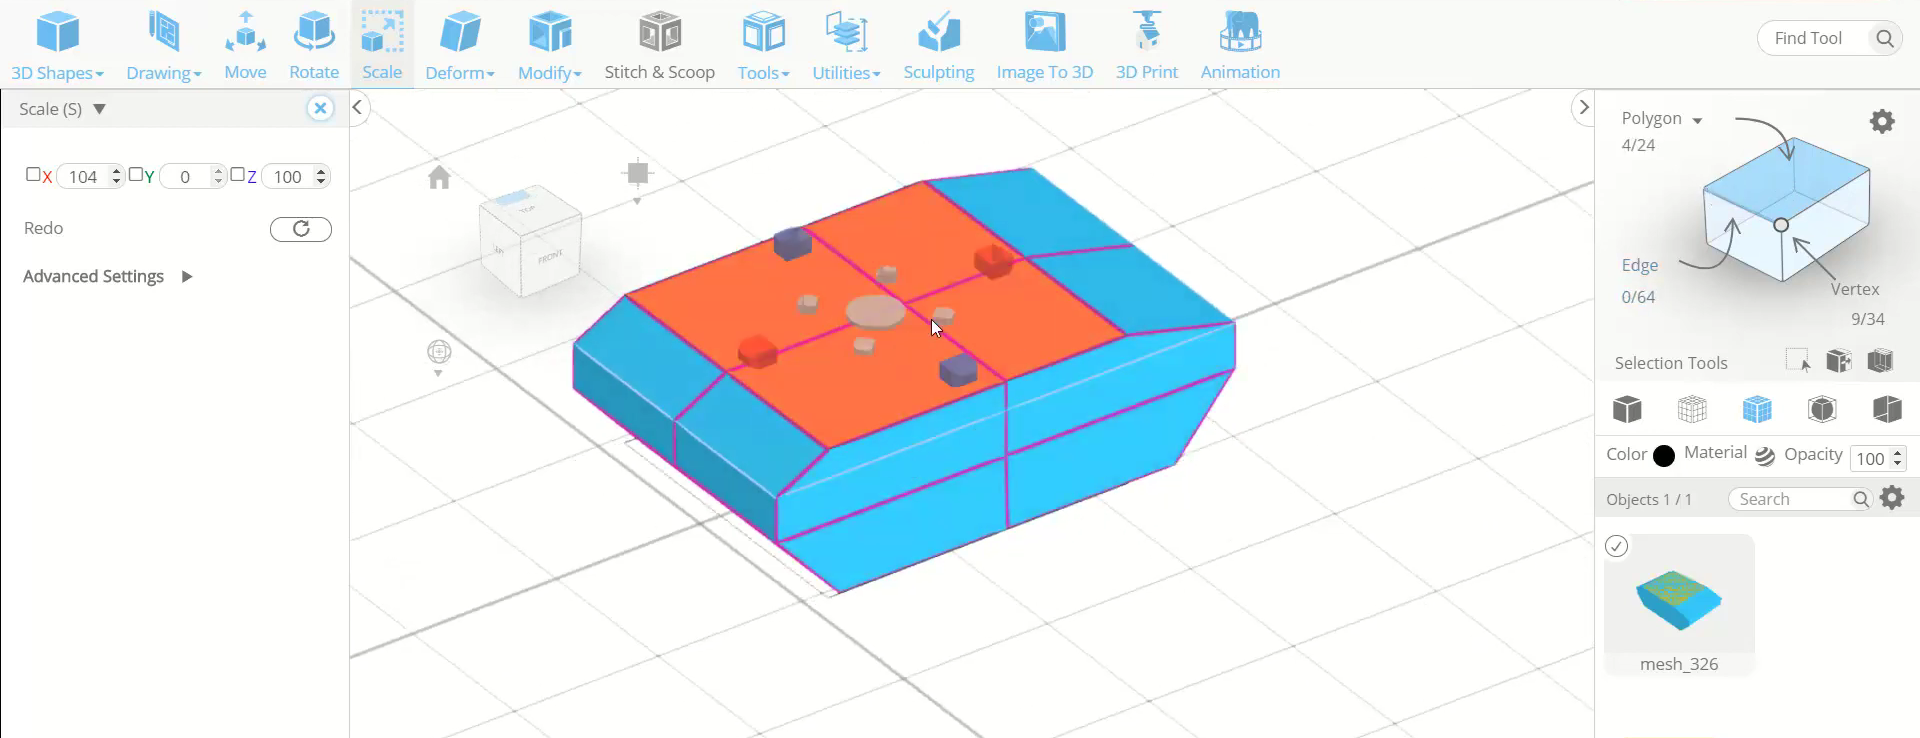
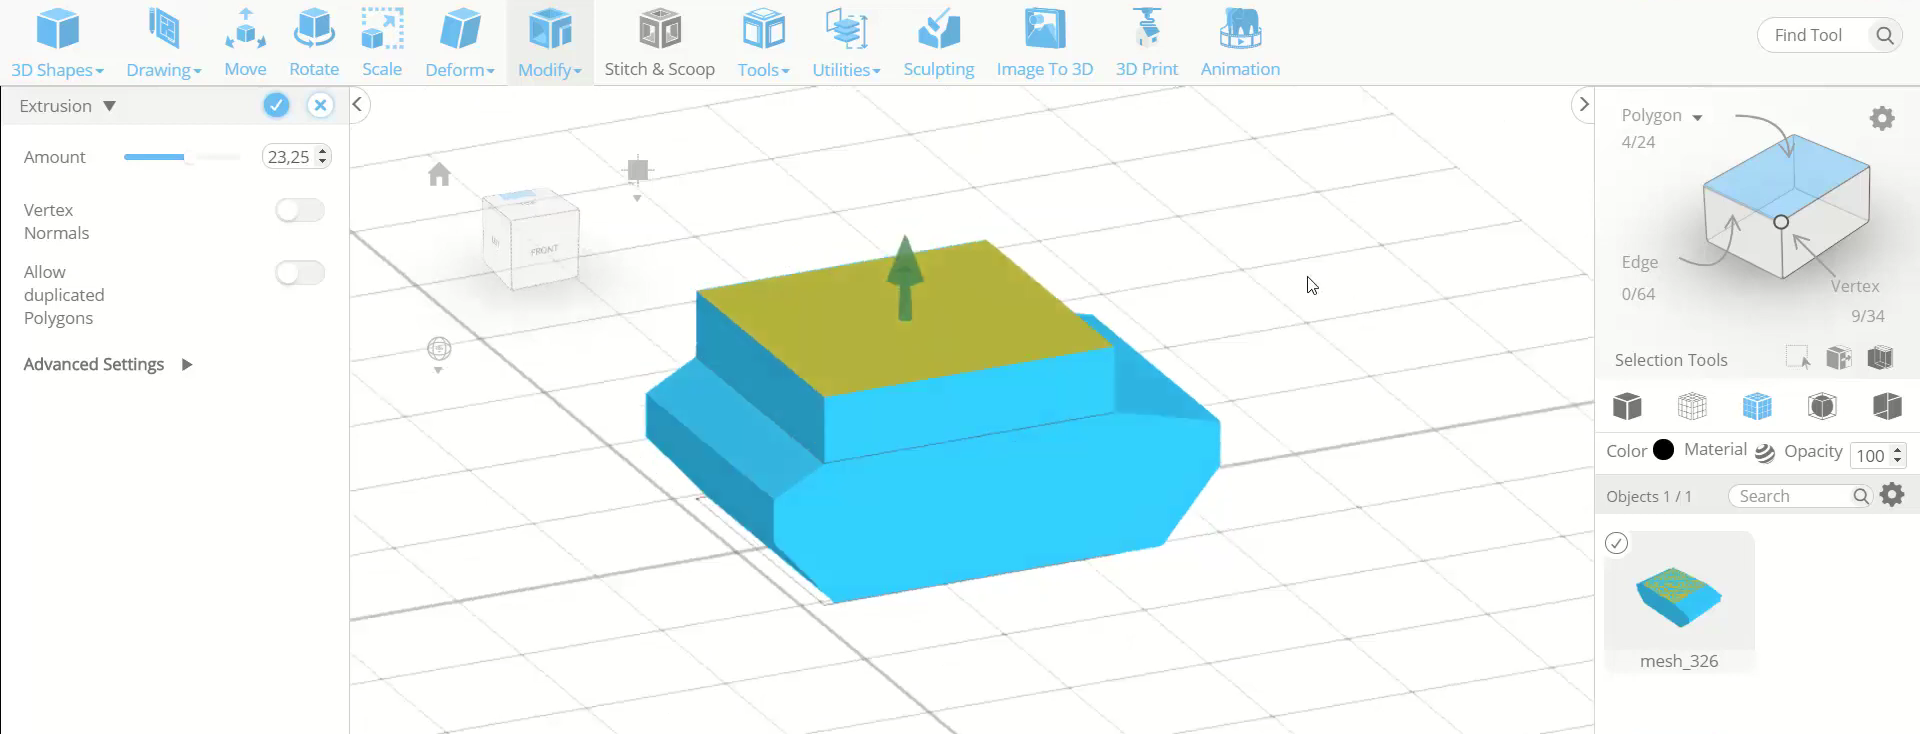
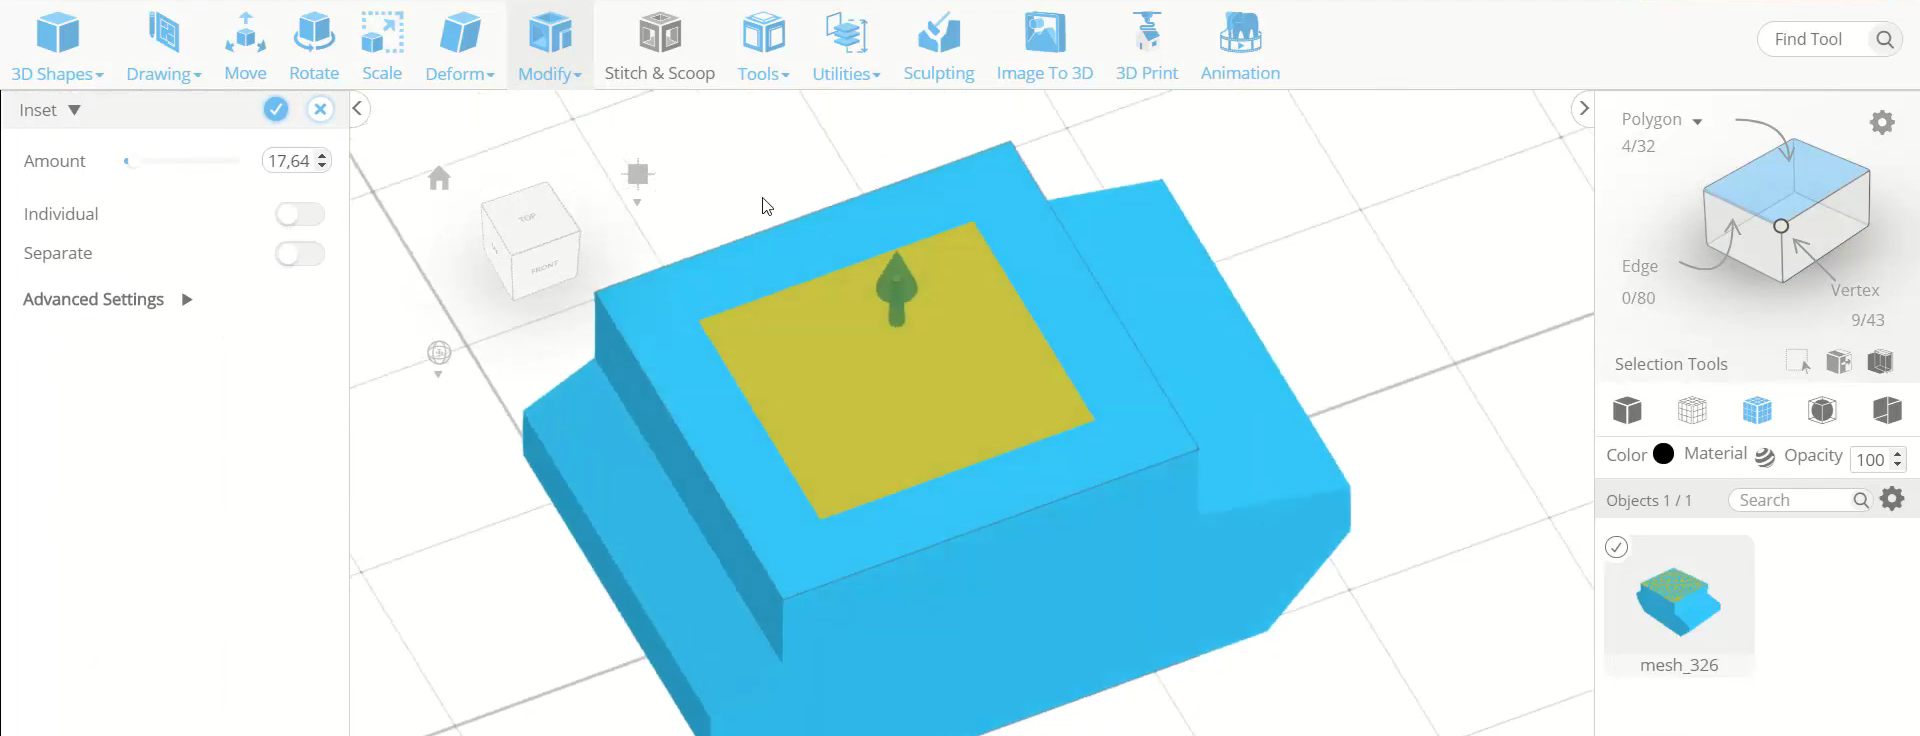
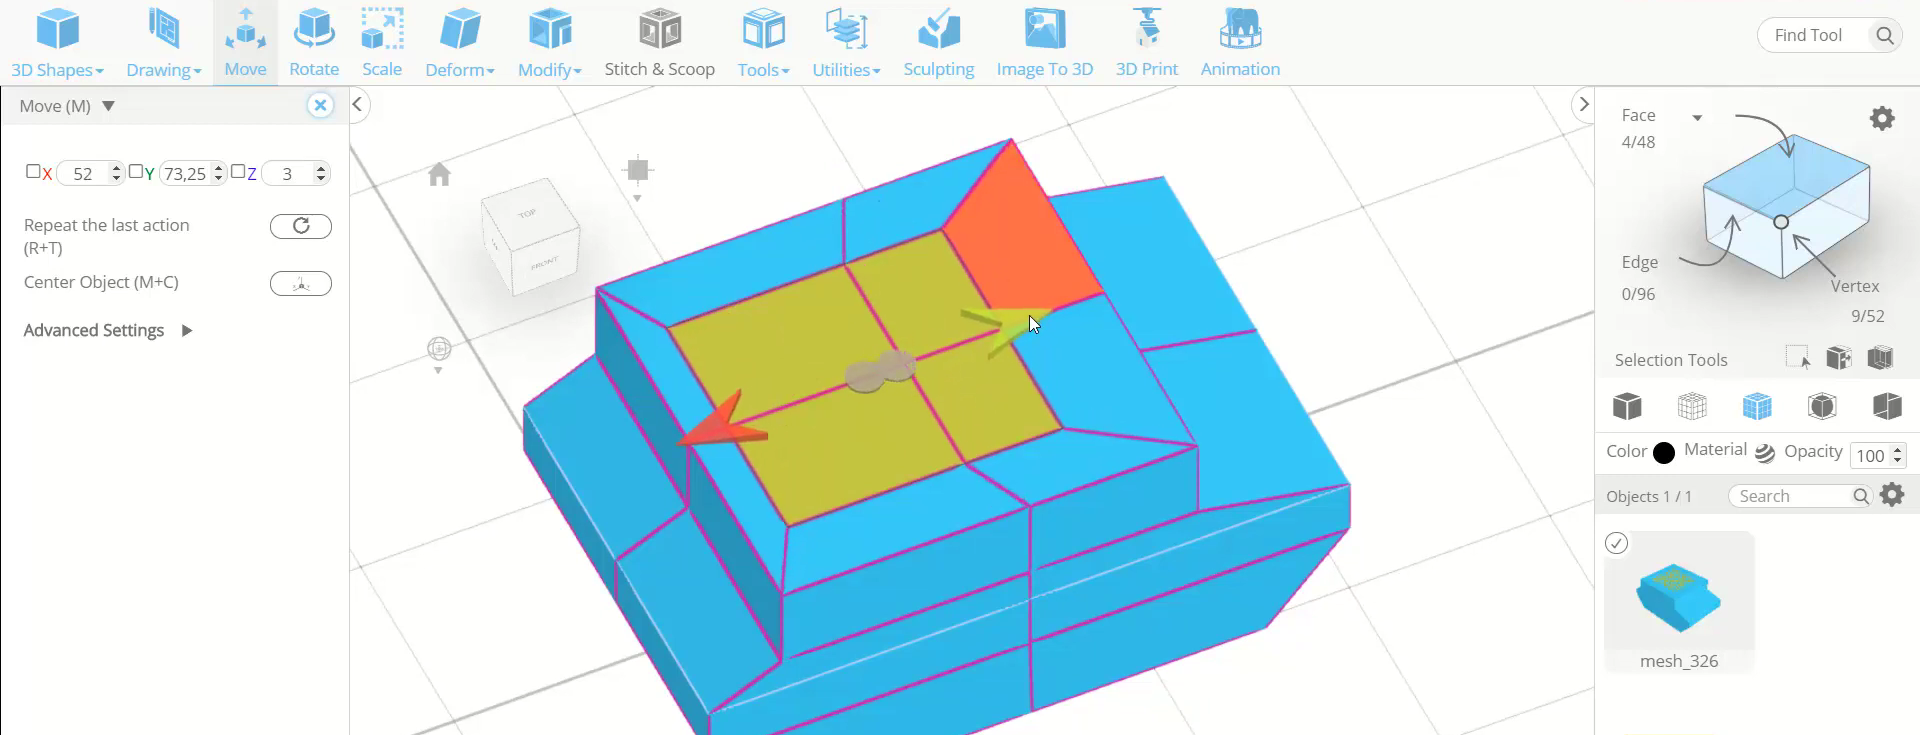
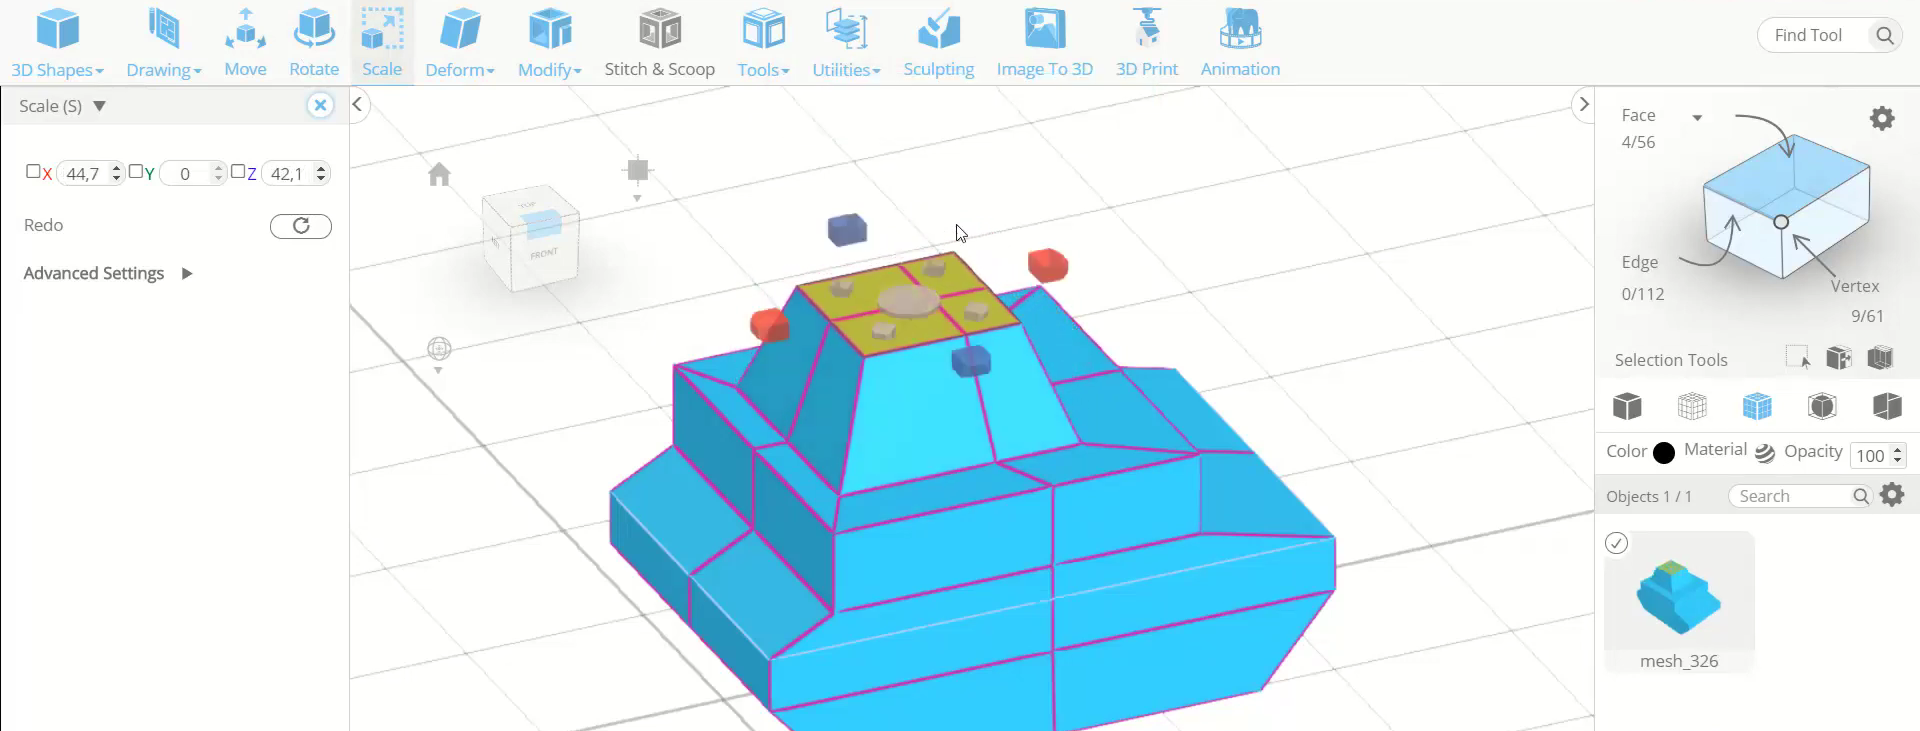
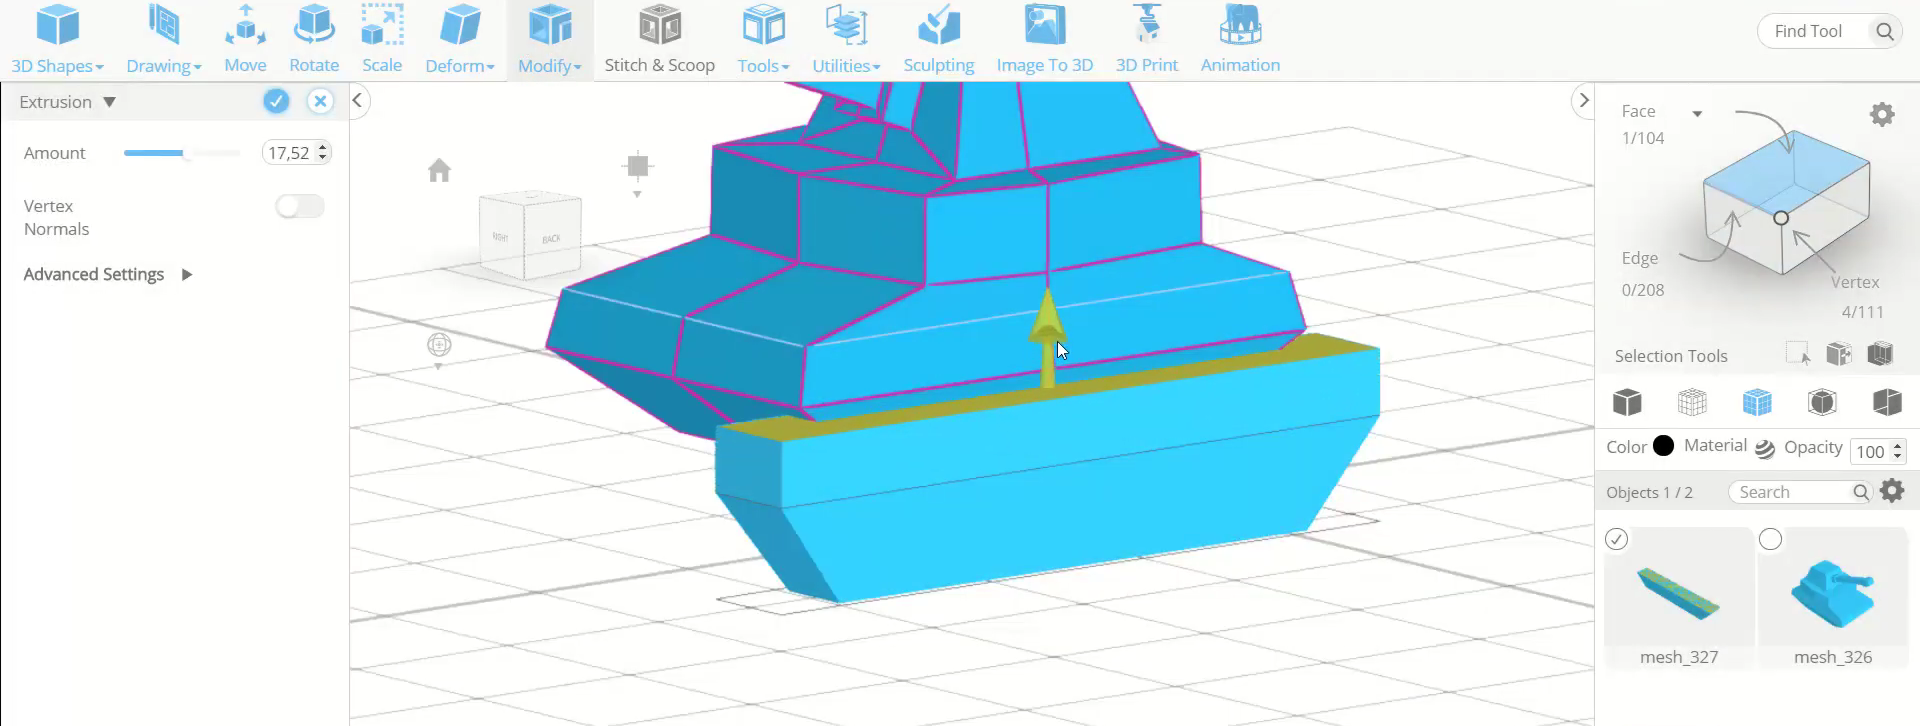
Step5: Extrude the face, inset it and move it towards a corner
Now, select the top face and use the extrusion tool to extrude it to the top with an amount of 23. Then select the inset tool and inset the face to an amount of 17-18. After that, opt for face selection, select the top four faces and move it along the red axis using the move tool.
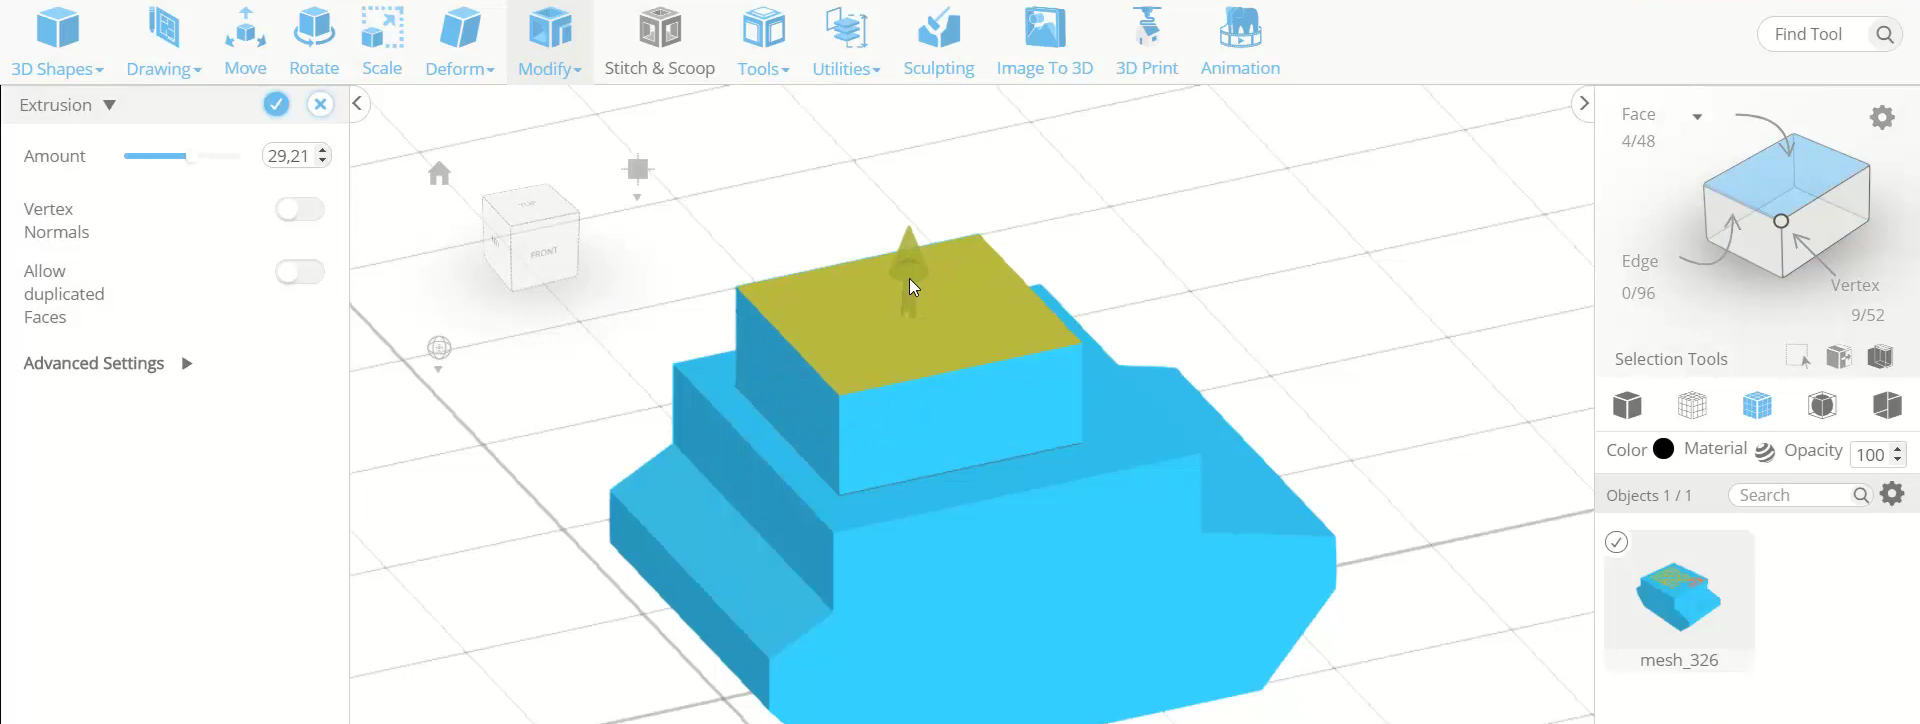
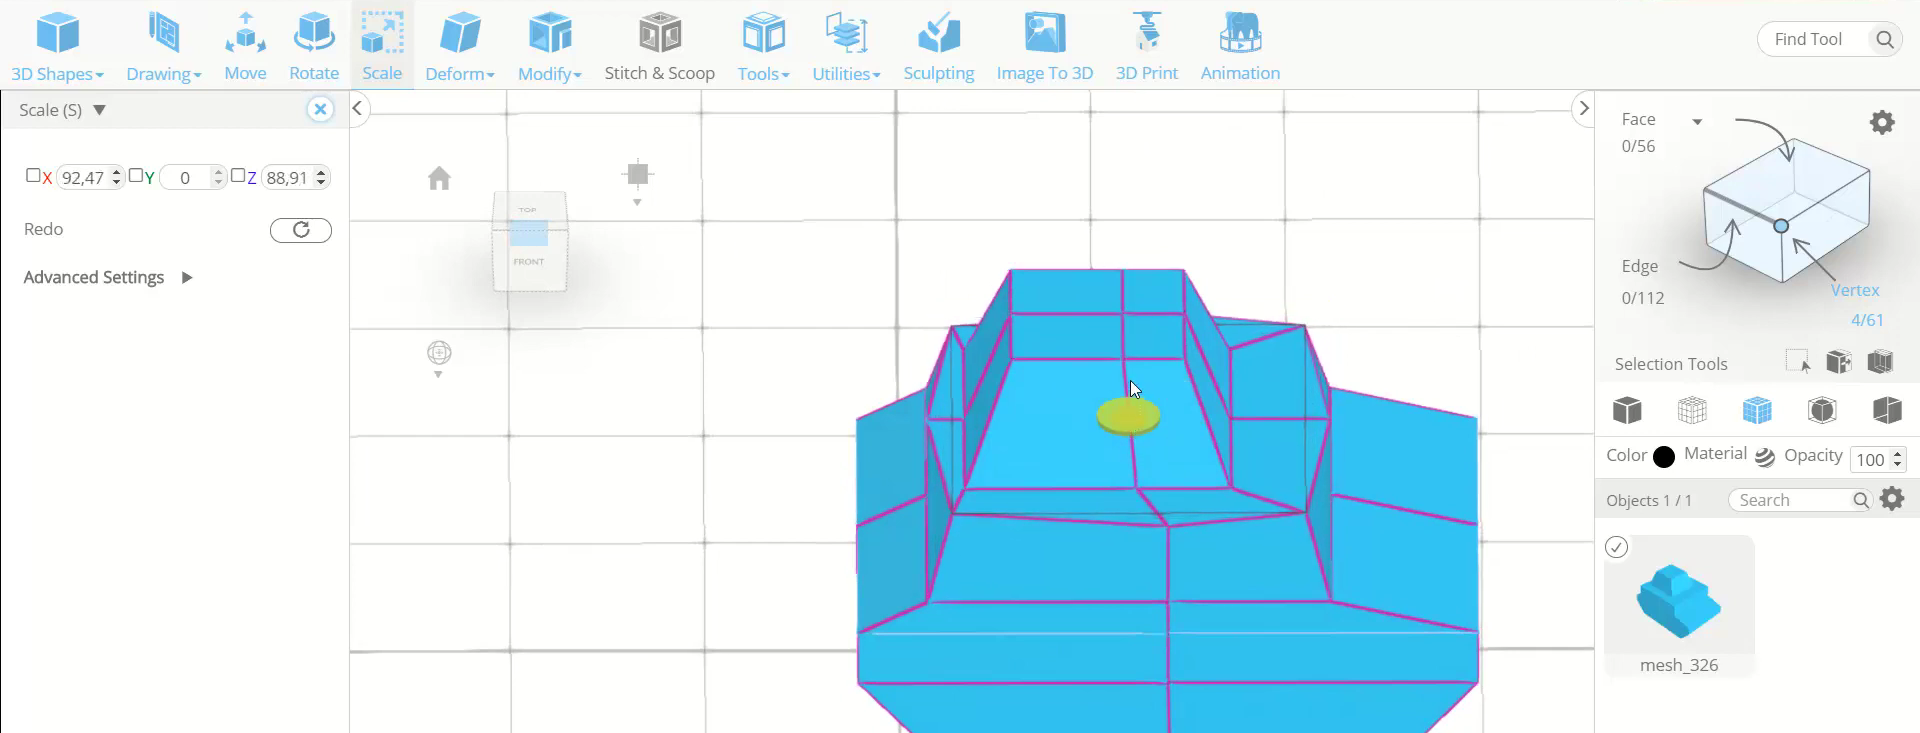
Step6: Extrude the top face and scale the vertices
Next, extrude the top face again and scale it to a smaller size. Then opt for vertex selection and select the corner most vertices of the middle layer. After that, scale it towards the inside.
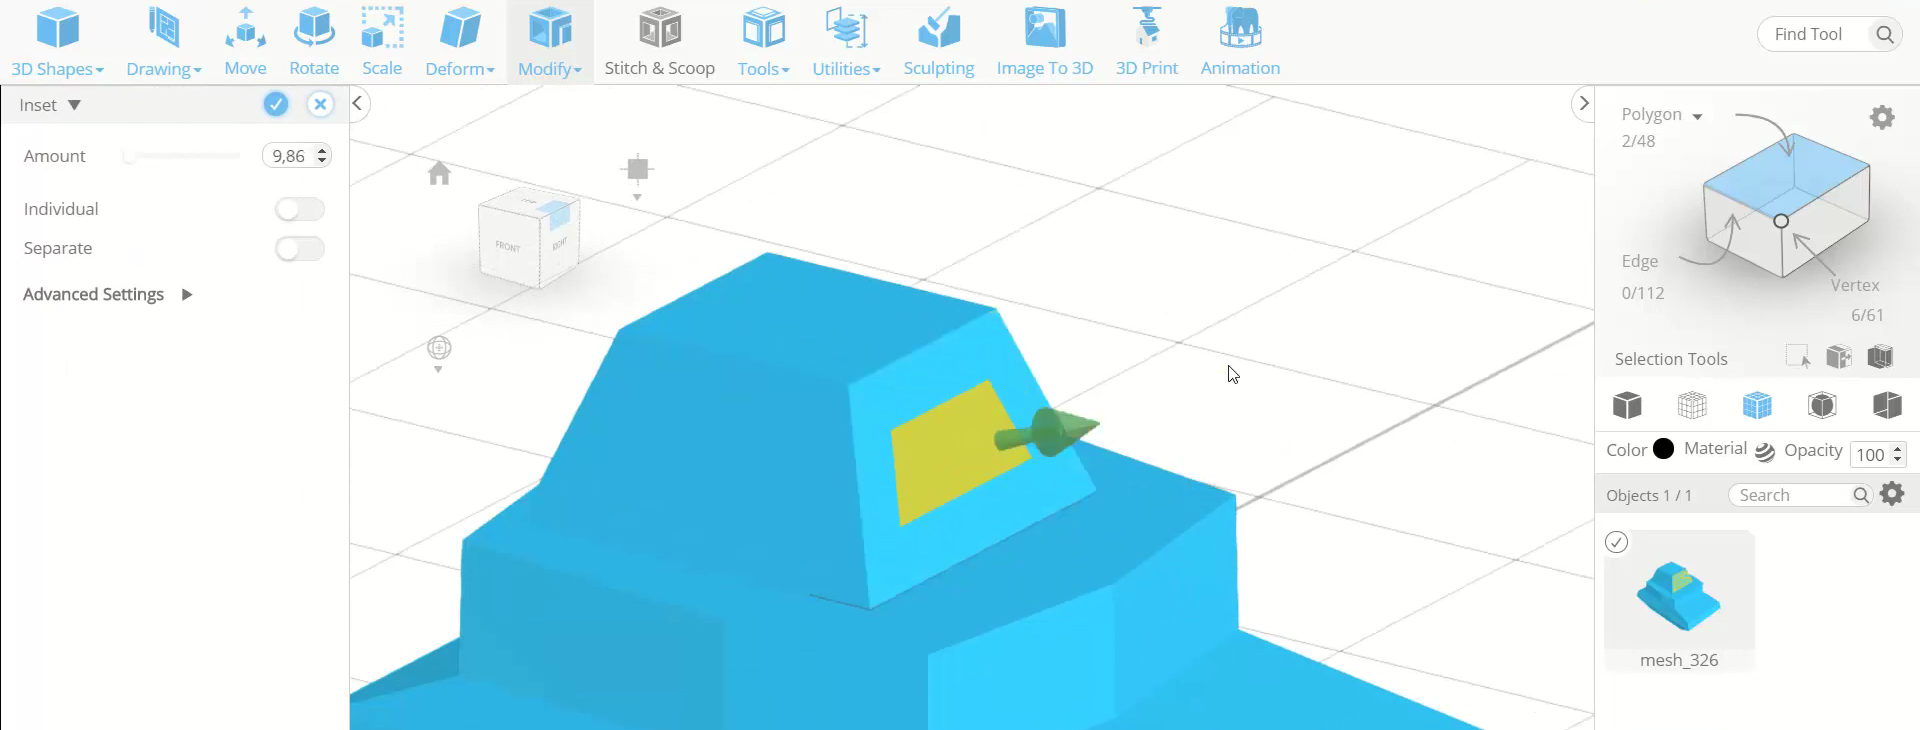
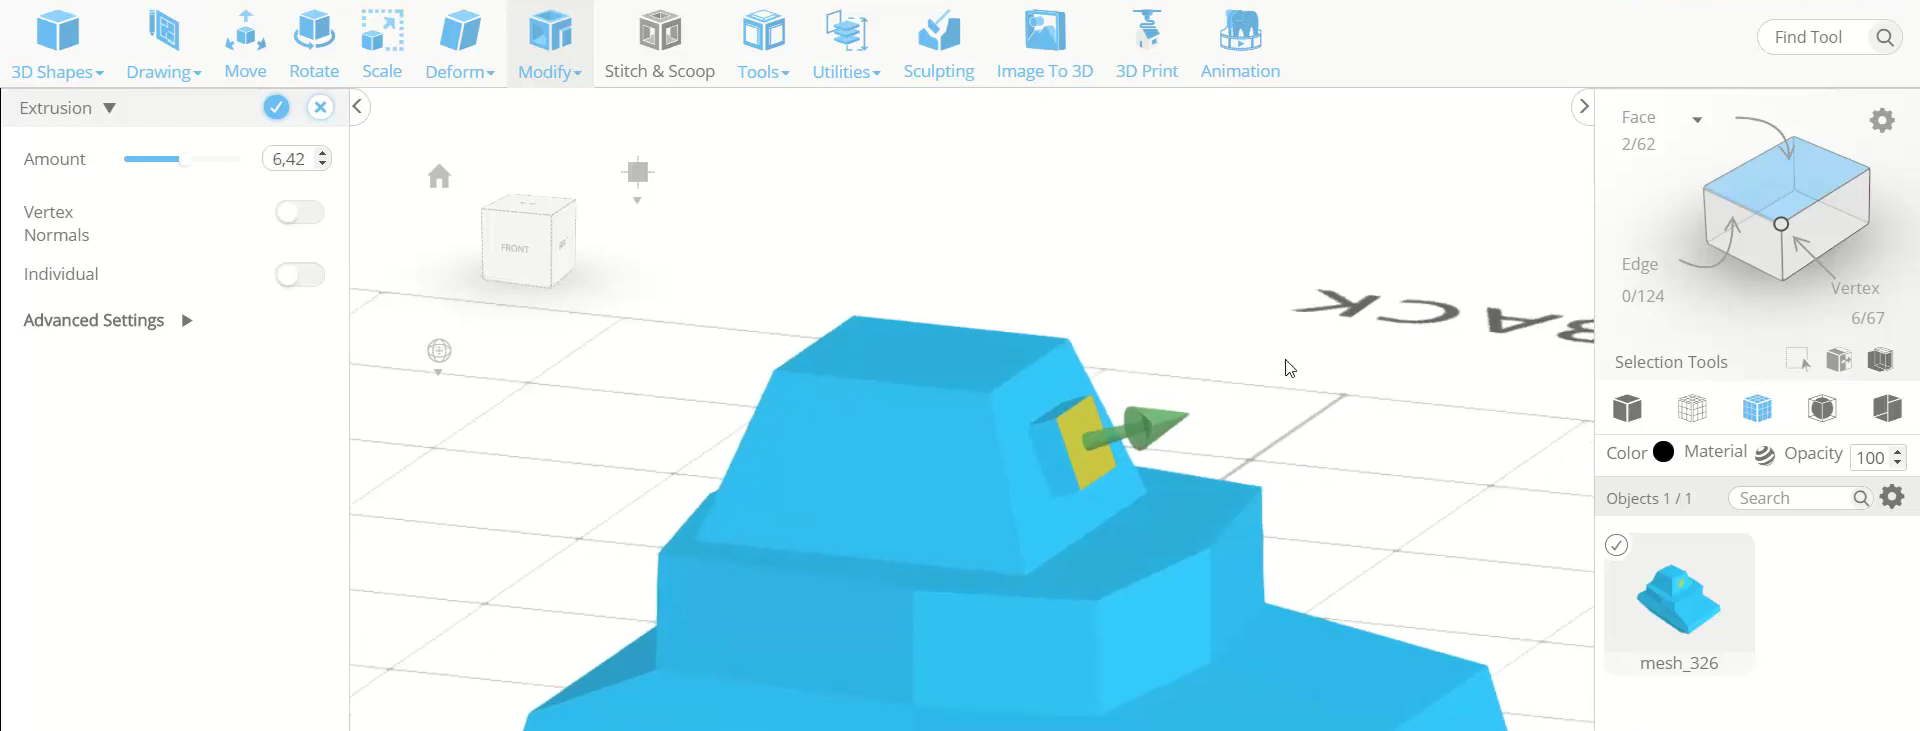
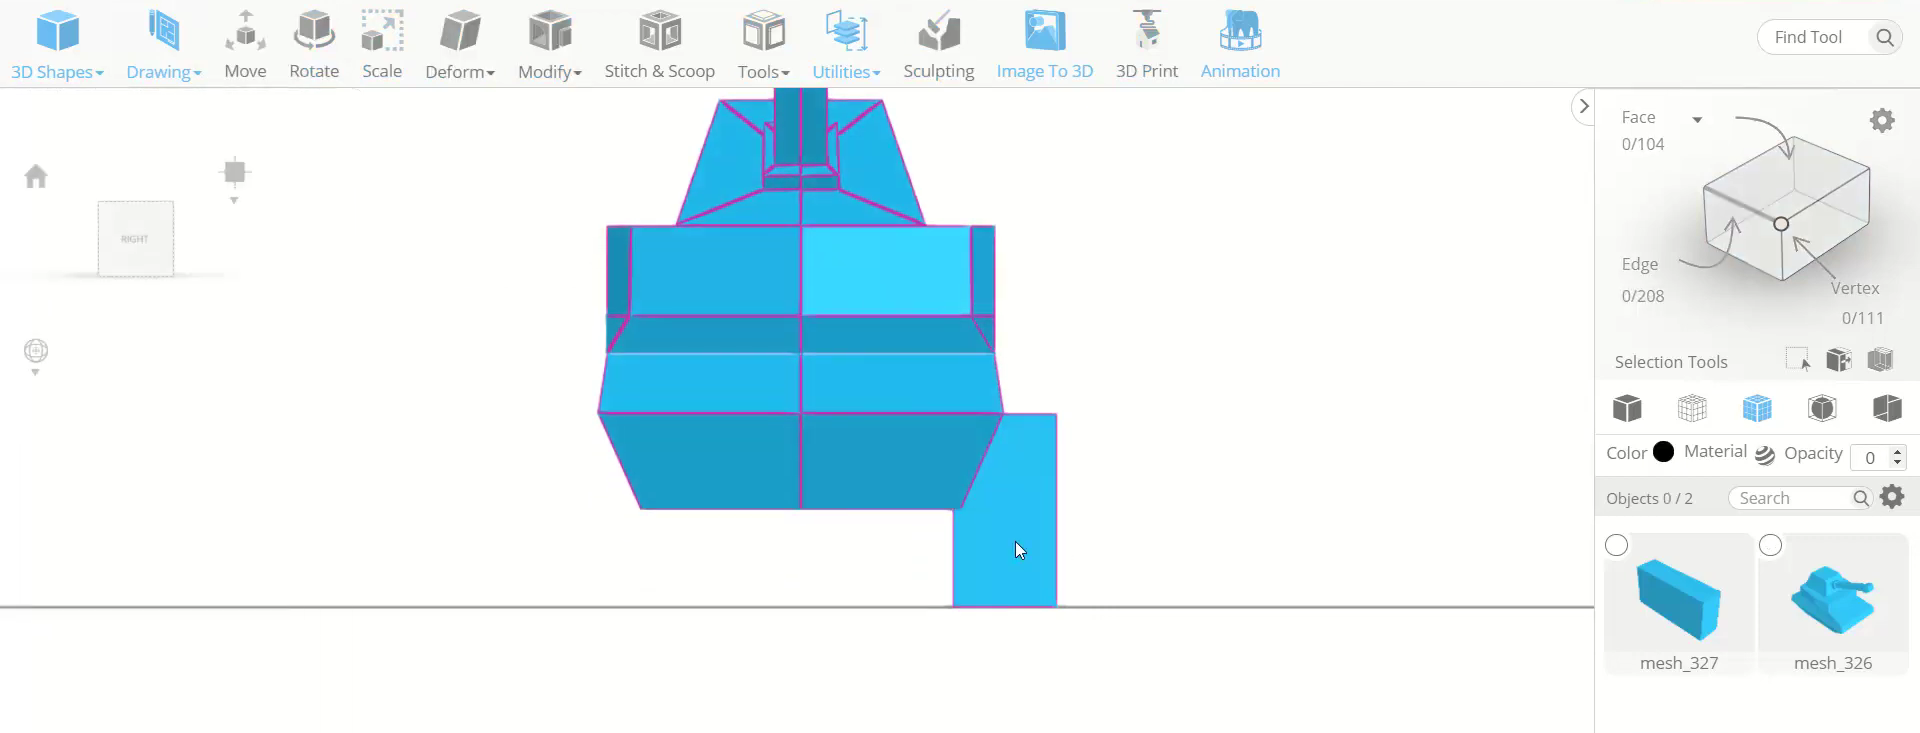
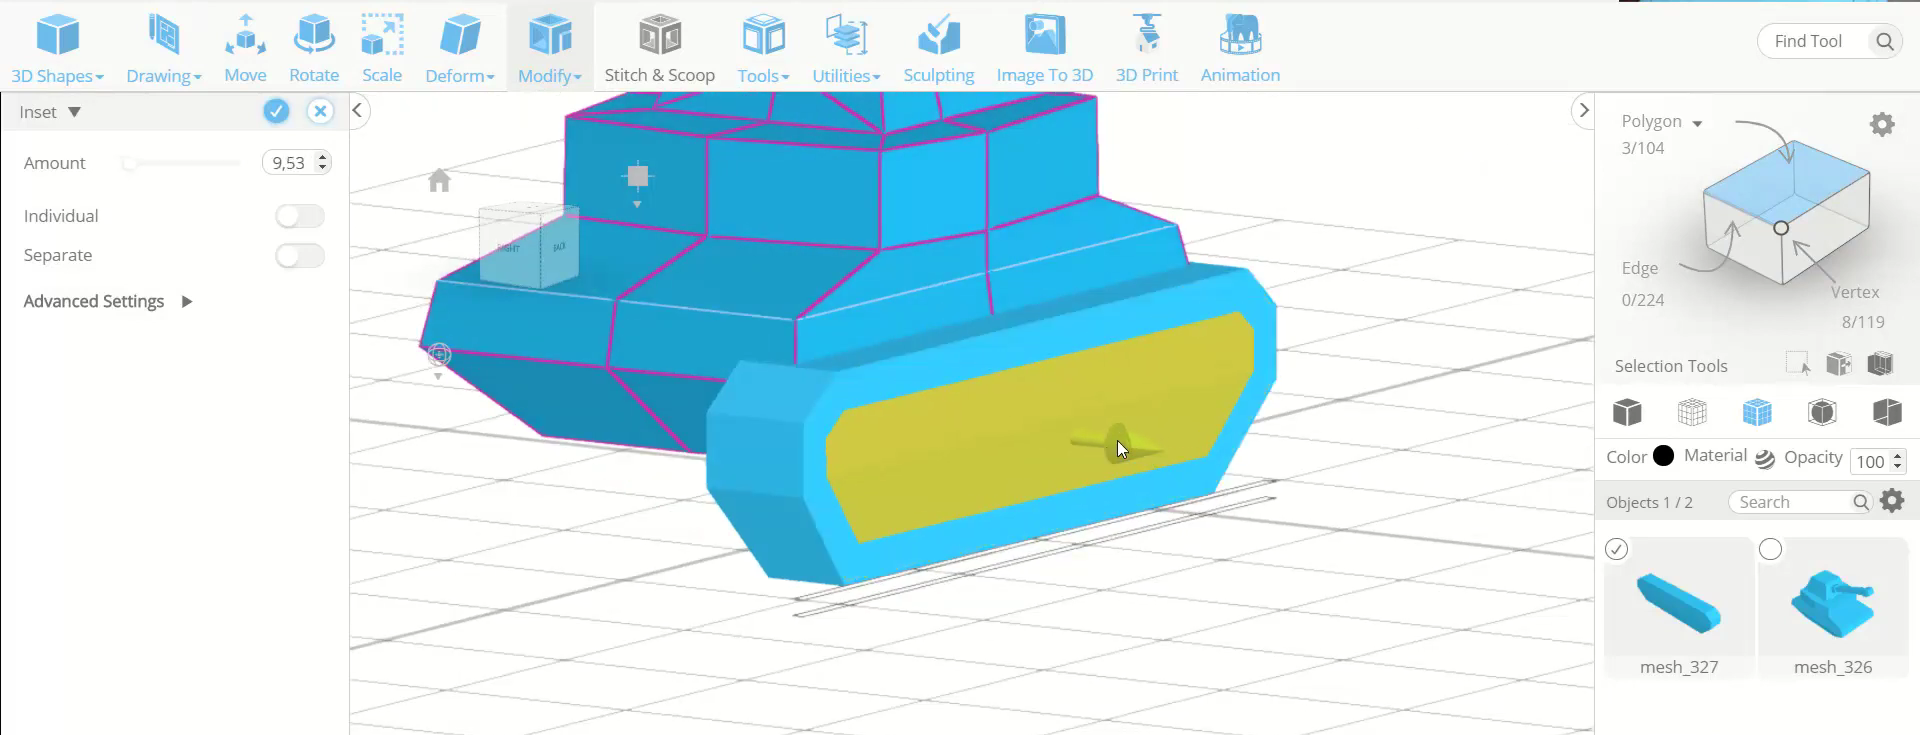
Step7: Inset the window side face and make it a proper square
Now, select the window side face of the tank and inset it to an amount of 10. Then select the corner vertices of that face and scale it to make it a proper square.
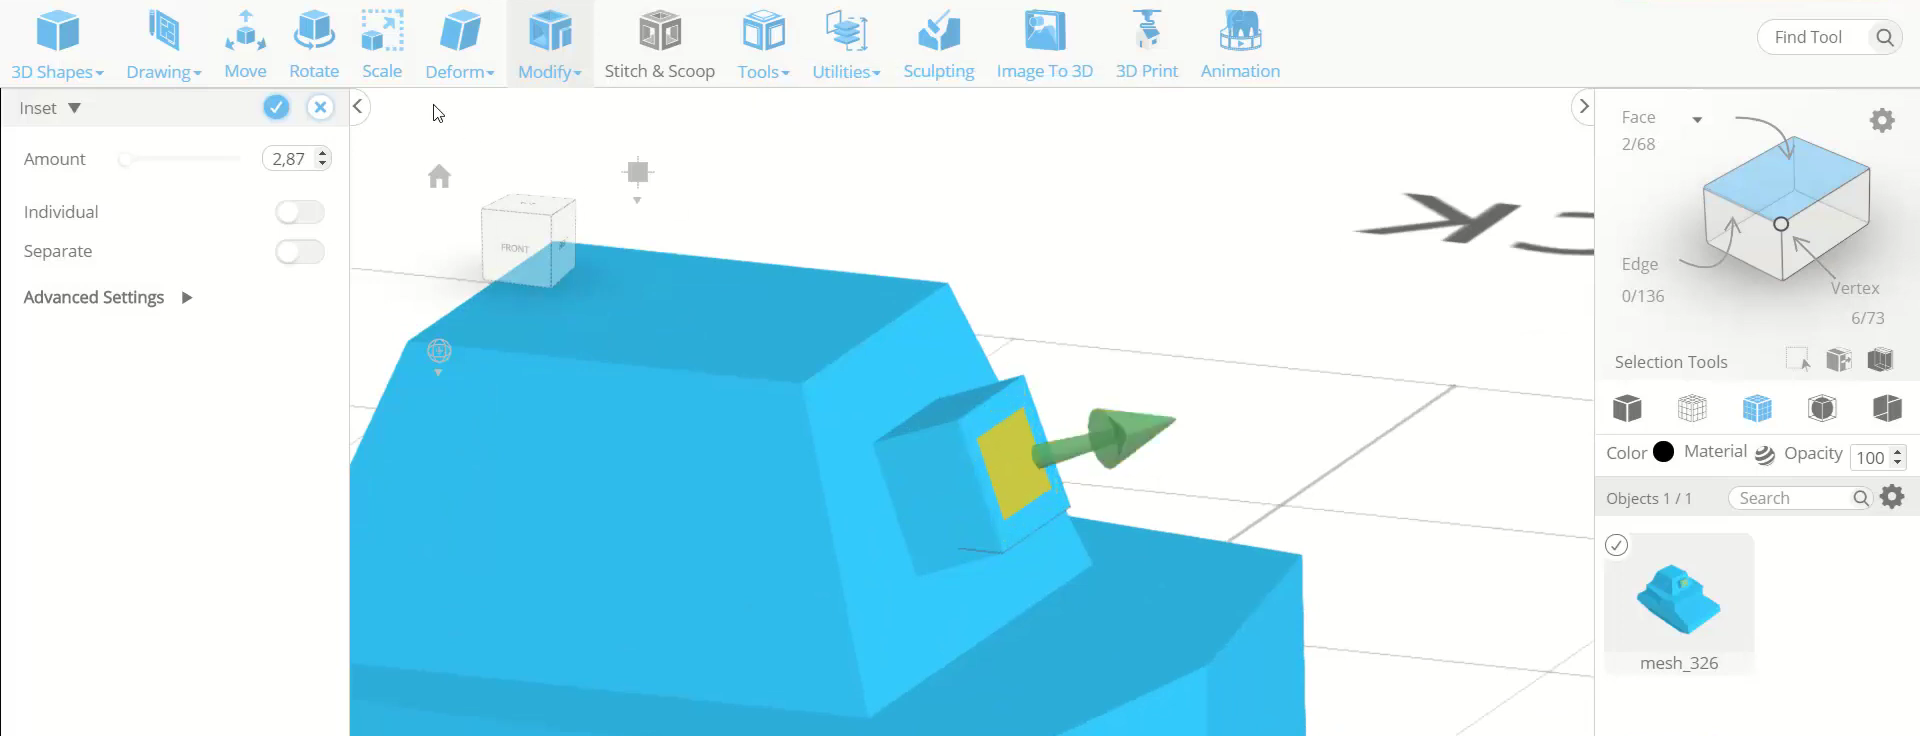
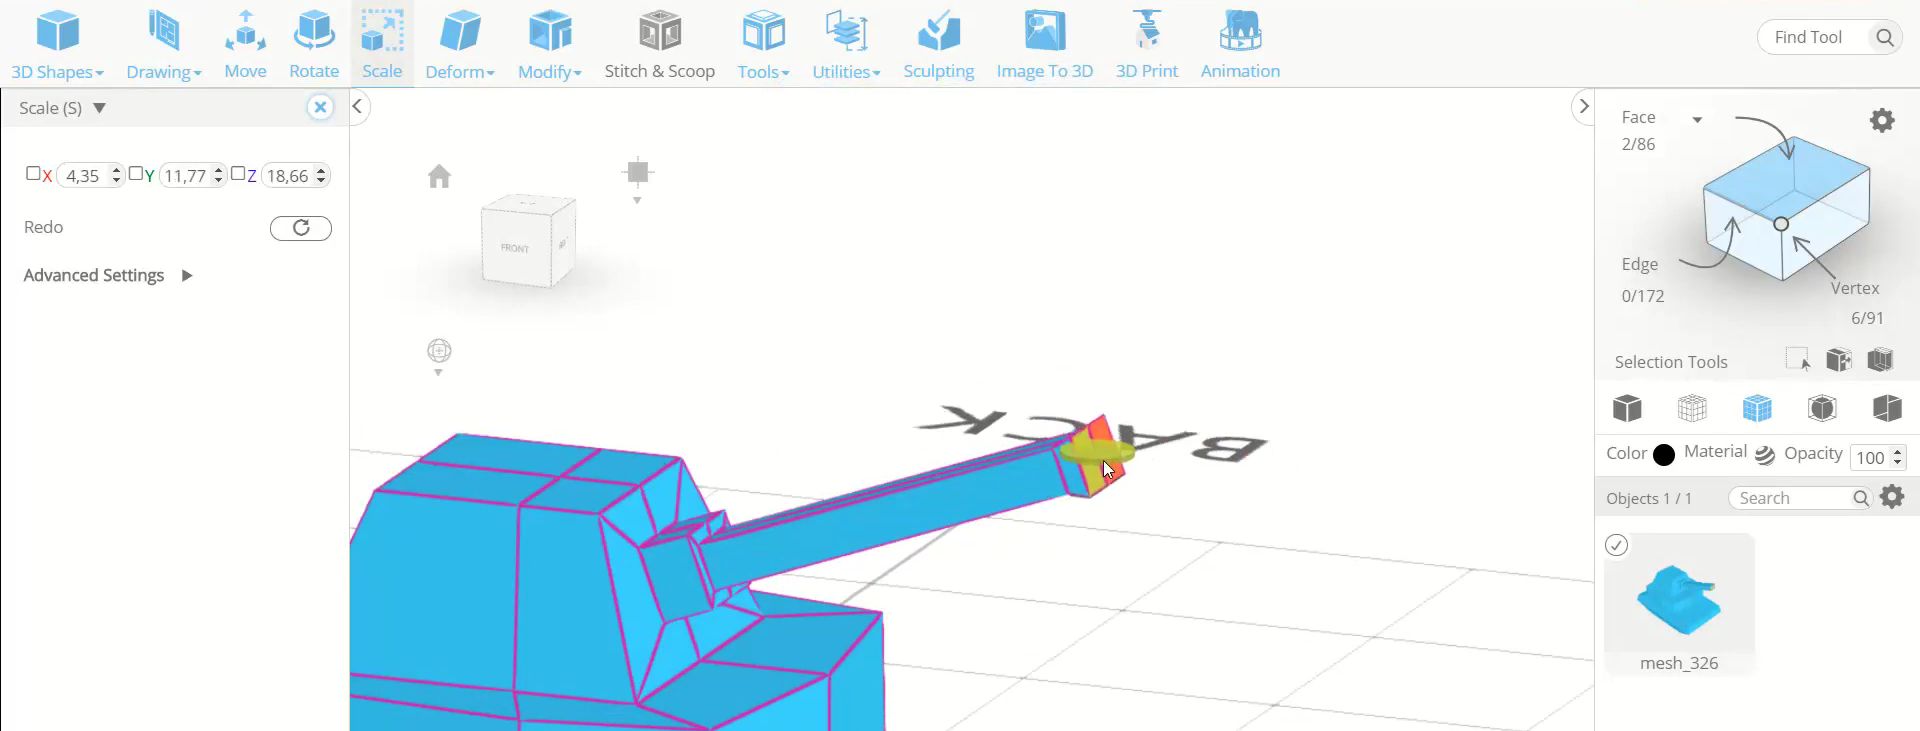
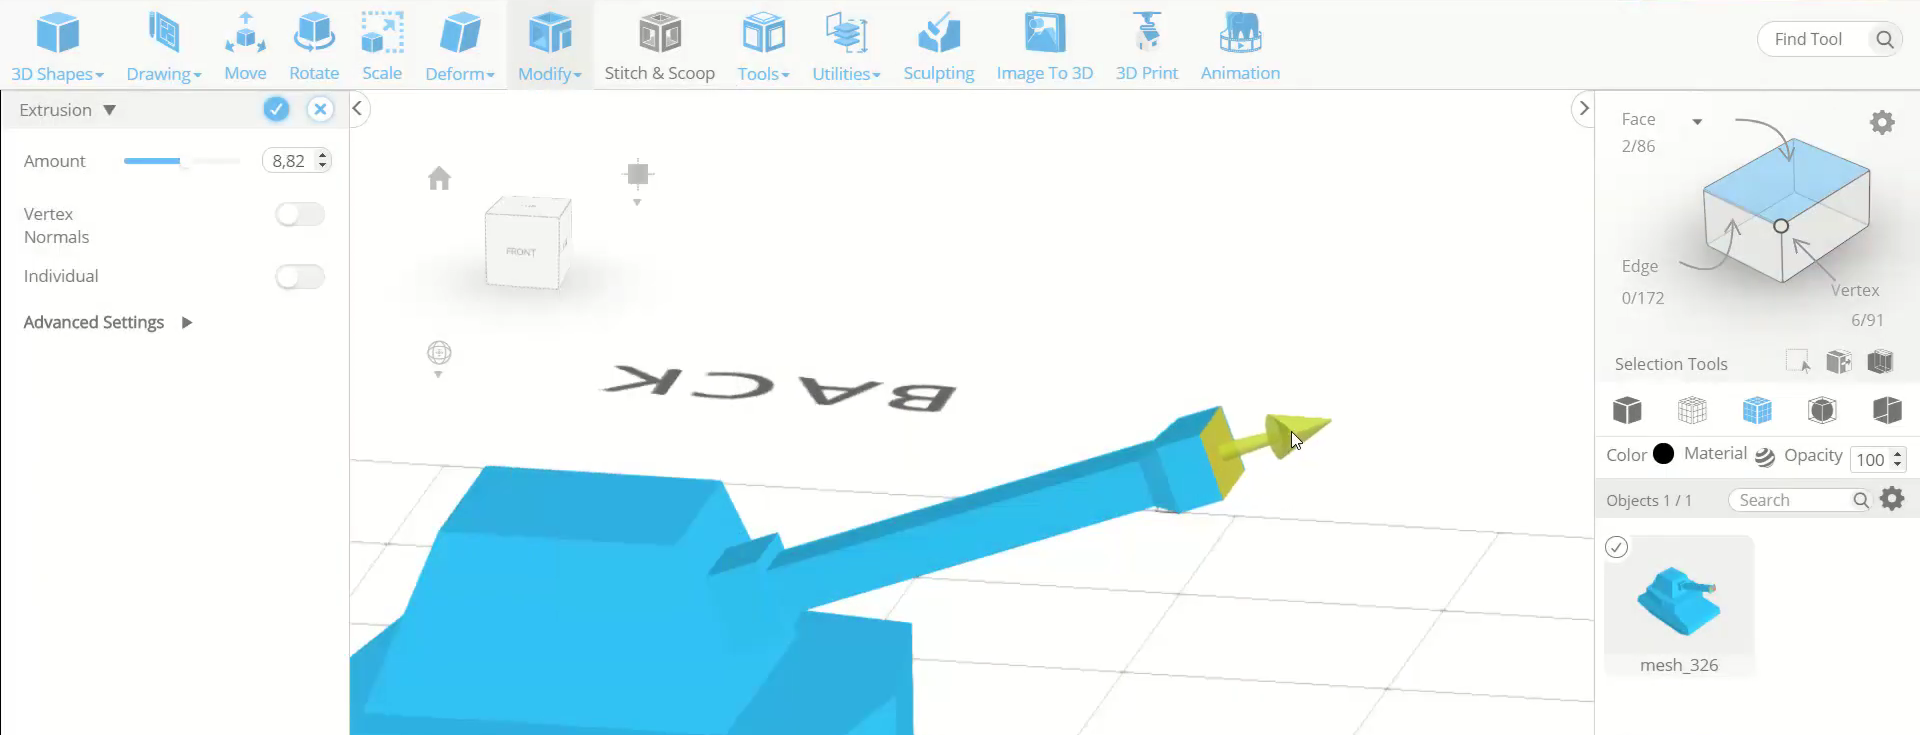
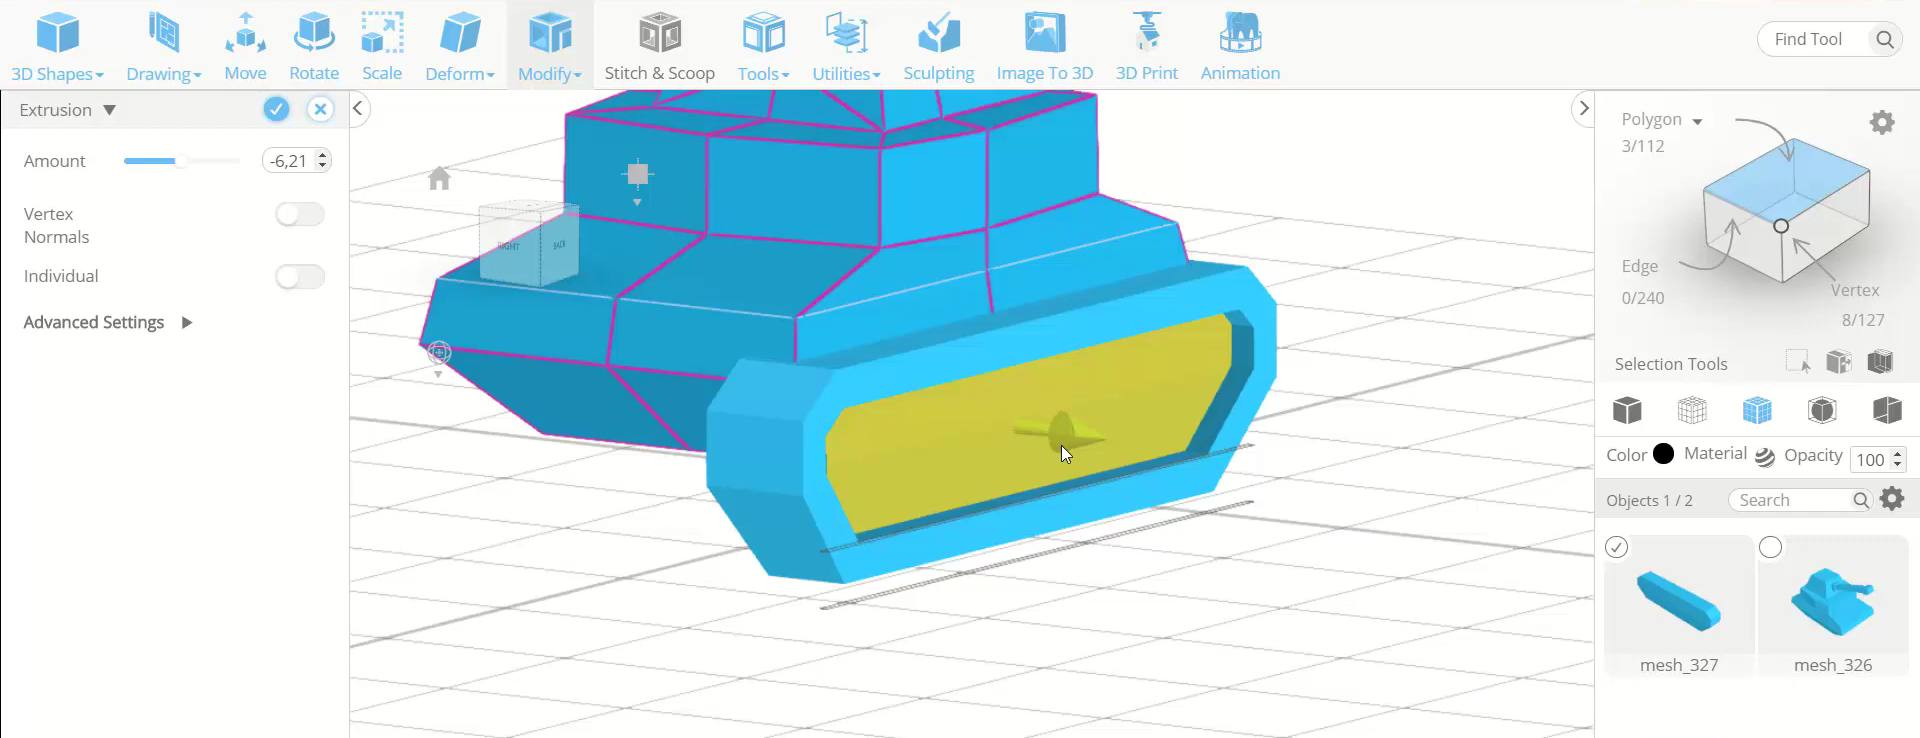
Step8: Extrude and inset the faces
Next, select that square face and extrude it to an amount of 10. Then inset the face to an amount of 3. After that, extrude it to make it long.
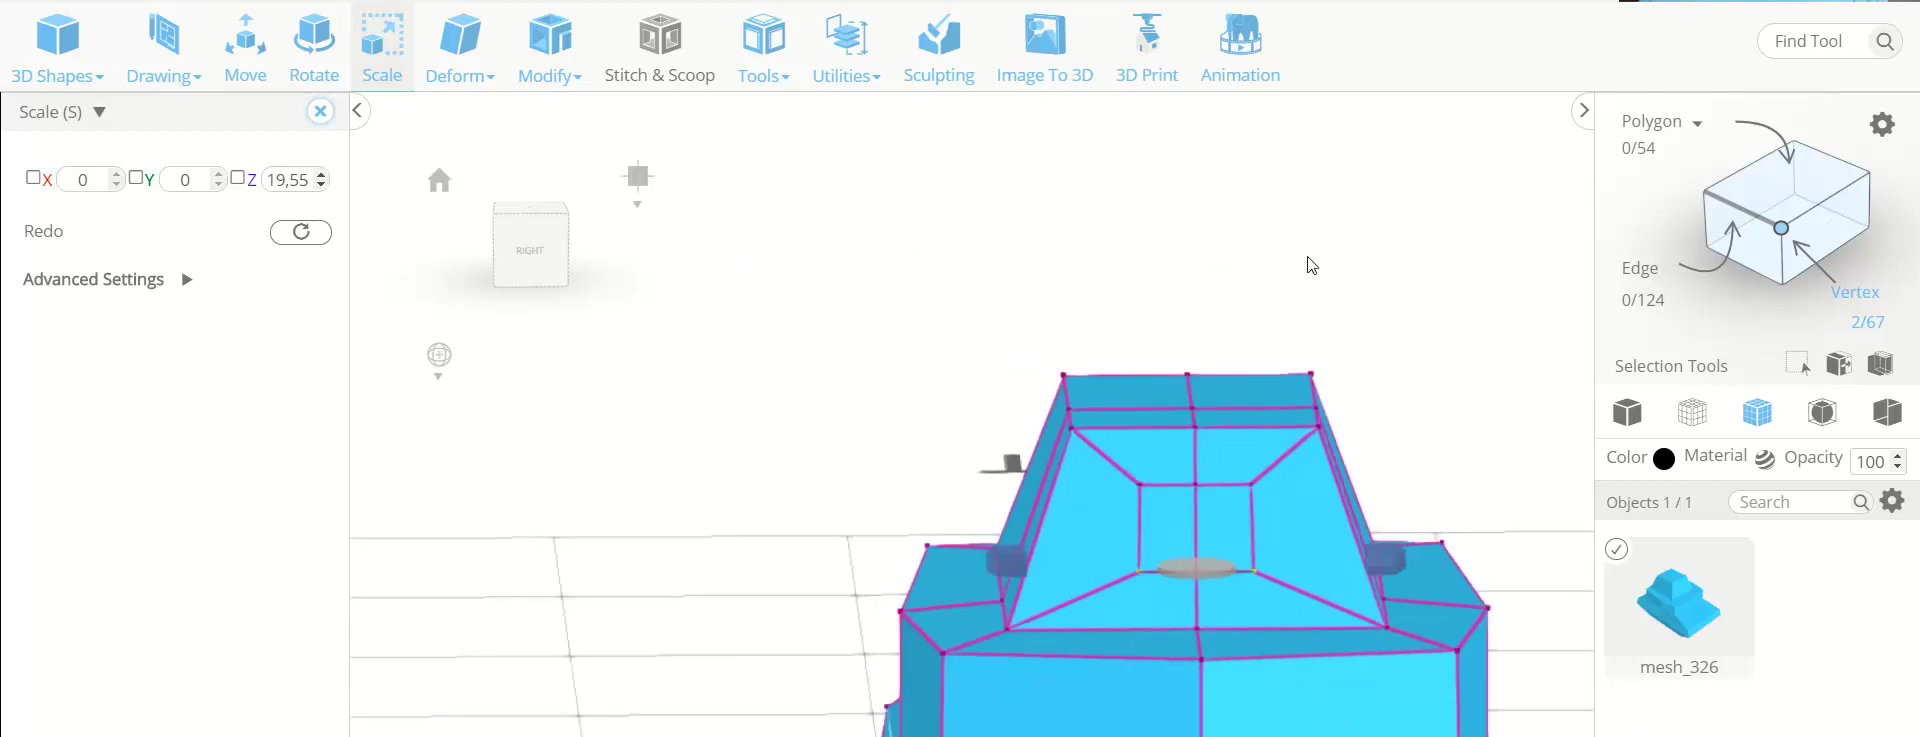
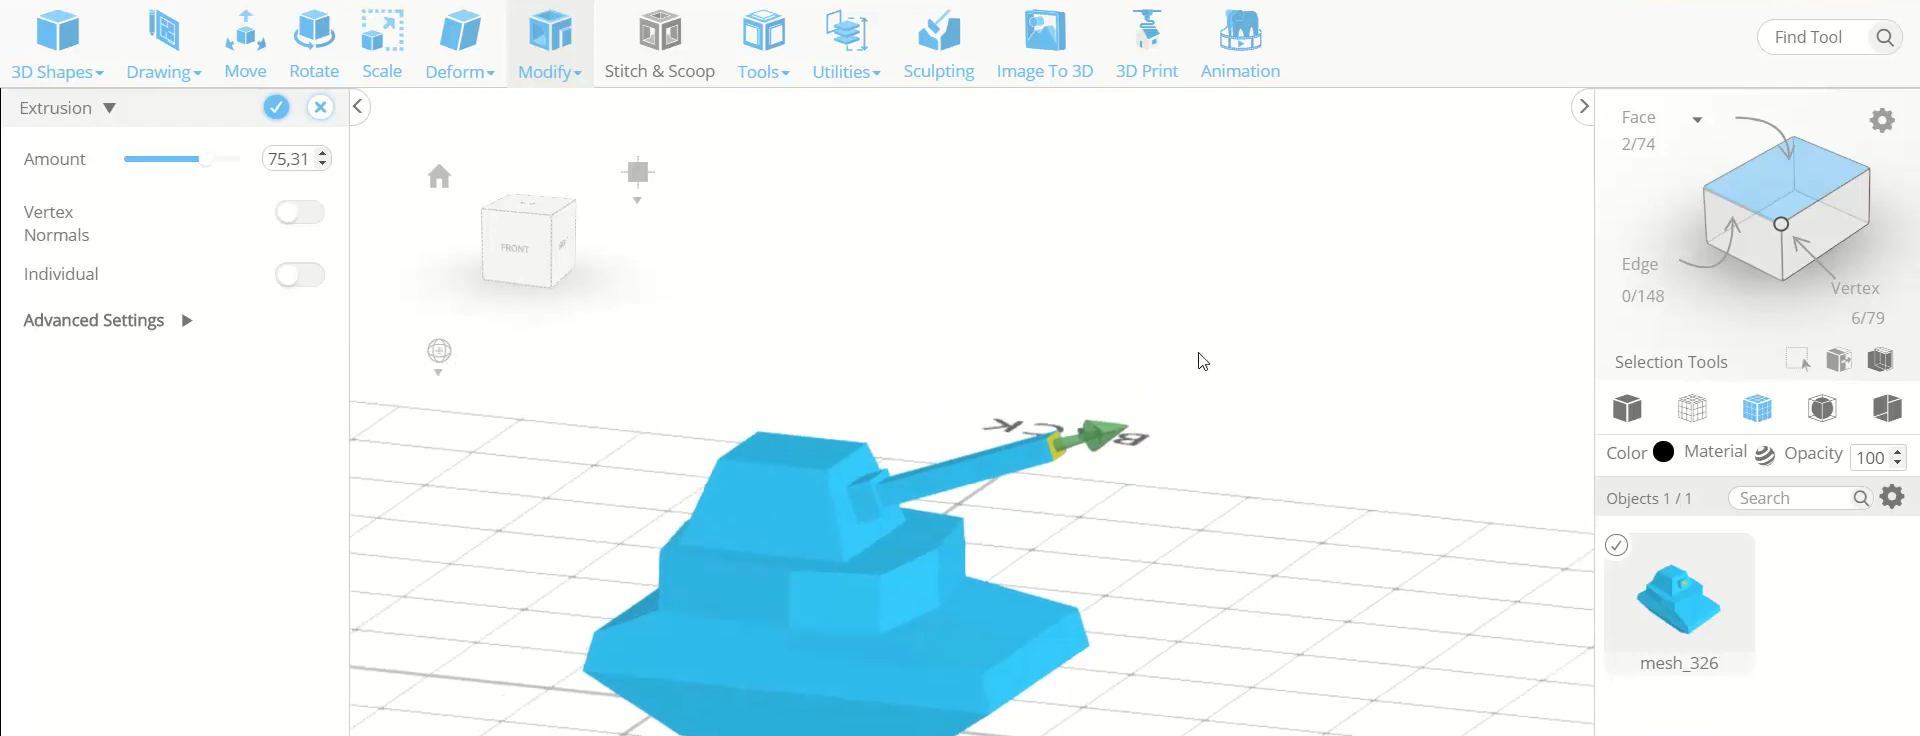
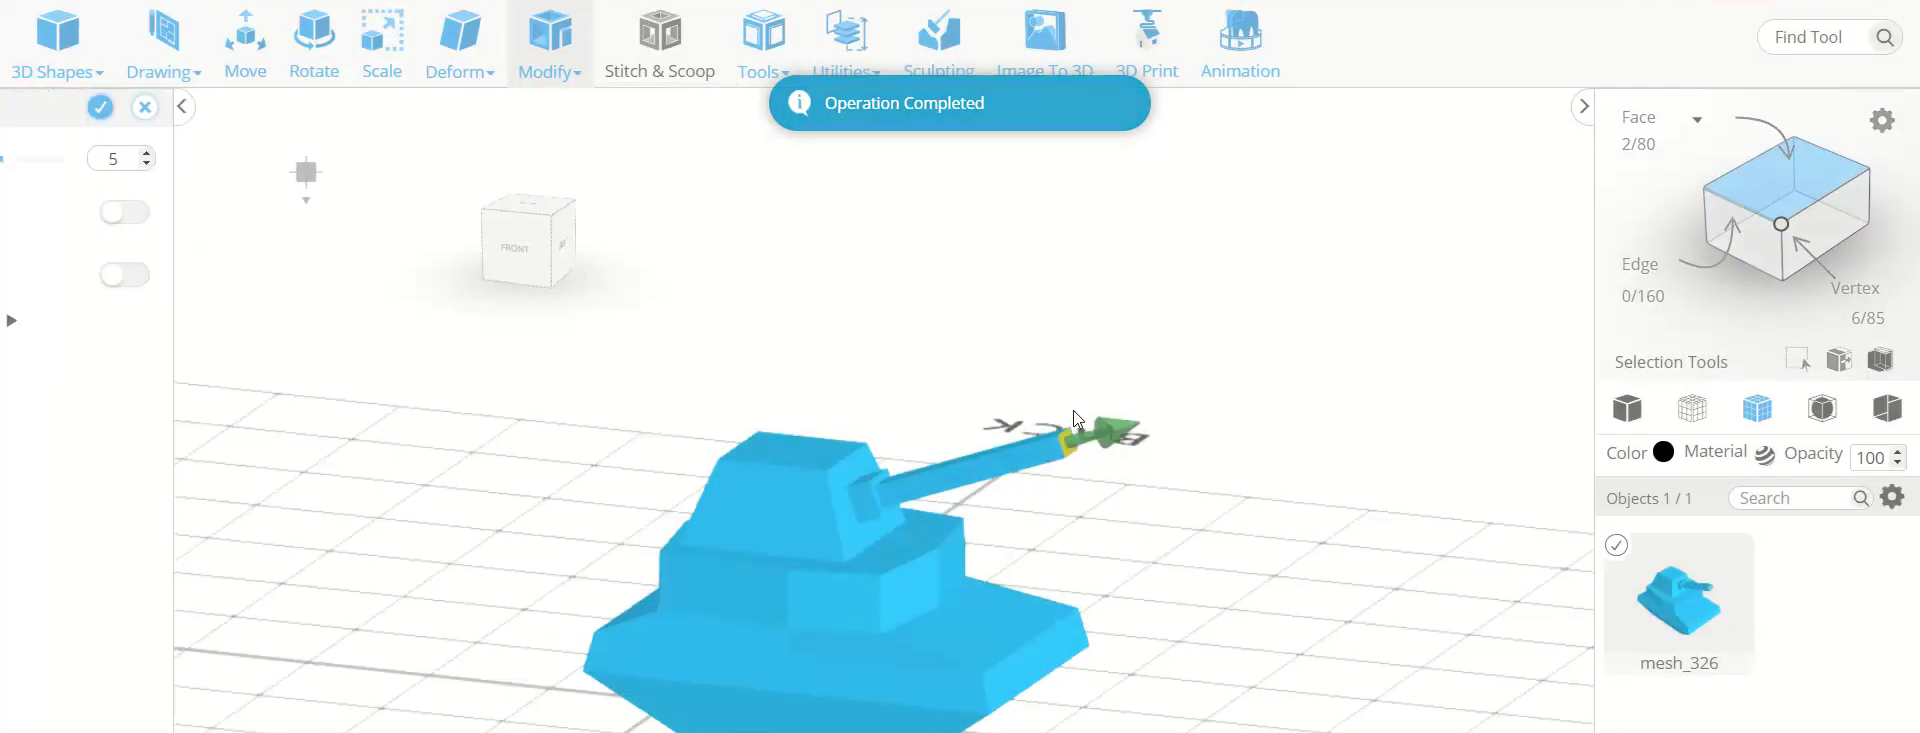
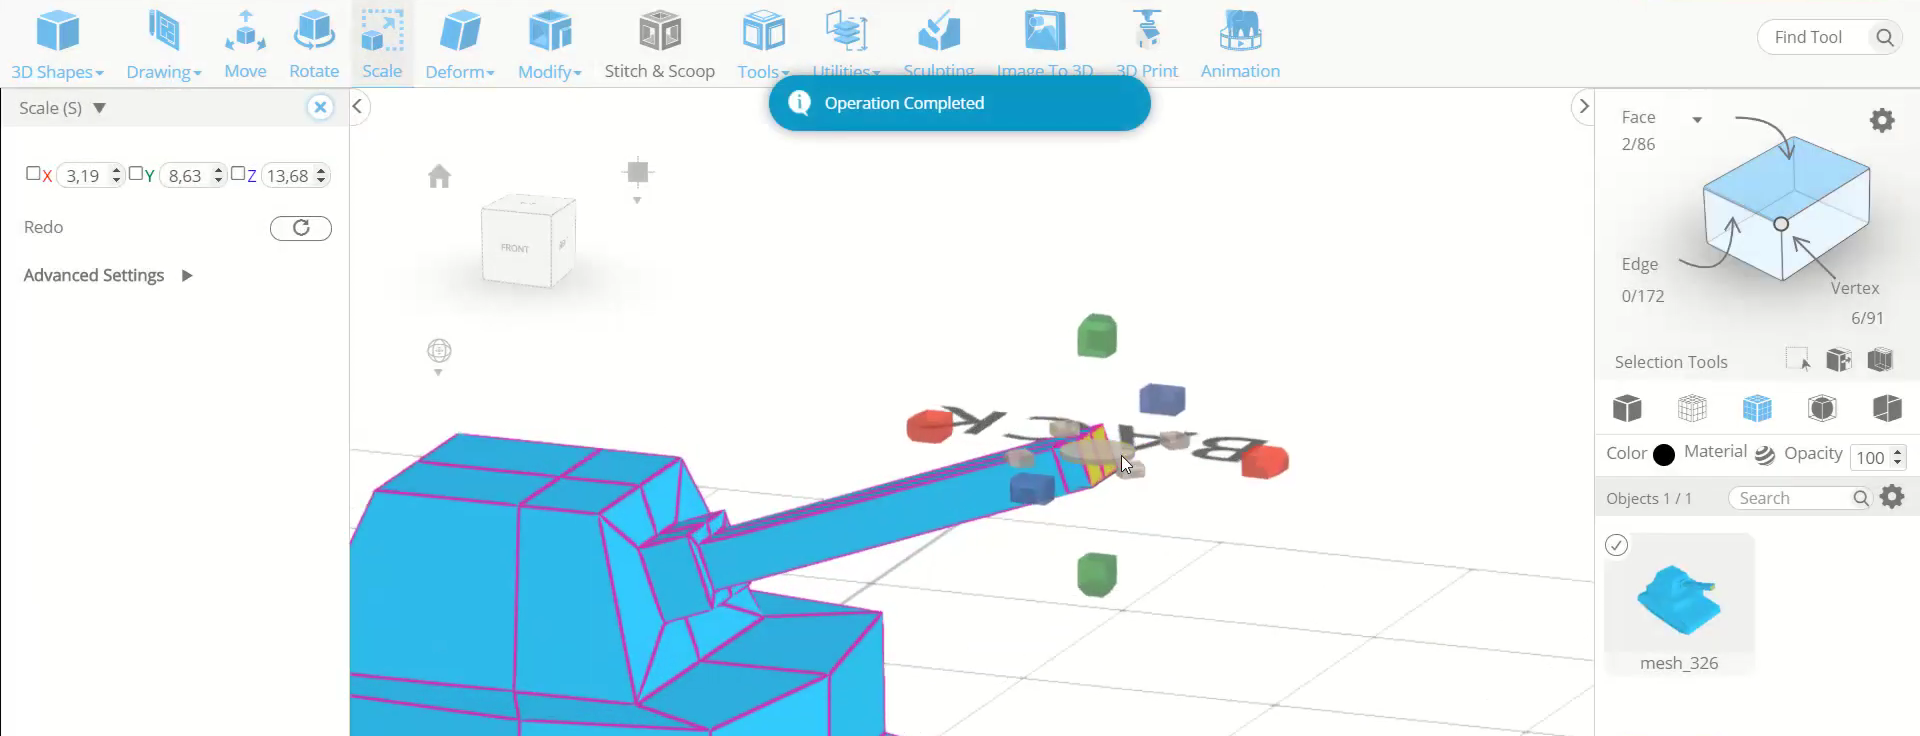
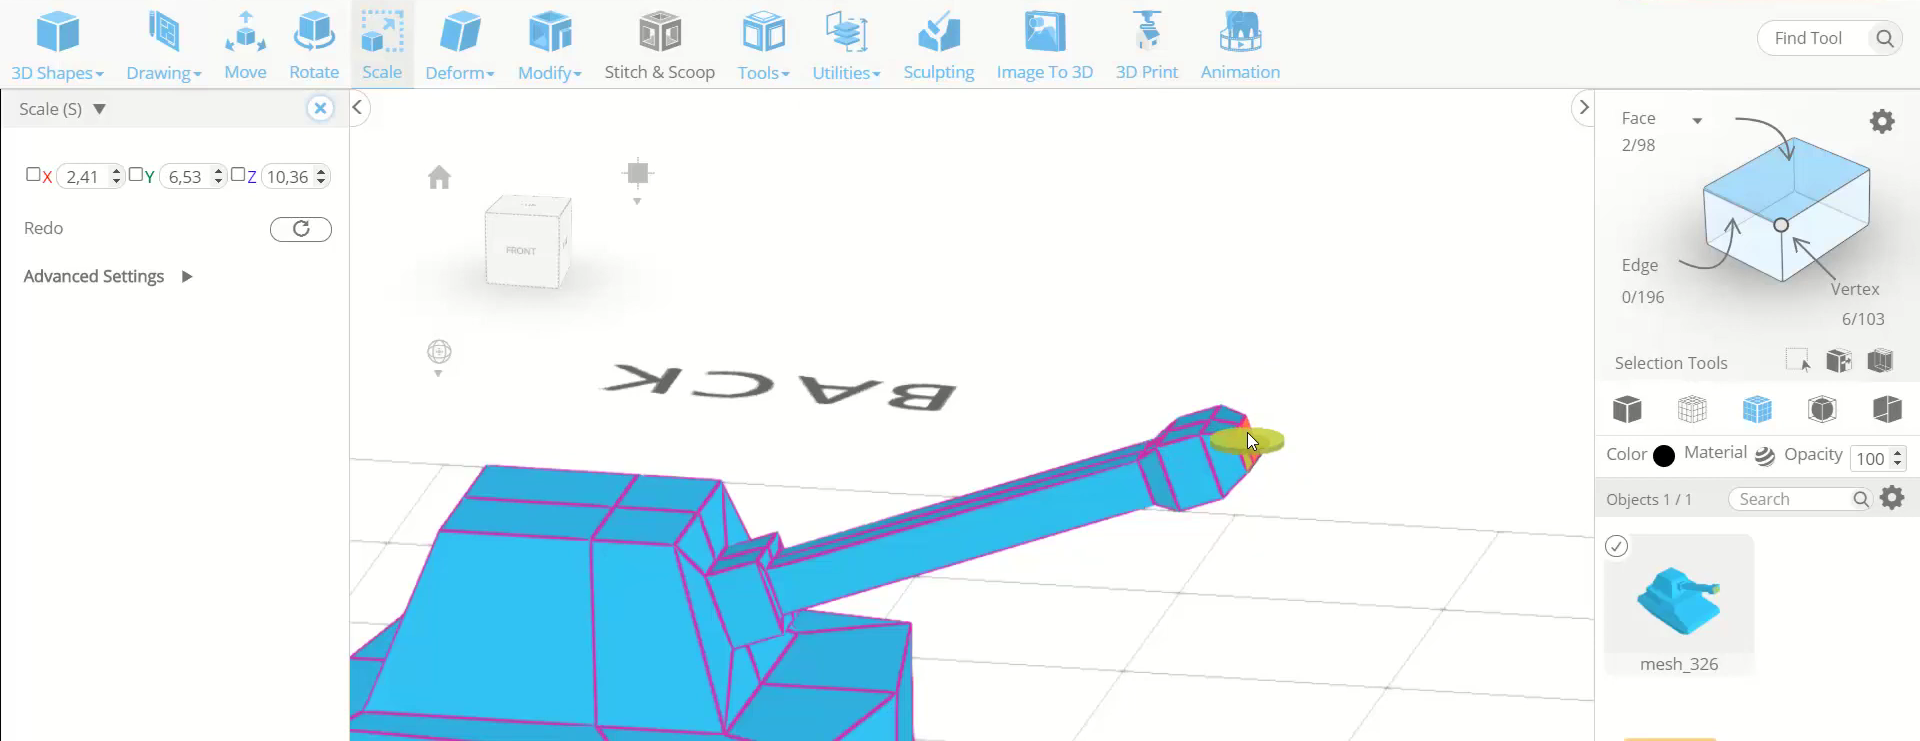
Step9: Make the knob of the tank’s shooter
Now, extrude the face again and scale it to a bigger size. Then extrude the face twice and scale the selected face to a smaller size.
Step10: Insert another cube and scale it
Next, insert another cube and scale it to a smaller size along the red and the green axis. Set to the front view and move the cube towards the tank. After that, scale the bottom face of the cube to a smaller size.
Step11: Extrude and inset the faces of the wheels
Now, extrude the top face of the cube twice and scale the top face to a smaller size. Then select the side face of the cube and inset it. After that, extrude that face towards the inside.
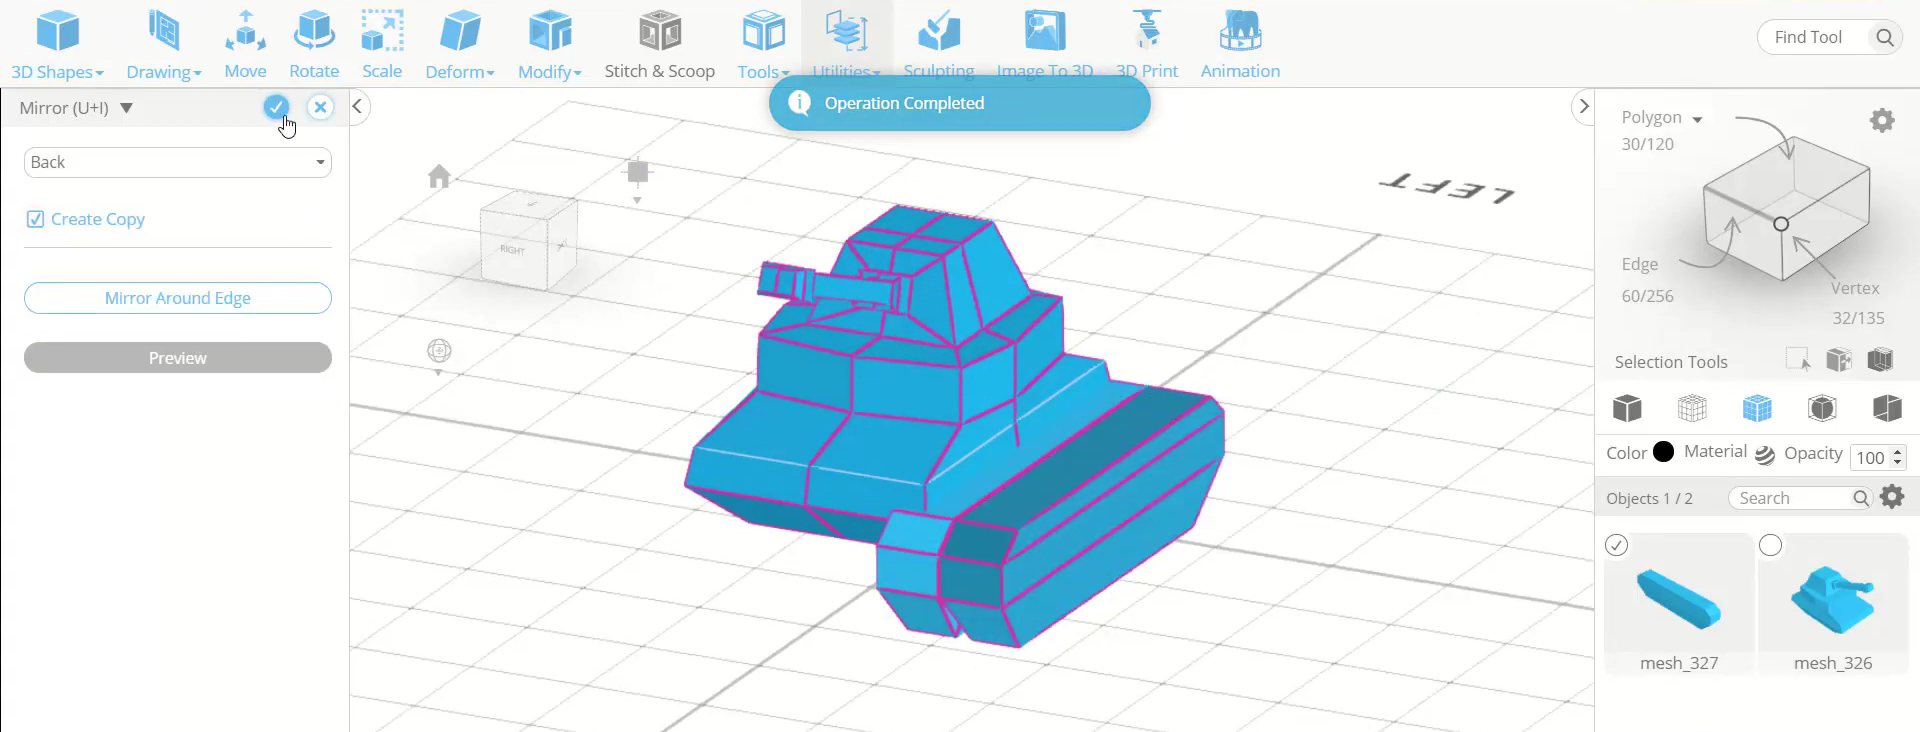
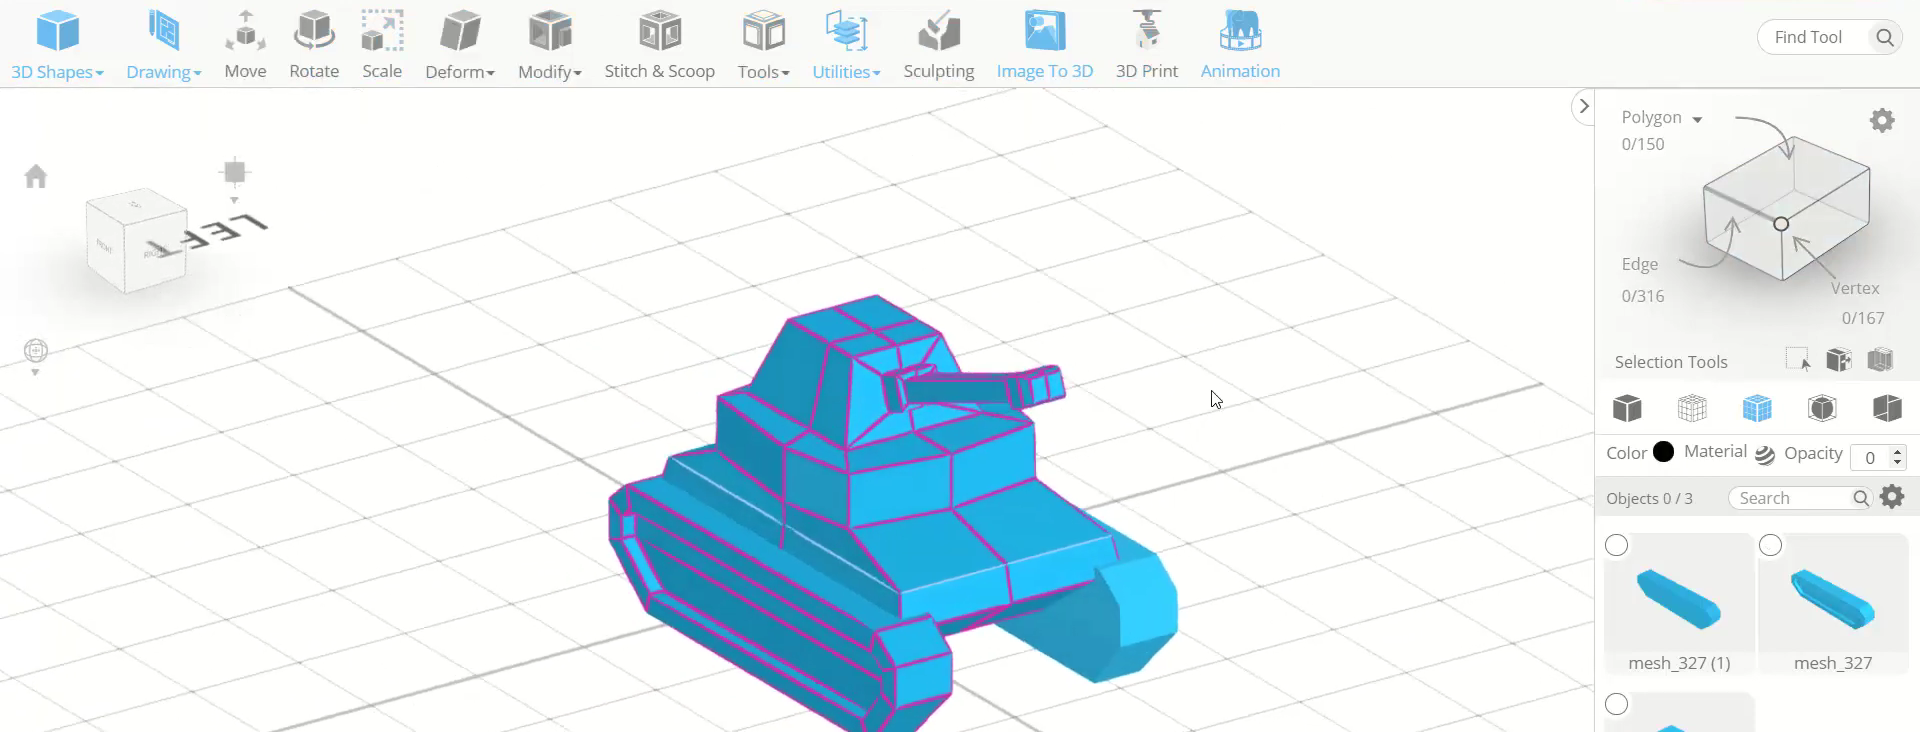
Step12: Create a copy and place it on the opposite side
Next, go to utilities and select the mirror option. Set it to the back and create a copy. Then move it towards the opposite side.
Conclusion: Therefore, we have created a 3D tank in SelfCAD
We have 3D designed the tank in SelfCAD and we have additionally demonstrated the way that you can utilize the different tools of SelfCAD like polygon selection and 3D shapes as well as other fundamental tools like scale, move, and extrusion. Every one of the 3D models made in SelfCAD are 3D printable as they leave no numerical misuses that could make game-plans hard to print. Once wrapped up with the plan cycle, you can use the in-fabricated slicer of SelfCAD to create the G-Code record that you can ship off your 3D printer.