In this tutorial article we will learn how to create a 3D tower in SelfCAD in stepwise manner
To make any momentous 3D model, you ought to, specifically, pick a 3D modeling software to use in your endeavours. Subsequent to deciding the right 3D modeling software, you would then begin learning its tools and different components. In this tutorial article, we're demonstrating the way that you can design a tower in SelfCAD. We picked SelfCAD as it's more easy to learn, and you don't have to have knowledge of 3D modeling to make the decision to utilise it.
Is it right that you are enthused about learning 3D designing? Dread not. SelfCAD is here to alleviate your interests. Thus, we should begin with a basic article, for example, a 3D tower!
You can also check our other articles by visiting our site such as how to design a 3D plastic bottle.
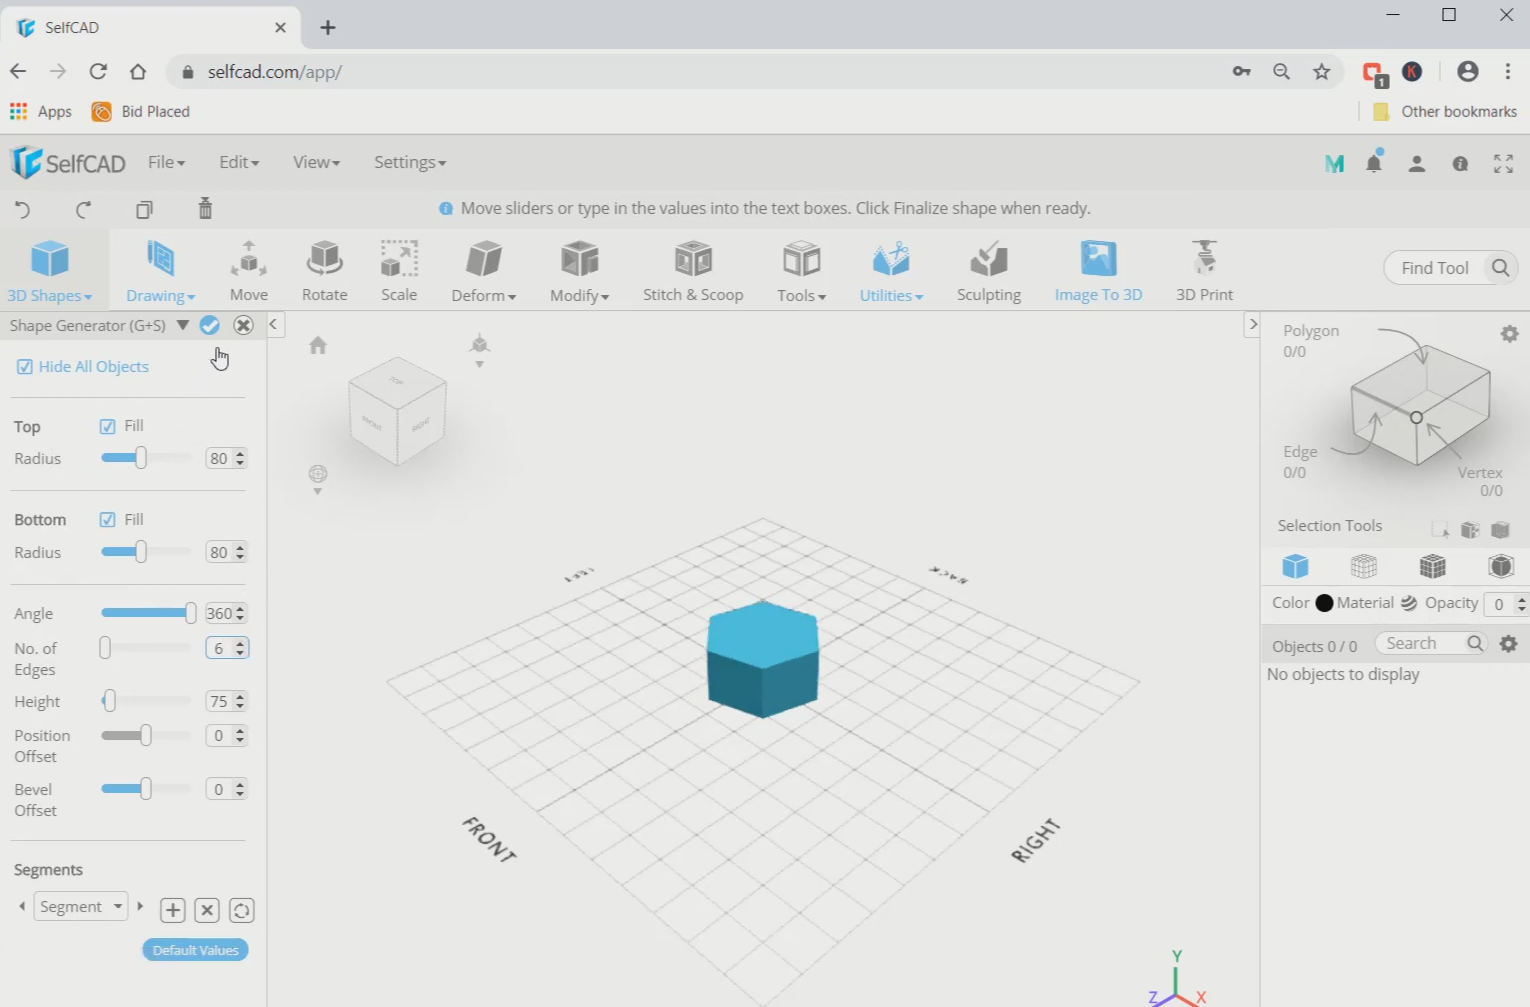
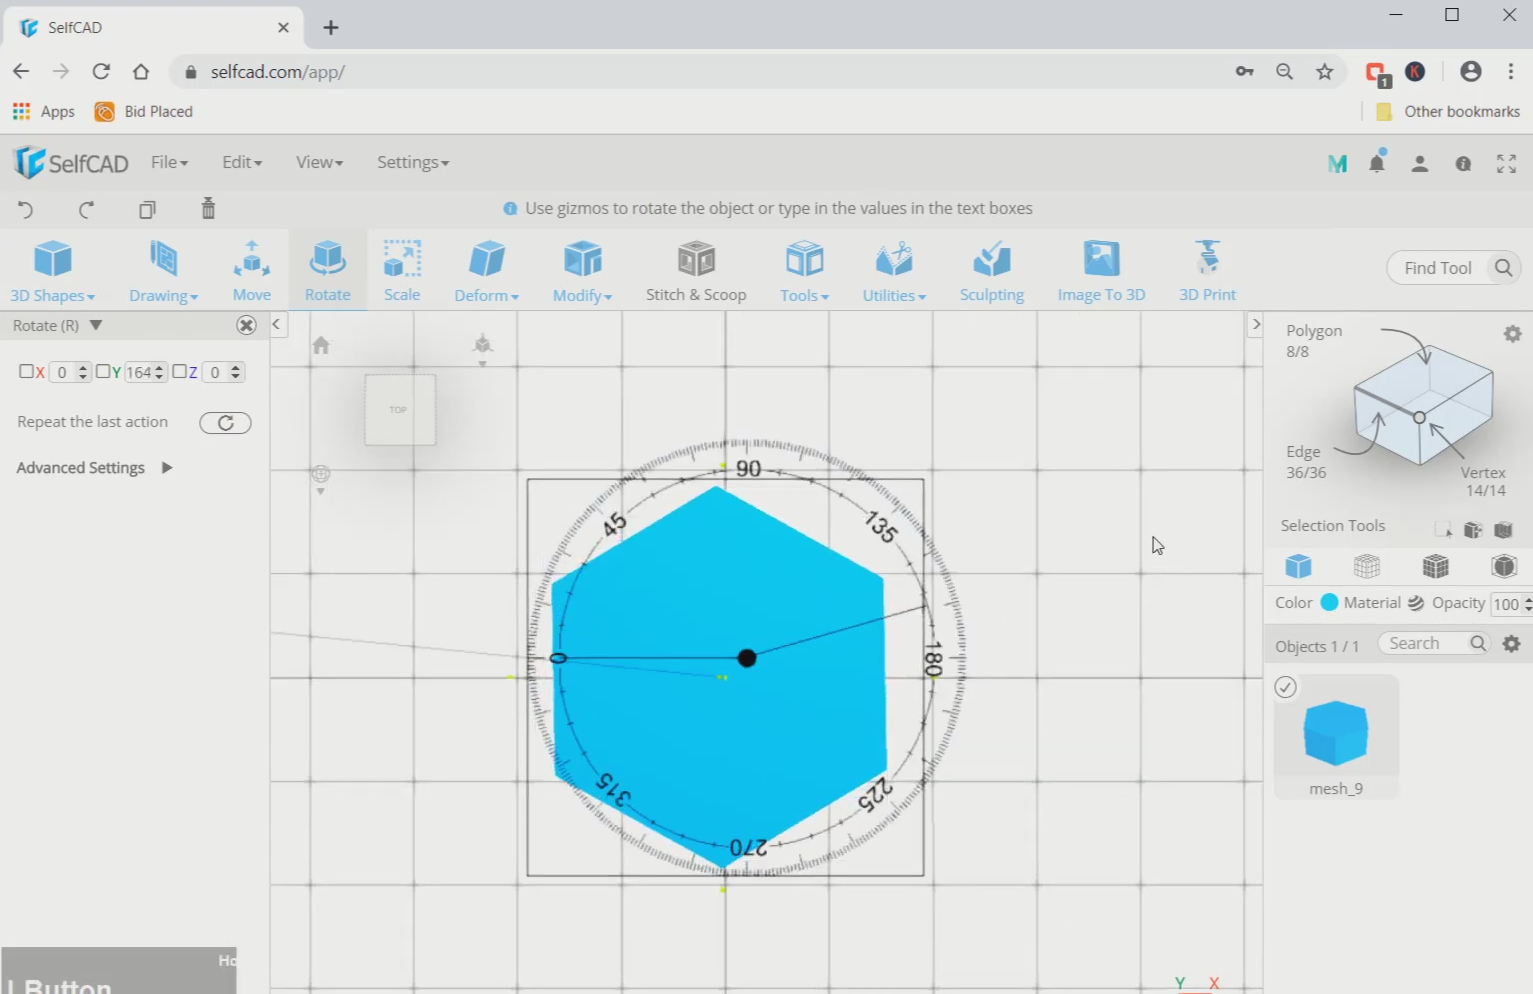
Step1: Insert a 3D shape and rotate it
First of all, go to 3D shapes and select the shape object. Set the number of edges to 6 and top and bottom radius to 80. Change to top view. Then use the rotate tool and rotate the object along the green axis in about 160 degrees.
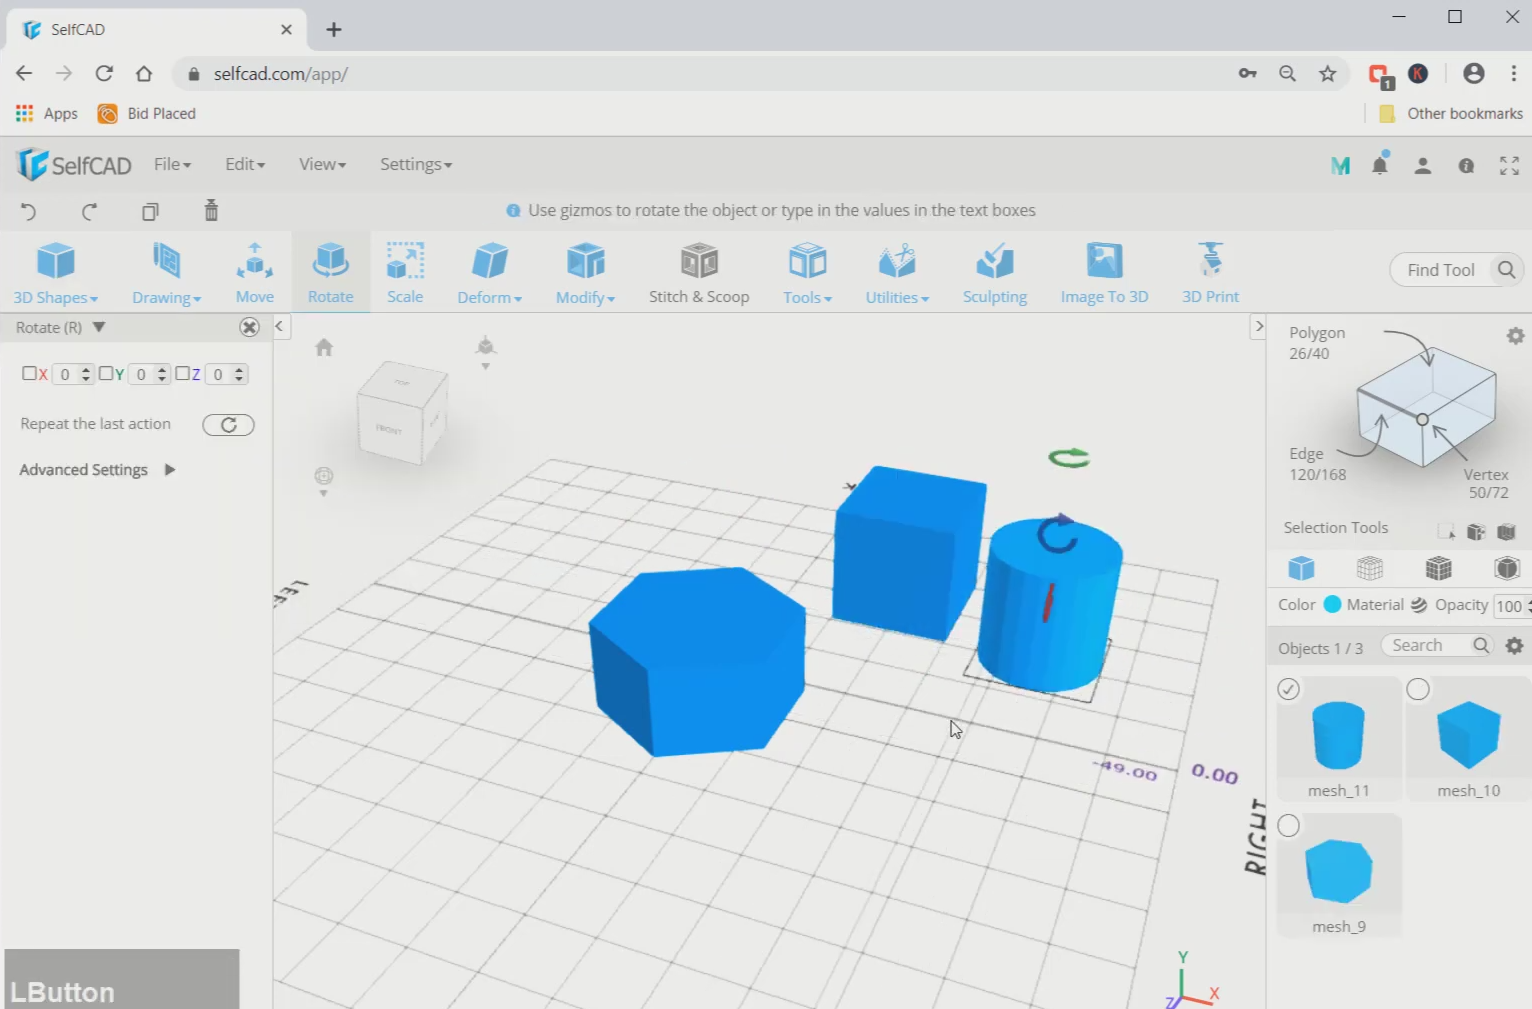
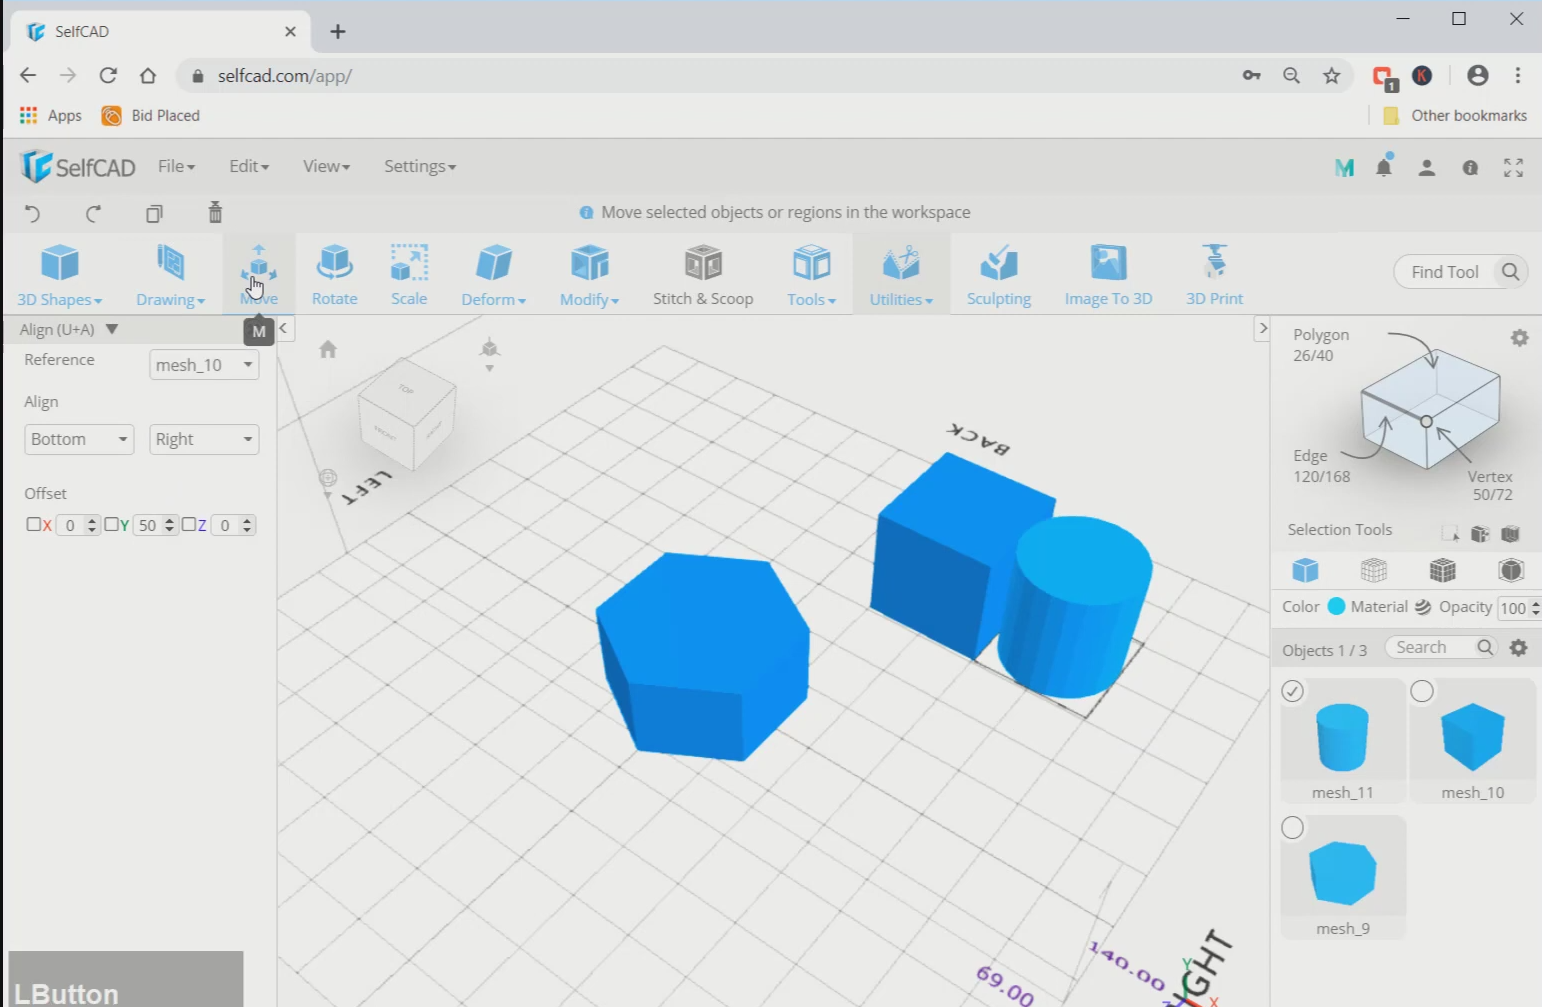
Step2: Insert a cube and a cylinder and align them
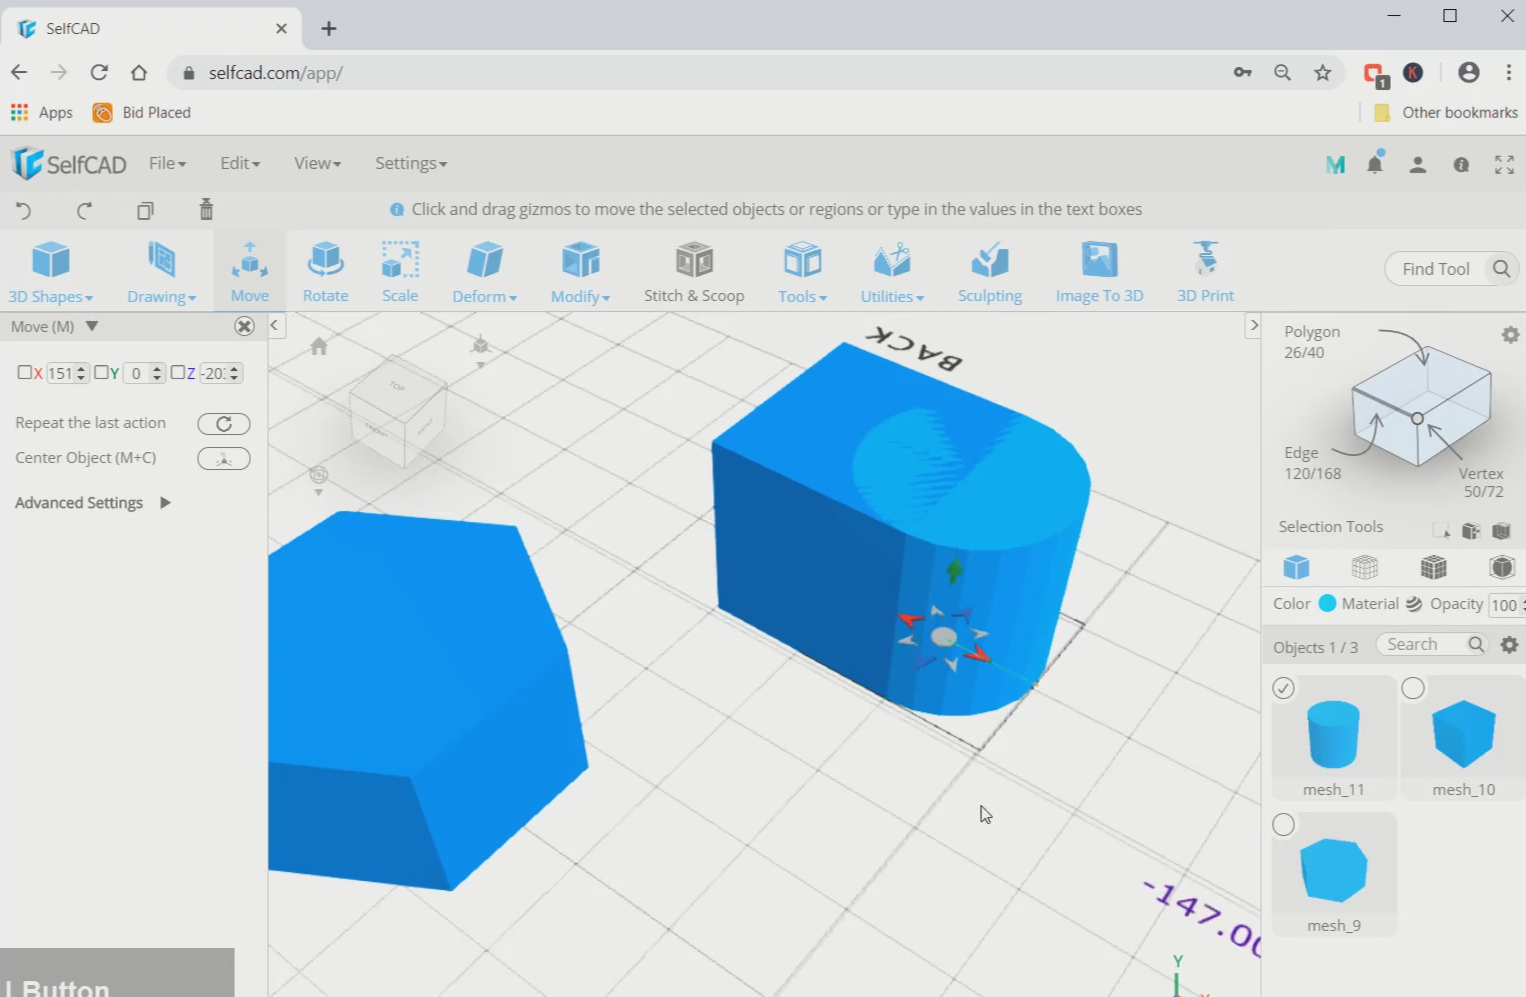
Next, go to 3D shapes and insert a cube and a cylinder to the working interface. Then go to utilities and select the align option. Set the reference to mesh. After that, use the move tool and move the cylinder from the centre and join it with one of the edges of the cube.
Step3: Make the cube and the cylinder a union and rotate it
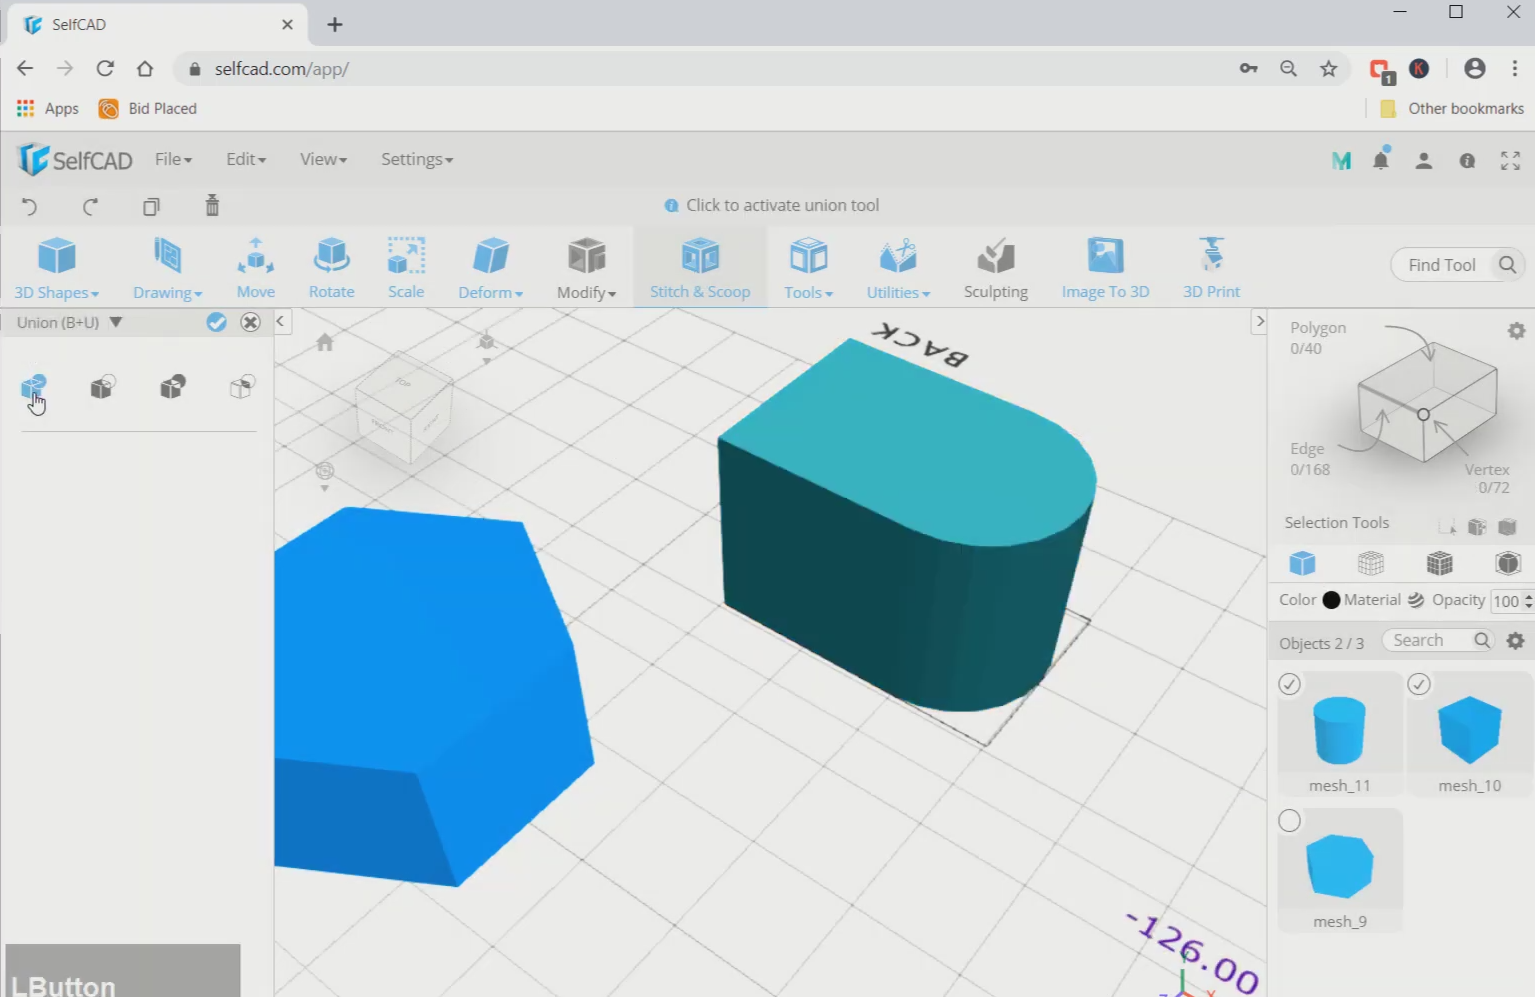
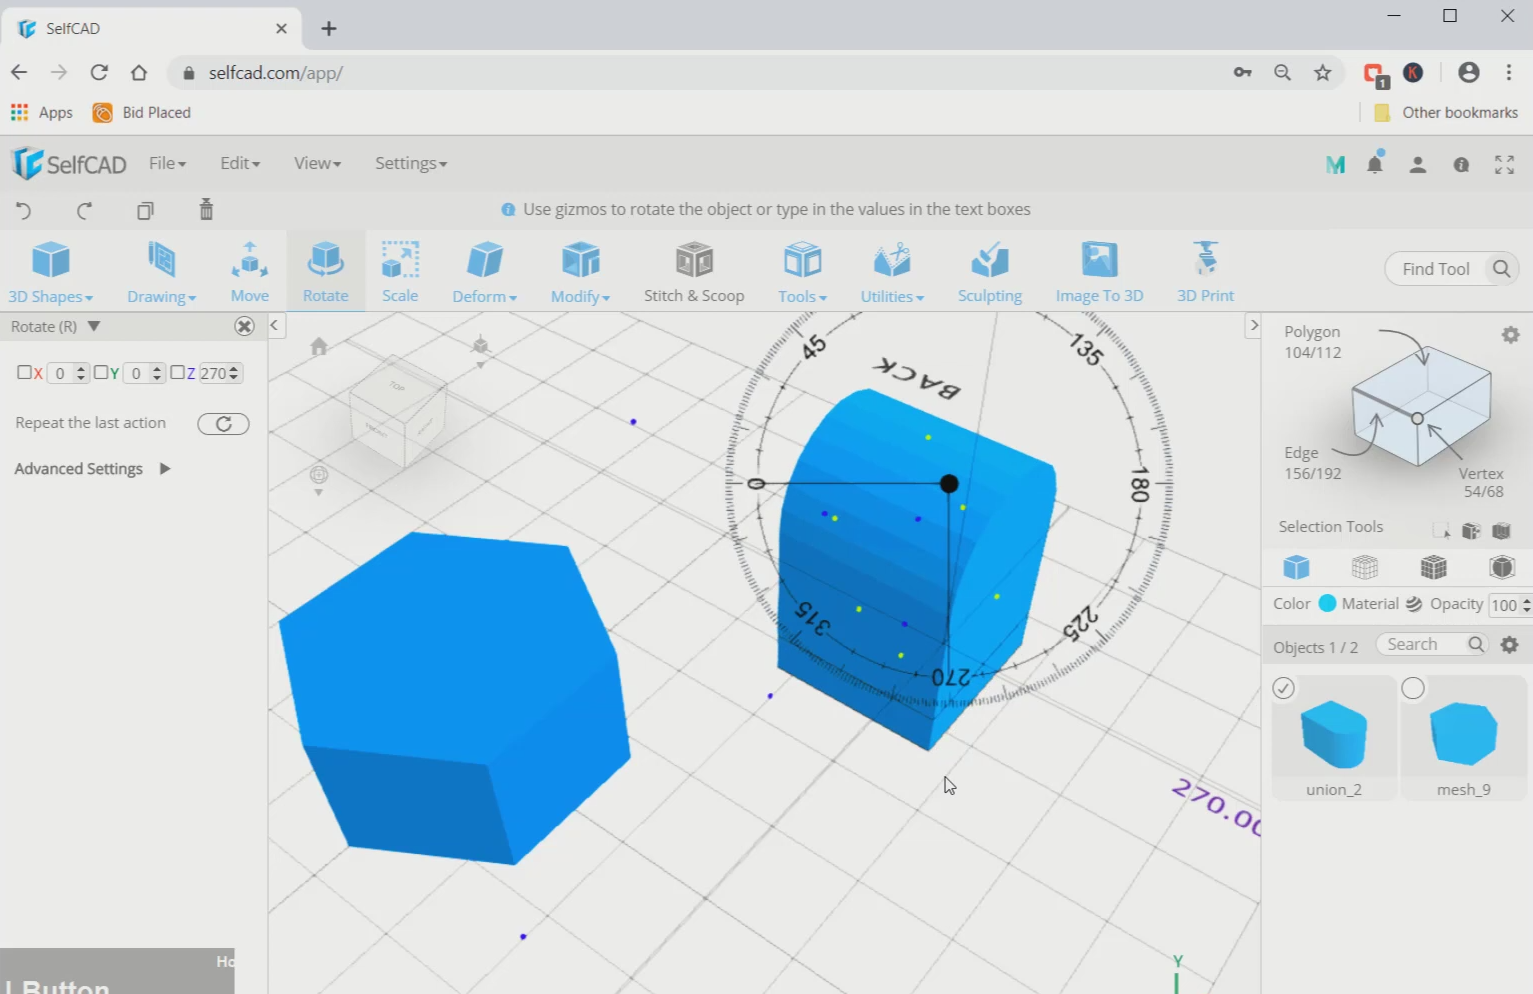
Now, select both the cylinder and the cube, go to stitch and scoop and select the union option. Then rotate it along the blue axis in about 270 degrees.
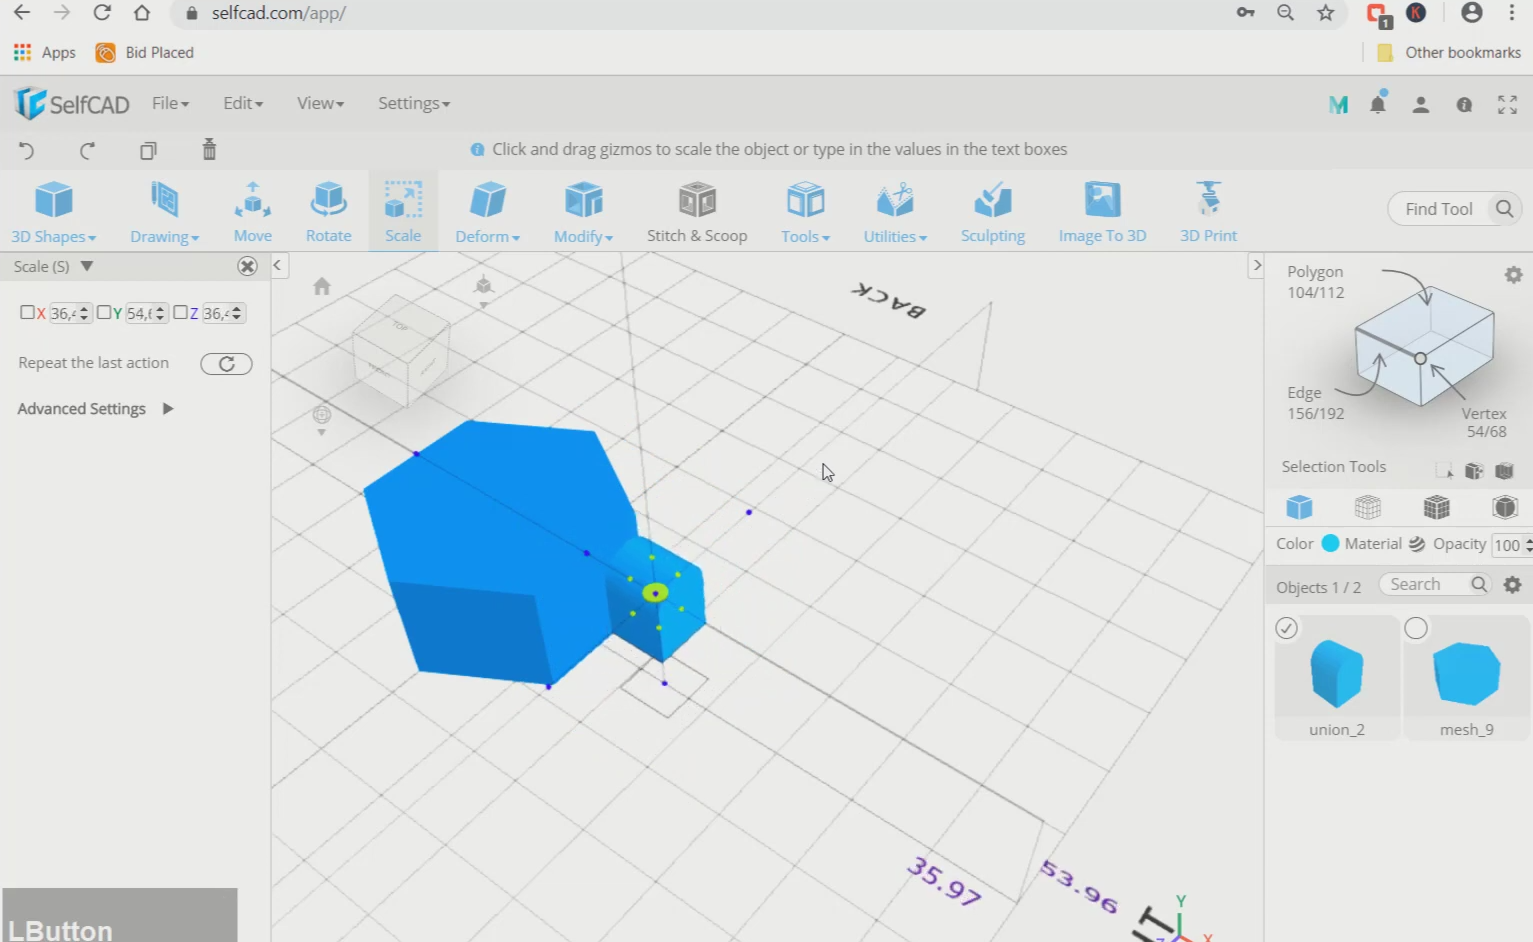
Step4: Align this union with the shape and scale it
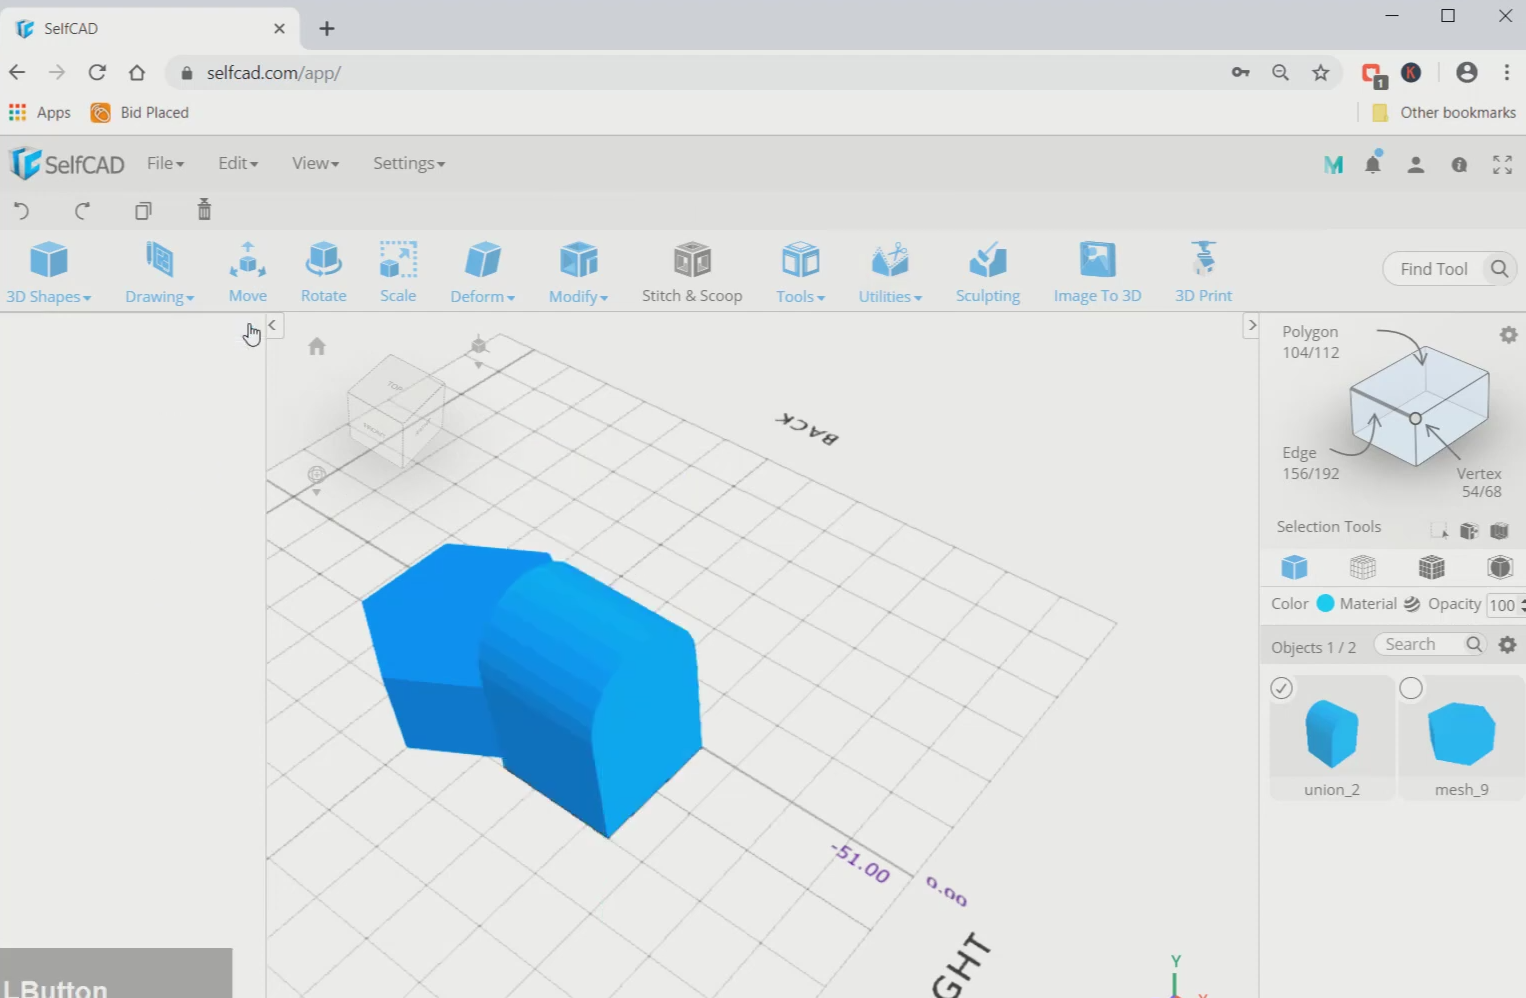
Next, select the align option, set the reference to mesh and change the back to right. Then use the scale tool and scale this object to a smaller size. After that move it towards the bottom edge of the shape.
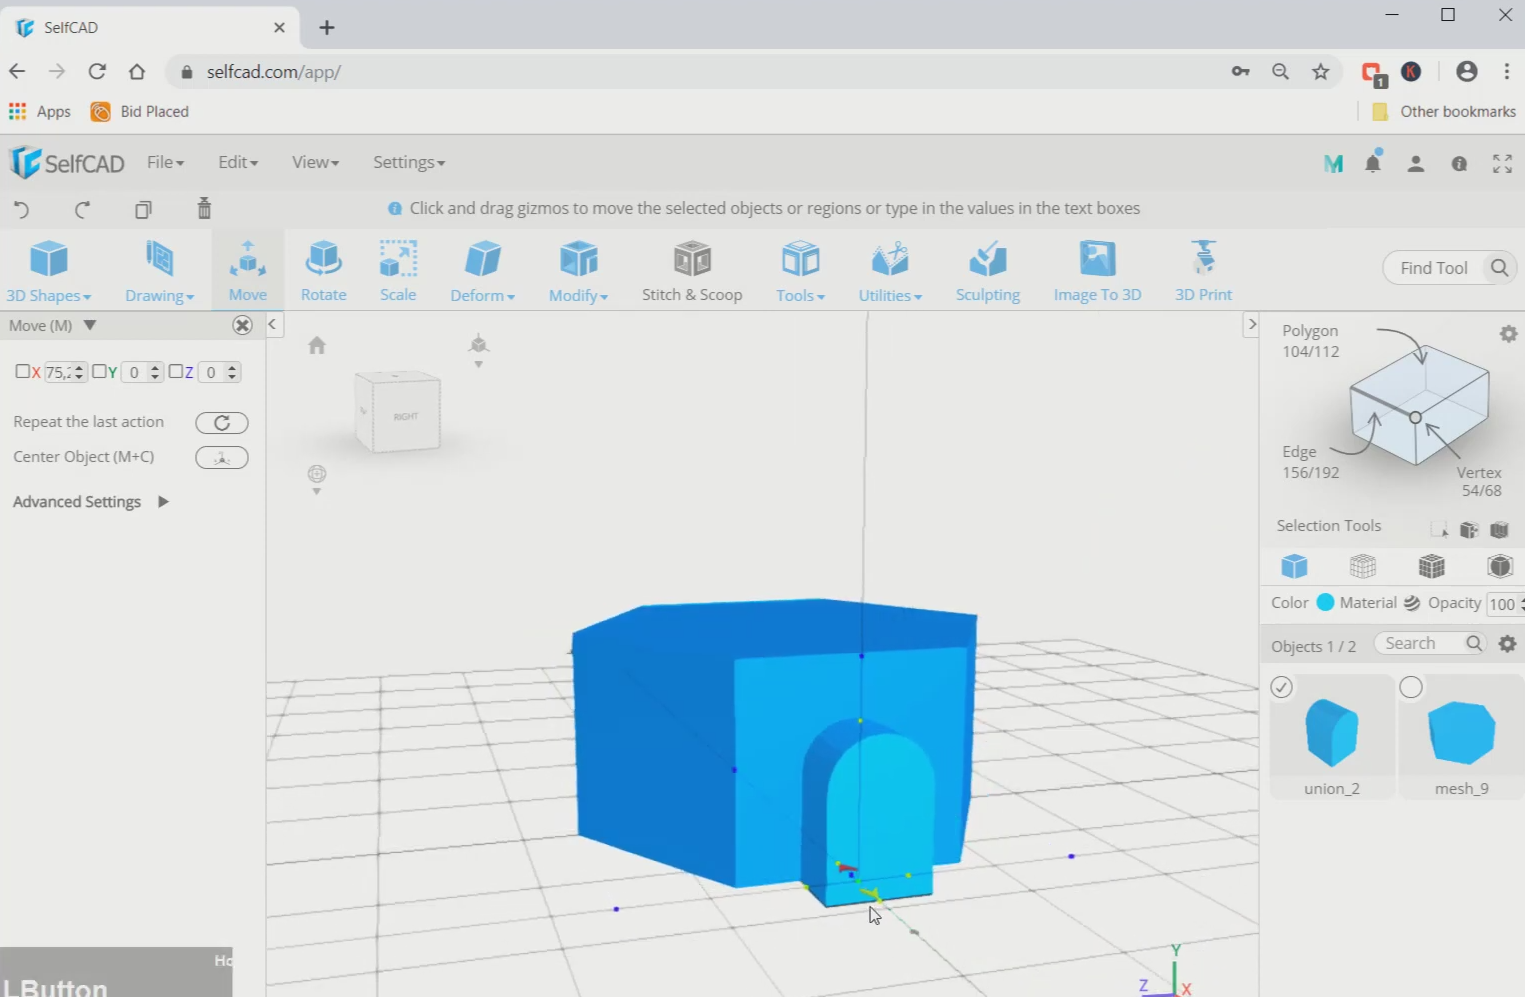
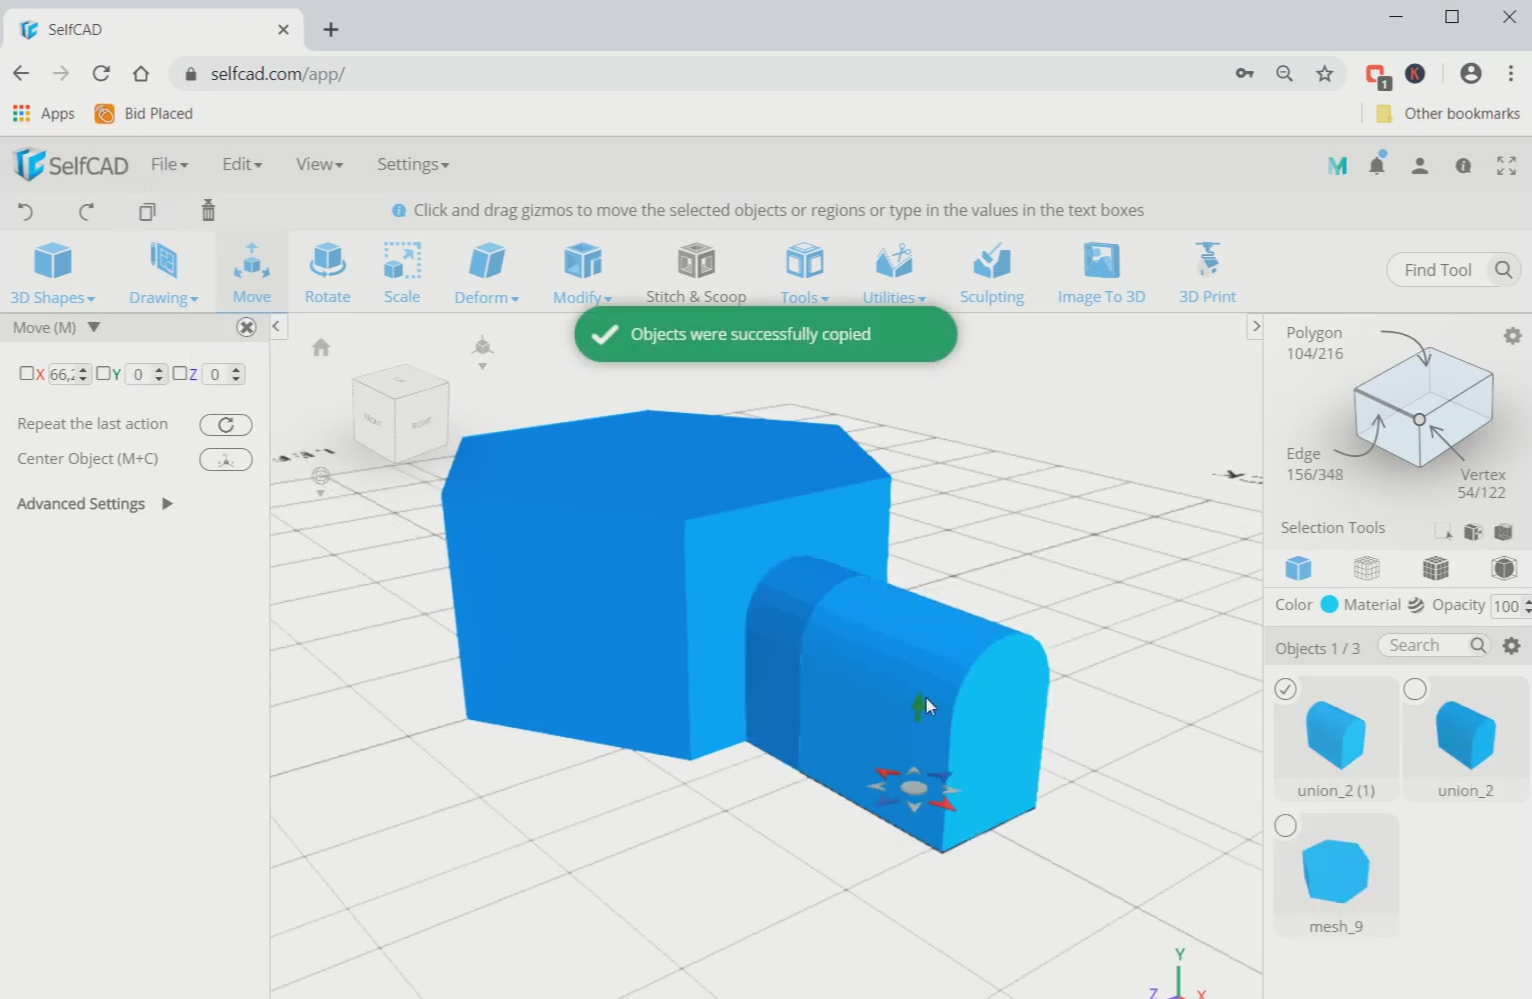
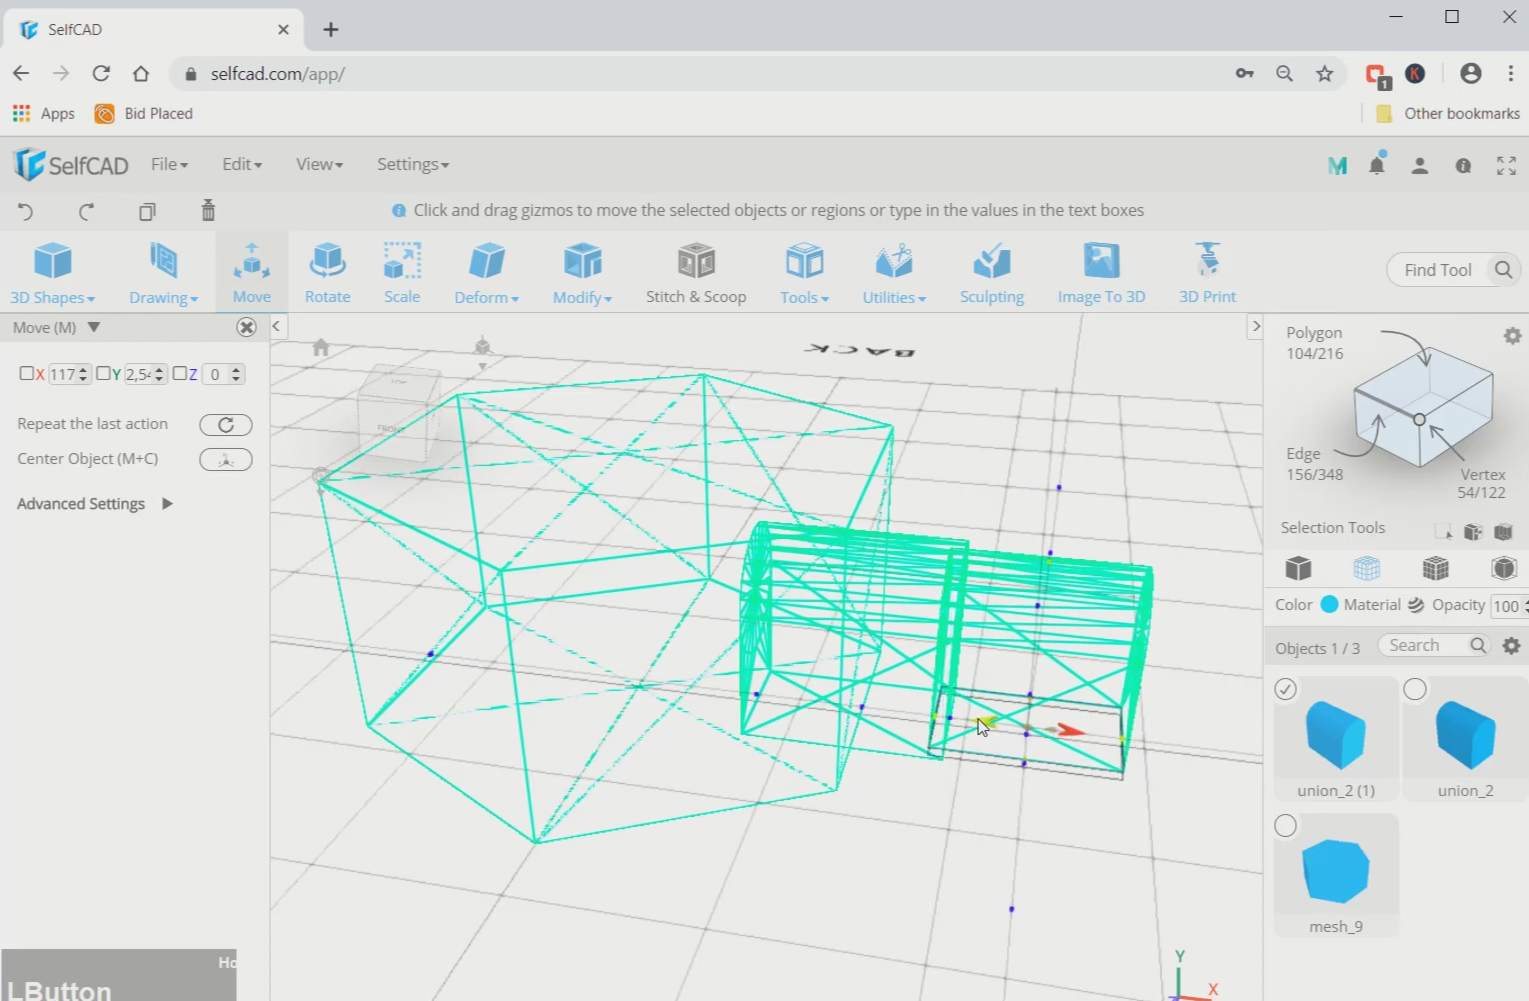
Step5: Make another copy of the union, scale it and insert it inside the original one
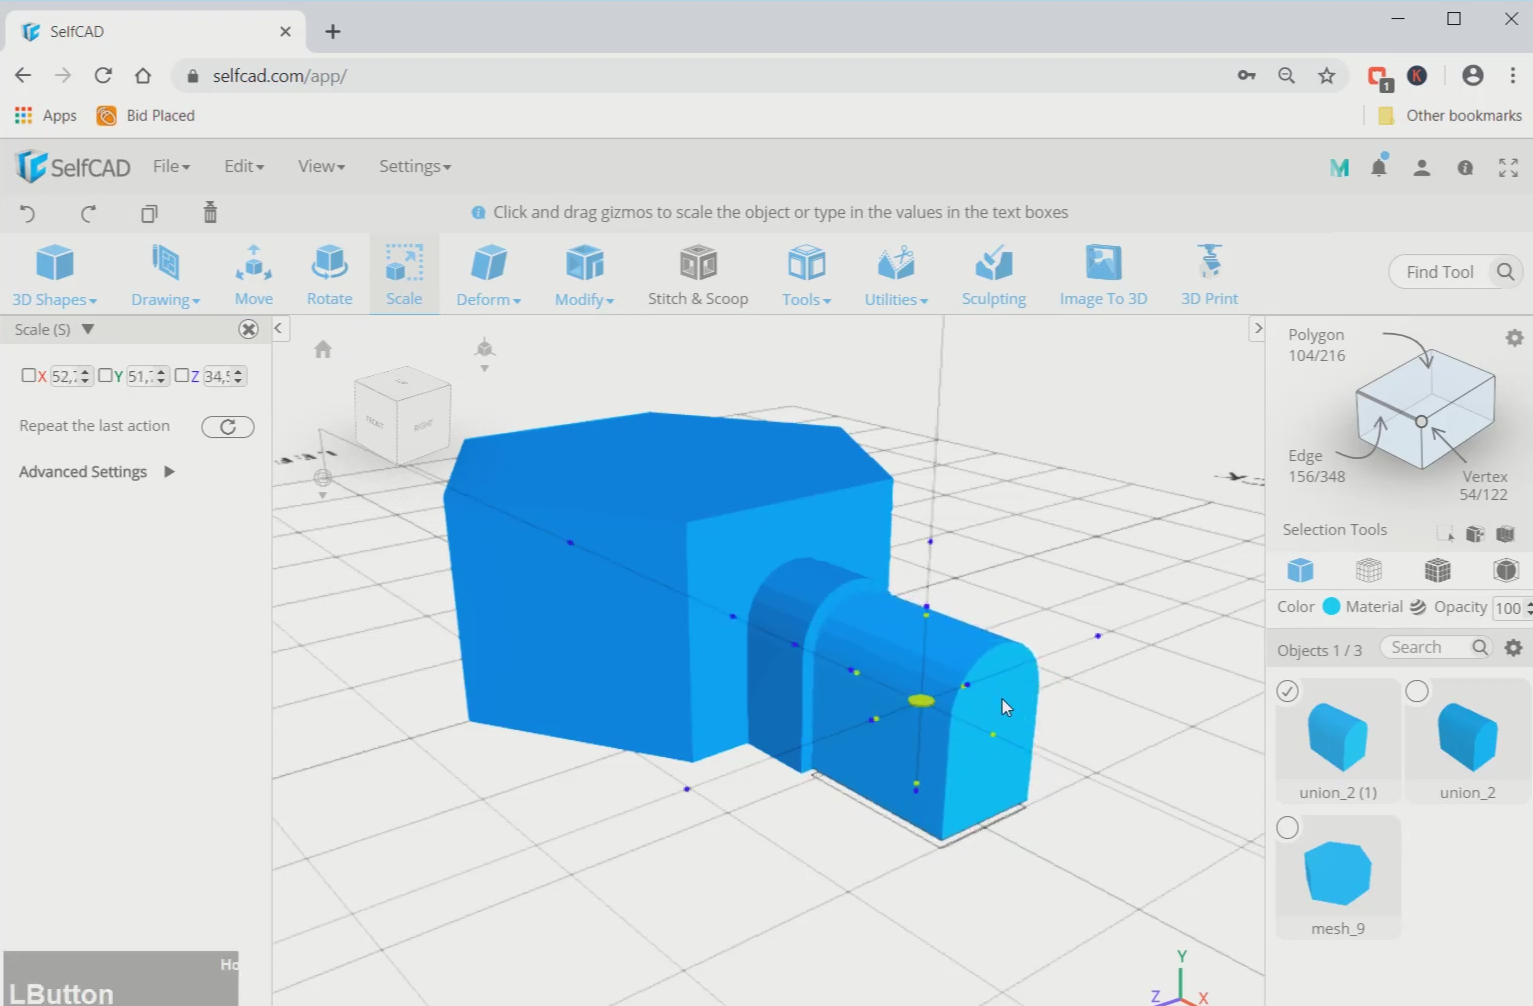
Now, change to the wireframe view and move the union object towards the centre of the edge. Then select the copy option and make another copy of this union object. After that, scale it to a smaller size comparatively. Then insert it slightly inside the original object.
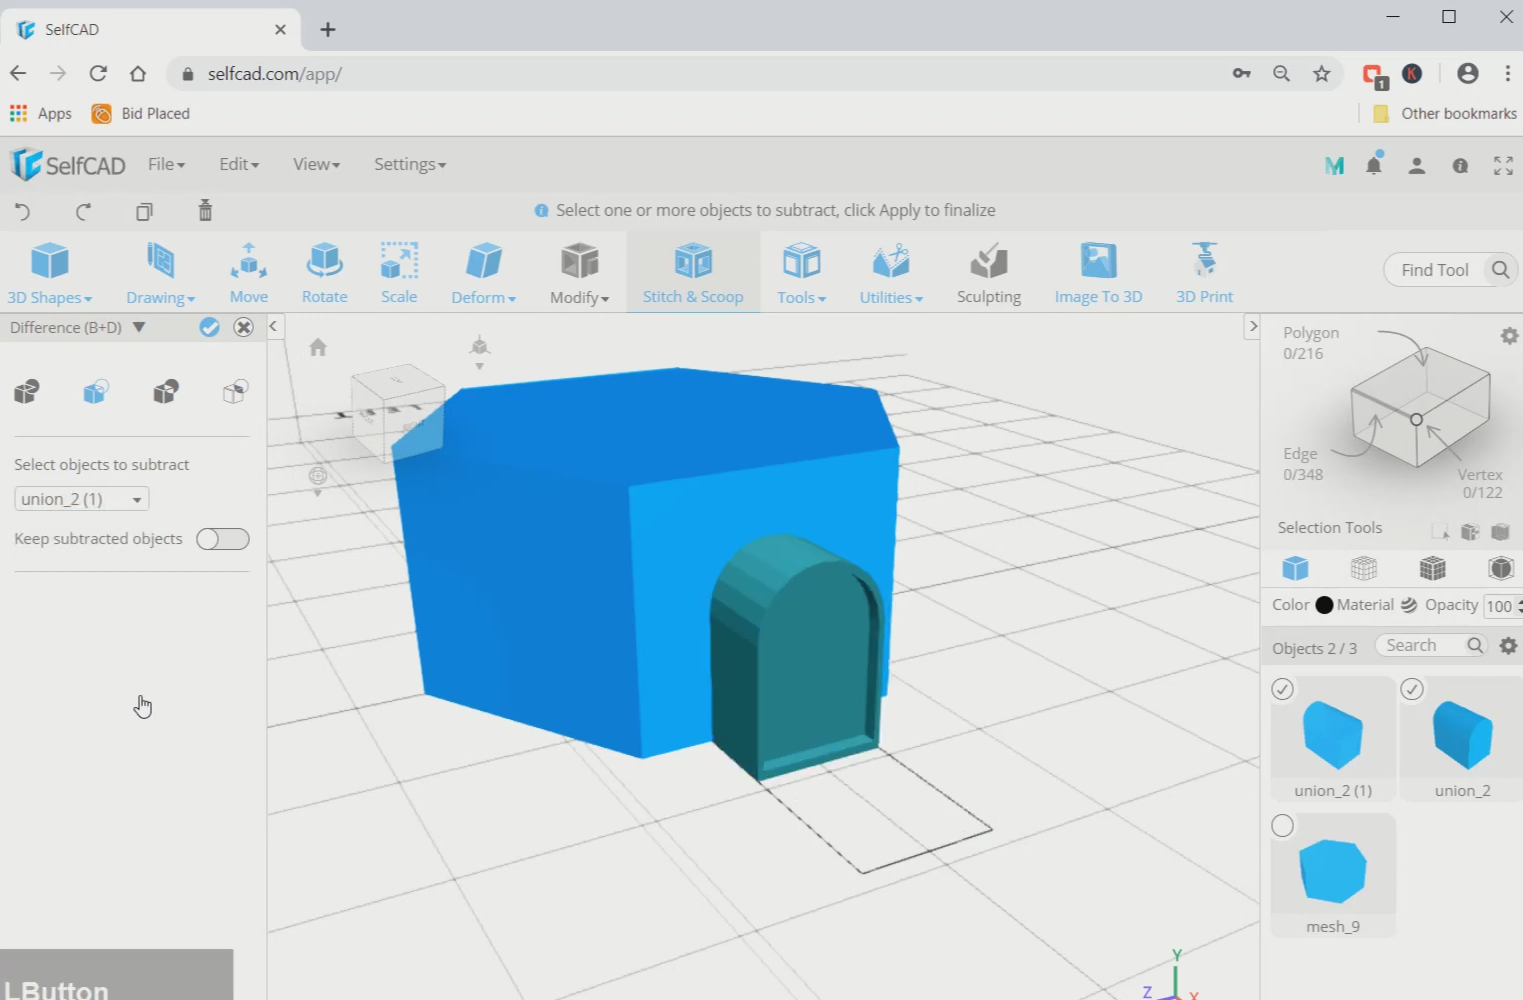
Step6: Subtract the copy from the original
Next, select both the objects, go to stitch and scoop and select the difference option. Then subtract from the mesh2(1).
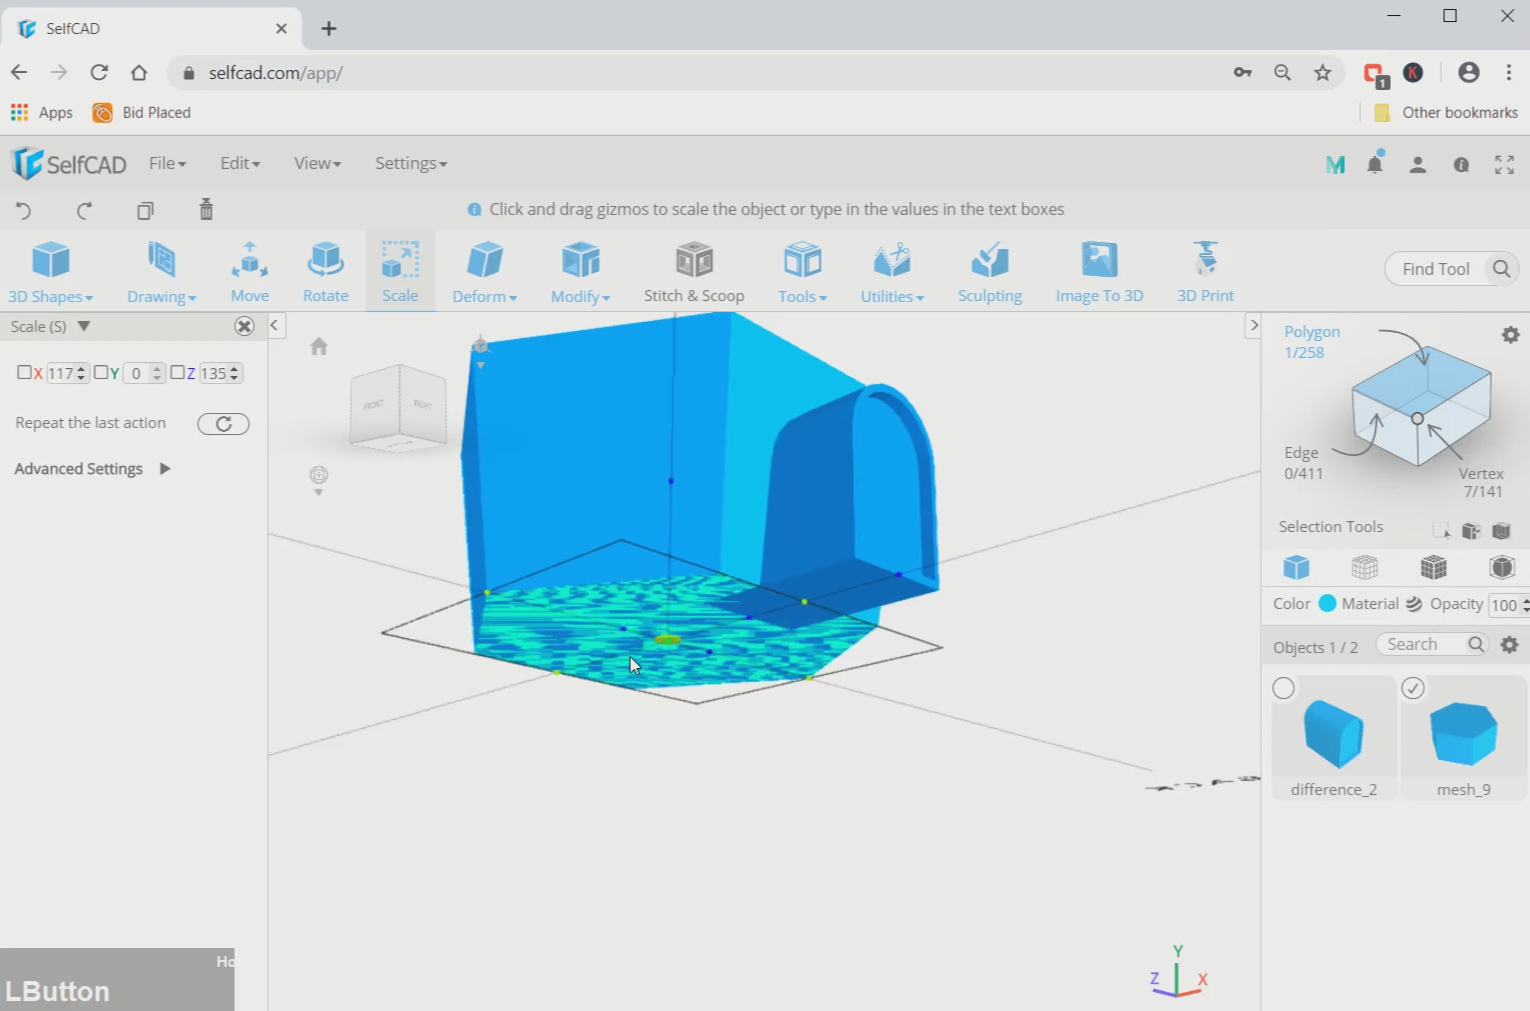
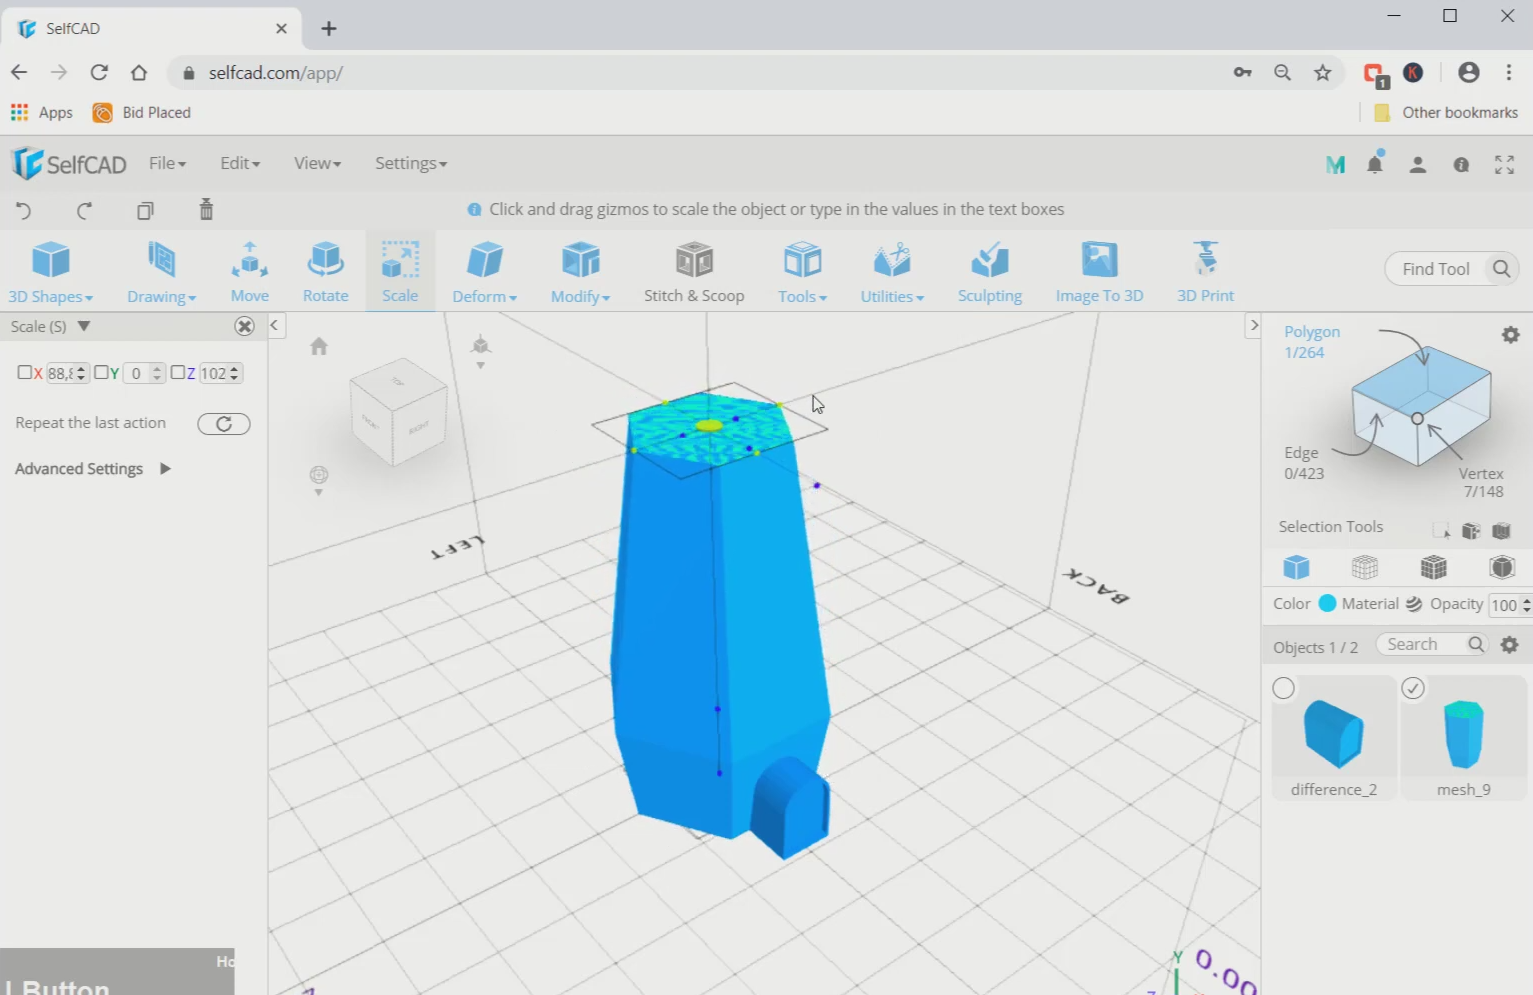
Step7: Scale the bottom face and extrude the top face
Now, opt for polygon selection and select the bottom face of the shape. Scale it to a smaller size. Then select the top, go to modify and select the extrusion tool. Set the amount to 185.
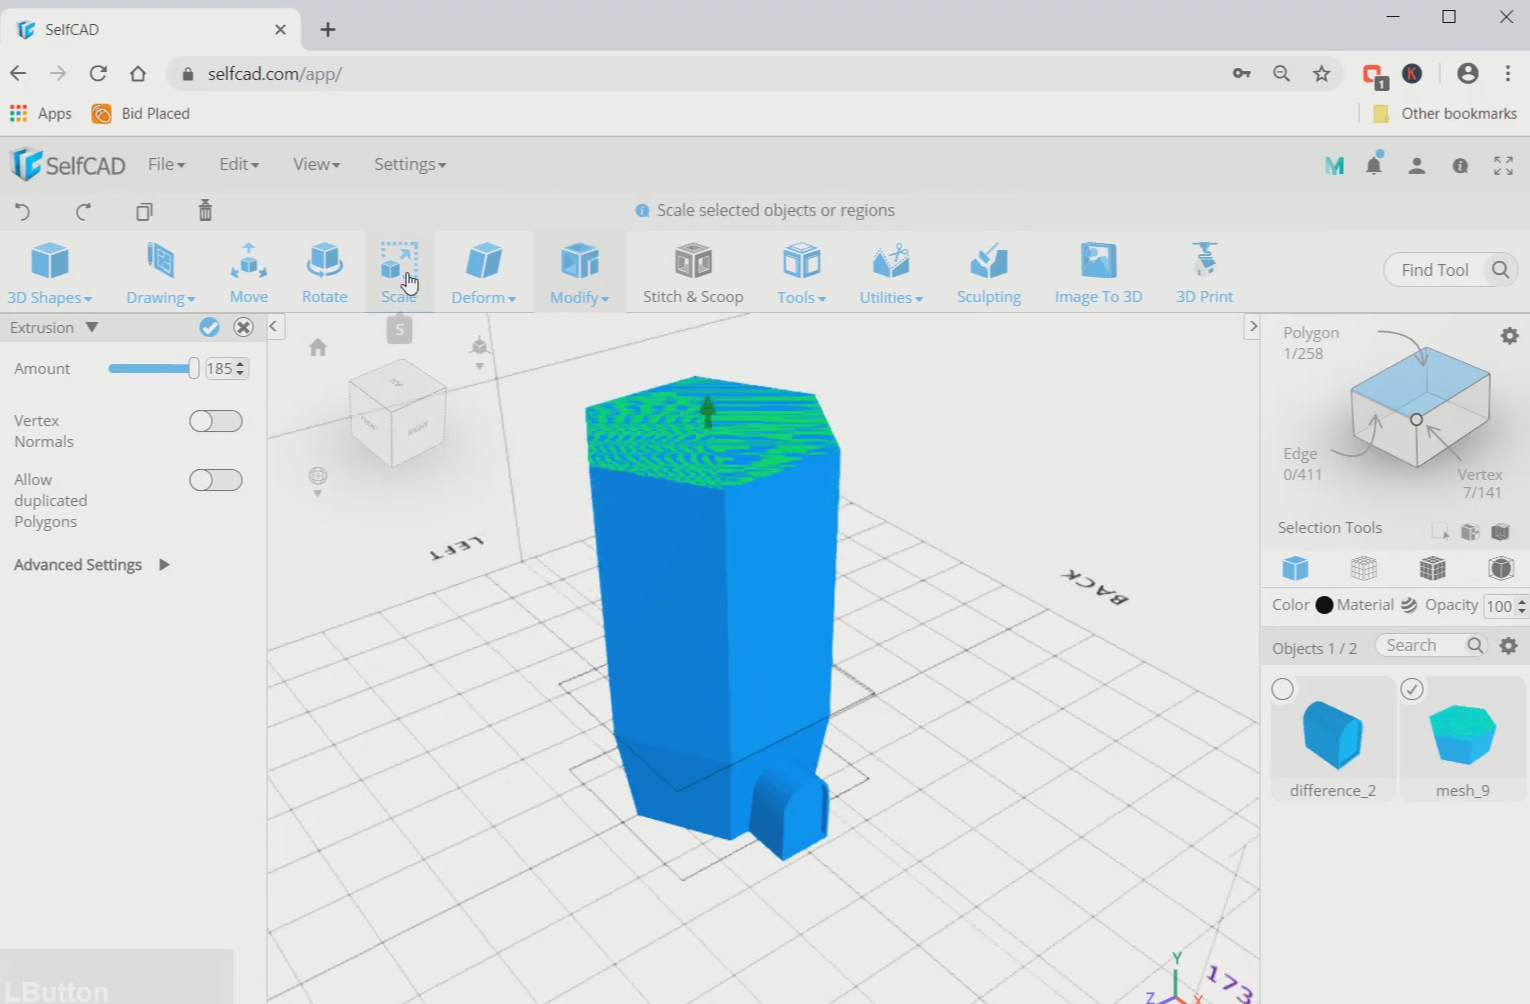
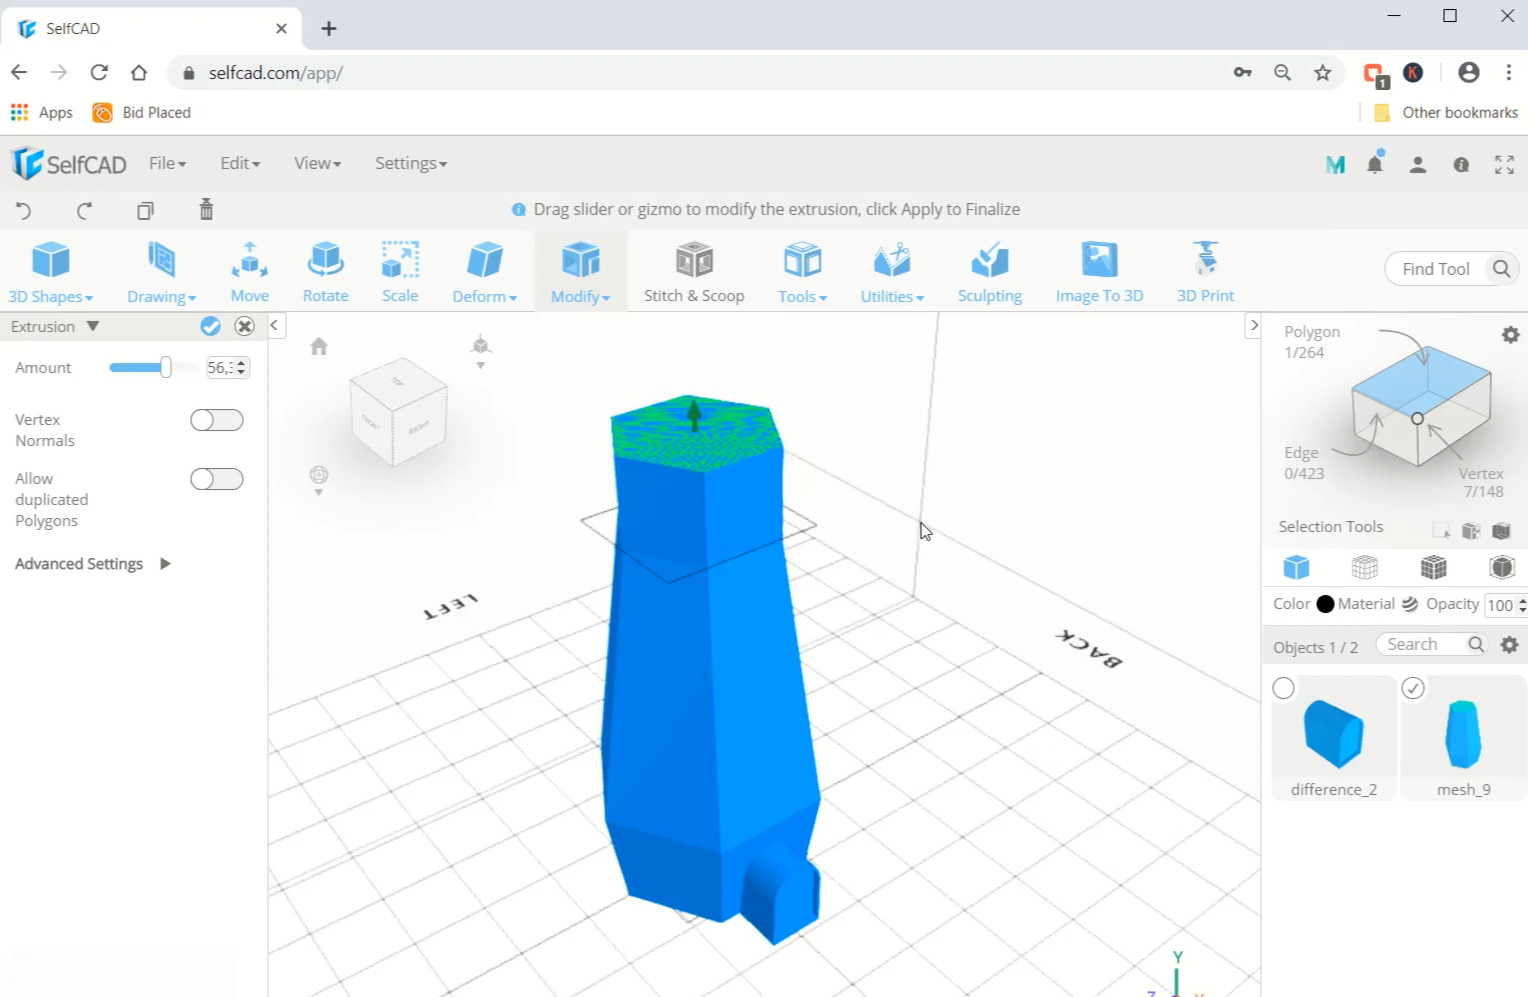
Step8: Scale the top face and extrude it
Next, scale the top face to a smaller size. Then extrude the top face to an amount of 56. After that, select the object that we created and copy it.
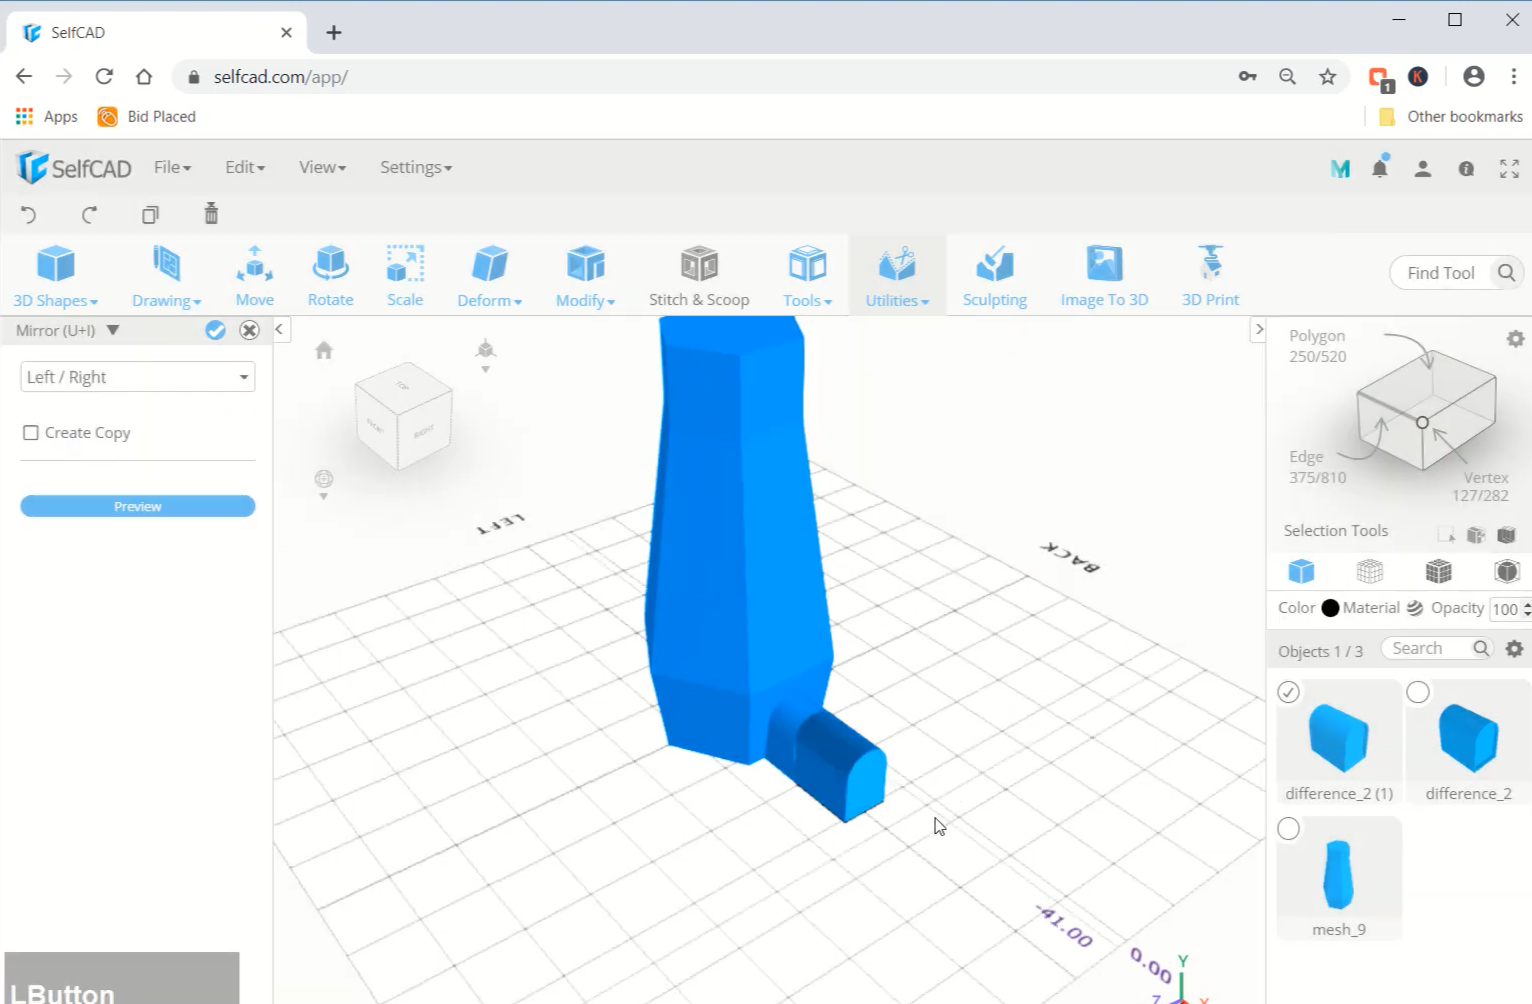
Step9: Mirror the copy of the object
Now go to utilities and select the mirror option. Set it to left/right. Then, go to align option and set the reference to mesh and align it to top and right.
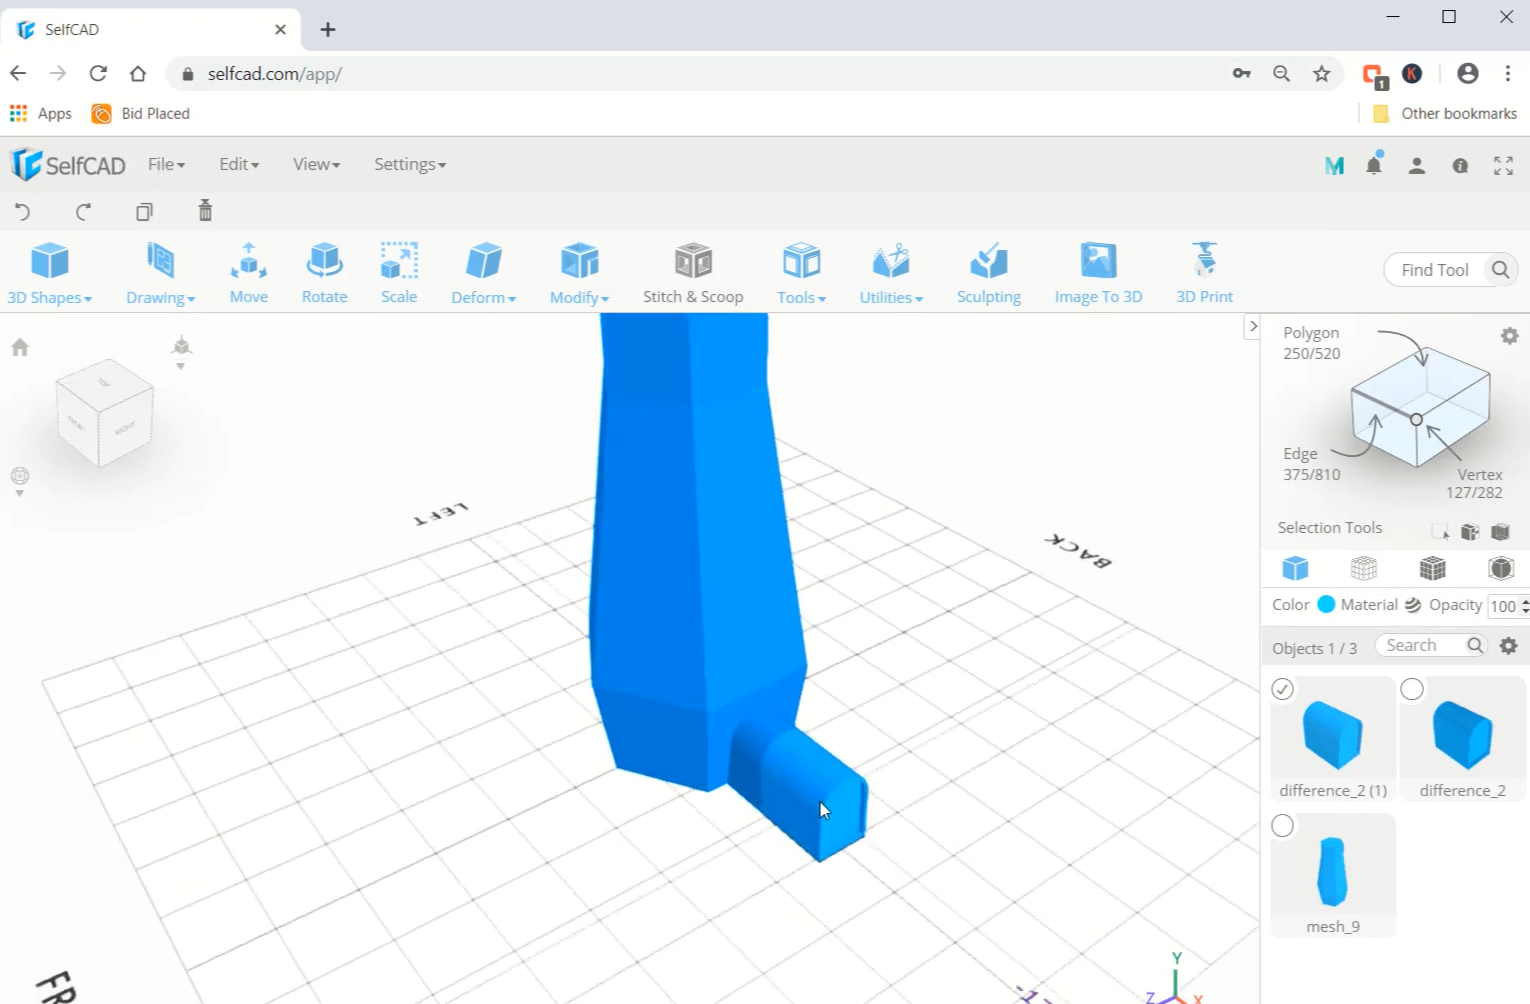
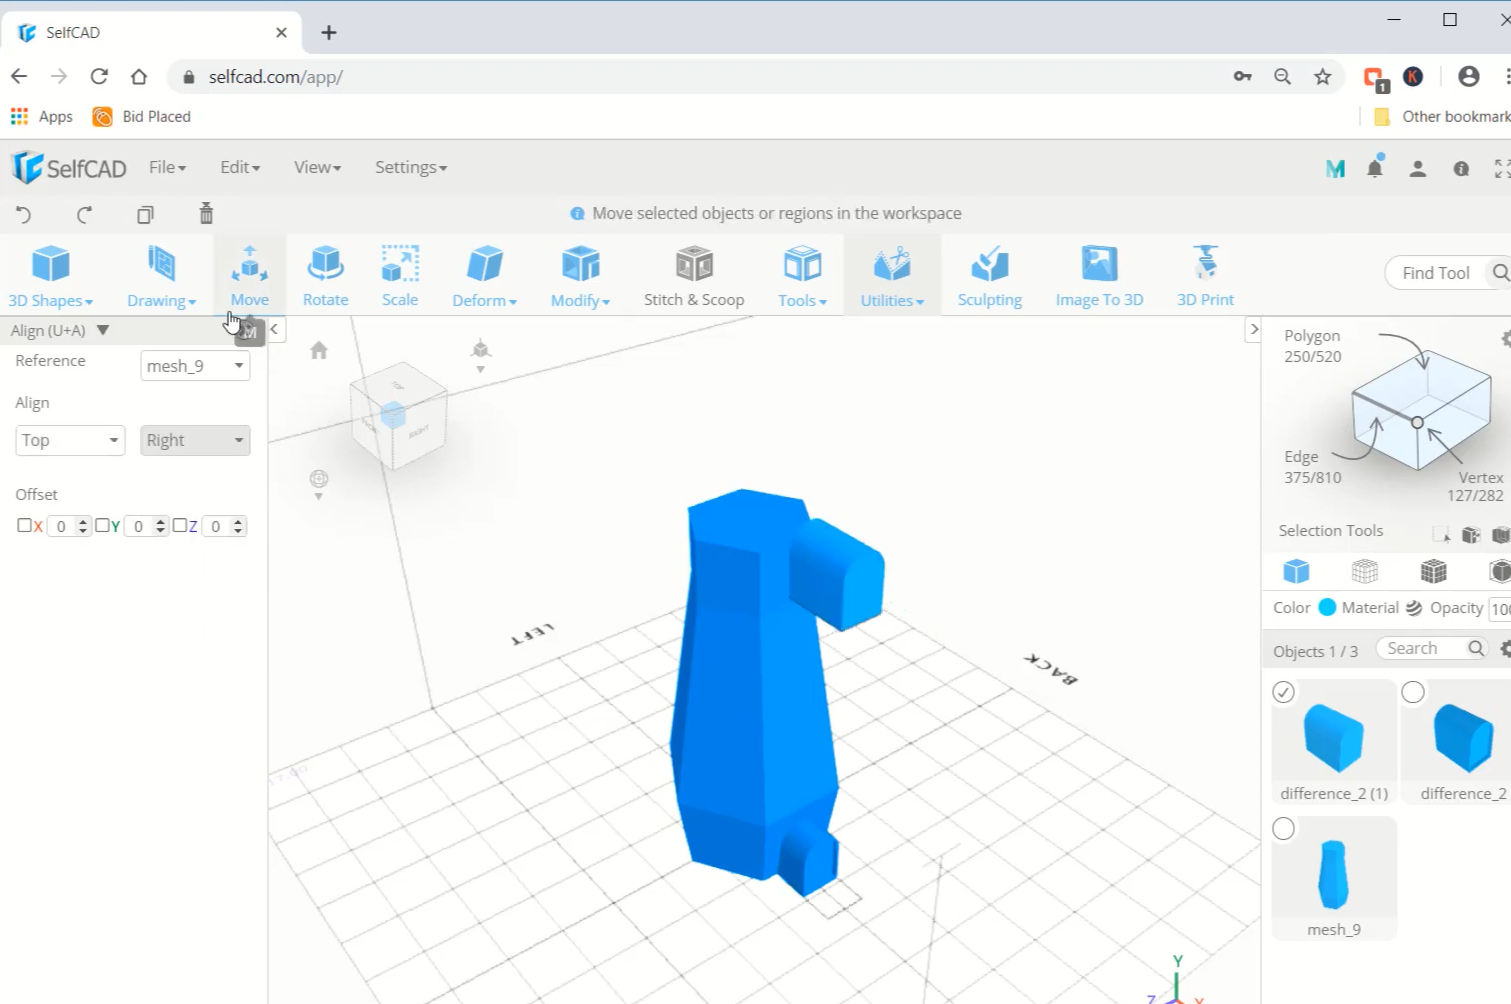
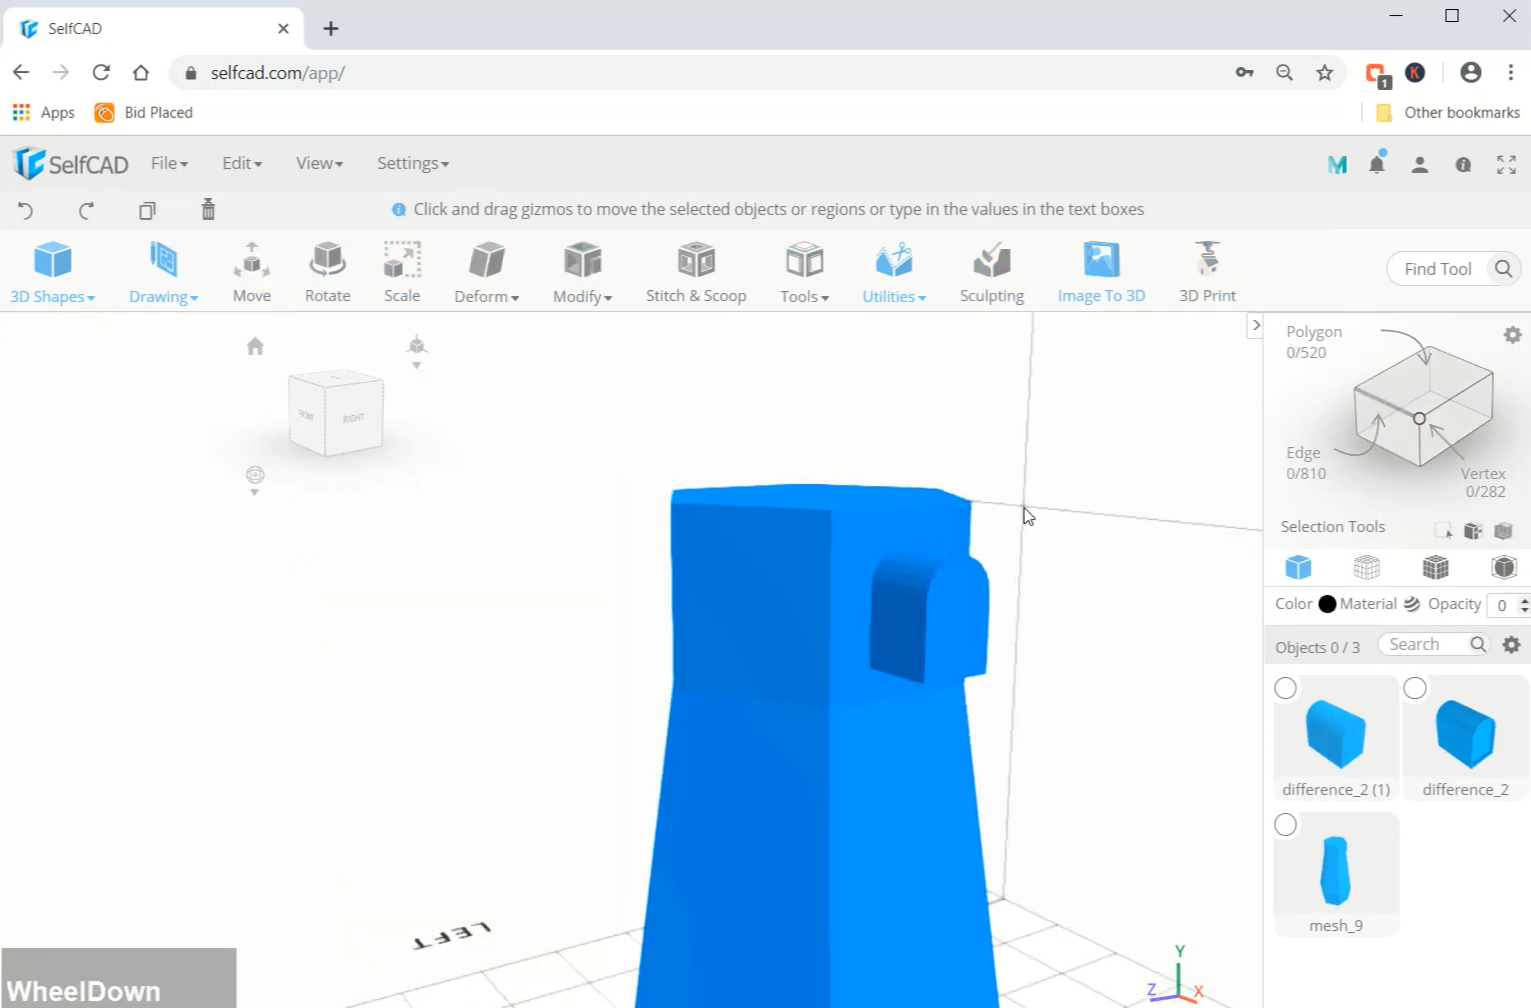
Step10: Scale the top object to a smaller size and place it accordingly
Next, change to the right view and scale the top object to a smaller size. Then place it on one of the top edges as shown in the image.
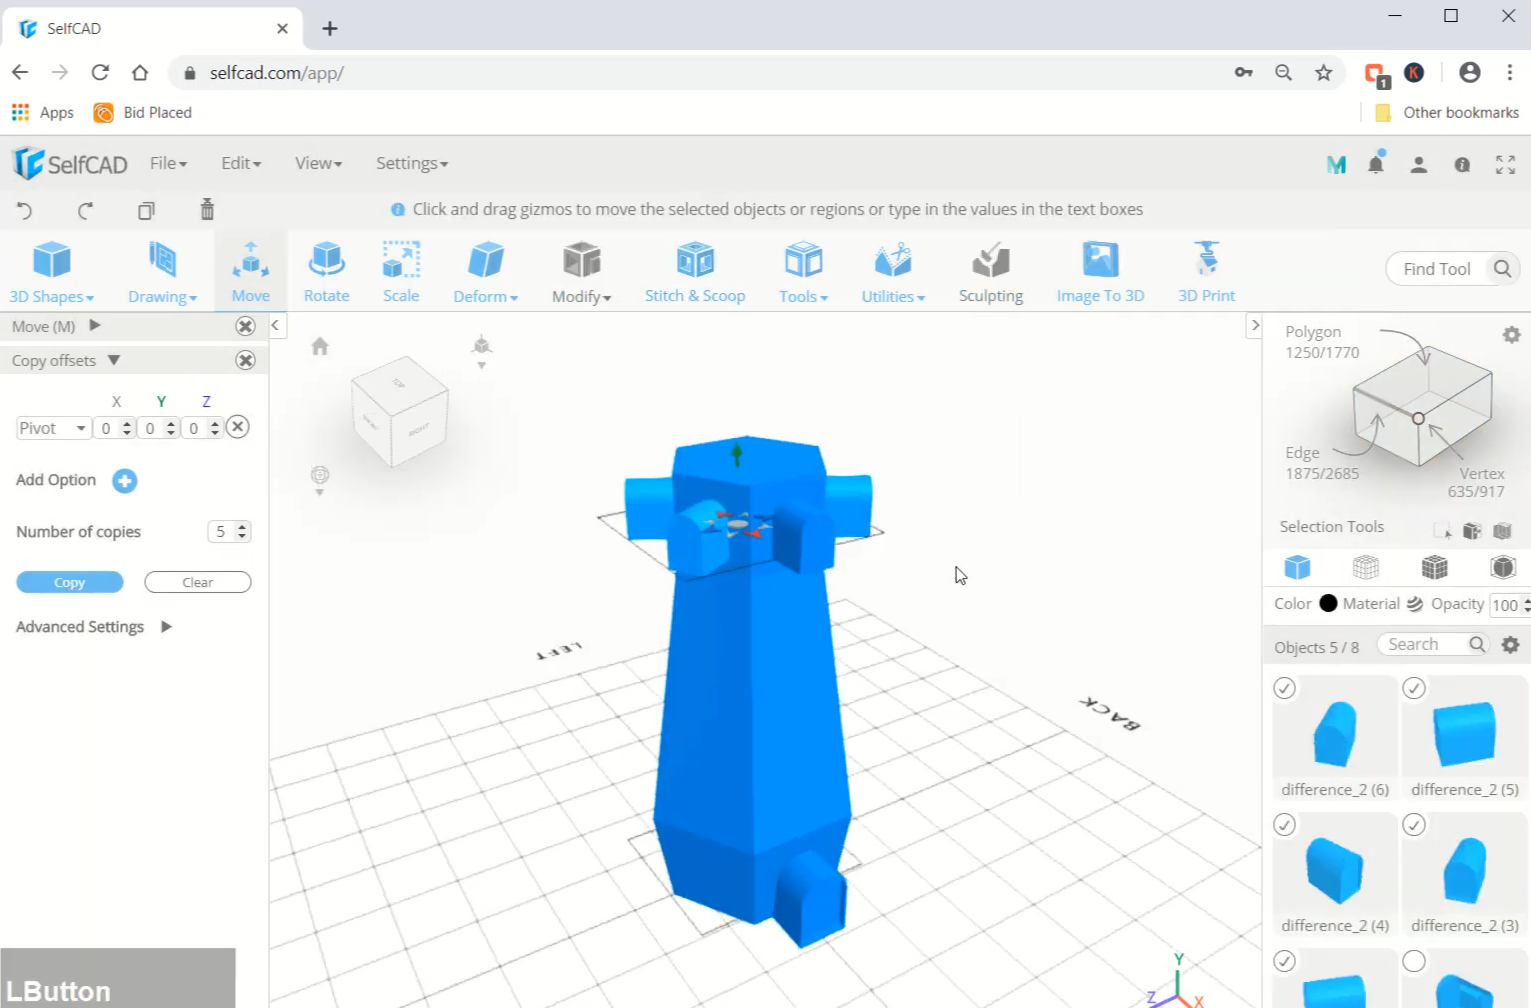
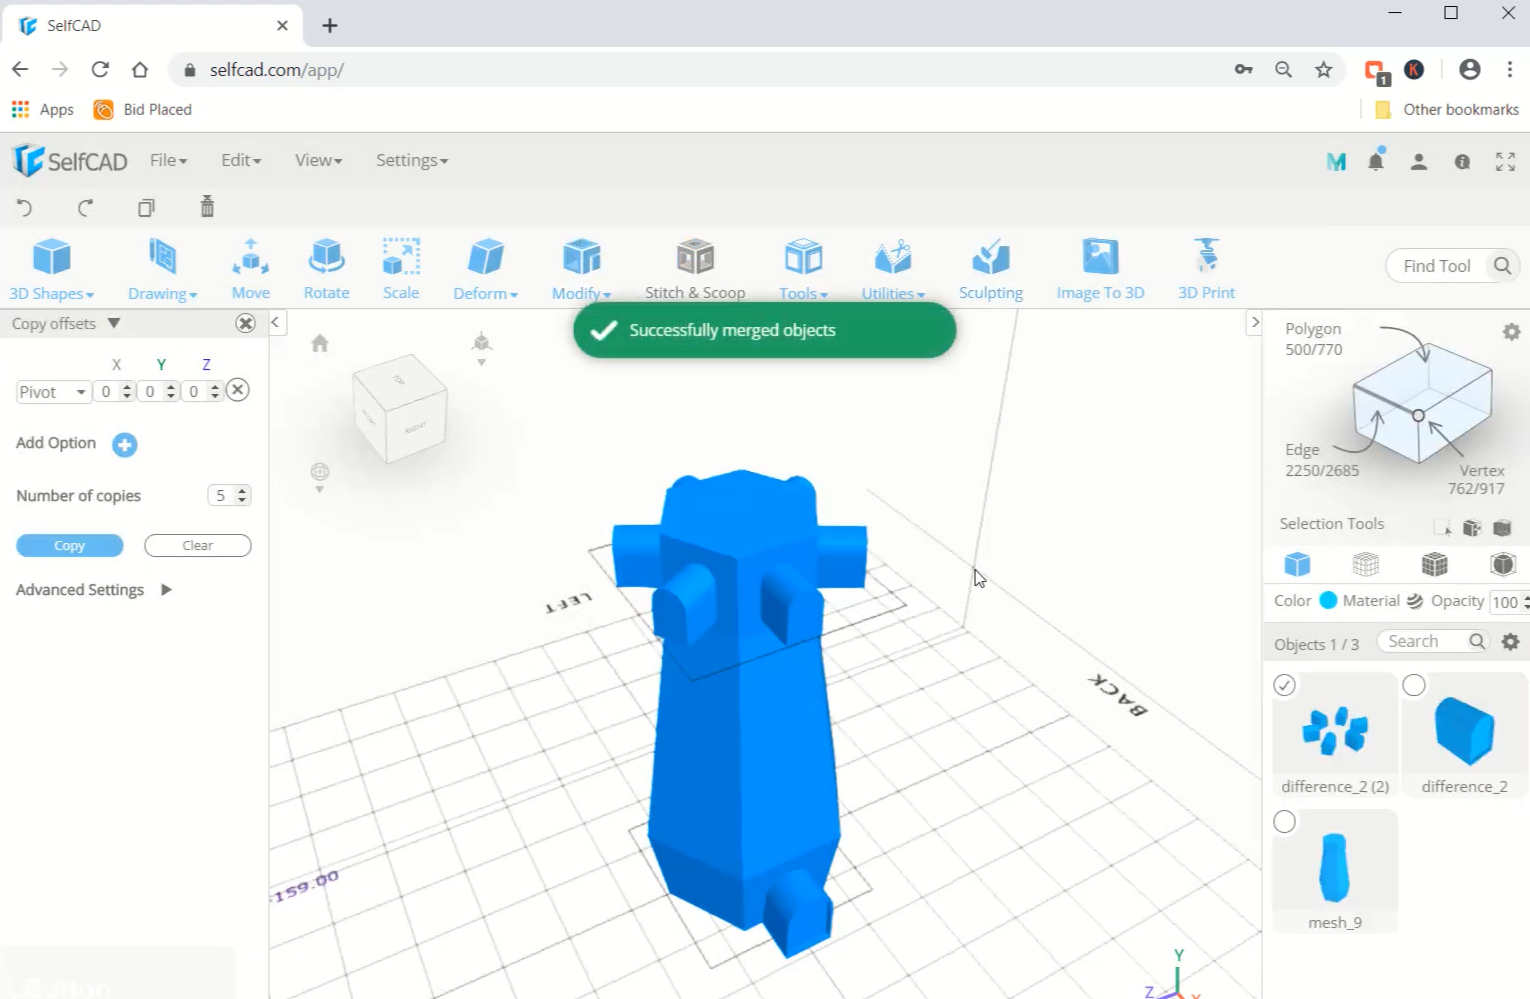
Step11: Copy offset the top object in a pivotal manner
Now, select the top object, go to tools and select the copy offsets option. Change position to pivot and set the number of copies to 5. Then select all the top objects, go to utilities and merge them.
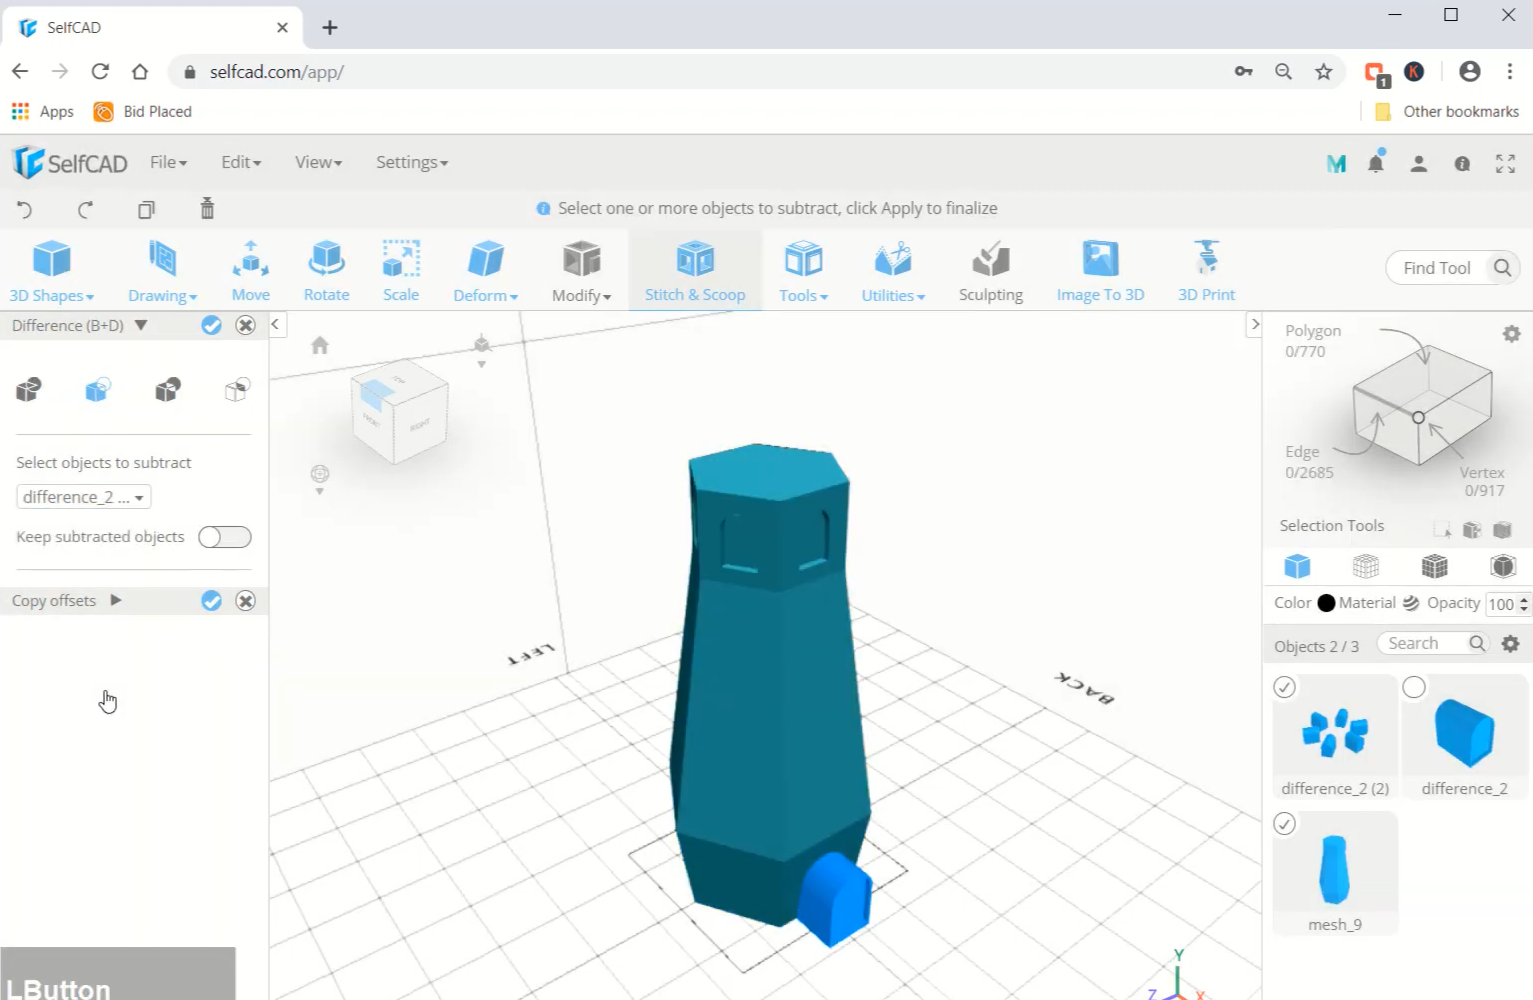
Step12: Subtract the merged objects from the shape
Next, select the merged objects and shape, go to stitch and scoop and select the difference option. Then subtract it with difference_2(2).
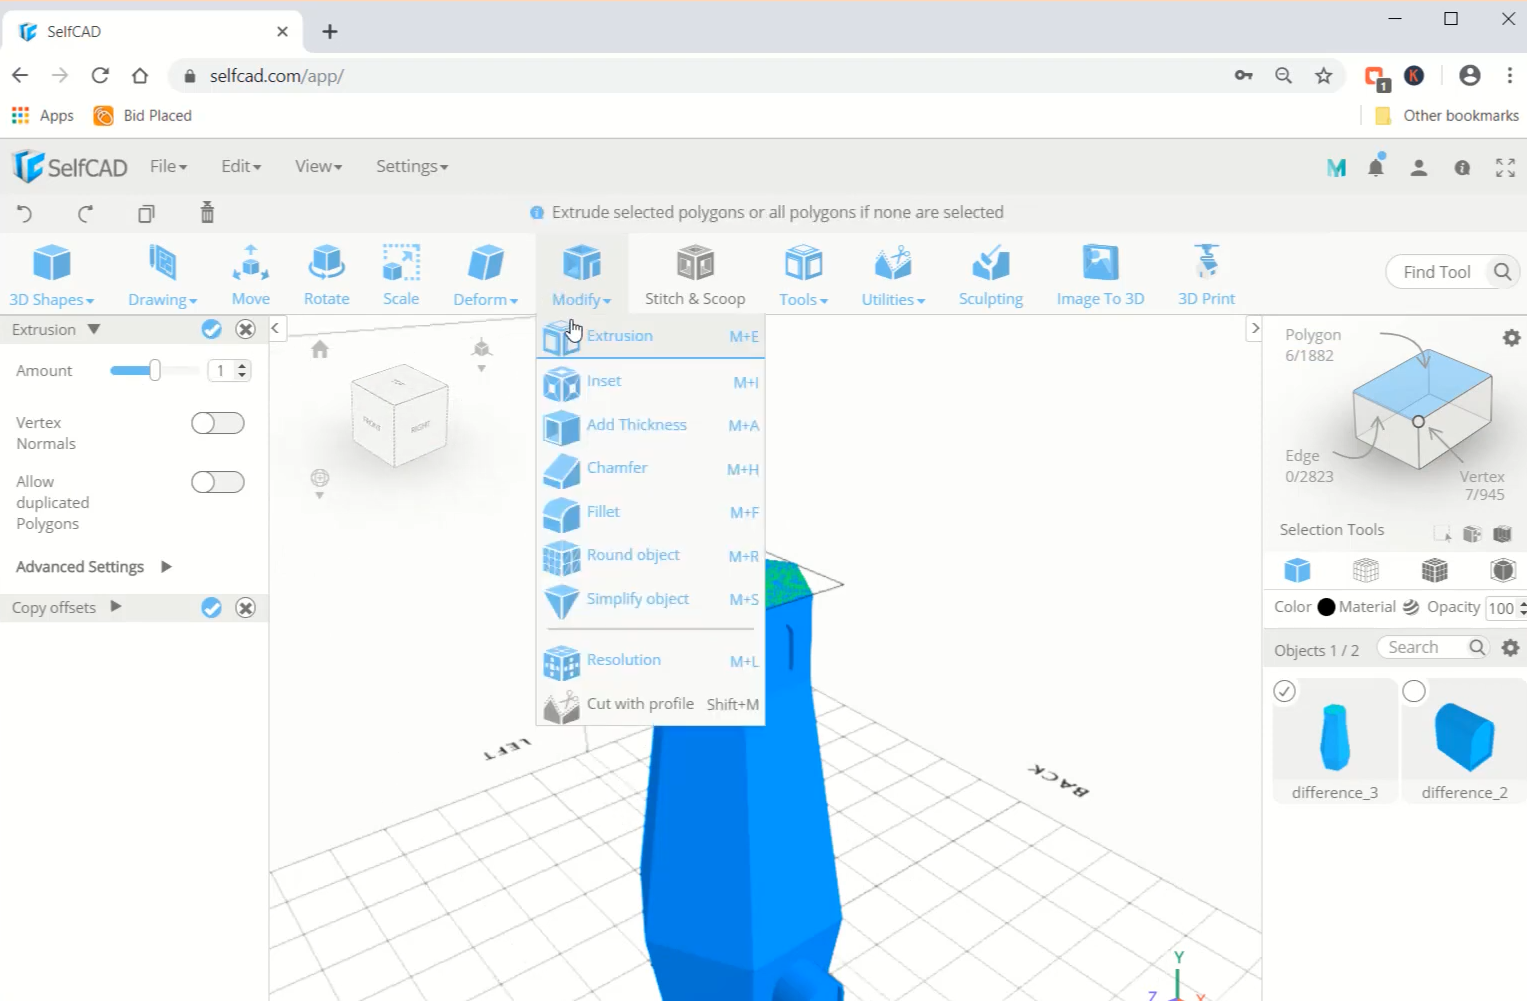
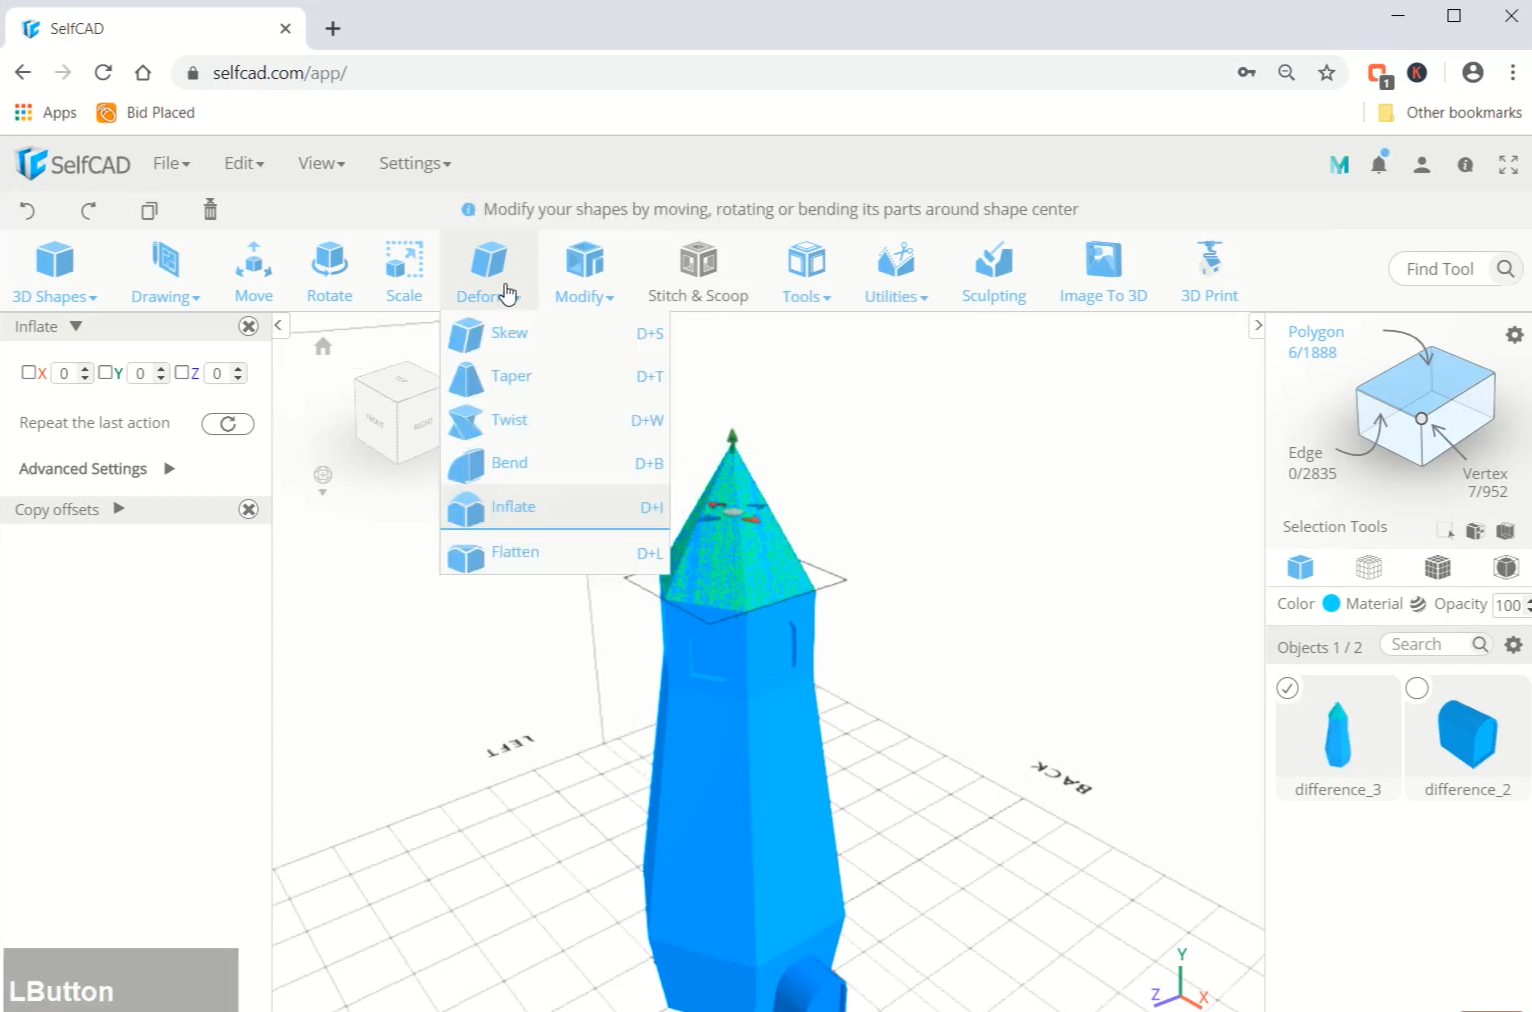
Step13: Extrude the top face and inflate it
Now, select the top face of the model and extrude it with an amount of 1. Then go to deform and select the inflate tool. After that, inflate it to the top.
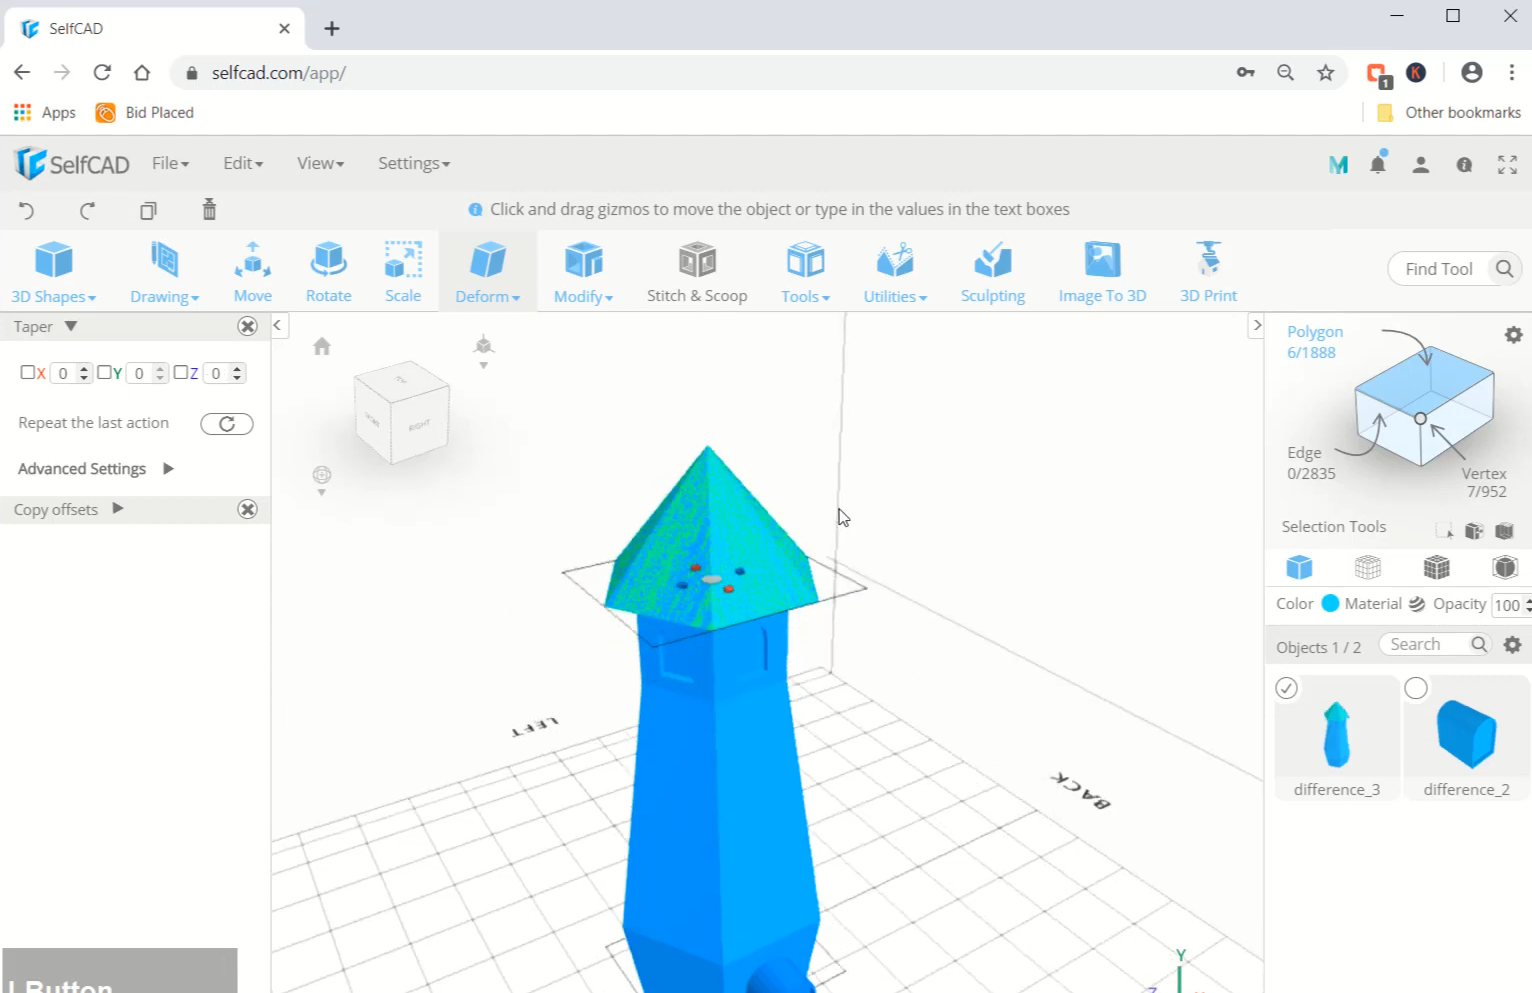
Step14: Taper the face towards the outside
Next, go to deform and select the taper tool. Then pick the centre point and taper it towards the outside.
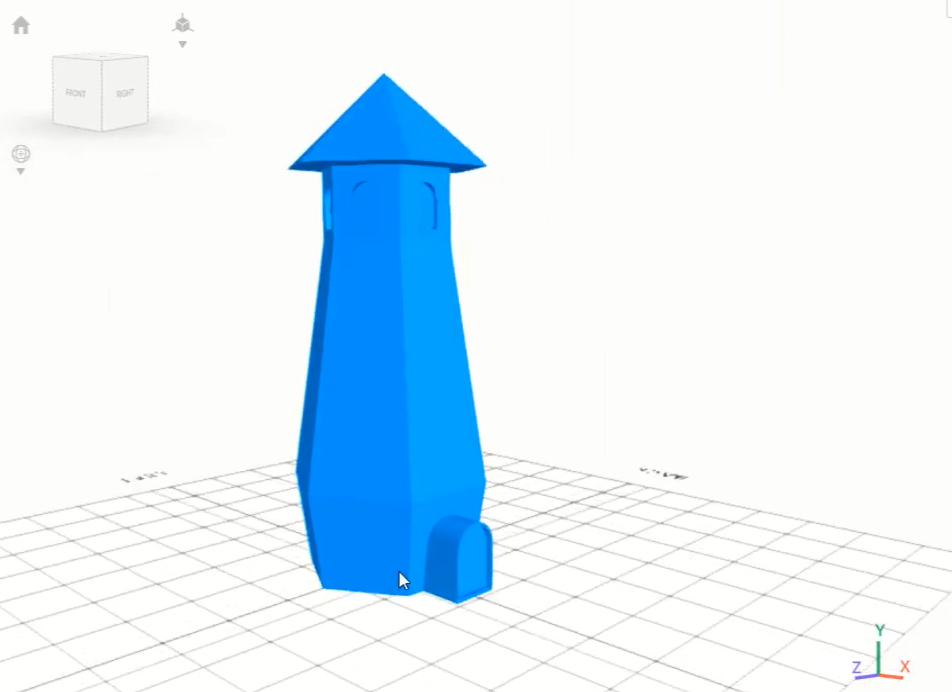
Conclusion: Hence, we created a 3D tower in SelfCAD
We have 3D designed the tower with different tools of SelfCAD. It is astounding to 3D design an article that might be almost unimportant, gigantic, or complex. You can moreover utilize a tantamount procedure to 3D design other 3D objects of your choice.