This tutorial article covers how to create a 3D dog in SelfCAD
In this tutorial article, we are going to 3D design a dog. The 3D modeling software that we are utilising is SelfCAD. With SelfCAD, you can without a doubt make 3D models without utilising a gigantic heap of energy learning, and you can make both principal and complex designs without taking a great deal of time. The tools of SelfCAD that we will utilise are the 3D Shapes, Vertex Selection, Move tool, Scale Tool, and so on.
We will start by 3D designing a cube and evolving it. By simply figuring out how to 3D design a dog, you will, likewise, get to know how to utilise the different tools of SelfCAD.
You can also go through our other articles on our website like how to design a 3D pillow.
So, let's begin!
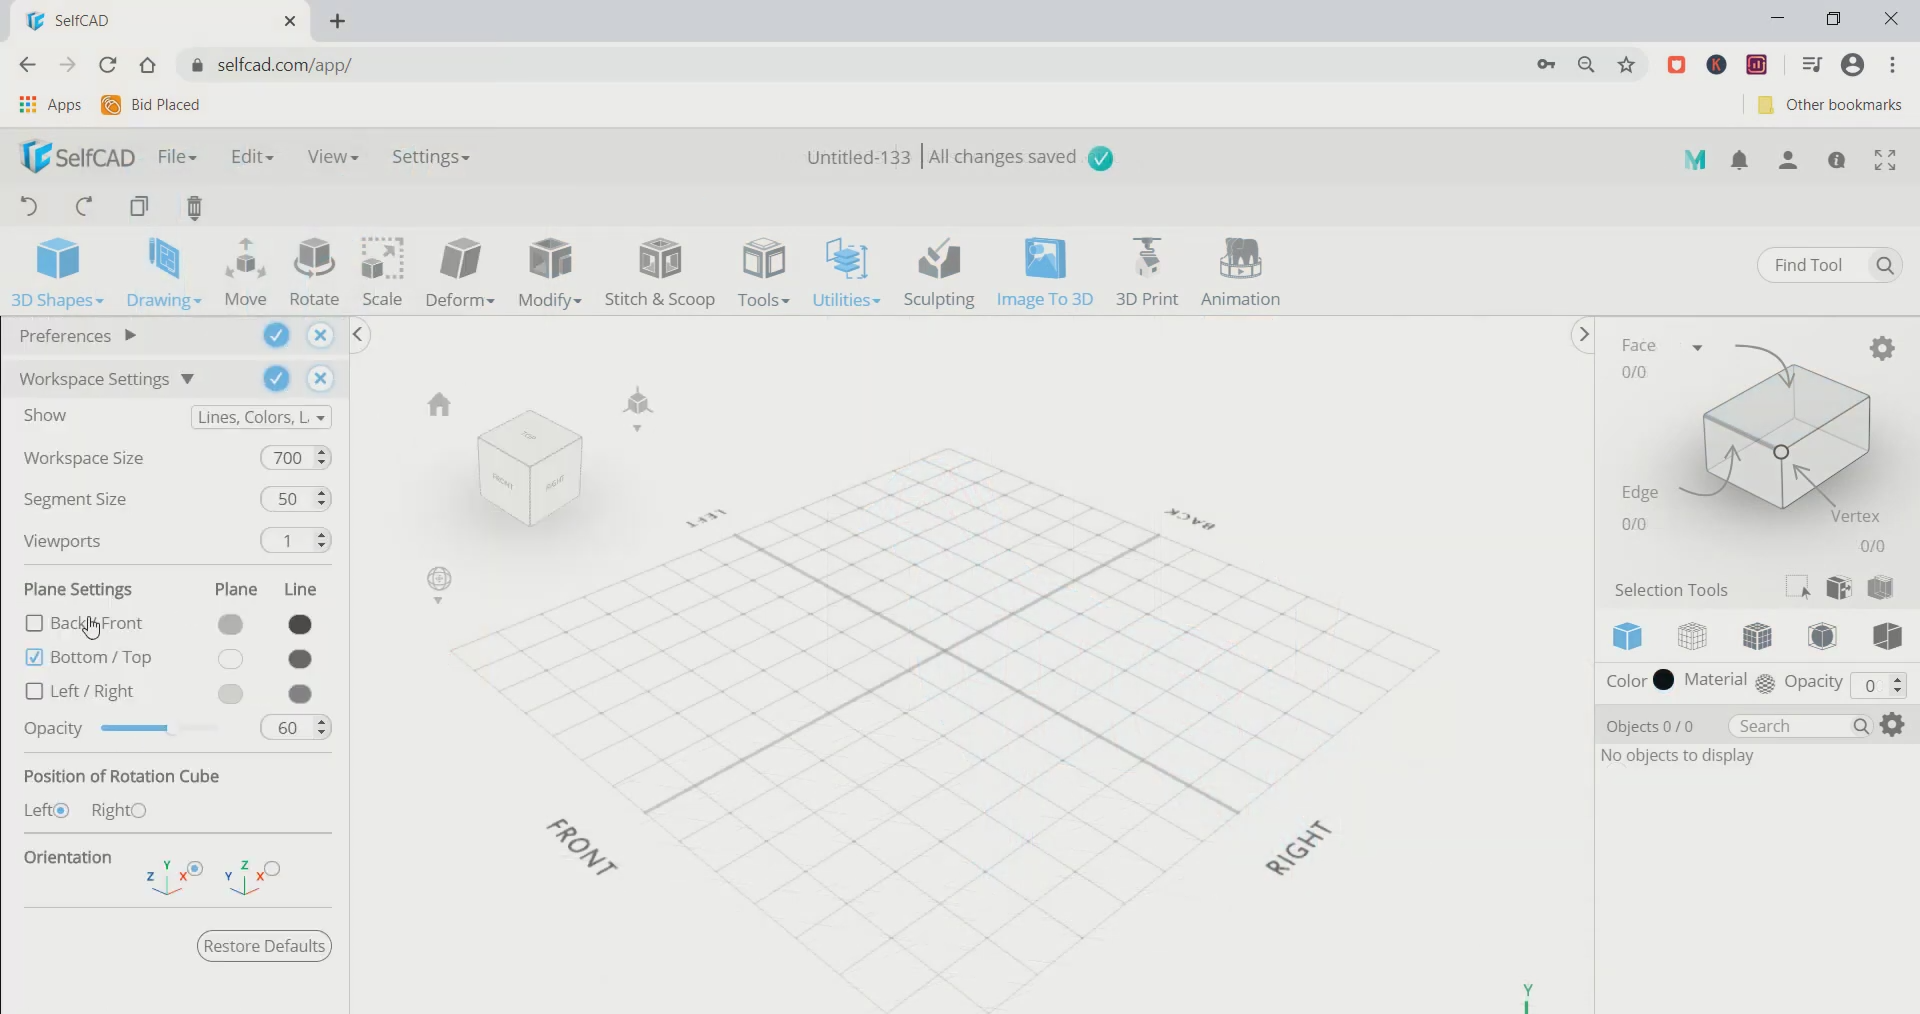
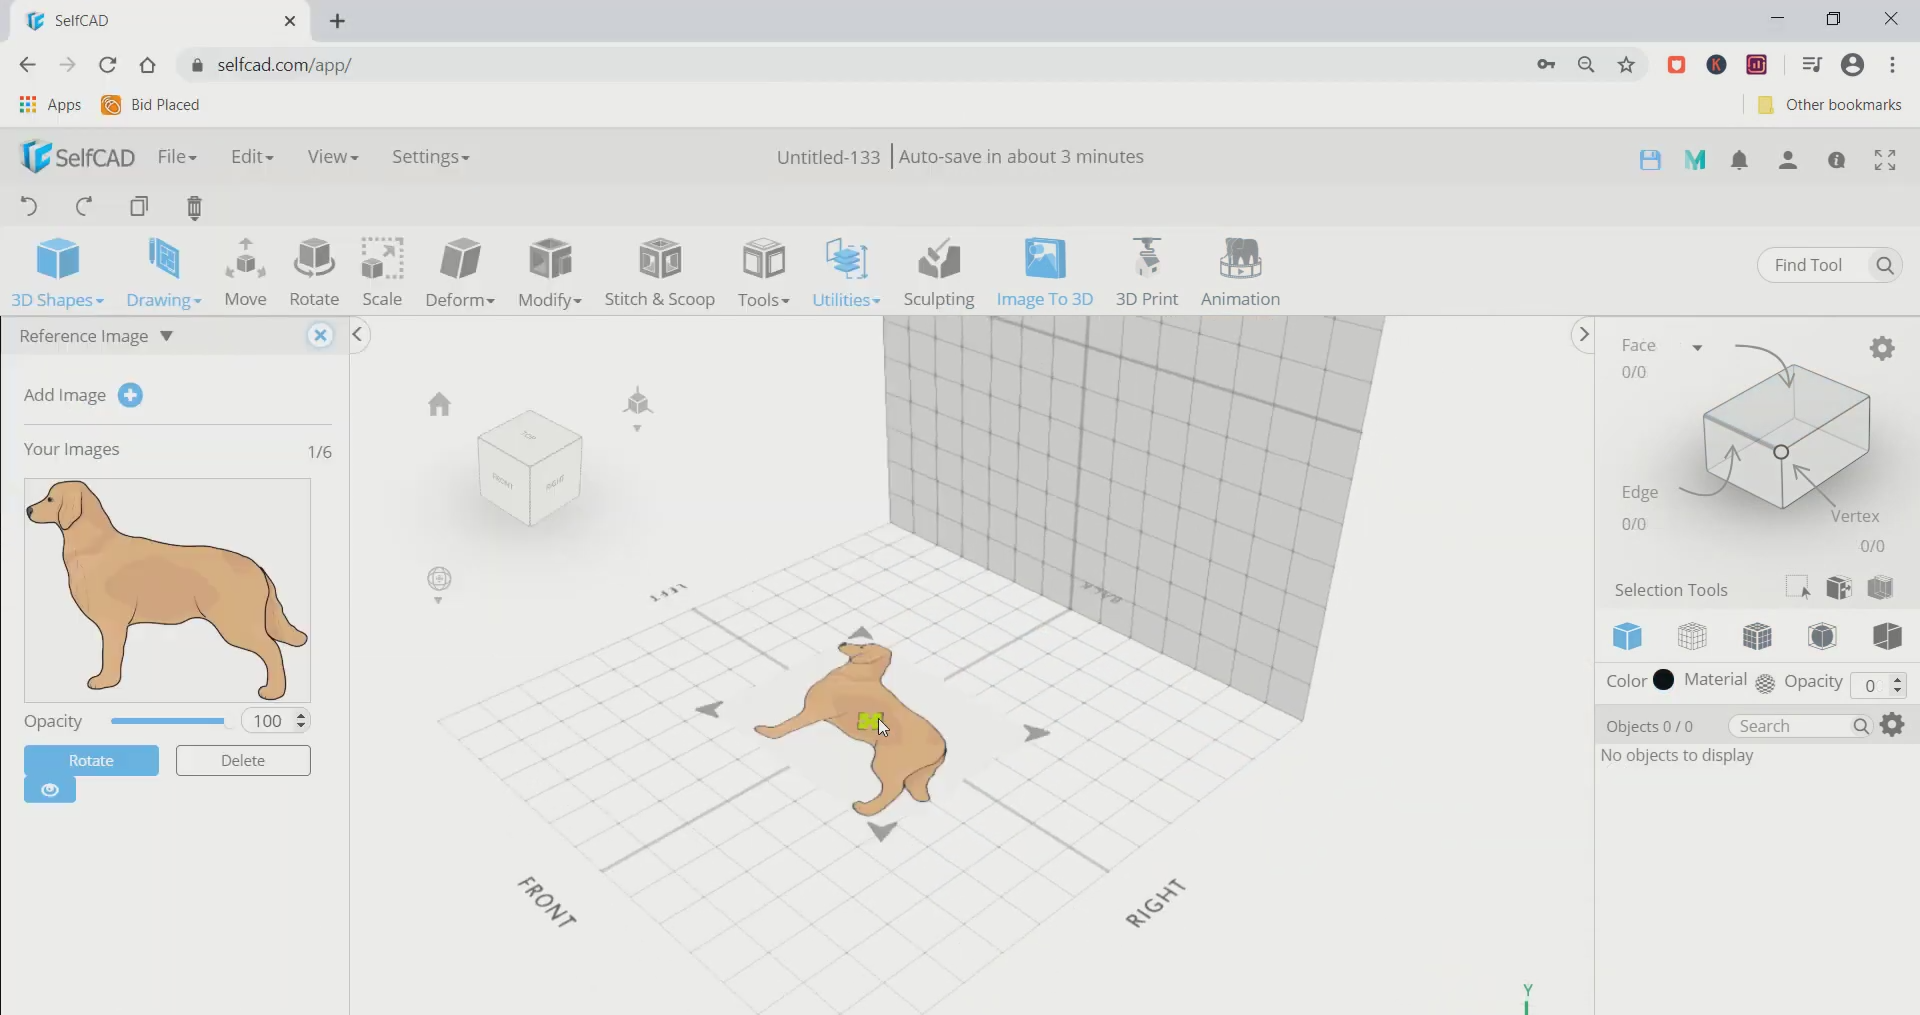
Step1: Set the planes and add a reference image
First of all, go to settings and select the preference option. Set the plane settings to back/front. Then go to views and add a reference image of a dog on the vertical plane.
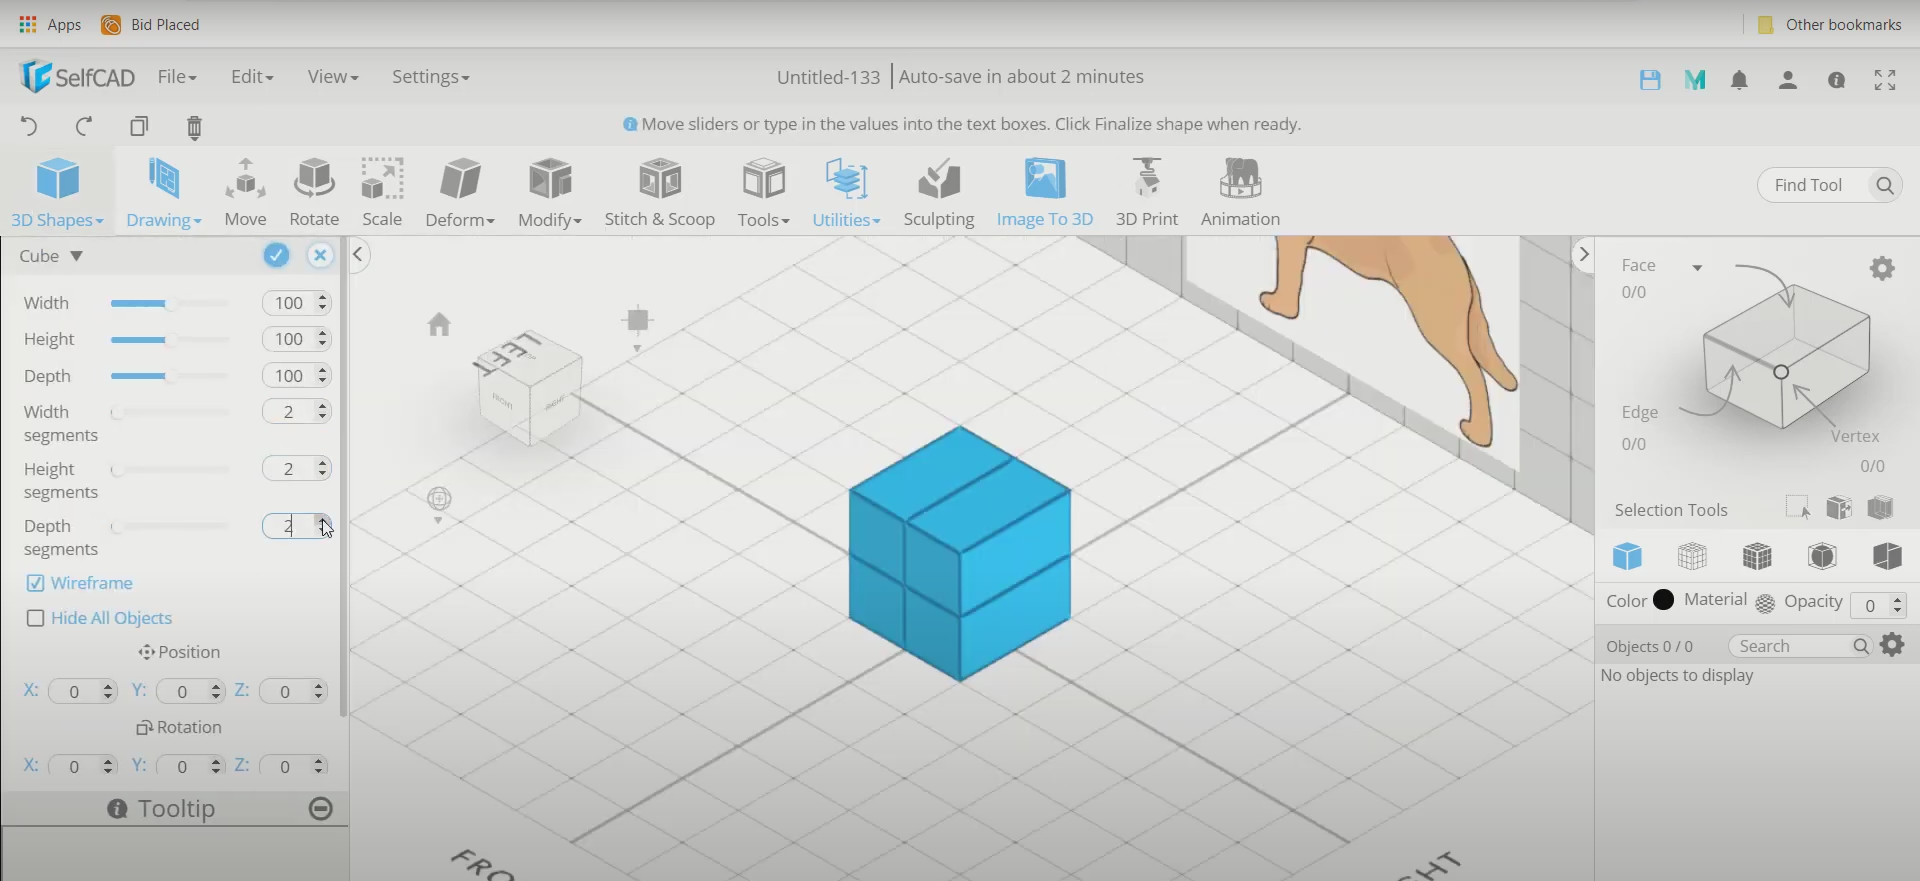
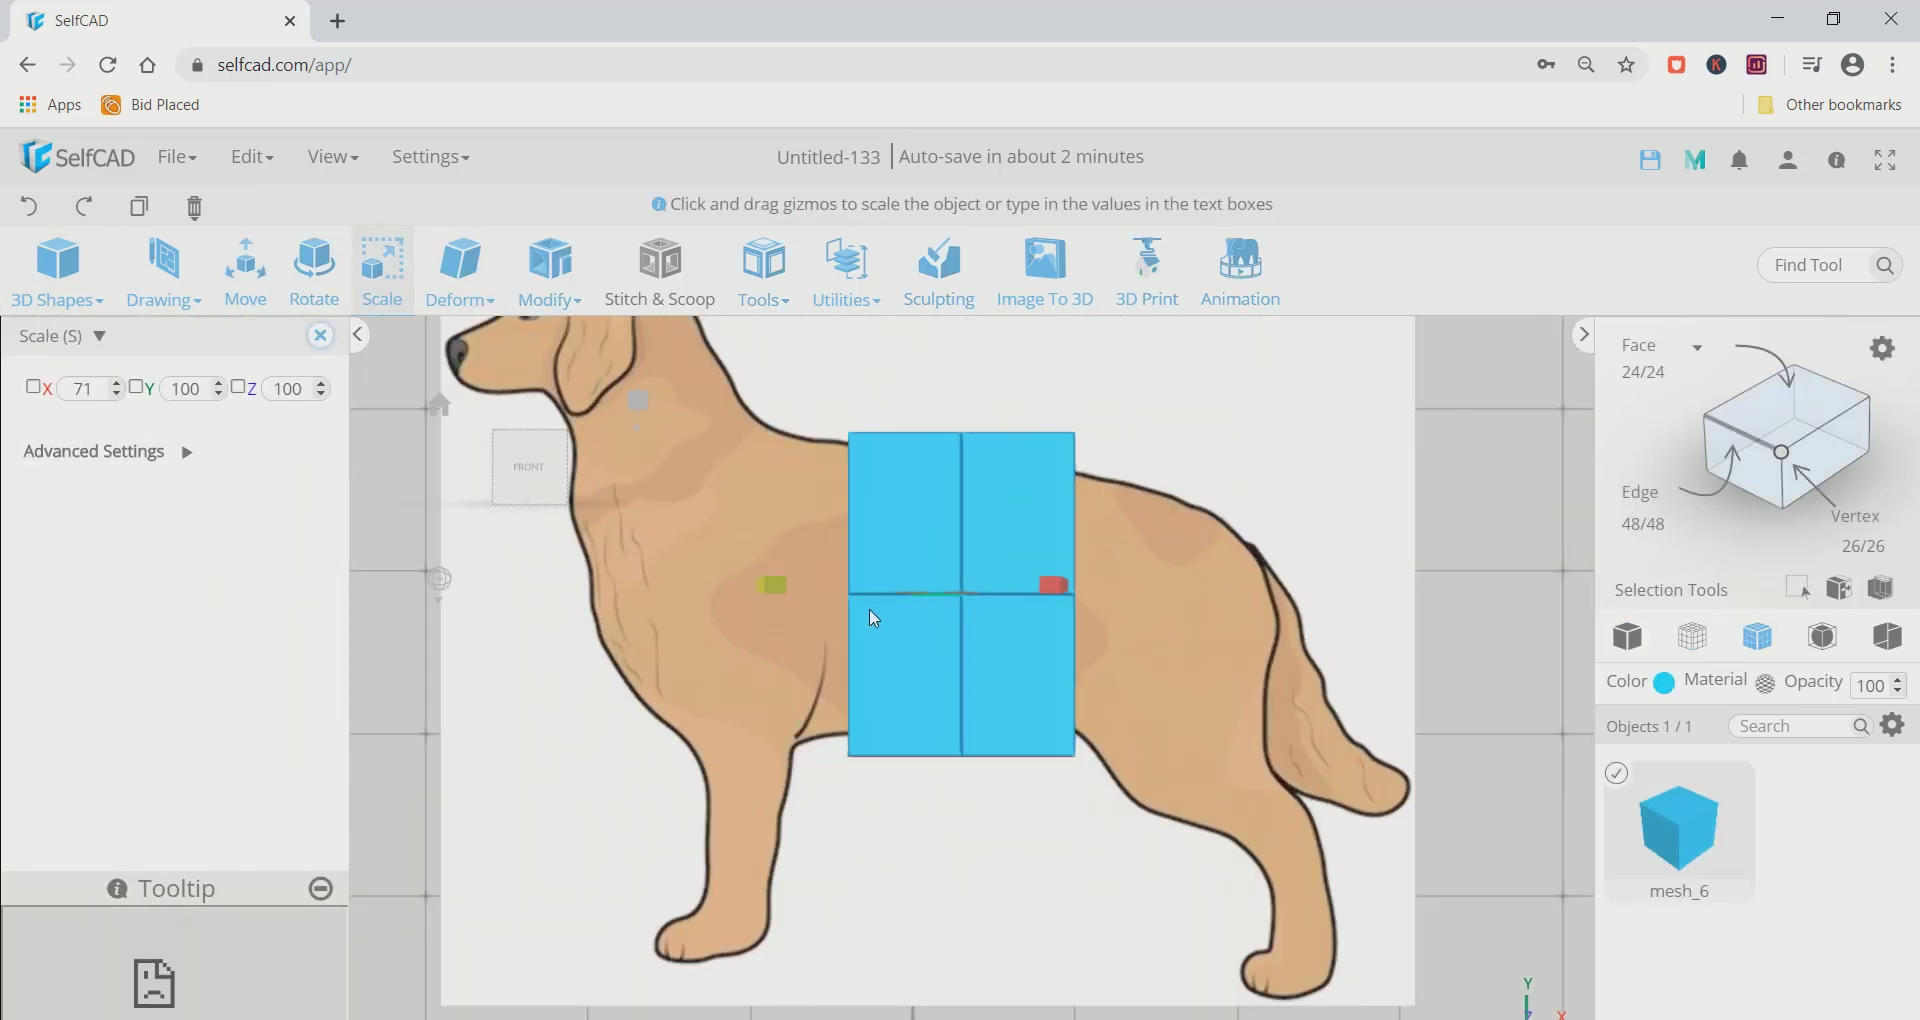
Step2: Insert a cube, move and scale it
Next, go to 3D shapes and insert a cube on the working interface. Move to the top using the move tool. Then use the scale tool and scale it along the red axis towards the inside from both the sides.
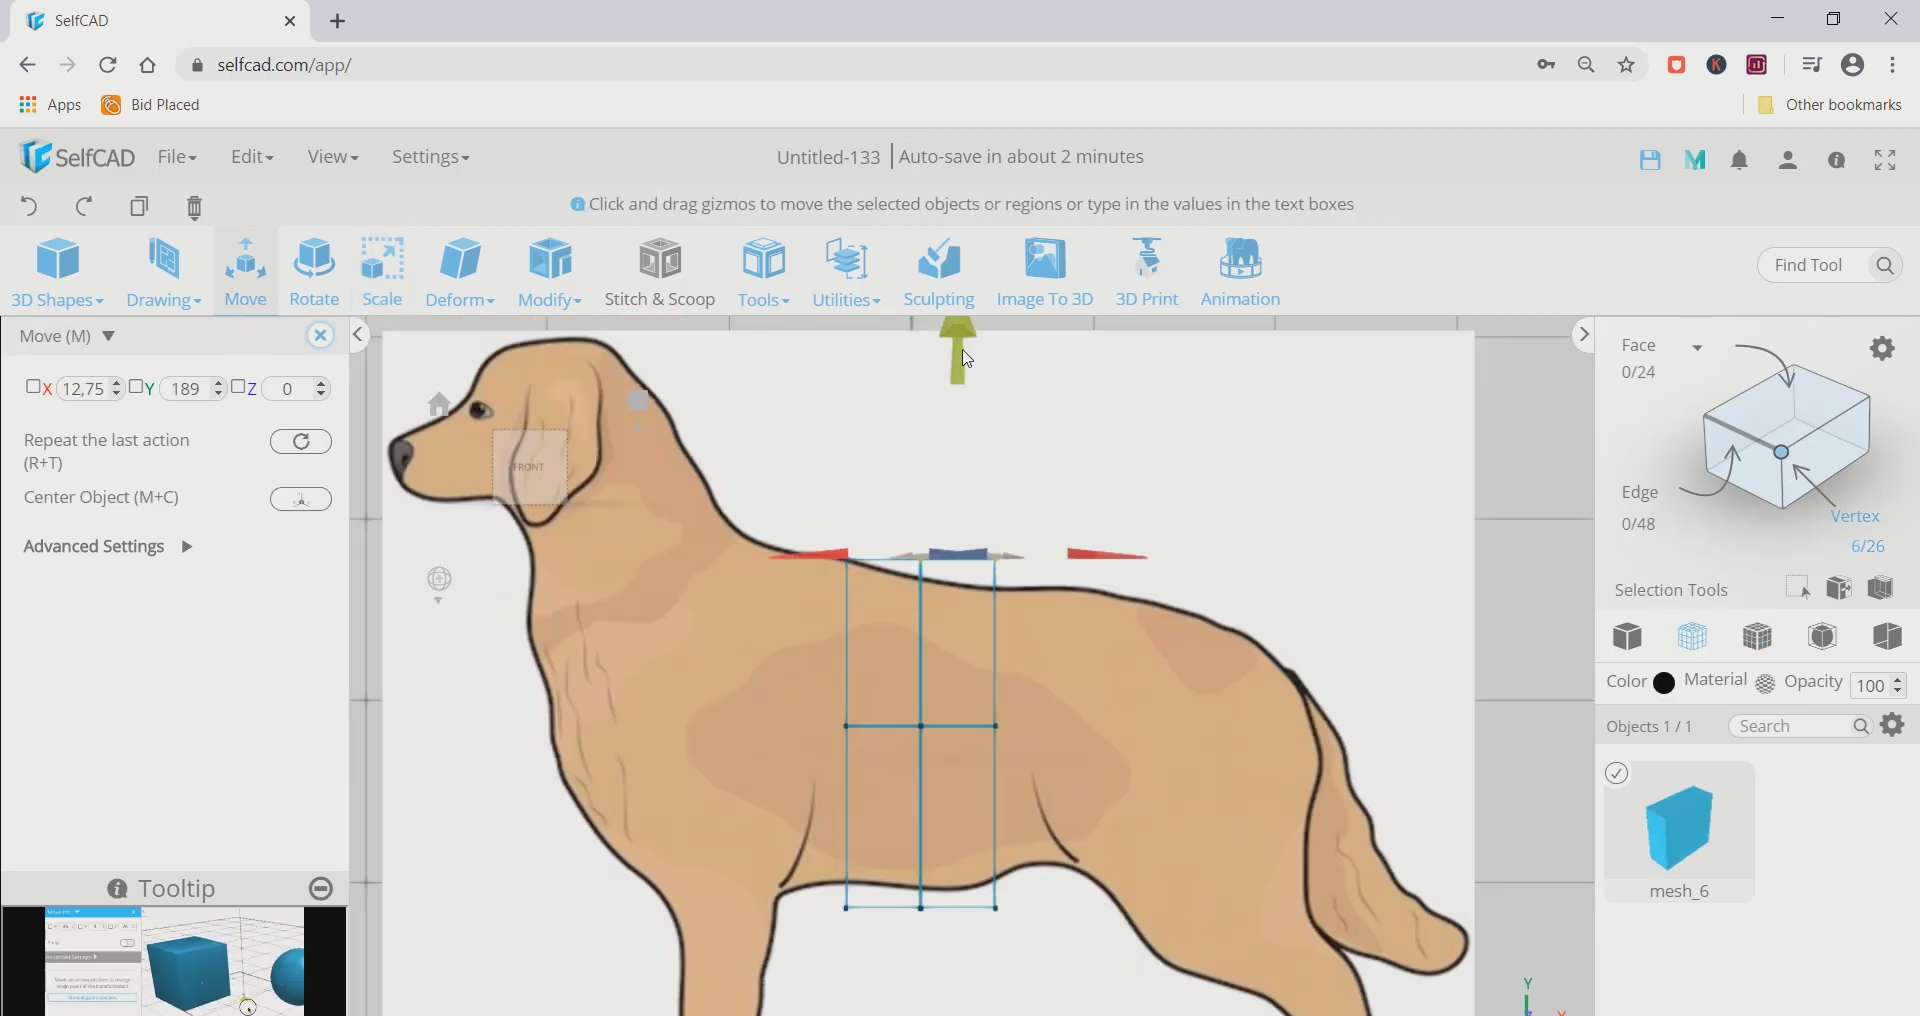
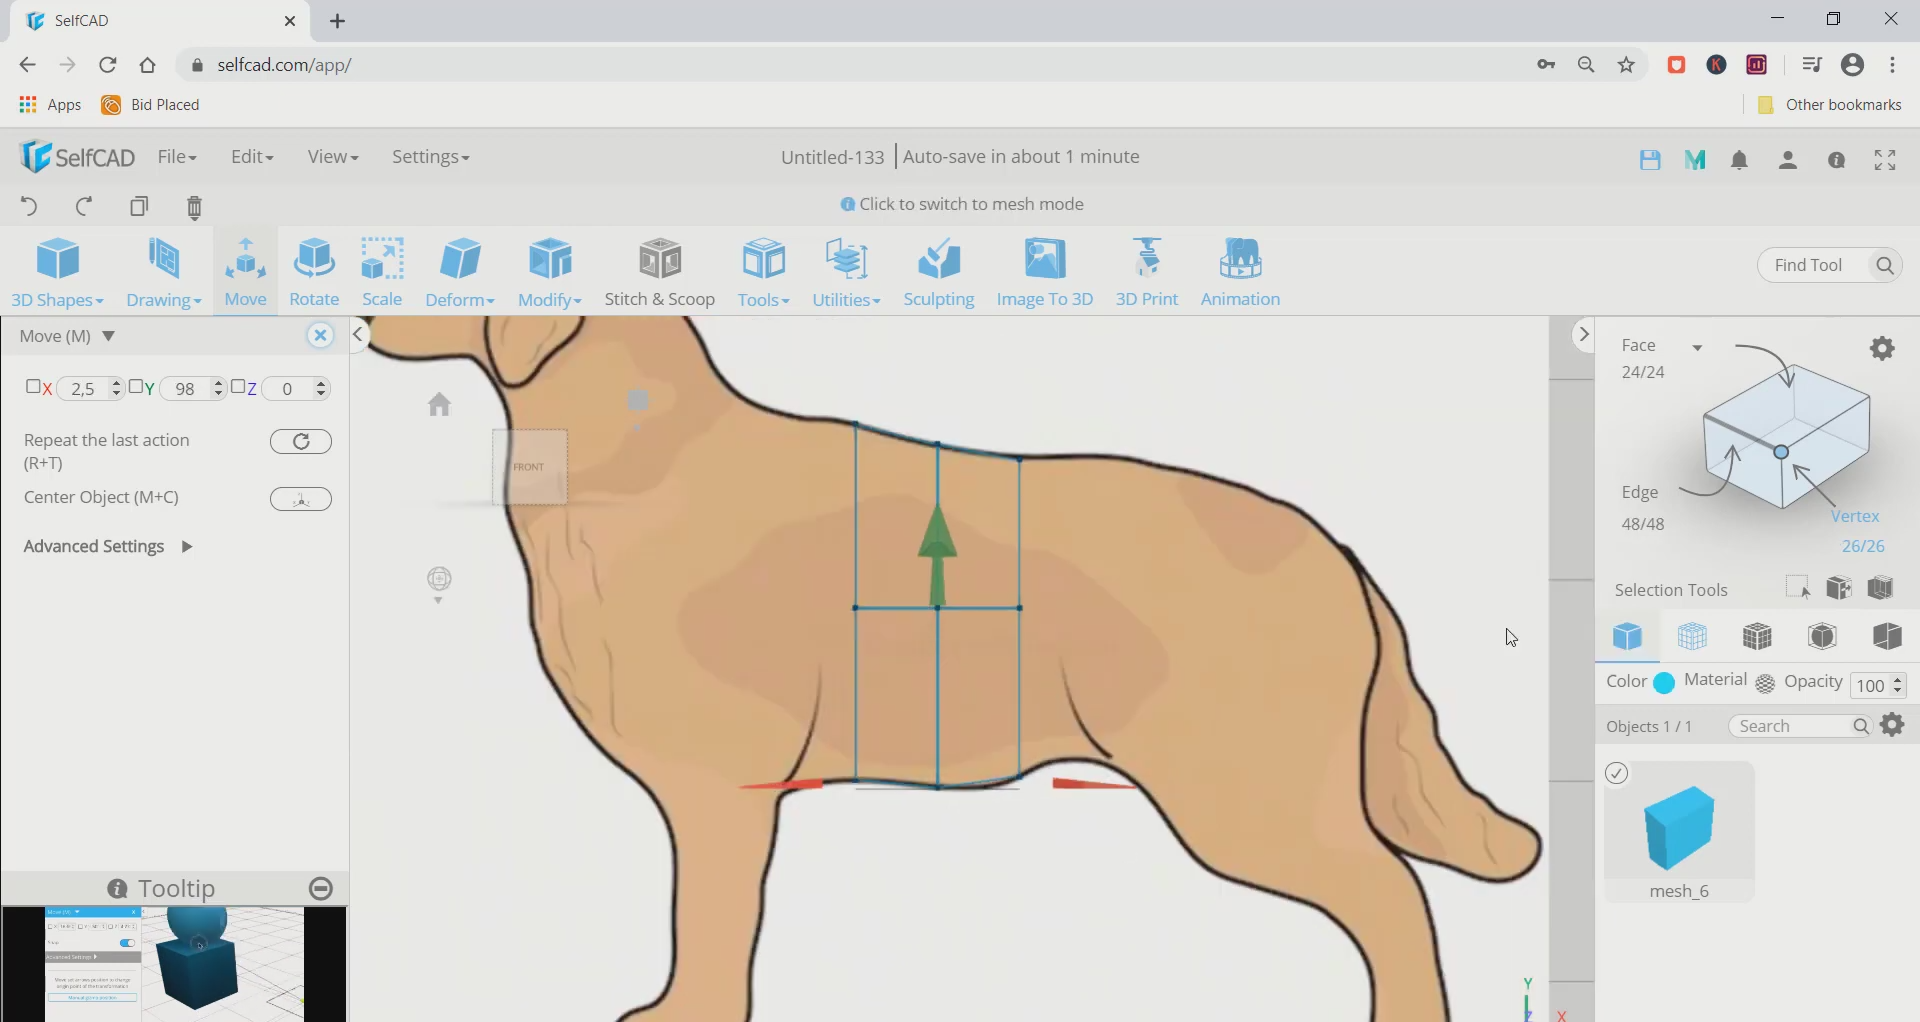
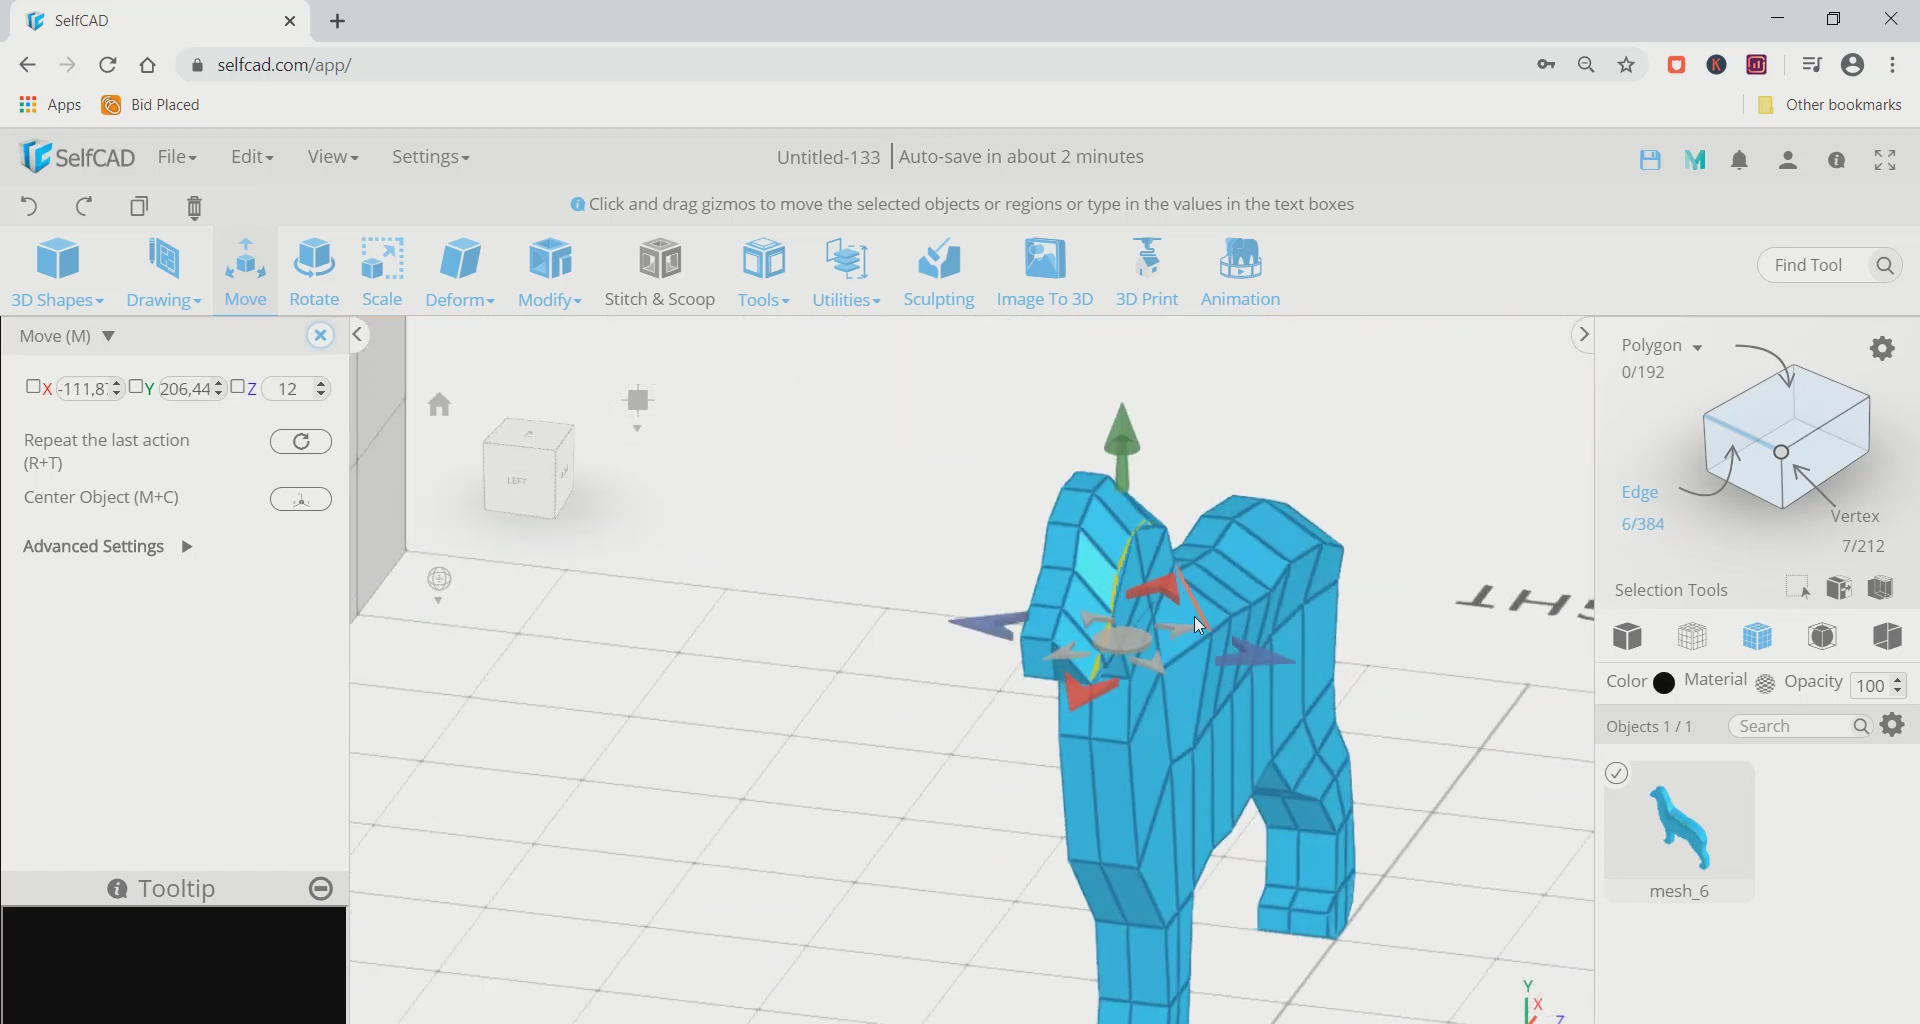
Step3: Edit vertices and 3D trace the body of the dog
Now, opt for vertex selection and select all the vertices from the top and move them downward. Then move the vertices and set them according to the body of the dog. Repeat the same thing with the lower vertices.
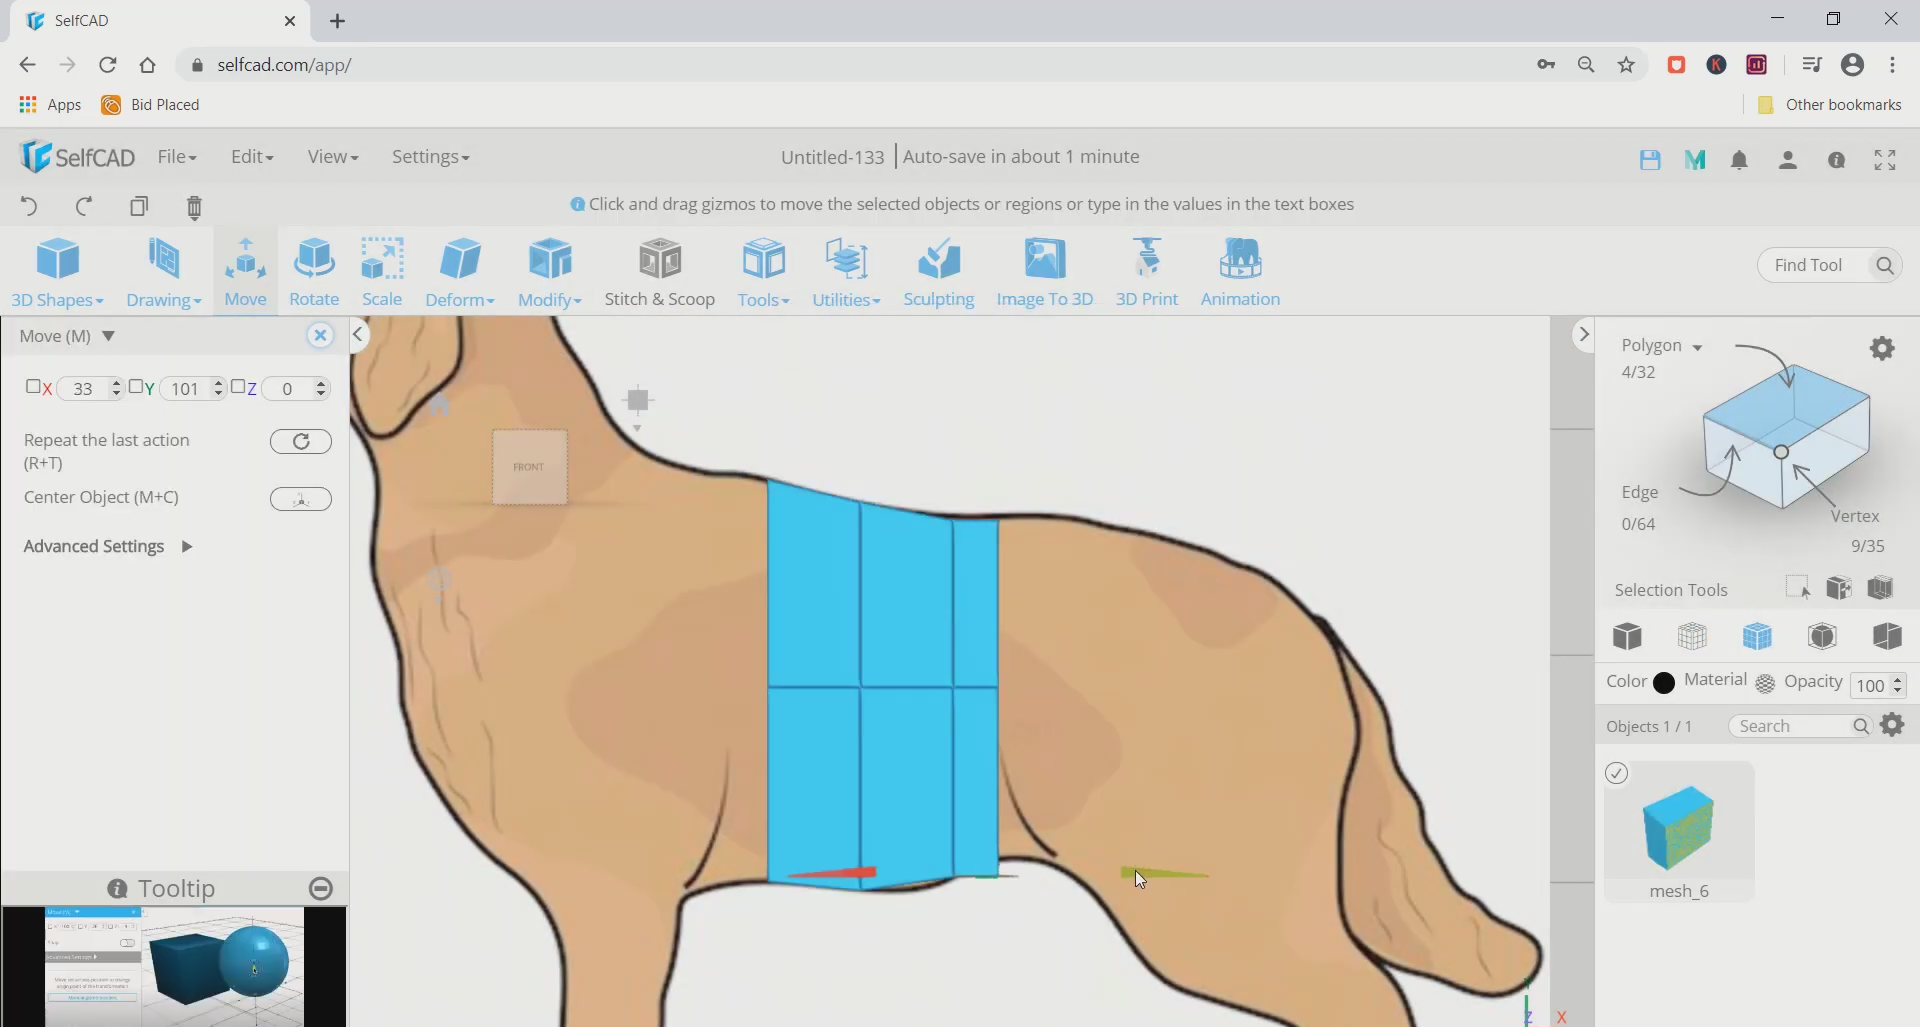
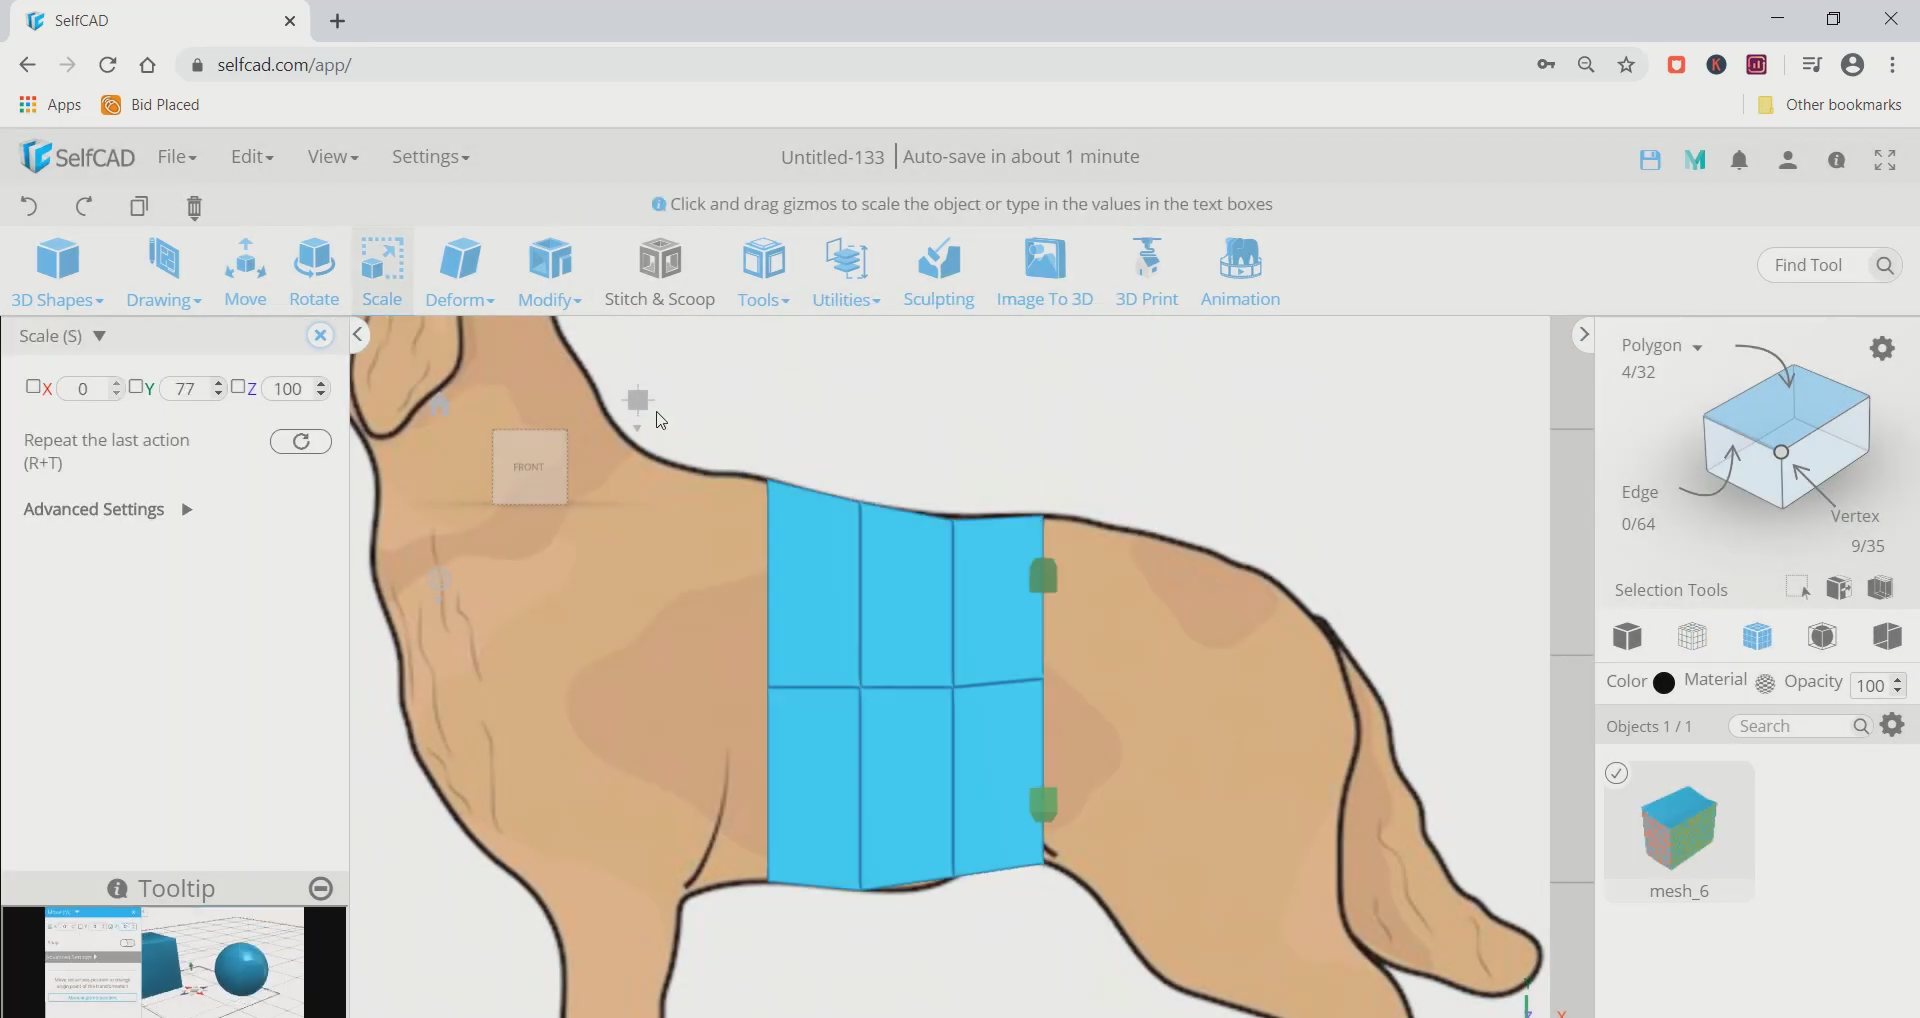
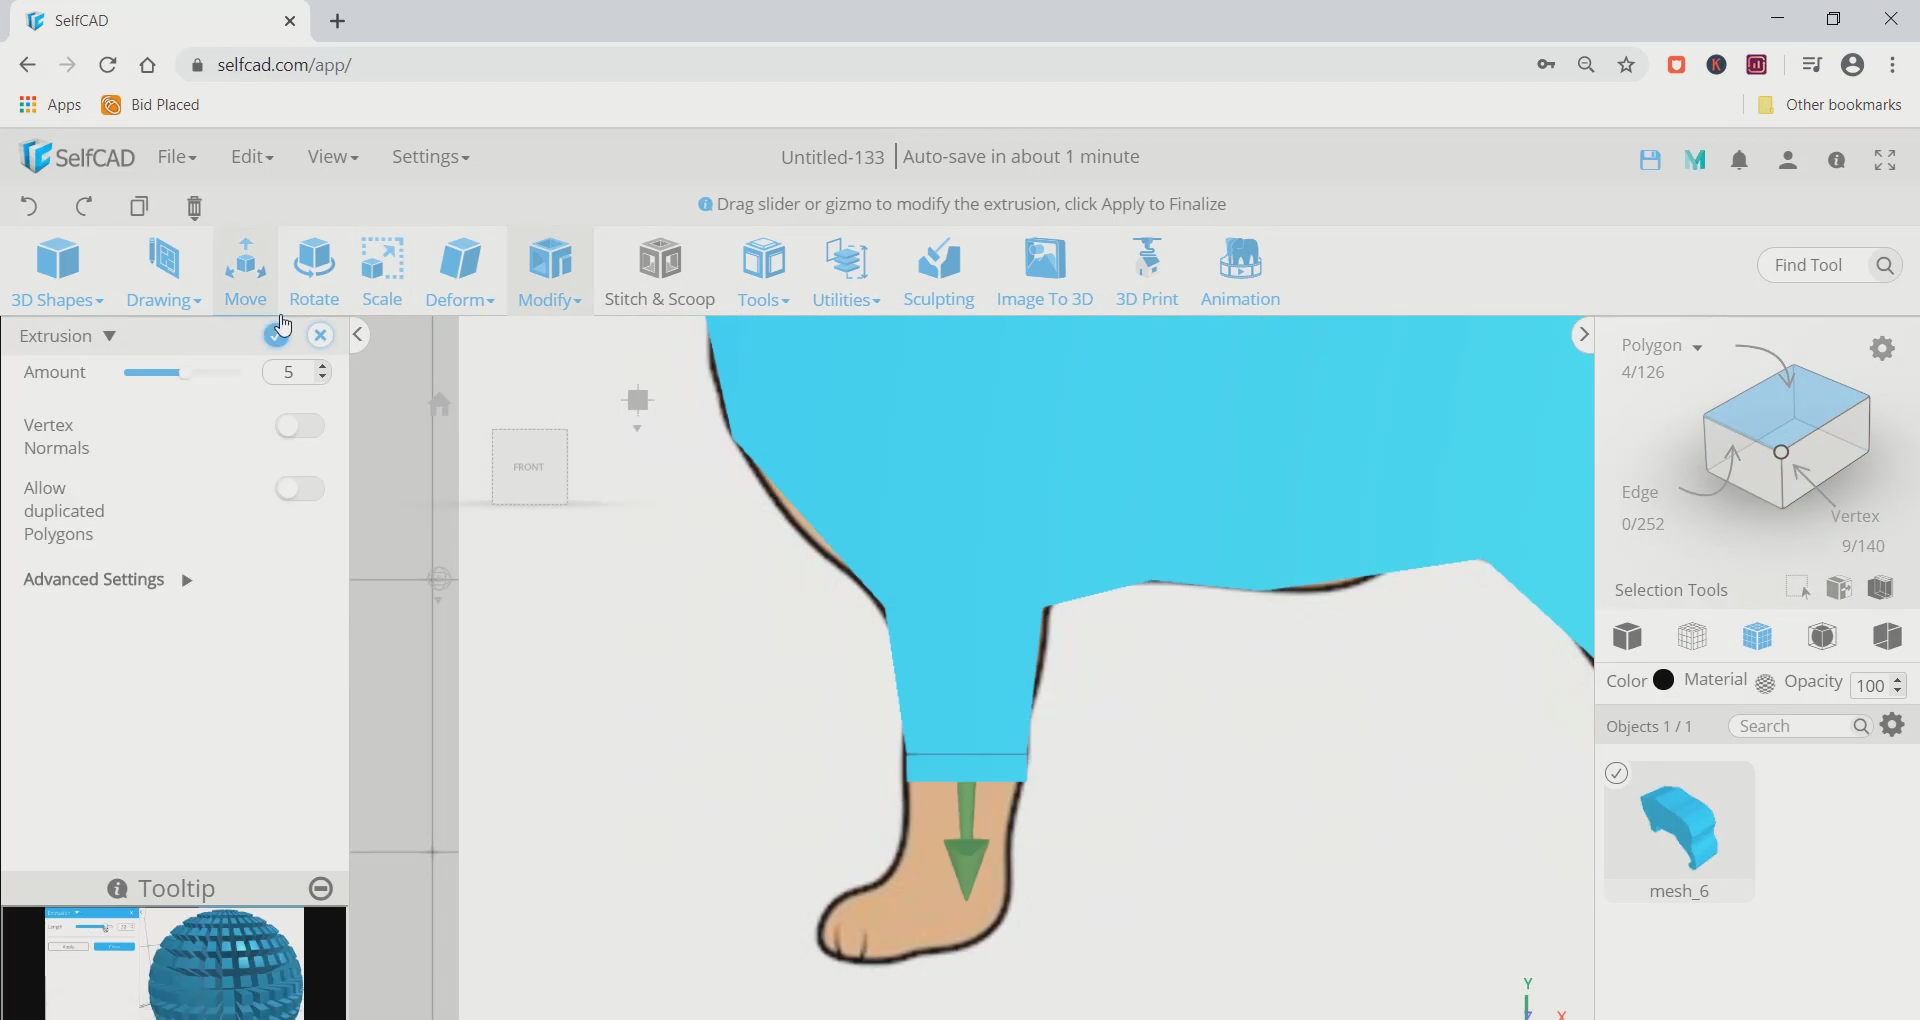
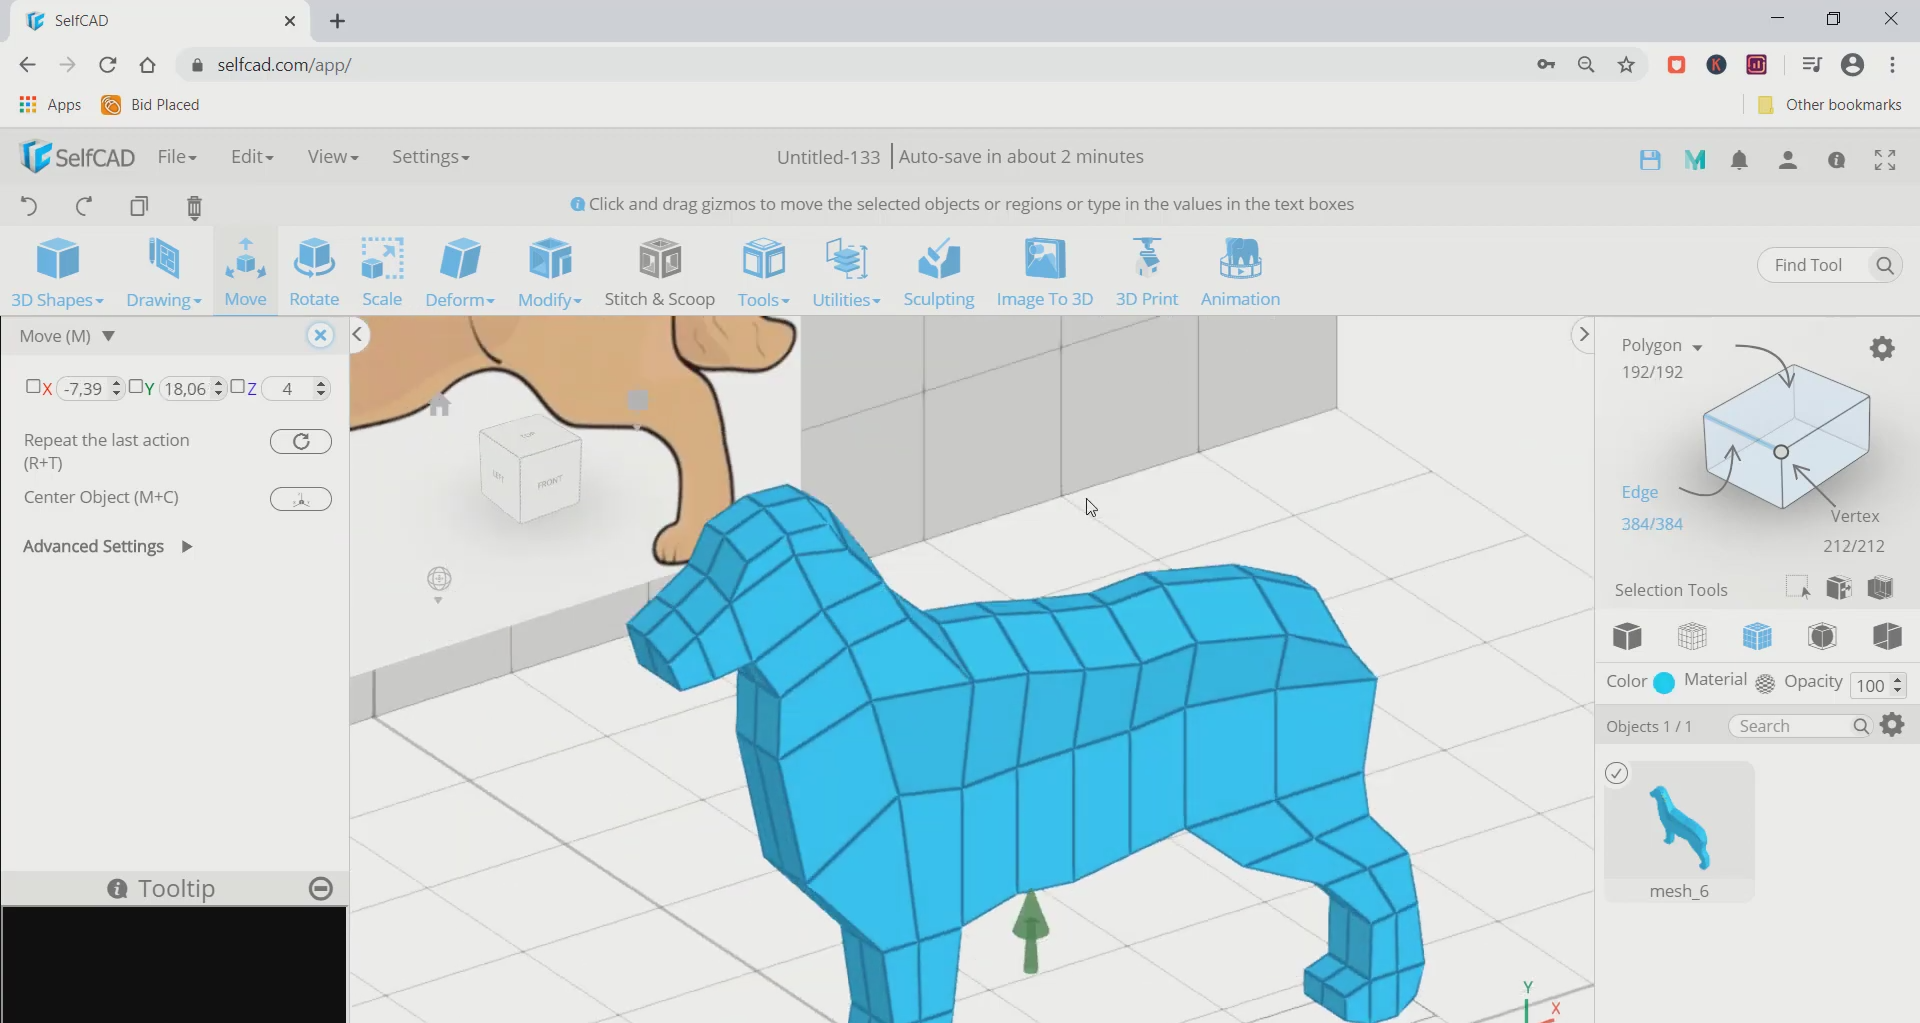
Step4: Extrude faces to complete the body of the dog
Next, opt for polygon selection and select the back face of the cube. Then go to modify and select the extrusion tool. Extrude it to an amount of 5. After that, scale the side faces as per the reference of the dog’s body. Repeat this step and cover the body of the dog.
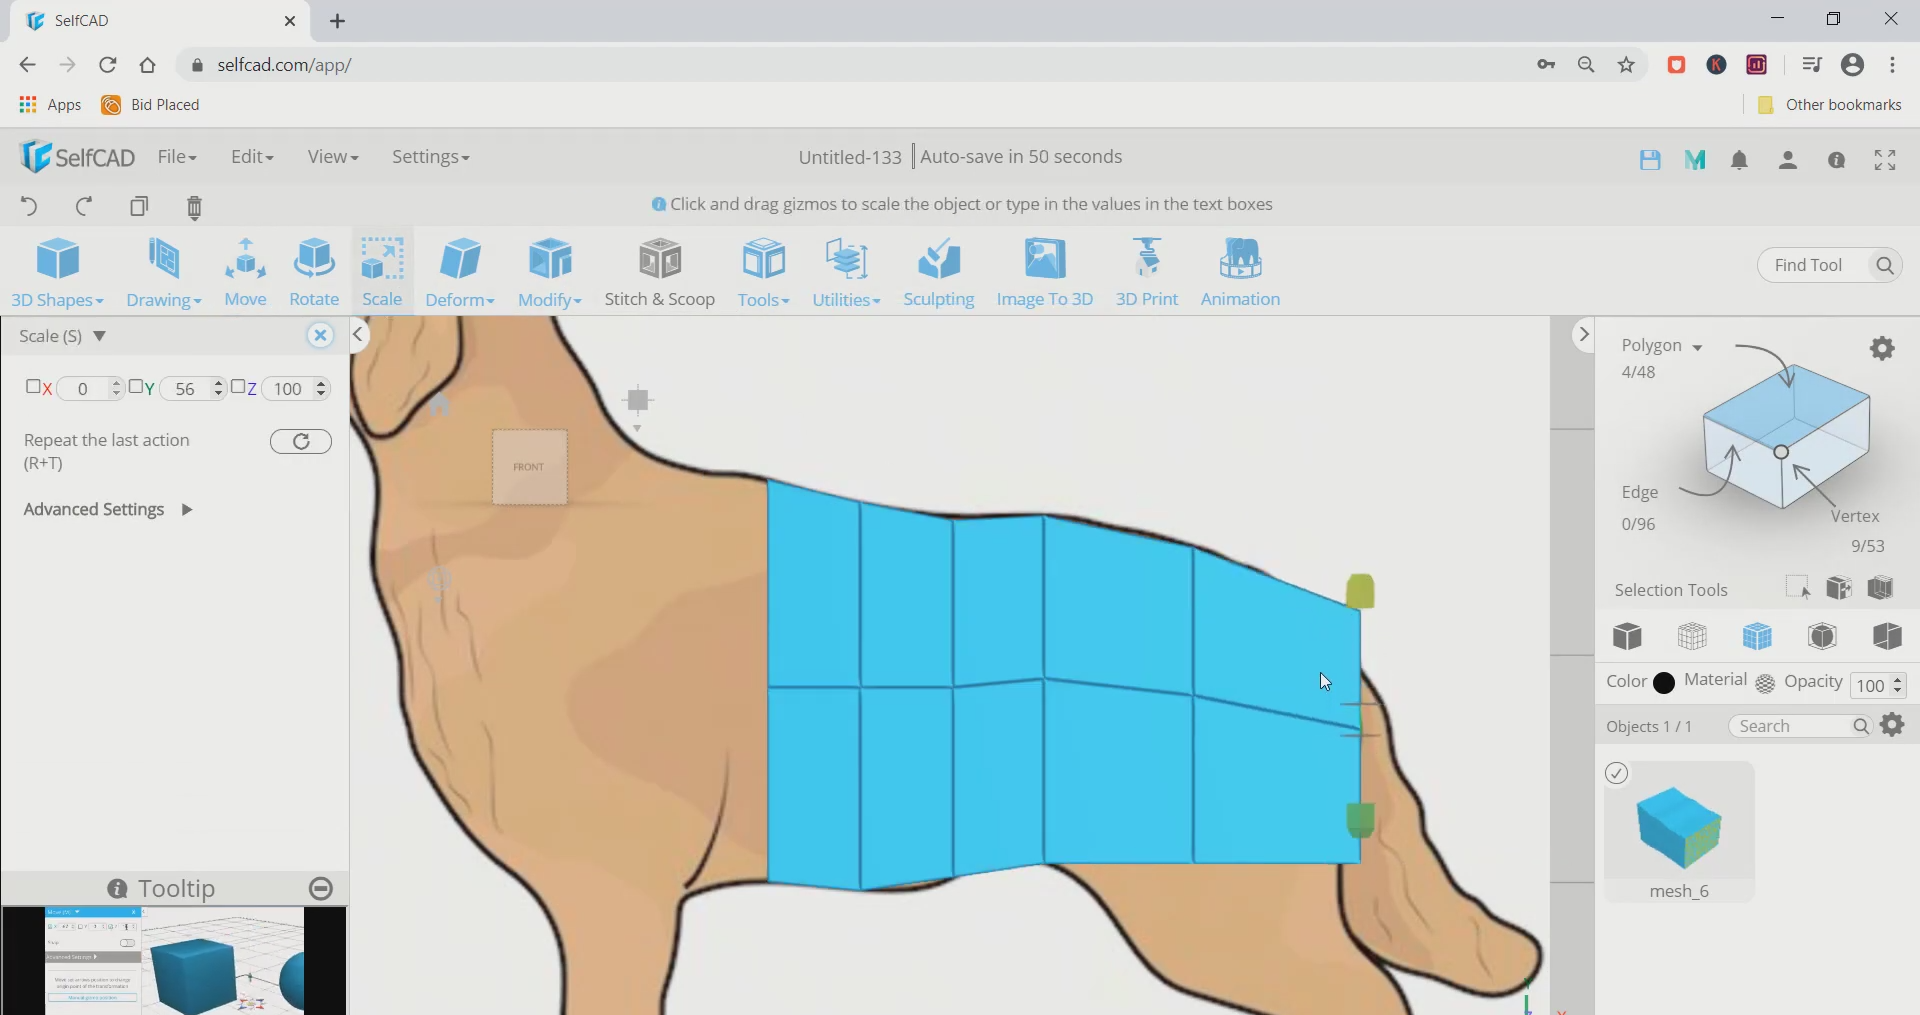
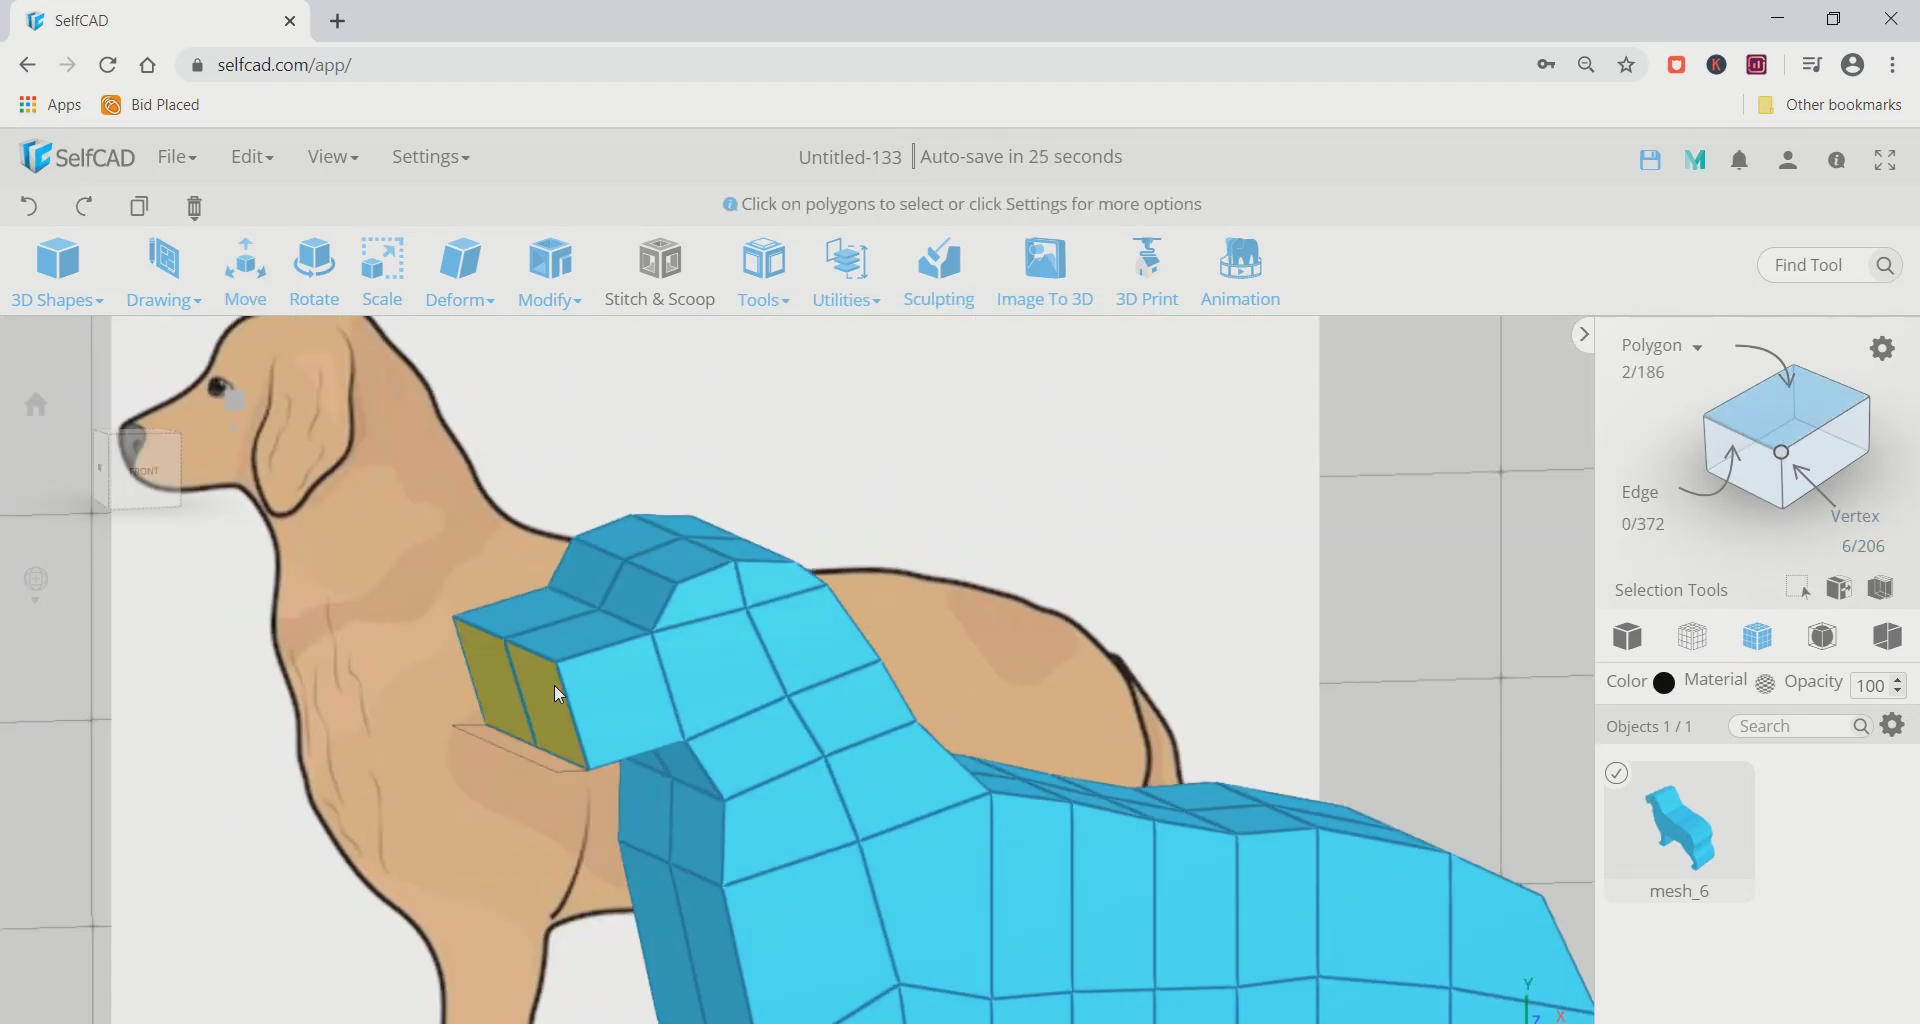
Step5: Repeat the steps that we followed earlier to cover the legs and upper body of the dog
Now, select the corner most bottom four faces of the object. Repeat the step that we followed with the body and complete the legs. Then do the same thing to cover the upper body and the forelegs of the dog.
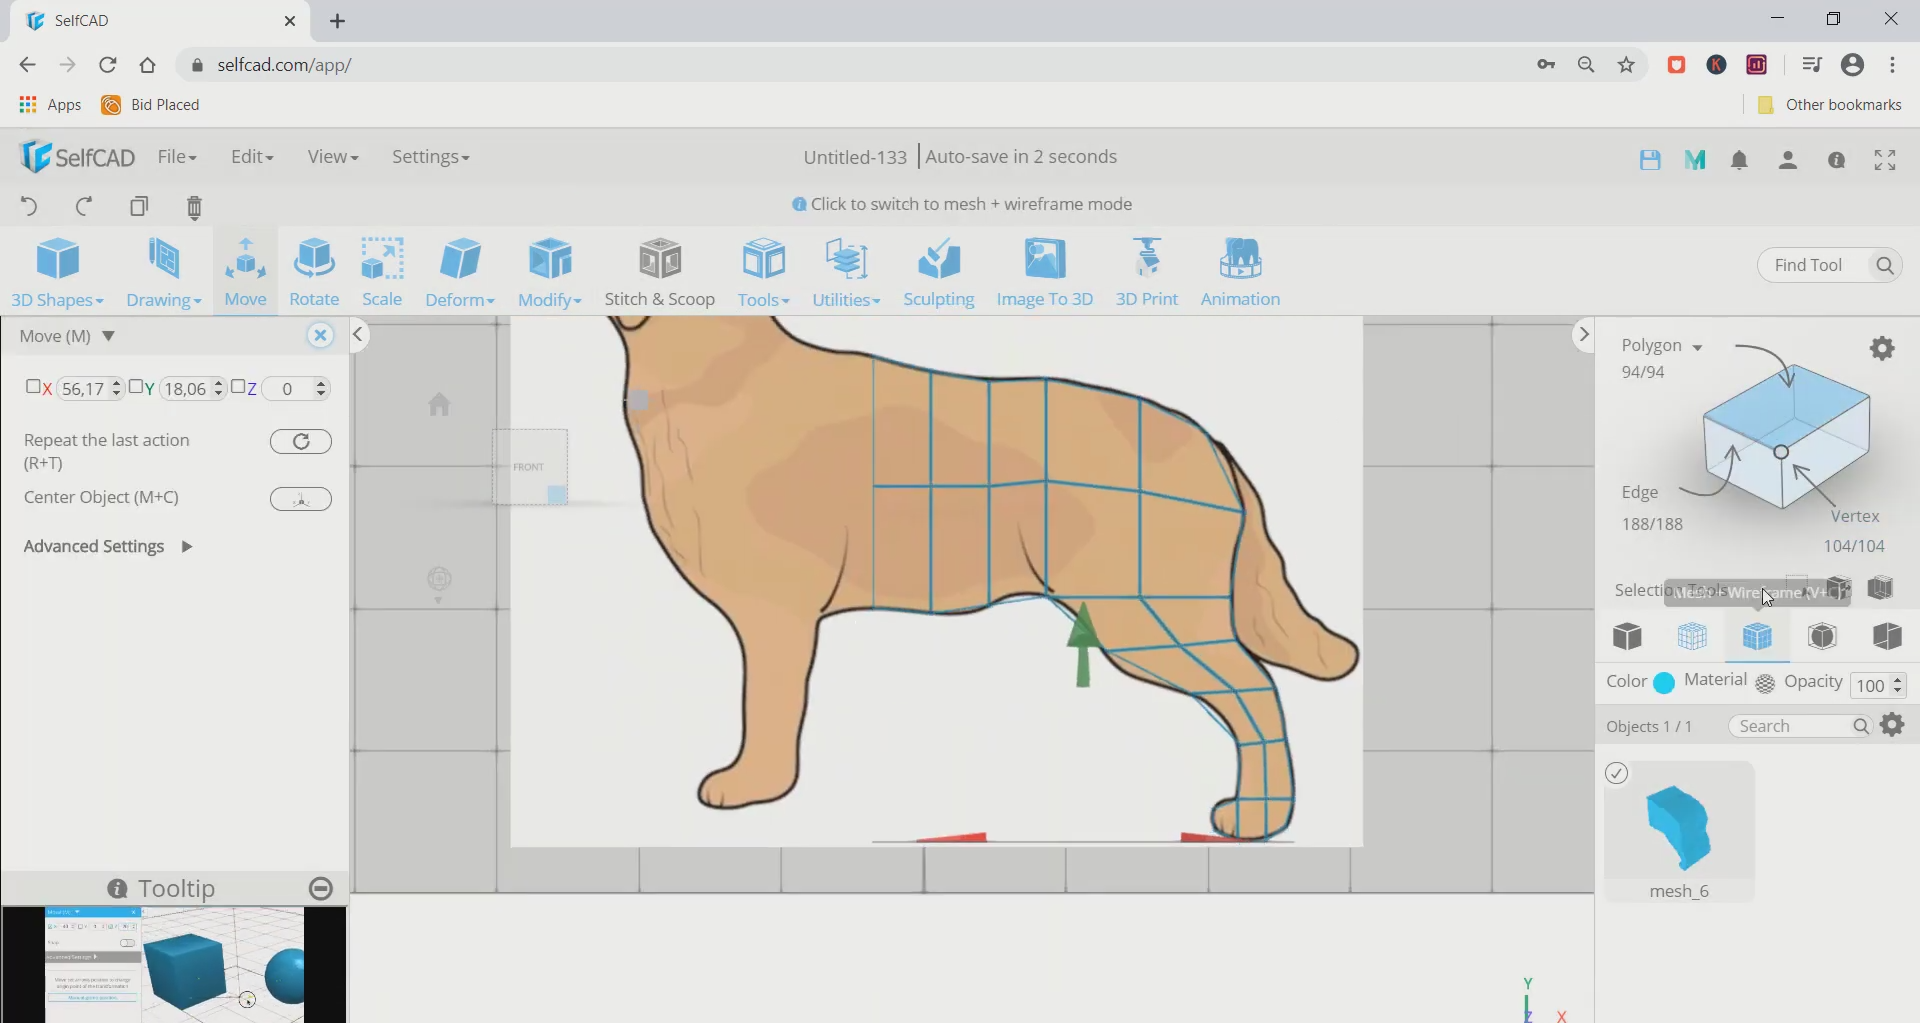
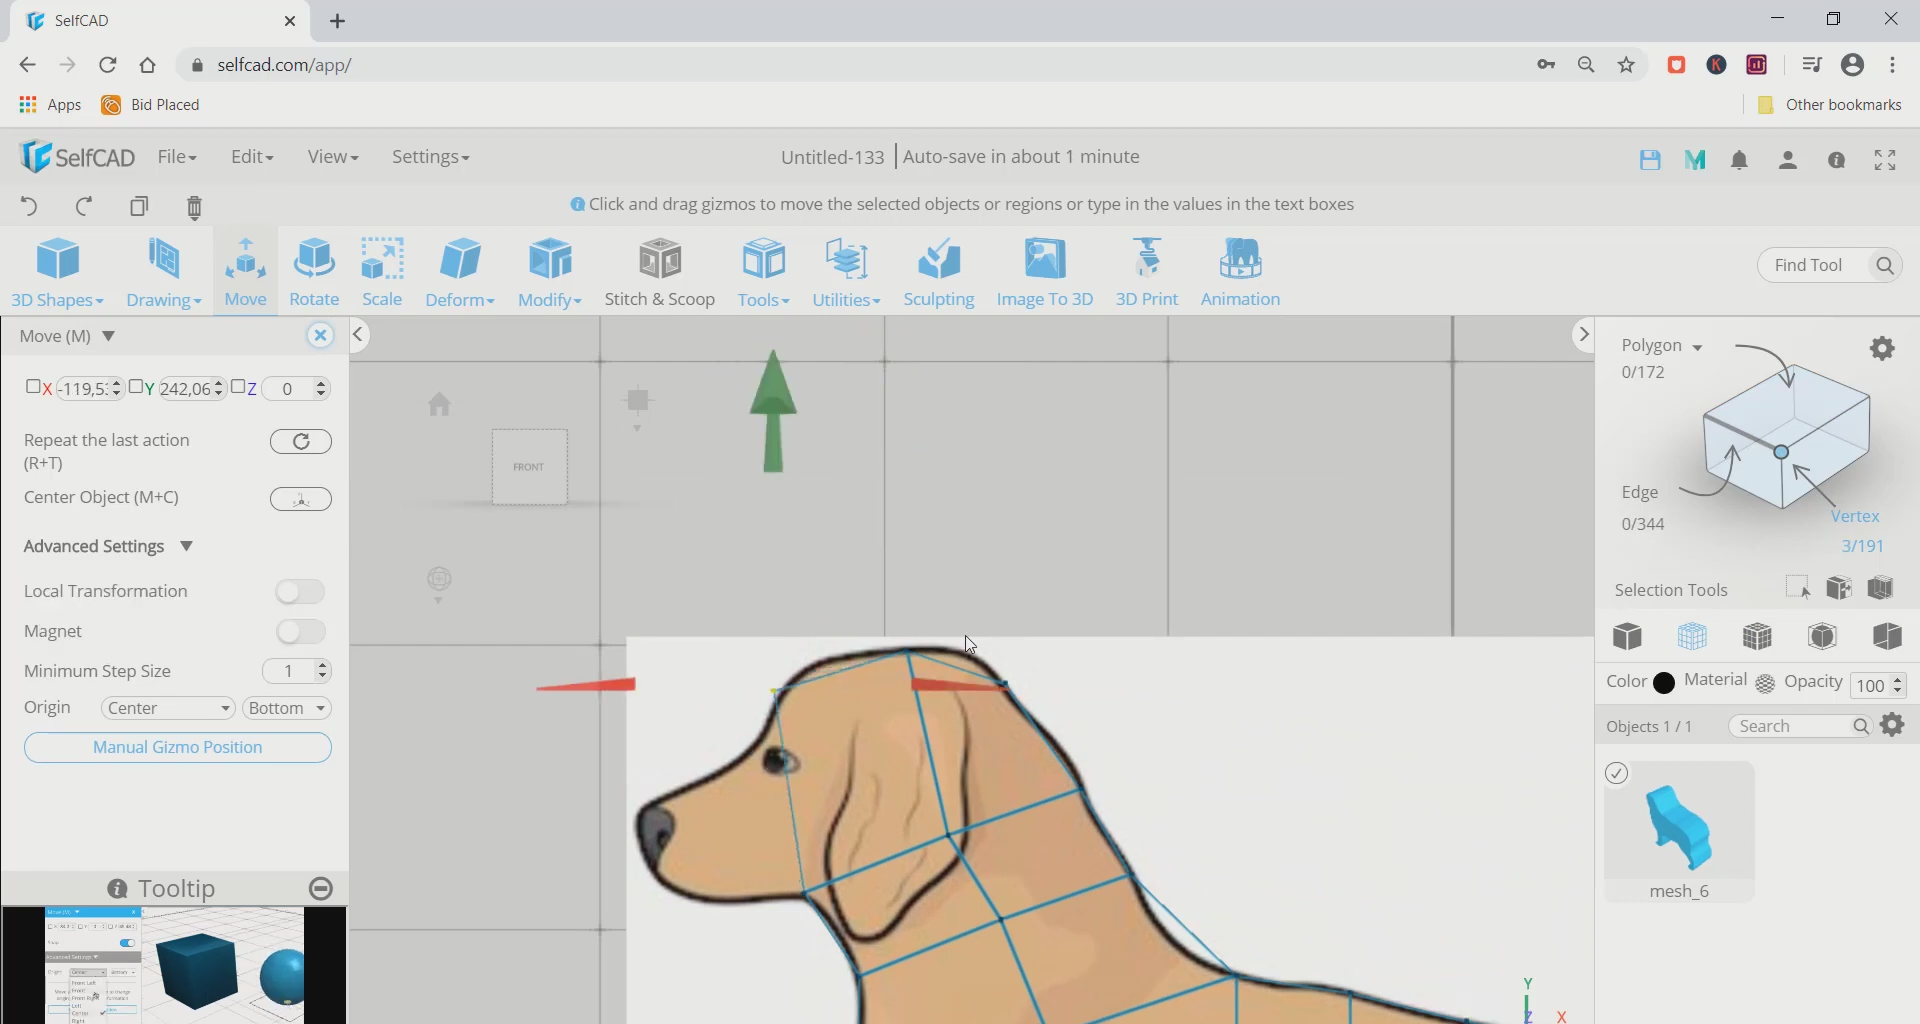
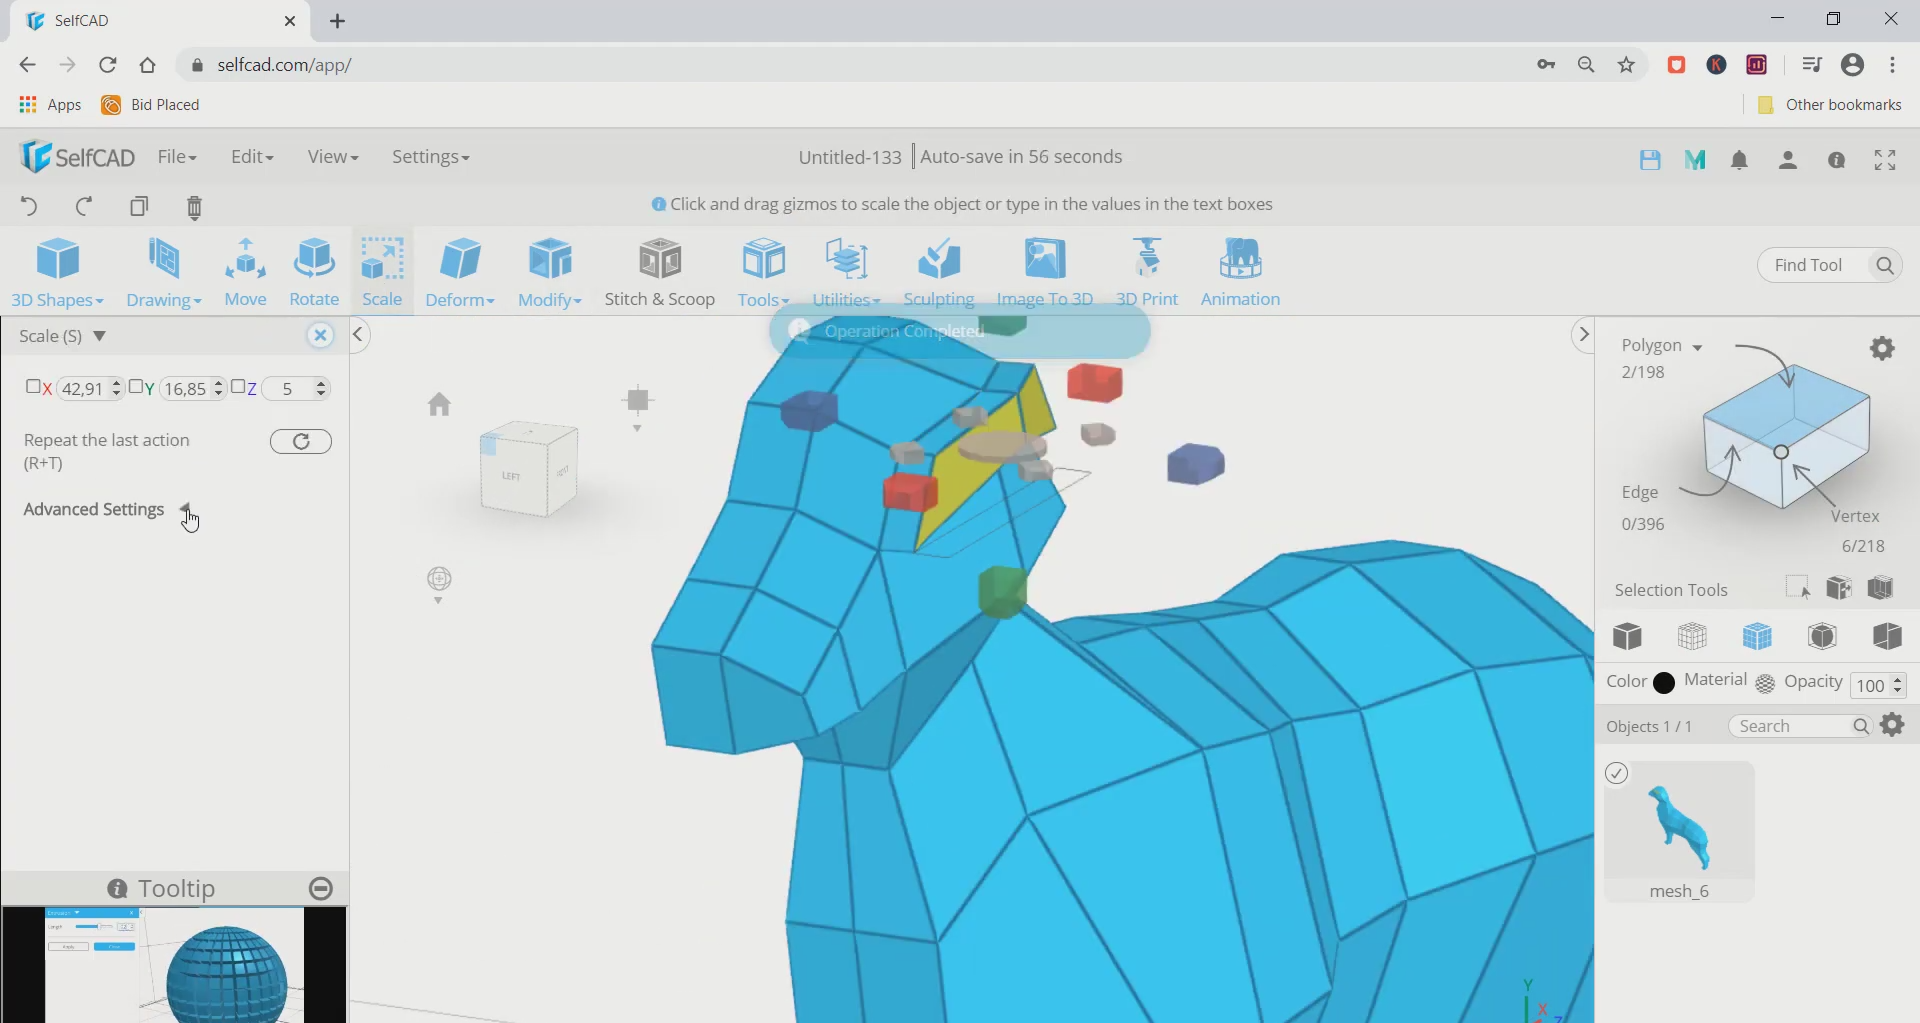
Step6: Complete the head in the similar manner
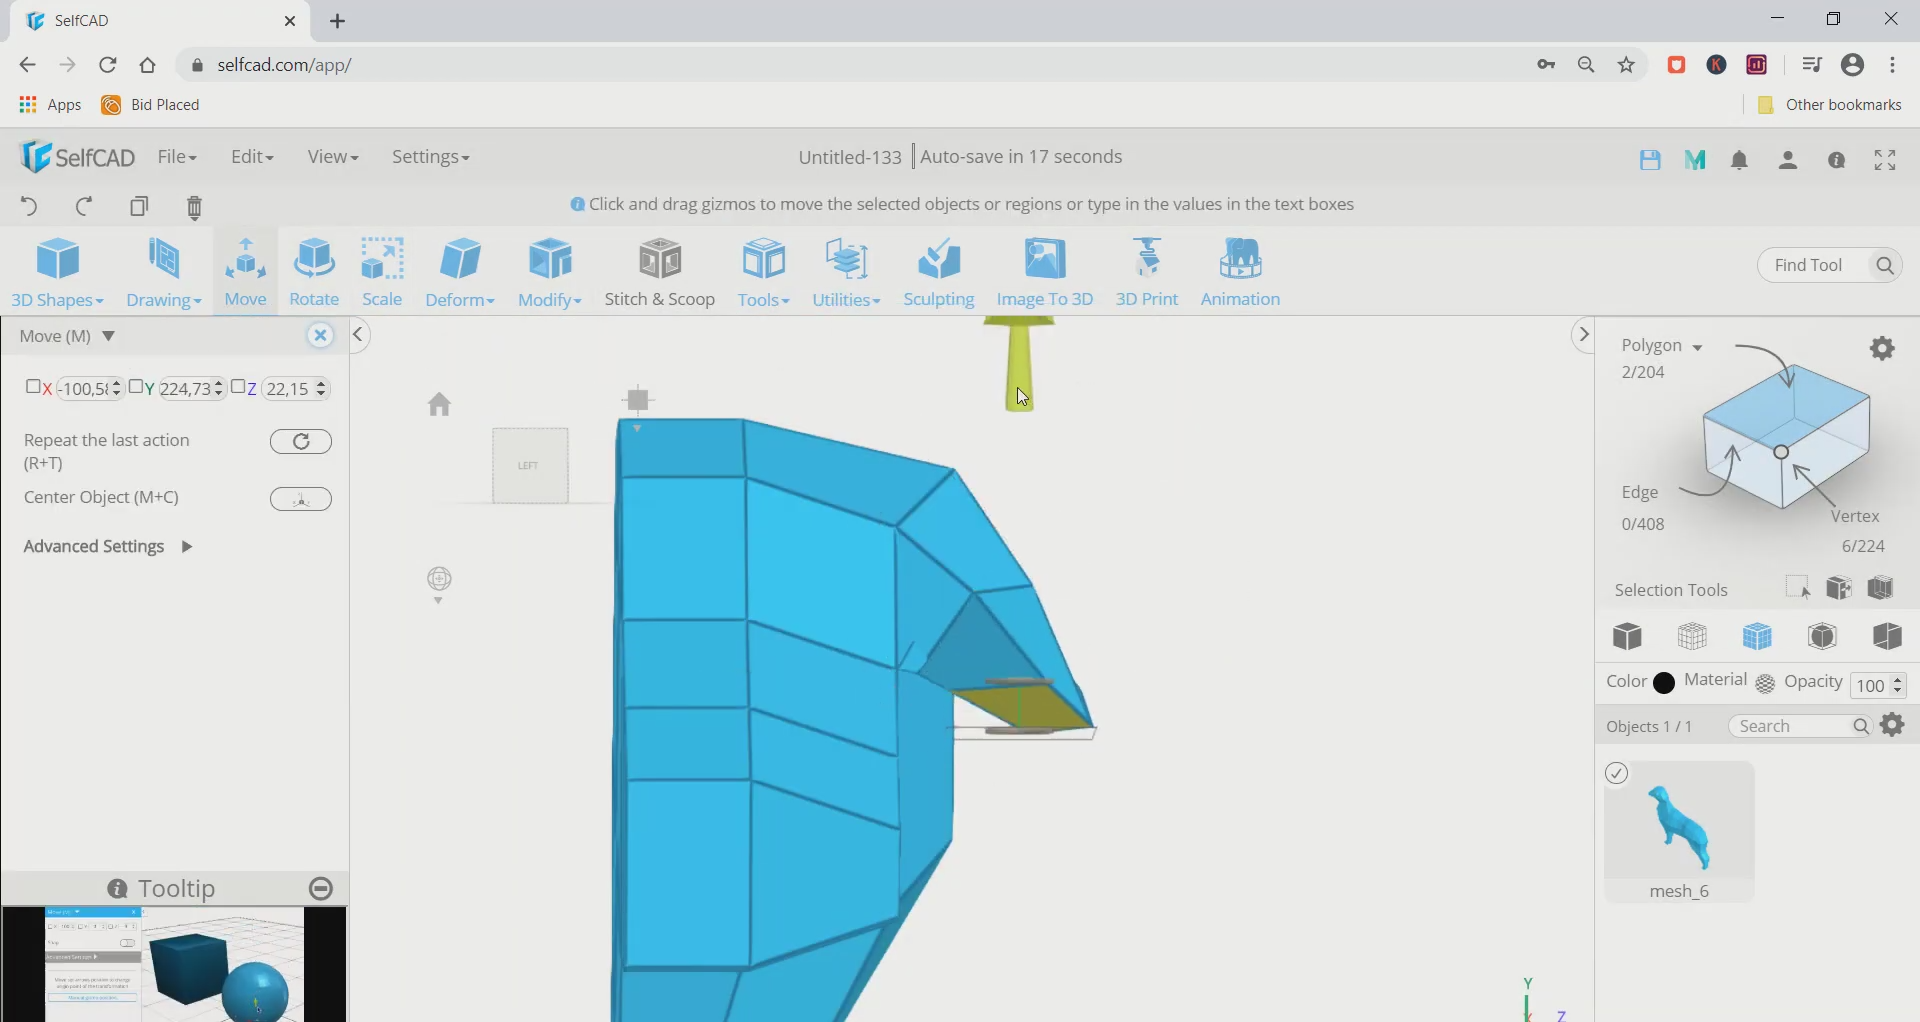
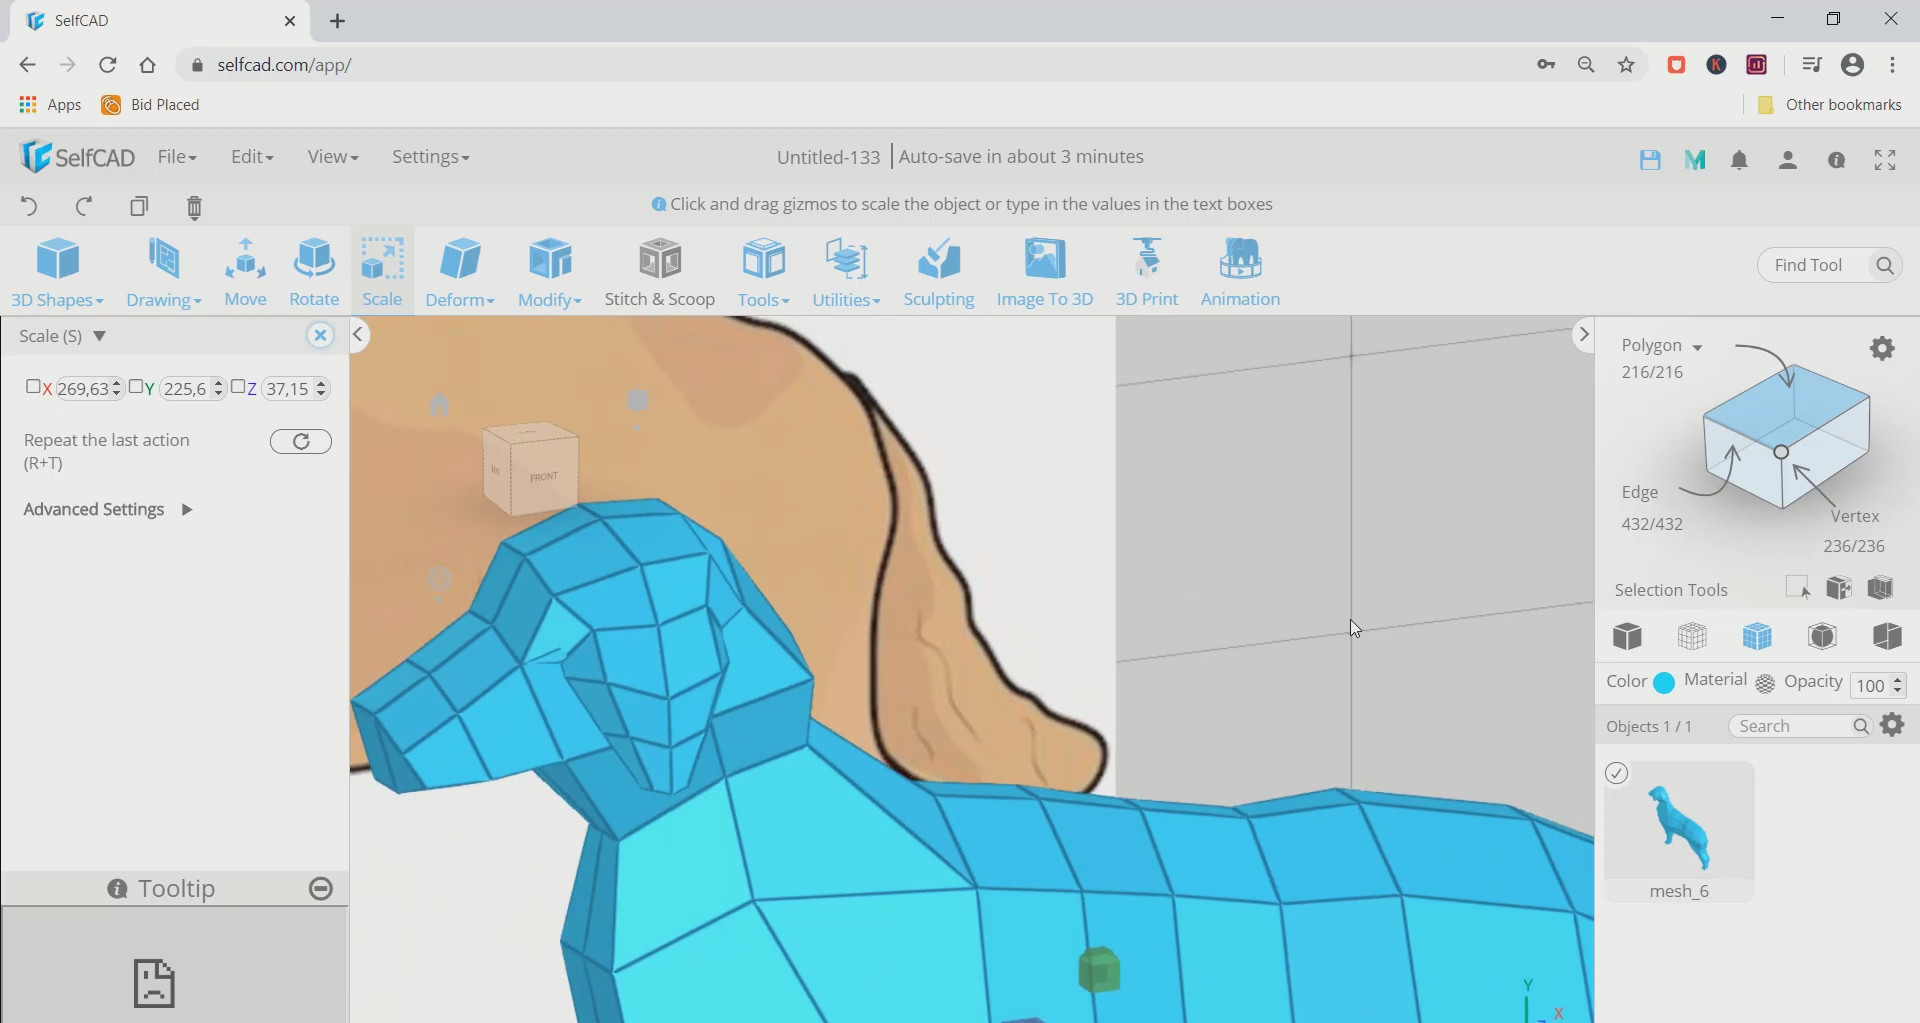
Next, complete the head of the dog using the same step that we followed to complete the other body parts. After this, the coverage of the dog's outer body is done. Then select one of the side polygons with the help of polygon selection and scale it towards the inside.
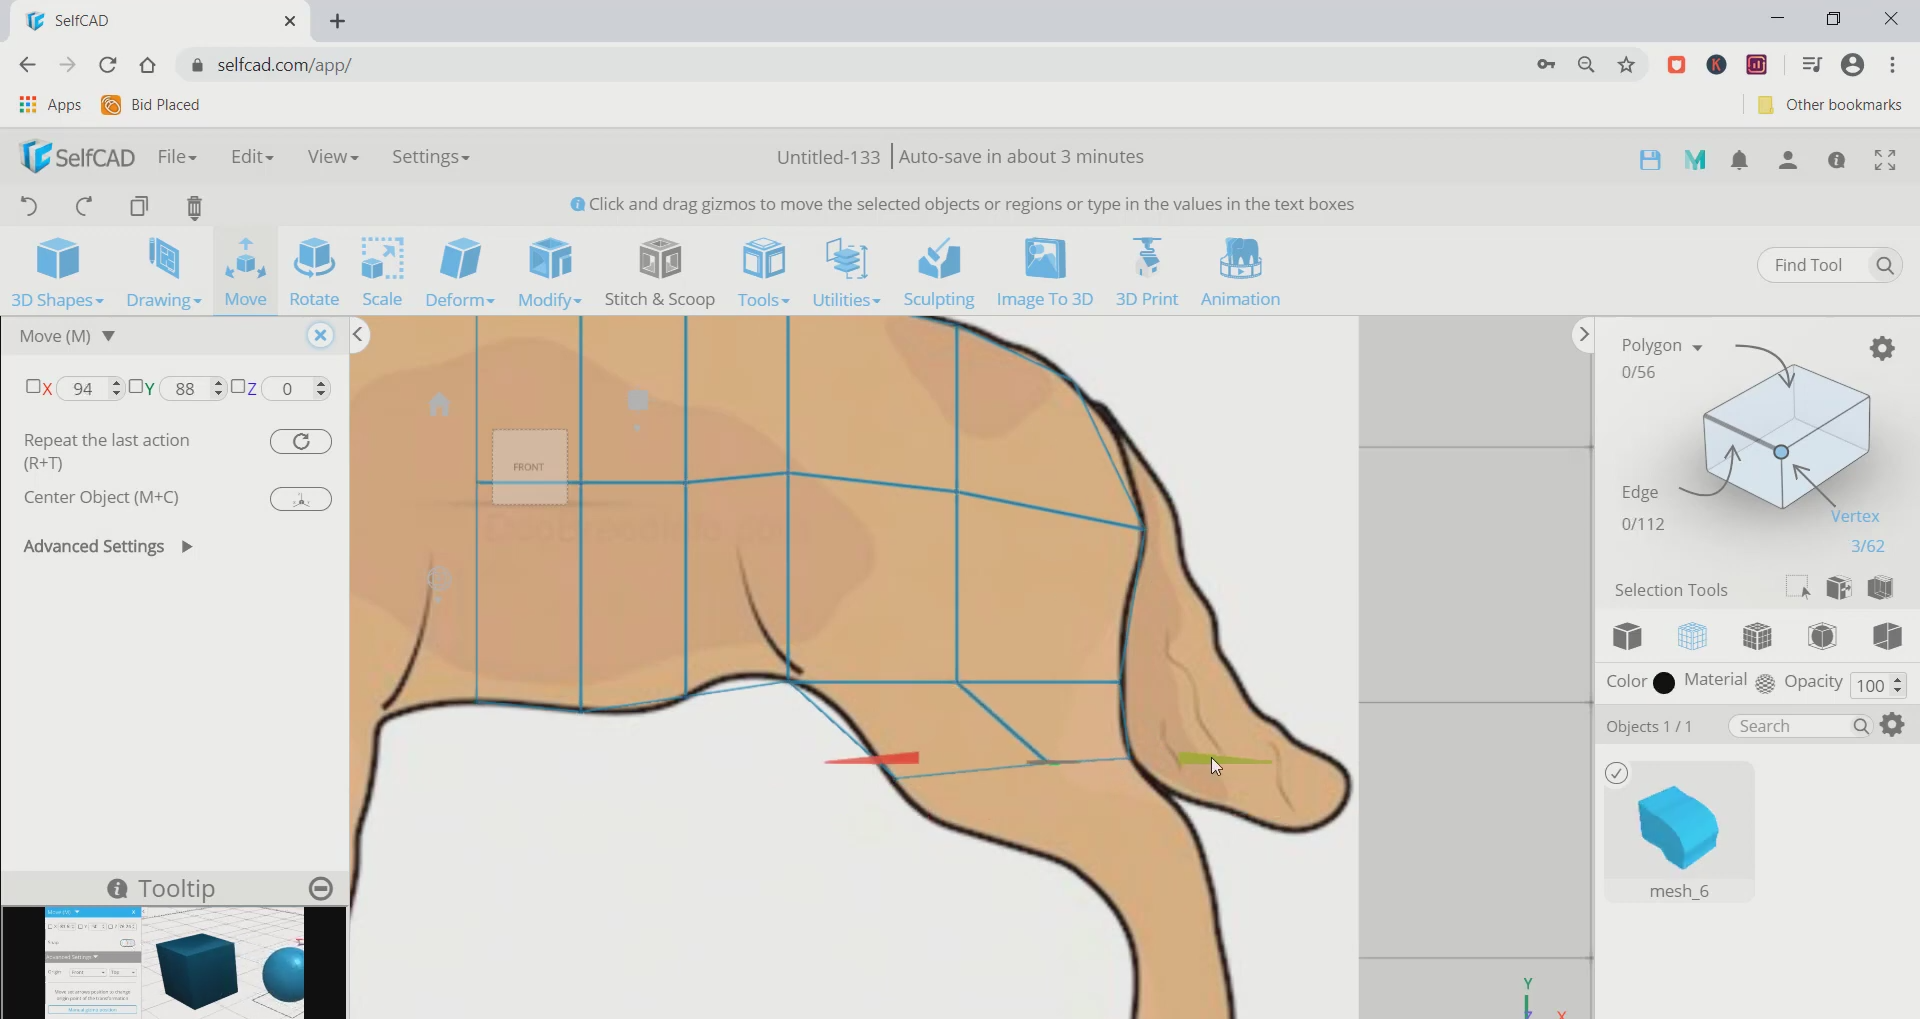
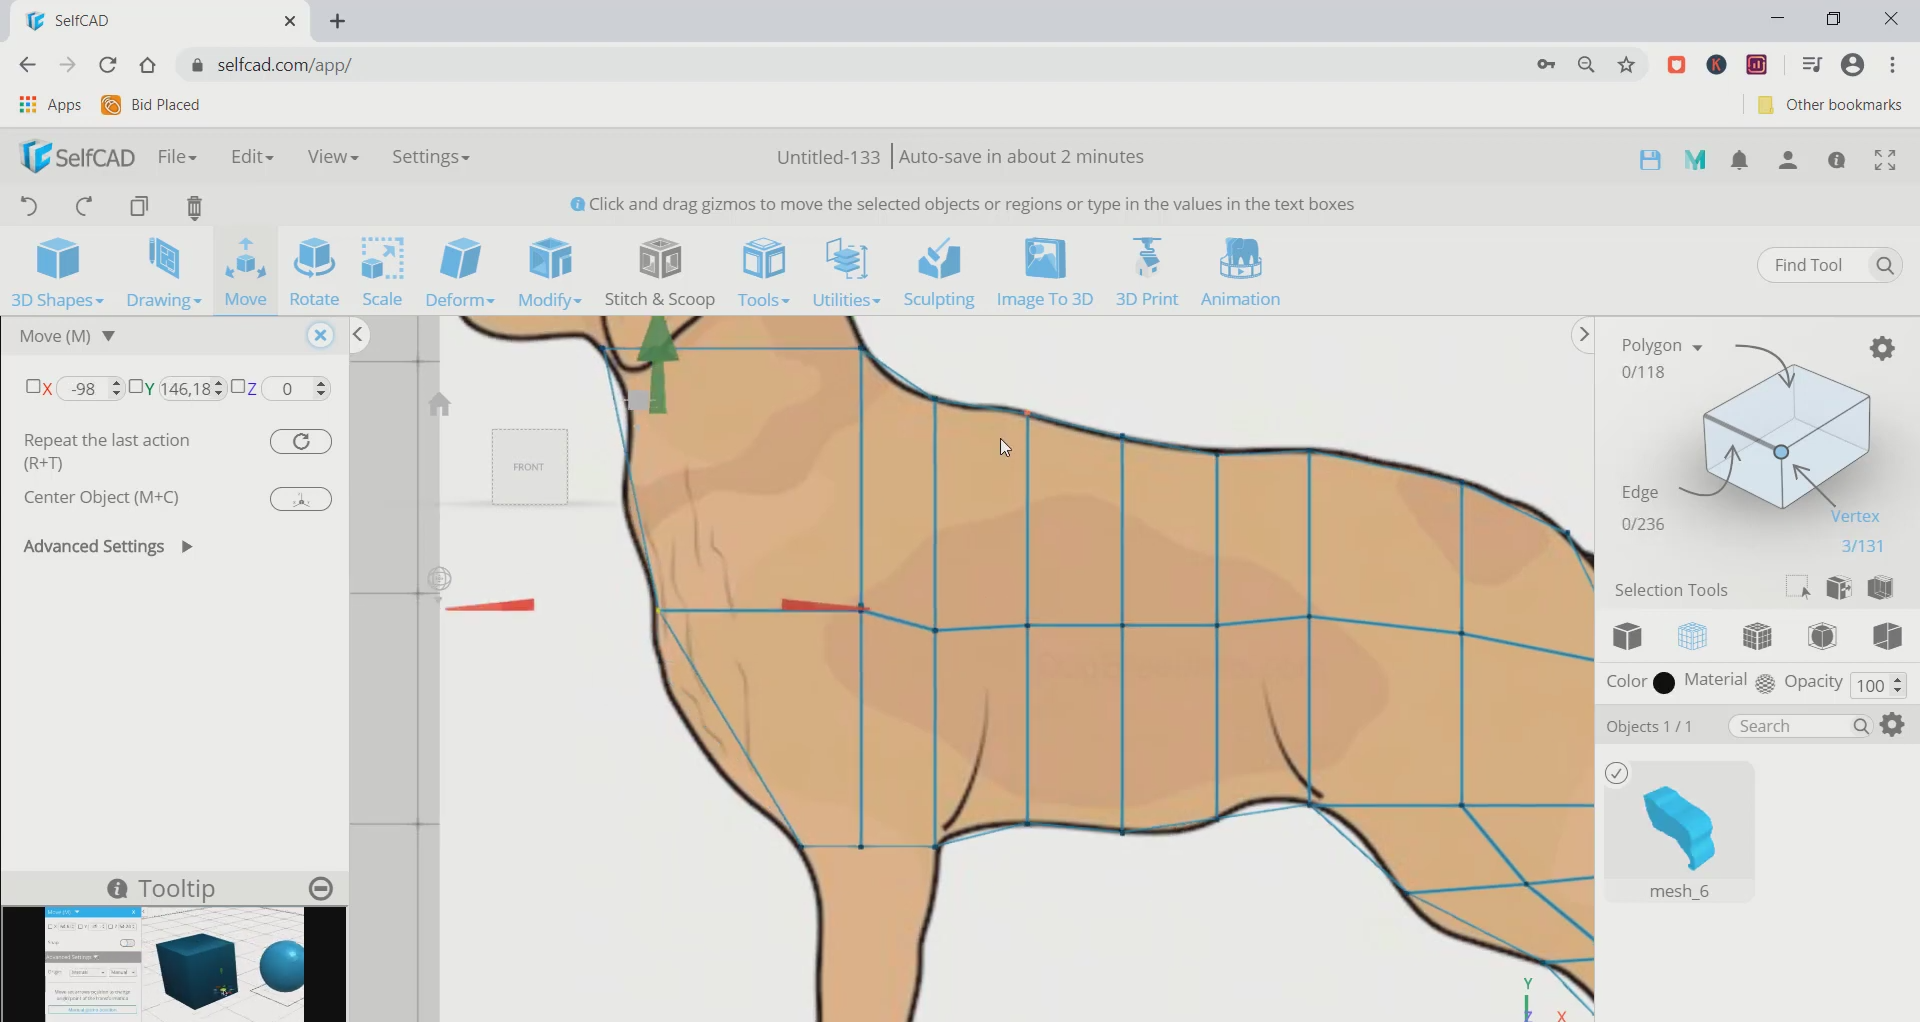
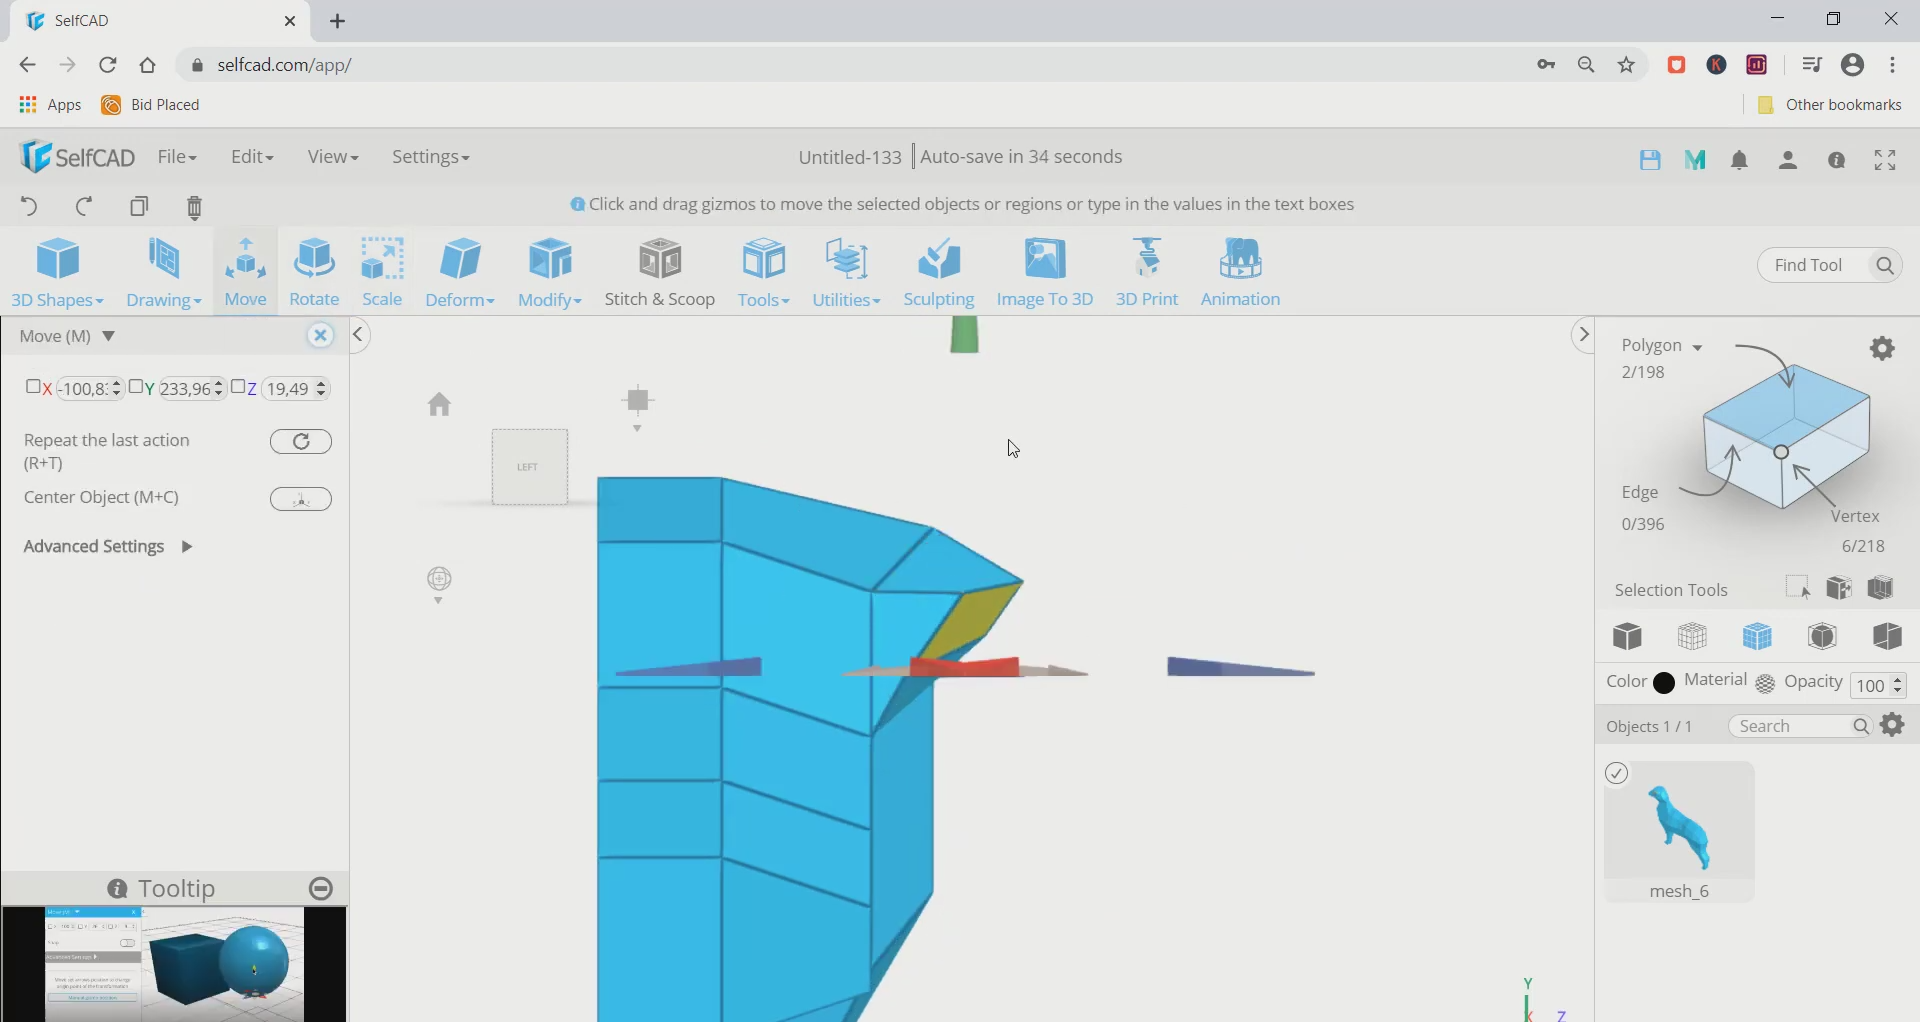
Step7: Edit the edges. Move it inwards/outwards and make the dog look like a 3D
Now, opt for edge selection and select all the edges of one side of the face and move it to bring it to an adequate position. Then repeat this step with all the sets of edges. Move them in such a manner that the body of the dogs starts appearing like a 3D. Refer to the images for more clearance.
Step8: Repeat the same step to make the ears of the dog
Next, select the top two faces of the head part. Extrude it to an amount of 5 and scale it a bigger size. Then use the rotate tool and rotate it to an amount of 55 along the red axis. After that extrude the faces and scale them to make it appear like the ear.
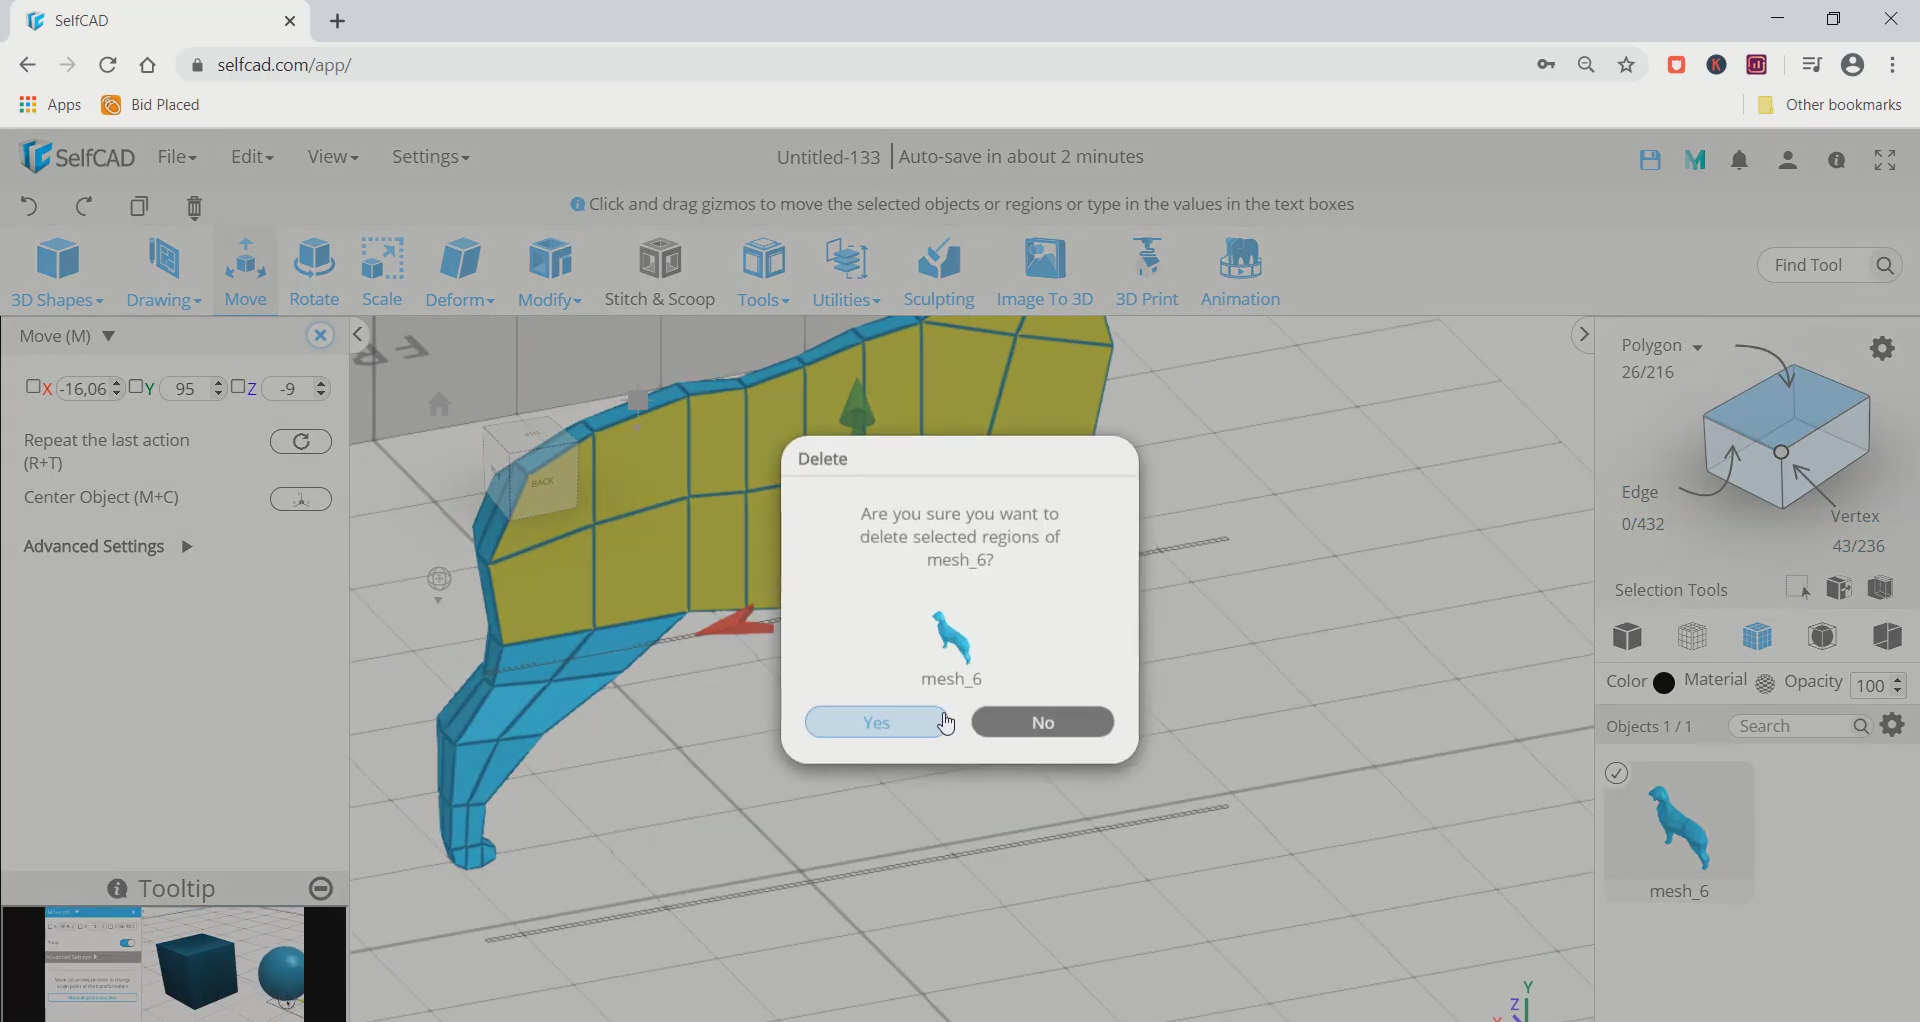
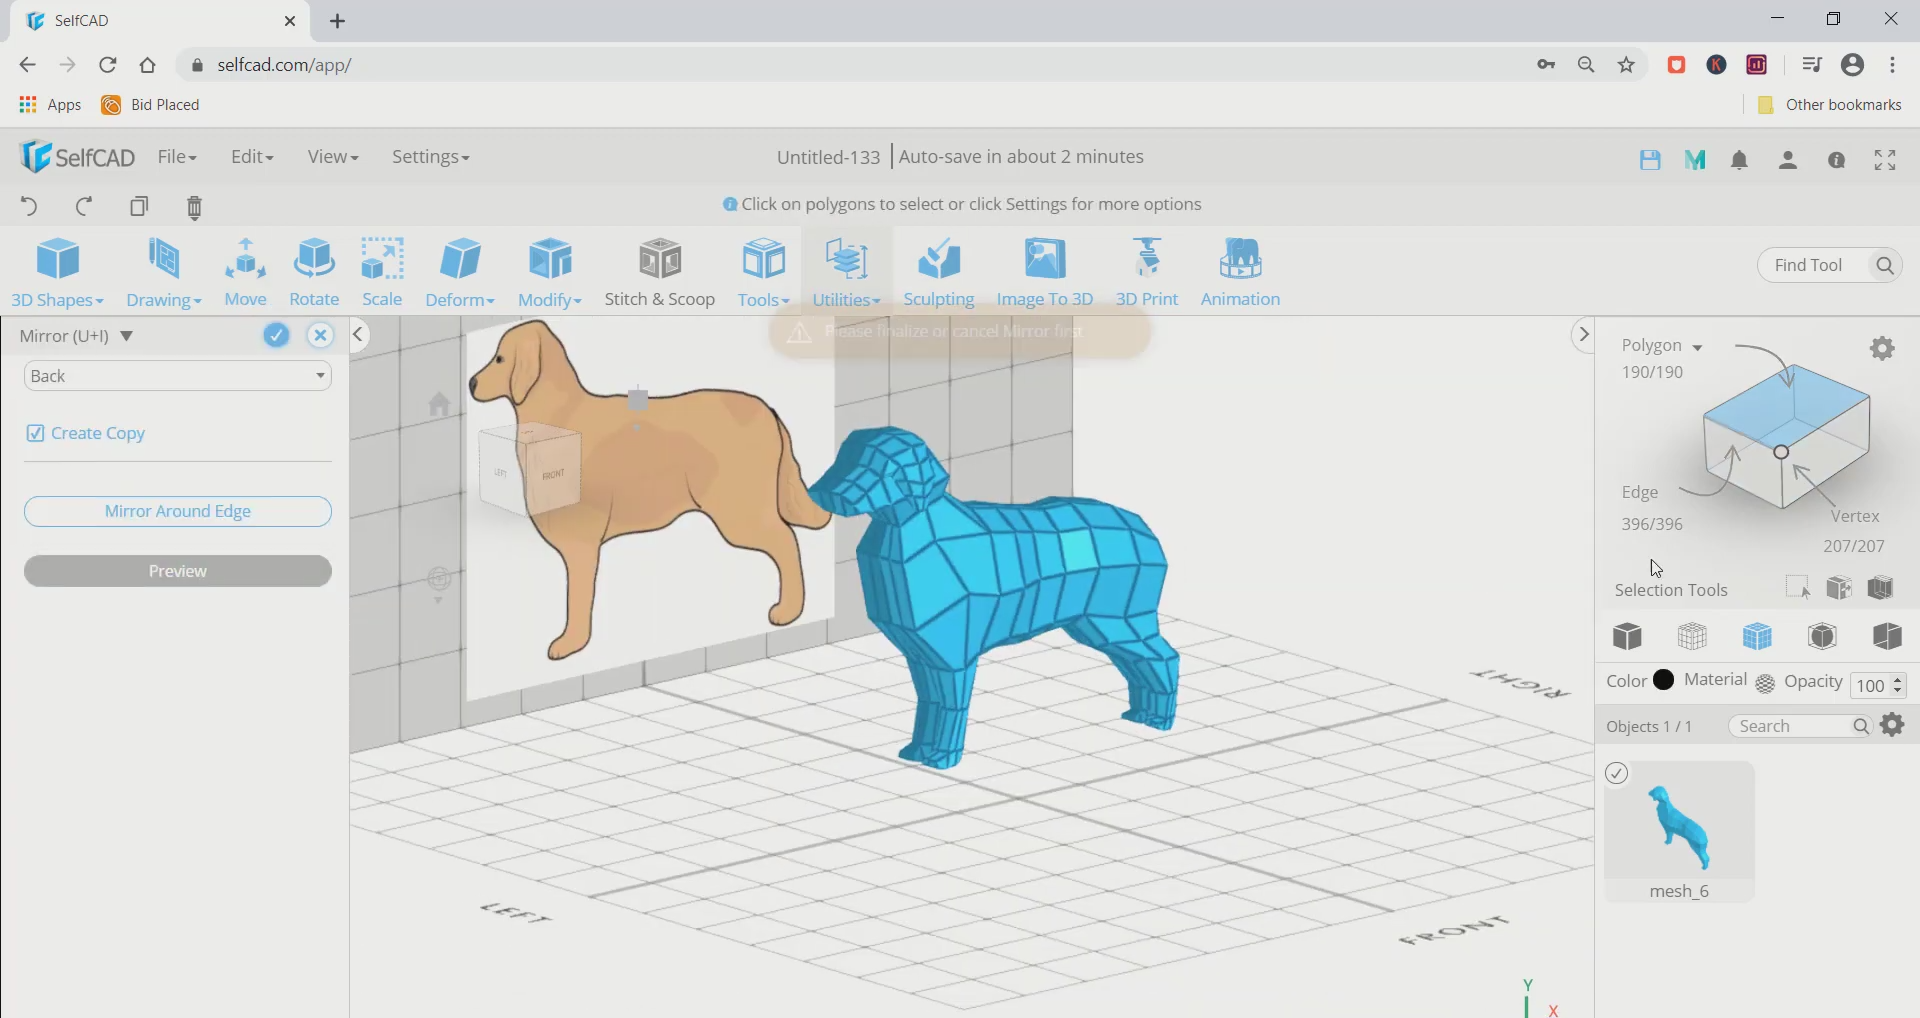
Step9: Delete the faces and mirror rest of the objects
Now, select all the faces of the body of the flat side and delete them. Then select the remaining object, go to utilities and mirror it. After that extrude 1-2 faces from the back which appears like the tail.
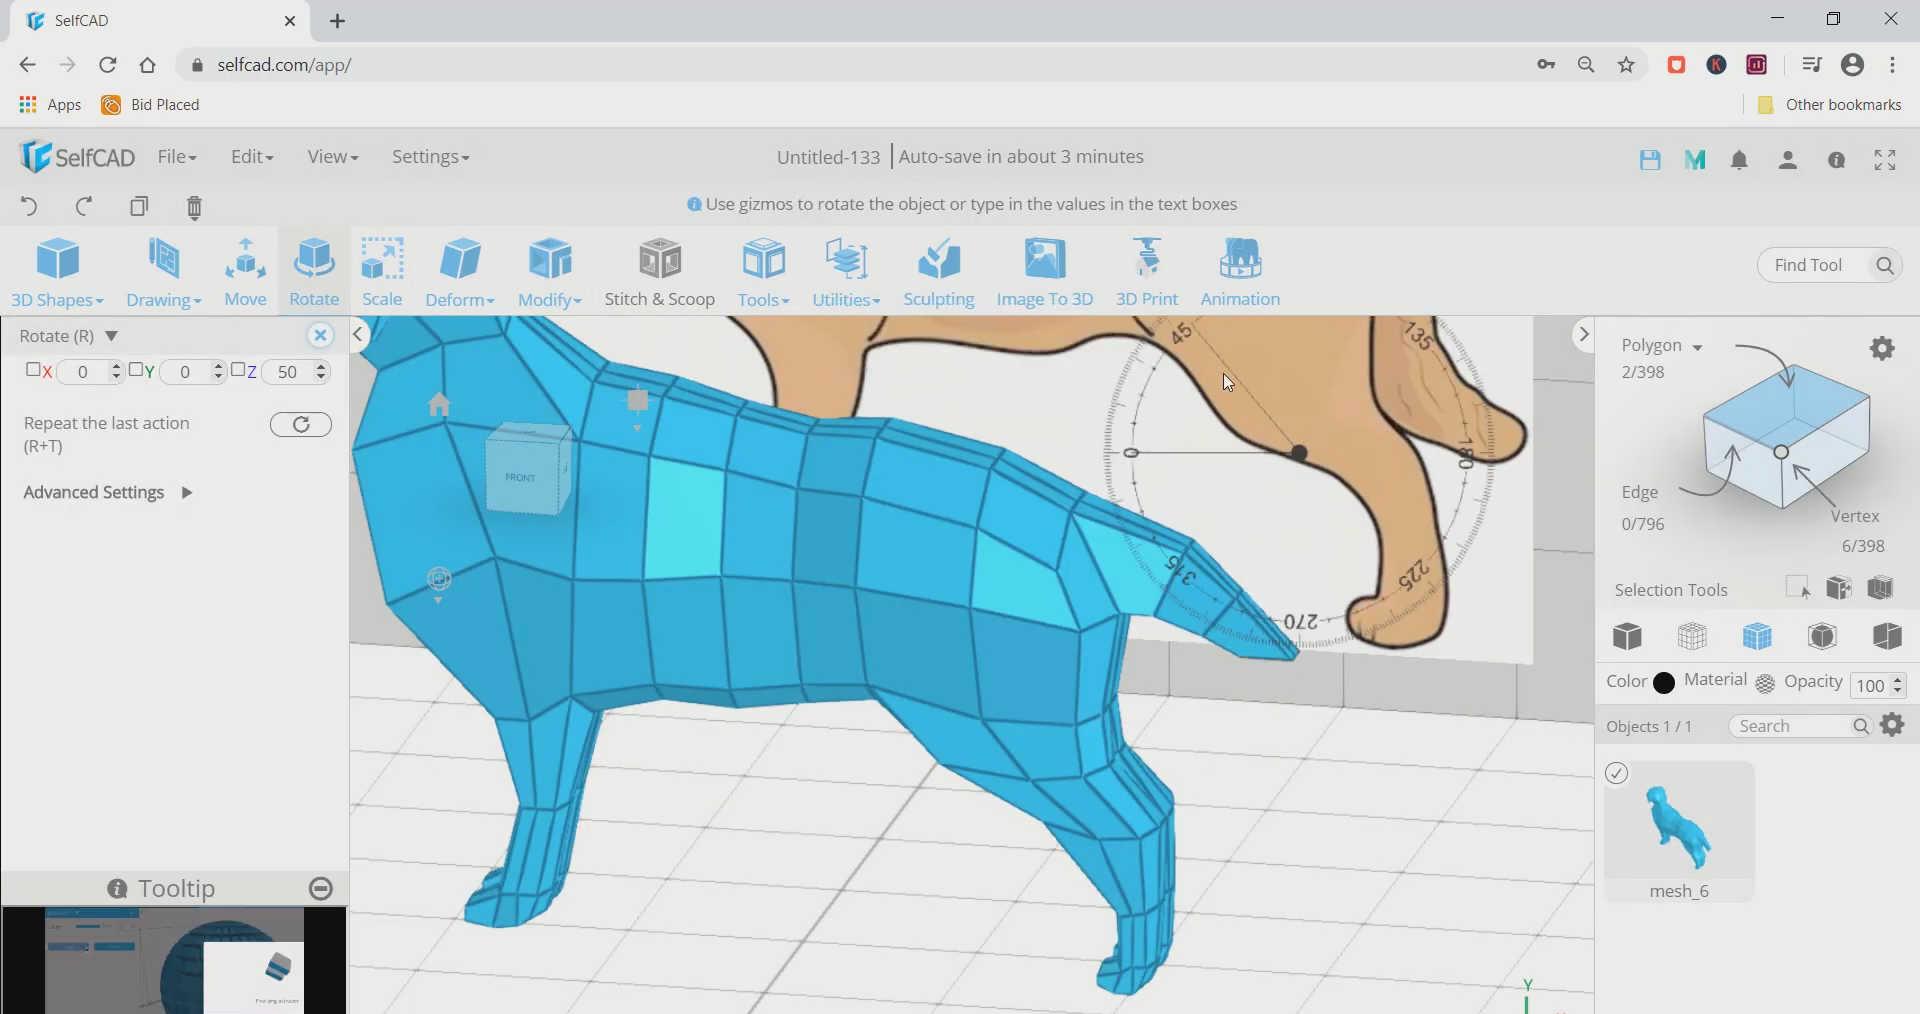
Step10: Rotate the tail and make it longer
Next, rotate it along the red axis to 30 degrees. Repeat this step 3-4 times.
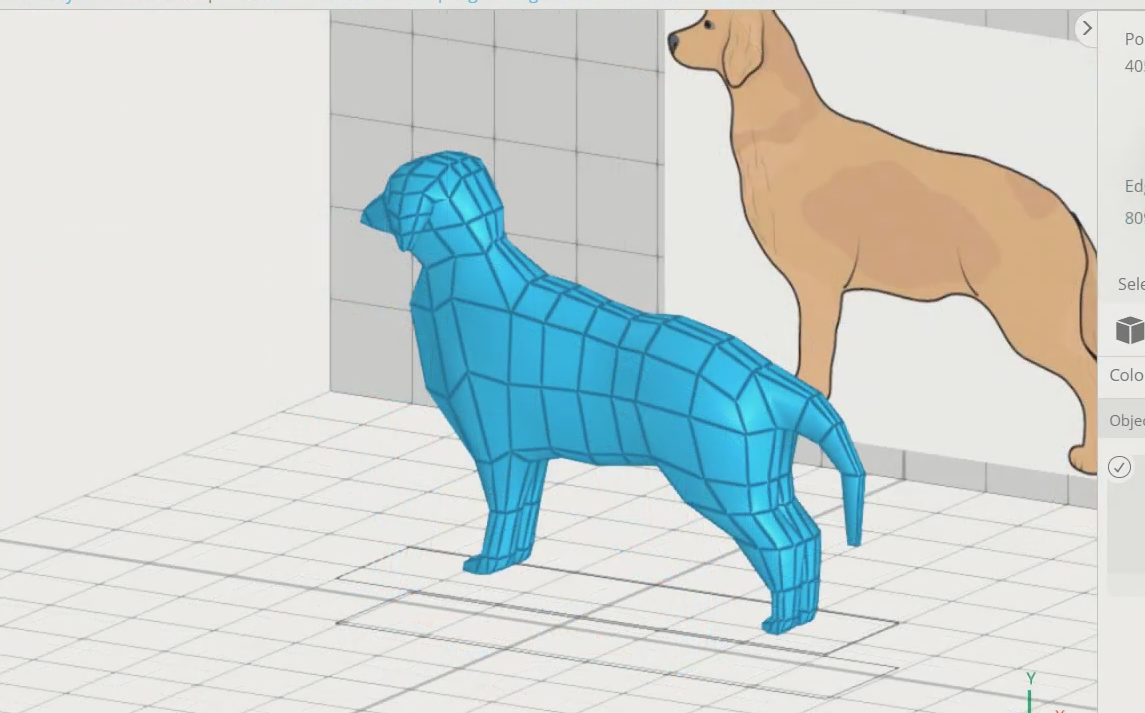
Conclusion: Hence, we created a 3D dog in SelfCAD
3D designing in SelfCAD is more straightforward as we have seen previously. We have 3D designed with different parts and tools of SelfCAD. It is engaging to 3D design a model that might be basic, enormous, or complex. Similarly, you can utilise a tantamount technique to 3D design other 3D objects of your desire.