Here, we will be designing a 3D cannon in SelfCAD!!
3D designing offers boundless opportunities; the more you investigate, the more you get to make arrangements of different kinds. In this tutorial article, we will use Revolve, Stitch and Scoop, Polygon Selection, Scale, and various tools of SelfCAD to make a 3D cannon. The tutorial starts with a reference image and is then followed with the help of the line tool. The Revolve and Copy offsets make our work more sensible when we make 3D out of a 2D and the particular item separately. The Rotate tool saves time.
You can also visit our page to check other similar articles like how to design a 3D UFO.
So, let's begin!
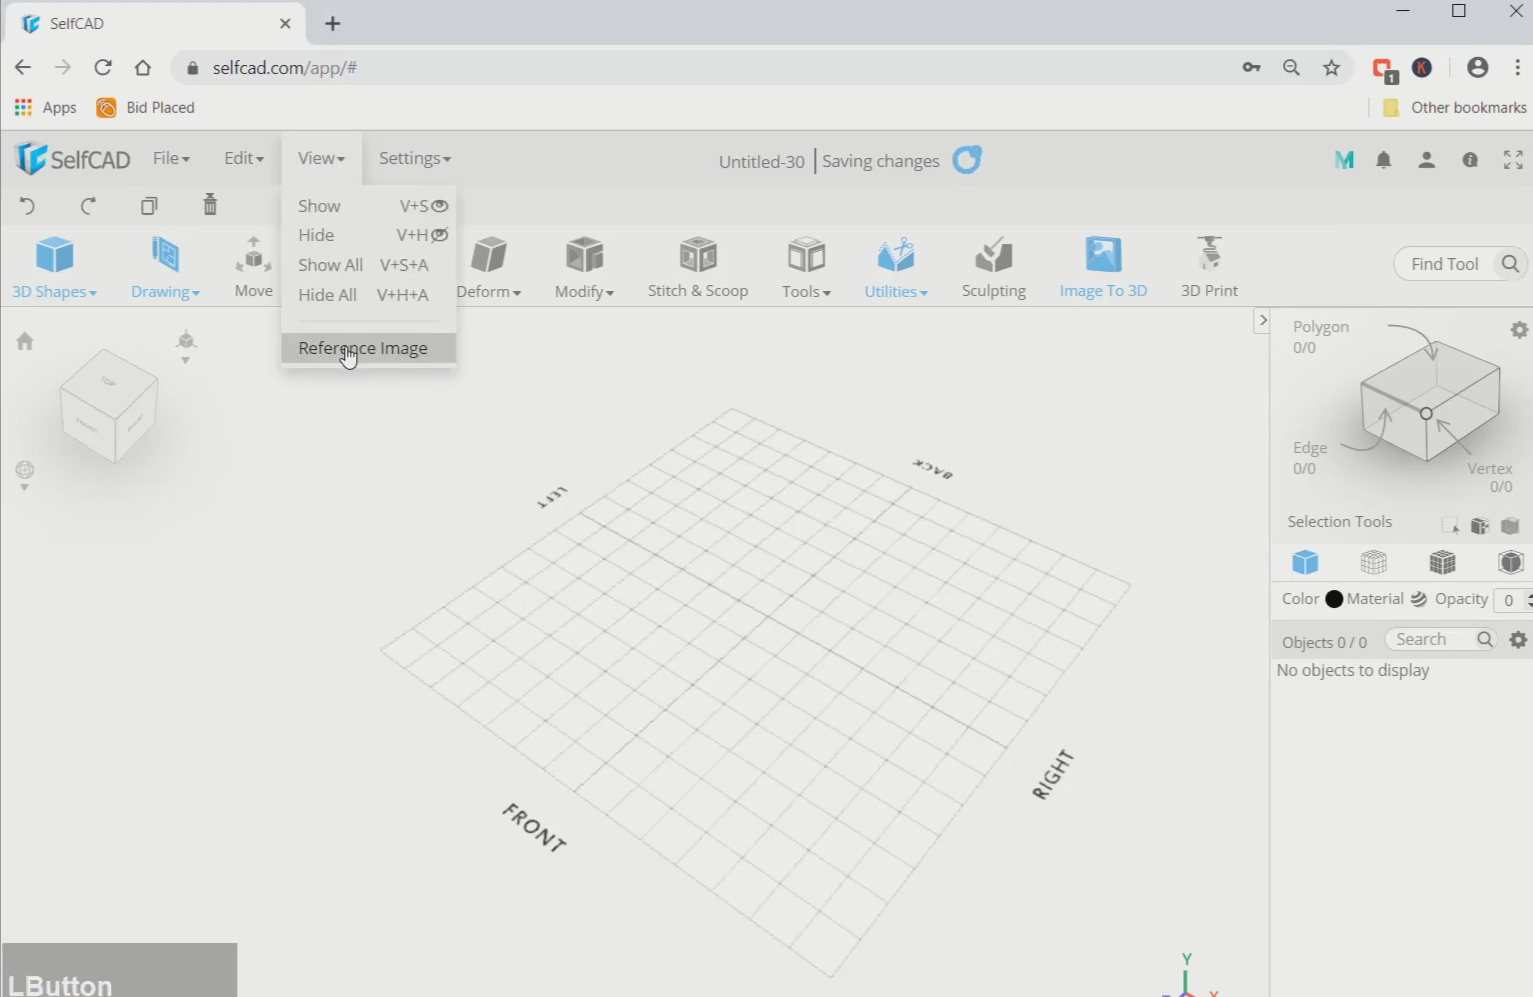
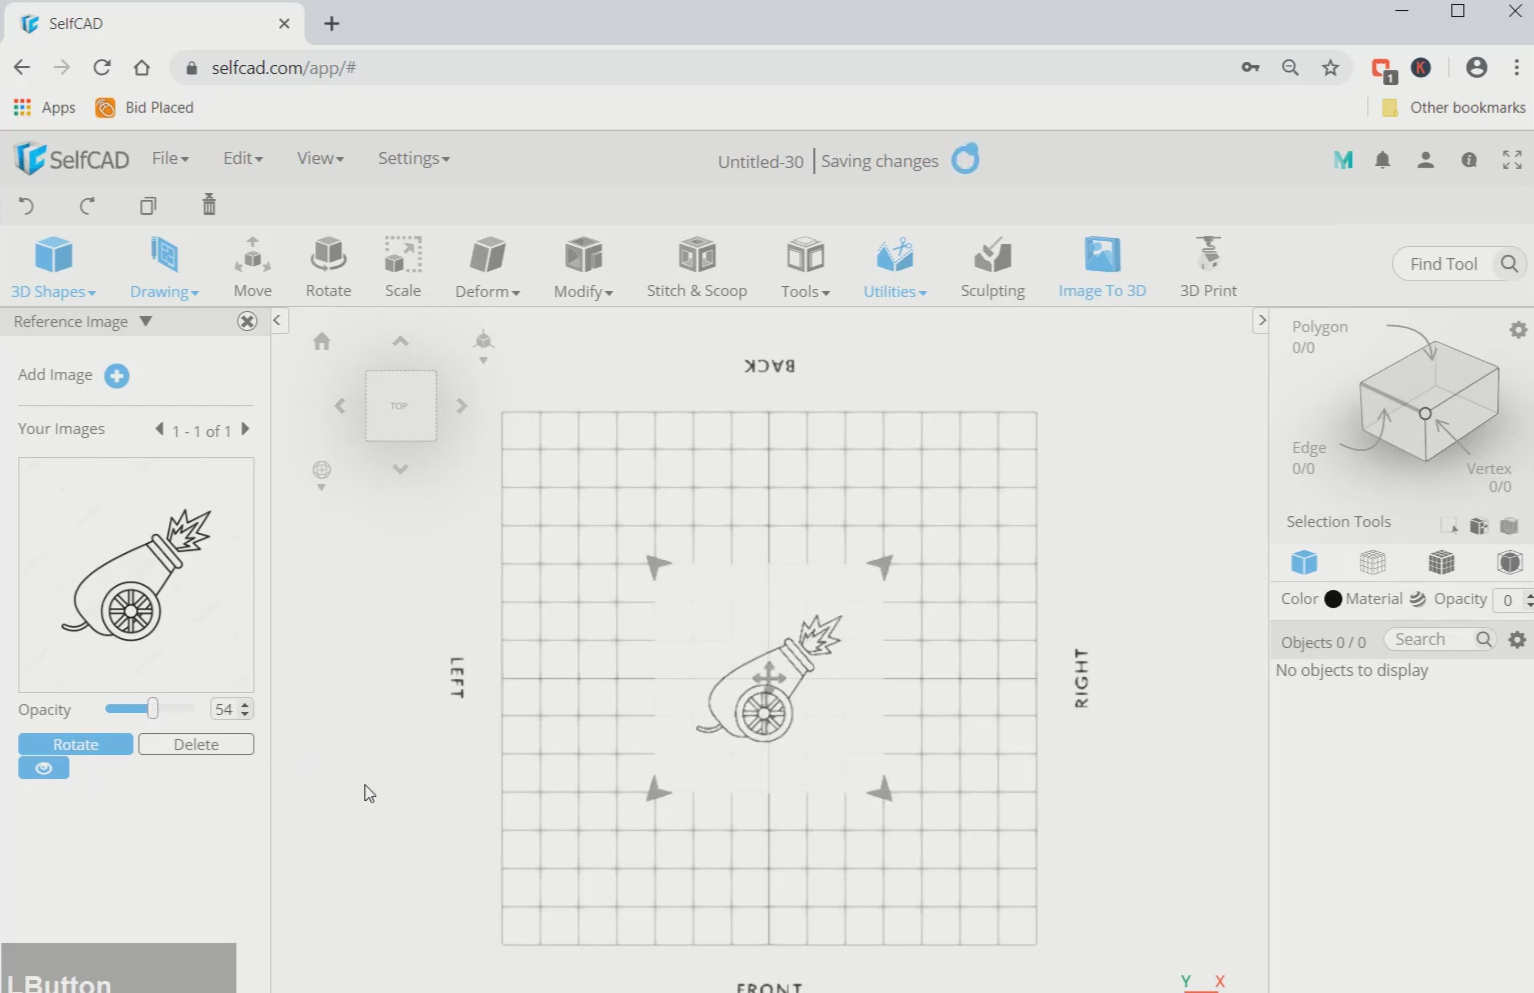
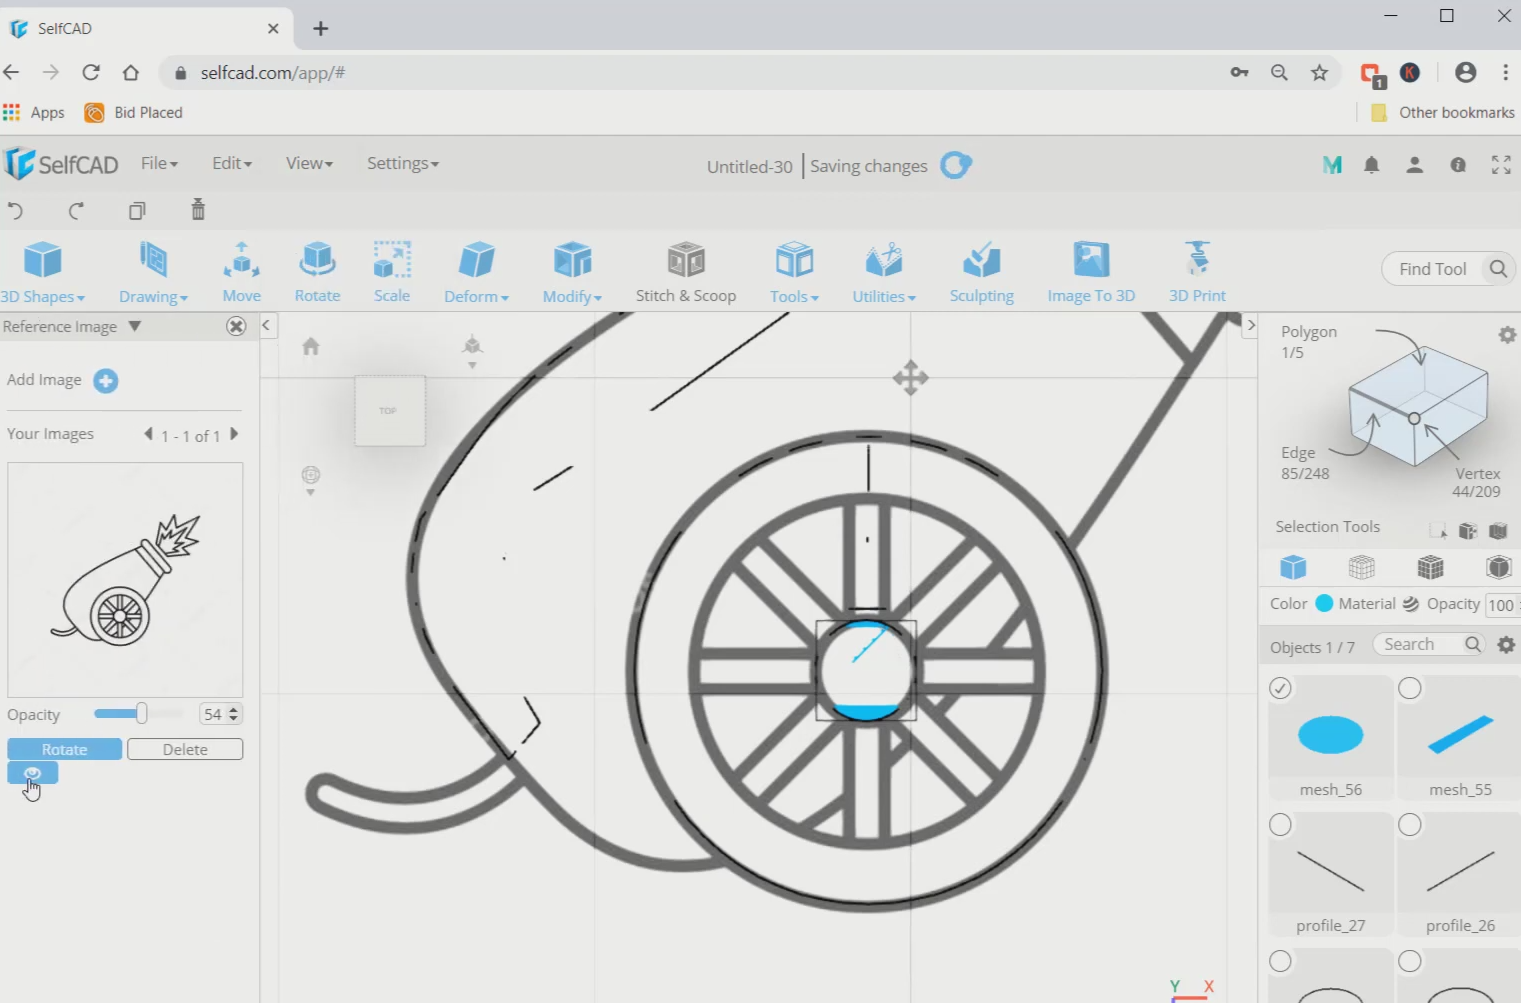
Step1: Add a reference image
First of all, go to view and click on the reference image. Then add an image of a cannon from your device. After that change to top view and reduce its opacity to 54.
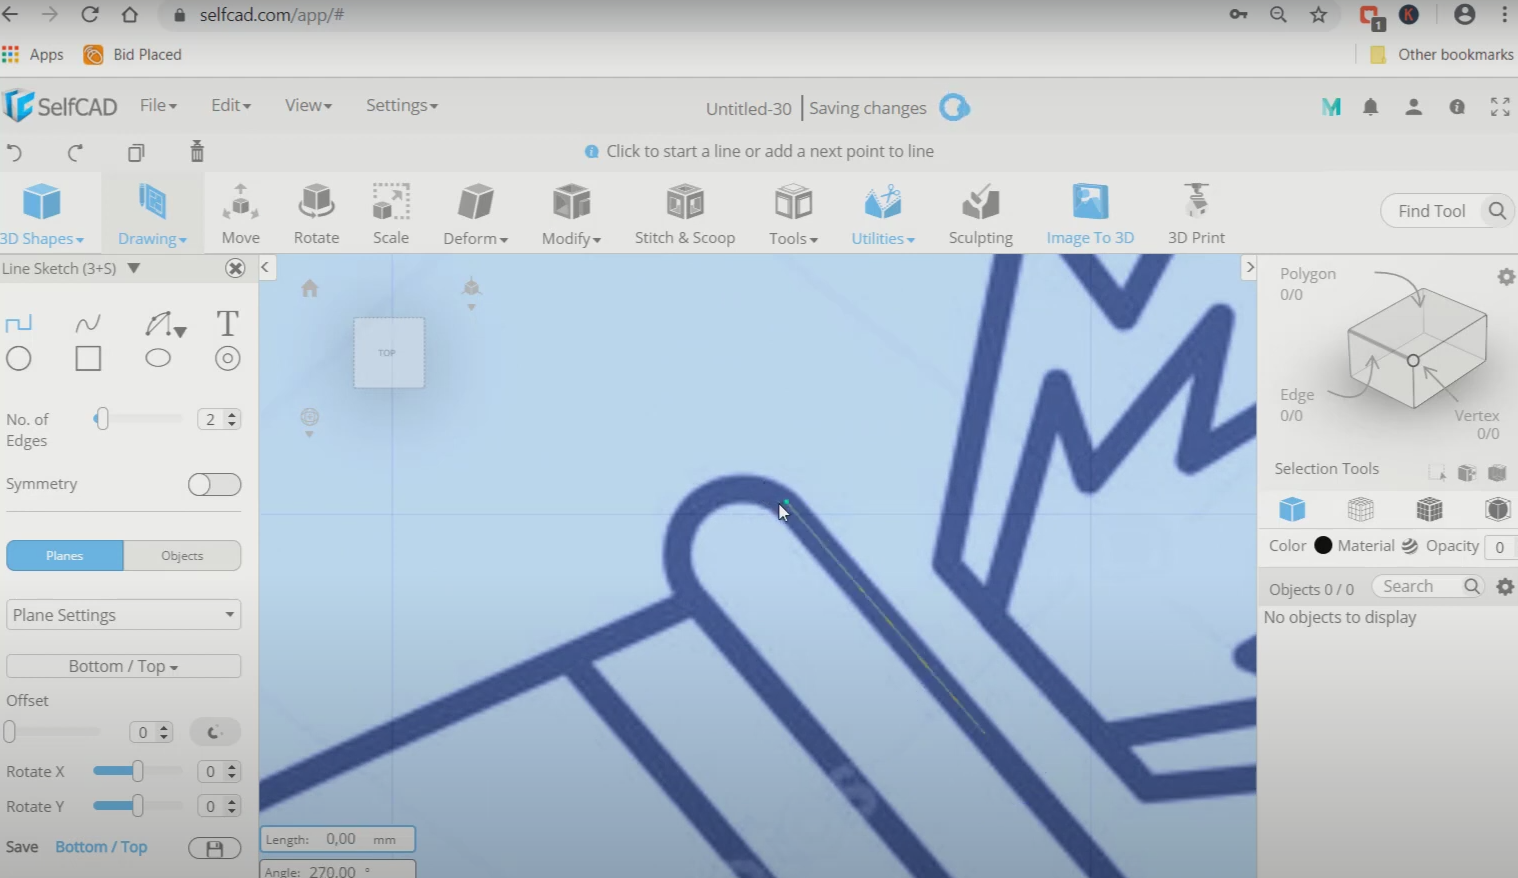
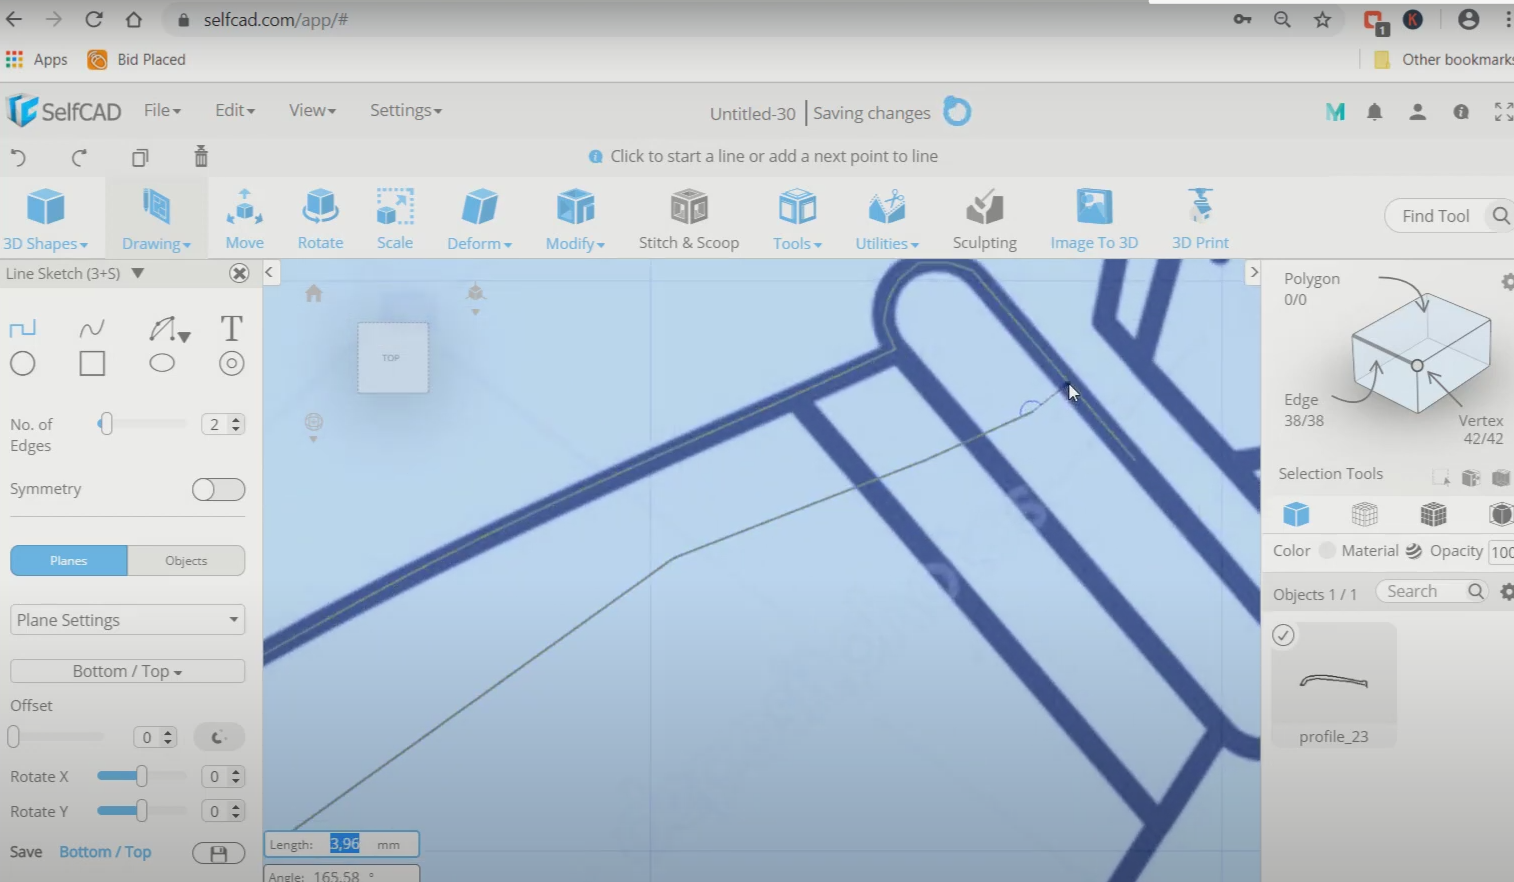
Step2: Trace half of the body of the cannon
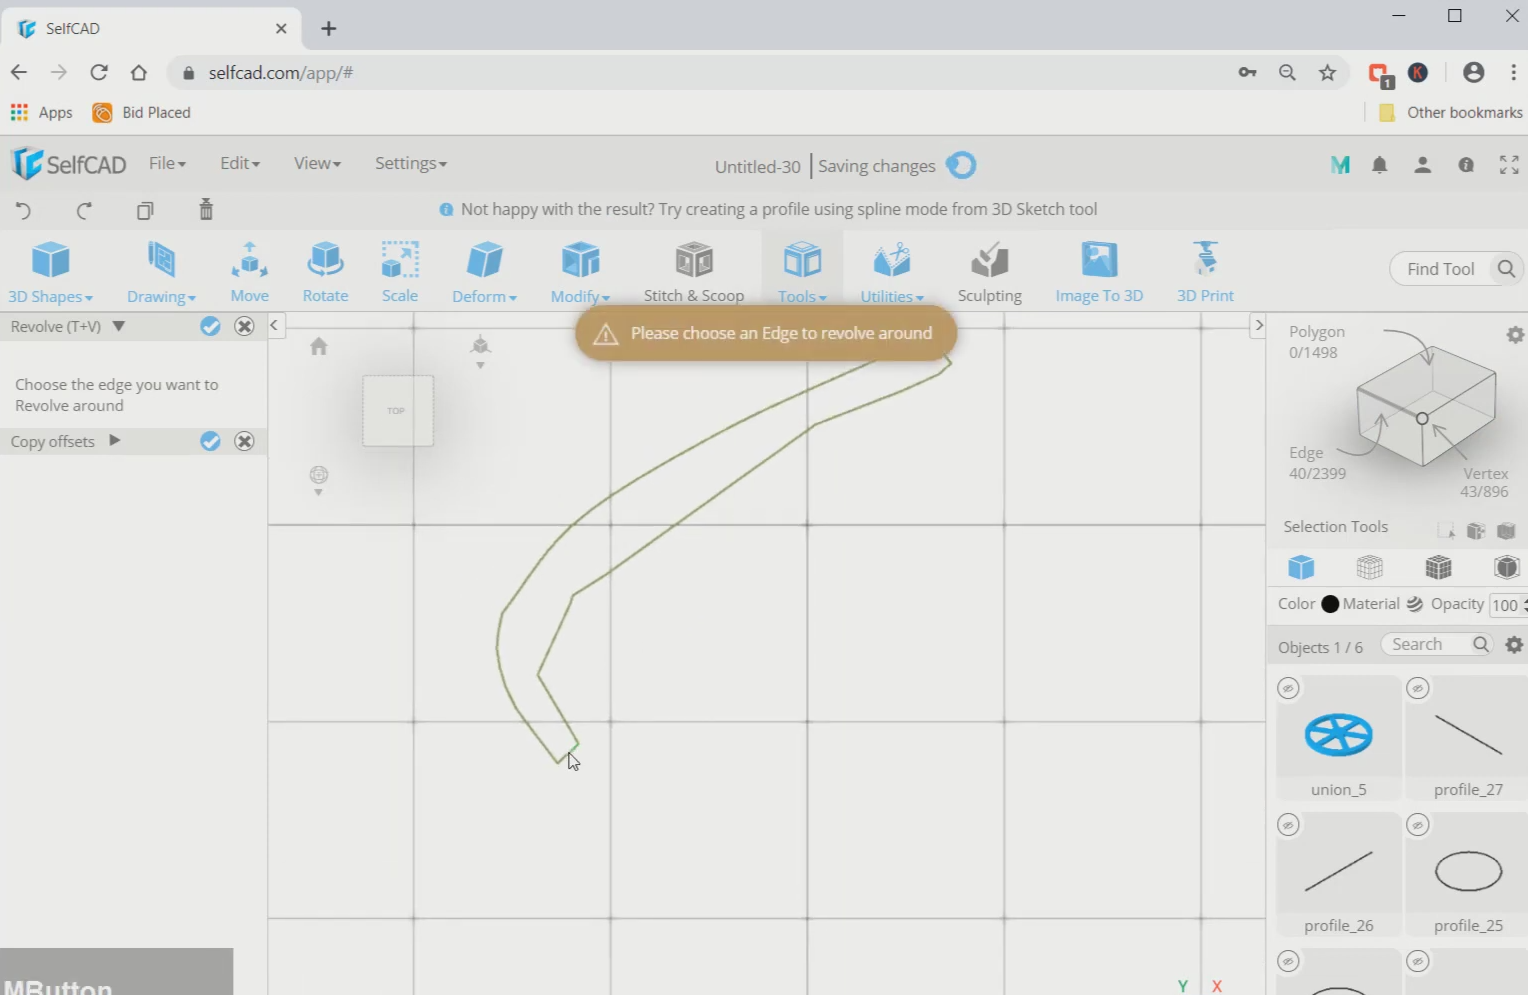
Now, we will go to 3D sketch and select line sketch. Use it to trace the image. We will use spline sketch also to trace large and curvilinear lines. Trace half of the image as shown in the picture then draw lines to make it a closed object.
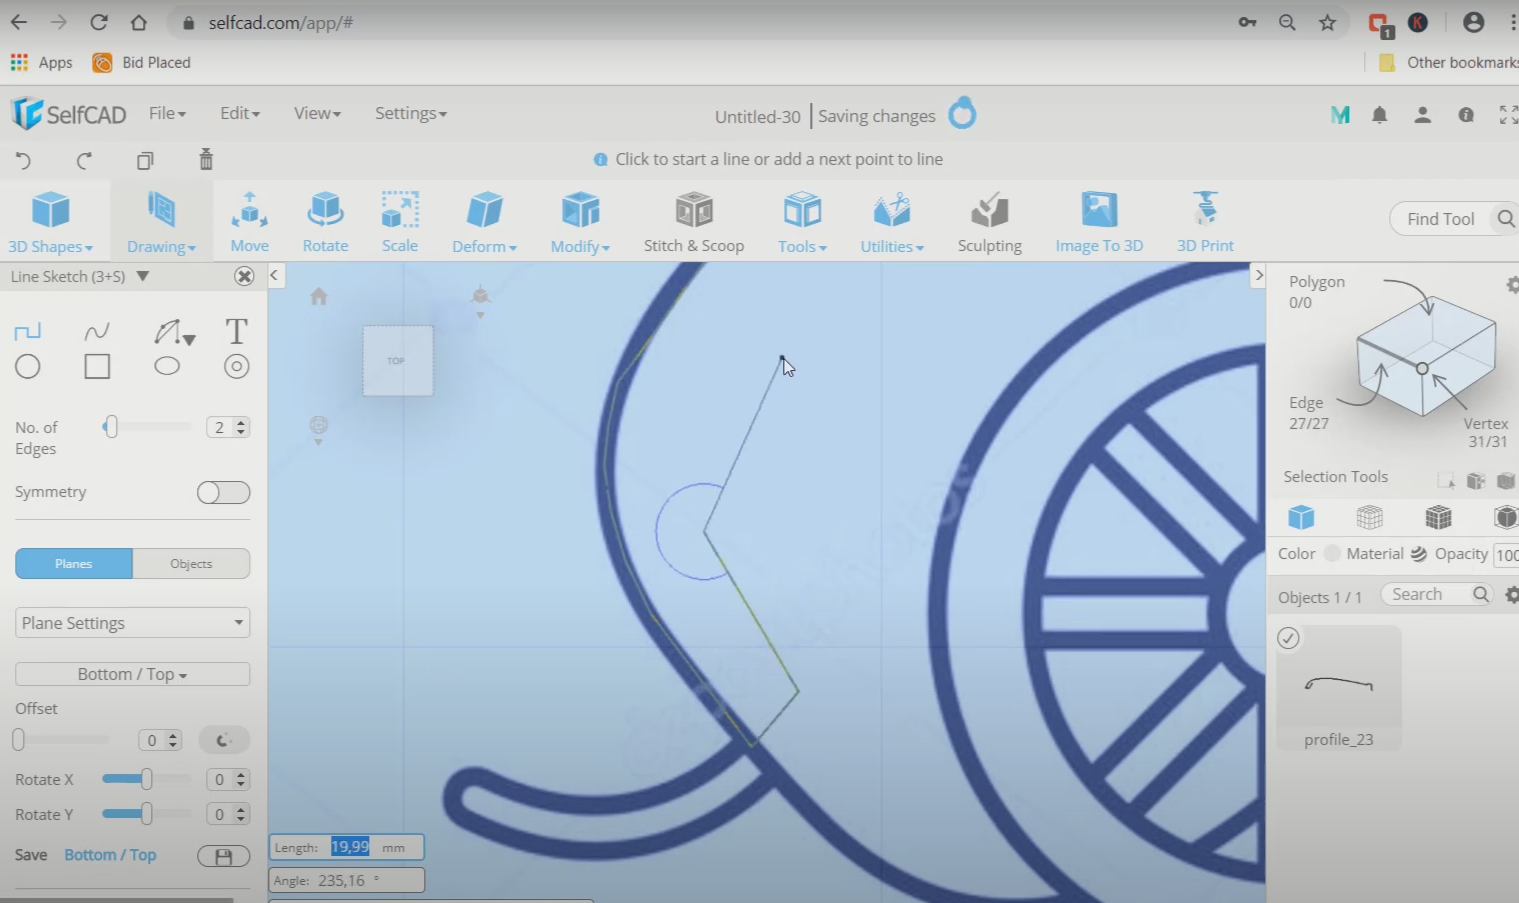
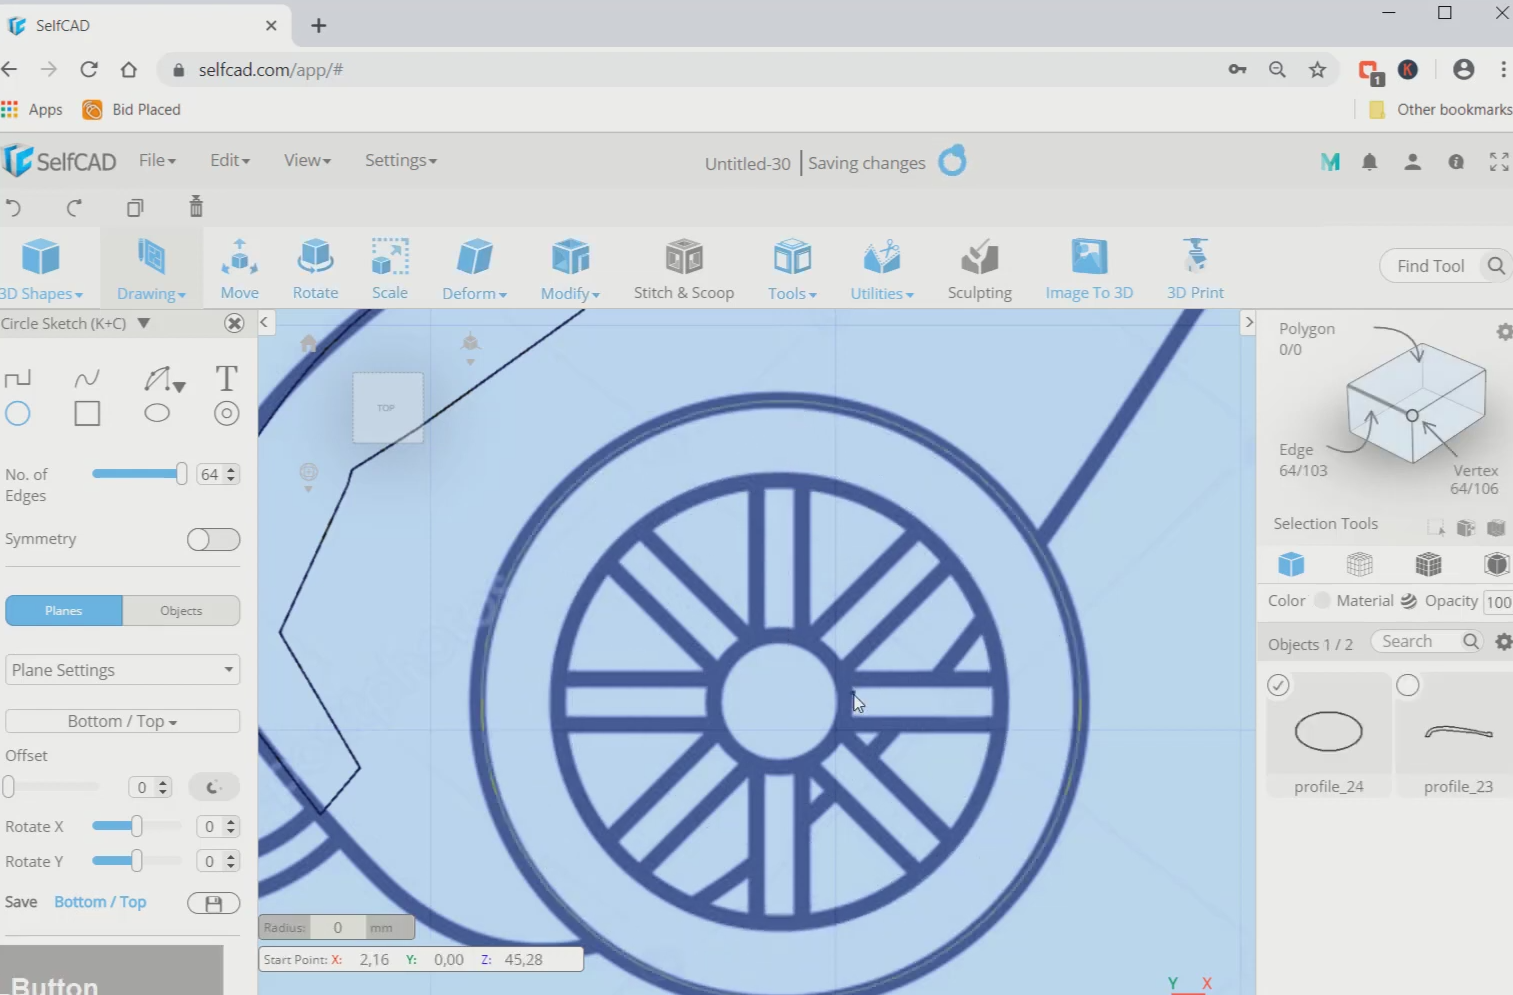
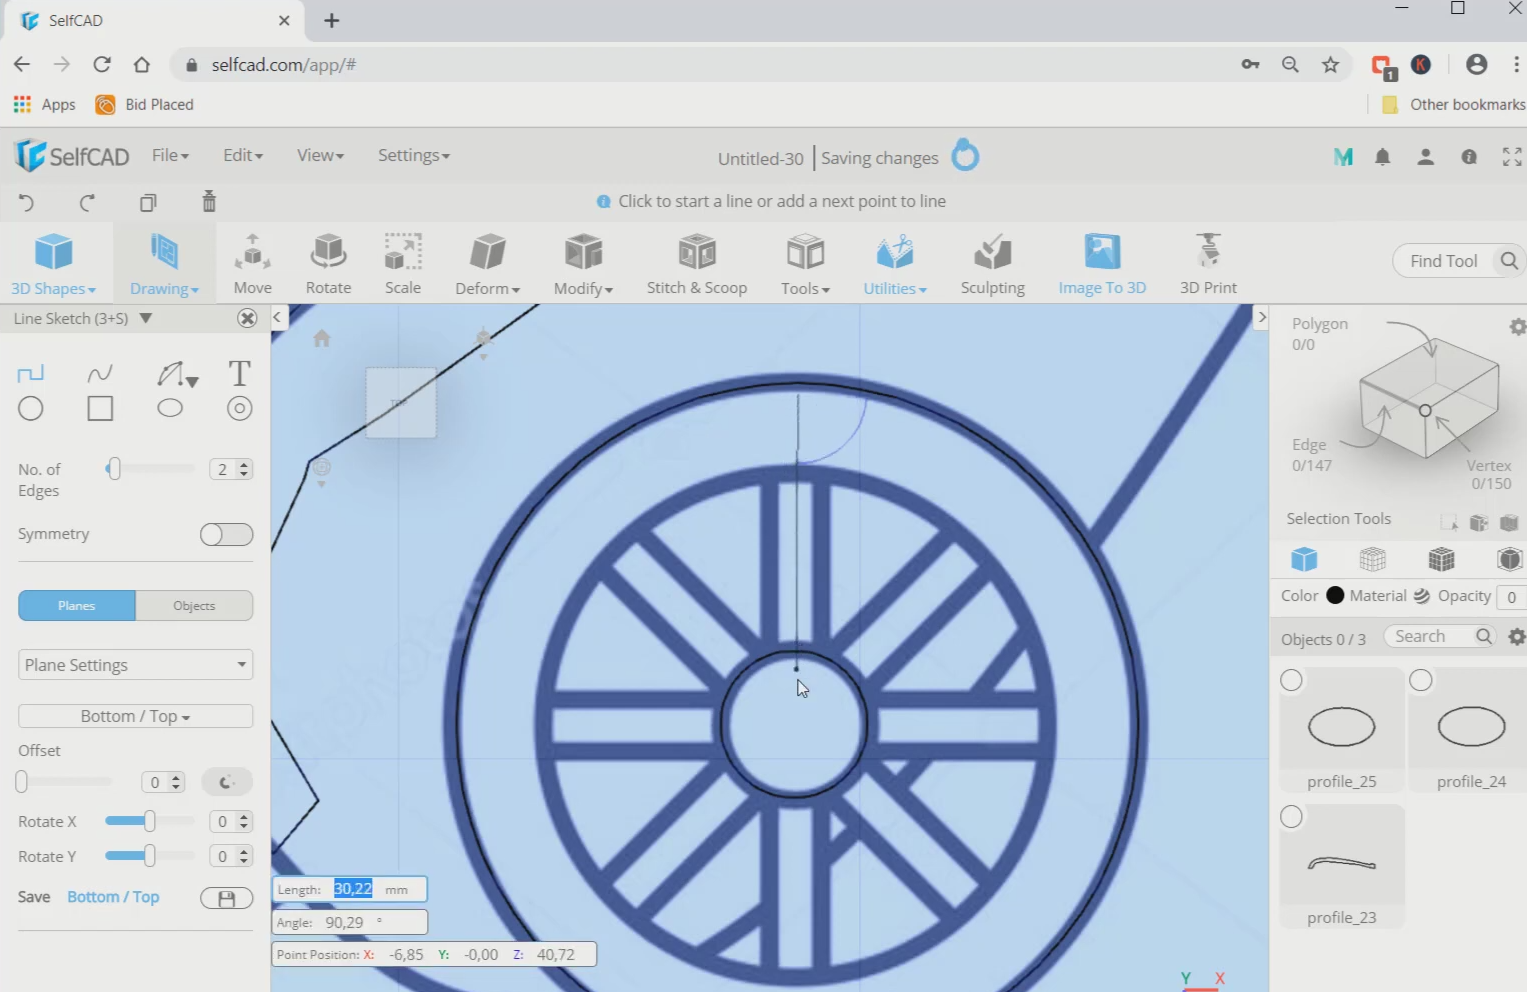
Step3: Trace the wheel of the cannon
Next, go to the 3D sketch again and select the circle sketch. Then trace all the circular lines of the wheel in the reference image with this option. After that, select line sketch and add a horizontal and vertical line on the spikes of the wheel.
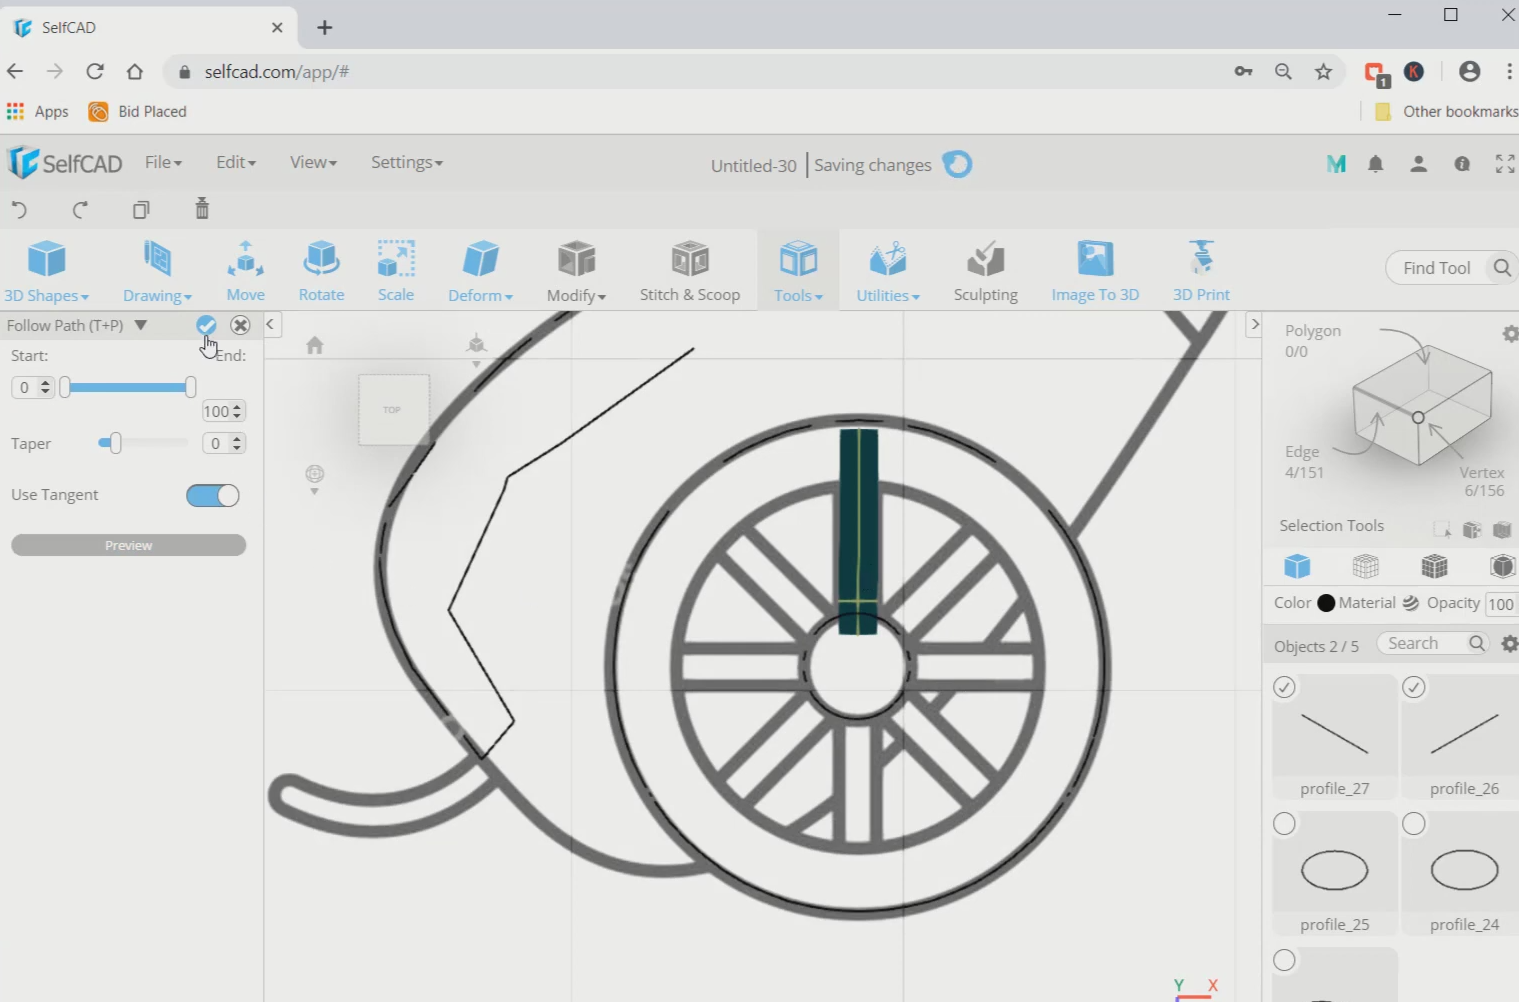
Step4: Use follow path option
Now, select both the horizontal and vertical lines of the wheel. Then go to tools and select the follow path option.
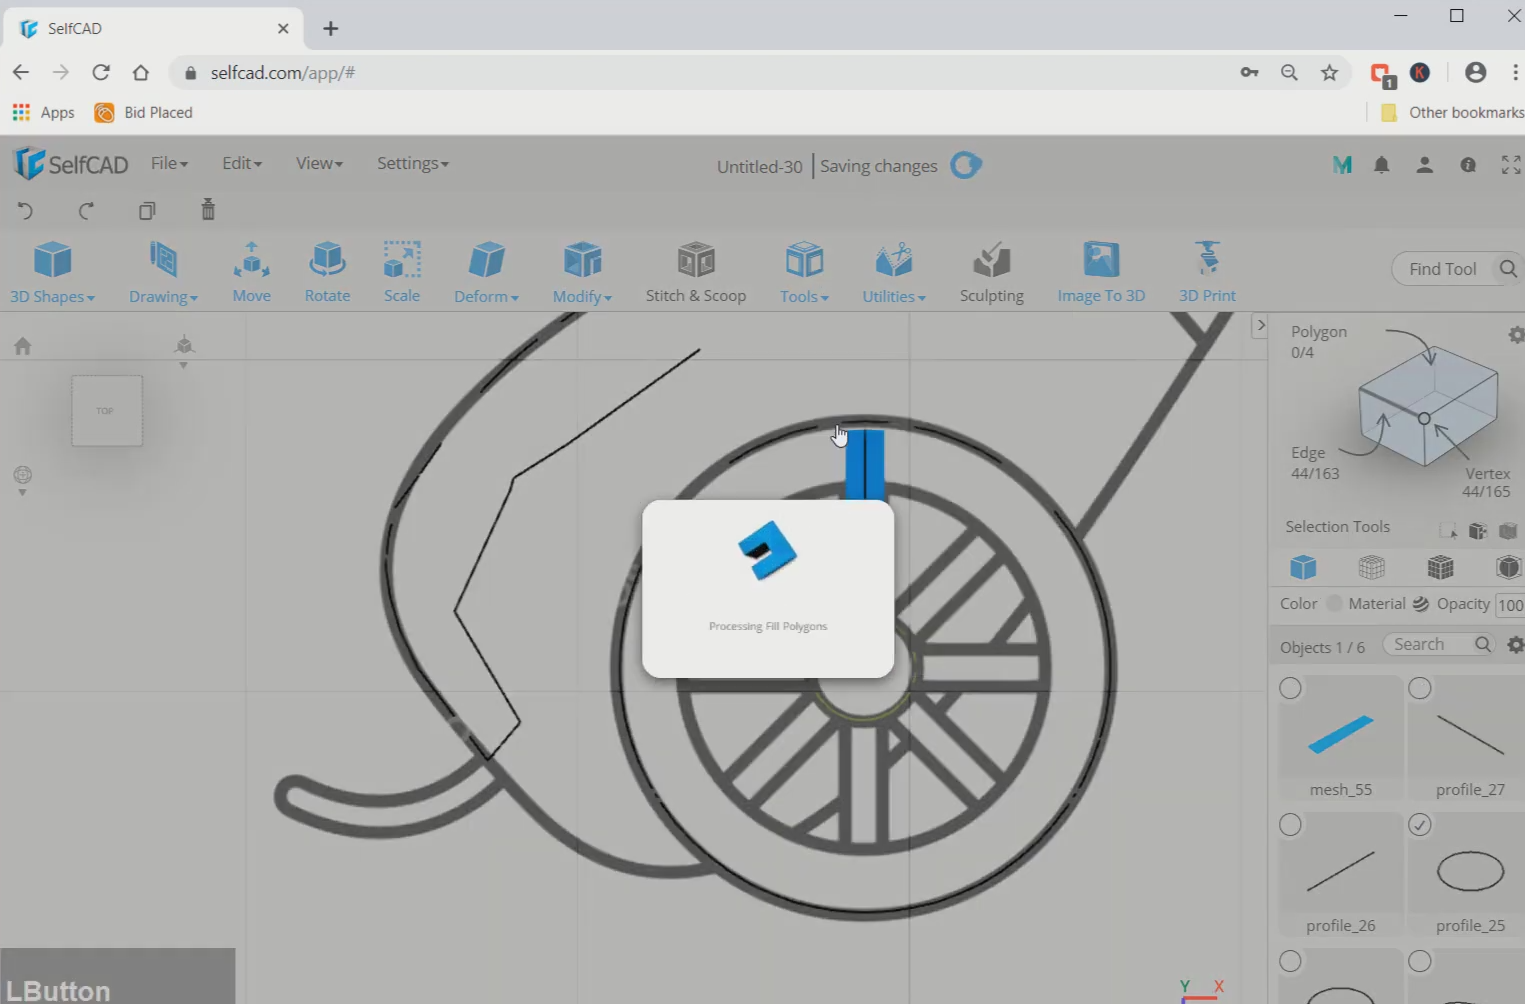
Step5: Use fill polygon option to convert it into a 3D
Next, click on the circle profile, go to tools and select the fill polygons option. Then go to the reference image and select the hide option.
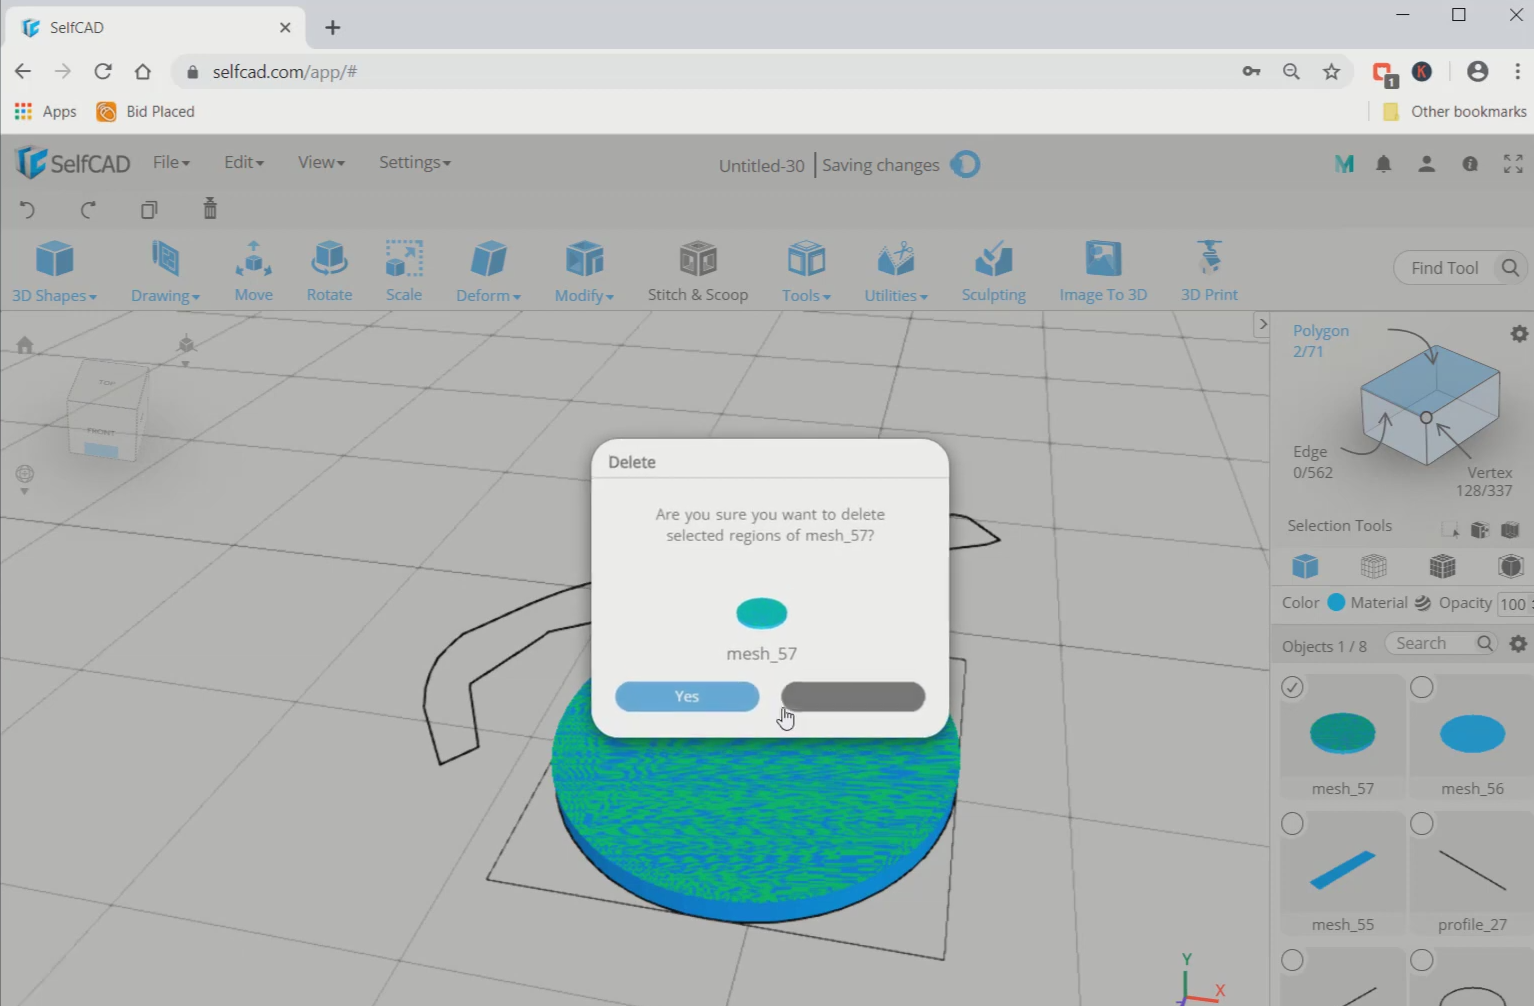
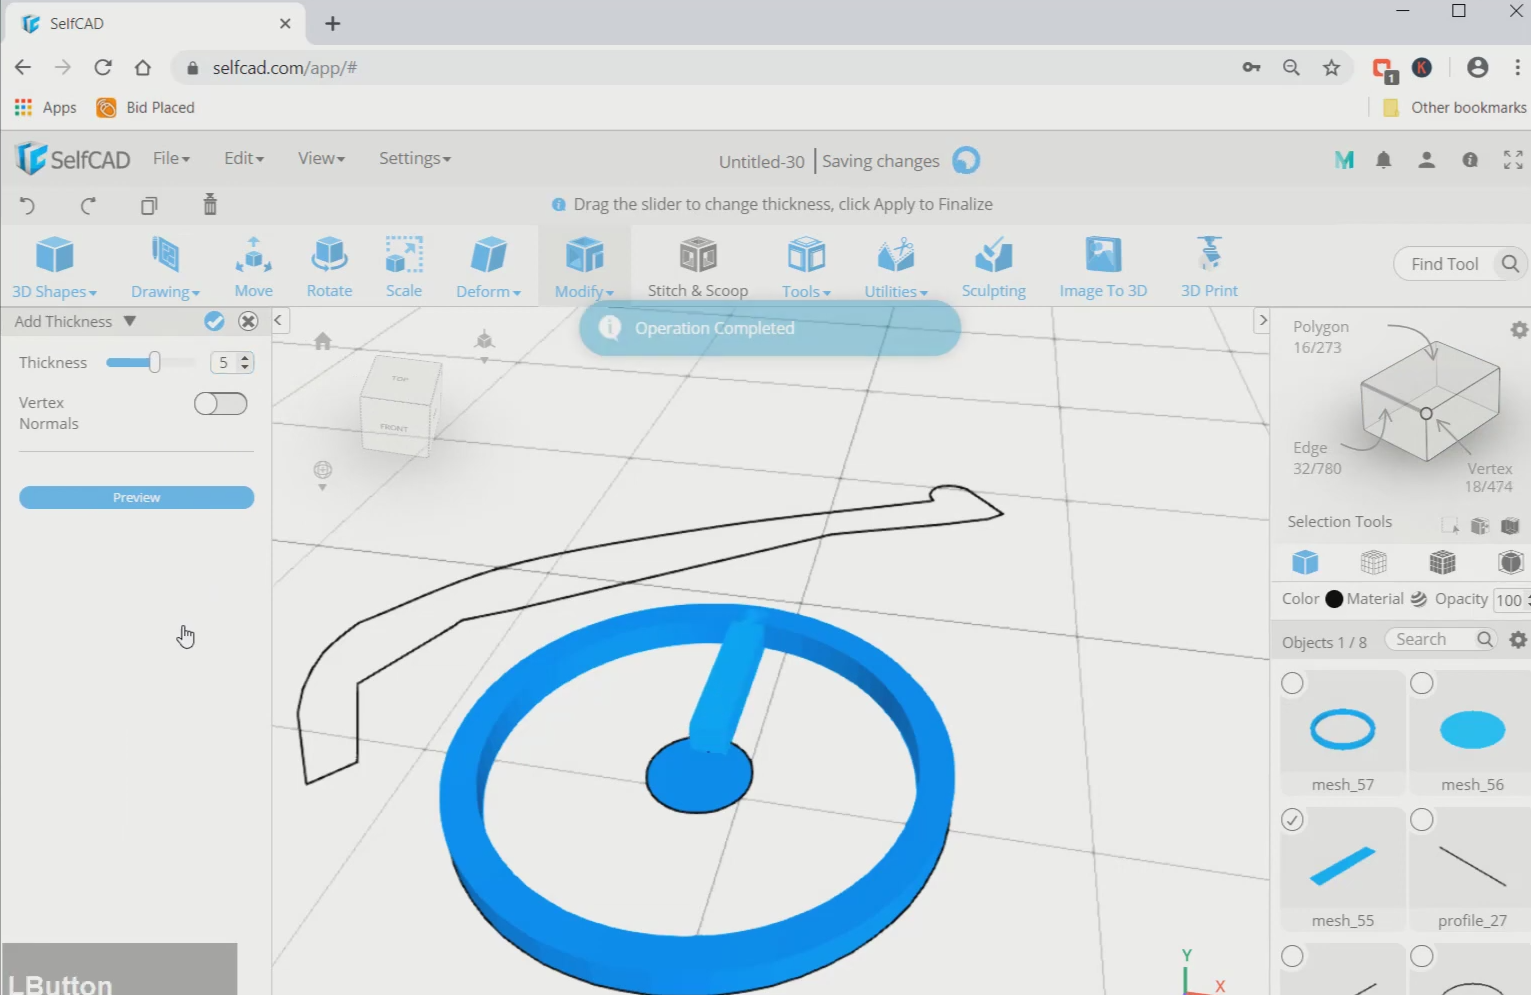
Step6: Add thickness to the larger circle
Now, select the larger circle and use fill polygons again. Then, go to modify and select the add thickness tool. Set thickness to 5. After that, opt for polygon selection, select both the circular faces and delete them.
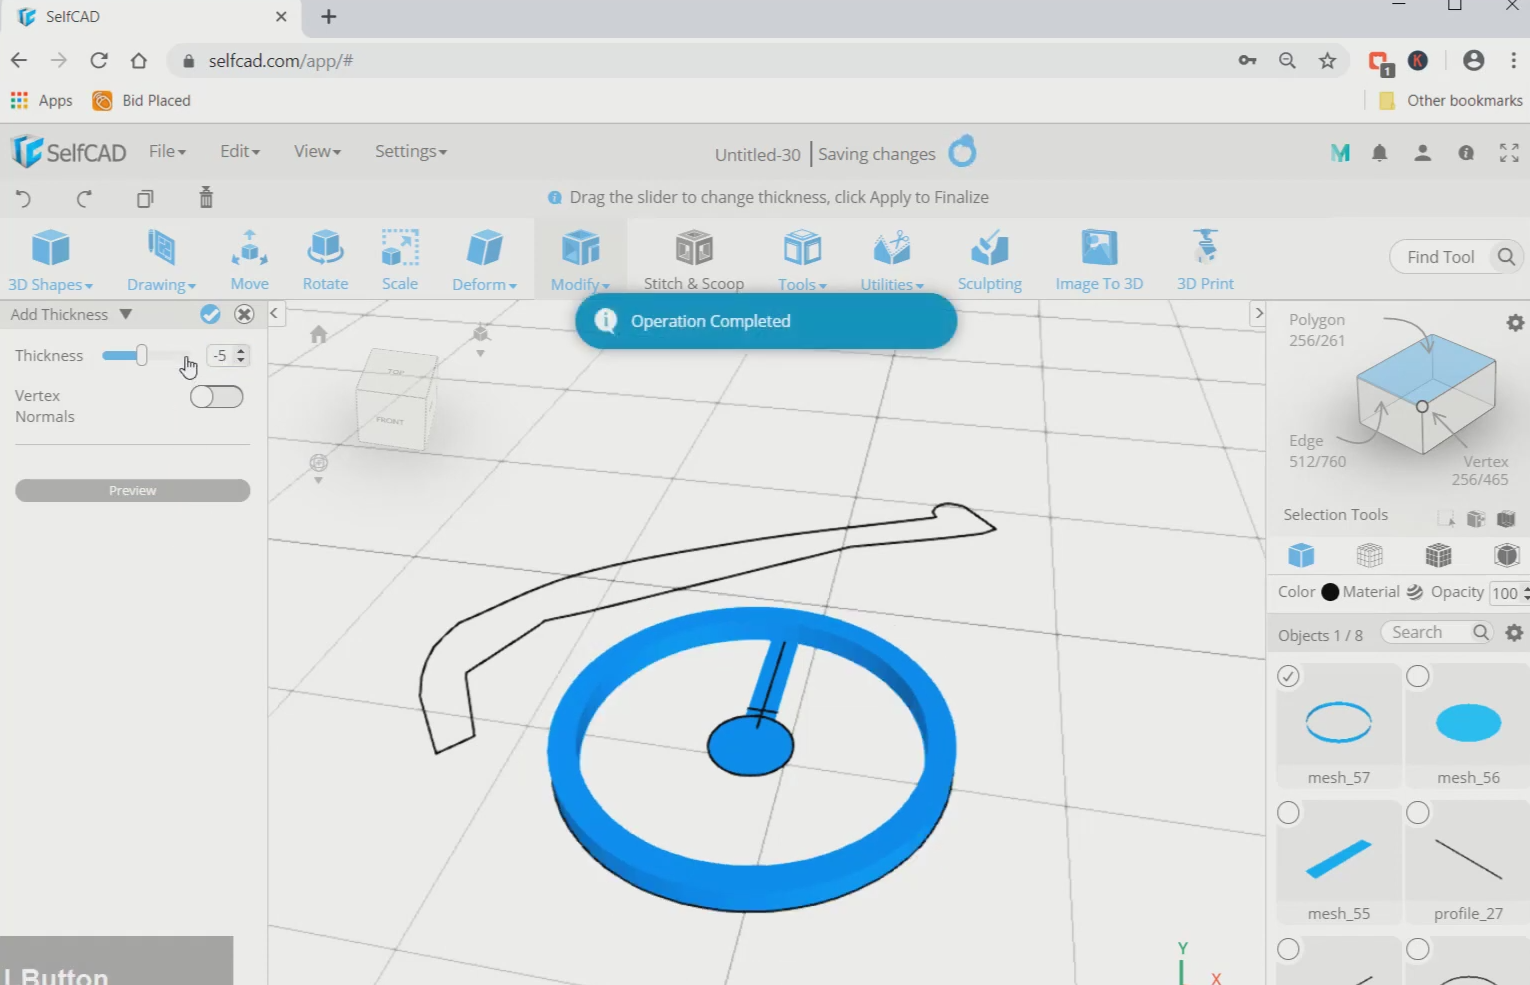
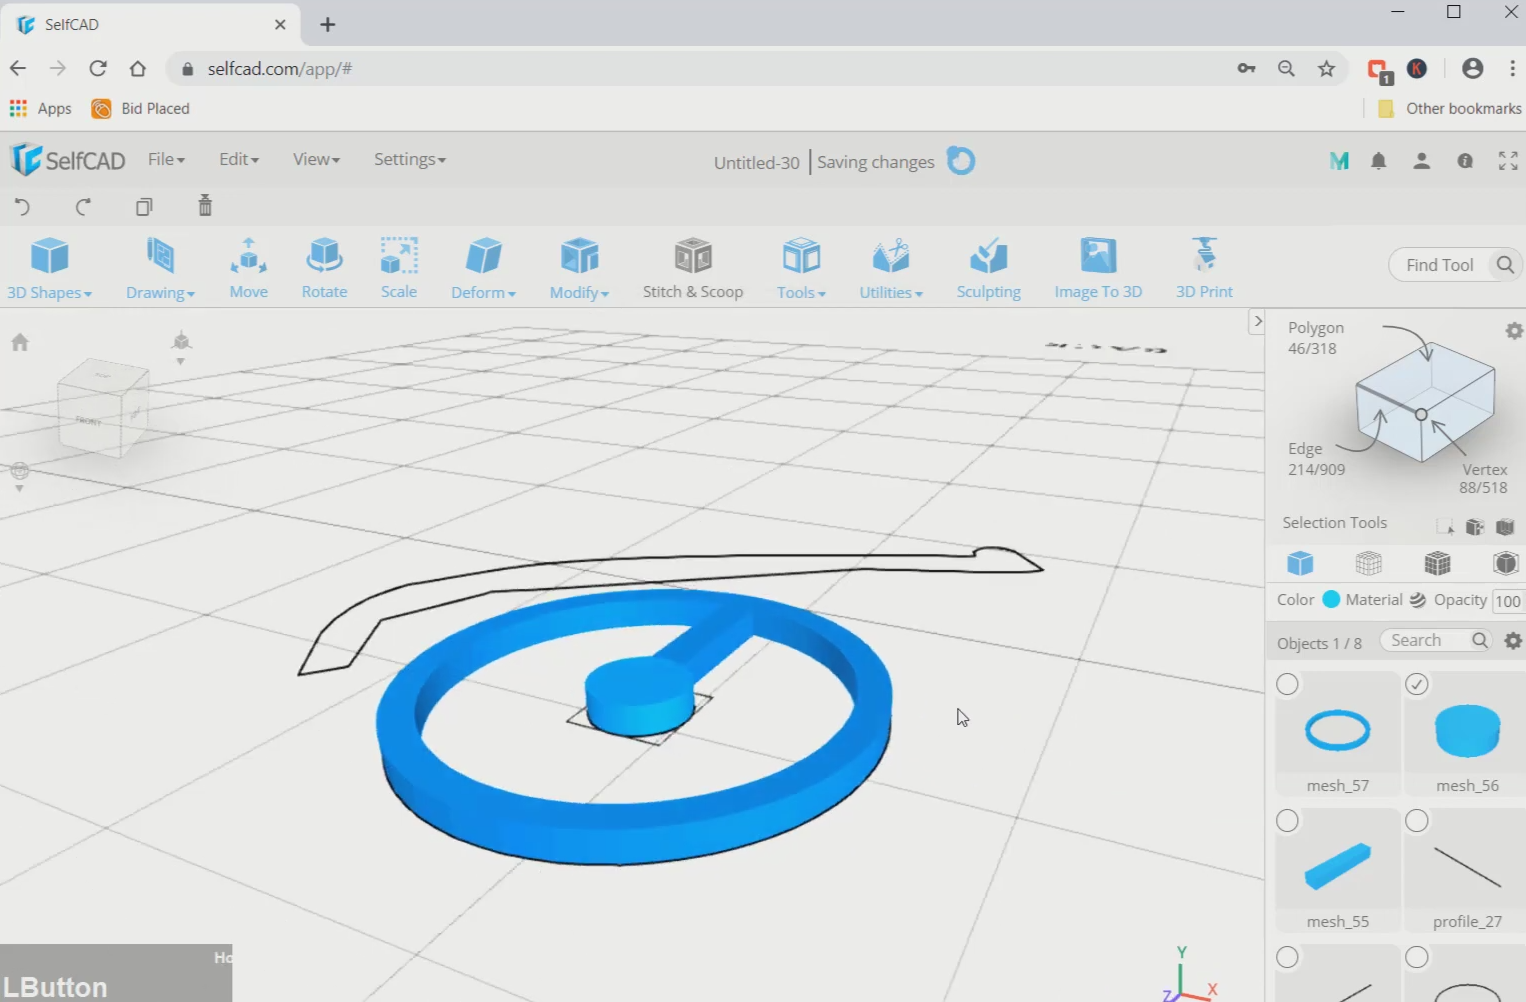
Step7: Add hickness to other objects
Next, add thickness to the recently deleted face with an amount of -5. Then select the spike of the wheel and add thickness of 5 to it. Repeat the same process with the smaller circle.
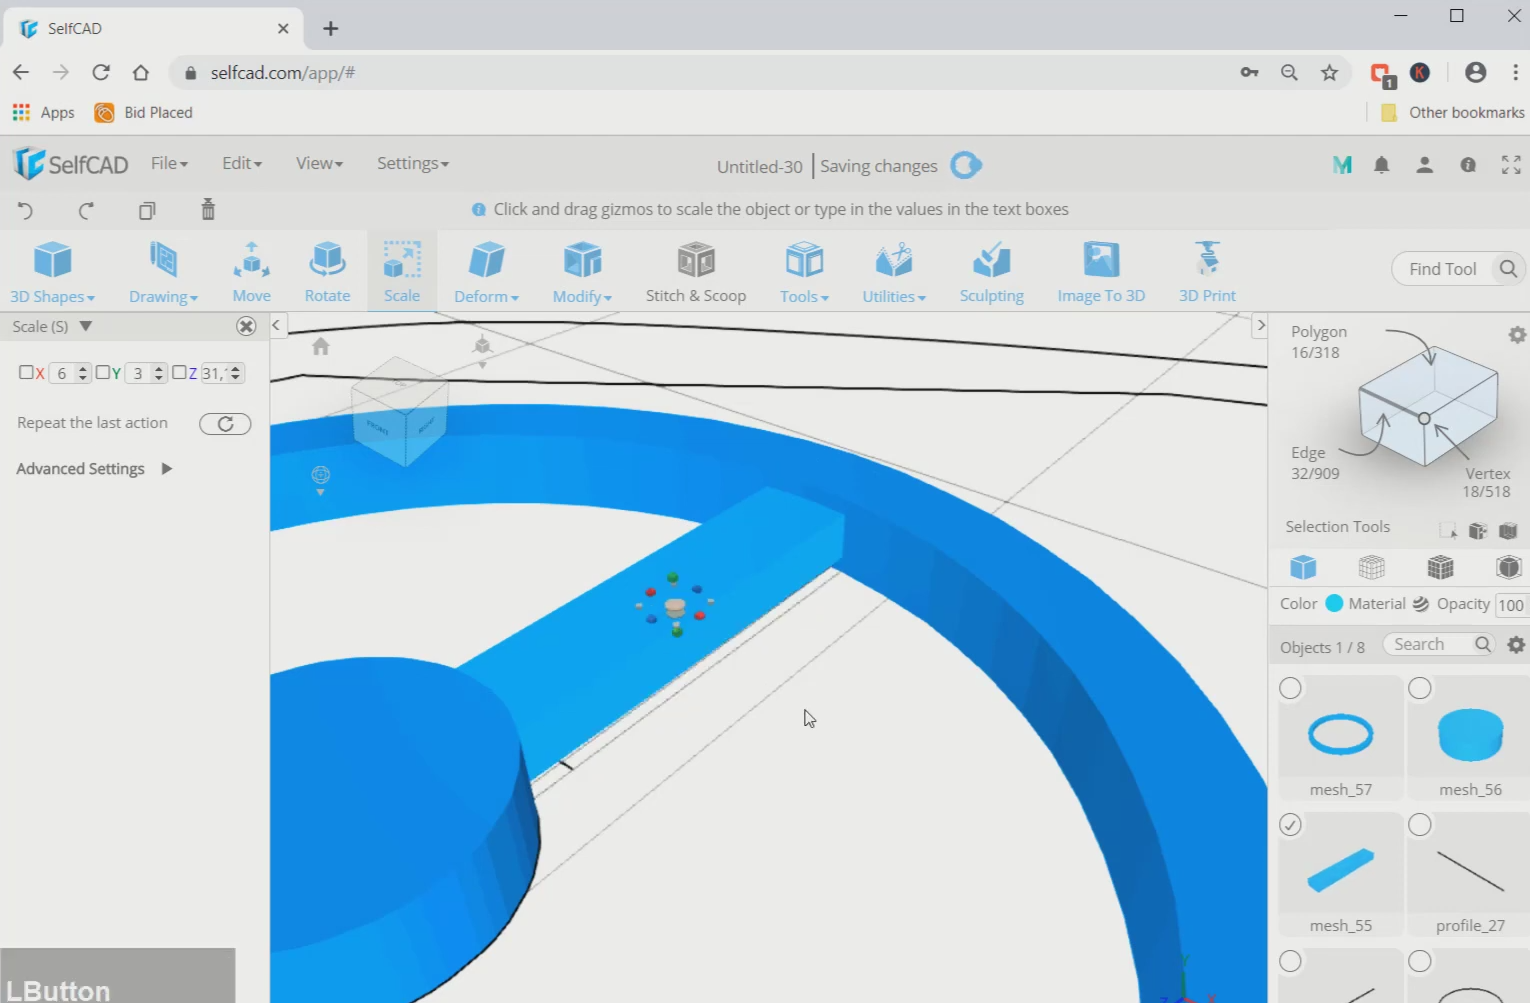
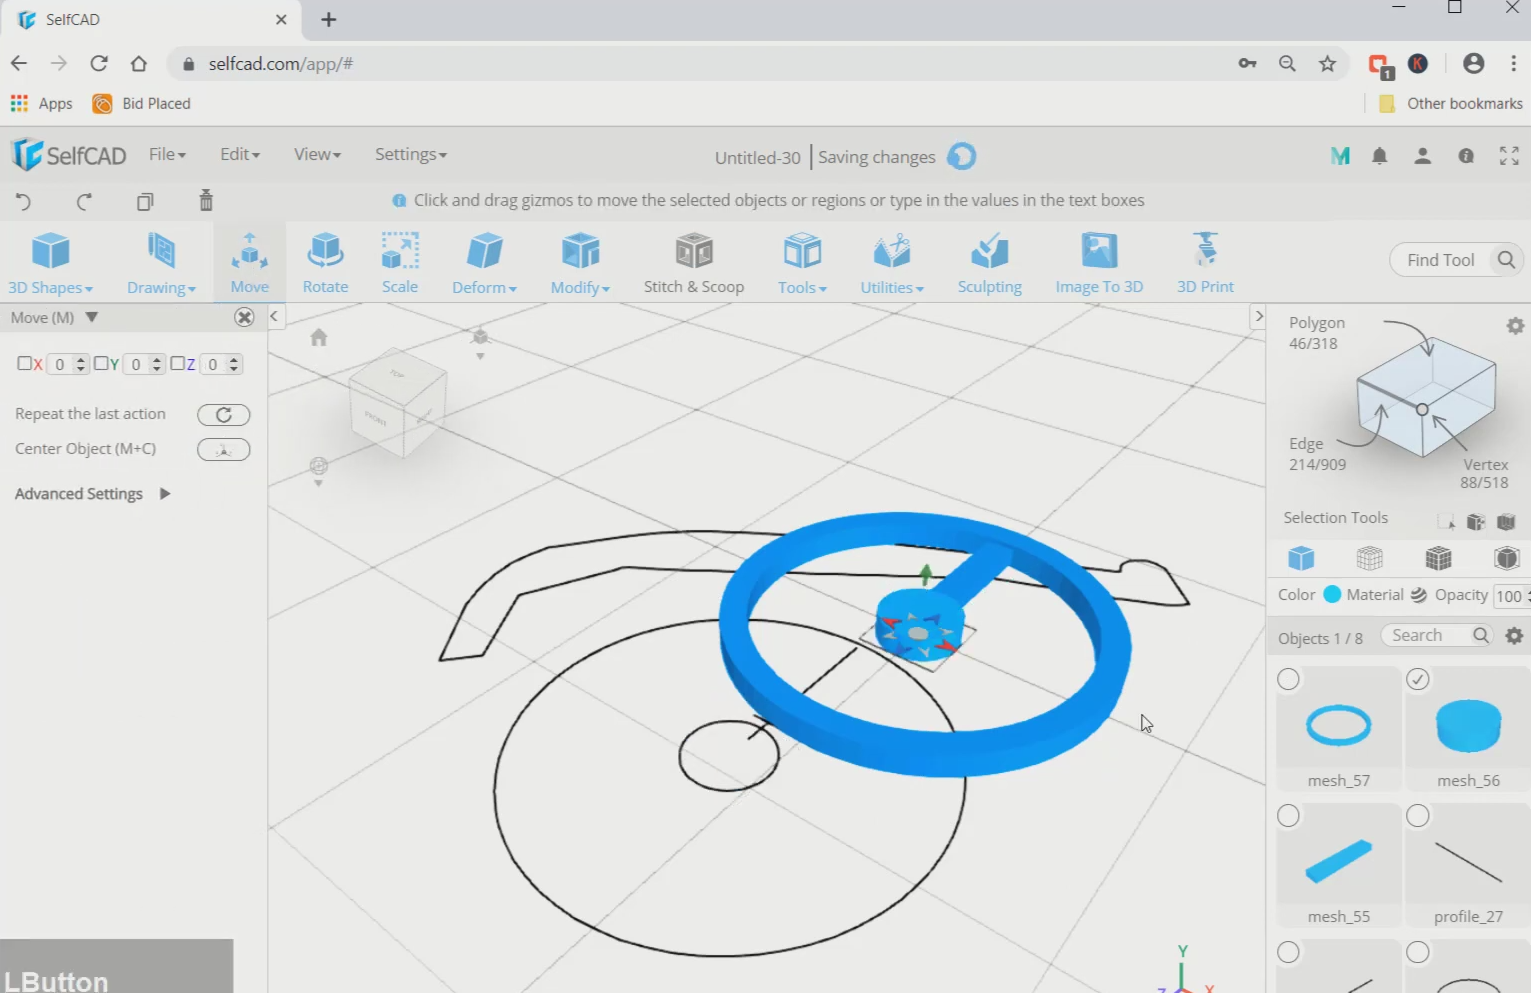
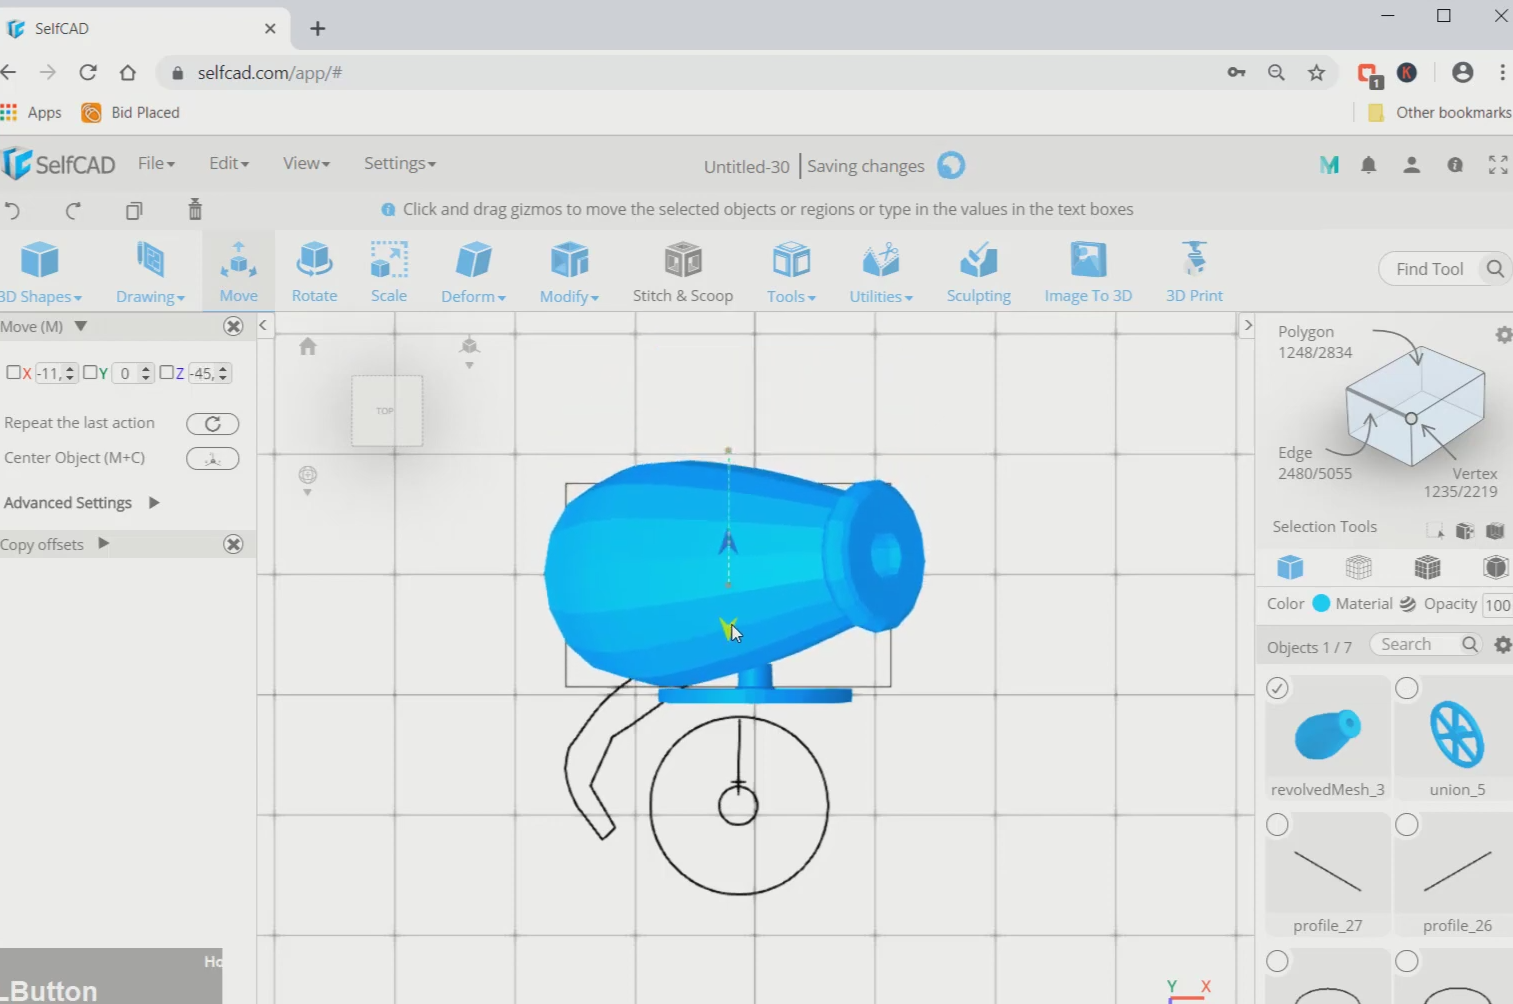
Step8: Move the objects to the centre
Now, select the spike and scale it along the green axis from top and bottom to a smaller size by using the scale tool. Then move these three objects to the centre point using the move tool.
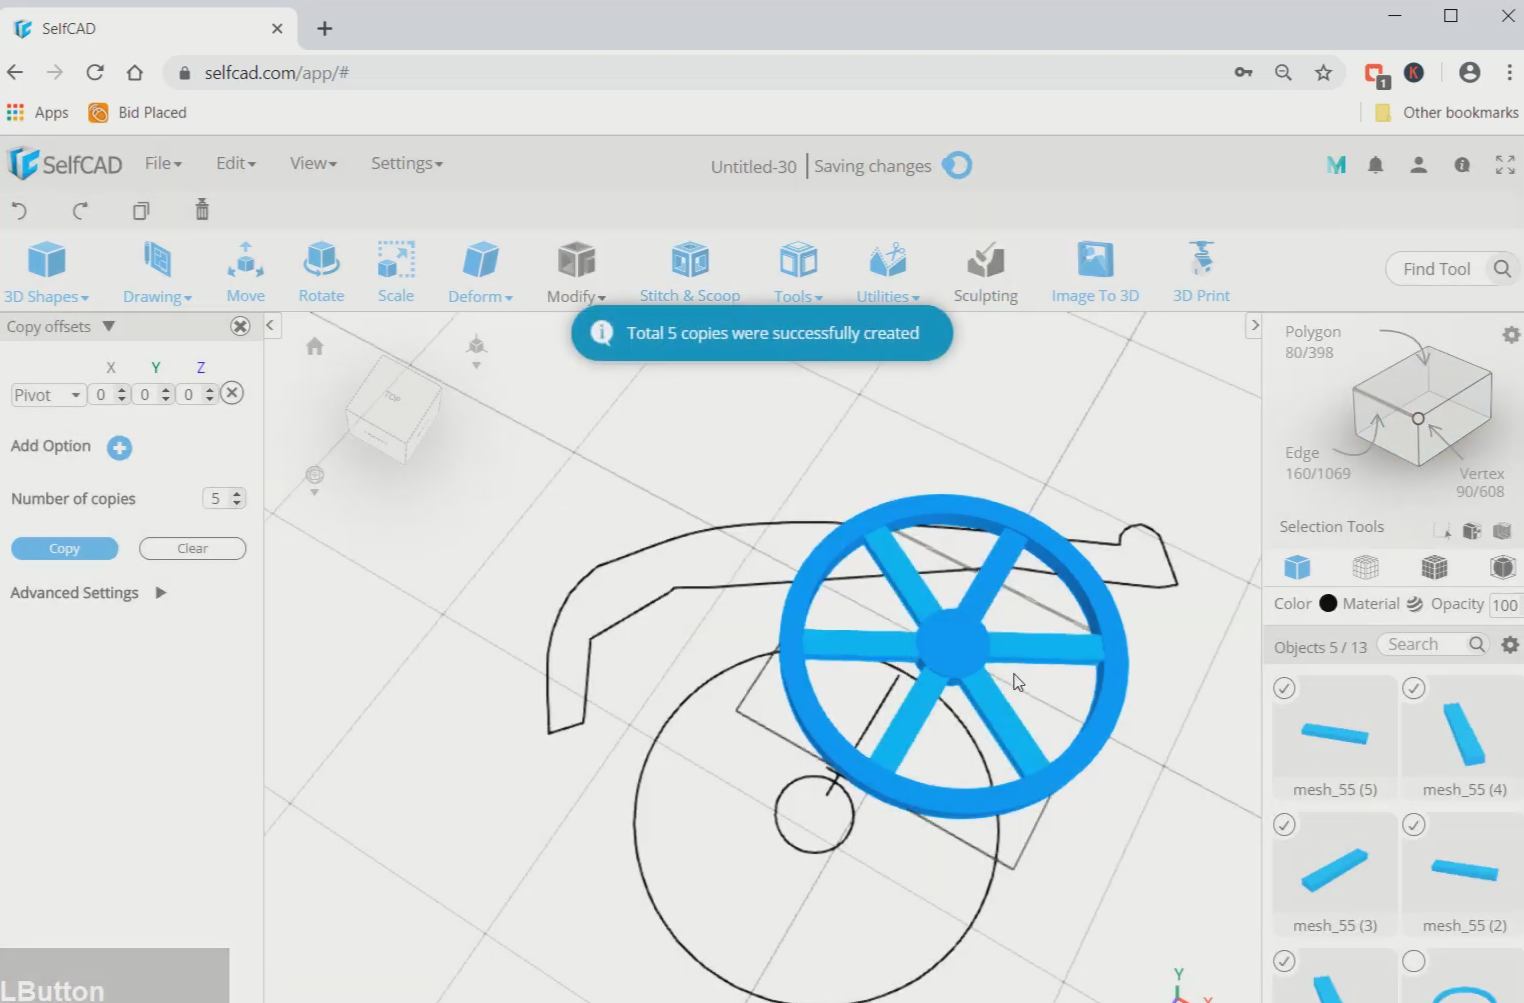
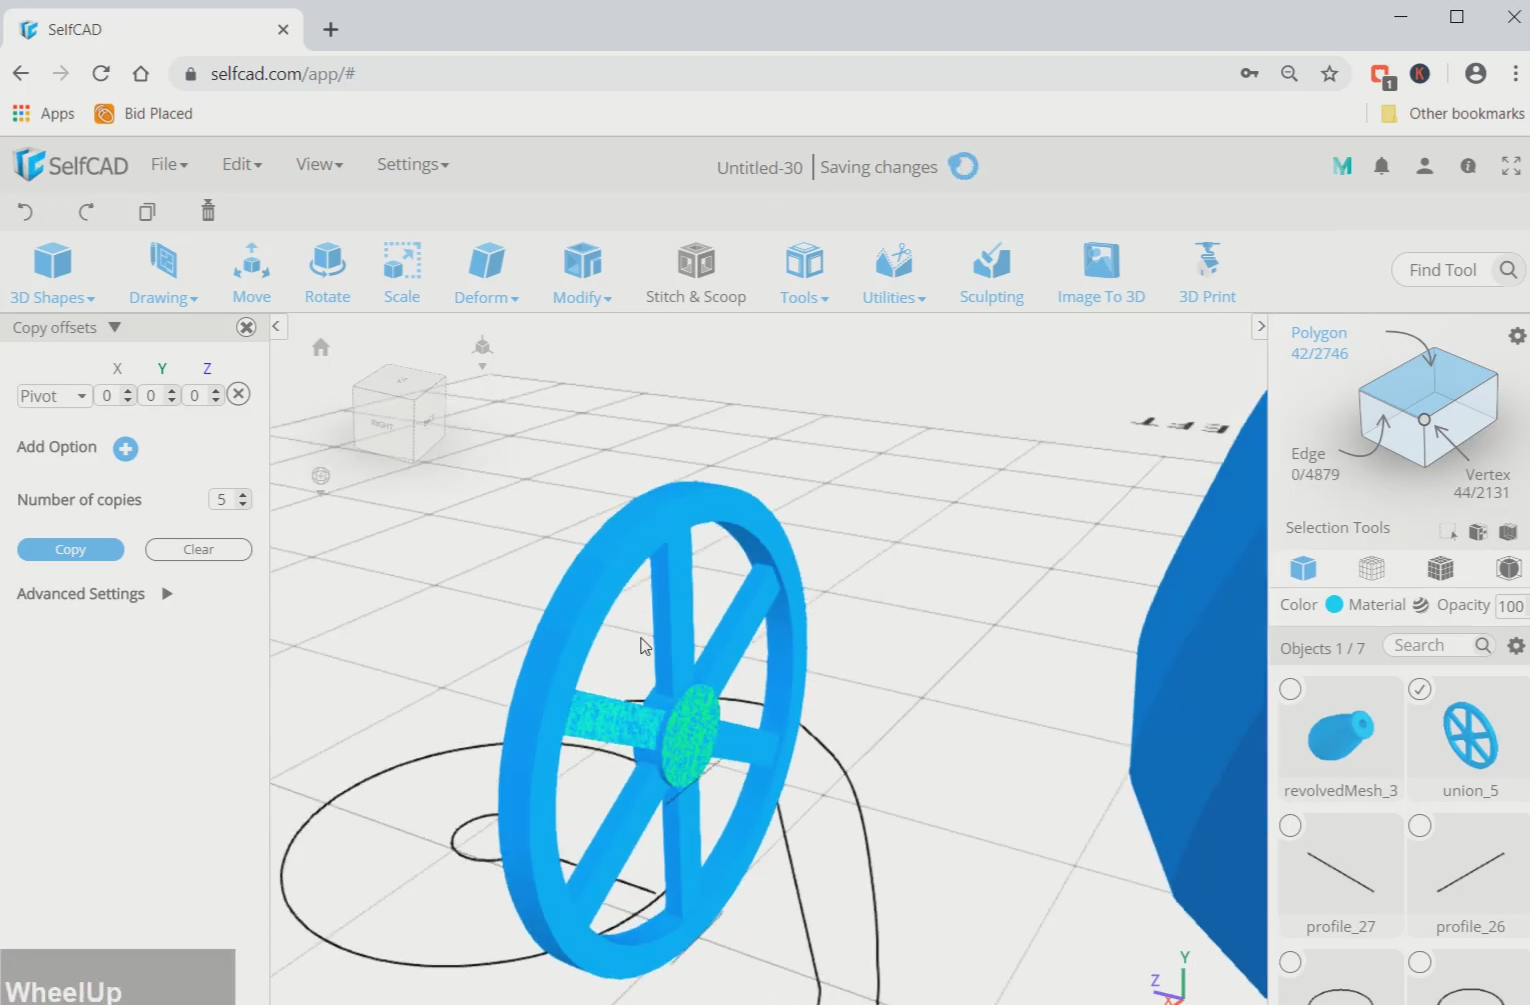
Step9: Copy the spikes of the wheel
Next, select the spike, go to tools and opt for the copy offsets option. Change the position to pivot and set the no. of copies to 5. Then select all the 3D models, go to stitch and scoop and make them a union.
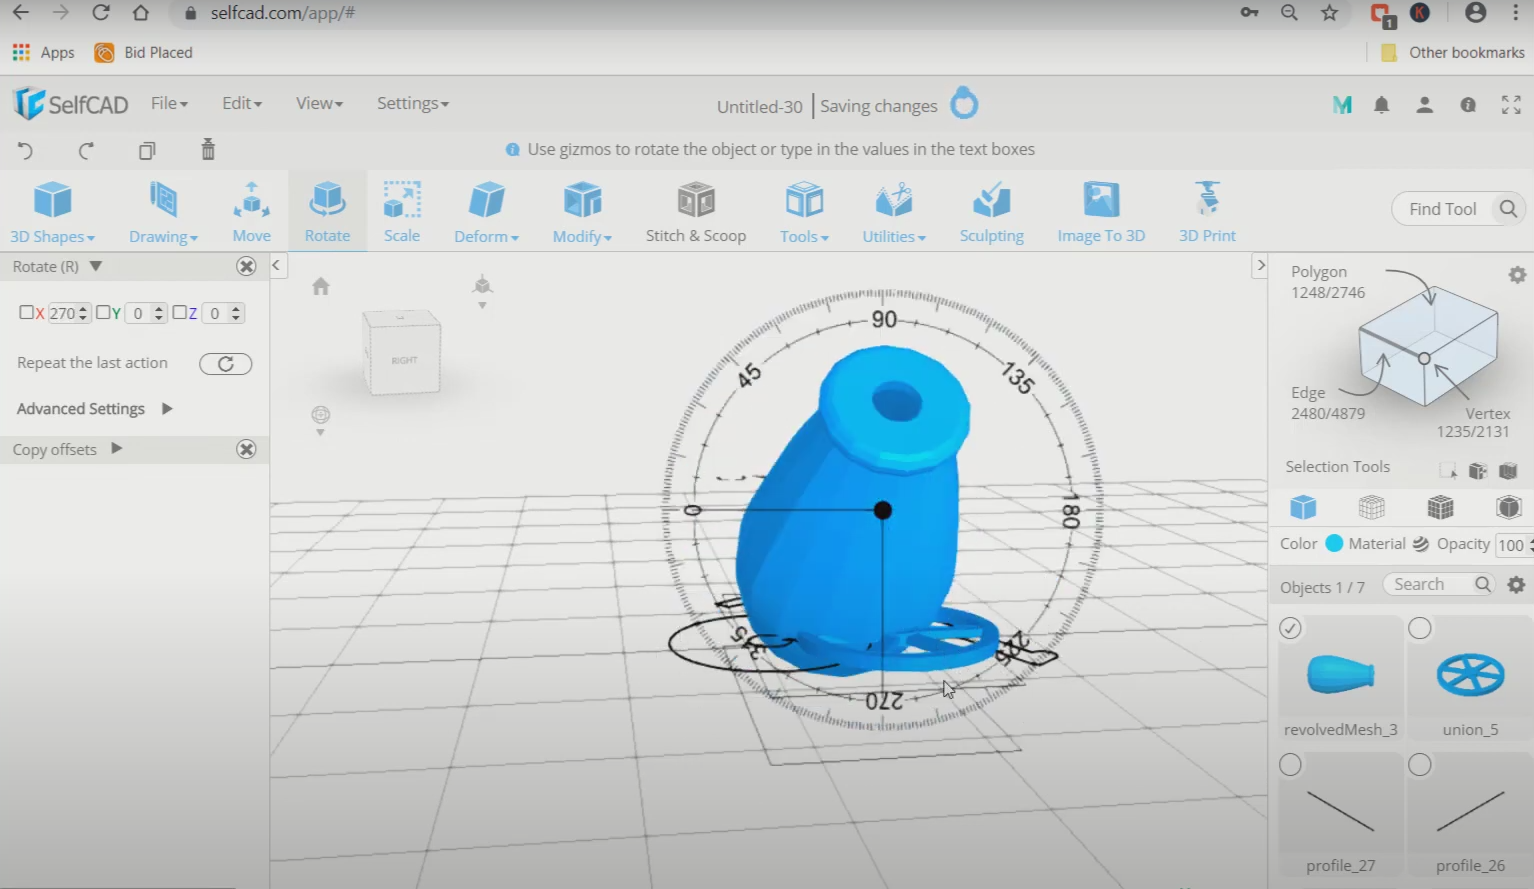
Step10: Revolve the body the cannon around the edge
option. Opt to revolve around the edge and select the middle edge as referral. Then select the rotate tool and rotate it along the red axis in about 270 degrees.
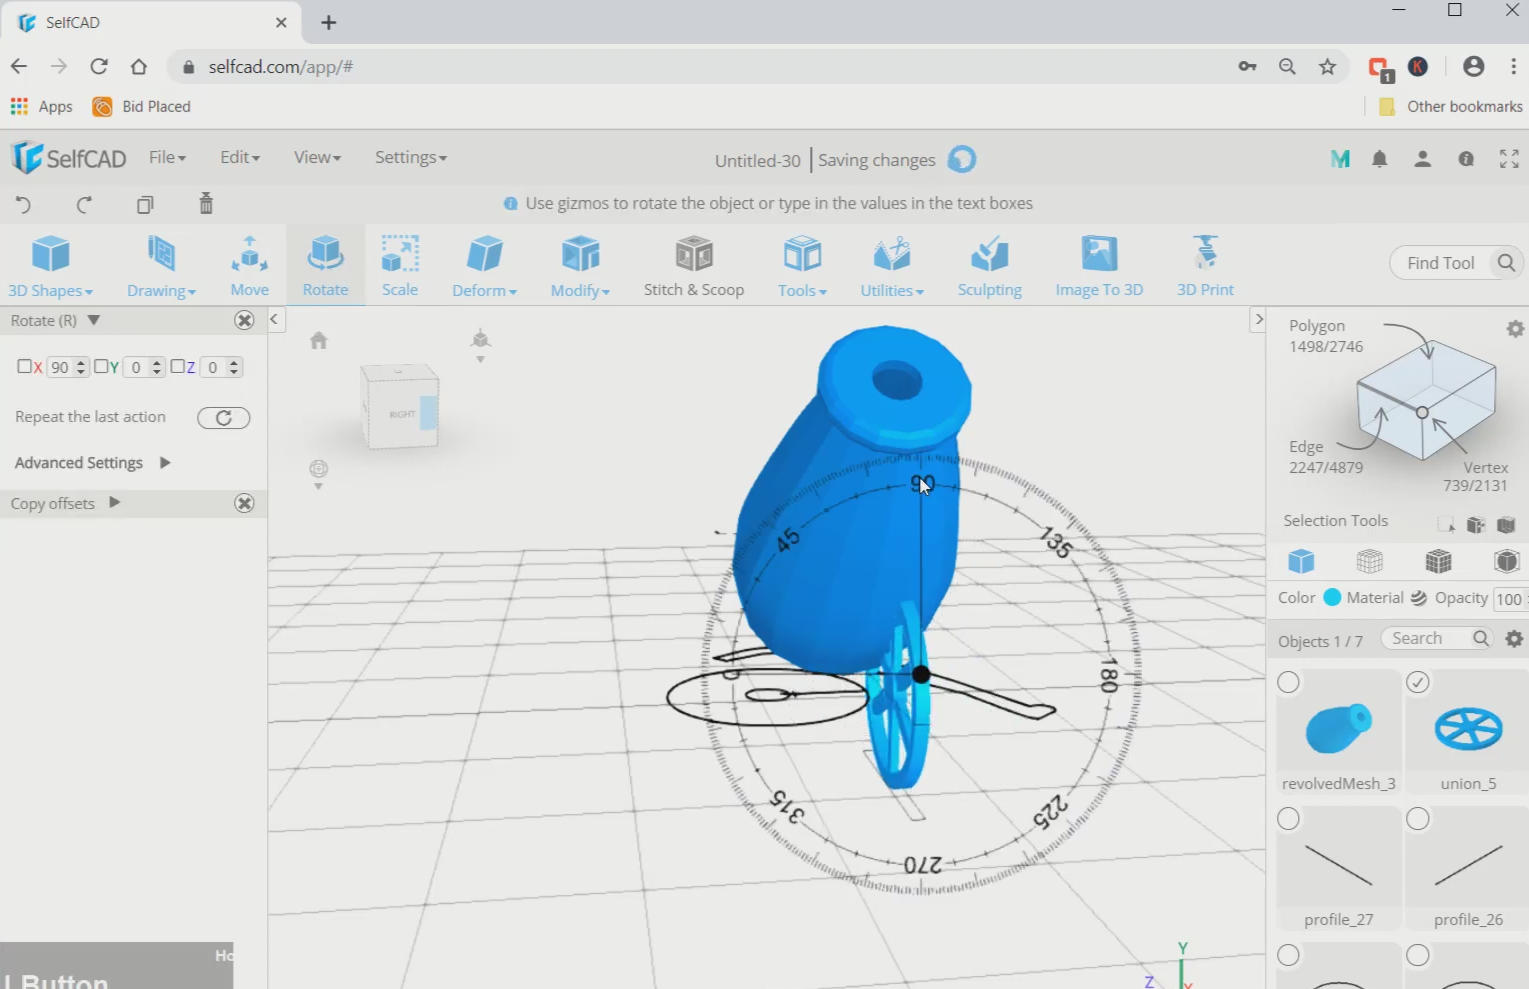
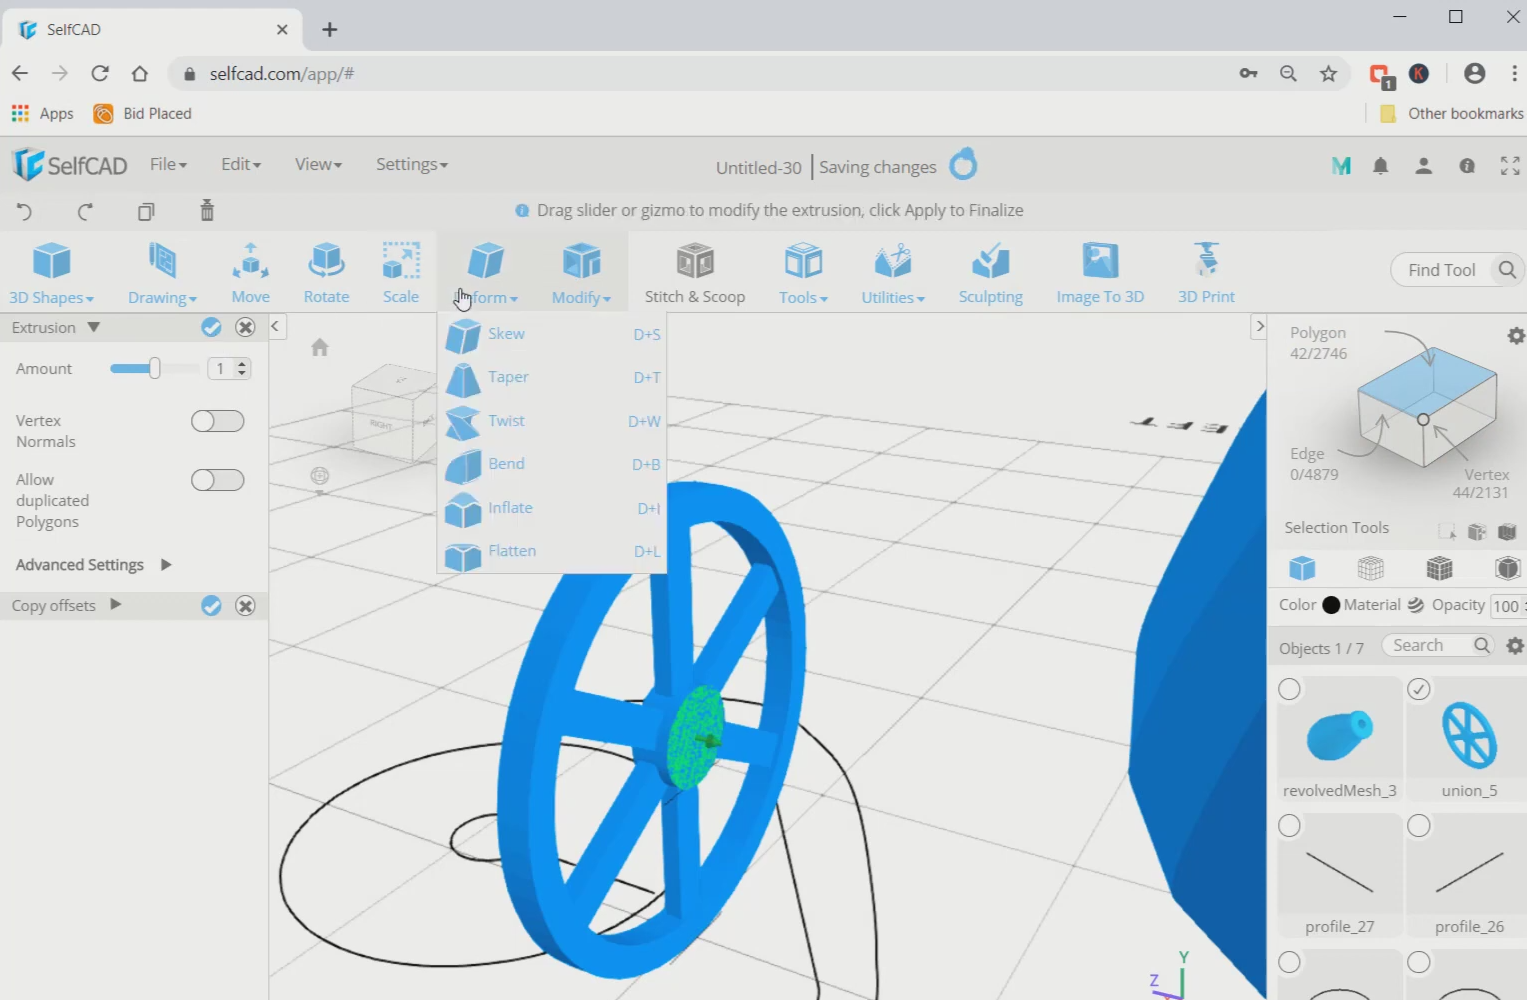
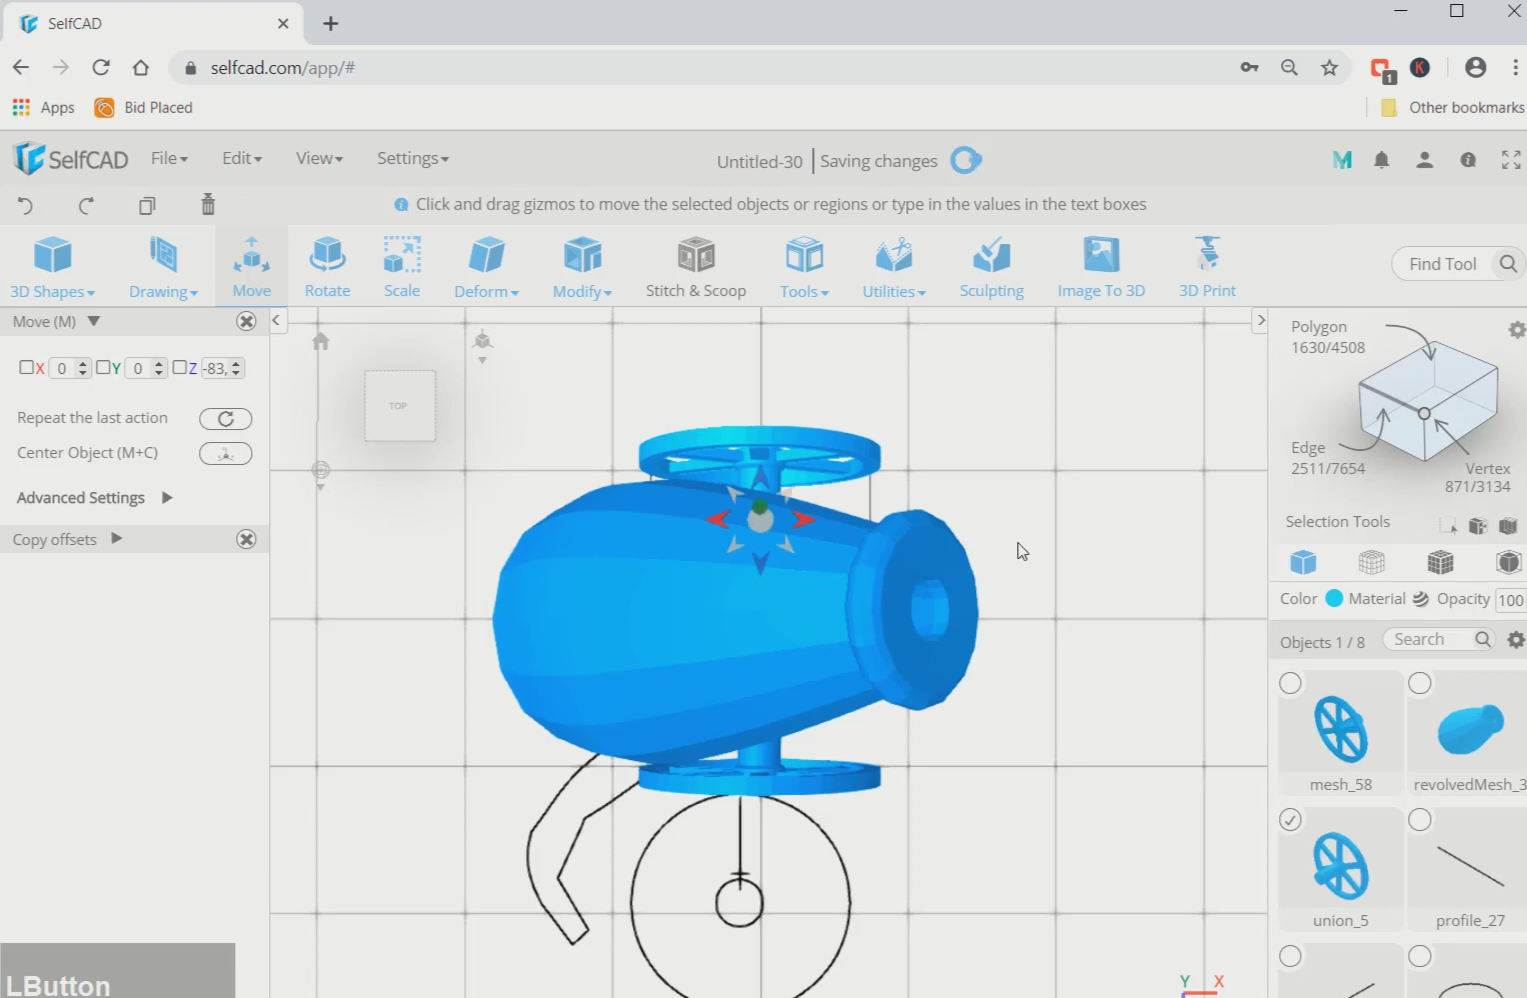
Step11: Rotate the wheel and extrude its face
Next, rotate the wheel along the red axis about 90 degrees. Then opt for the polygon option and select the middle circular face of the wheel. After that, go to modify and select the extrusion tool and extrude that face to an amount of 1.
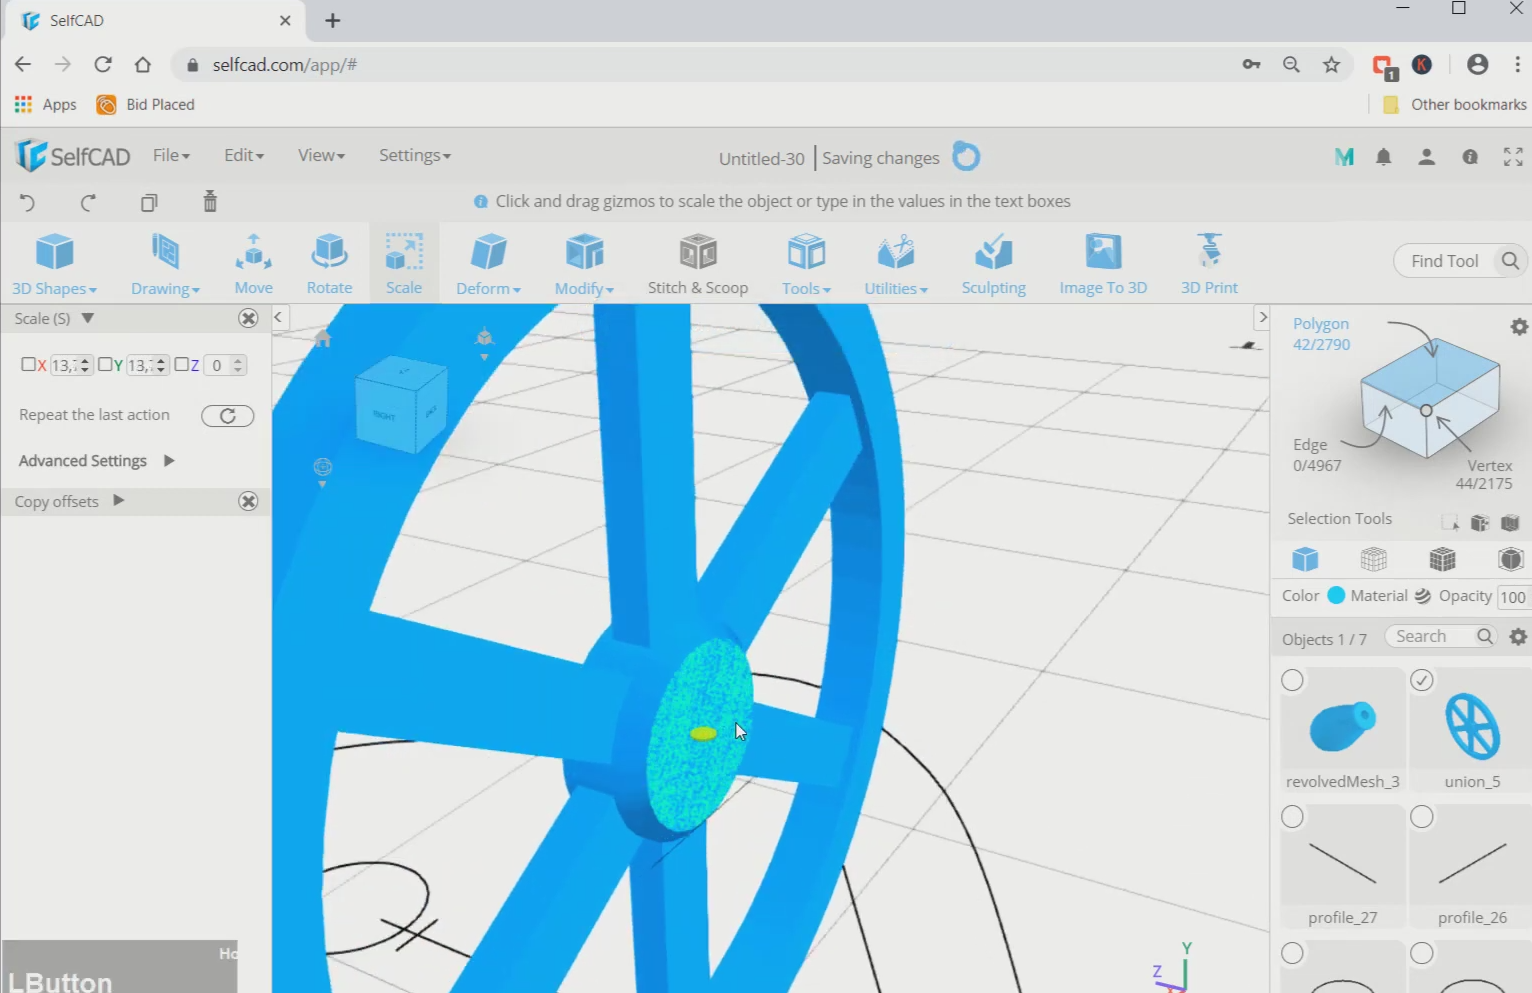
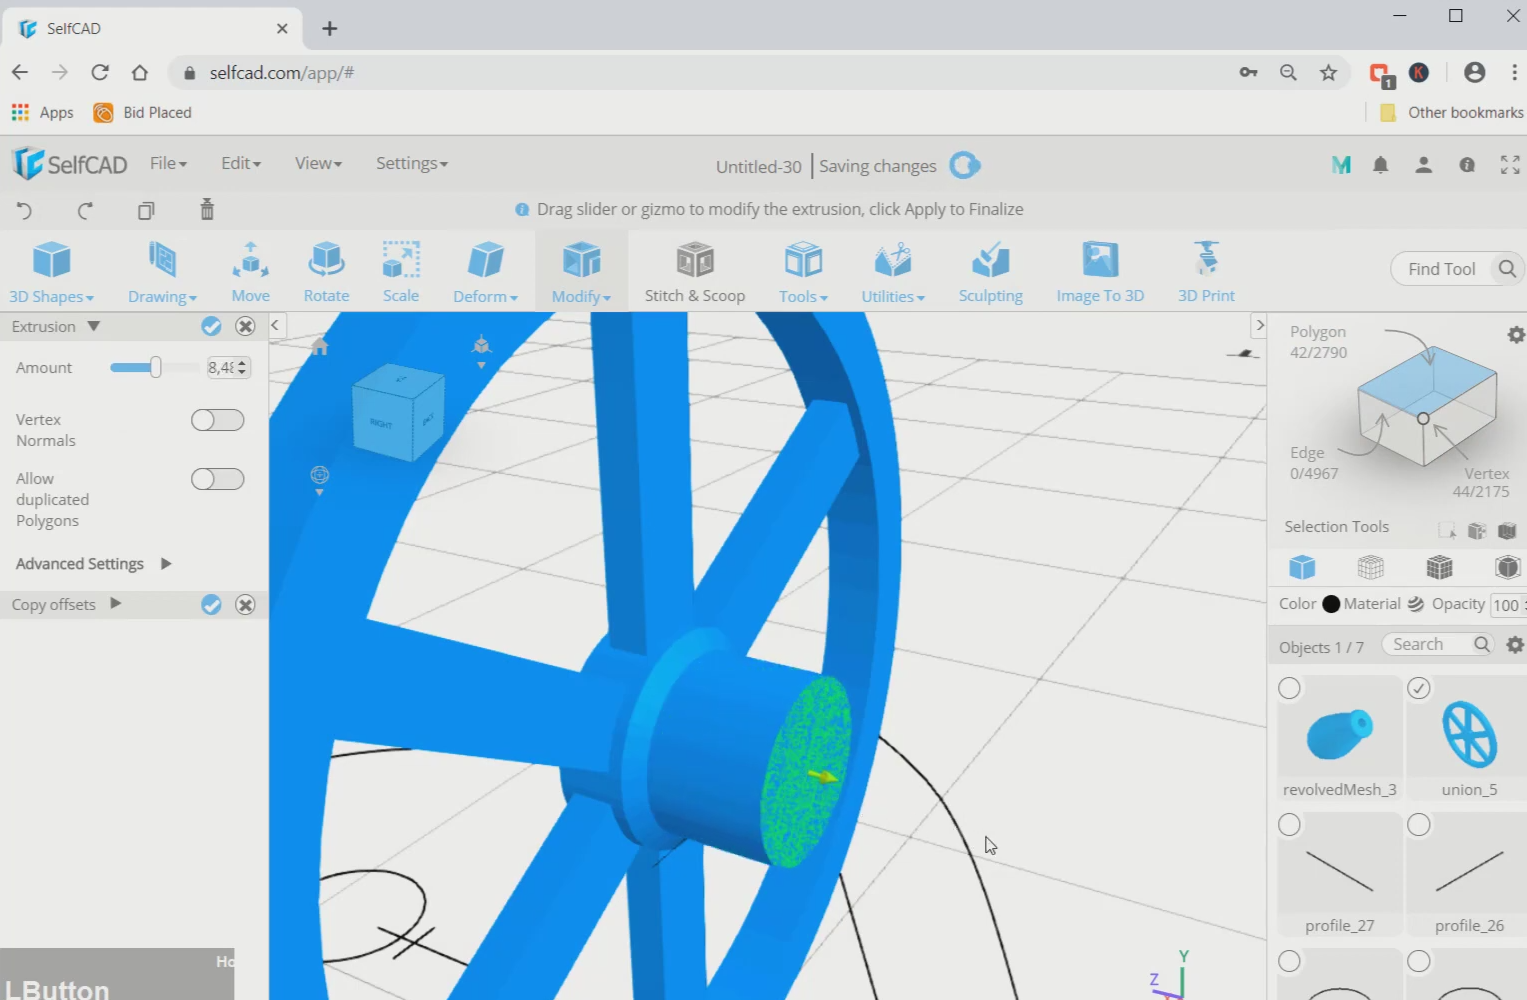
Step12: Scale the face to a smaller size and extrude it again
Now, scale that face to a smaller size and extrude it again to some extent. Then move the cannon body towards the wheel and place them accordingly.
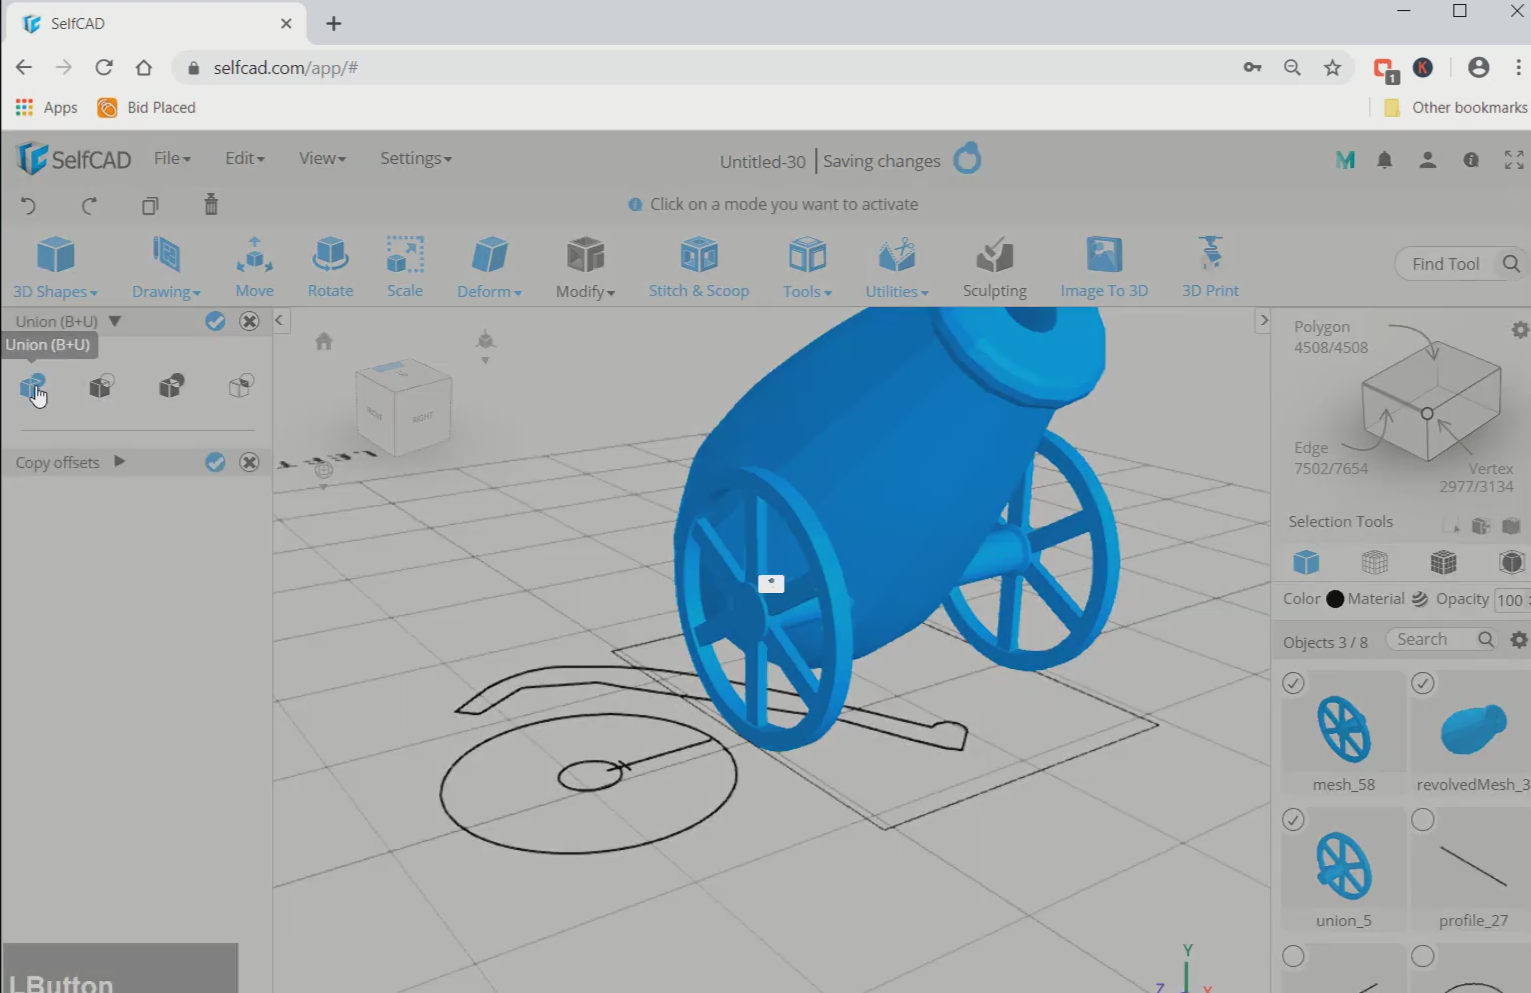
Step13: Mirror the wheel
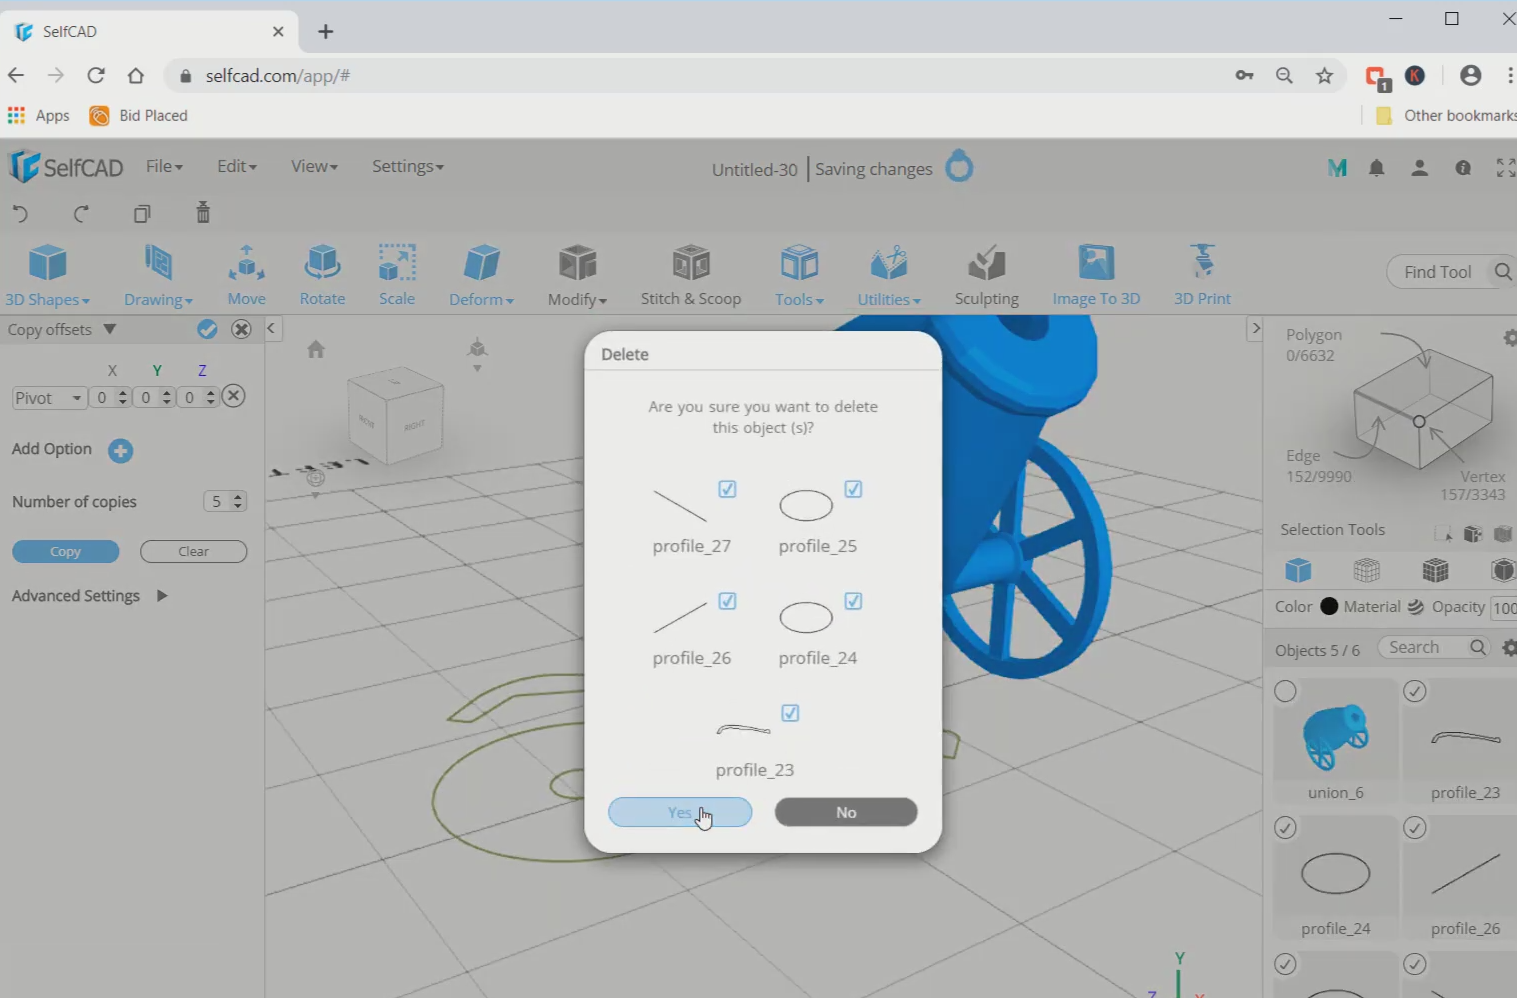
Next, go to utilities and select the mirror option. Set it to the back and place it accordingly. Then select all the objects and make them a union. After that delete all the unwanted profiles.
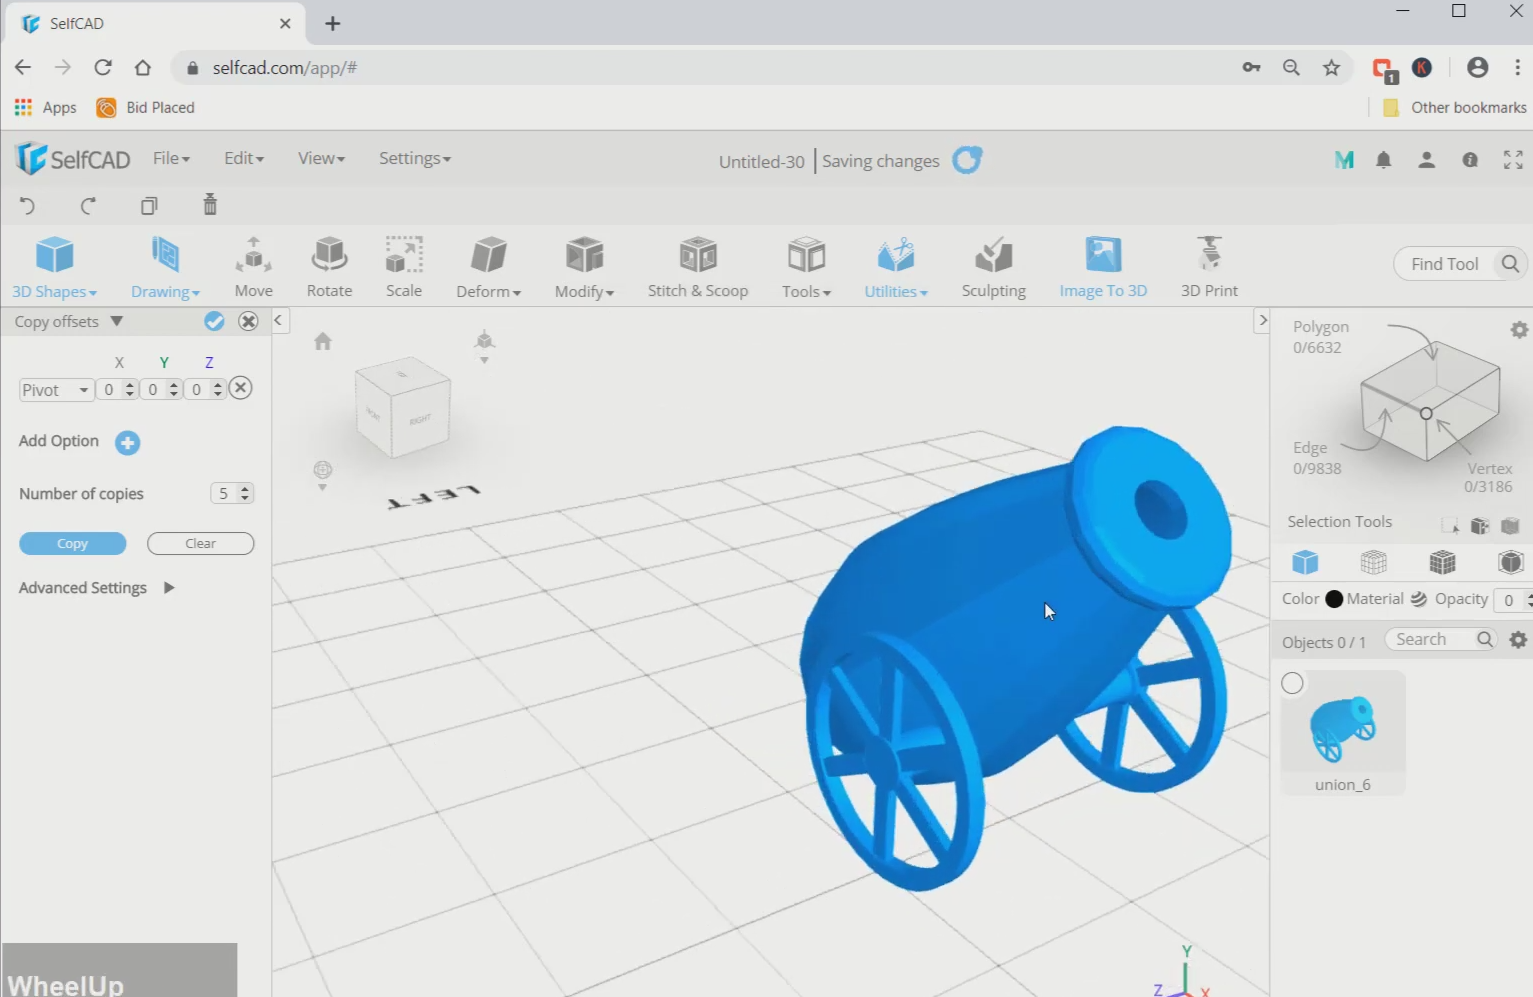
Conclusion: We have finally created a 3D cannon in SelfCAD
We have used some tools like rotate, copy offsets, circle sketch, and so on, while 3D designing the cannon. As well as sorting out some way to 3D design the cannon, the justification behind this help is to help you with understanding the various tools of SelfCAD and even have the choice to use them to 3D design any model of your choice.
So the thing would you say you are sitting tight for? Proceed to register yourself in SelfCAD and begin 3D designing your items.