Learn how to flash MicroPython firmware onto an ESP8266 and test your code on a NodeMCU board.
What is MicroPython?
MicroPython is an implementation of Python 3, targeted for embedded systems and microcontrollers. MicroPython and regular Python are very similar, so if you already know how to write programs in Python, you already know how to program in MicroPython.
Micropython includes a small subset of the Python standard library, so not every module from the standard library is available. However, MicroPython does include modules to access low-level hardware, meaning there are modules to easily interact with GPIOs on microcontrollers.
MicroPython also comes with an interactive REPL (Read-Evaluate-Print Loop), which is an often overlooked amazing feature of MicroPython. The REPL allows you to connect to a microcontroller, execute code quickly without the need to compile or upload code. Which gives immediate feedback on whether your program is working as intended.
What is an ESP32/ESP8266?
The ESP32 and ESP8266 are low-cost Wi-Fi modules, perfect for DIY Internet of Things (IoT) projects.
Both come with general purpose input/output pins (GPIOs) and support a variety of protocols, including SPI, I2C, UART, and more. The most attractive part of the ESP range is that they come with wireless networking, separating them from their Arduino microcontroller counterparts. All in all, the ESP series allows you to easily control/monitor devices remotely using Wi-Fi for a very low price.
Required Hardware
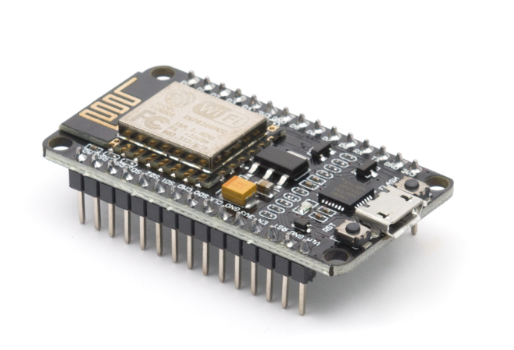
For this tutorial, we’ll be using the NodeMCU 12-E. We’ll be referencing this board and its instructions for this particular tutorial.
The NodeMCU 12E ESP8266 Board.
Materials
- 1 x NodeMCU 12E ESP8266 Board
- 1 x USB to Micro USB cable
How to Download the MicroPython Firmware
Before we connect the NodeMCU board to our PC, we need to download the most recent MicroPython firmware and load it onto the NodeMCU. You can download it from the MicroPython download page.
On the downloads page you’ll have 3 main choices:
- Stable firmware builds for 1024kb modules and above,
- Daily firmware builds for 1024kb modules and above,
- Daily firmware builds for 512kb modules.
If this is your first time with MicroPython, stable firmware builds is the recommended go-to. If you are an advanced ESP8266 user with MicroPython, you can follow development closely and help the project by testing new features on the daily builds.
How to Load Firmware Onto the NodeMCU
Once you have the firmware downloaded, it’s time to load it onto the NodeMCU board. There are two main steps to achieve this:
- Put NodeMCU into boot-loader mode
- Copy across firmware to NodeMCU
**Note: If you are using any other type of board apart from the NodeMCU 12E, these steps are highly dependant on the particular board and you will need to refer to its documentation for details.
To flash the MicroPython firmware onto the NodeMCU, you can choose either of the following techniques.
Beginner Friendly: NodeMCU PyFlasher
A self-contained NodeMCU flasher with GUI that utilizes esptool.py and wxPython (Python GUI library), developed by Marcel Stör. Use the latest release, which is available for Windows (.exe), macOS (.dmg) and anything that runs Python.
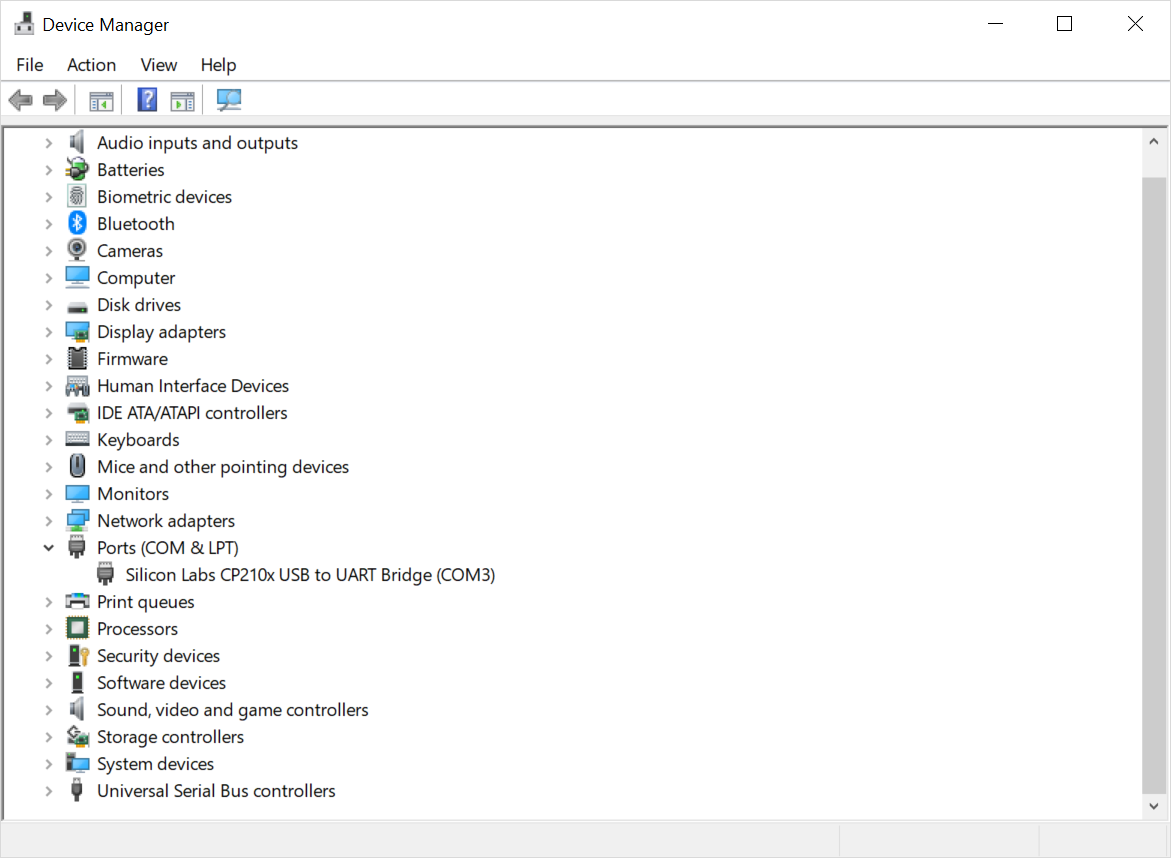
Once you’ve plugged your NodeMCU, you should now be able to select the COM port that it is connected on. If you don’t see it on this list, you may need to download the USB-Serial driver. Once the driver is active, you will able to determine the COM port number by either selecting it in the drop-down on NodeMCU PyFlasher or in your device manager (on Windows).
Determine the COM port number in the drop-down on ModeMCU PyFlasher.
Select the COM port in your device manager if you're using Windows.
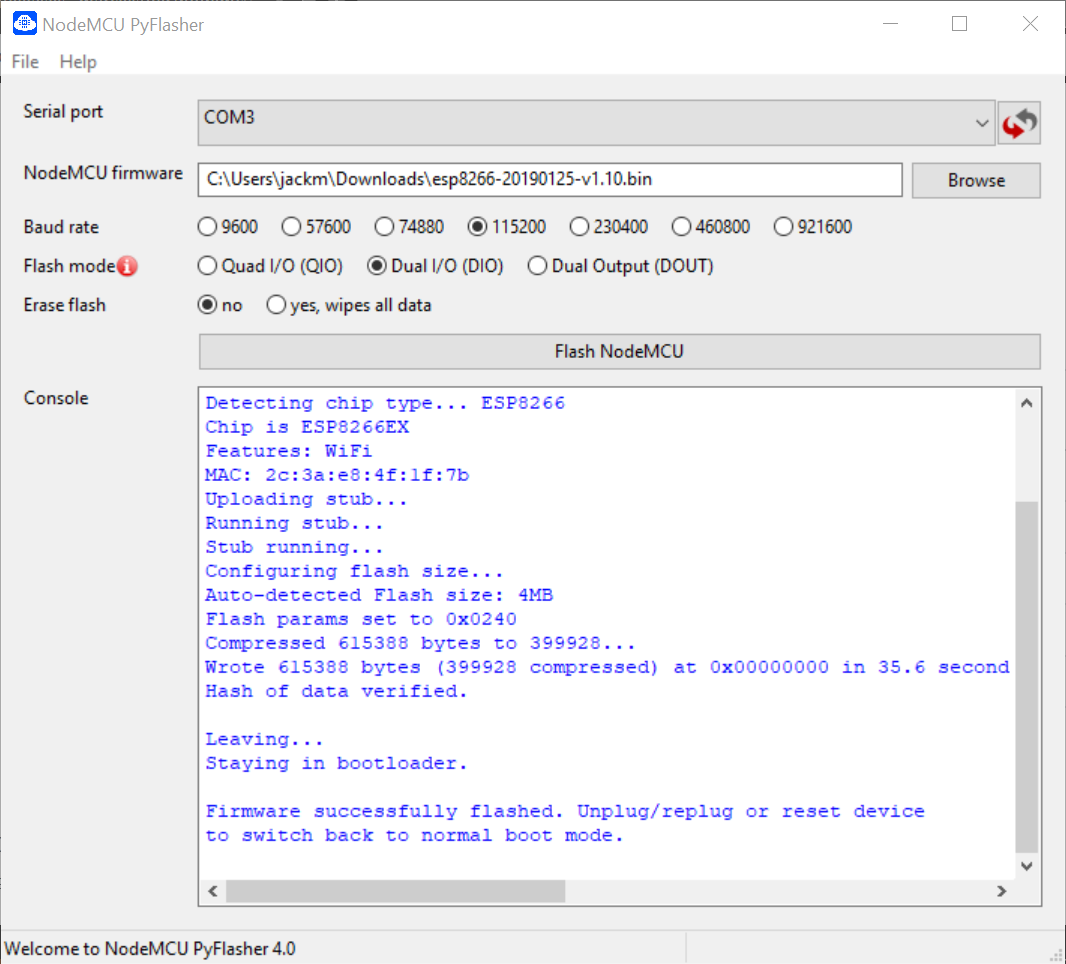
Now just select your downloaded MicroPython firmware .bin file from the download location, select a baud rate of 115200 (default for NodeMCU), using a dual I/O flash mode and click Flash NodeMCU. After the process completes, you should see a screen like below.
The window you'll see once you've successfully completed the firmware download.
Advanced Users
Another way to flash the MicroPython firmware onto the NodeMCU board is by using the esptool.py (which runs in the background of PyFlasher). Once downloaded, you will need to move your MicroPython firmware .bin into the same directory as esptool.py to make the command easier.
Before running esptool.py you will need to determine your port number of the NodeMCU board by using device manager. Now using command prompt or powershell (provided Python is installed on your PC), navigate to your directory where esptool.py is stored and run the command:
esptool.py --port <serial-port-of-ESP8266> write_flash -fm <flash-mode> 0x00000 <nodemcu-firmware>.bin
To recreate the PyFlasher example above the command would be:
esptool.py --port COM3 write_flash -fm DIO 0x00000 esp8266-20190125-v1.10.bin
How to Access the MicroPython REPL Prompt
As mentioned at the beginning of this article, REPL (Read Evaluate Print Loop) is the name given to the interactive MicroPython prompt that you can access on the NodeMCU. Using the REPL greatly simplifies and speeds up testing out your code and running commands.
While you can access the REPL over Wi-Fi (WebREPL), this article will only go into how to access the REPL over a wired connection through the UART serial port.
To access the prompt over USB-serial, you will need to use a terminal emulator program. PuTTY is an open source SSH and telnet client which you can use as a terminal emulator program to access your NodeMCU REPL, otherwise, there is TeraTerm on Windows, built-in screen program on Mac and Linux has picocom and minicom. There are many other terminal programs that will work, so choose your favorite.
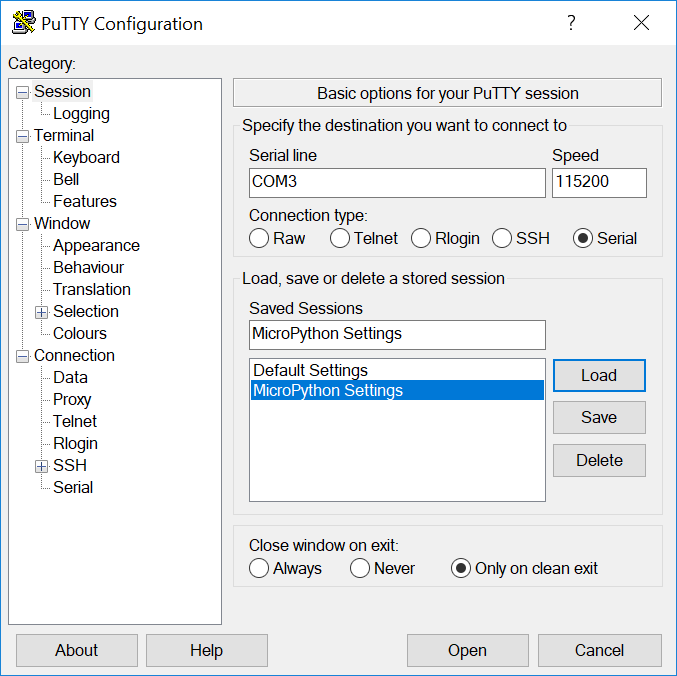
Once you have opened PuTTY for the first time, you will need to set up the settings configuration to access the NodeMCU. First, we select a Serial connection type. Then, from step 3, we now know the COM port number that the NodeMCU board is on (COM3 for this example). From there, we can set a baud rate of 115200 and we are ready to connect. The settings can be saved as well for when you use it in the future. The settings for this example can be seen below.
The PuTTY configuration settings.
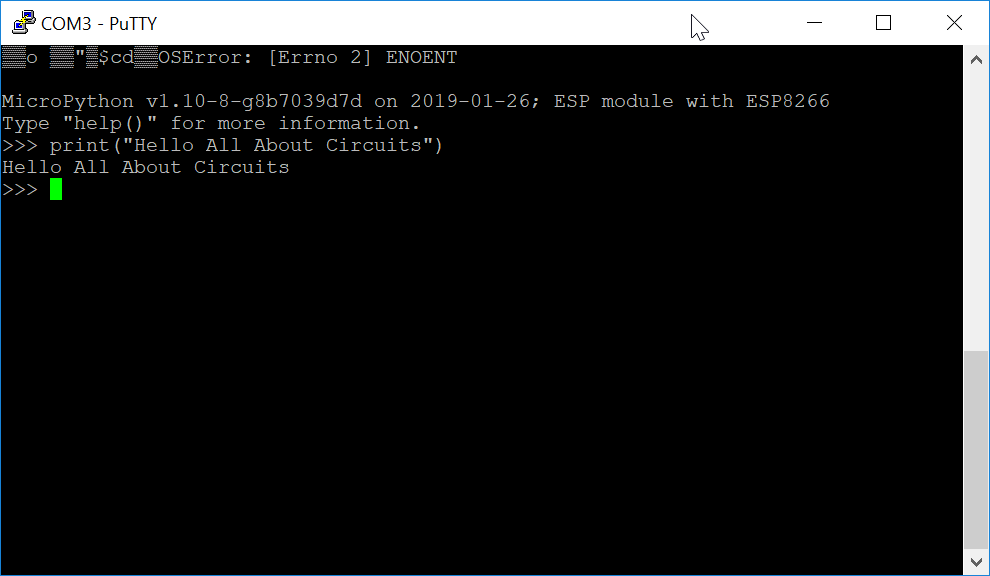
Once you connect you will be presented with a screen like below and can test out your code!
Once you're connected you'll be greeted with this screen.
How to Make the LED Turn On
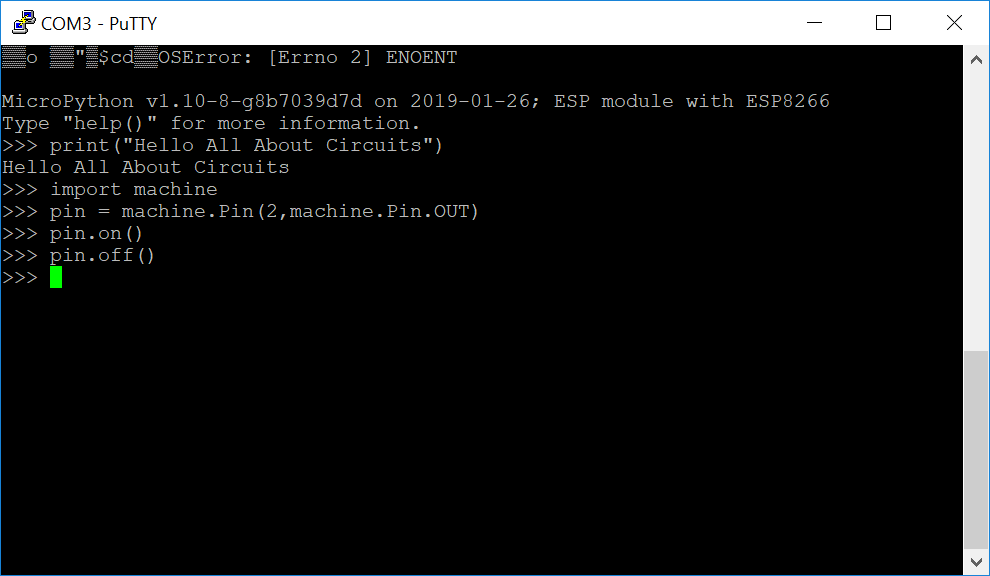
Since the NodeMCU 12E has on on-board LED attached to GPIO2, you can turn it on and off using the following code:
>>> import machine
>>> pin = machine.Pin(2, machine.Pin.OUT)
>>> pin.on()
>>> pin.off()
Make note that the pin.on() may turn the LED off and pin.off() may turn the LED on (or vice versa) depending on how the LED is wired on your board.
The code to make the LED connected to the NodeMCU flash.