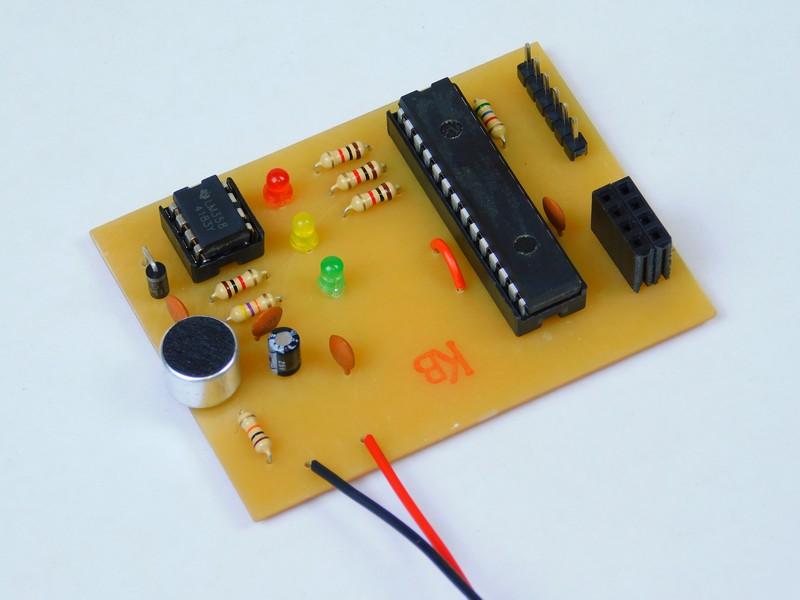
Make a simple sound-activated PIC18 alarm that can alert a server when a threshold is detected.
The IoT has created an industry that is rapidly growing and connecting even the simplest circuits to the internet allows for data gathering and home automation. In this DIY project, we will look at an IoT platform called RIOTOUS to make a simple sound-activated PIC18 alarm that can alert a RIOTOUS server when a threshold is detected.
Note: RIOTOUS used to have its own website but it is now being transferred to MitchElectronics (this is due to happen September 2017).
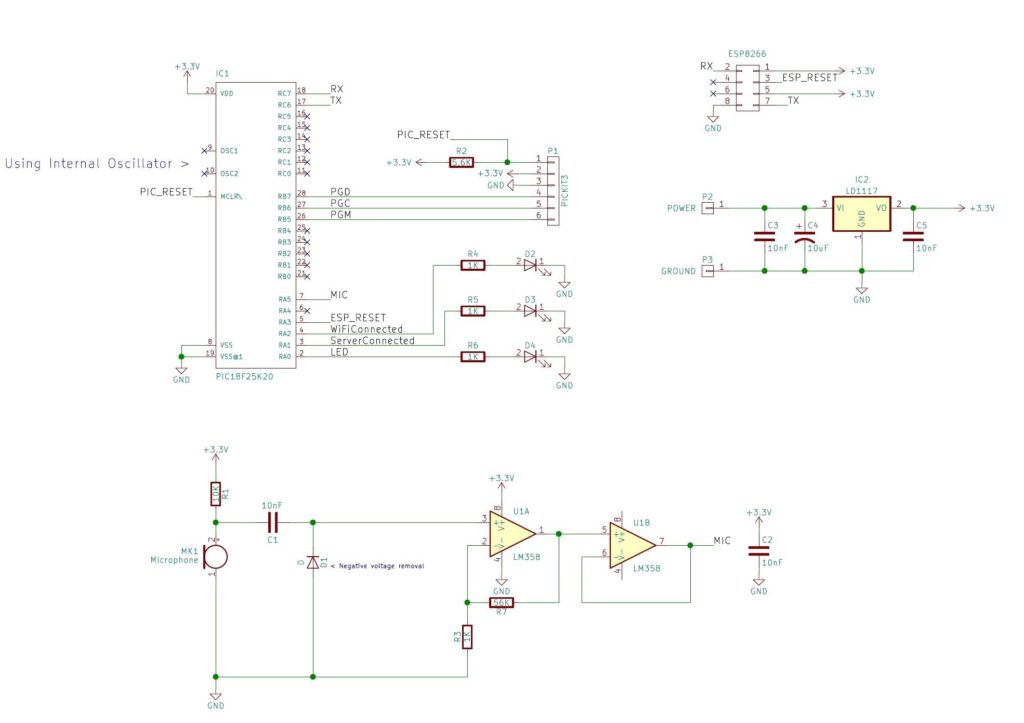
Sound-Activated Alarm Schematic
How Does the IoT Alarm Work?
The circuit has two main components: the microcontroller that runs the code needed to send out data to a RIOTOUS server, and an audio amplifier.
Audio signals are detected by the electret microphone but the output of this microphone is both low in amplitude (few mv peak-to-peak), and contains a massive DC offset. To remove the DC offset, a capacitor (C1) is used but the resulting AC audio waveform is still very small. To fix this, an LM358 with a gain of approximately 50 is used, which is then buffered via U1B, and this is then sent to the microcontroller. A diode, however, is needed in parallel with the audio signal from the coupling capacitor C1 because negative voltages on the input on an op-amp can cause unpredictable output behavior. To be more specific, the input voltage should not be more negative than the negative supply (in our case, the negative supply to the op-amp is 0V while our coupled AC signal will have an amplitude that is more negative than 0V). Therefore, D1 conducts when the input becomes negative and this essentially prevents the voltage on the input of U1A from ever being lower than -0.2V (this is a Schottky diode and not a regular silicon diode).
The microcontroller runs the RIOTOUS framework which is a very lightweight IoT platform for PIC micros. The code found in main.c starts by setting up internal peripherals, including the ADC module and the UART module (remember, the ESP8266 communicates via UART).
With some tedious port settings altered, the next major piece of code that is executed is internet_connectToRIOTServer() which tells the ESP8266 to connect to a specific server. Once this has been achieved, the main bulk of code in the do while loop is executed. The microcontroller constantly measures the voltage from the amplifier and compares this voltage to a threshold value. If the value becomes too great, then the microcontroller sends out the letter ‘D’ to tell the server that a sound has been detected and from there the server can decide what to do.
While no server code is given in this project, the project does contain an example RIOT server in the form of a VB.NET project.
Construction
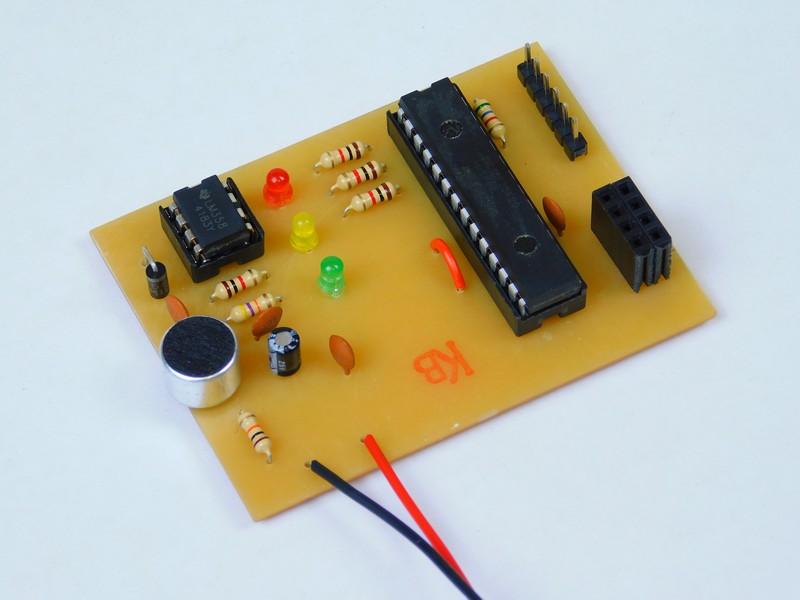
This project uses a custom PCB made on a CNC but it can be constructed using most (if not all) circuit construction techniques. These include the use of stripboard, breadboard, matrix board, and even point-to-point soldering (albeit very difficult).
Attached to this project is all the KiCad files, CNC files, and code which will require MPLAB for programming the PIC, KiCad to load the schematic and PCB files, and a suitable CNC software such as Mach3 to create the milled PCB. To create a RIOTOUS server, Visual Studio will be needed and, while many versions are available, it is advised that VS Express 2013 is used. This version can be difficult to get a hold of but below is a direct link to the installer from download.microsoft.
Downloadable Files
More IoT Projects


