In this article, we learn of a new way to make a configuration system for the ESP8266 using the Cheetah Template.
In this tutorial, I show you how you can use a Python data structure to configure data sets for ESP8266-based projects. Once the system is configured, I also show how to create conversions using a code generator into a web-based configuration page directly provided by the ESP8266, either in AP mode for the initial configuration or via the productive interface of the system.
This approach is beneficial whenever you have multiple ESP8266 boards in a project or multiple instances of the same project in place.
The Appeal of ESP8266
In the past, I have done a couple of Arduino-based projects, usually with a network connection, mostly in the wide range of IoT. Since the introduction of the ESP8266 modules some years ago, I’ve switched to using these boards more often for four major reasons:
- Integrated Wi-Fi
- Compact size
- Affordable
- Arduino-centric development environment available
Common for all applications I’ve implemented using the ESP8266 is the need for some configuration which includes Wi-Fi connection data, admin credentials for the application, in most cases the address of an MQTT broker and some MQTT topics to use for receiving commands, and publishing status or measurement data.
The Need for a Generic Configuration System
For my first few projects, all this configuration was hard-coded, since the builds only needed to work in my own house. But very soon I had to reconfigure the Wi-Fi connection because I decided to move all my IoT devices into a separate subnet for security reasons.
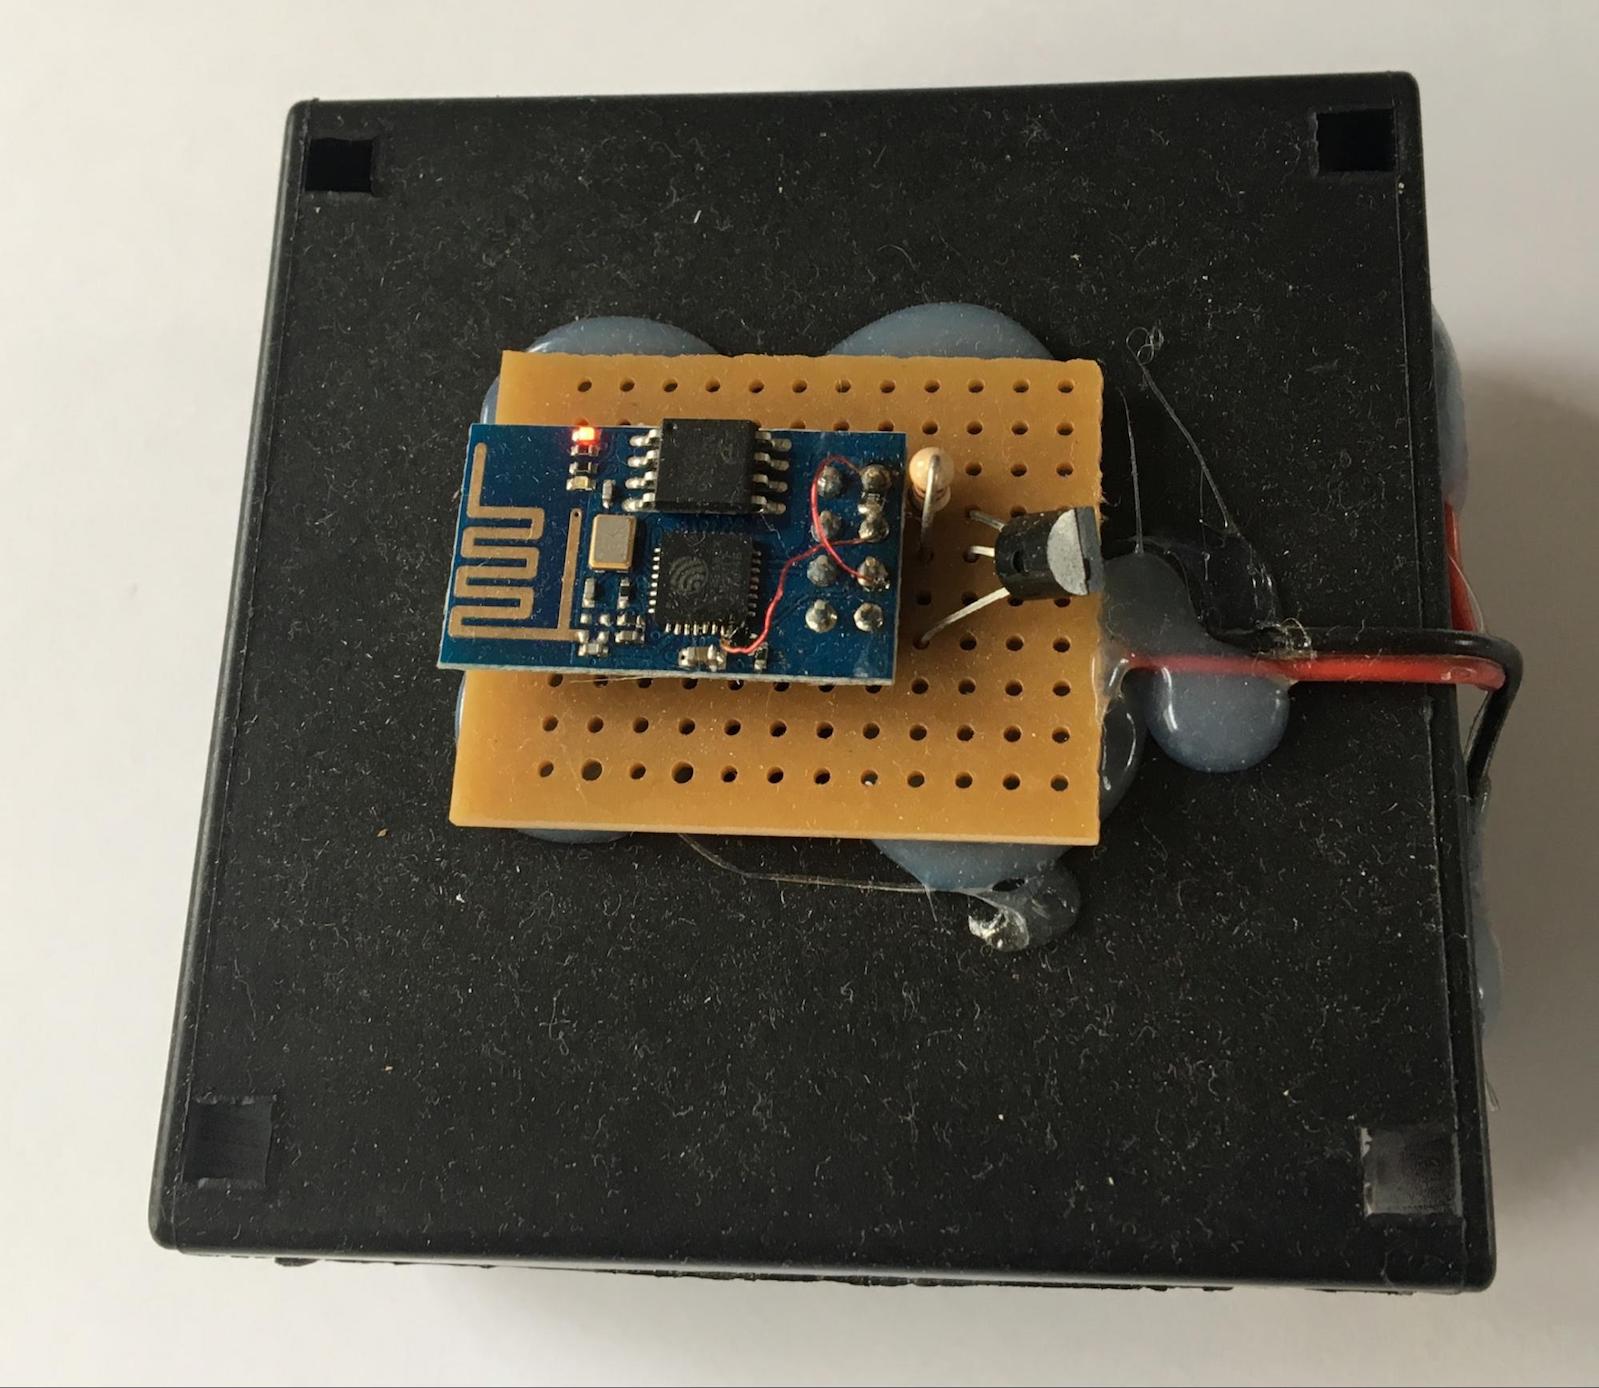
Every single device had to be moved and the firmware had to be changed and downloaded to the device. And then I built multiple small thermometers with an ESP-01 and DS18B20 mounted on a box for two LR20 batteries which I put in every room of the house. Obviously, the measurement from the different devices needs to be distinguishable. So, they either annotate the measurement value with the room where the device was located or they use a different MQTT topic which contains information about the location.
For hard-coded configuration, I had to repeatedly modify the firmware for every single device. This ongoing modification was when I became unhappy with the hard-coded approach and sought a way to introduce a dynamic configuration system.
My first approach was to hard code a configuration structure, a small webpage with a form reflecting this configuration structure and some code to parse data delivered via the form, put it into the structure and store it in the EEPROM of the ESP8266.
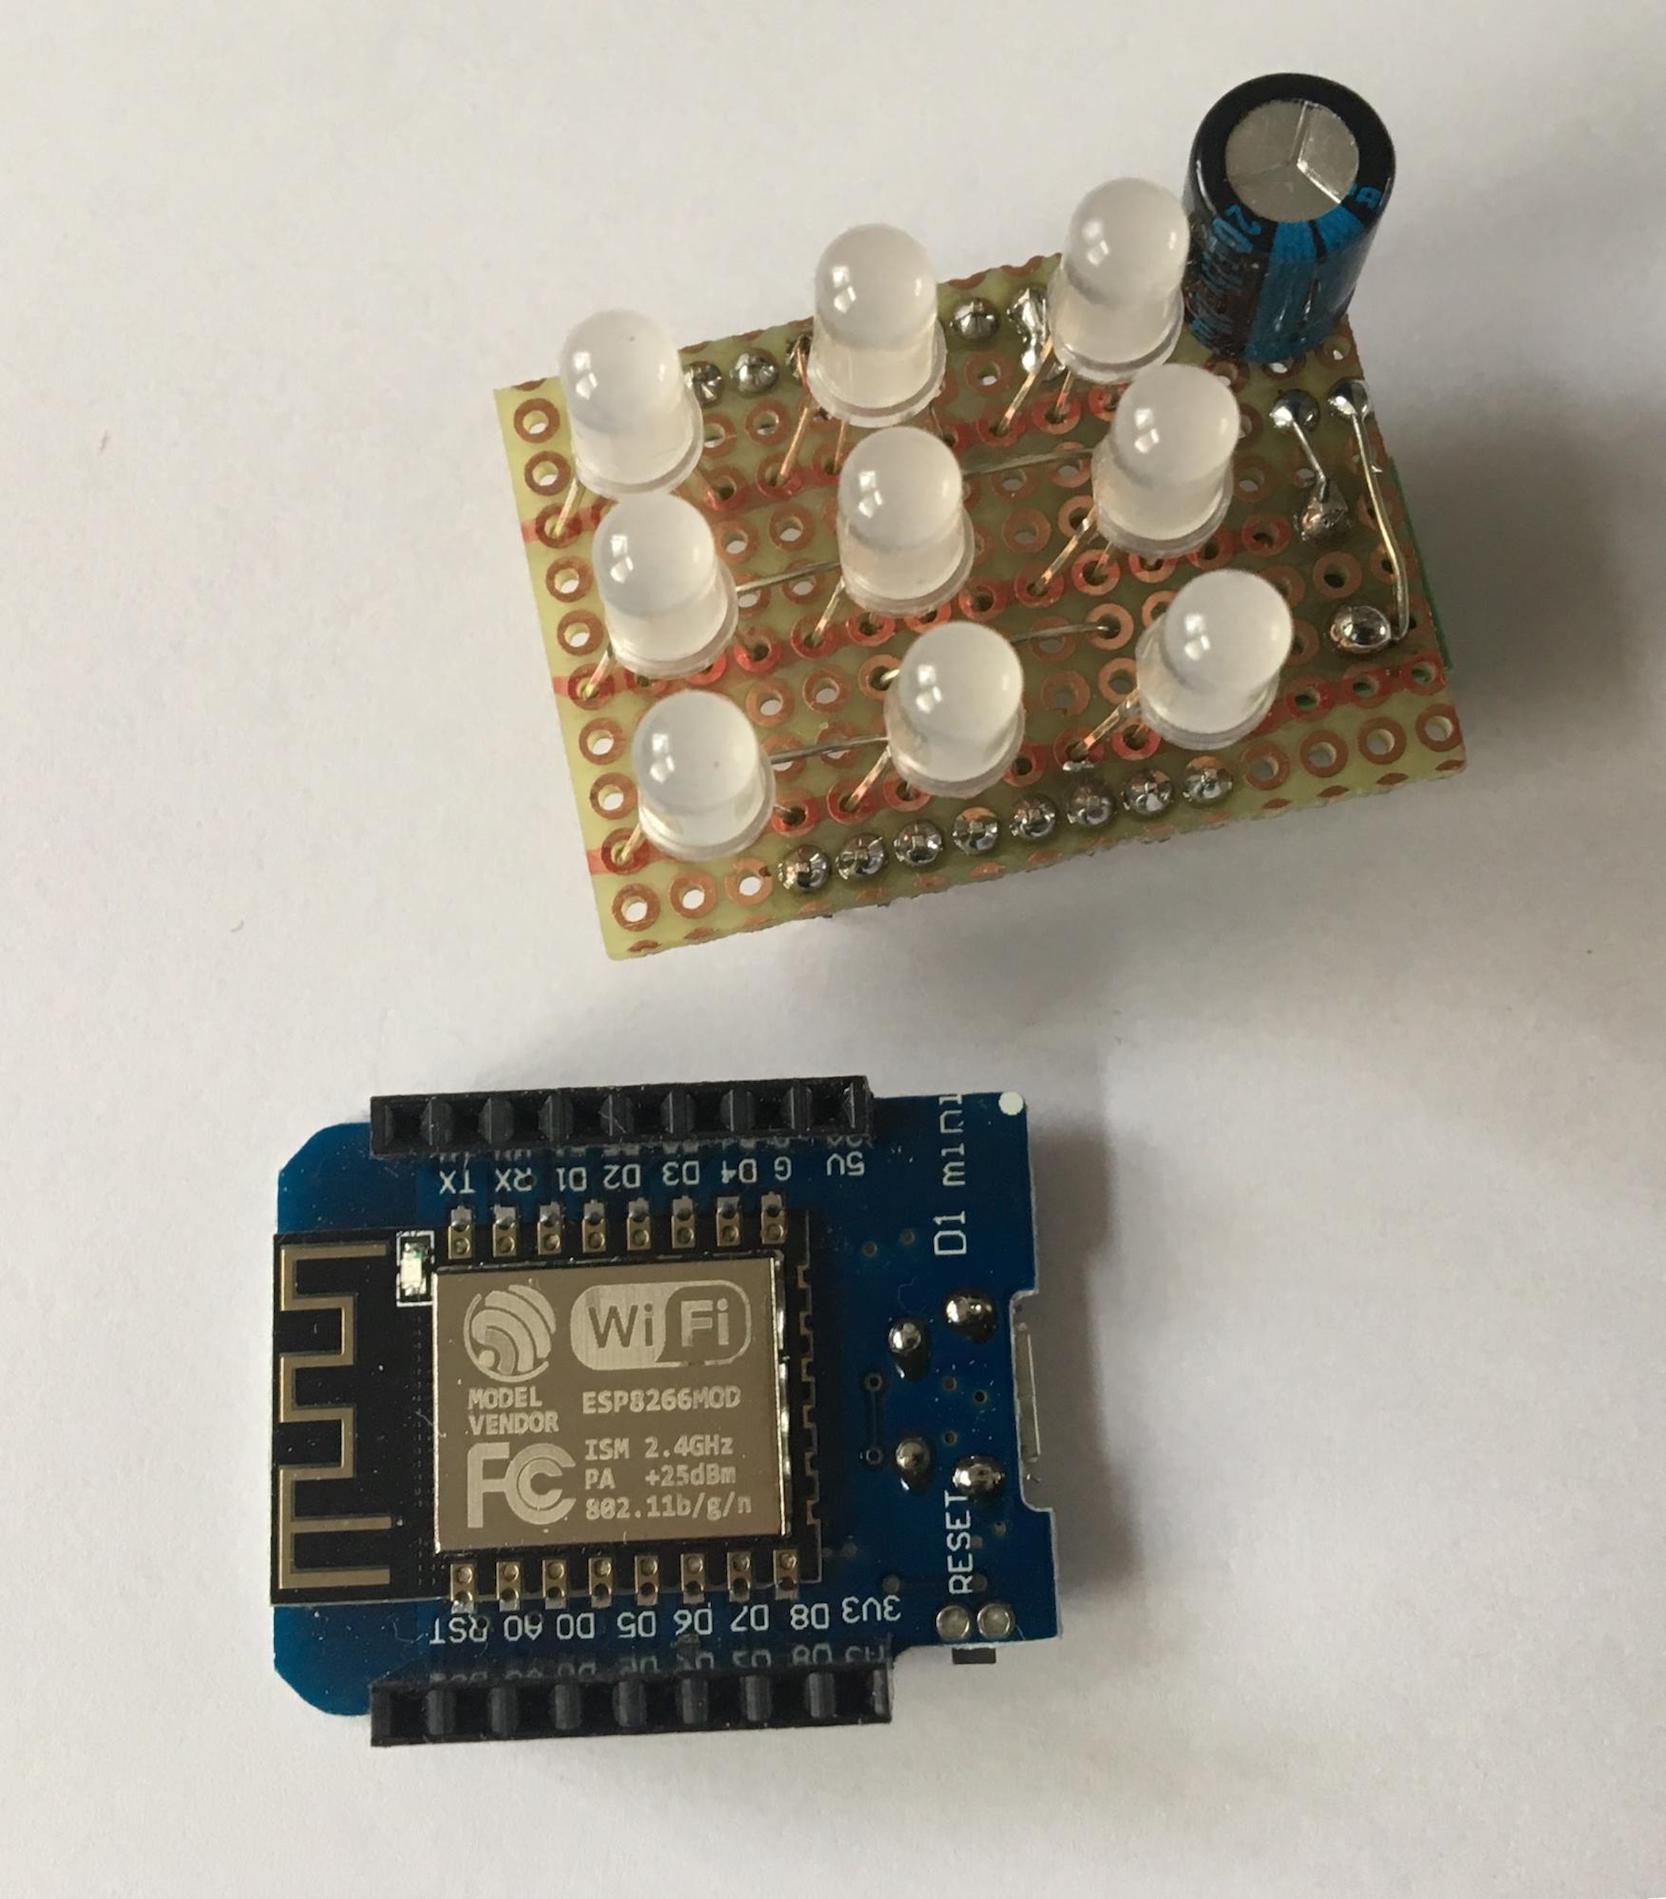
However, this approach didn’t work for the next device I attempted to modify. This device contained a D1 Mini module and two red/green LEDs. It is placed at my front door and shows whether all windows in the house are closed (red light: some windows are open, green light: all windows are closed) which also required some configuration — different configuration as a matter of fact. So, the configuration was no longer hard-coded, but the system with the structure was. Again, another problem.
The Cheetah Template
At my “day job” at the time, I was working on a model-based software development approach where code was generated from information in a model, and I remembered a Python package which I used a couple of years ago: the Cheetah Template. With this template engine you write the text you want to get and put in Python variables as placeholders each place some dynamic text is required:
tConfigBlock configBlock;
const uint32_t MAGIC = $magic;
const char* CONFIG_SSID = "$confWifiSsid";
extern ESP8266WebServer webServer;
In this small snippet, I have C variables (or actually, in the C code constants) for a magic value (which is more or less a version of information for the configuration structure) and the SSID for a Wi-Fi network, the ESP8266 should open in AP mode for the initial configuration.
The template engine, which has to process this snippet replaces both placeholders $magic and $confWifiSsid with the content of Python variables.
You can do more than the simple replacement of placeholders using Cheetah:
typedef struct {
#for $configItem in $configItems
#if $configItem.type == 'C'
  char ${configItem.key}[$configItem.length];
#else if $configItem.type == 'I'
  uint32_t $configItem.key;
#end if
#end for
} tConfigBlock;

extern const uint32_t MAGIC;
extern tConfigBlock configBlock;
extern const char* CONFIG_SSID;

void configServeIndex();
void configServeGetConfiguration();
void showConfiguration();

//(This is the complete template for the configuration.h file.)
There are conditions and loops. You can iterate over the items of a container or you can insert text based on conditions.
These are the major features of Cheetah I’m using in my generic configuration system for ESP8266/Arduino based applications: variable replacements, loops, and conditions.
The Project’s Input File
Let's have a look into the project-specific input file, which describes the configuration structure of the actual project:
configItems = [
    {"label":"_", "key":"magic", "type":"I", "default": ""},
    {"label":"Config Username", "key":"confUser", "type":"C", "length":16, "default":"admin"},
    {"label":"Config Password", "key":"confPasswd", "type":"C", "length":16, "default":"geheim123"},
    {"label":"Wifi SSID", "key":"wifiSsid", "type":"C", "length":32, "default":"test"},
    {"label":"Wifi Key", "key":"wifiKey", "type":"C", "length":64, "default":"geheim"},
    {"label":"MQTT Broker", "key":"mqttBroker", "type":"C", "length":32, "default":"broker.hottis.de"},
    {"label":"MQTT Username", "key":"mqttUser", "type":"C", "length":32, "default":"RgbLed1"},
    {"label":"MQTT Password", "key":"mqttPass", "type":"C", "length":32, "default":"geheim123"},
    {"label":"MQTT ClientId", "key":"mqttClientId", "type":"C", "length":32, "default":"RgbLed1"},
    {"label":"MQTT Port", "key":"mqttPort", "type":"I", "default":8883},
    {"label":"MQTT Topic Color Command", "key":"mqttTopicColorCommand", "type":"C", "length":64, "default":"IoT/RgbLed1/ColorCommand"},
    {"label":"MQTT Topic Command", "key":"mqttTopicCommand", "type":"C", "length":64, "default":"IoT/RgbLed1/Command"},
    {"label":"MQTT DebugTopic", "key":"mqttDebugTopic", "type":"C", "length":64, "default":"IoT/RgbLed1/Debug"},
    {"label":"DebugMode", "key":"debugMode", "type":"I", "default":0}
]

magic = 0xC0DE0006
appName = "ESP8266 based RgbLedLight"
This is the input for another small device to control RGB LEDs.
One word concerning the magic: whenever the magic number stored by the configuration in the EEPROM and the magic number generated into the code is different, the firmware — especially the structure of the configuration — has been updated and the stored configuration is invalid.
In this case, the application does not start in “production mode” but in “configuration mode”. In configuration mode, it opens its own Wi-Fi in AP mode since the Wi-Fi client parameters could be invalid and just serves the configuration webpage.
You can now connect your mobile smartphone to this separate Wi-Fi, access the configuration webpage and perform the initial configuration of the application. Later, once the Wi-Fi client parameters are correct and the application can connect to your home Wi-Fi you can still access the configuration webpage via your home Wi-Fi and the address the application receives from your local DHCP server.
Here is the Python code to process the above input file (ConfigDataStructure) and create both the C files configuration.h and configuration.c.
from Cheetah.Template import Template
from ConfigDataStructure import configItems, magic, appName

confWifiSsid = "espconfig"

params = {
   "magic":magic,
   "appName":appName,
   "confWifiSsid":confWifiSsid,
   "configItems":configItems
}

h_file = Template(file="configuration_h.tmpl", searchList=[params])
open('configuration.h','w').write(str(h_file))
c_file = Template(file="configuration_c.tmpl", searchList=[params])
open('configuration.cpp','w').write(str(c_file))
configuration.h contains the typedef for the struct with the configuration data and configuration.c contains an instantiation of the configuration struct, the generated webpage with the form, and processing for the input delivered from the form for storing it in the EEPROM.
The Application Code
In the application code, the configuration struct variable configBlock can be used to access the configuration.
static void mqttReconnect() {
    uint32_t currentMillis = millis();
    static uint32_t lastMillis = 0;

    // Loop until we're reconnected
    if (!mqttClient.connected() && (currentMillis > (lastMillis + RECONNECT_DELAY))) {
        lastMillis = currentMillis;
#ifdef DEBUG
        Serial.print("Attempting MQTT connection...");
#endif
        // Attempt to connect
        //char clientId[128];
        //snprintf(clientId, 127, "esp%s", WiFi.macAddress().c_str());
        if (mqttClient.connect(configBlock.mqttClientId, configBlock.mqttUser, configBlock.mqttPass)) {
#ifdef DEBUG
            Serial.println("connected");
#endif
            mqttClient.setCallback(callback);

            // Once connected, publish an announcement...
            mqttClient.publish(configBlock.mqttDebugTopic, "hello world");
            mqttClient.publish(configBlock.mqttDebugTopic, WiFi.localIP().toString().c_str());

            subscribeApplication();
        } else {
#ifdef DEBUG
            Serial.print("failed, rc=");
            Serial.print(mqttClient.state());
            Serial.println(" try again in 5 seconds");
#endif
        }
    }
}

void mqttSetup() {
    mqttClient.setServer(configBlock.mqttBroker, configBlock.mqttPort);
}

void mqttLoop() {
    if (!mqttClient.connected()) {
        mqttReconnect();
    } else {
        mqttClient.loop();
    }
}
All code for this system including the configuration example, templates, and code generator are available on Gitlab. I’ve used this code in several of the projects on my Gitlab page.
Next Steps for This Application
This approach has kept me happy for a while. However, I’m currently working on refactoring the whole application structure to extract all the ESP8266 and MQTT boilerplate code to be able to include it as a subproject.