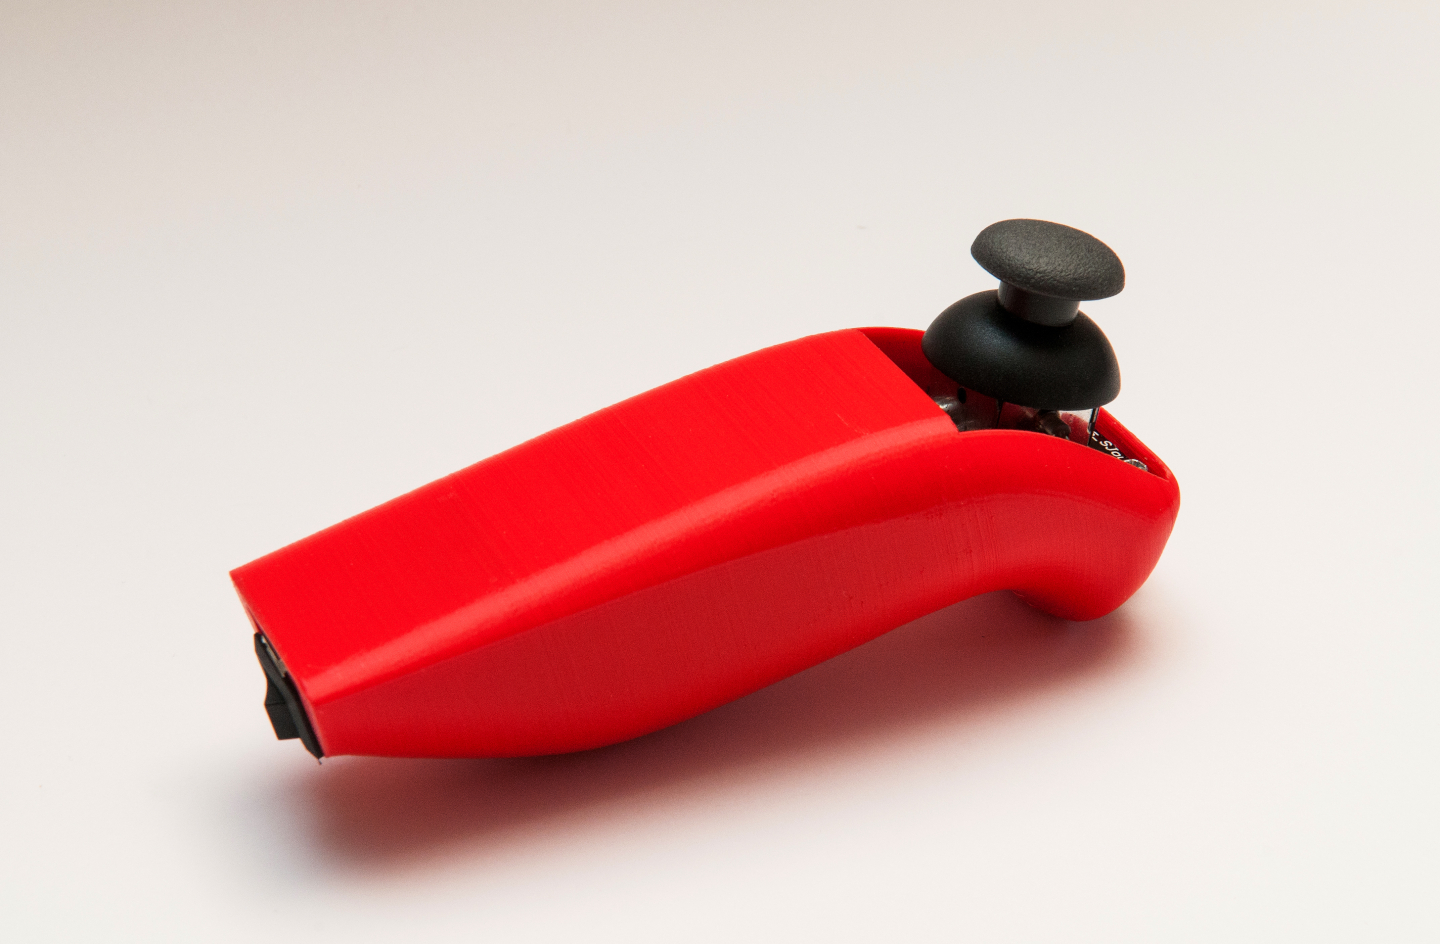
Design and realize a 3D object with ESP8266 : Joystick remote controller
Objective of this project
The goal of this project is to realize the design and the integration of a “joystick” remote control allowing to control different other maker projects : robots, pan-tilt cam ...
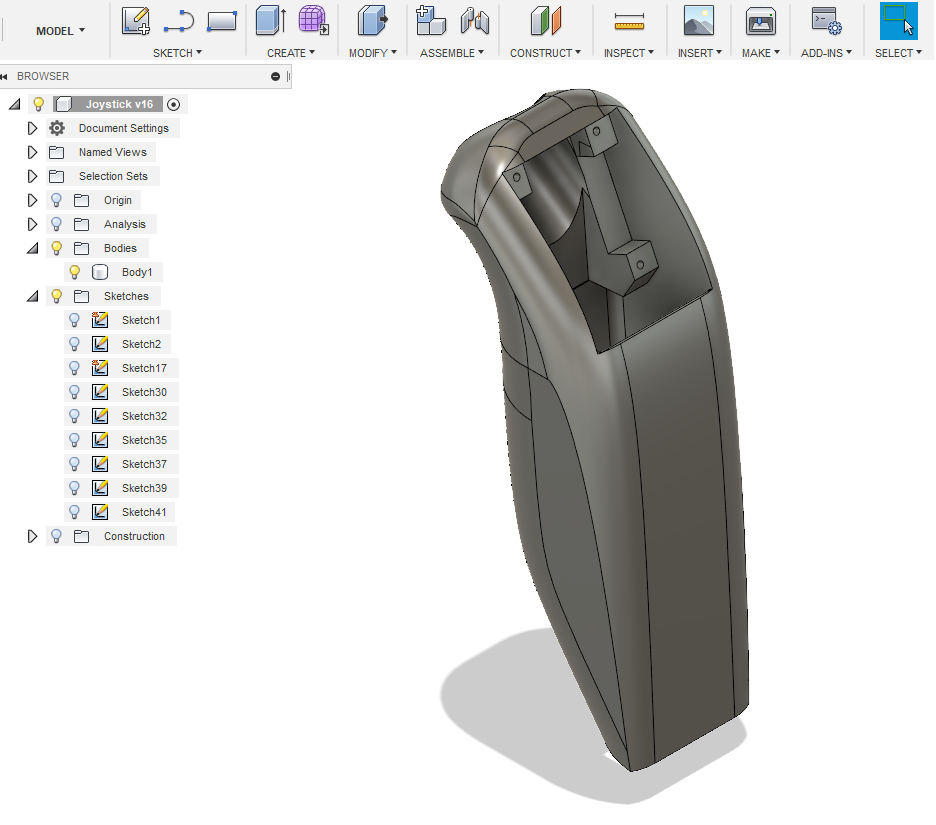
This type of project is a real challenge in modeling and printing a 3D object. It allow to learn or improve the handling of a 3D design software.
Operating principle
The operation is quite simple : the microcontroller connects itself to a WiFi access point. Next, it collects the sensors state and transmits informations to the network at the rate of about ten packets per second.
The project specificity is that the information transmission on the WiFi network is performed in Udp multicast.
Multicast Transmission
The data transmission in “Multicast” mode allows to benefit from several advantages :
- UDP packets are in “not connected” mode, it is not necessary to establish and maintain a session with the equipment in charge of the reception. Neither, acknowledgment of packets isn’t required.
- It is not necessary to know the destination IP address, the data is transmit unconditionally to the multicast group, even if no destination or receiver exists !
- It is possible to transmit the information to several recipients simultaneously.
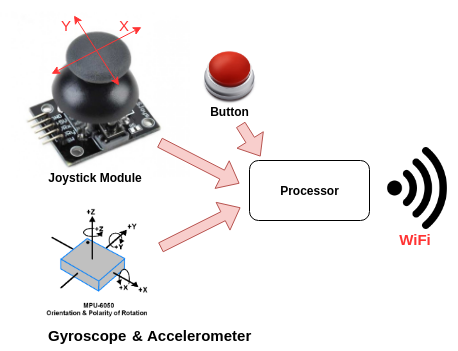
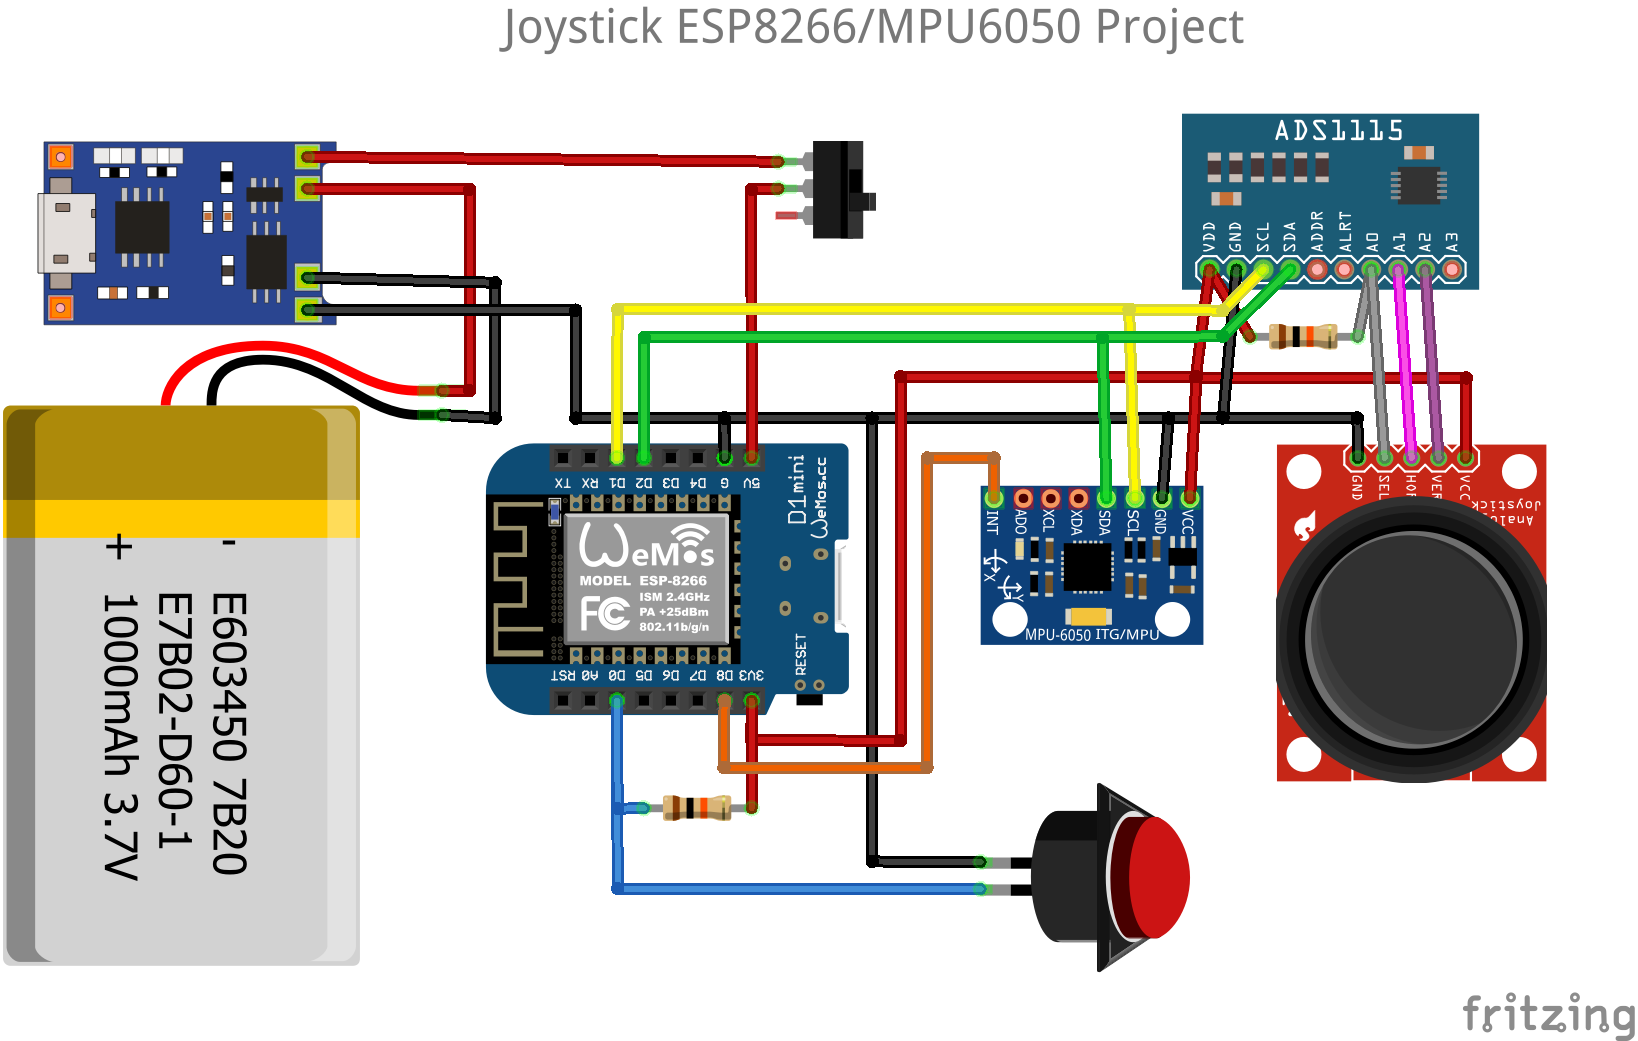
Diagram
Joystick Module
The ESP8266 has only one analog input. So, the joystick module is connected using an analog/digital converter ADS1115 on the I2C bus. One entry for the X axis, one for the Y axis, another for the integrated button.
Gyroscope & Accelerometer
Space positioning data is from the DMP (Digital Motion Processor) integrated into the module MPU6050, in the form of variable of type “Quaternion”.
MPU6050 mpu;
Quaternion q;           // [w, x, y, z]         quaternion container
mpu.dmpGetQuaternion(&q, fifoBuffer);
Project supply
The supply of this project is performed by a 3,7V / 1000mAh battery and a load management module type TP4056. The autonomy can reach about 8 hours.
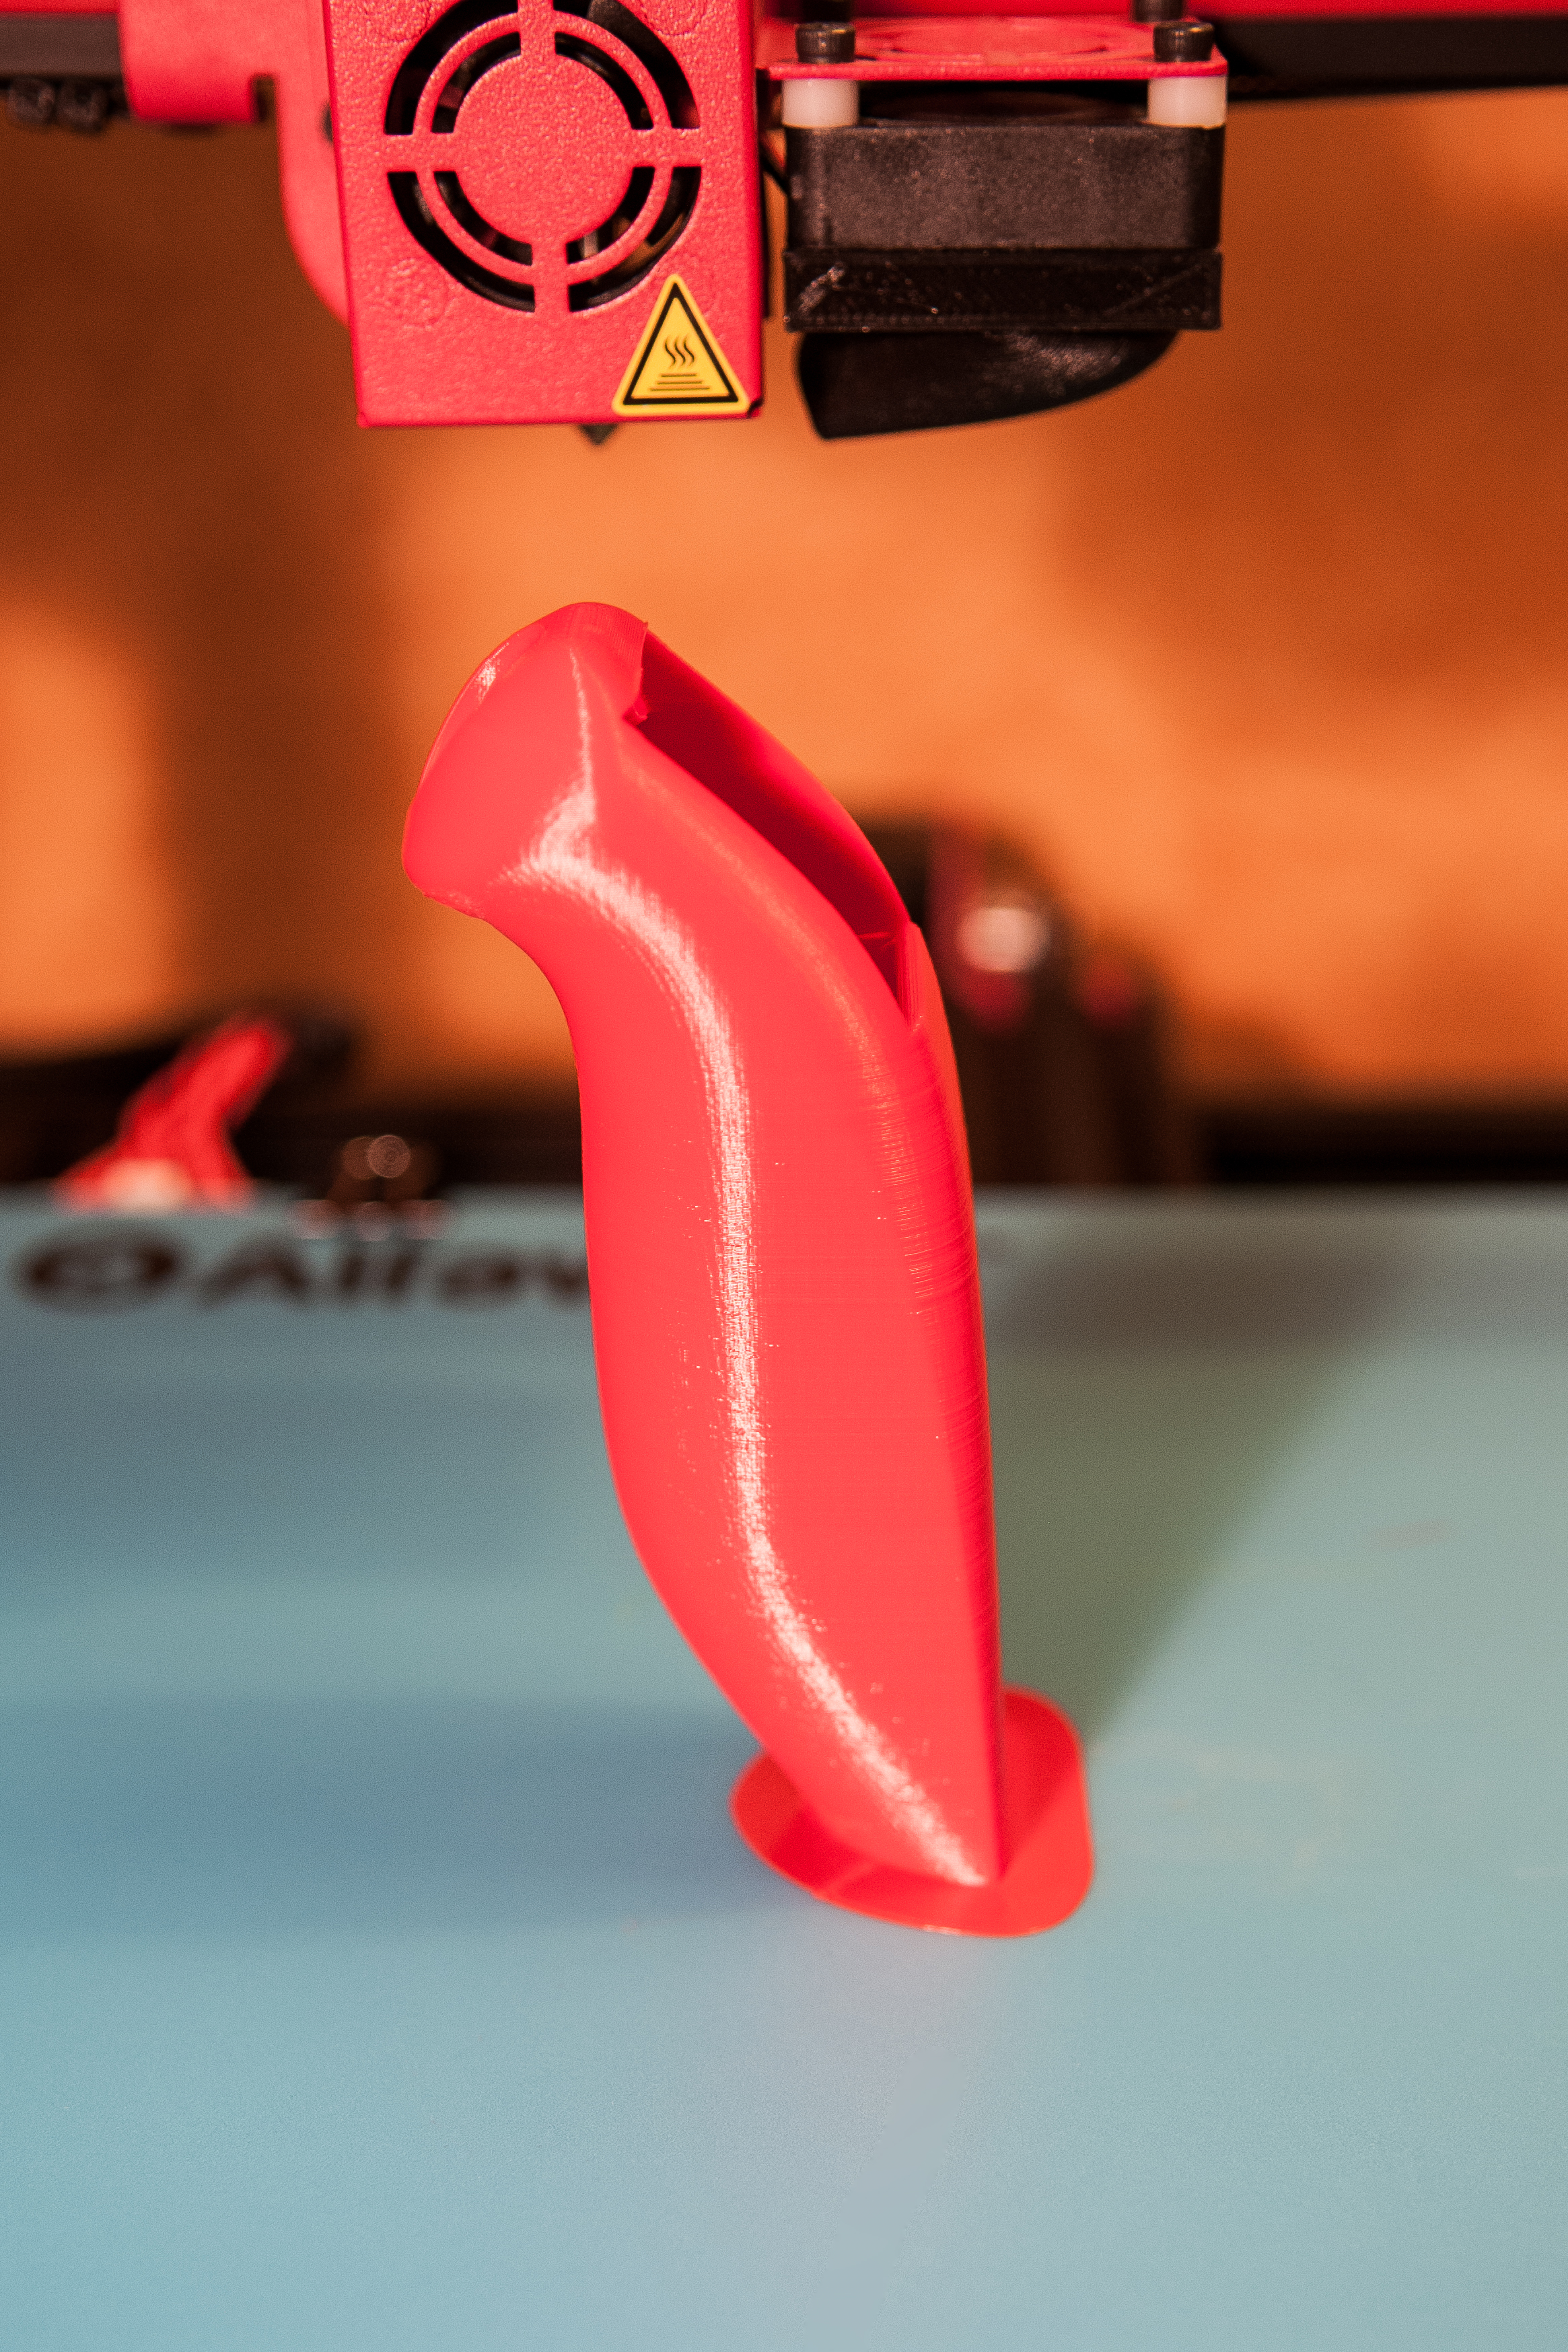
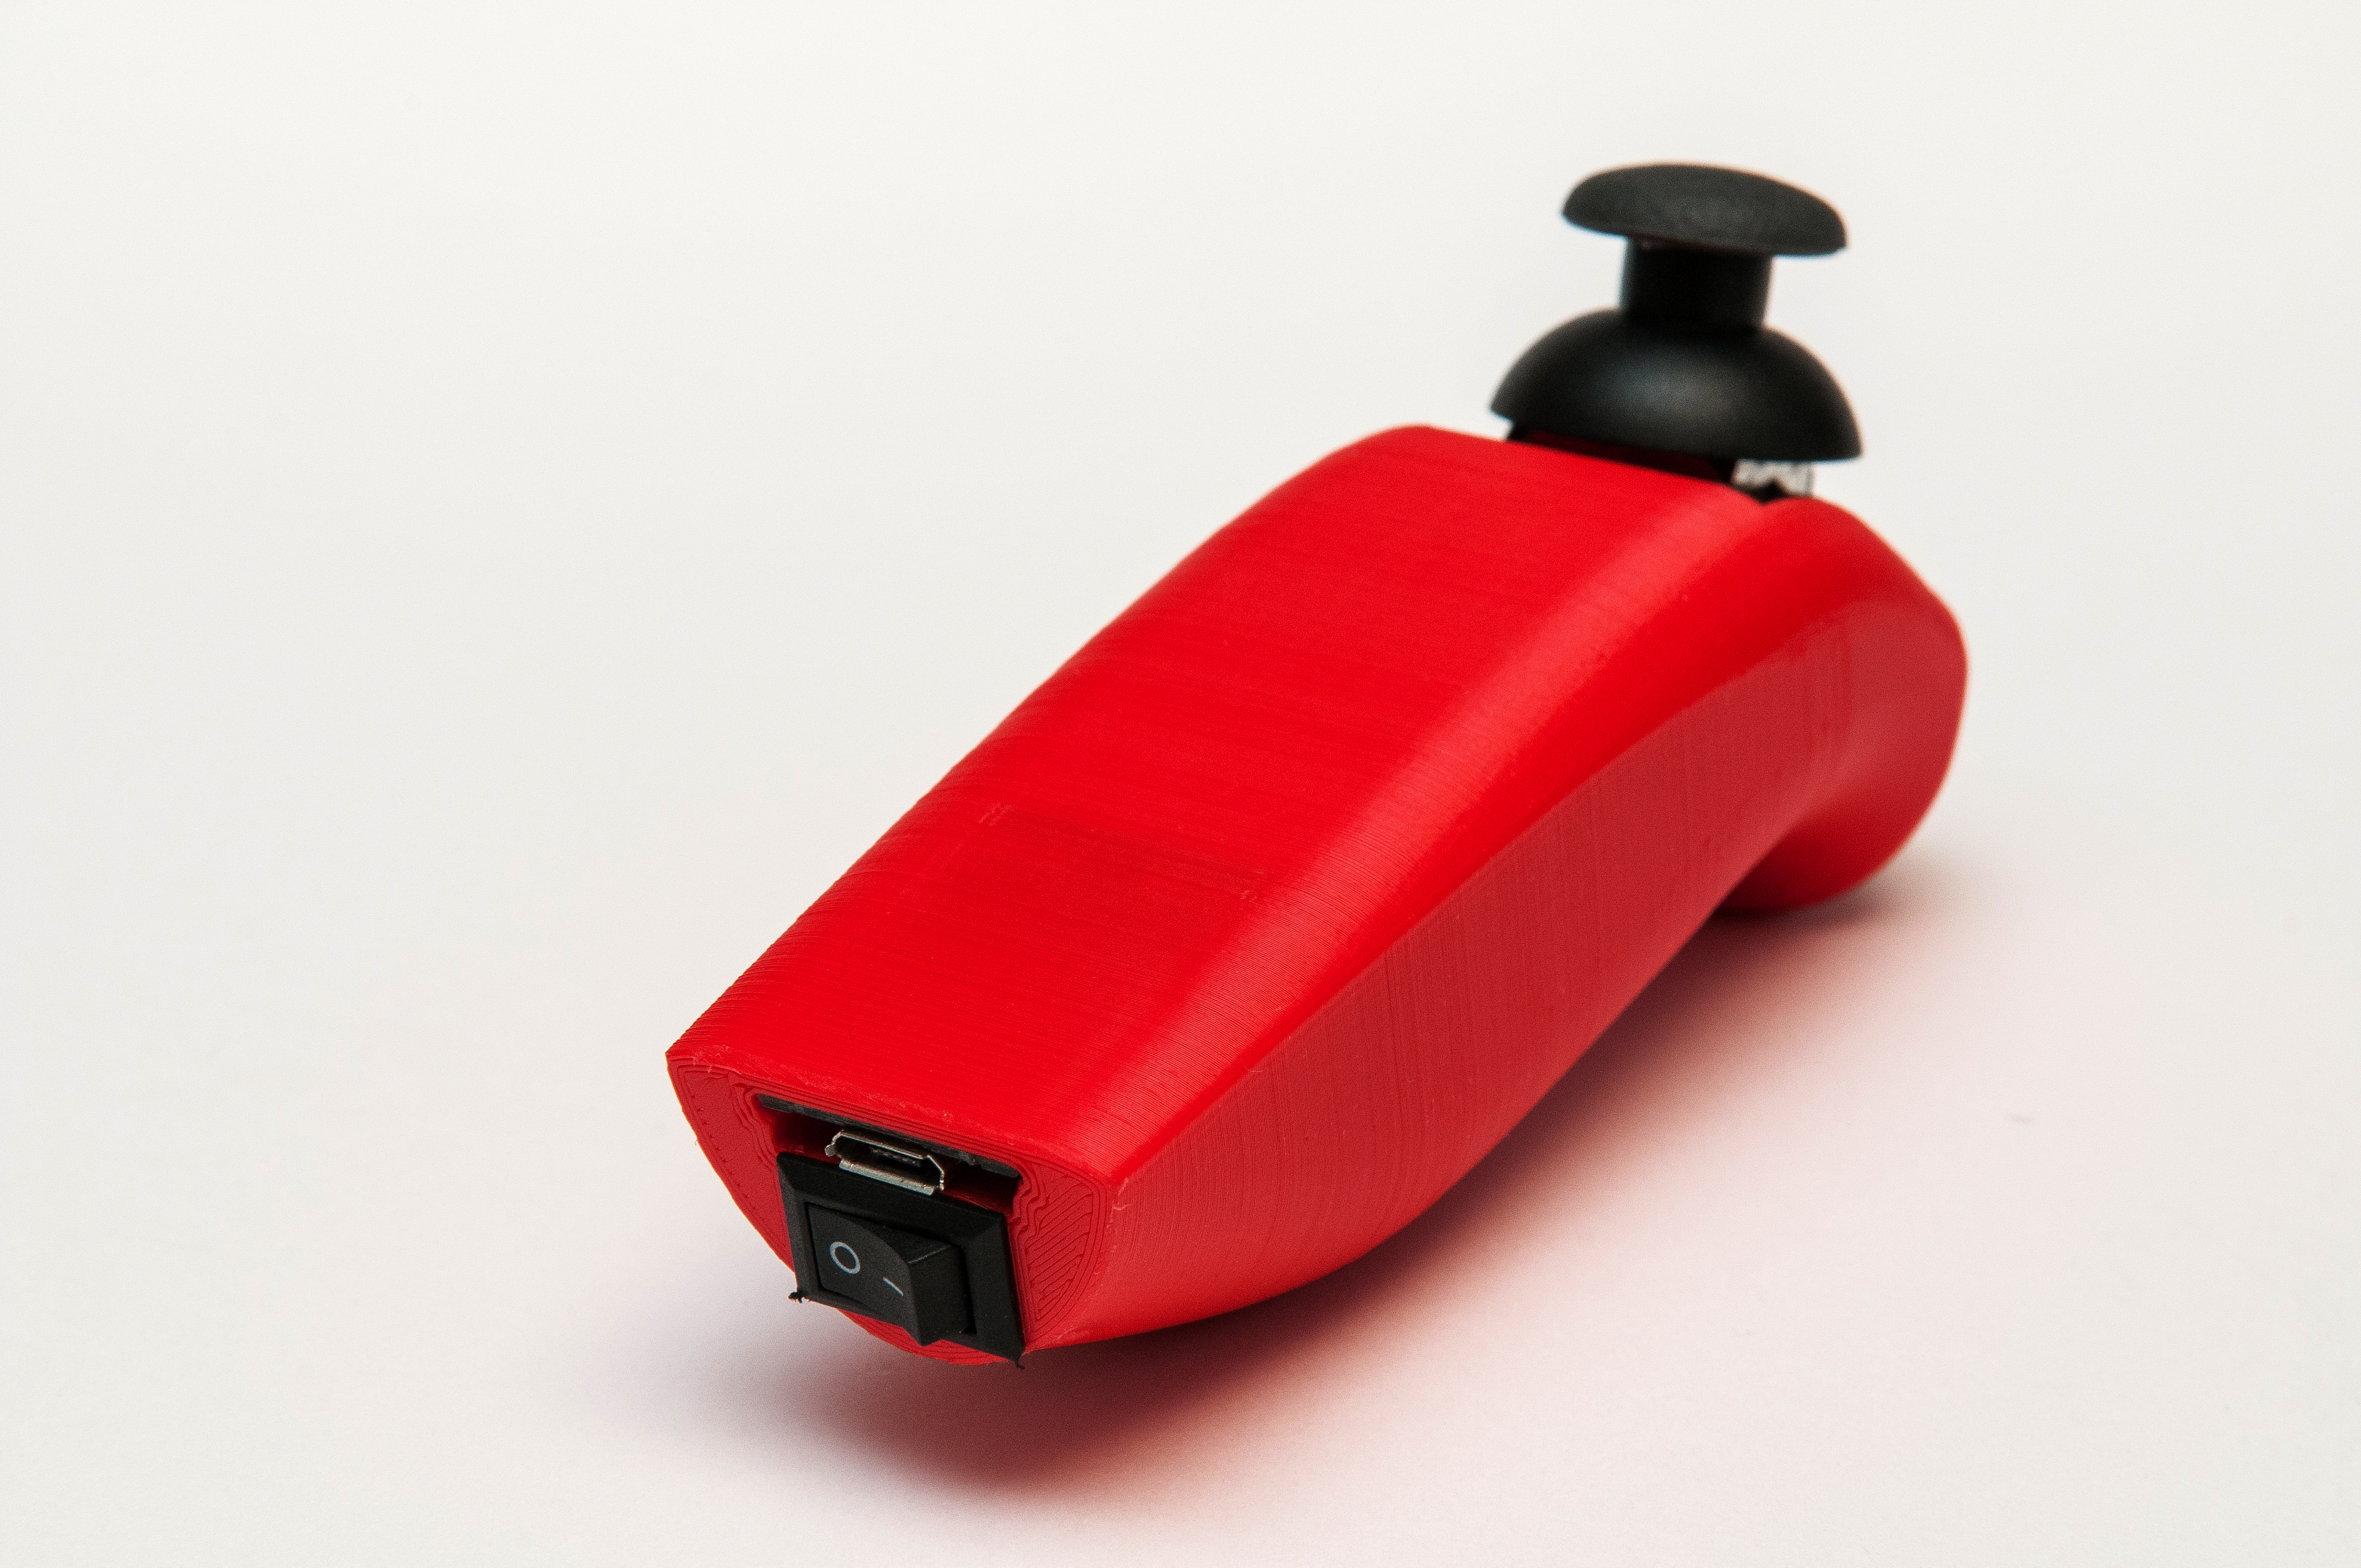
Realization
3D printing is done in PLA 1.75 on an Alfawise U20 printer via the Cura software with a layer height of 0.15 and a fill rate of 40%, without support but with a layer of adhesion.
The printing time is approximately 7:30.
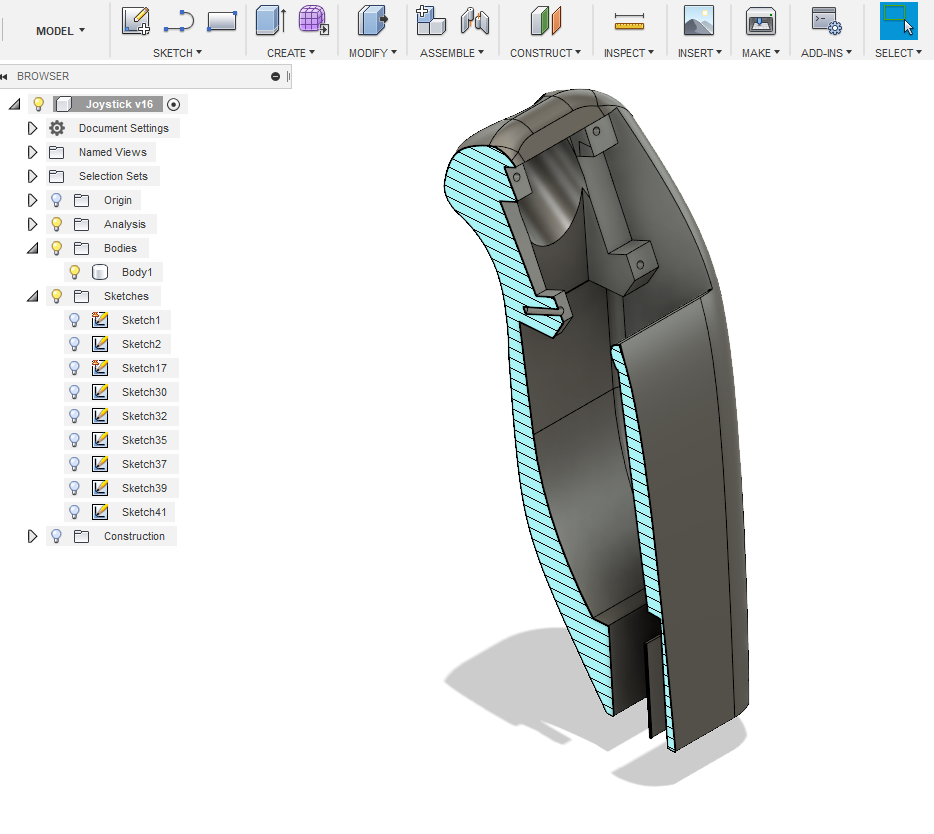
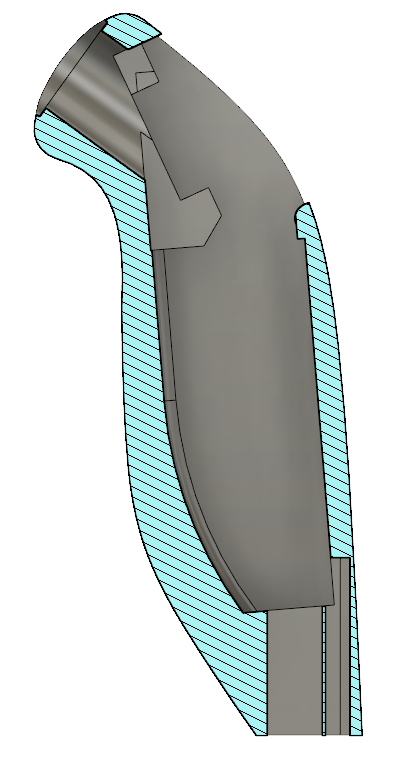
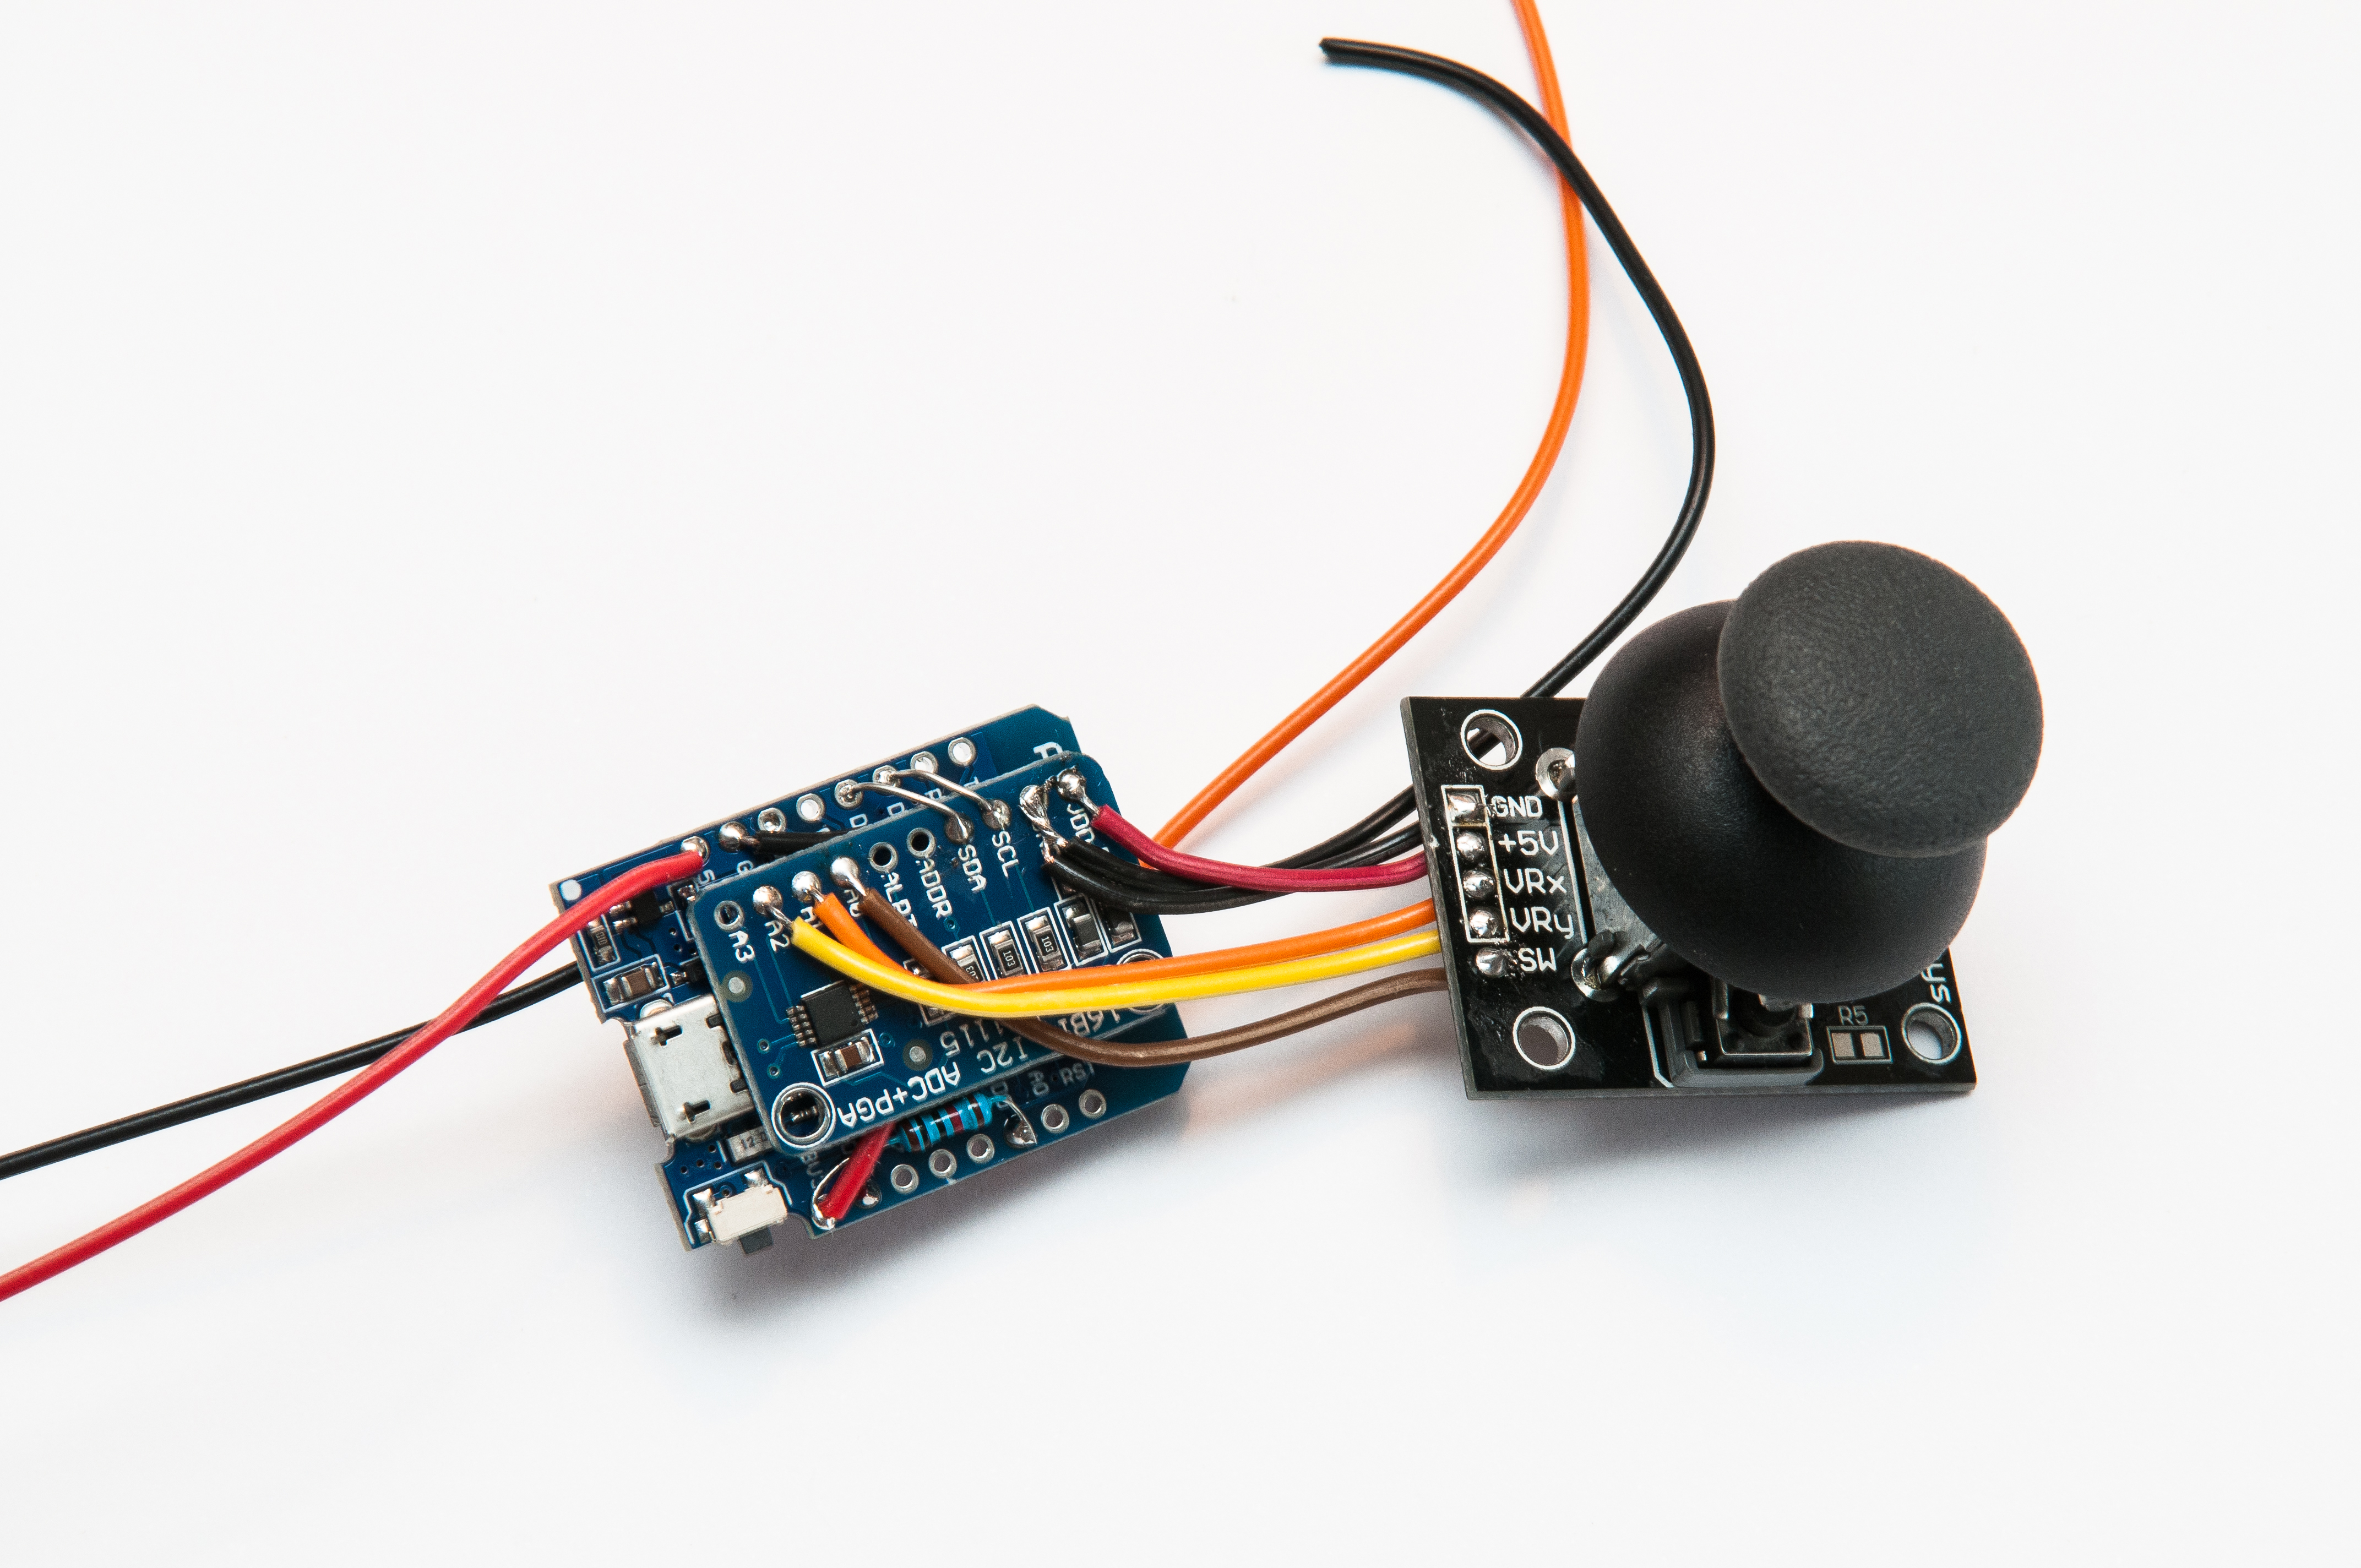
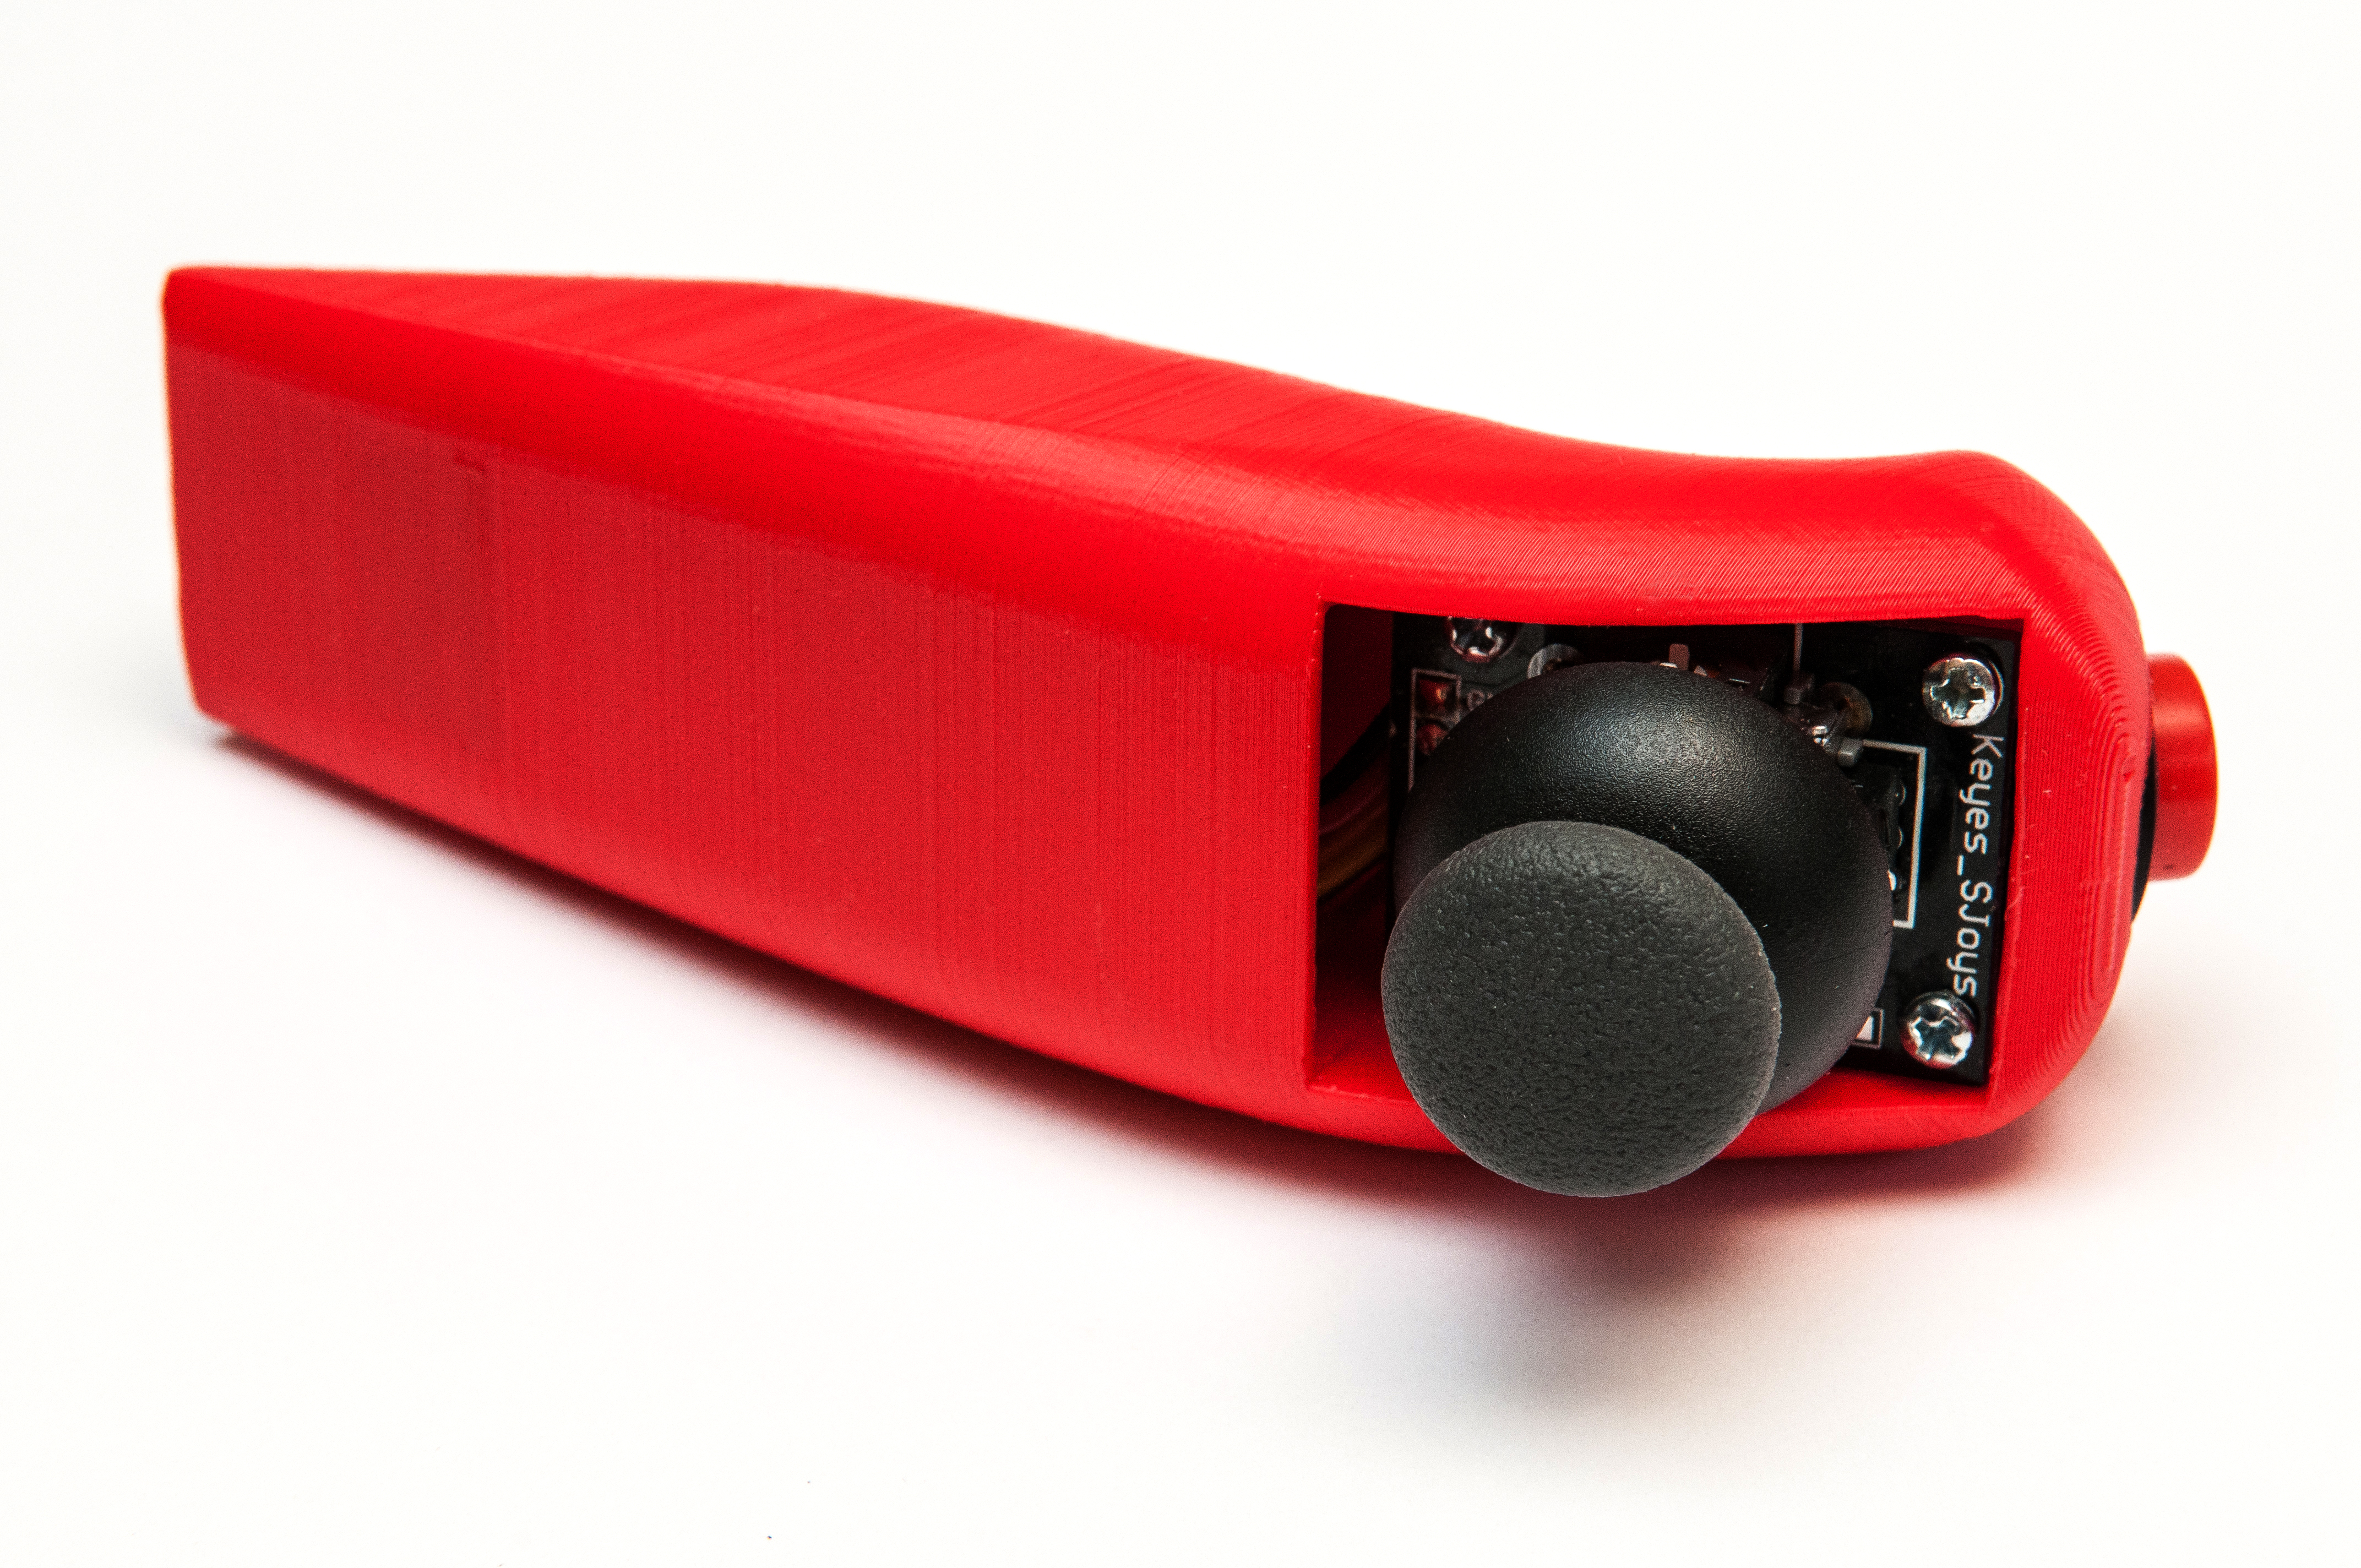
Then, the difficulty is to bring in the electronics!
The ADS1115 module is stuck upon the ESP8266, while the MPU is below.
everything is inserted in the controller preceded by the battery.