1 FINALIZING COMPONENTS REQUIRED
PlutoX
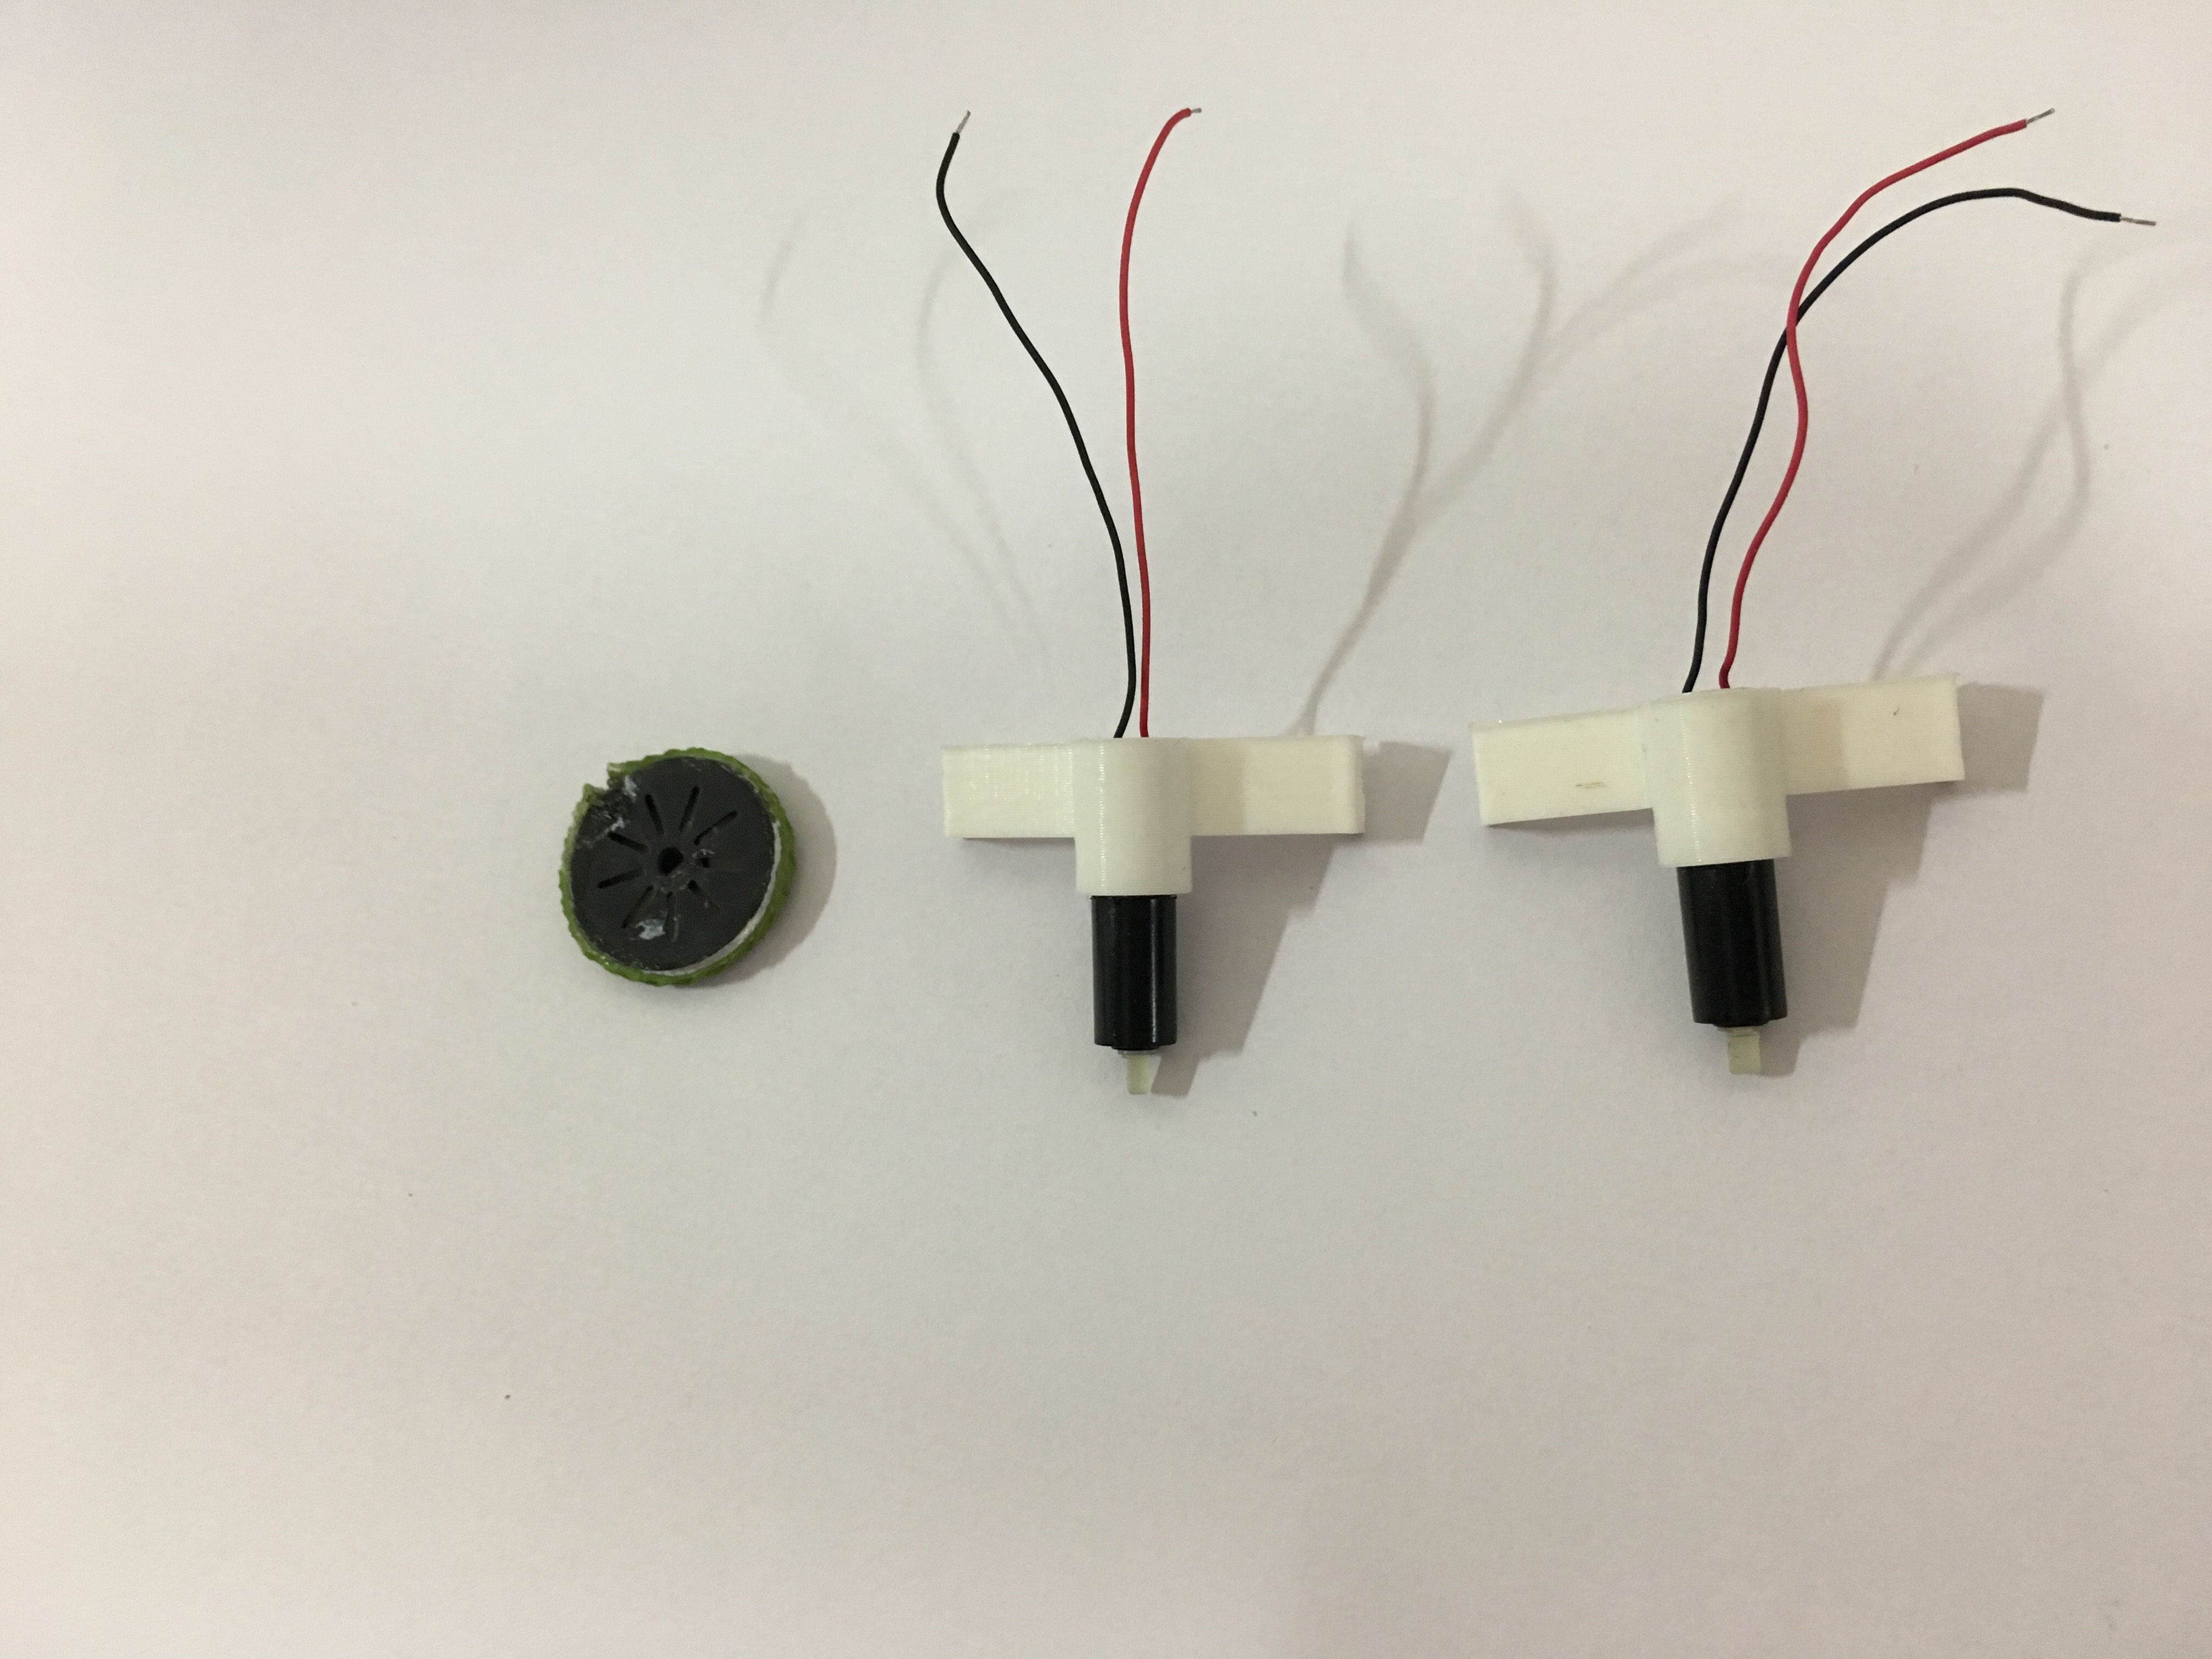
3D printed wheels and motor support
400 rpm brushed motors
600 mAh batteries
2 GETTING THE HARDWARE READY
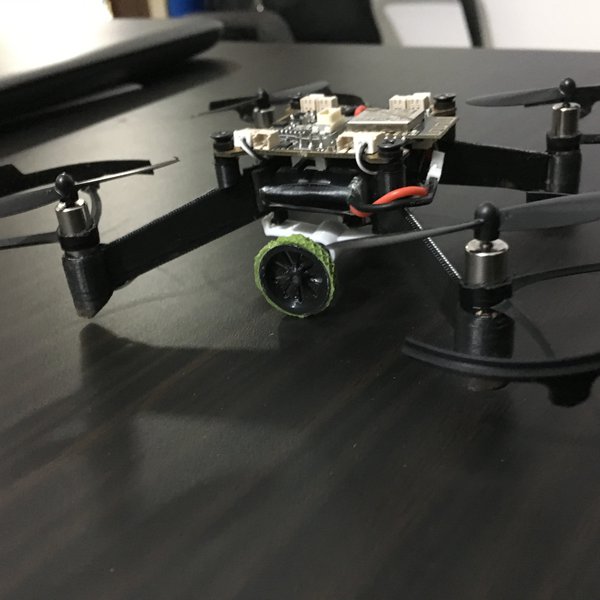
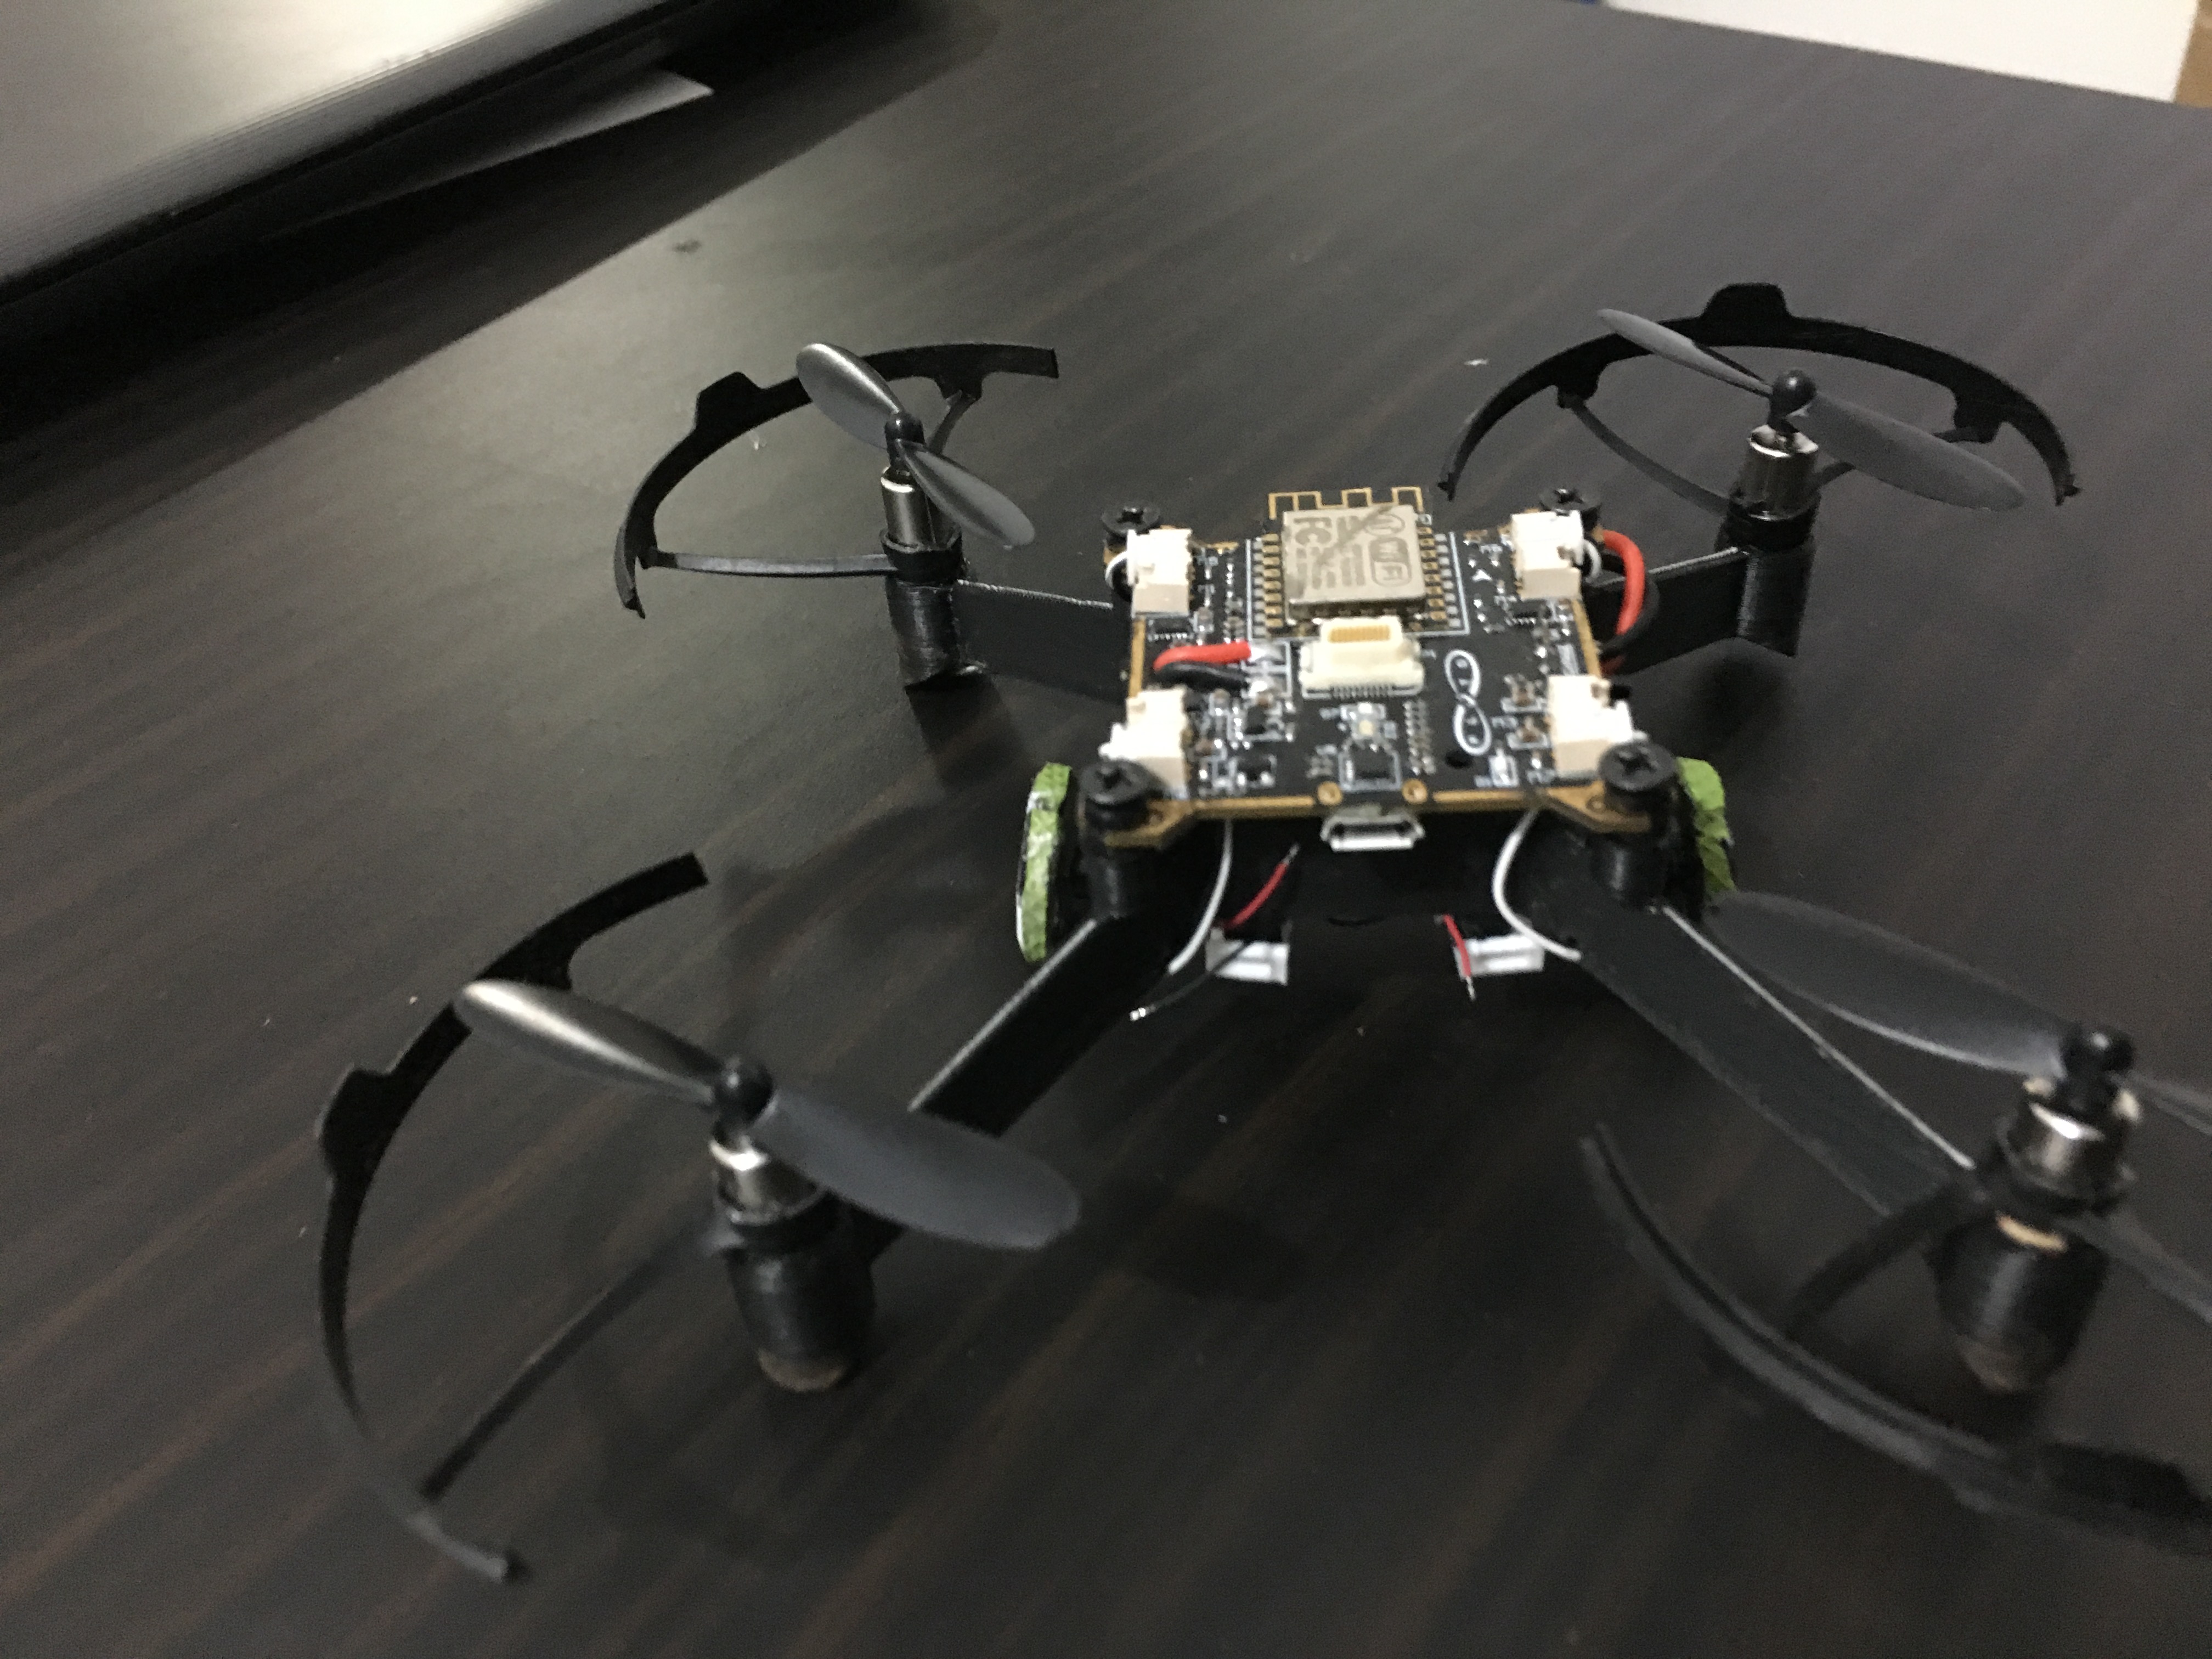
In this project I decided to use PlutoX drone due to it’s hardware modularity. Adding most structure is easier. For my project I needed something that will hold the wheels so that I can use my drone as a rover.
Using this wheel support I can easily clip the motors for rover onto the frame
3 GETTING THE SOFTWARE READY
If the PlutoX is DISARMED (i.e in the Rover mode)
Check if it is Auto-Stabilized or not (AutoStablization helps the rover to maintain the direction with the help of Magnetometer )
If it is Auto-Stabilized, indicate by turning on the Left LED, get the heading from Yaw angle.
If not Auto-Stabilized, indicate by turning on the Right LED
Get the RC input and perform error correction(Error correction - only if Auto-Stabilized)
Set the direction and PWM input for motor M2 and M3
Motor Direction
Forward - M2 and M3 both forward
Reverse - M2 and M3 both reverse
Right - M2 forward, M3 reverse
Left - M2 reverse, M3 forward
If the PlutoX is Armed it operates in Drone mode
Auto-Stabilization - Using smaller wheels in rover mode sometimes becomes a disadvantage as it gets difficult for the drone to move in a straight line/forward direction.
Auto-Stabilization uses the data from drones magnetometer and gets the yaw angle. Using this we can move the rover in straight line.


