Learn how you can program your ATtiny microcontroller with an IC test clip and Arduino IDE.
We discussed the ways ATtiny MCUs offer a smaller and lower-cost alternative to Arduino when it comes to prototyping an idea for a larger scale. Then I showed you a custom test PCB you can create to program with an ATtiny. Now it's time to dive into the actual methods for programming an ATtiny MCU.
One of the challenges for programming SMD ATtiny microcontrollers is that they cannot be directly plugged into things like an Arduino as their ISP programmer or a dedicated ISP programmer.
ATtiny MCUs lack pins for interfacing with jumper wires or a breadboard. However, there are ways of interfacing with an SMD microcontroller, even after it has been soldered to a PCB. In this first programming method walk-through, I'll show you how to program an ATtiny using a tool called an SMD test clip.
What is an IC Test Clip?
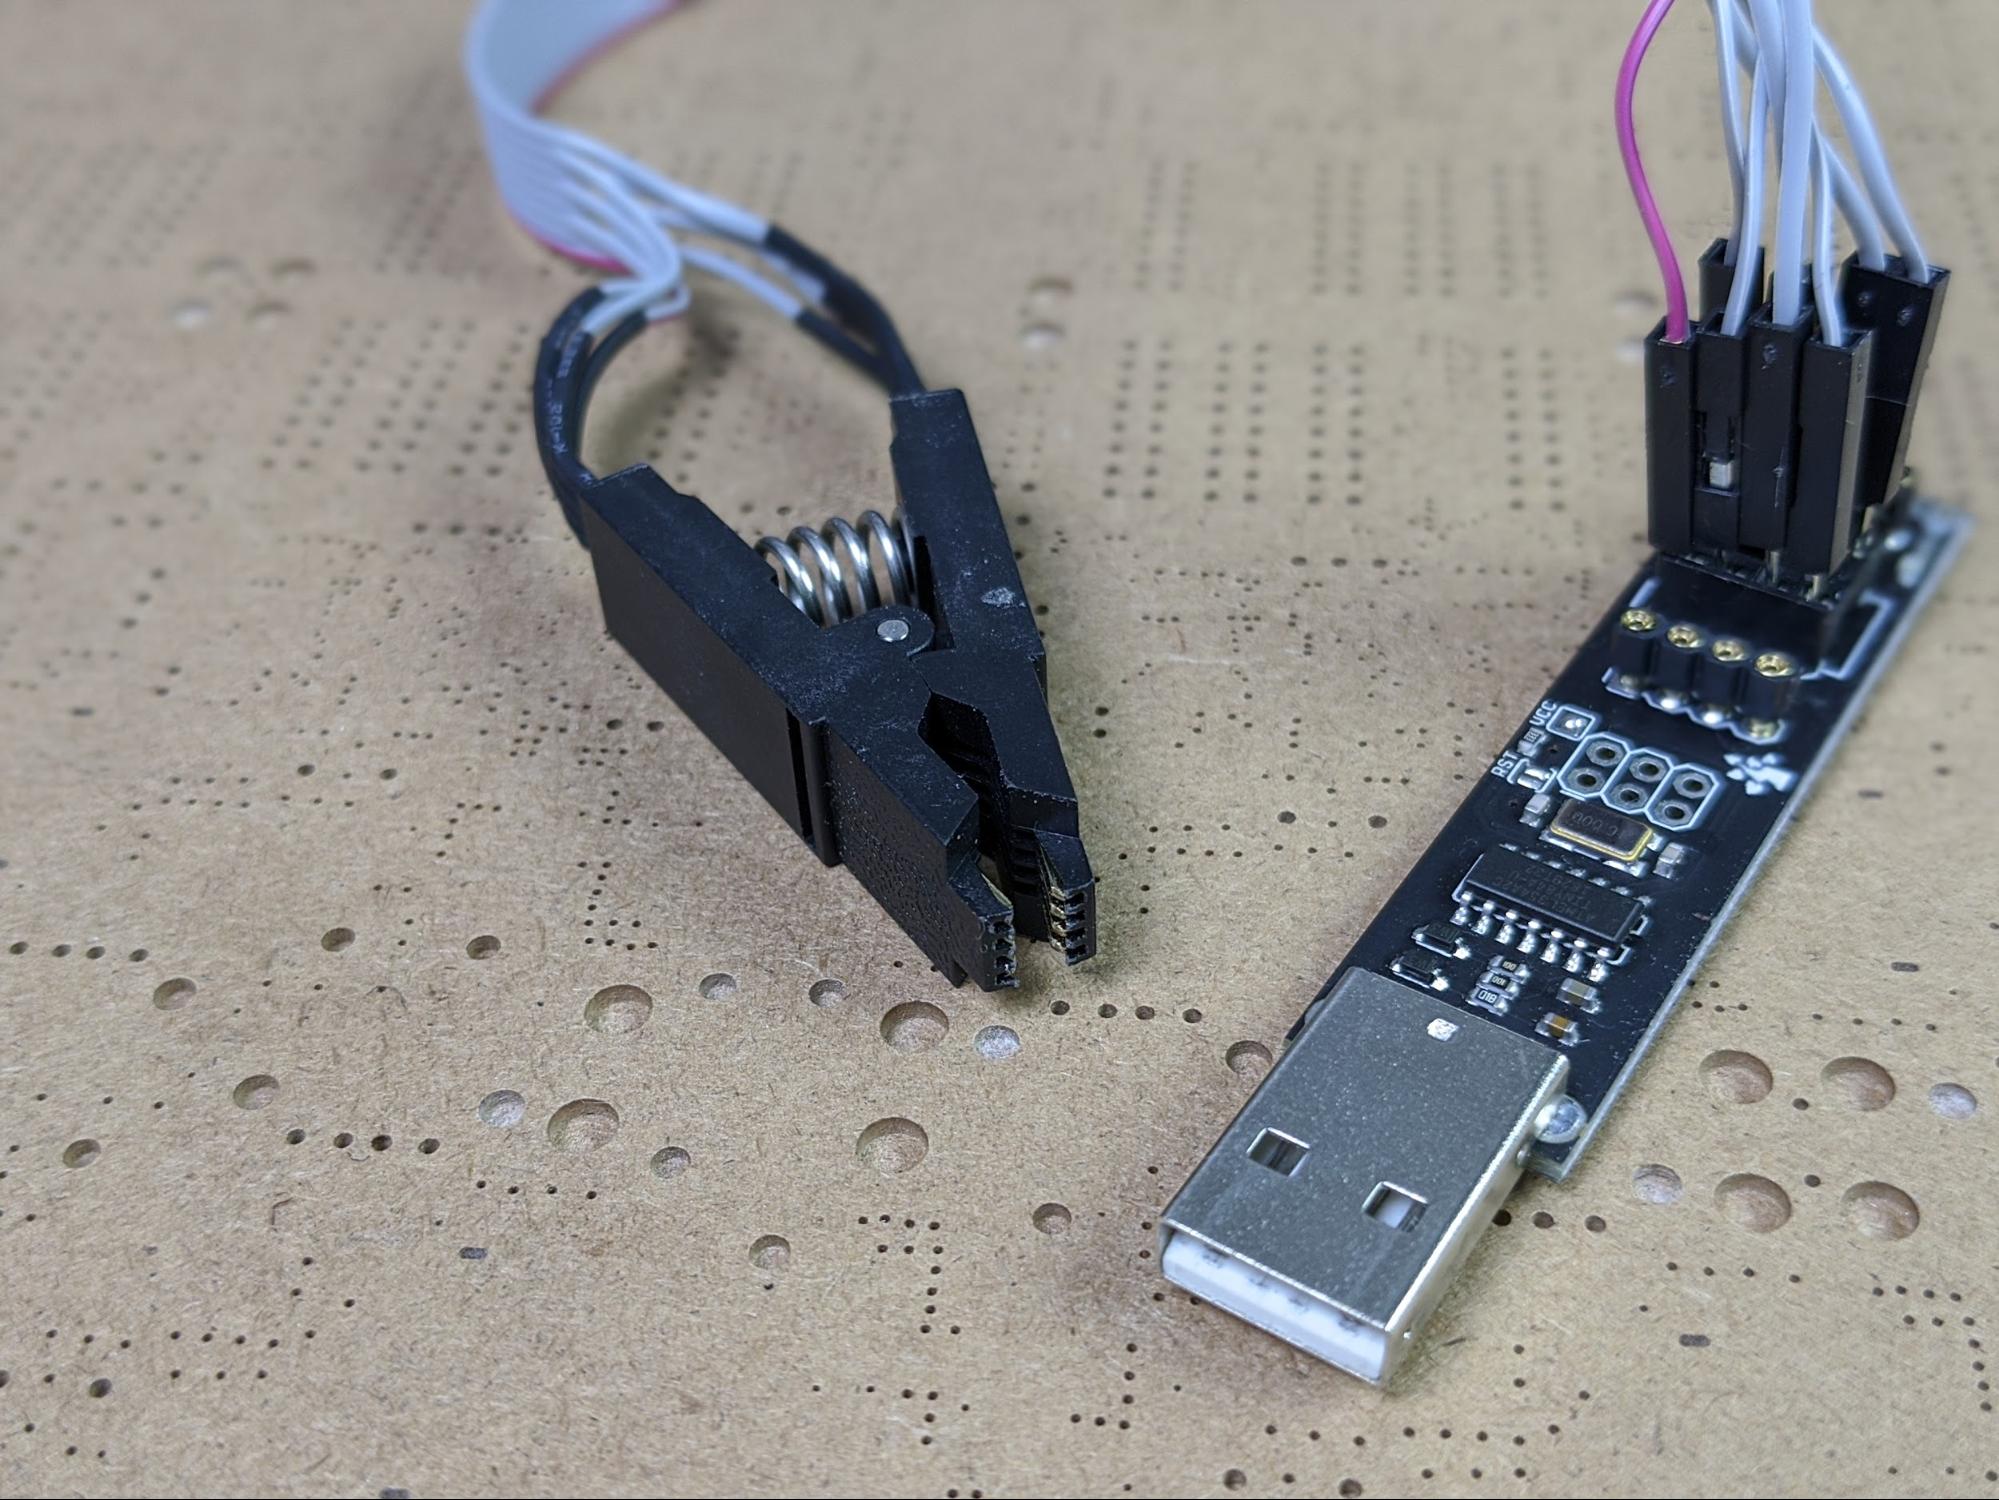
The IC test clip itself is a spring-loaded clip with sets of electrical contacts on the inside of the jaws. They are designed to fit onto specific SMD packages.
The test clip hooks onto a microcontroller IC and allows connections to be made with the SMD pins. Using this tool, an SMD microcontroller can be connected to an ISP programmer just like a through-hole package can be.
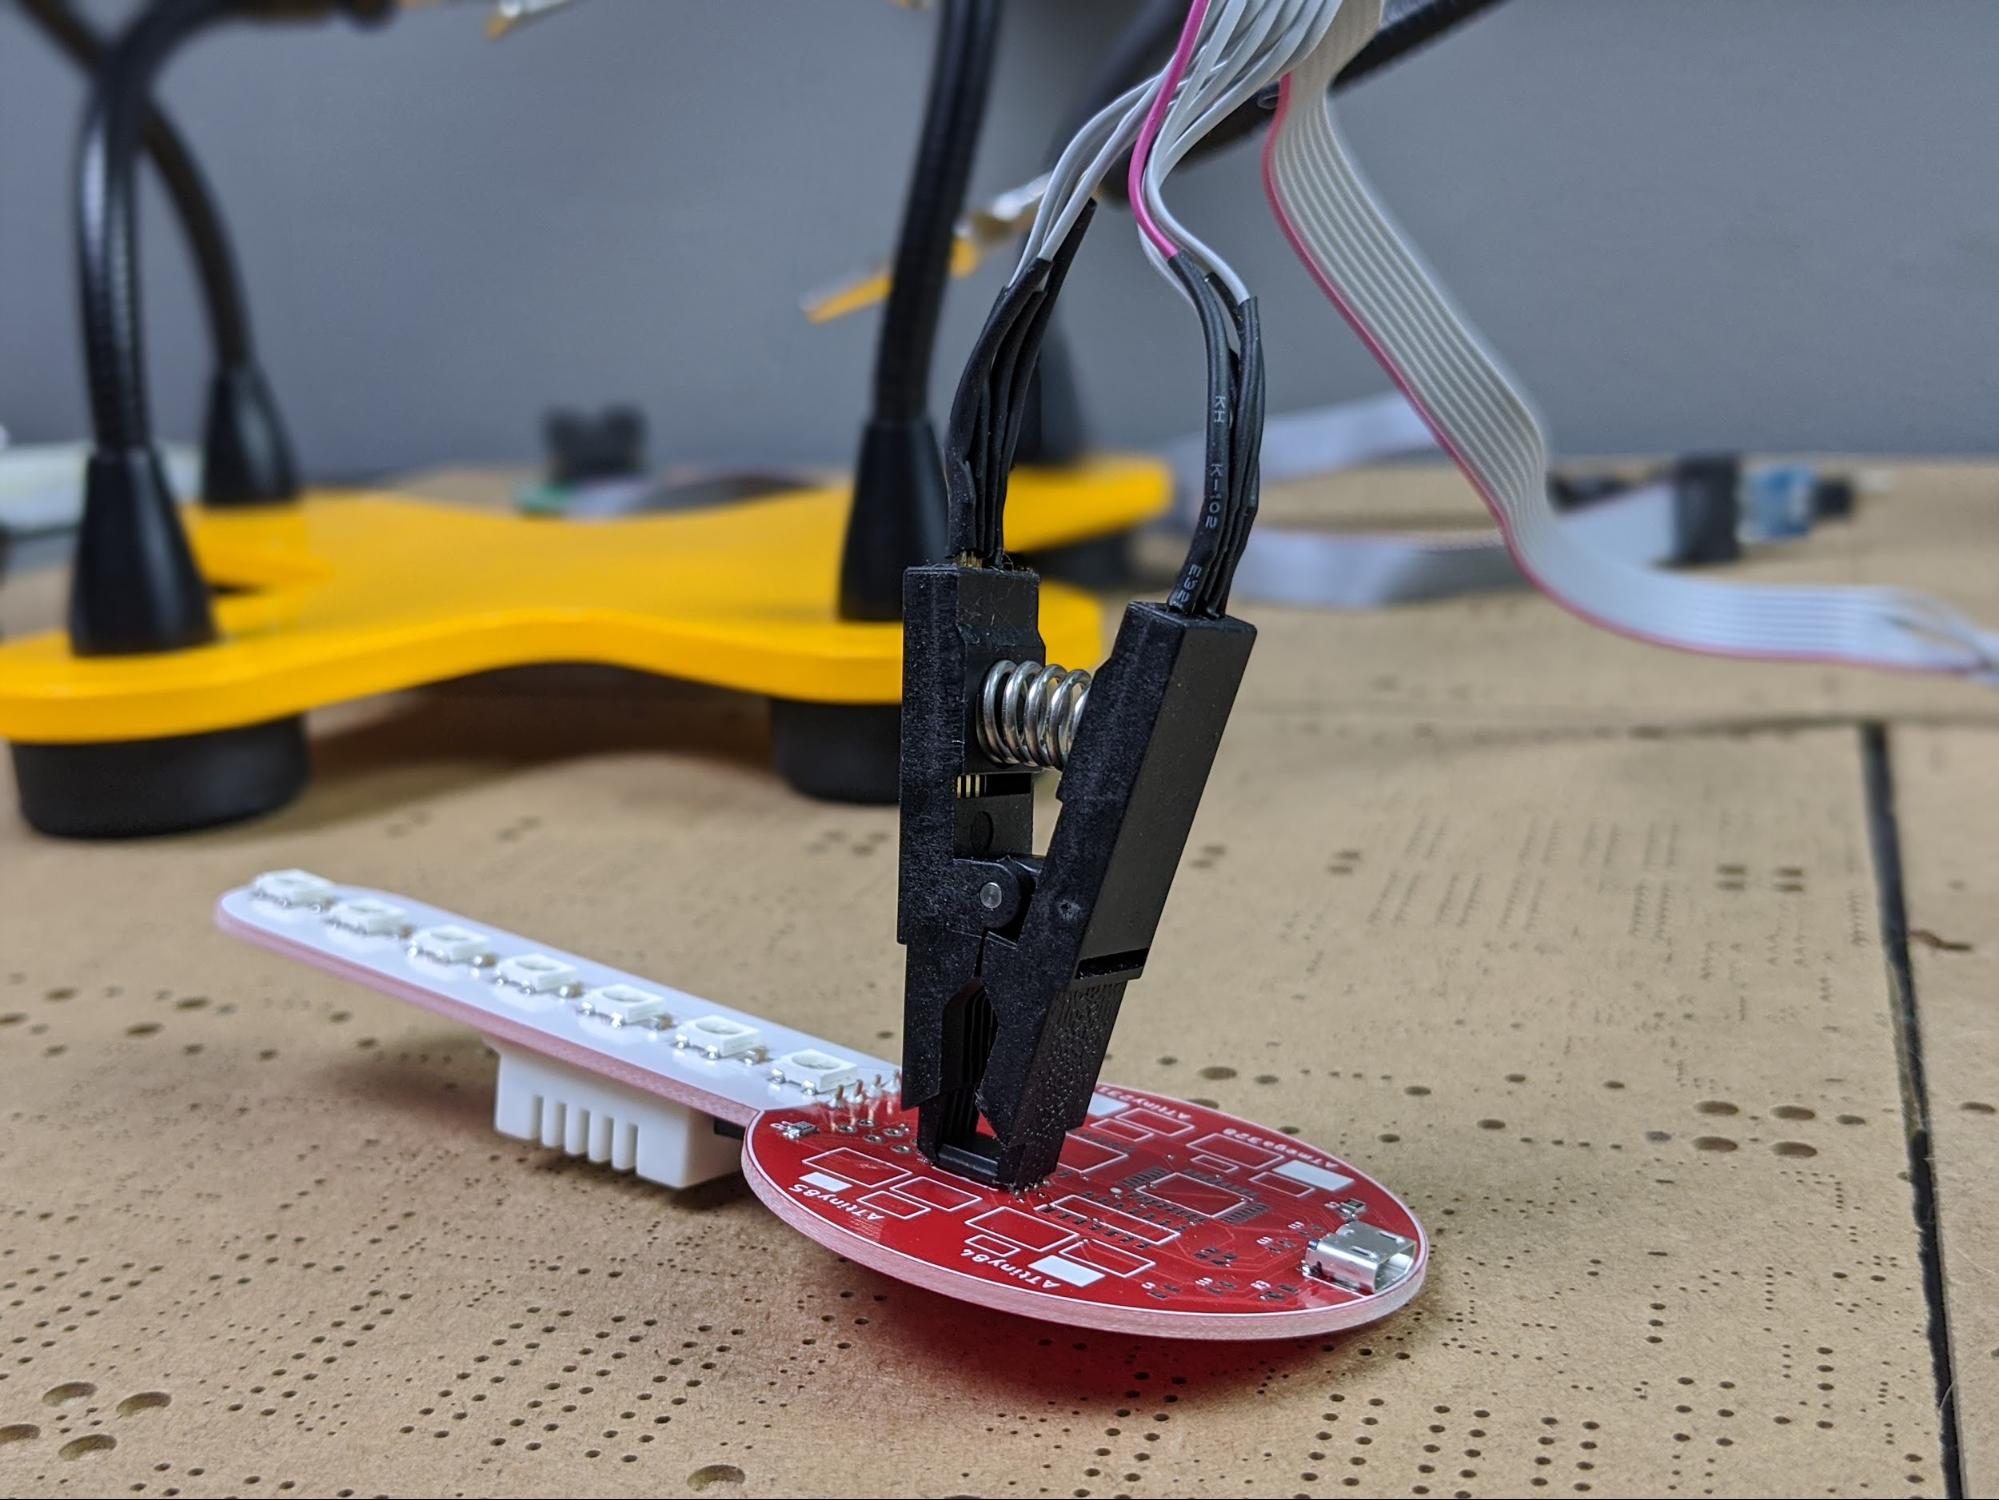
The test clip connected to the ATtiny's pins on a test PCB.
Programming microcontrollers using an IC test clip is useful for working with PCBs that have already been assembled.
Typically, the IC test clip method is used for late-stage prototypes built on assembled PCBs for final functional testing. This method can also be used for small production runs involving a manageable number of boards. Note that it does take a couple of minutes per board so it quickly becomes too costly in terms of time required for larger runs.
How to Properly Connect the IC Test Clip to the ATtiny
The first step in programming a microcontroller with an IC test clip is correctly connecting the clip to the microcontroller.
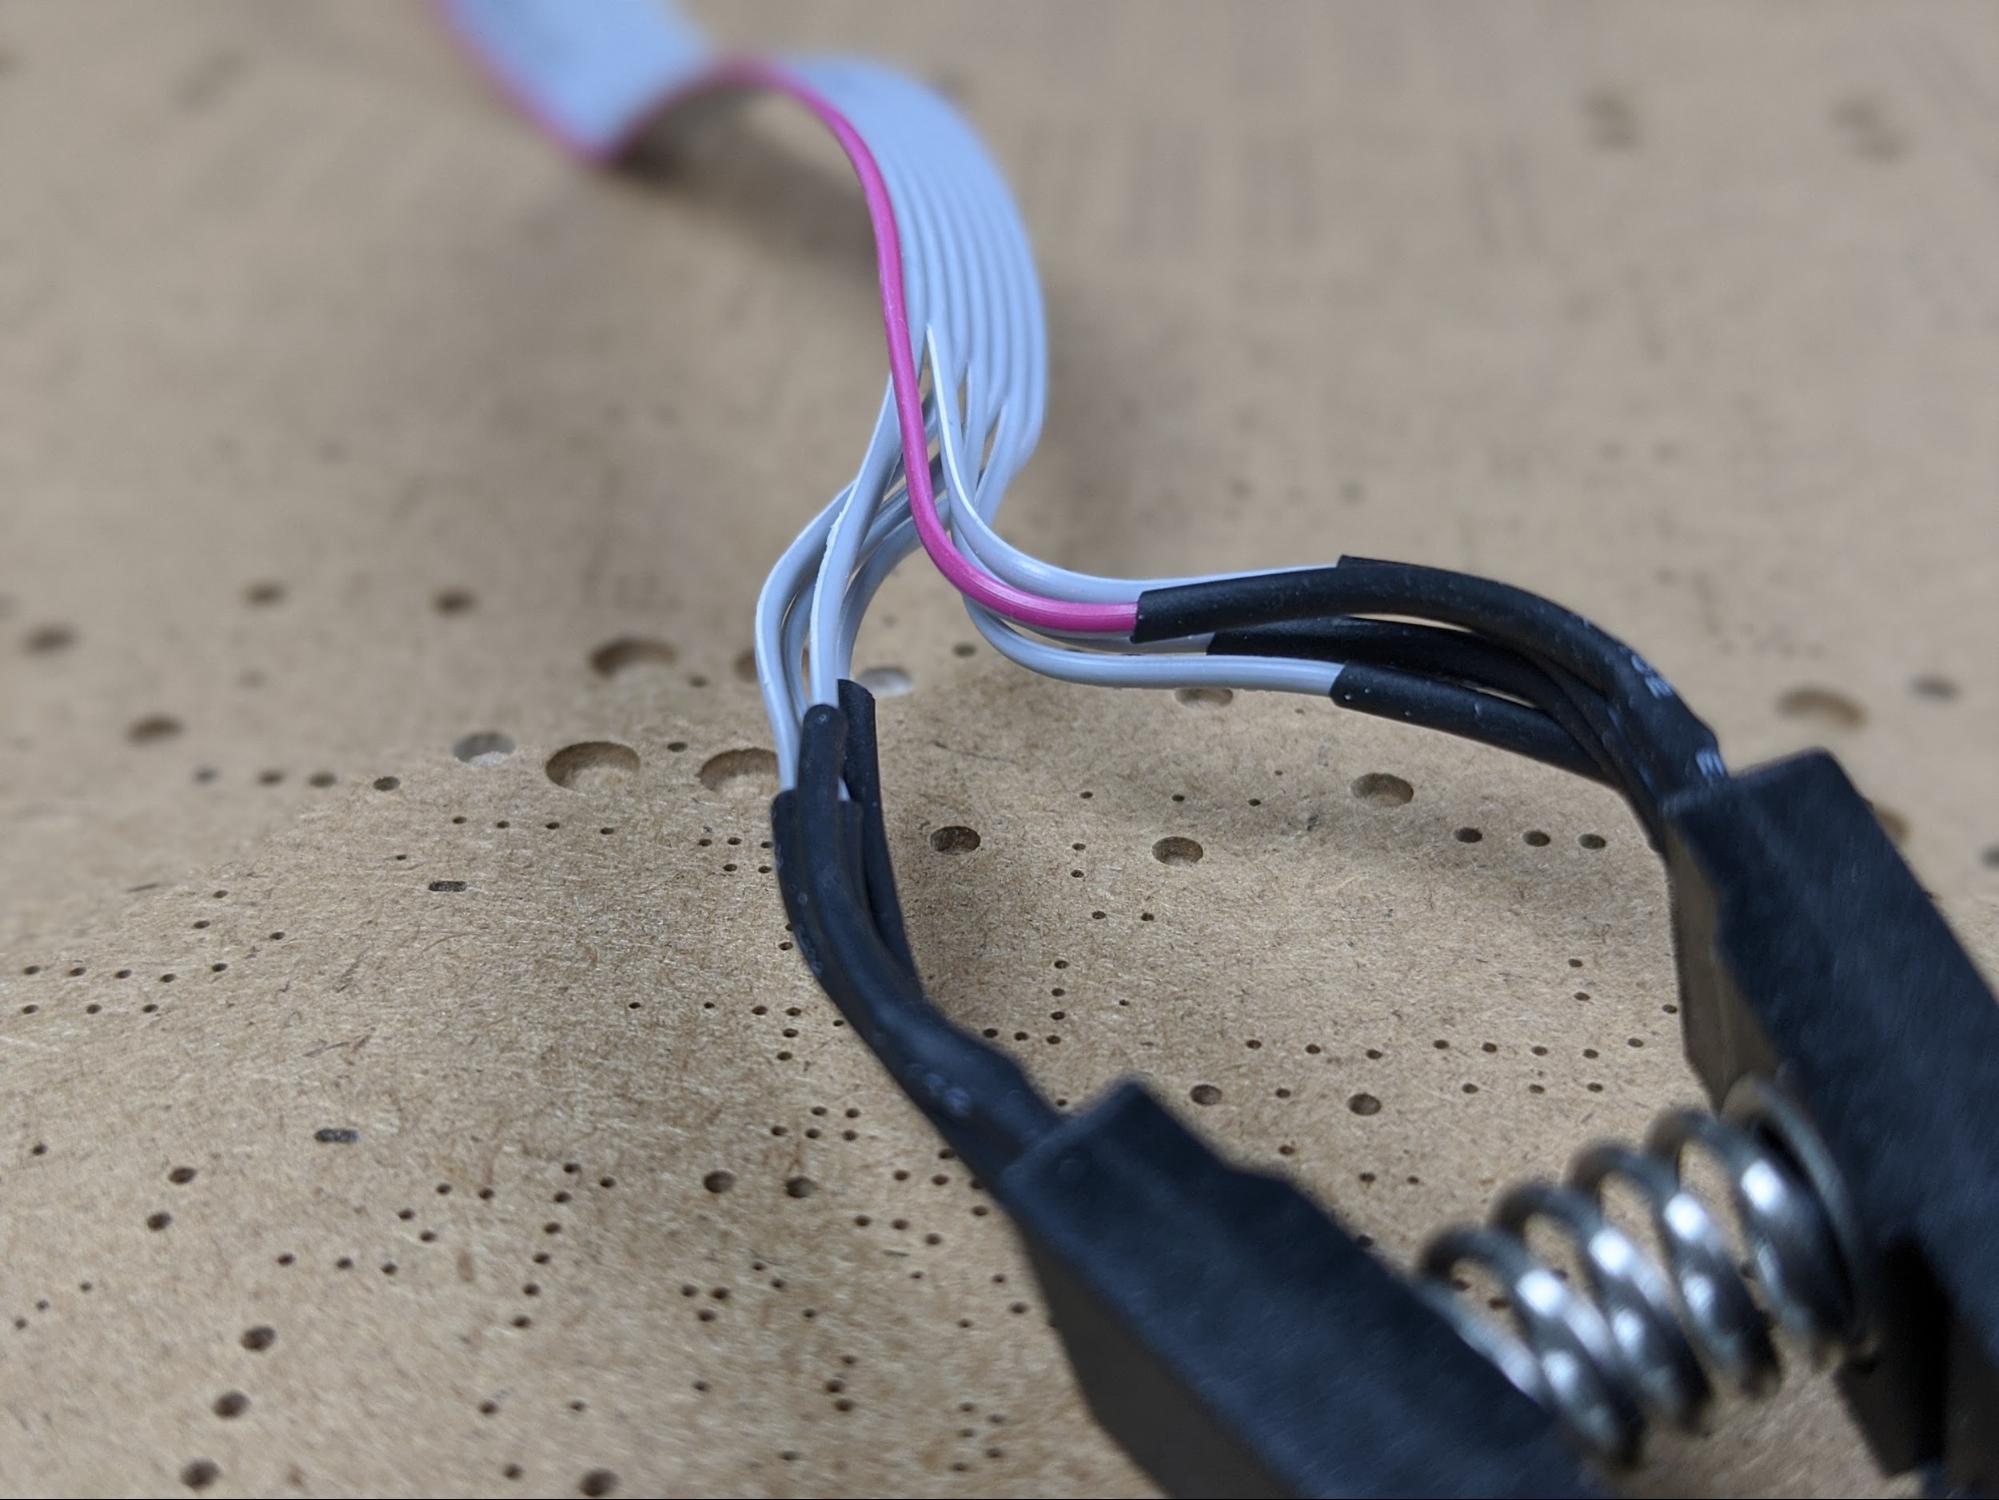
The orientation of the clip is important. Typically, an IC test clip will have a marking near the jaws, or, if it has wires like the one I am using, one wire will be a different color than the others.
On an IC test clip, one wire is usually a different color than the others.
This marking or odd-colored wire goes closest to the dot on one corner of the microcontroller IC.
Running an ATtiny on Arduino IDE
On the software side of things, if you are using the Arduino IDE (which I am for this demonstration), you need to flash the Arduino bootloader to the chip.
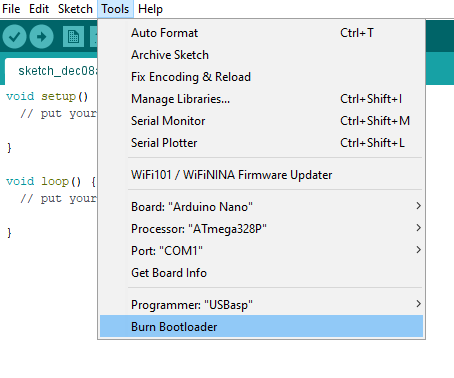
To flash, connect the IC test clip to the microcontroller, connect the programmer to your computer, and, in the Arduino IDE, select Tools > Burn Bootloader.
To connect your ATtiny to Arduino IDE, select Tools > Burn Bootloader.
Uploading Sketches to an ATtiny MCU
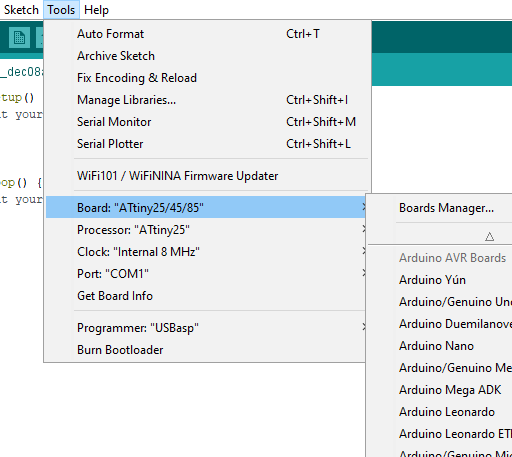
Uploading sketches from the Arduino IDE to your ATtiny microcontroller with an IC test clip works the same way as uploading sketches to an Arduino board. First, select your board from the Tools menu, along with any other applicable options (like the clock speed).
Select the type of “board” from the Tools menu.
Once you’ve selected the correct microcontroller, simply press the Upload button to program the chip with the sketch you wrote. Just like when uploading to an Arduino board, the IDE delivers a confirmation message when the upload is complete, or an error.
To upload code, just press the Upload button as you normally would.
When to Choose the IC Test Clip Method
An IC test clip can be used to program ATtiny series microcontrollers that have already been soldered to a PCB, making them useful for programming prototype PCBs.
The IC test clip allows the pins on an SMD microcontroller to be broken out and interfaced with an ISP or AVR programmer.