In the final chapter of our series on PCB art design, we generate custom QR Codes and display them on the eInk display!
How to Generate QR Codes
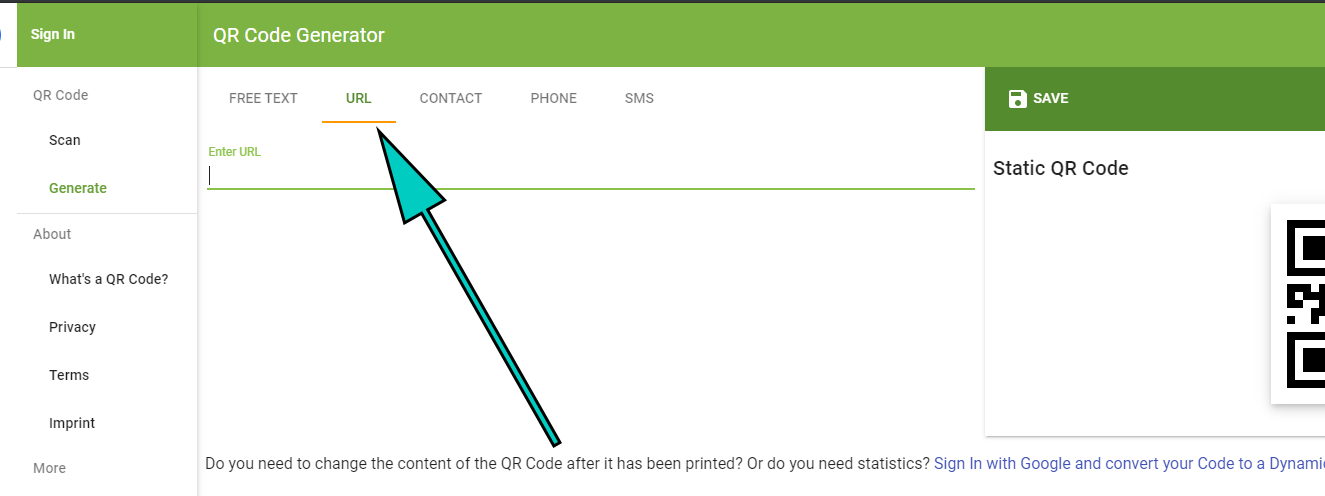
QR Code Generator offers several options for types of data to encode. For this project, we will use the URL option.
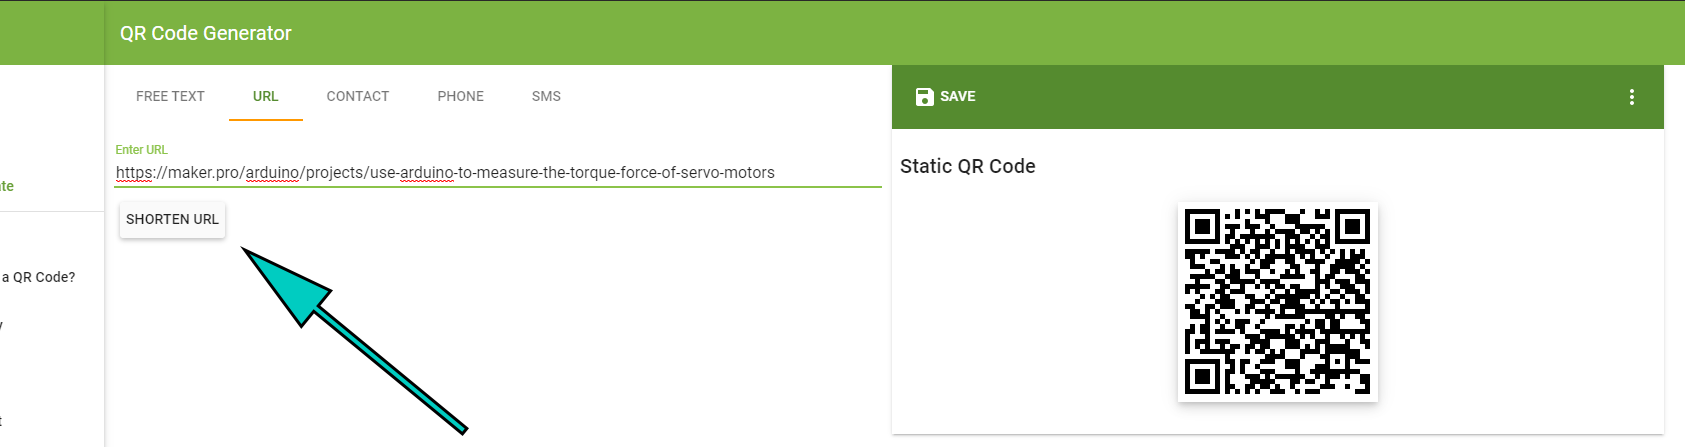
After selecting the URL option, find a Maker Pro article you wish to share on the robot badge. Copy the URL for the page and paste it into the QR code creation website. You will see that the QR code on the right will update. Then, to make the QR code easier for the eInk module to display, click the Shorten URL button. You will notice this action simplifies the QR code.
Click the Shorten URL button to simplify the QR code.
Adjust the Size and File Format
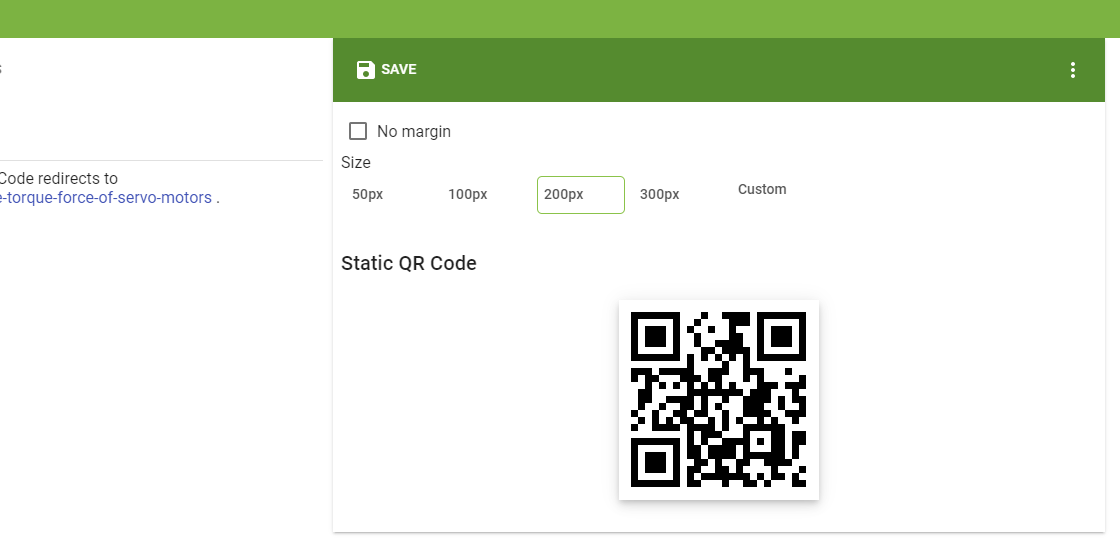
Next, we need to adjust some of the settings to create a QR code format that the eInk module can use. Above the QR code, click the three vertical dot menu button. For the Size parameter, choose 200px. This is the maximum size our eInk module can display.
Adjust the size of the QR code to 152 x 152px.
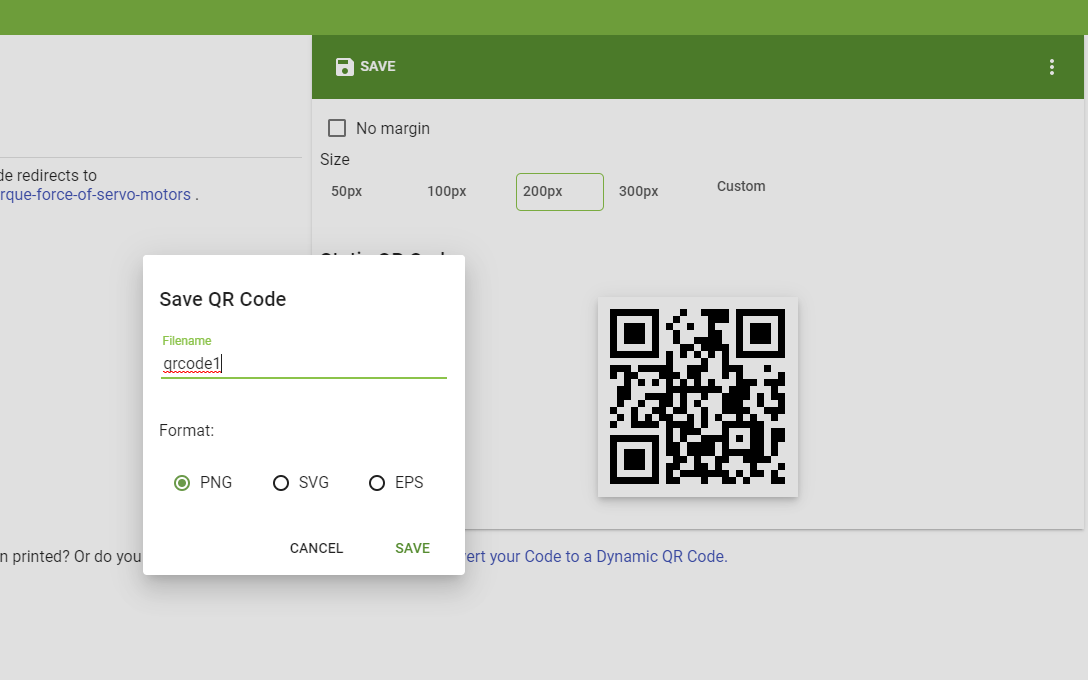
Then save the QR code. The file name format used by the code running on the ATmega328p is:
qrcode#.bmp
You will replace # with a new number for each QR code created.
Save the QR code and name it according to the format qrcode#.
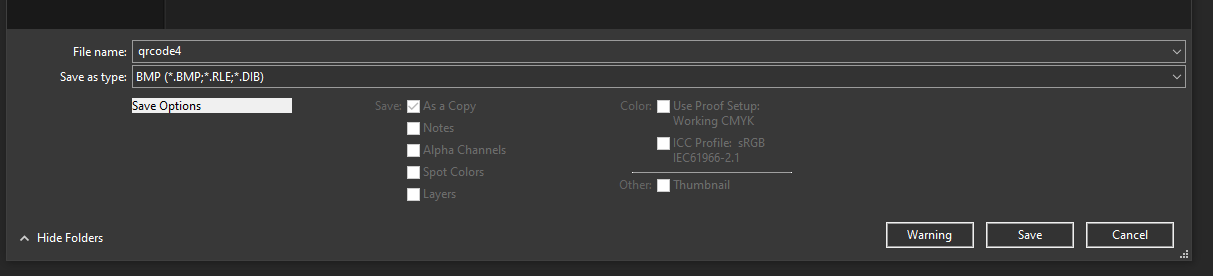
Convert the Final QR Code Image to Bitmap
The final step is to convert the PNG image generated by the website to a bitmap that can be used by the eInk module. To do this, open the QR code image you just downloaded in your favorite photo editing software. I am using Adobe Photoshop but just about any program works just fine. Simply open the image, and then save it as a bitmap (.bmp) file.
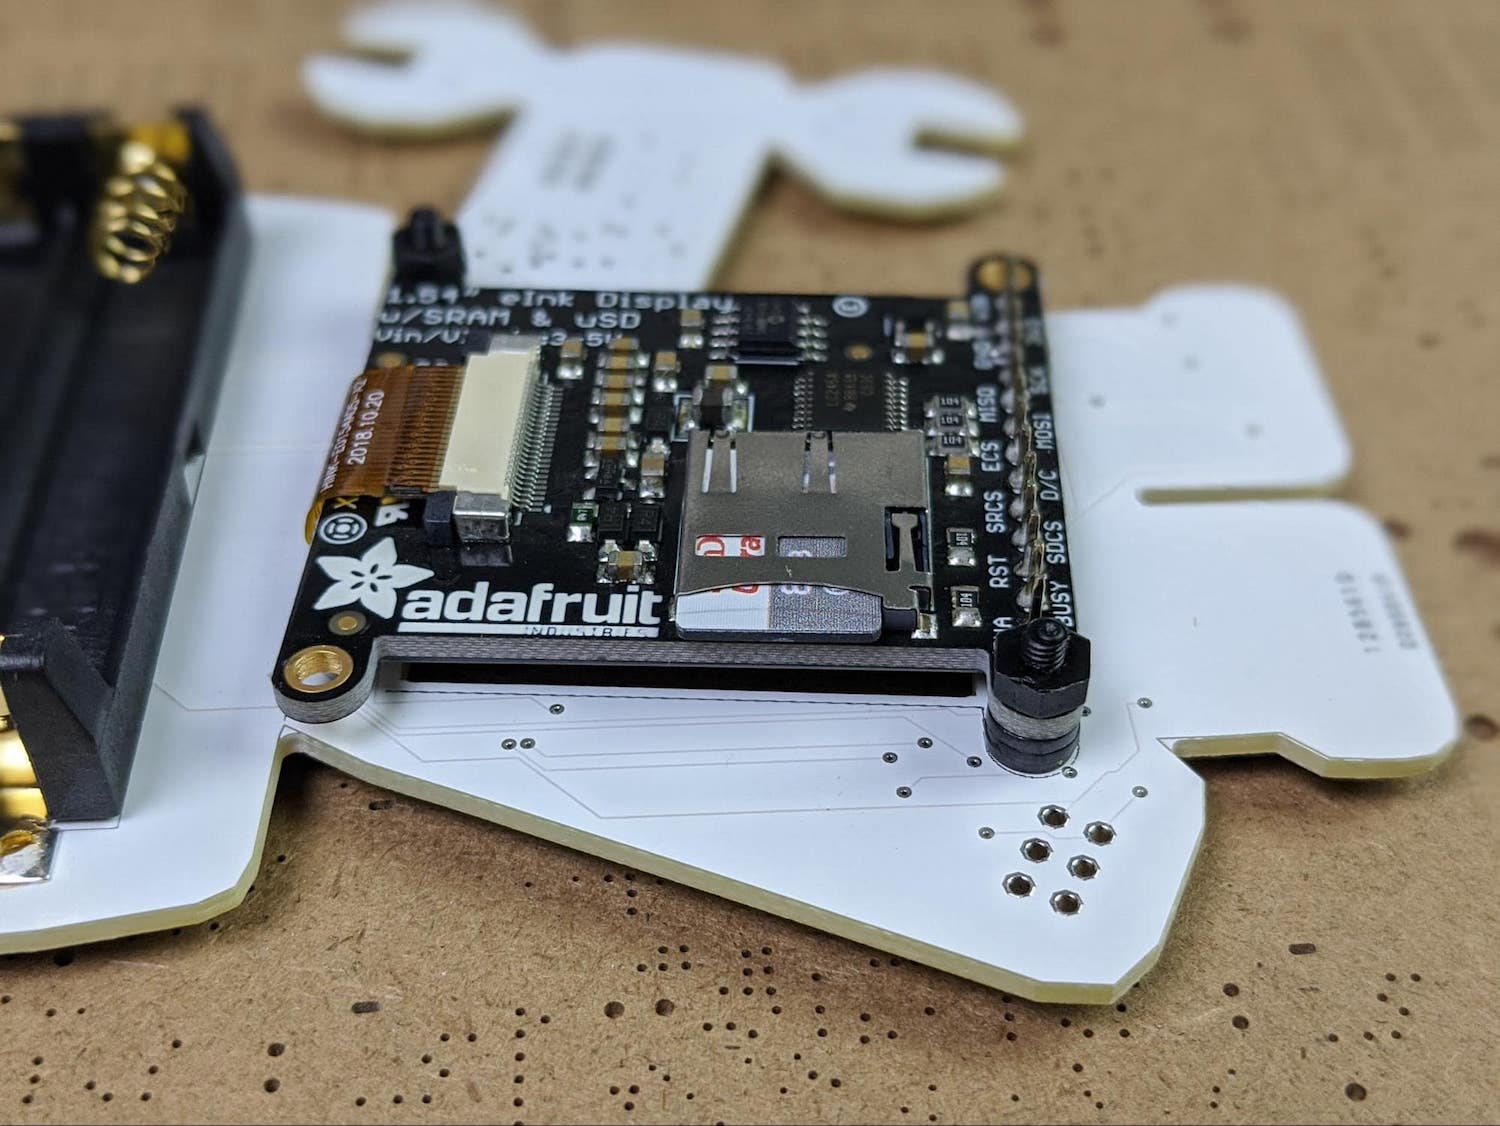
Save QR Codes to a MicroSD Card
Once you have as many QR codes as you would like, save them onto a MicroSD card. On the back of the eInk display, there is a MicroSD slot that you probably noticed while mounting the module to the robot PCB. Slide the SD card into this slot until you hear a click.
Insert the SD card into the slot.
Using the Maker Pro Robot PCB Badge
With the MicroSD card in place, all we have left to do is install the AAA batteries into the back of the Maker Pro robot PCB. Once the batteries are installed, the microcontroller will take a moment to buffer the first QR code into the storage on the eInk module before the robot PCB comes to life.
The QR code changes each time the NEXT or PREV buttons are pressed.
You can scan the QR code in the middle of the robot to navigate to the Maker Pro article you used to create the QR code. Pressing the NEXT and PREV buttons will change the QR code. At the same time, pressing the buttons changes the color of the robot’s eyes and the animation on the wrench.
QR Code Switching Video
A Brief Review of What Goes Into PCB Art Creation
This project covered quite a range of different skills from using graphic design software to using Autodesk Eagle, to assembling PCBs by hand, to coding.
- We started by learning how to translate a logo into the outline of a PCB by tracing an image in Adobe Illustrator, preparing the resulting vector to be imported into Autodesk Eagle, exporting the drawing as a DXF, and importing the drawing into Eagle.
- Next, we learned how to use a similar process to translate graphics onto a PCB design including how to use different layers in Eagle to produce different colors on a PCB.
- After completing our PCB design in Eagle, we designed the schematics necessary for the components we planned to place on the PCB.
- Then we learned how to use a fine grid and the rotate tool, among other techniques, in Eagle to make an artistic component layout.
- After we finished designing the PCB, we got the PCB manufactured and assembled.
- With the PCB in hand from the manufacturer, it was time to assemble and solder components onto the PCB.
- Finally, we used an AVR ISP programmer to upload code to the microcontroller onboard the Maker Pro robot PCB.
It has been a long project, but the results are fantastic. Next time you attend a Maker/Hacker conference, perhaps you can build your very own artistic PCB badge for the occasion. If nothing else, if you receive a custom-made PCB badge as an attendee, you can appreciate how much work goes into creating these functional pieces of art!