Learn the basics of electronics required for developing robotic systems.
This robotics guide deals with the very basics of electronics required for developing robotics systems. Each section of the post deals with a different aspect of electronics.
Robotics Guide on Electronic Systems
The electronics under the hood of any robot can be divided into a number of subcategories:
- Power systems
- Sensors
- Actuators
- Microcontrollers and processors
- Useful software tools
Some of these subcategories are repetitive in the sense that they can also be grouped under domains other than electronics. For example, actuators can also be grouped under the mechanical domain. For such subcategories, we will look at the different properties under their respective domains.
Power Systems
Just like humans, robots need energy to function. Humans survive on air, food, water, and Wi-Fi, and robots survive on electricity. So the No. 1 system in this robotics guide is the power system. Normally, robots have rechargeable batteries, which makes them mobile and therefore more useful. It goes without saying that the larger the battery (the greater the capacity of the battery), the longer the robot can operate. But we can't have an infinitely large battery on a small robot! This is a tradeoff that power systems engineers try to balance. Ideally, the battery should be just large enough for the robot to be able to run for as long as you want it to in the worst-case scenario, but should be small enough that it can fit on the robot and does not add too much extra weight. Check out this robotics guide video:
Sensors
Batteries are important and fun to play with. But what good are batteries without the rest of the onboard electronics? Just like the human sensory system, which consists of the eyes, nose, ears, taste buds, and skin, robots have a sensory system too. It goes without saying that the system is not as developed as ours, but there have been some major advancements recently.
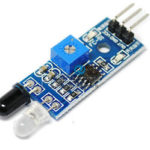
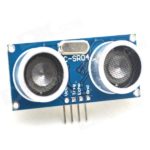
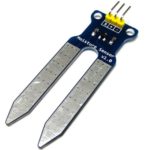
A typical robot’s sensory system would consist of a number of analog and digital sensors, such as a camera for vision, microphones for perceiving sound, ultrasonic or IR sensors for perceiving distance (this is similar to echolocation in bats and whales), and flex/tactile sensors for perceiving physical feelings. You can check out some interesting sensors on SparkFun Electronics and Adafruit and their tutorials as well. Try ordering some sensors for yourself online from RoboRium or Amazon and play around with them to find out more.
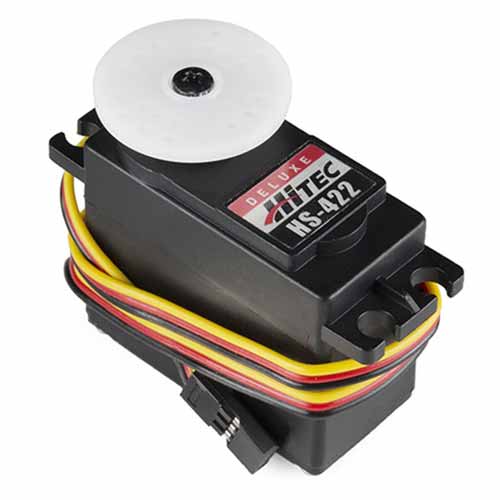
An actuator is a device that helps to induce motion in the robot. Actuators can be electronic, pneumatic, or hydraulic. For smaller robots, we generally use electronic actuators, as they are easier to deal with, widely available, and inexpensive. Here are some common electronic actuators:
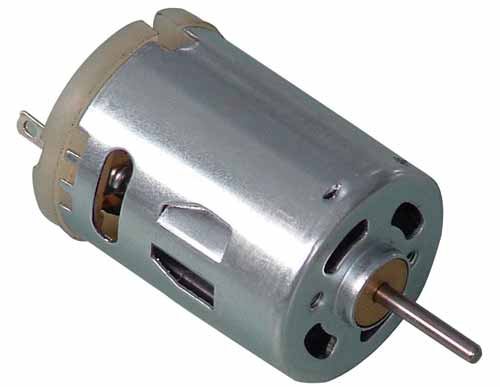
DC motor
This is a very broad classification of electronic actuators. They may have a number of subcategories, depending on various electronic and mechanical properties. The electronic attributes for an actuator are the voltage and the current it requires to function. The mechanical attributes of actuators such as speed and torque are dependent on the electronic attributes. For now, lets just think about an actuator as a black box that converts electrical energy to mechanical energy, i.e., outputs some kind of rotational/linear motion when some electrical energy is provided as input.
Microcontrollers and Processors
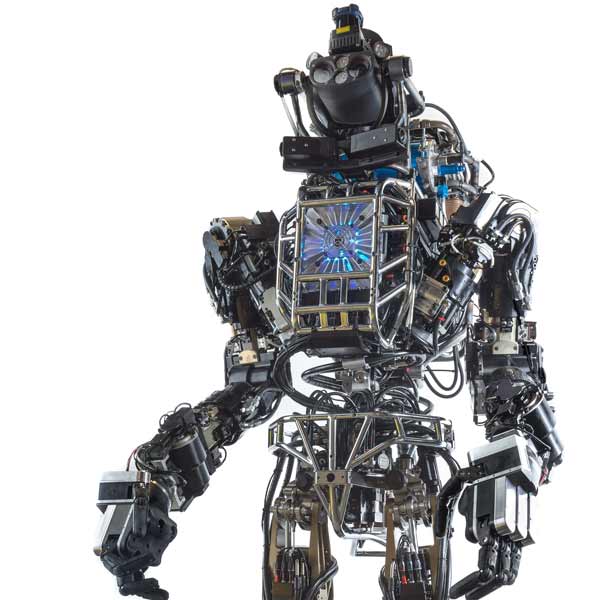
One of the most important parts of a robot is the brain! Just like a human brain, the robot’s brain is responsible for controlling all the robots actions. It consists of microcontrollers and microprocessors.
Microcontrollers are essentially small chips that are made up of hundreds of thousands of transistors. They have a set of programmable digital i/o pins called the GPIO (General Purpose Input/Output) pins, some flash memory, some RAM, and a small processor core. A microcontroller is generally used for more repetitive tasks. They can be programmed to perform a certain set of functions, and they will carry out these functions one after the other repetitively. A good example of a microcontroller would be an ATmega, which can often be seen on the Arduino-compatible development boards. To learn more, visit their beginner-friendly Arduino tutorials.
Microprocessors, however, are slightly more funky in the sense that they don’t have onboard memory. You need to interface a separate memory with them, which gives them more room inside, hence they have more processing power. A good example of a microprocessor would be a Raspberry Pi. They are also more expensive than microcontrollers. You can think of your computer’s CPU as a microprocessor, which would require a separate hard disk and RAM for memory storage. Microprocessors are much more powerful than microcontrollers, and are generally used for advanced tasks such as image processing, artificial intelligence, mapping, and path planning. The most common programming language for working with a Raspberry Pi is Python. There are a number of quality classes offered for beginners by the University of Michigan on Coursera.
Useful Software Tools
- Fritzing: Free software that provides you with the tools to prototype circuits on a breadboard in software. It's great for noobs as well as pros. Personally, I feel it's the easiest and best way to represent/document simple prototypes.
- Circuits.io: An online CAD tool for electronics engineers, designed by Autodesk. I haven't used it much yet, so no personal reviews, but I must say that I know a lot of people who use it on a regular basis.
- EagleCAD: Autodesk's CAD tool for hardcore electronics engineers. I have used it for creating a number of PCB designs, and it is a widely accepted tool in the professional community.
- OrCAD: This is a CAD tool for electronics engineers, developed by Cadence. It is taught in most universities and is popular in the industry as well. The design is simple to use. It can also be used with PSPICE, to simulate circuits.
- Circuit Wizard: An extremely intuitive and easy-to-use software for simulating circuits. However, it is not free software; you can only get the trial or student edition for free.
This robotics guide has been intended to allow beginners to easily get started on DIY robotics. Stay tuned to Maker Pro's robotics page for more.