How to choose a drone kit that you can customize with the same premium features as more expensive drones for a lot less.
UAVs or as many know and call them, “drones”, have become quite popular in the last couple of years and it seems that, nowadays, everyone has them. This is mostly because the market is over flooded with a plethora of cheap Chinese models, and you can buy a drone to have fun with in the back yard for less than $20. Of course, if you want a more sophisticated model that goes over 60mph, or has a 4K camera and basically, does the flying on its own, you will have to cash out from $400 and up.
Is there a solution that offers all those great features, but for less money? Yes, there is and it’s called a DIY drone kit. Such a kit gives you a chance to own a great drone model that you can customize to your liking and learn about the drone technology, electronics, physics, aerodynamics, and much more as your project advances.
Depending on which kit you choose, you can just order a frame and buy the rest of the parts separately, or you can choose a kit that includes almost all the parts and usually, you just need to buy a battery and a transmitter. Whichever type of a kit you choose, you first need to know how to choose the right one for you.
How to Pick the Right DIY Drone Kit
If you think that picking a DIY drone kit is easy peasy, you are way off course. You can’t just pick any kit and hope that the final product will be capable of doing what you intended it to. First, you need to decide what are you going to use the drone for. There are two basic types you can choose from:
- Freestyle drones (also known as racing drones)
- Aerial photography drones
Racing Drones
If you choose to go down the Racing path, you need to find a kit that includes a small, light, and durable racing frame, high KV value motors (KV stands for Rounds per Volt), and a Flight Controller that is suitable for that kind of flying.
Why do we say a small racing frame that is durable and light? Well, a racing drone needs to be as light and durable as possible because you will crash it a lot, believe us. As for the motors, well, the higher the rounds per volt, the faster it will go and the faster you will be able to change the direction and perform breathtaking aerial stunts like flips, barrel rolls, loops, and so on. Our advice is to opt for motors that have 2300KV or a higher value.
When it comes to a flight controller, you won’t actually need one that has all the fancy sensors that keep your drone leveled all the time, the GPS position assistance systems, the high precision barometer for keeping the altitude on its own, and the rest of the high-tech gizmos. You will want a package that gives you the ability to fly in the Acro mode (meaning you get to do all the flying without any assistance) and have the raw power.
If you want to have the real drone racing feeling, then your kit also needs to support the onboard FPV (First Person View) equipment and that includes an FPV camera and a signal transmitter.
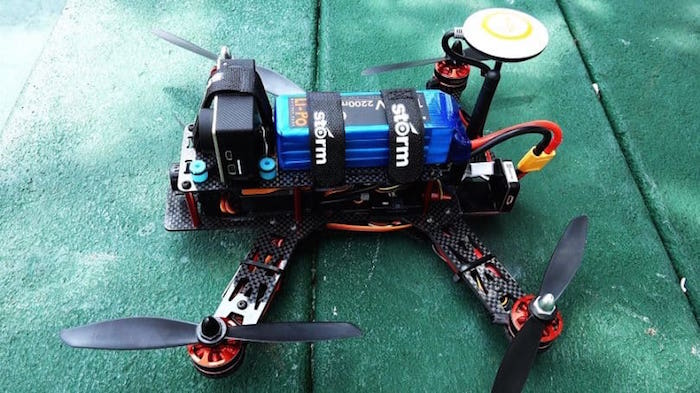
Racing drones usually have carbon fiber bodies and short propellors
Aerial Photography Drones
If aerial filming and photography is your choice, then the drone kit you choose needs to be much more sophisticated than a racing drone kit. For starters, you will need a much bigger frame. Also, unlike for racing, where people use exclusively frames for 4 motors (quadcopters), when it comes to aerial filming, the more motors the better. You can choose a Hexacopter frame or even an Octocopter frame.
As for motors, this time it’s reversed, the lower the KV value of a motor is, the more stable your drone will be and more filming equipment (camera and gimbal) it will be capable of lifting safely in the air. We suggest going from 900KV or lower. You also need bigger props. For example, if you choose 900KV motor, you should opt for a 10-inch prop. The lower the KV goes, the bigger props you will need if you want efficiency.
When it comes to Flight Controllers, for this type of a drone, you will need as much assistance systems as possible. You want your drone to be stable and self-reliant as possible so that you can focus on filming and not so much on flying. If you want ease of setup and to be airborne as soon as possible, we suggest something like the DJI Naza series. If you want to program all the features yourself, you can choose something like the Pixhawk or APM flight controllers. But be warned, if you are not that familiar with programming and coding matter, we suggest going for the Naza series (M Lite or M V2).
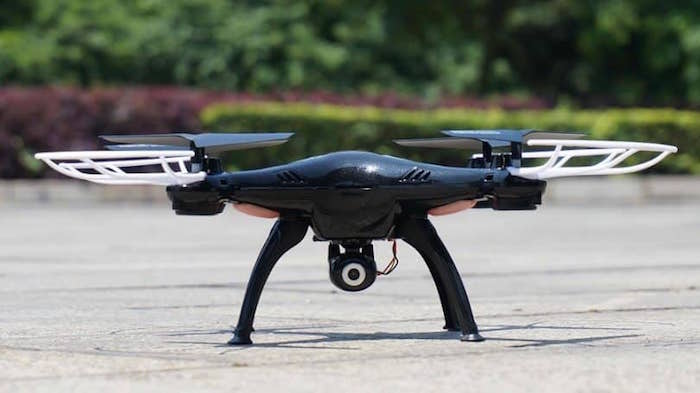
Important to know: Before choosing any type of DIY drone kit, make sure you know how to actually control a drone. Otherwise, you might get it all prepared for a flight, and crash it only after a few meters if something unexpected happens.Therefore, we suggest that you first buy a small, cheap drone to hone your piloting skills, and only then opt for a more serious drone kit that will get you deep into this hobby. If you want to read more about drone flying tips, we suggest checking out this How to Fly a Drone article.
Aerial photography drones have wider bodies and longer propellors to stabilize their cameras
How to Use a Drone Kit
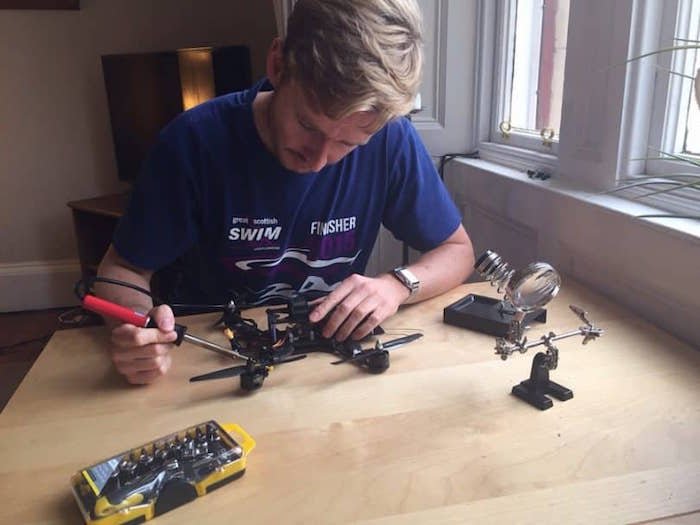
Using a drone kit is pretty much like building a drone from scratch, only, in this case, you don’t have to build the frame from scratch, as you get the frame in parts and you only have to follow the instructions to assemble it with bolts.
As for the rest of the parts, depending on what is included in your kit, the procedure is the same as with other DIY UAV projects. After assembling the frame, you need to add ESC’s and motors, connect them properly (check the ESC’s and motor rotation). To connect the motors and ESC’s, we suggest using bullet connectors and heat shrink tubing for isolation. Then, you have to solder the ESCs to the power distribution board, (but most frames today come with an integrated power distribution board so you will probably just have to solder the ESC wires to marked spots on the frame).
After that, you need to place your flight controller, but you need to be careful where you place it on the frame because if it’s not directly in the center, your controller might have glitches that can cause your bird to crash or even worse, simply fly away. Also, you need to find the perfect spot for your RC receiver (and the FPV transmitter if you decide to fly in FPV), as far as possible from the GPS module and the flight controller, to avoid interference.
The same goes for the GPS module, you need to find the center position for it, but don’t worry, with the help of Mr. Know-it-all (YouTube) you will get everything done quite easy because there are tons of tutorials there. However, if you want an in-depth tutorial on building your drone, we suggest that you check out our DIY Drone: How to Build Your First Quadcopter – Part one and Part two articles for every bit of information you will need for such a project.
Wrapping It Up
Now that you know how to pick the right DIY drone kit for your needs, and you are equipped with all the needed knowledge, the only step you have to do is to pick a kit. Happy building and don’t forget to let us know which kit you chose and how it went!
All images courtesy of My Drone Lab