Learn how to make a simple time trigger for your projects
Embedded systems, especially in the DIY domain, are divided into two varieties: those that are triggered by some input and act on this input and those that are triggered and act in defined periods of time. Often there is a mixture between these two varieties.
Input triggered systems are waiting for a button to be pressed, for an incoming MQTT message or HTTP request, or for a signal from a light barrier. When such an event occurs, they do something: advance the state in a state engine, send a message in turn, etc. Common to these systems is that some output (or inner state change) is generated based on some input.
In the case of time-triggered systems, the event to act on is somehow generated by a clock:
- read temperature from a DS18B20 every second, calculate the mean over those measurement values and send a message with this mean value every minute,
- update the inner representation of a tea timer every second, update the display every 10ms,
- start an analog-digital conversion and instead of actively waiting for it to be completed come back after a certain time and collect the result.
Here, it is common that a mechanism is required to call functions at a given time or in a fixed period.
Arduino Schedulers
One common approach in the Arduino world is the Metro library. You create a Metro object and period. Then you check this Metro object to see whether the related code should be executed again. This library works fine and I use it quite often.
#include <Metro.h>

Metro tick = Metro(60 * 1000);

void loop() {
  if (tick.check() == 1) {
      // do something useful
  }
}
Another common option is to store the time of the last execution and compare it to the current time:
#define PERIOD 1000

void loop() {
  static uint32_t lastTime = 0;
  uint32_t currentTime = millis();

  if (lastTime + PERIOD < currentTime) {
    lastTime = currentTime;
    // do something useful
  }
}
RTOS Schedulers
A full-fledged preemptive RTOS is also an interesting option, especially for larger microcontrollers like the STM32 family or ARM-based ones. In preemptive RTOS, the scheduler divides CPU time into fixed width slices and whenever such a slice is elapsed, the currently running task is interrupted, its state (the stack frame, all the CPU registers including the program counter) is saved, and the next task which is ready to run is executed. This means that the state of the task is restored and execution is continued at the position given by the saved program counter.
This is quite a heavy-weighted process. It’s usually done in Assembly and requires a significant amount of memory for every task. Each task requires its own stack — it’s especially important to reserve space for saving the state of the task.
This approach has advantages, especially when you have very very strict real-time requirements but it comes at a price: the code is more complicated, debugging is harder, more memory is required, etc.
The Pont Scheduler
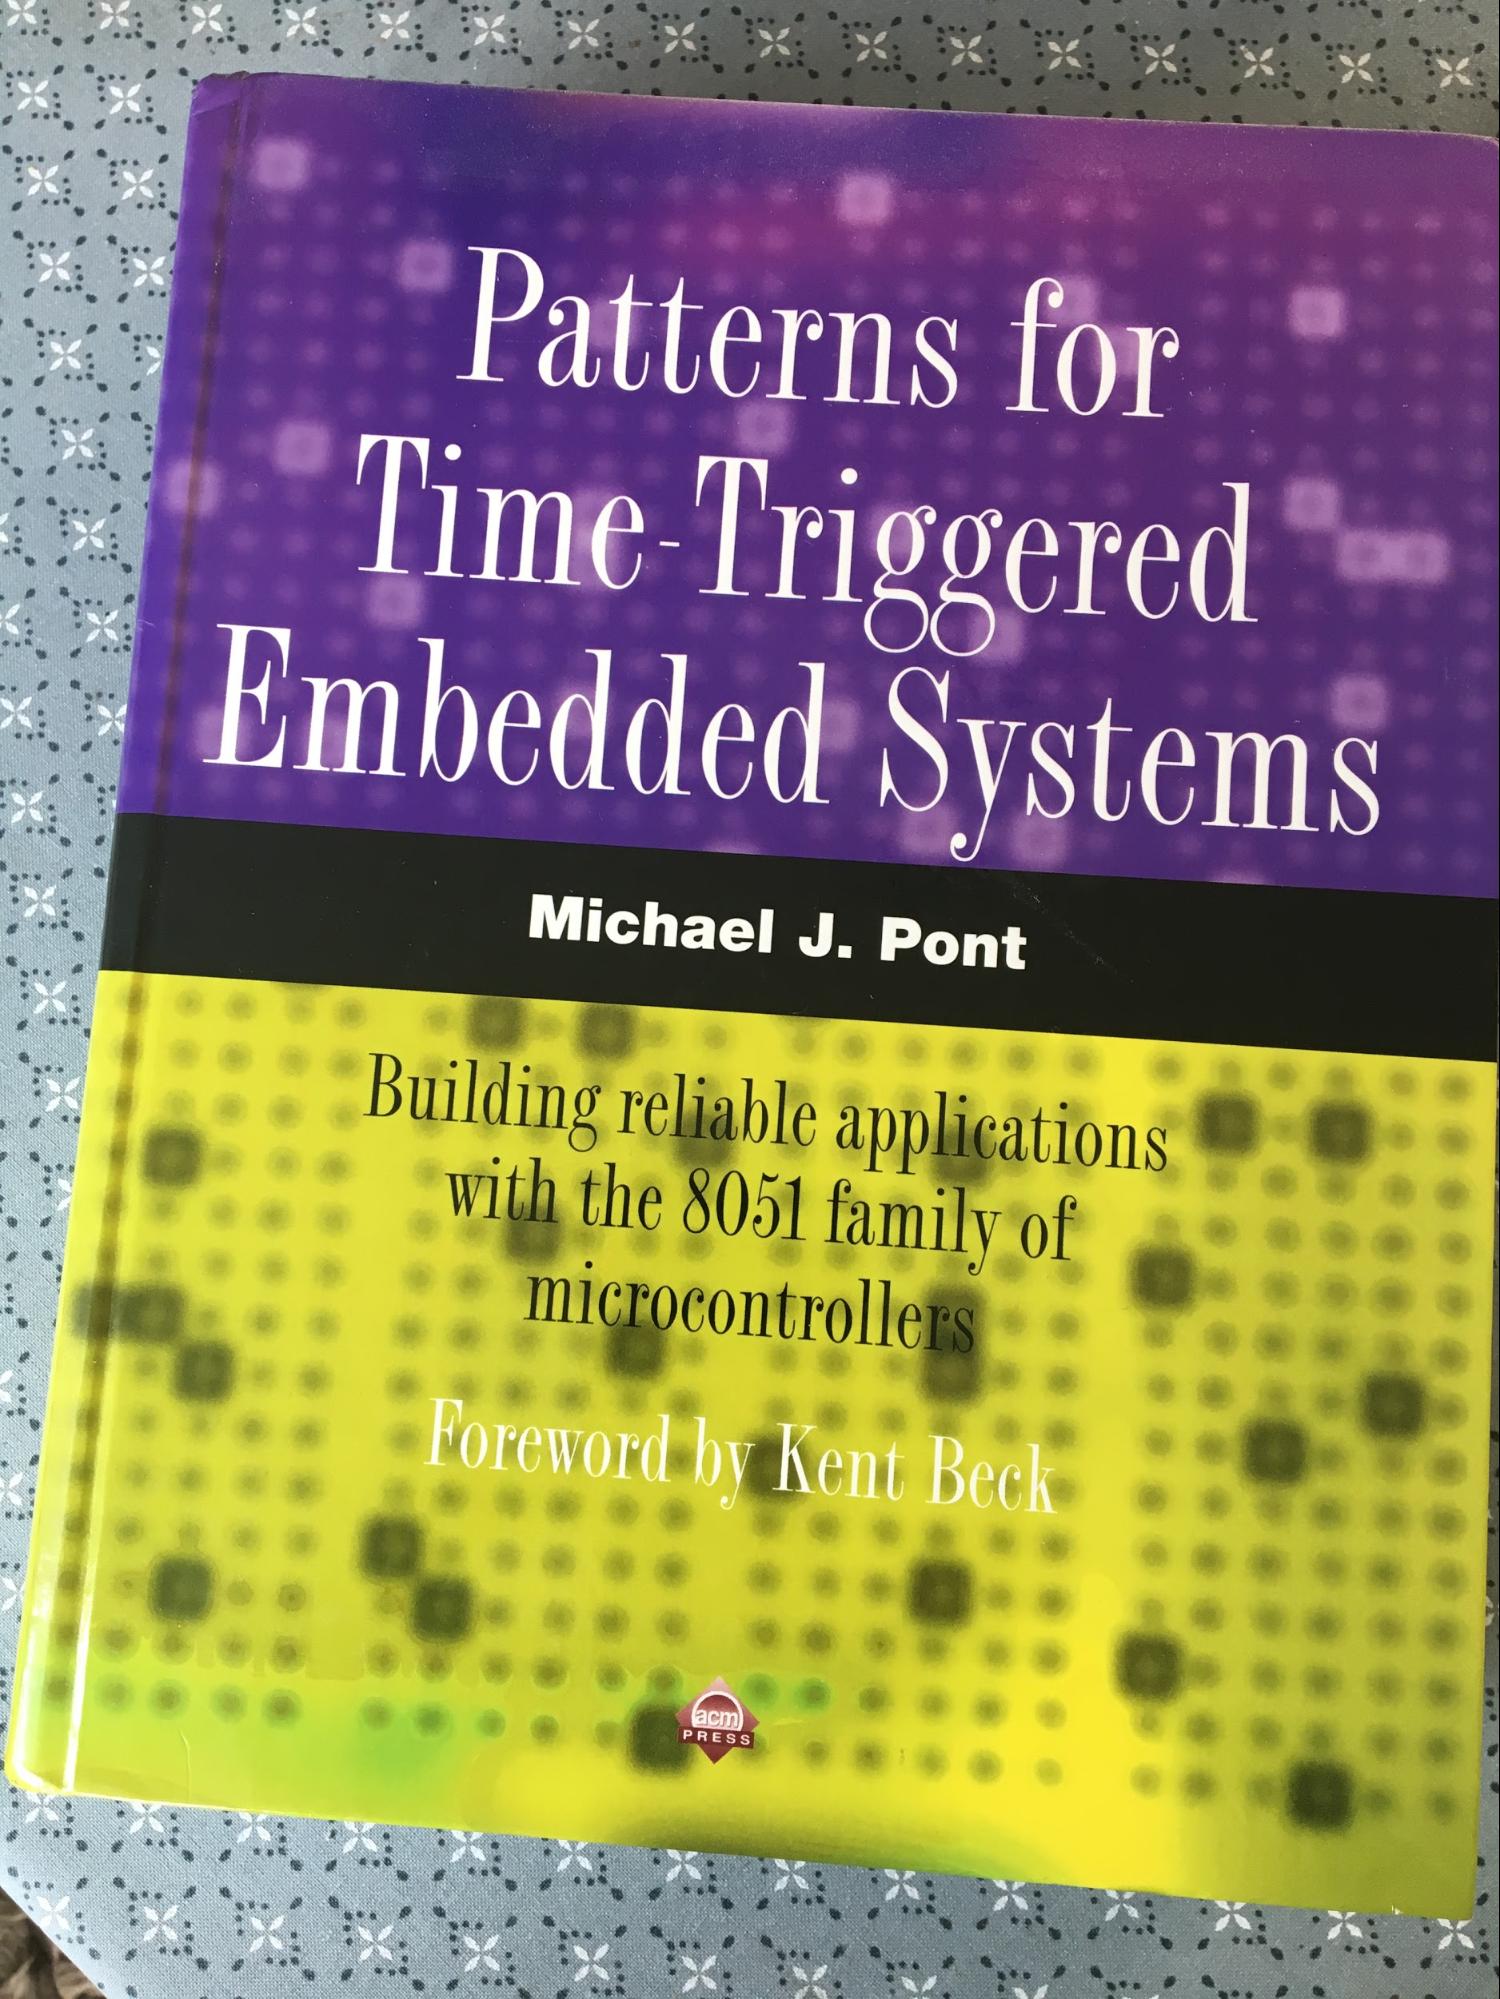
For these reasons I never used a preemptive RTOS in my own projects. However, the Metro or hand-coded approach also haven’t always made me happy. Fortunately, by chance, I found the book “Patterns for Time Triggered Embedded Systems” of Michael J. Pont (ACM Press, 2001, ISBN 0 201 33138 1).
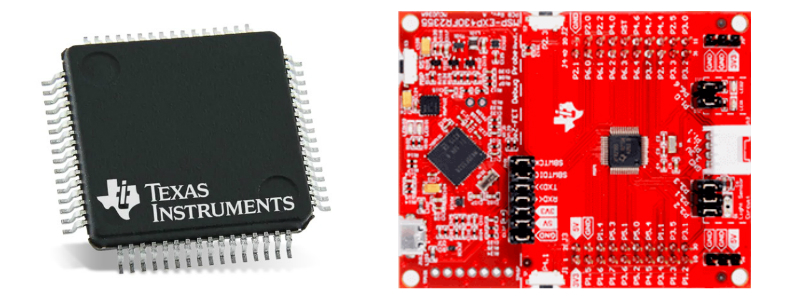
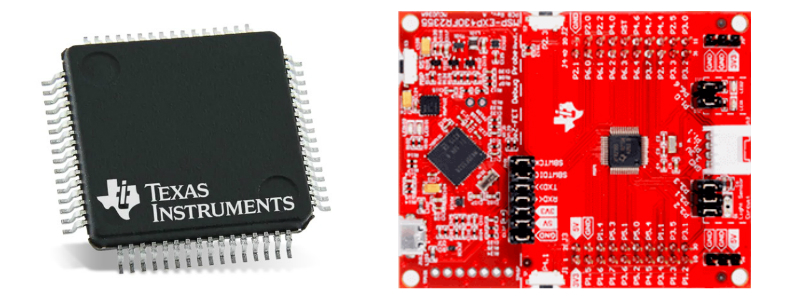
Based on this book I’ve coded a simple cooperative time triggered scheduler, which I now use in most of my own projects, especially when an STM32 or MSP430 is in use.
The STM32 MCU. Image courtesy of Mouser.
You can find the scheduler on my Gitlab page. As kudos to Mr. Pont, I named it my “Pont Scheduler” (I hope he has no concerns).
Time Scheduler Data Structure
There is a quite simple data structure, which represents a task in this system, which is
typedef struct {
  uint32_t delay;
  uint32_t period;
  uint8_t run;
  void (*exec)(void *handle);
  void *handle;
} tTask;
In the final application, an array of these data structure is declared.
Time Scheduler Functions
Besides this data structure there are a few functions to handle it:
void schInit() : Used to initialize the scheduler and the array of tasks.
void schAdd(void (*exec)(void *), void *handle, uint32_t delay, uint32_t period) : Used to create a task in the system. You have to hand over a function which represents the code of the task. The handle is data given to that function every time it is called by the scheduler, which is especially useful when you have the same function used in multiple tasks. delay is the delay for the first call and period is (obviously) the period for repeated calls. Either delay or period can be set to zero. If you set period to zero, you just get a type of alarm timer, if you set delay to zero, you get a periodically called task.
void schDel(void (*exec)(void *), void *handle) : Can be used to remove a task from the scheduler.
void schUpdate() : The function to be called within a timer interrupt service routine of the MCU. The period of calling this function gives the time slice width of the scheduler.
void schExec() : This function is to be called from the main idle loop of your system. Here the tasks ready to run start by calling the related exec function.
Using the Scheduler in Projects
An example of this scheduler can be seen in this very simple MSP430 based project on Gitlab. It is a tea thermometer and timer.
The initialization of the clock source and the scheduler, and the creation of the tasks and the main loop is shown here:
int main() {
  WDTCTL = WDTPW | WDTHOLD;

  // highest possible system clock
  // MCU specific register setup
  DCOCTL = DCO0 | DCO1 | DCO2;
  BCSCTL1 = XT2OFF | RSEL0 | RSEL1 | RSEL2 | RSEL3;
  BCSCTL2 = 0;
  BCSCTL3 = 0;


  gpioInitPins();
  timeInit();
  schInit();

  measureInit(NULL);
  displayMuxerInit(NULL);
  buttonInit(NULL);
  eggTimerInit(NULL);

  schAdd(displayExec, NULL, 0, DISPLAY_CYCLE);
  schAdd(measureStartConversion, NULL, 0, MEASURE_CYCLE);
  schAdd(displayMuxerExec, NULL, 0, DISPLAY_MUXER_CYCLE);
  schAdd(eggTimerExec, NULL, 0, EGG_TIMER_CYCLE);
  schAdd(buttonExec, NULL, 0, BUTTON_CYCLE);


  __enable_interrupt();

  while (1) {
    schExec();
  }
}
The initialization of the hardware timer and the interrupt service routine to call the schUpdate() function are here:
ISR(TIMER0_A0, TA0_ISR) {
  schUpdate();
}

void timeInit() {
  // MCU specific register setup
  TACCR0 = 32;
  TACCTL0 = CCIE;
  TACTL = MC_1 | ID_0 | TASSEL_1 | TACLR;
}
For the actual tasks in this particular application consult the code at Gitlab.
Within the scheduler, the most interesting things happen in the function schUpdate() and schExec():
In schUpdate() the delay value of the task is checked. When it is zero, the task is marked to be run and the delay is reset to the value of the period. If the delay is not zero, it is decremented by one.
void schUpdate() {
  for (uint8_t i = 0; i < MAX_NUM_OF_TASKS; i++) {
    if (tasks[i].exec != NULL) {
      if (tasks[i].delay == 0) {
        tasks[i].delay = tasks[i].period;
        tasks[i].run++;
      } else {
        tasks[i].delay--;
      }
    }
  }
}
In schExec(), for tasks marked as to be run, the exec function is called. If the period of that task is zero, this was a one-shot task (alarm timer) and thus the task is freed afterward.
void schExec() {
  for (uint8_t i = 0; i < MAX_NUM_OF_TASKS; i++) {
    if (tasks[i].exec != NULL && tasks[i].run > 0) {
      tasks[i].run--;
      tasks[i].exec(tasks[i].handle);
      if (tasks[i].period == 0) {
        tasks[i].exec = NULL;
      }
    }
  }
}
Simplicity is Key for Time Trigger Schedulers
The major advantage of this approach is its simplicity: you can still understand what’s going on when you run the system in a debugger. Nevertheless, your code doesn’t get blurred by too many Metro-like objects or hand-coded time comparisons.
The approach was of course not invented by Mr. Pont to attract the DIY community. Rather, it was invented to fulfill the strict simplicity requirements of the domain of safety-relevant software. When it comes to software where human life or environmental integrity is at risk, it is extremely important to understand exactly what’s going on in the system. Understanding the system’s operation is much easier in a cooperative system than in a preemptive RTOS.
Nevertheless, although Mr. Pont’s intention was not to attract makers, I like to use this approach in this domain very much, because simplicity is key.


