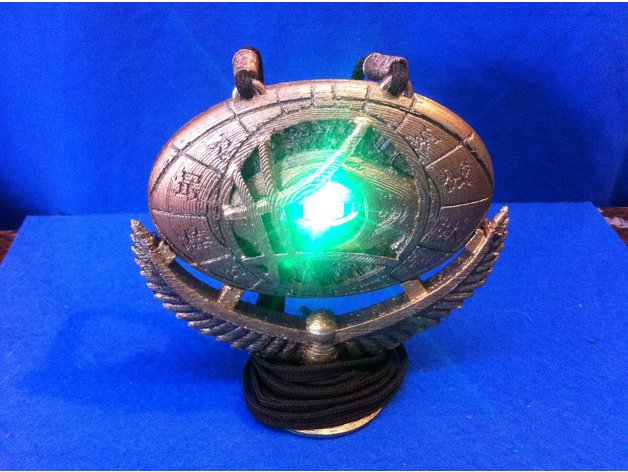
In part two of our joint project series, we’ll layout the 3D parts needed for the Eye of Agomotto.
In part two of our joint project series with All About Circuits, we'll lay out the 3-D parts needed for the Eye of Agomotto skin. Stay tuned for the "Destiny" Ghost skin in the next installment!
3-D Printed Parts
You can find all of the files for these parts on
Thingverse.
Eye Lid
You'll need two of these for the eyelids. Print them without supports (yes, really) and clean them up with a sharp blade. The servo horn 'socket' will come out a bit saggy, but the outline should be there, and you can shape it to fit your horns exactly.
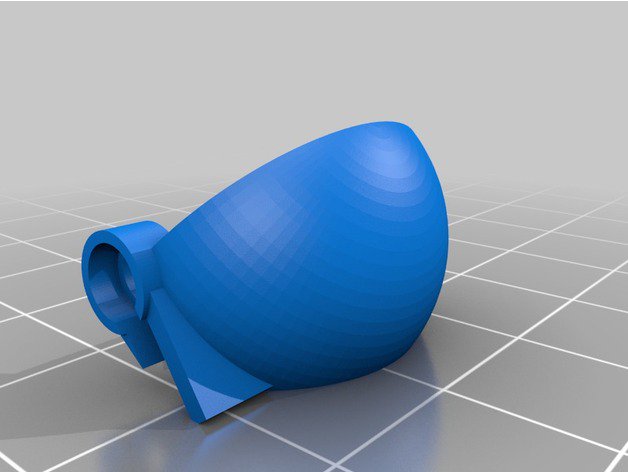
Eye Core
This is the carrier that holds the servos so the eyelids can fit over the top of the neopixel on the central pedestal. The little arrow-like flanges on the end are for zip-ties to loop over.
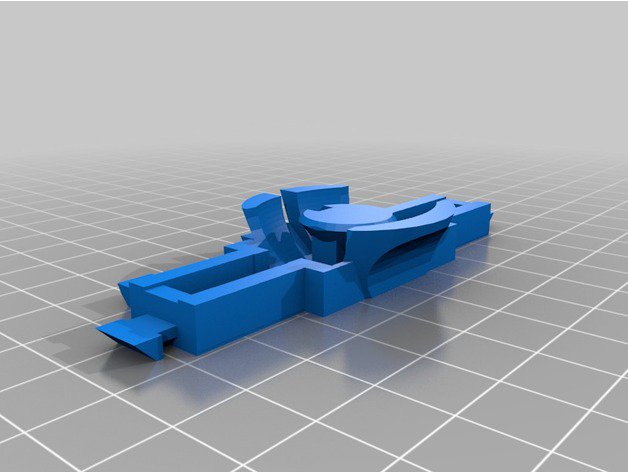
Middle Plate
This holds all the other electronic components. By making it a "shelf" sitting off the side of the core, it's kept aesthetically thin around the edges. Depending on how the amulet prints, there may be a gaps—tretch Z a few percent if you need to.
Amulet
This is the part everyone sees; structurally, it's just a faceplate over the core. This must be printed with supports, as the back has several "pockets" for the components where we don't care about aesthetics.
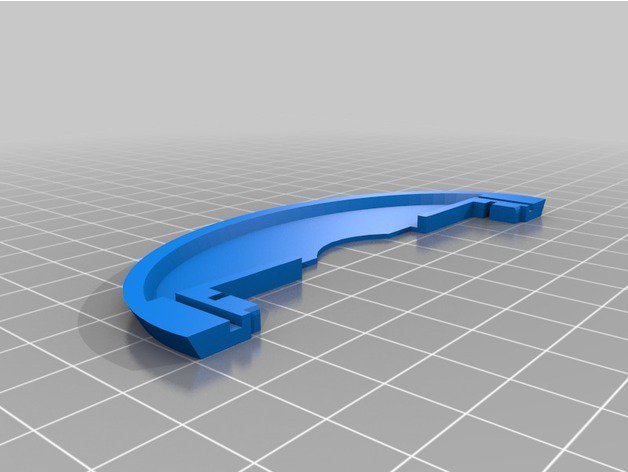
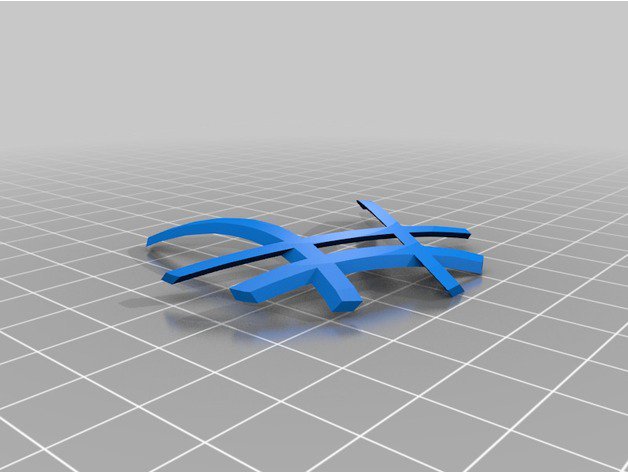
Crossbeams
This clearly needs to be printed with supports. Be sure to take some care when removing them. Don't lay it flat on the build plate; the provided angle means the surface texture matches with the grain of the amulet.
Assembly Diagram
Glue the neopixel onto its pedestal in the center of the core. Run its wires out through the slot beside it. Make sure they're secured down against the plastic so the wires can't foul up the eyelid when it opens.
Glue some servo horns into the "sockets" on the outside of the eyelids. Try to get them as axially straight as possible. I cut down the cross horn to just a single arm since it was shortest.
Screw the servos into their horns and drop them into the core. The two eyelids should interlock nicely, but they'll still rotate freely.
Most of the electronics wiring can be done at this point. Add the "middle deck" to hold the ESP and voltage regulator boards.
The amulet and crossbeams are glued together (with a few dabs of CA glue where they touch, held down by a weight) and then painted. The visible parts of the eyelid are also painted. Just avoid the surfaces where they mesh (the servo horn rings and dead-center bumps), or they might stick together.
There are four channels for zip-ties on the back of the amulet. Hopefully the slots print obstruction-free; otherwise, they're a devil to clear out—a design flaw on my part, probably. Two zip-ties secure the arrow-like ends of the core, also threading through the middle plate to the amulet face. Two more hold the battery within as much of an indent as I could create.
Extra Parts
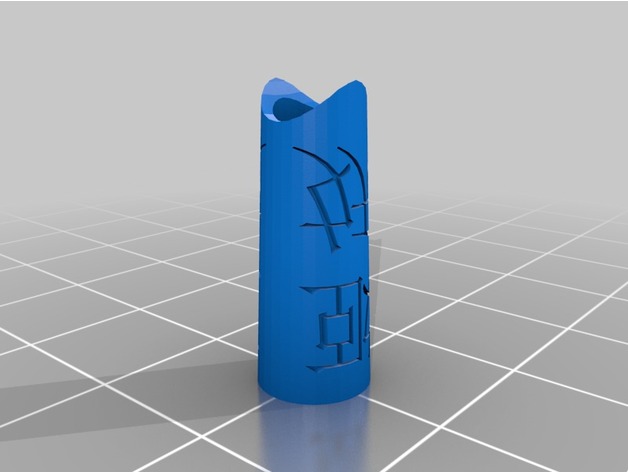
Woggle
Two of these are used where the cord attaches to the amulet. They are good for covering knots and generally keeping it tidy.
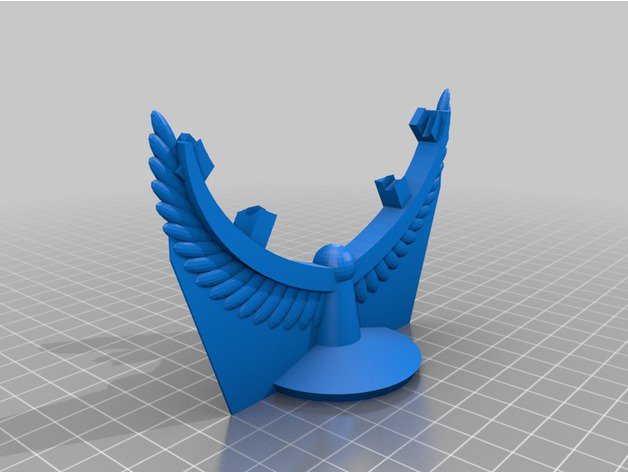
Holder Stand
This is a nice presentation stand. It has a built-in support wall (so print without extra supports), and it is intended to be removed with side-cutters so that any roughness just enhances the "feather" effect, as long as you're fairly clean around the base.
I used a couple of brown shoelaces for the necklace cord. They tie through the loops at the tops of the amulet. Then, I slipped the "woggles" down to cover the knots and make it look like the movie prop.
I'm actually quite proud of the holder stand, given how conceptually simple the design was. The feathers are flattened spheres cloned along a mathematical curve by a program loop in OpenSCAD. It's basically one line of code. The stand is guaranteed to precisely hold the Eye because the final amulet shape was subtracted from it.