Learn how to use SelfCAD Software. SelfCAD is an easy to use fully-fledged online 3D modeling software.
Introduction
In this quick tutorial, I am going to show you how to get started in SelfCAD and create your first 3D model.
This tutorial is meant for those who are beginners in SelfCAD but those with experience can get a glimpse of one or two things.
We are going to create a 3D-Printable house prototype.
Step 1: Create an Account
In summary, SelfCAD is a browser-based program that allows you to model, sculpt and print all under one program and the Slicer is also part of the program.
The first thing you need to do is to create a user account. This will allow you to access the Editor and be able to create and store your models in the cloud (Which I will explain to you in the next step).
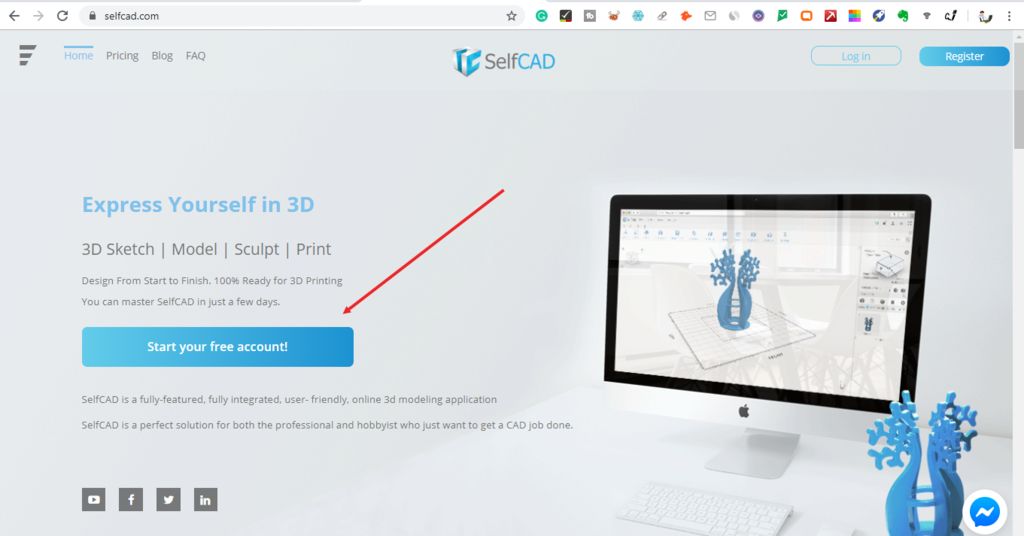
To create an account, visit SelfCAD Website, and select start your free account. This free account is limited in functionality but you can use it for training purposes.
After creating an account, launch the Editor and you will be all set.
Step 2: Creating a Myminifactory Account
Title here
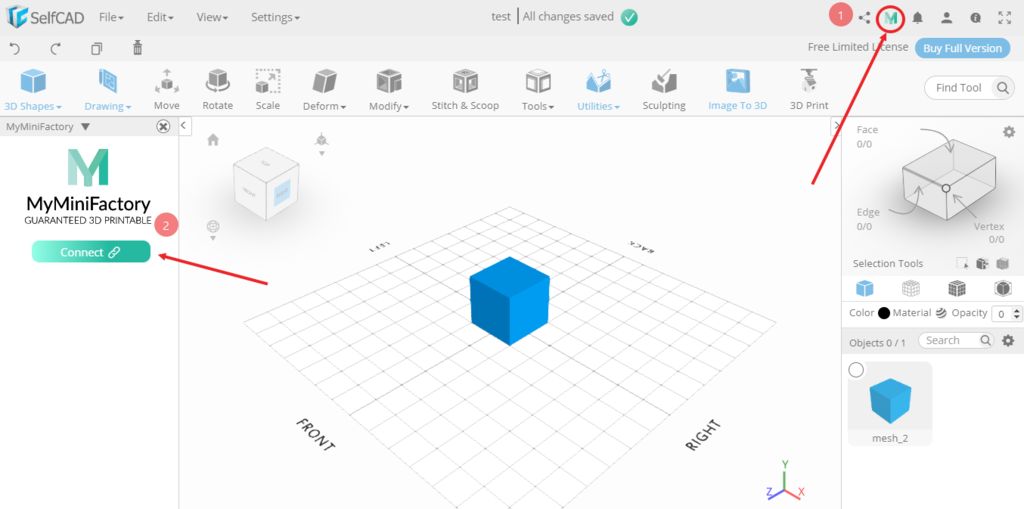
After Signing up, it's time now to create a Myminifactory Account to be able to get access to ready to print models and be able to upload your models to the cloud so that other people may see them and also you can access them wherever you are.
To Sign up, click Myminifactory on Top-right section and select Sign up if you haven't done so already but if you have signed up, click connect.
After you have connected the Myminifactory account, this will allow you to upload directly through SelfCAD and be able to browse models in all categories and be able to download them too.
Step 3: Workspace
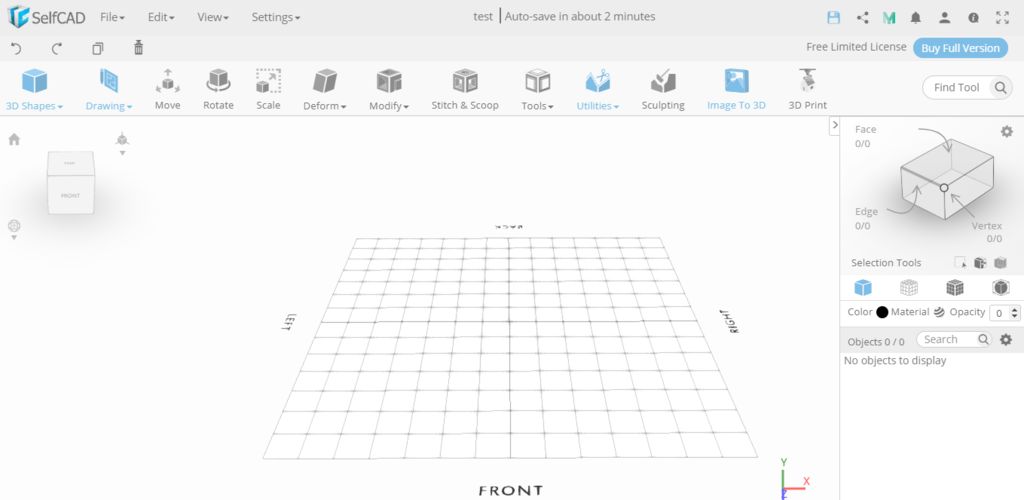
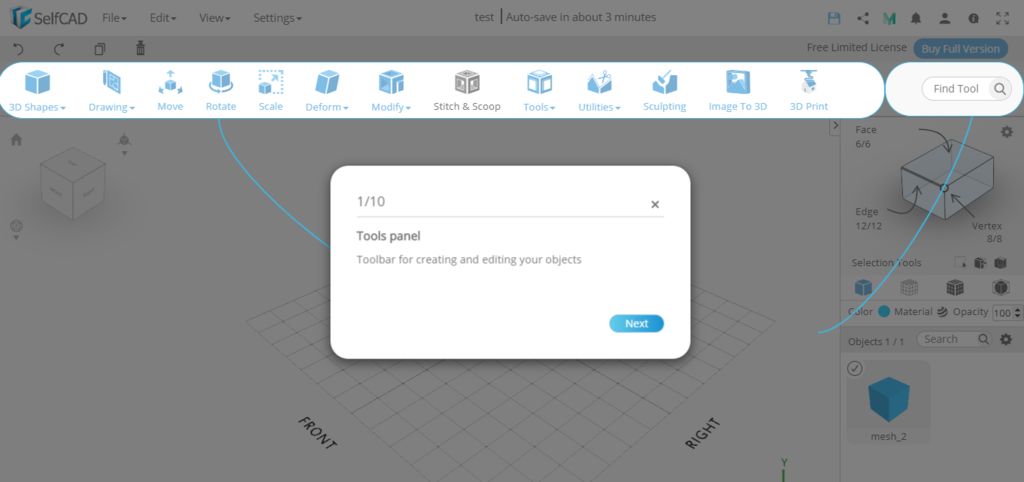
This is how the workspace of SelfCAD looks. It's where you will be creating your work, that is, it's the main design space.
The gridded area represents the build plate which is normally being used in the 3D printers and it's the place you will be working on most of the time.
Step 4: Tools
The list of tools of SelfCAD is shown in the image below. We shall cover each of them in the next tutorial, but in this instructable, we shall cover only a few of them.
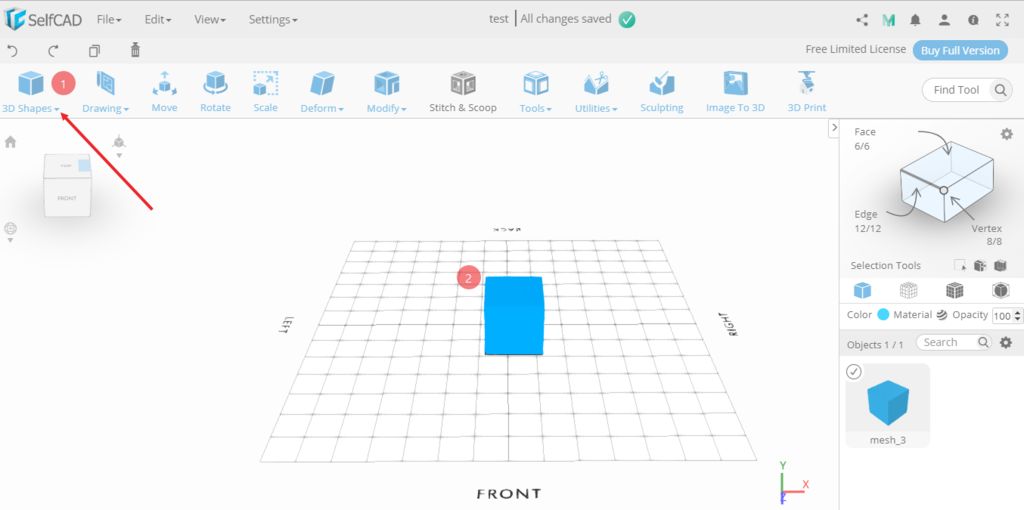
Step 5: Create a Shape
Select and drag a cube to the workspace.
To increase or decrease the size of the shape, select the Scale tool found on the toolbar. And if you can see it you can search the tools from search bar found in the top-right corner.
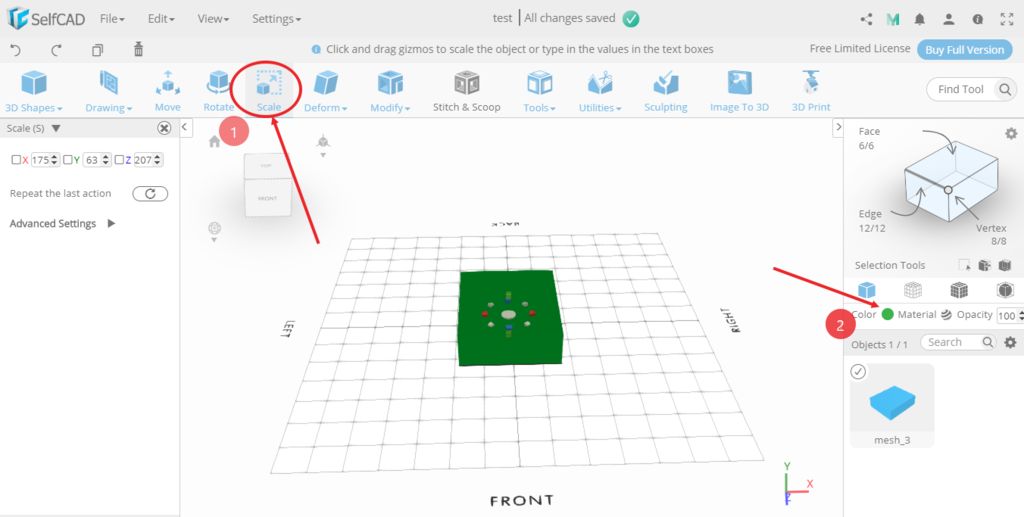
When you select the Scale tool, you will be able to see an option to increase the shape on either side by dragging the colored points that appear on the shape as shown in the second image below.
You can also change the color using the color option as pointed in the second image.
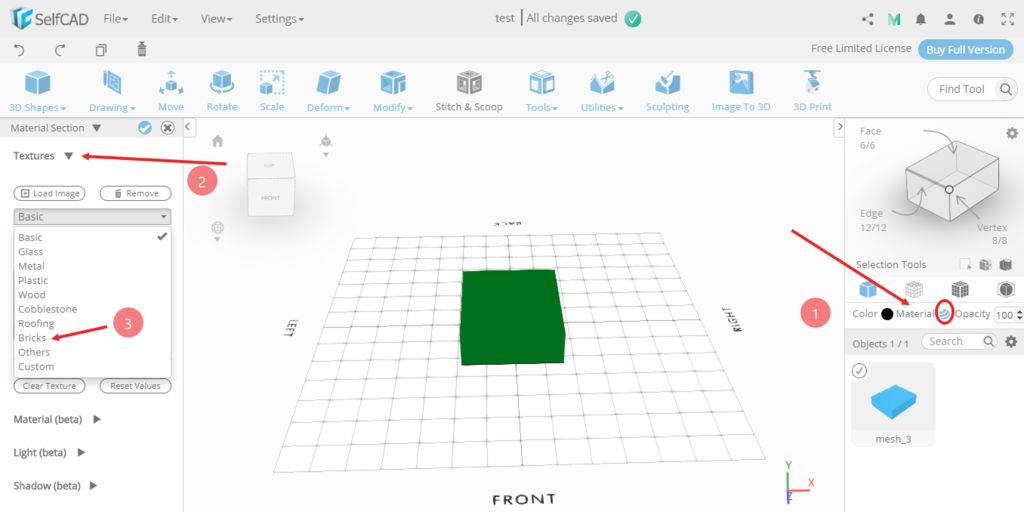
Step 6: Modifying the Shape
After scaling and changing the color of the model, we can now modify it further by adding textures.
To do this, select the Material option found just near the Color option and then click on Textures.
You can choose the best textures for your designs or you can load them if you have it. In my case, I downloaded the above texture and loaded it onto SelfCAD. You can download it here. https://bit.ly/2Ve2r4r.
Step 7: Adding Multiple Shapes and Modifying Them
Now that you have figured out how to work with one shape, let's now add another object and modify it.
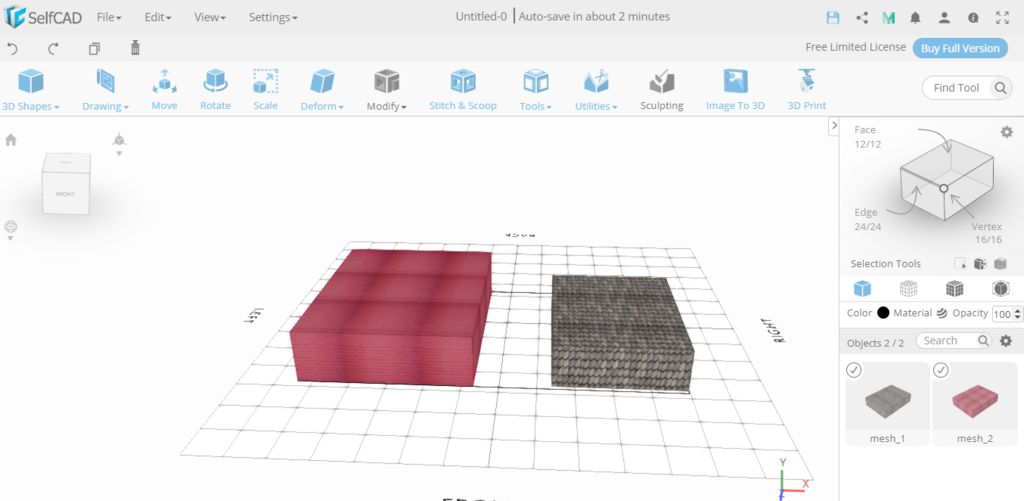
Like you did earlier, select and drag your shape from the basic shapes section and add it to the workspace.
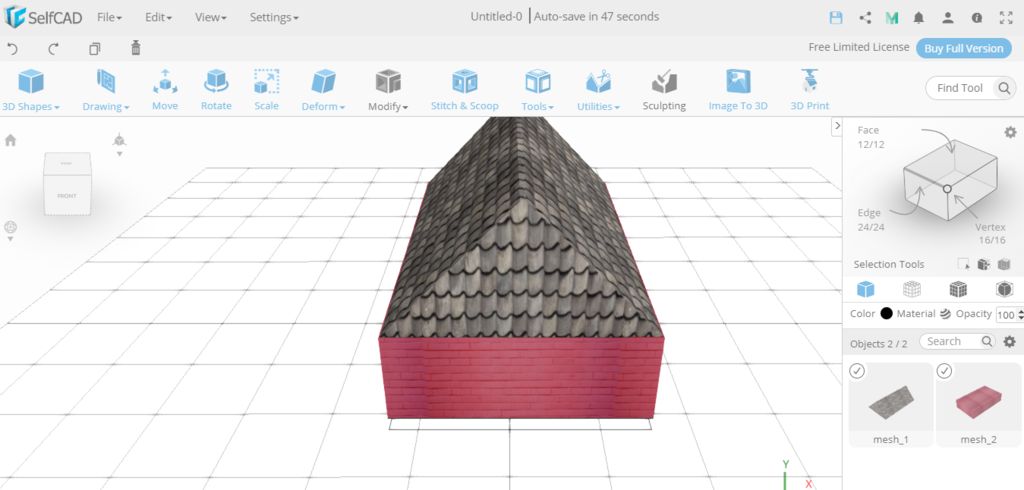
After adding the model, you can add the textures just the way you did with other shape and select the Scale tool and scale the model to be as shown in the first image below.
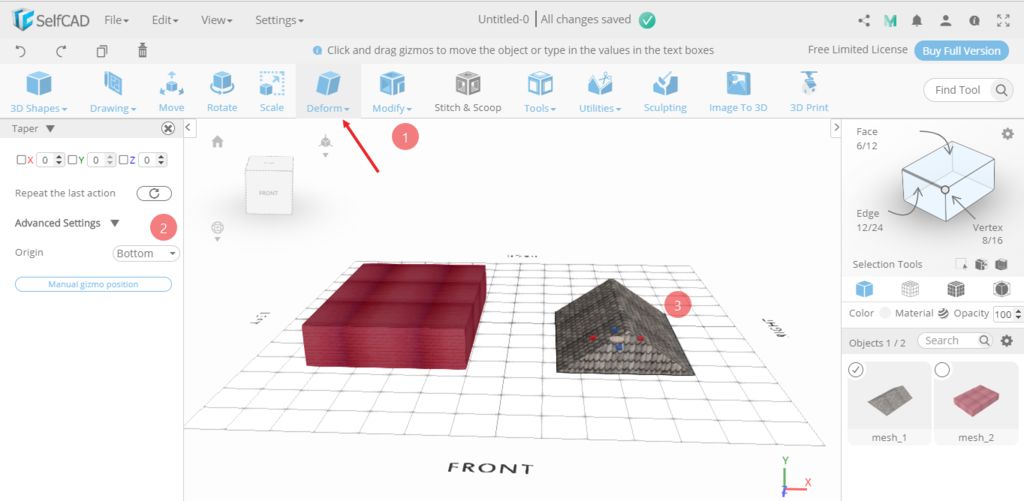
To create a roof of the house, select the taper tool from the deformation section. Ensure the origin is set to Bottom in the advanced settings and stretch it towards the right-hand-side to be able to create a pyramid-like model as shown in the second image below.
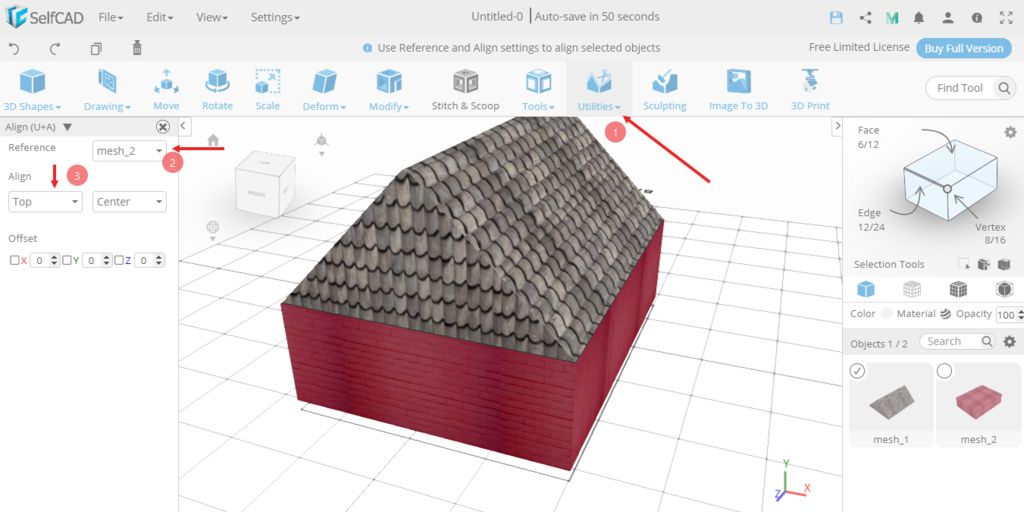
To put the roof on top of the rectangle, we can either use the Move tool or Align tool.
To use the Move tool, select it and drag the model towards the rectangle using the arrows provided. But it's a tedious process to align it on top of the rectangle. So that's why the Align tool comes in, it's one of my favorite tools in SelfCAD.
Make sure that only the roof is selected. Choose the Align tool from the utilities section, or use the command U+A.
In the reference section, select mesh_2 and in the Align section select Top-Center.
Step 9: Finalize Your Model
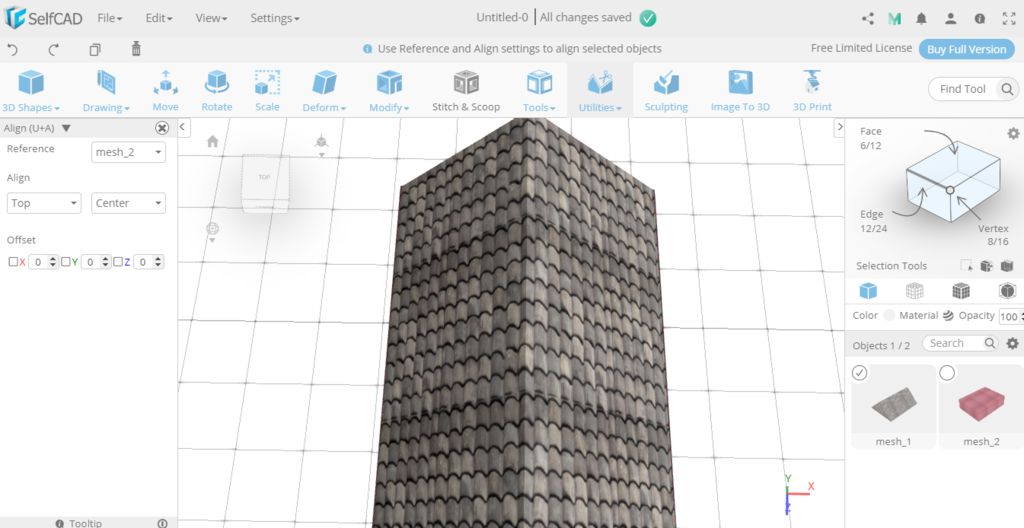
Select the Scale tool and use it to scale the model to fit the rectangle well.
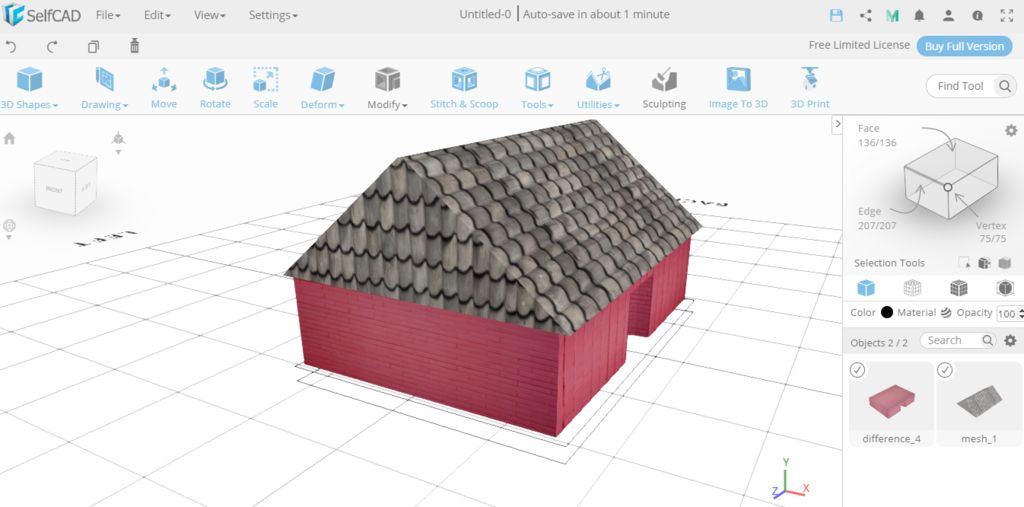
Change the viewing perspective to be able to see the interior section of your house well.
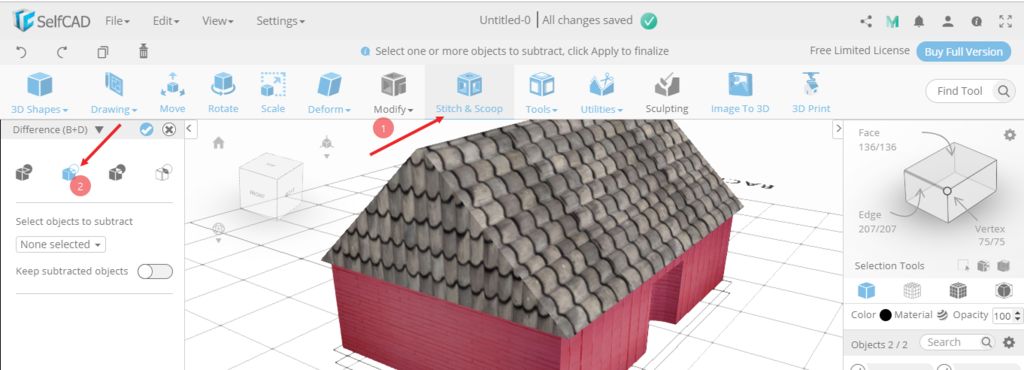
To create the section for placing the door, select a new shape from the basic shape section, scale it and drag it towards the section you need to place door. After that, select the Stitch and scoop tool and select Difference and extract the model you created last and you will be able to obtain the model shown below.
To marge the objects, you can select all of them and use the merge objects tool found in the utilities section.
Step 10: Saving and Printing
After modeling in SelfCAD, you can either save the model in the cloud, browser or upload it directly to Myminifactory.
To save your model on the cloud or browser, select File then saves it. You can also save the Scene to the cloud or browser too.
To upload it to Myminifactory, follow the procedure in step two.
To prepare the model for 3D printing we will use the Magic Fix tool found in the tools section. Or you can use the command T+M.
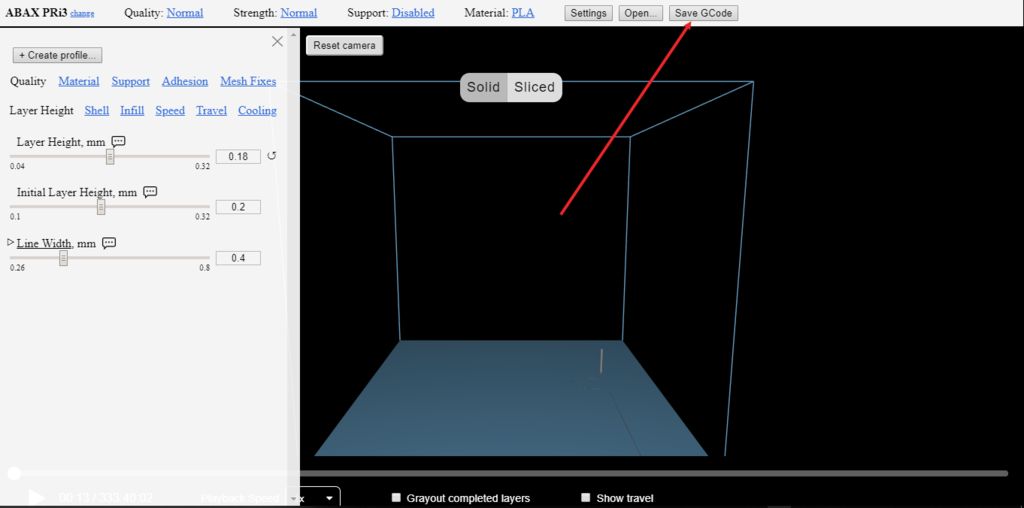
To print, select 3D Print in the toolbar and click on Slice. After slicing you can save the G-Code in order to send it to your 3D printer.
SelfCAD also has a 3D printing animation feature. You can preview how your design will be 3D printed.
In case you have any questions concerning this tutorial, feel free to ask in the comments section.