In this project, we will use profiles and the Follow Path tool of SelfCAD to model pipes.
Welcome to the next SelfCAD instructable. In this project we will use profiles and the Follow Path tool to model pipes.
Welcome to the next SelfCAD instructable. In this project we will use profiles and the Follow Path tool to model pipes.
Step 1: Create New Project
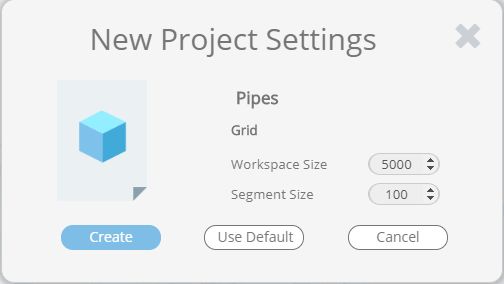
Launch SelfCAD editor and create a new project. Set the project's name, workspace size and segment size (grid). Remember that 1 SelfCAD's unit is equal to 1 mm.
Launch SelfCAD editor and create a new project. Set the project's name, workspace size and segment size (grid). Remember that 1 SelfCAD's unit is equal to 1 mm.
Step 2: Reference Image
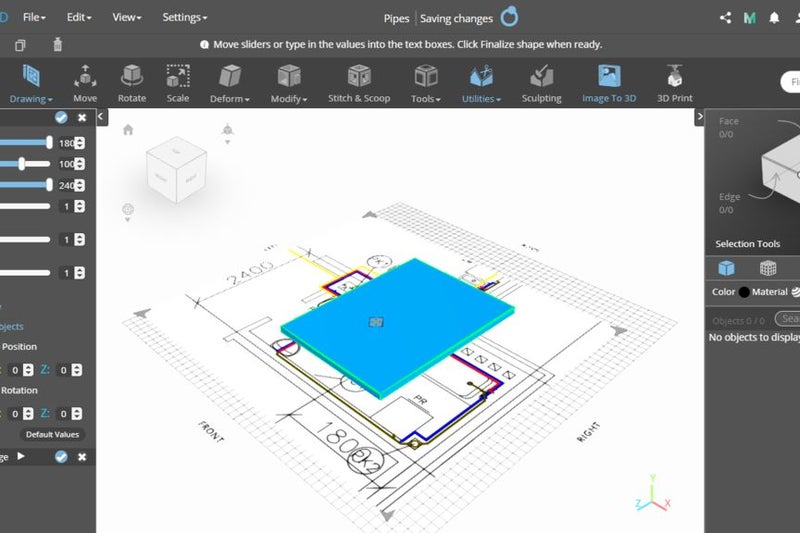
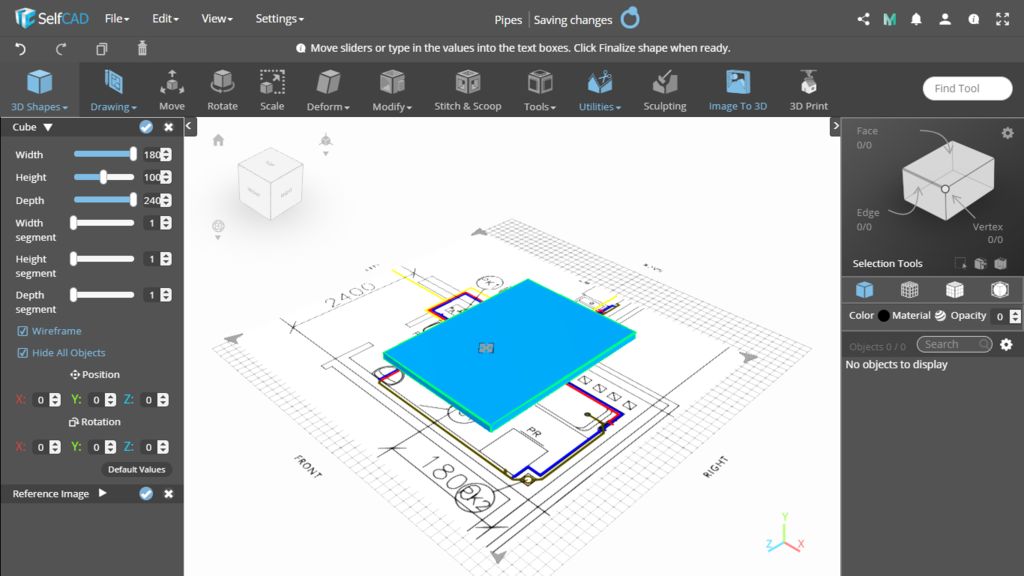
You should know at least one dimension of the building (room), but I recommend to know two of them. I added two measurements to my drawing and uploaded the image to the project (View - Reference Image).
Add a cube to the scene and set its width and depth equal to the known dimensions. Match your reference image to the cube.
Step 3: Draw First Profile
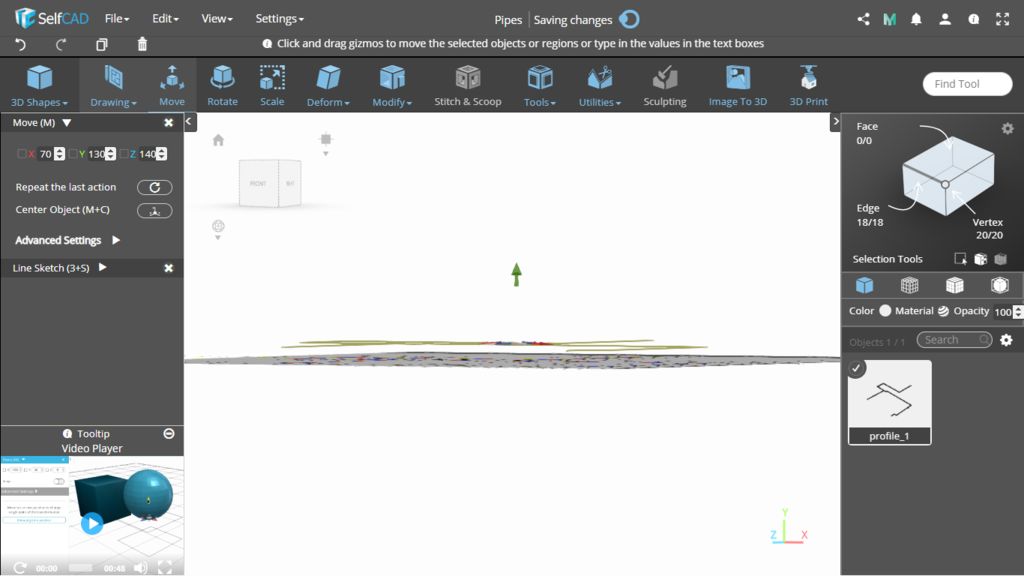
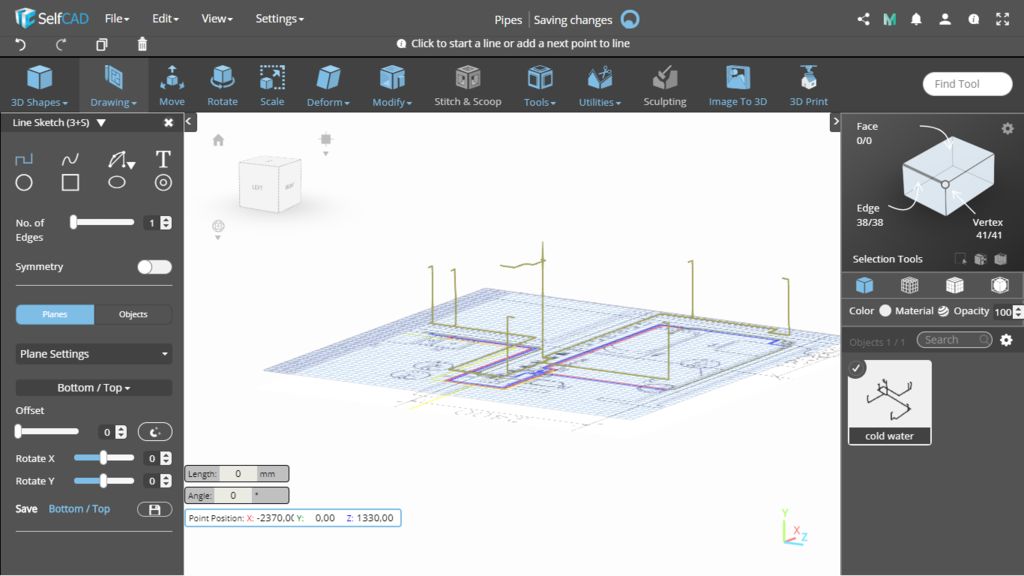
Use 3D Sketch, Line Sketch to draw a profile. First, open Precision Settings and turn on minimum step size 10. Draw the cold water pipes.
Use 3D Sketch, Line Sketch to draw a profile. First, open Precision Settings and turn on minimum step size 10. Draw the cold water pipes.
Step 4: Move the Profile Higher
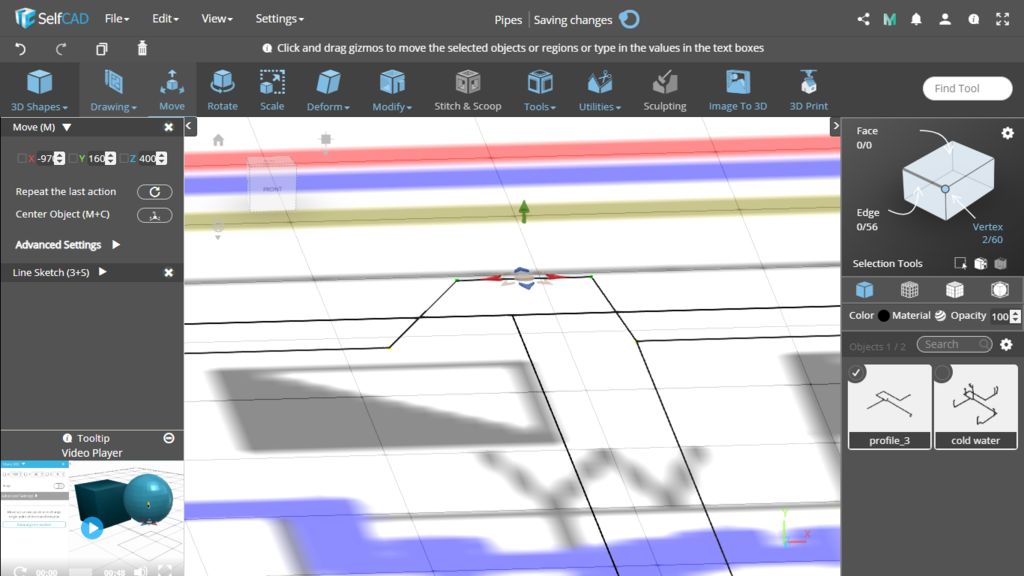
I want this profile to be an axis of my pipe, so it cannot lie on the grid. Let's say, that the floor would be 200 mm high and we want to place my profile 70mm below floor level. Move the profile to a height of 130 mm.
I want this profile to be an axis of my pipe, so it cannot lie on the grid. Let's say, that the floor would be 200 mm high and we want to place my profile 70mm below floor level. Move the profile to a height of 130 mm.
Step 5: Draw Water Connections
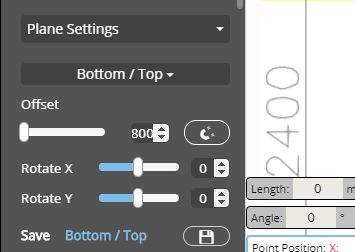
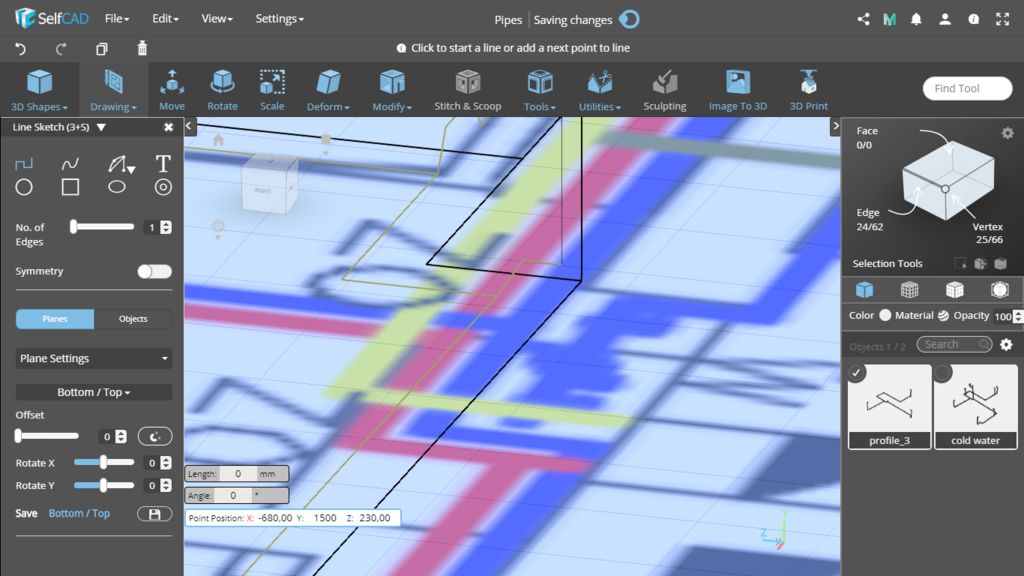
Use 3D Sketch again but this time set the offset to 800 because the water connections should be at the height of 600 mm. With the first profile still selected, draw new short segments. Connect these segments with the main profile.
Use 3D Sketch again but this time set the offset to 800 because the water connections should be at the height of 600 mm. With the first profile still selected, draw new short segments. Connect these segments with the main profile.
Step 6: Finish the Cold Water Pipes Profile
Draw the rest of the cold water pipes.
Draw the rest of the cold water pipes.
Step 7: Draw Hot Water Pipes
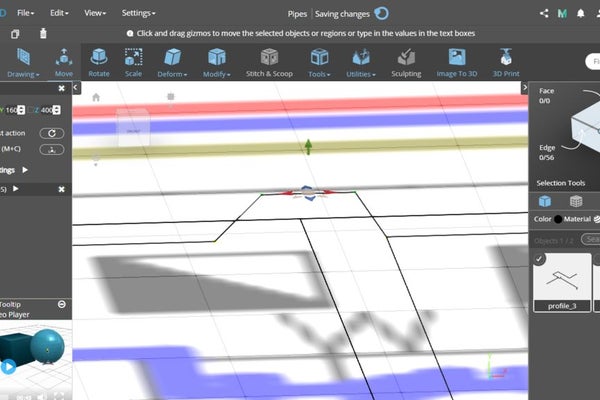
Do the same with hot water pipes. Make sure your first profile is deselected. Note that the pipes cannot intersect. You can draw more edges in the profile and lift some of them above the cold water pipe, like in the pictures.
Do the same with hot water pipes. Make sure your first profile is deselected. Note that the pipes cannot intersect. You can draw more edges in the profile and lift some of them above the cold water pipe, like in the pictures.
Step 8: Veritcal Profiles
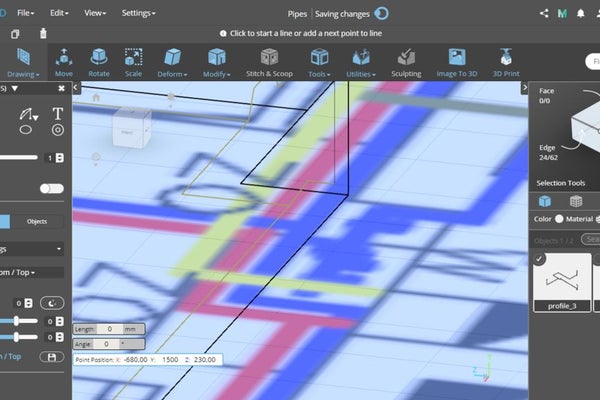
You can draw a vertical line by entering the coordinates of its end.
You can draw a vertical line by entering the coordinates of its end.
Step 9: Draw a Circle
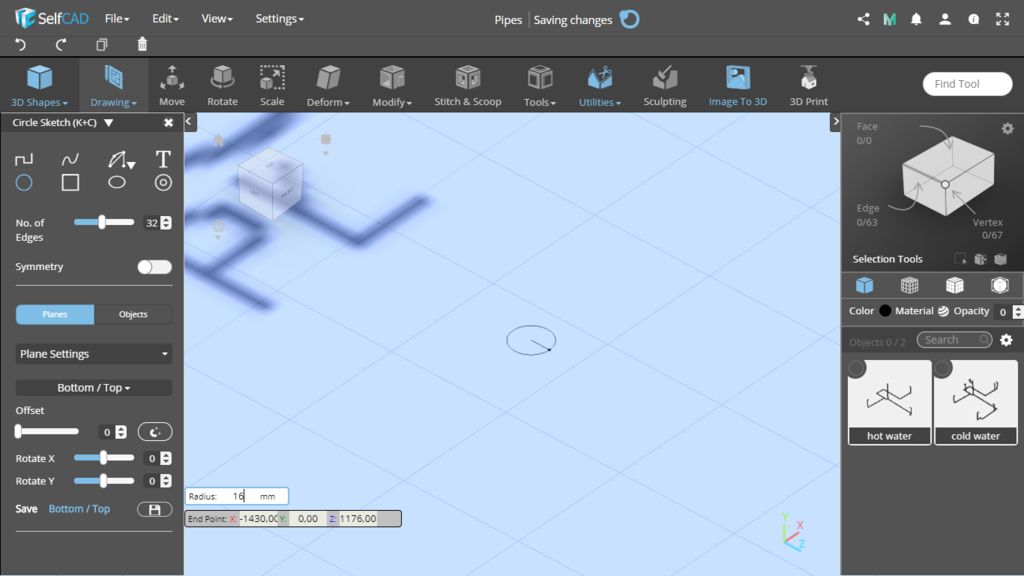
Make sure you have nothing selected and draw a circle, cross section of your pipes. My circle has a radius of 16 mm.
Make sure you have nothing selected and draw a circle, cross section of your pipes. My circle has a radius of 16 mm.
Step 10: Create Pipes
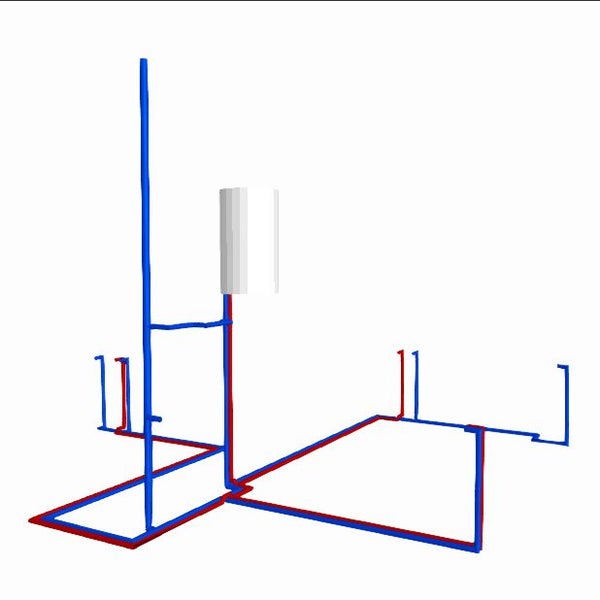
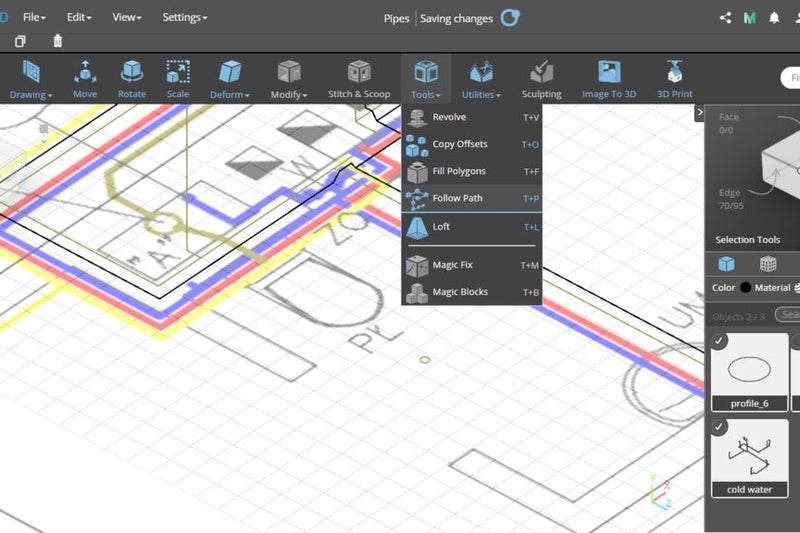
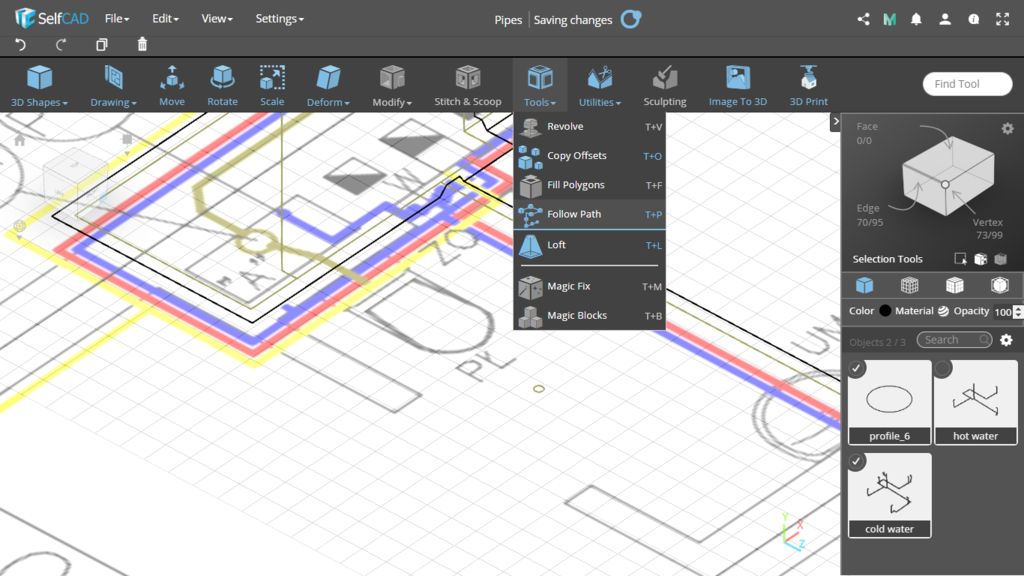
Select the circle and then one of the profiles. Use Follow Path (T+P) to create pipes. Do the same with the second profile
Select the circle and then one of the profiles. Use Follow Path (T+P) to create pipes. Do the same with the second profile
Step 11: Water Heater
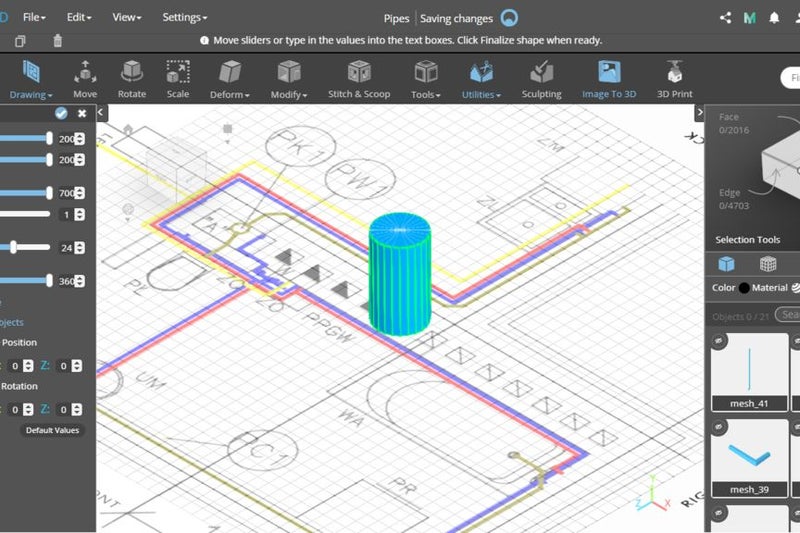
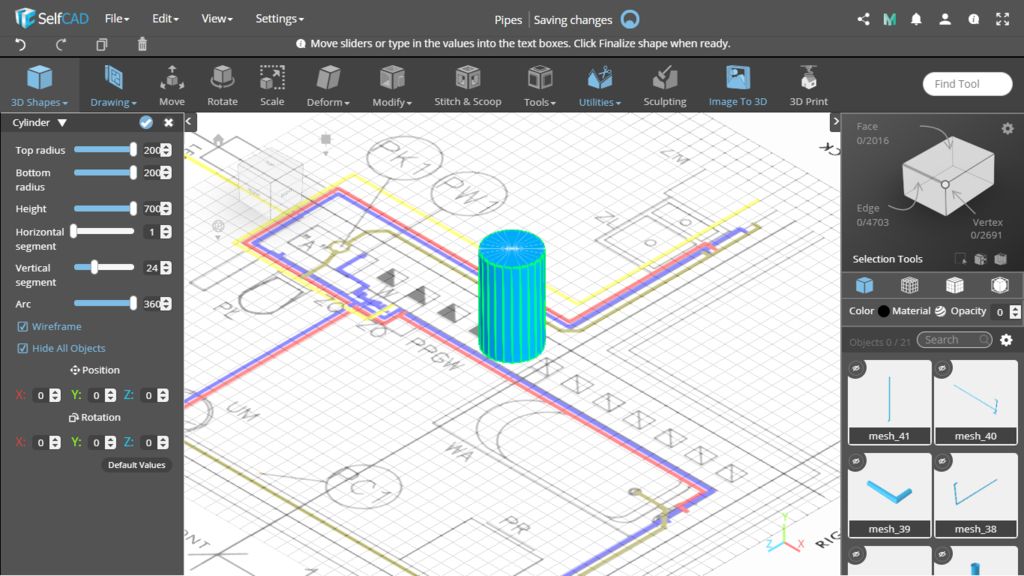
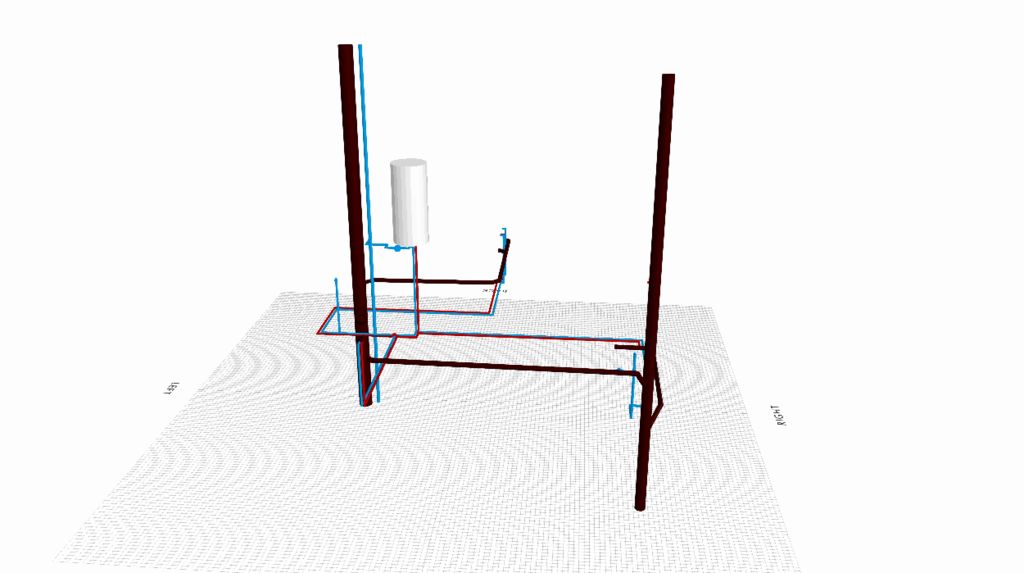
Now you can model a water heater. Add a cylinder to the scene and move it to its place
Now you can model a water heater. Add a cylinder to the scene and move it to its place
Step 12: Add Sewage Pipes
Now, when you know how to model pipes, you can add a sewage system and more details.
Now, when you know how to model pipes, you can add a sewage system and more details.