Part two in this series on how to build a mechanical television covers how to choose the right components.
Editor’s Note: This is part of a several part project by Vincent Portet. If you would like to see a specific chapter, refer to the table of contents below.
In part 2 of our Color Mechanical Television project, we will discuss the components used in the circuits. Later, we will get into circuit construction and software. Take a look at the mechanical TV in action in the video below:
Controls, Output Devices, and Sensors
The external controls consist of...
- One user-controlled push button for vertical synchronization adjustment.
- One user-controller potentiometer for fine adjusting the free run disc speed.
- One user-controller potentiometer for adjusting the sound volume (this is optional).
- And of course, a power switch.
Output Devices/Actuators
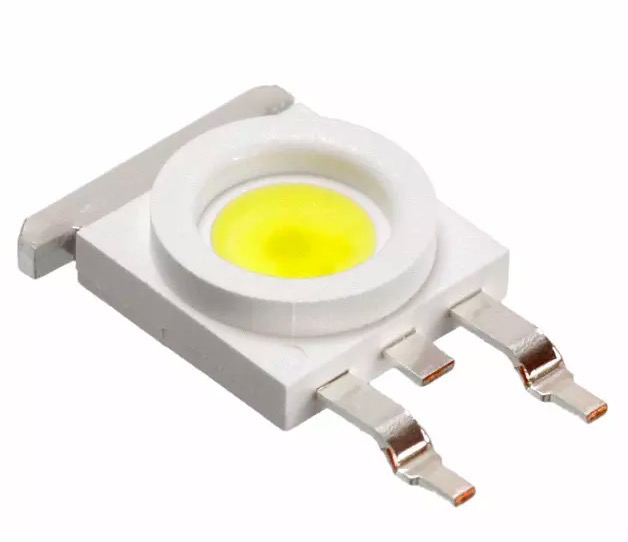
Black and white system: A white power LED for disc lighting (a video-driven back light). For example, a 900mA LED like the Avago ASMT MxE2 or Mx22.
An ASMT-MT00-00001. Courtesy of Digi-Key.
Disc Driving Motor: A DC motor reaching the unloaded speed of 12,5 rps (750 rpm) at a voltage between 6 and 15V. A simple LED used as stroboscope to help with synchronizing the disc (any LED rated for 30mA pulse will work)
IR Sensor
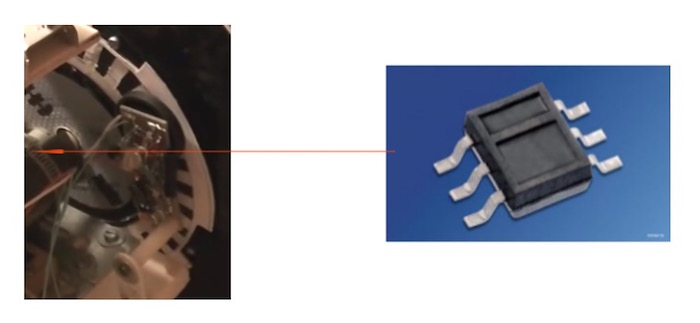
An IR reflection detector SFH-9201 (Infineon/OSRAM) is used as an optical sensor for disc speed control. Each disc revolution generates 30 pulses. So in the case of a 60-line system, it counts “double lines”. The synchronization system can handle an incoming video at 30 synchronization pulses per second as well as at 60 synchronization pulses per second (1 video pulse on 2 is then used).
This small SMD component is mounted on a separate circuit board and protected from a being disturbed by strong ambient light by a plastic cap taken from an old photo film box. The black and white cardboard counting track features 30 B/W cycles.
Power Supplies
The primary power supply shall be a DC voltage source within 12-16V. If the disc driving motor requires more than 9V5 for reaching the target speed, the low limiting power supply value will not be 12V but the required motor voltage + 2V5. In the schematic diagrams, this power supply voltage is marked: “V DC IN (+)”.
The post-diode voltage “VP” is provided (in this example) from the synchronization extractor schematic. This power source is used by circuits requiring power but without accurate voltage regulation.
The regulated 9V voltage used by several different circuits is provided by a 7809 regulator mounted on the synchronization extractor. (This regulator location choice is also not mandatory). It is marked “P9V”.
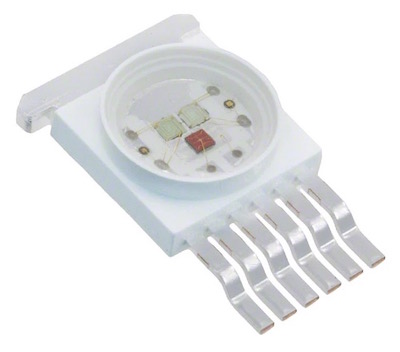
If used, the color decoder has its own power supply architecture. Directly connected to “V DC IN”, it has its own internal voltage regulator providing 5V through the source signal “VDD”. The only dependency that this circuit has from the rest of the appliance is the video synchronization signal (positive composite synchronization Hsync/Vsync from the synchronization extractor). By processing the SECAM carrier channel, it is able to drive the red and blue LEDs directly.
Schematics Coming Soon
Tune in for the next installment and we'll dive into schematics!


