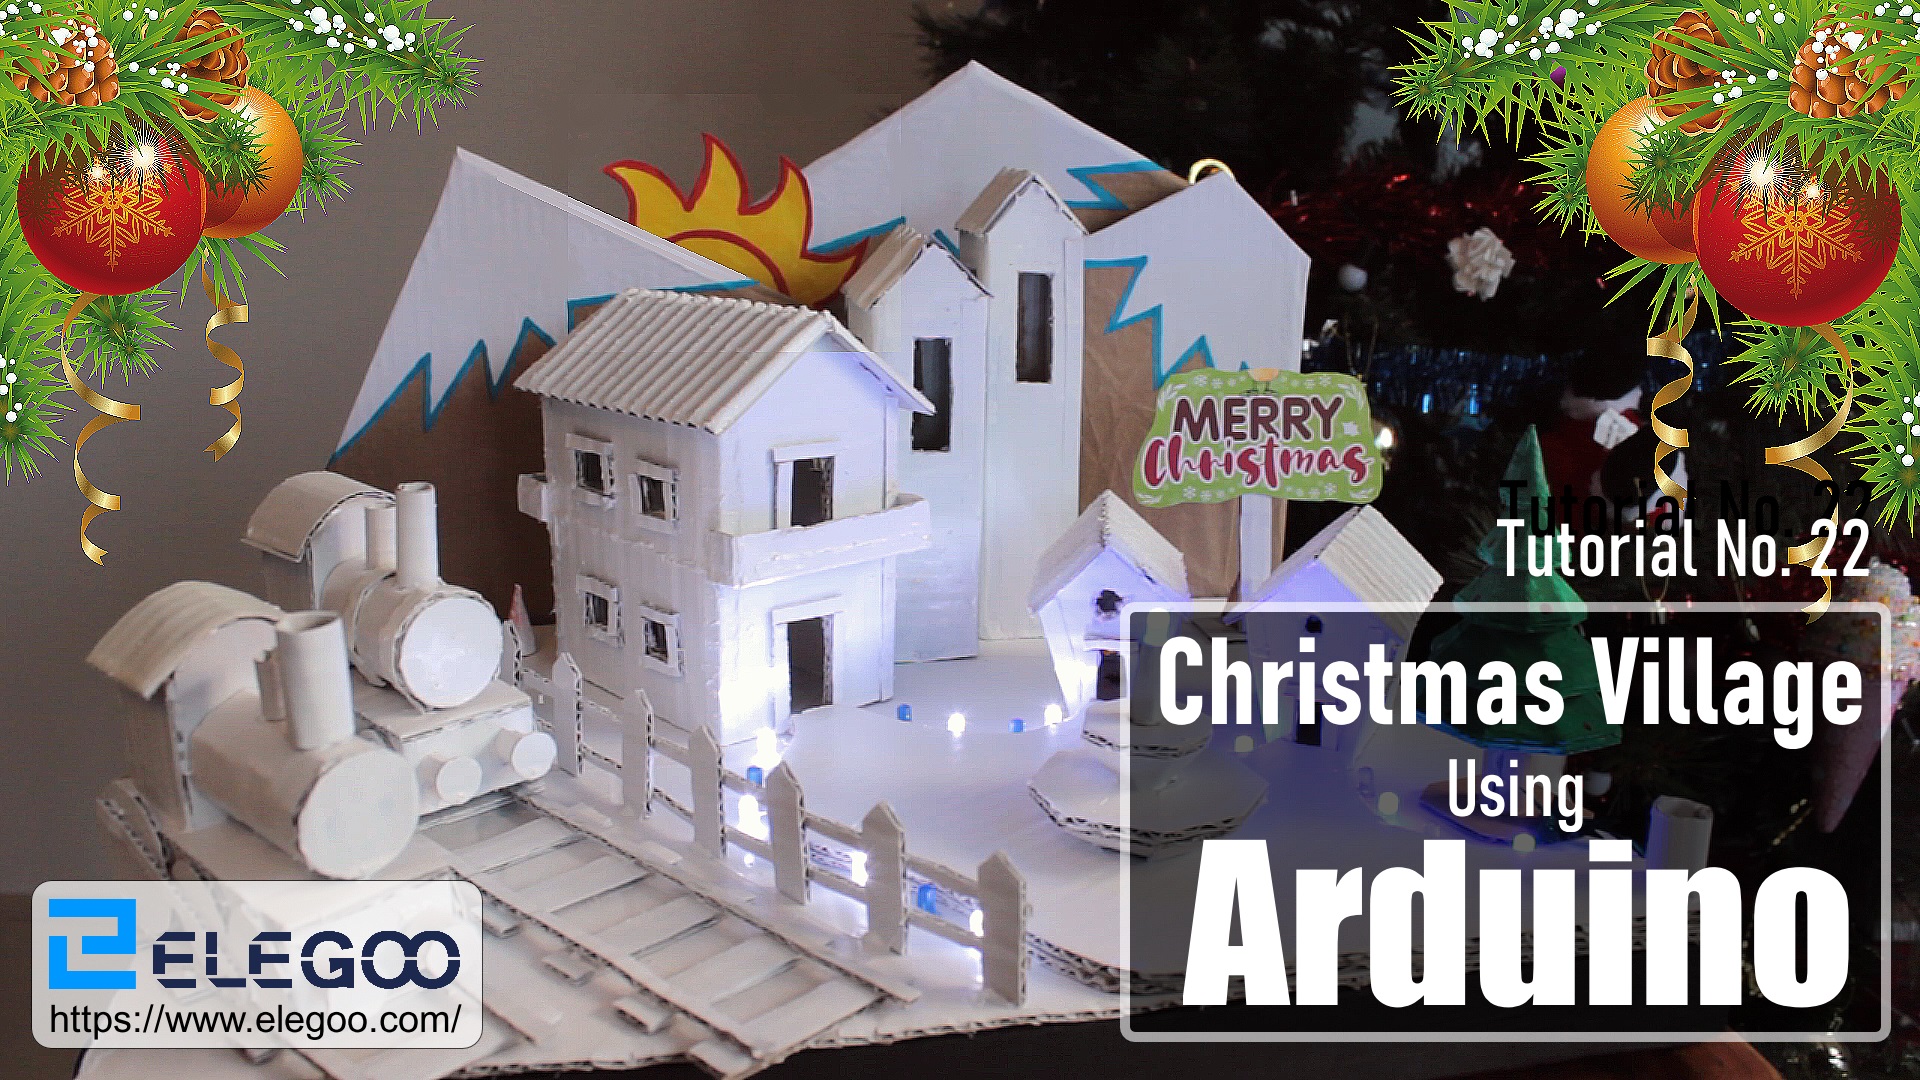
I created this small Christmas Village for my little monster.
Trying to explain dialup to a pre-teen will evoke the same wild-eyed bewilderment as “a dinosaur was as-big-as this house”. We can’t go off what our parents did because two tin cans connected by a string isn’t really the same these days and probably it would look like a piece of junk for the new and upcoming generations.
However, the truth is "life is busy" and hence we don’t spend enough time with our children. Children need high-quality time with parents and caregivers - the QUALITY of time spent with them is much more important than the QUANTITY of time.
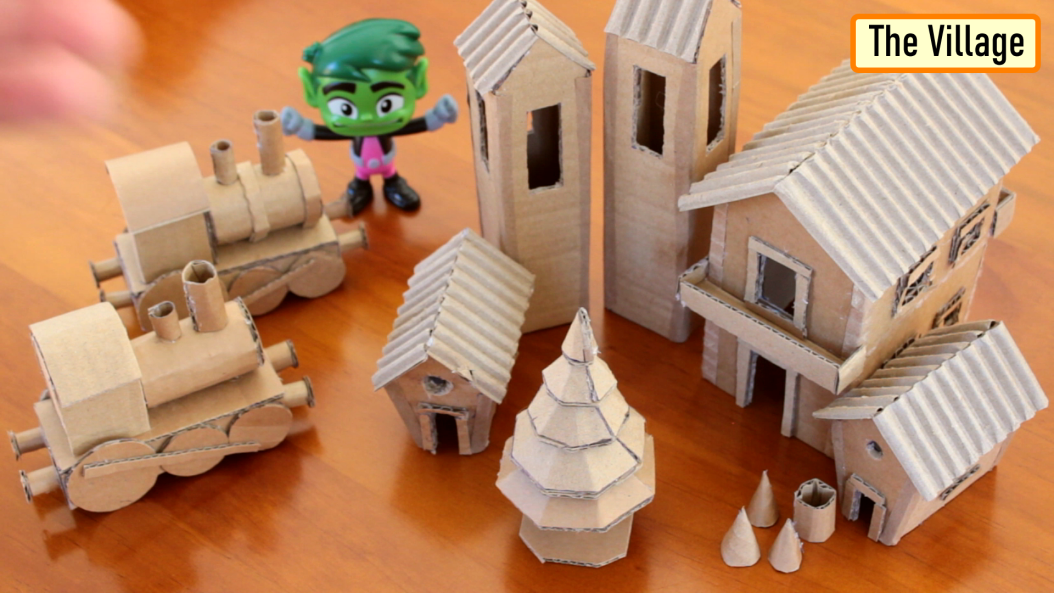
Christmas was the perfect time to explore and setup this bonding. With a bit of help from my little monster and by using The Most Complete Starter Kit from ELEGOO I created this small Christmas Village for my little monster.
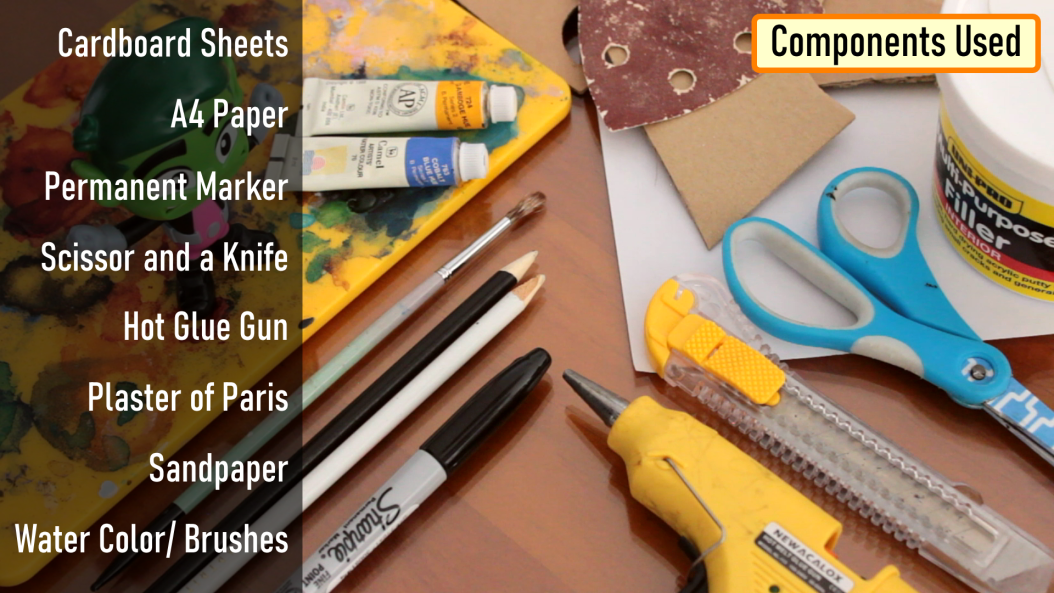
Components Used [Village Creation]
To create the cardboard village we need:
- Cardboard Sheets
- A4 Paper
- Permanent Marker or Pen
- Scissor and a Knife
- Hot Glue Gun or Wood Glue
Adding a bit color would have made my project even more attractive however I just left it all in white.
Paper Templates
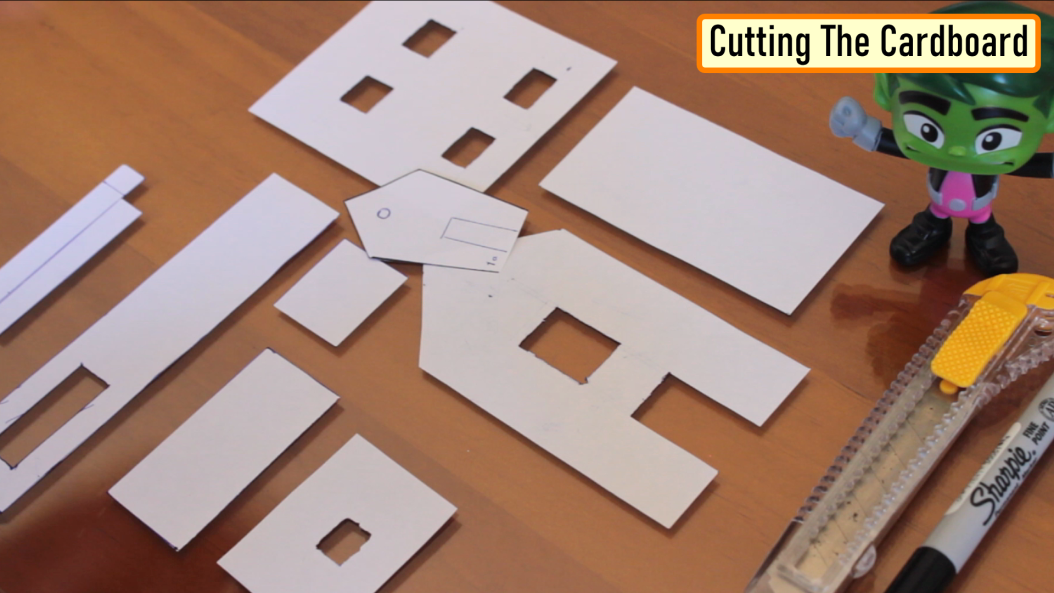
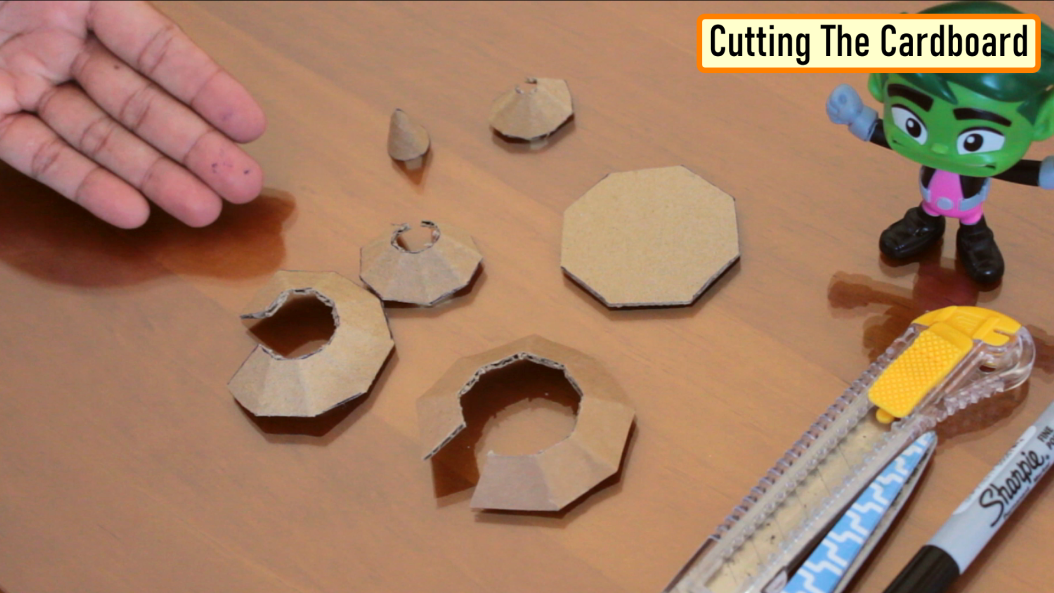
I created 2 x PDF files with all the measurements in it. The links to the PDF files is in the description below. After printing the PDFs on A4 sheet, I extracted the shapes from it using a paper cutting scissor.
Then I traced the paper-cutouts on pieces of cardboard and using both scissor and knife I extracted all the pieces of cardboard that I need for this project.
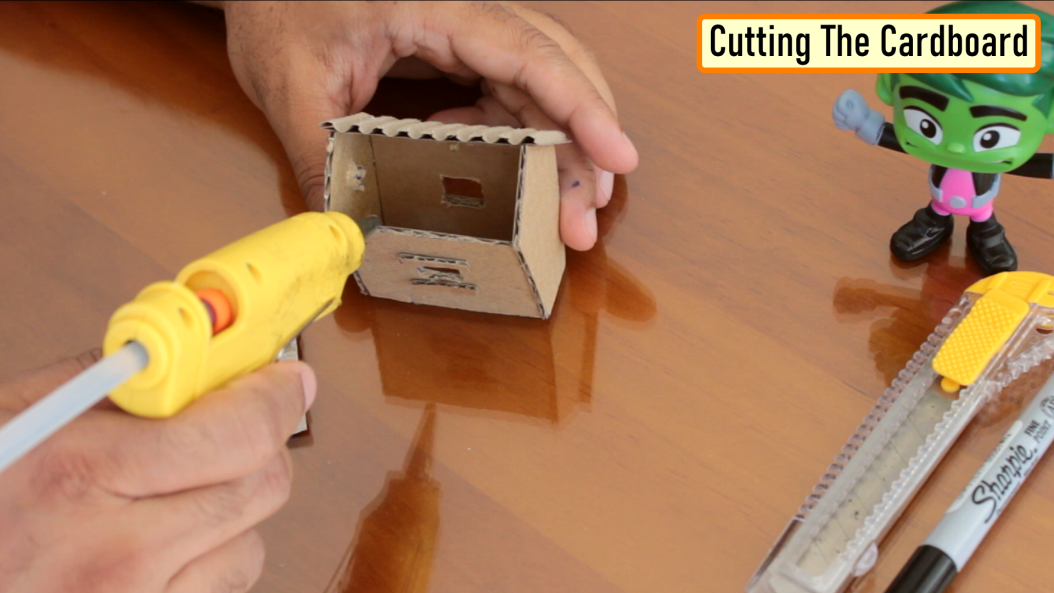
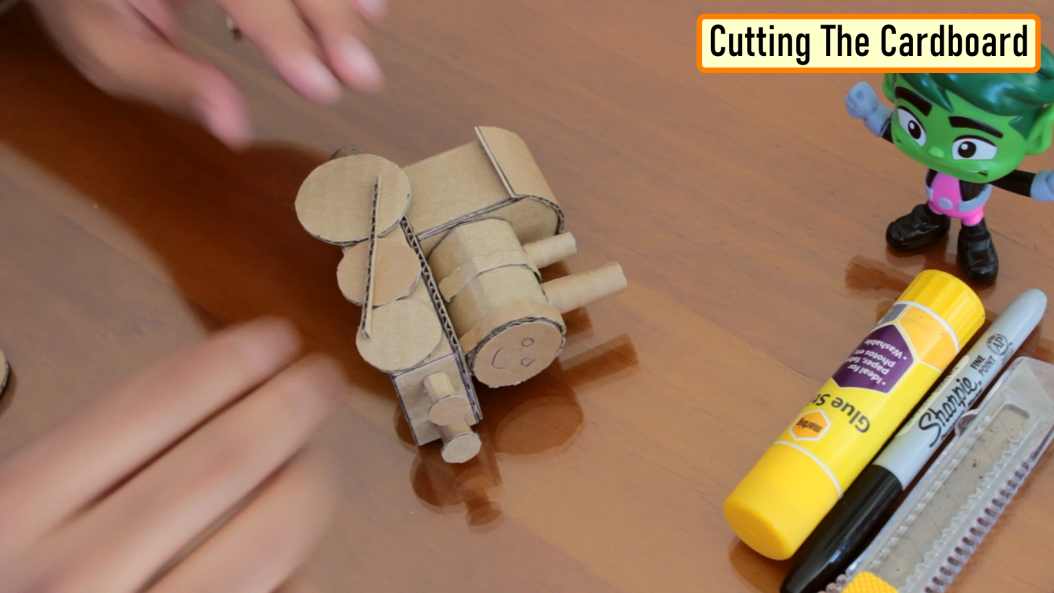
Using a hot-glue gun I joined all the cardboard cutouts.
Be very careful while using a hot-glue gun. Use gloves as much as possible to avoid the hot glue from burning your hand and fingers.
By using wood-glue instead of hot-glue you can get a cleaner and stronger finish, but hot glue is faster. Hot glue can also be more forgiving as you can re-heat and re-glue if you're unsatisfied with your seam.
Try applying the glue from the inner side as much as possible to leave the outer side neat and clean.
Meaningful connections are all about quality of time and not quantity of time. Keep it simple and connect with your child in ways that make sense for your lifestyle and relationship. Each connection has a lasting impact and provides the support and reassurance that your child needs. Although the days with little kids often seem long; however, the years fly-by. Use this practical and purposeful blueprint to enjoy the moments you have together.
Color or Not To Color
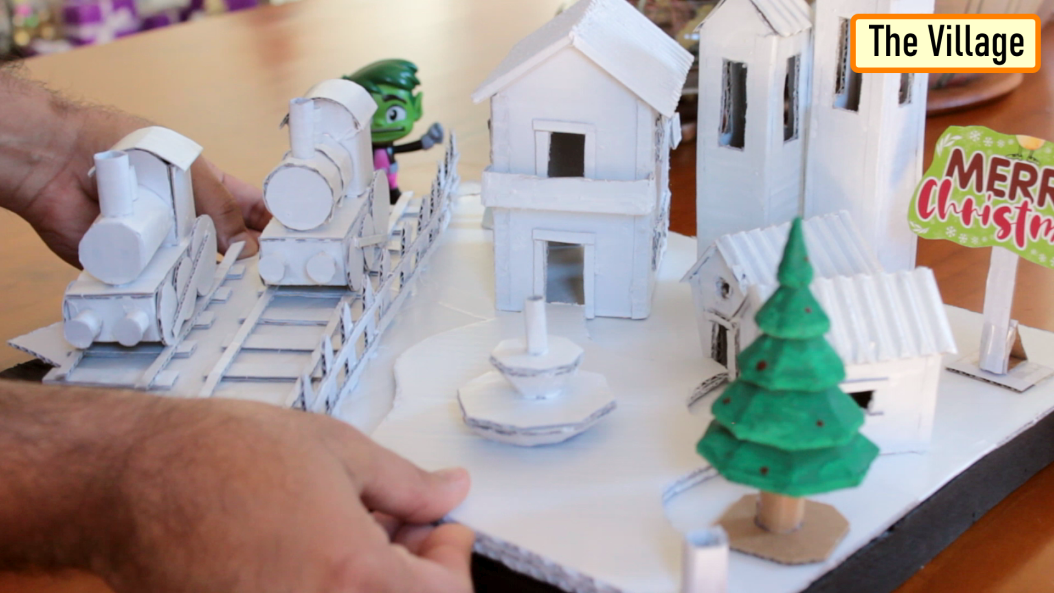
So, this is how it looks like. As advised earlier, adding a bit color would have made my project even more attractive however I just left it all in white.
I created this wooden frame on which the village will sit. This frame will also house the electronic components inside it.
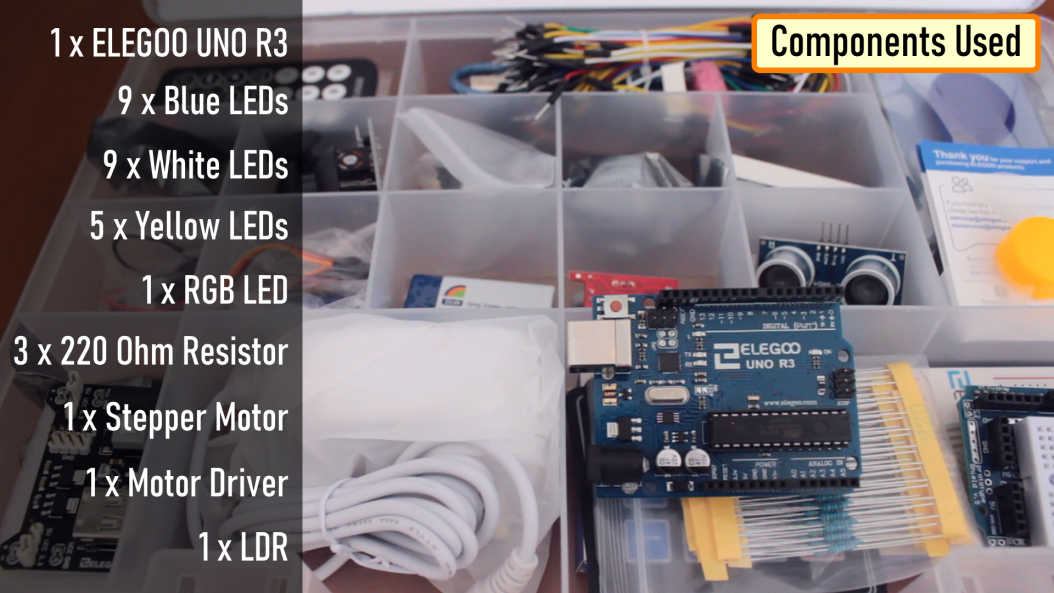
Components Used [Electronics]
Now for the Electronics bit we need the "The Most Complete Starter Kit from ELEGOO".
This kit has all the components that are required for this project.
- 1 x ELEGOO UNO R3
- 9 x Blue LEDs
- 9 x White LEDs
- 5 x Yellow LEDs
- 1 x RGB LED
- 3 x 220 Ohm Resistor
- 1 x Stepper Motor
- 1 x Stepper Motor Driver
- 1 x LDR
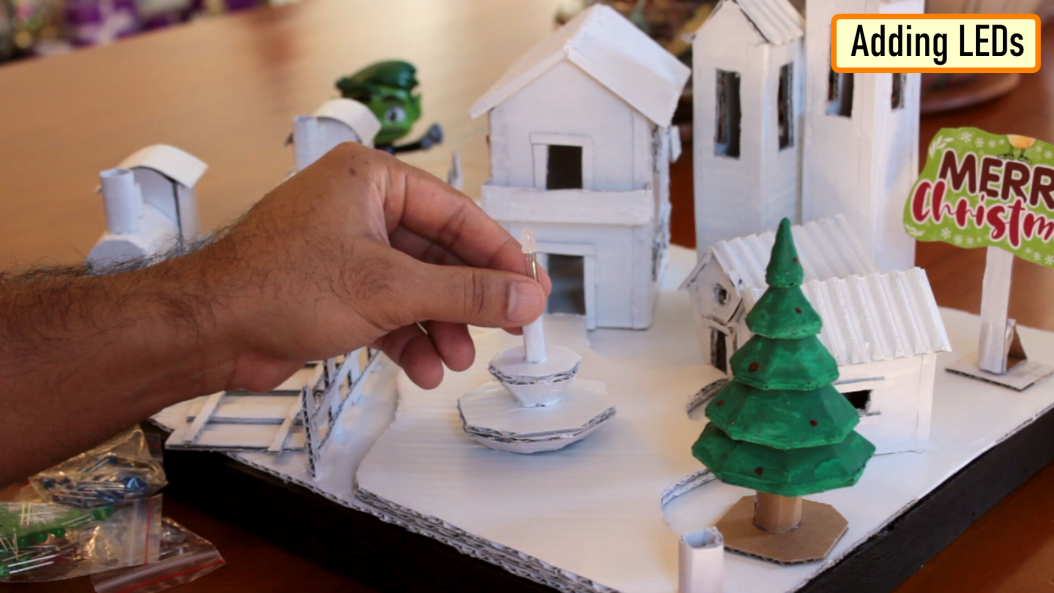
Adding LEDs
Using the soldering iron I made few holes around the pathway. These holes are for the Blue and White LEDs which will blink alternately. Adding RGB-LEDs would have definitely given this a better look and feel.
Next, I added a RGB-LED to the water-feature. Later, I will add a bit of cotton on top of this which may look like flowing water.
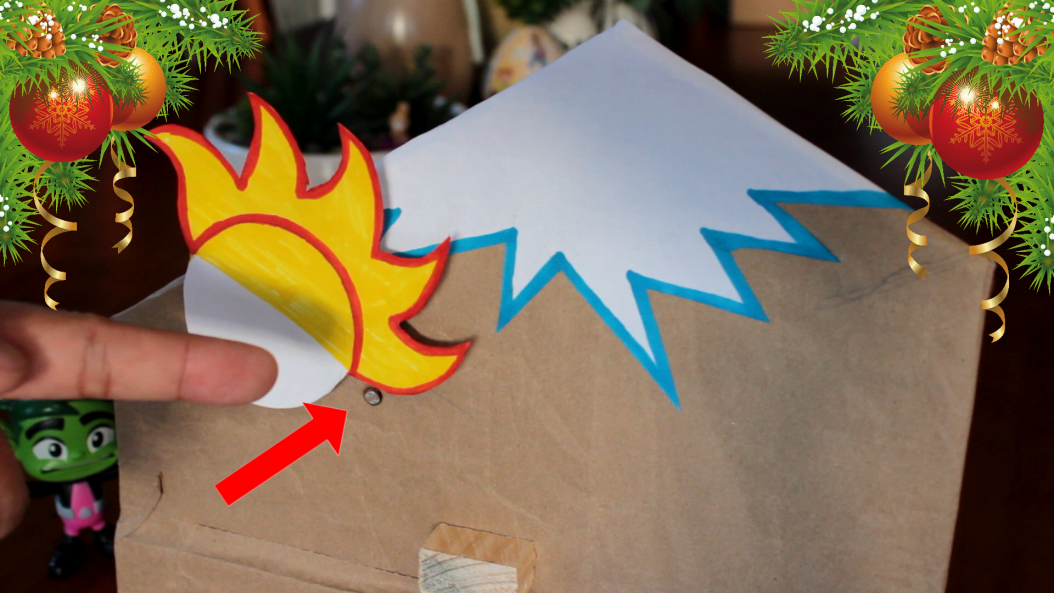
SUN & MOON
So, this is how the final setup looks like. I added some hills at the back for the rising and setting of the sun and the moon.
The logic is very simple.
A DC-Motor or Stepper-Motor rotates the Half Sun and Half Moon. A LDR is placed in a way that the Sun rays can cover it up.
When the moon side is up the sun rays cove the LDR and vice-versa. This LDR acts as a switch and turns on and off the blue and white flashing LEDs. With the same logic you can go even more creative than what I did.
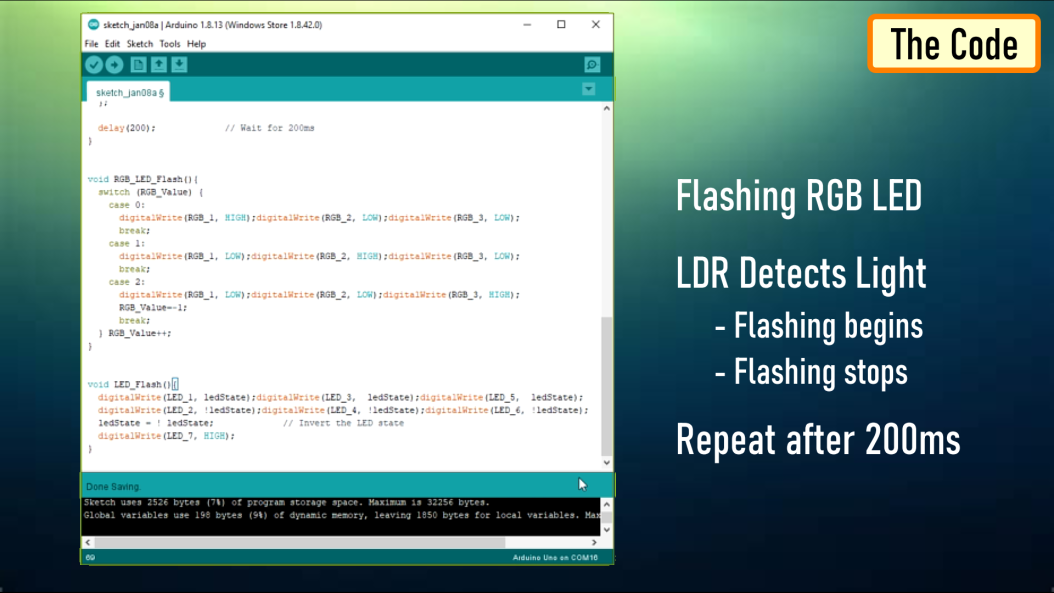
Coding
The DC Motor run off the 5V pin of the Arduino so we don't need to code anything for that.
For the rest of the code I am looping through and flashing the RGB LEDs followed by checking if the LDR has detected any light and then waiting for 200ms before repeating the process again.
Thanks
Thanks again for checking my post. I hope it helps you.
If you want to support me subscribe to my YouTube Channel: https://www.youtube.com/user/tarantula3
Full Blog Post: https://diyfactory007.blogspot.com/2021/01/arduino-christmas-village.html
Video: https://www.youtube.com/watch?v=j9d58jL1THU
Code: https://drive.google.com/file/d/1RABIcytmGJo3m6ghkzk8KYoQmRycmBku/view?usp=sharing
Cardboard Templates:
- Christmas Tree : https://drive.google.com/file/d/13NqyTz0WU1Q8qshmeGsMqV9j_K5hU0AN/view?usp=sharing
- Houses : https://drive.google.com/file/d/15hzvw0cuT9-XM3dqoUrUwIffBj5fQWff/view?usp=sharing
- Train : https://drive.google.com/file/d/1aGcprGGrlxslU2F8XmnmUZ1KYQZVORJ1/view?usp=sharing
- BTC: 35ciN1Z49Y1bReX2U7Etd9hGPWzzzk8TzF
- DOGE: DDe7Fws24zf7acZevoT8uERnmisiHwR5st
- LTC: MQFkVkWimYngMwp5SMuSbMP4ADStjysstm
- ETH: 0x939aa4e13ecb4b46663c8017986abc0d204cde60
- BAT: 0x939aa4e13ecb4b46663c8017986abc0d204cde60
Thanks, ca again in my next tutorial.