Learn about Mbed Studio, an IDE for ARM microprocessor programming, and start coding on the Mbed OS!
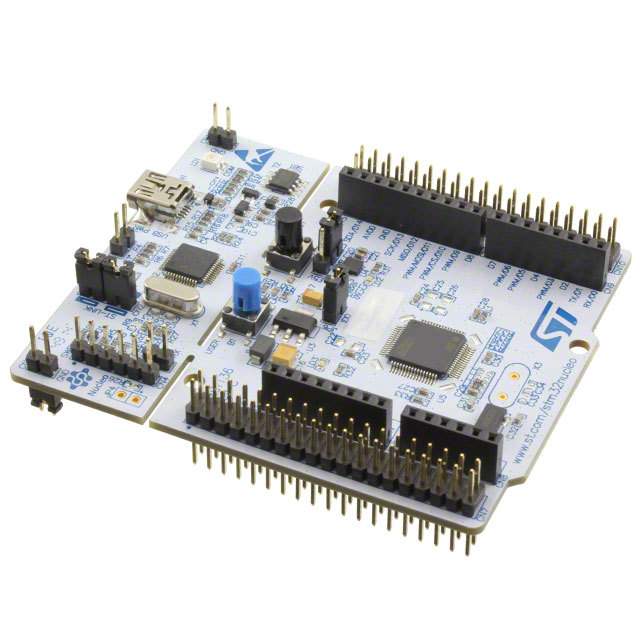
This article will introduce you to the basics of using Mbed Studio, an IDE for programming various ARM microprocessors that support the Mbed operating system. I’ll use an STM32 Nucleo board, but you can use any device that’s supported by the development environment.
Be aware that Mbed Studio is still under development and a few devices are not fully supported yet. One example is the Arduino Nano 33 BLE which runs a modified version of the Mbed OS core. The board is recognized by the IDE and you can write and compile programs, but uploading and debugging is currently not supported and you’ll have to fall back to the classic Arduino IDE for that.
Installation and Configuration
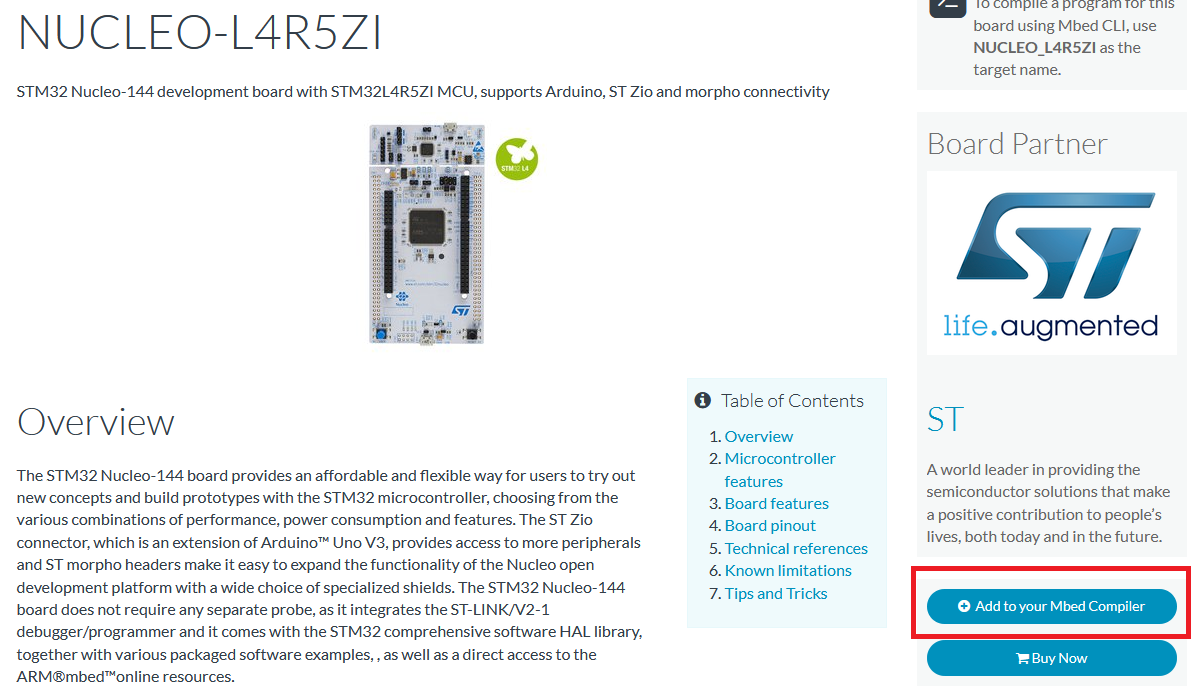
Download the Mbed Studio Installer and execute the application. When the installation process is finished, visit the Mbed platforms page and search for the device you want to write applications for. Once you find it, click the “Add to you Mbed compiler” button:
Now you’re ready to start Mbed Studio and create your first project!
A Brief Introduction to the User Interface
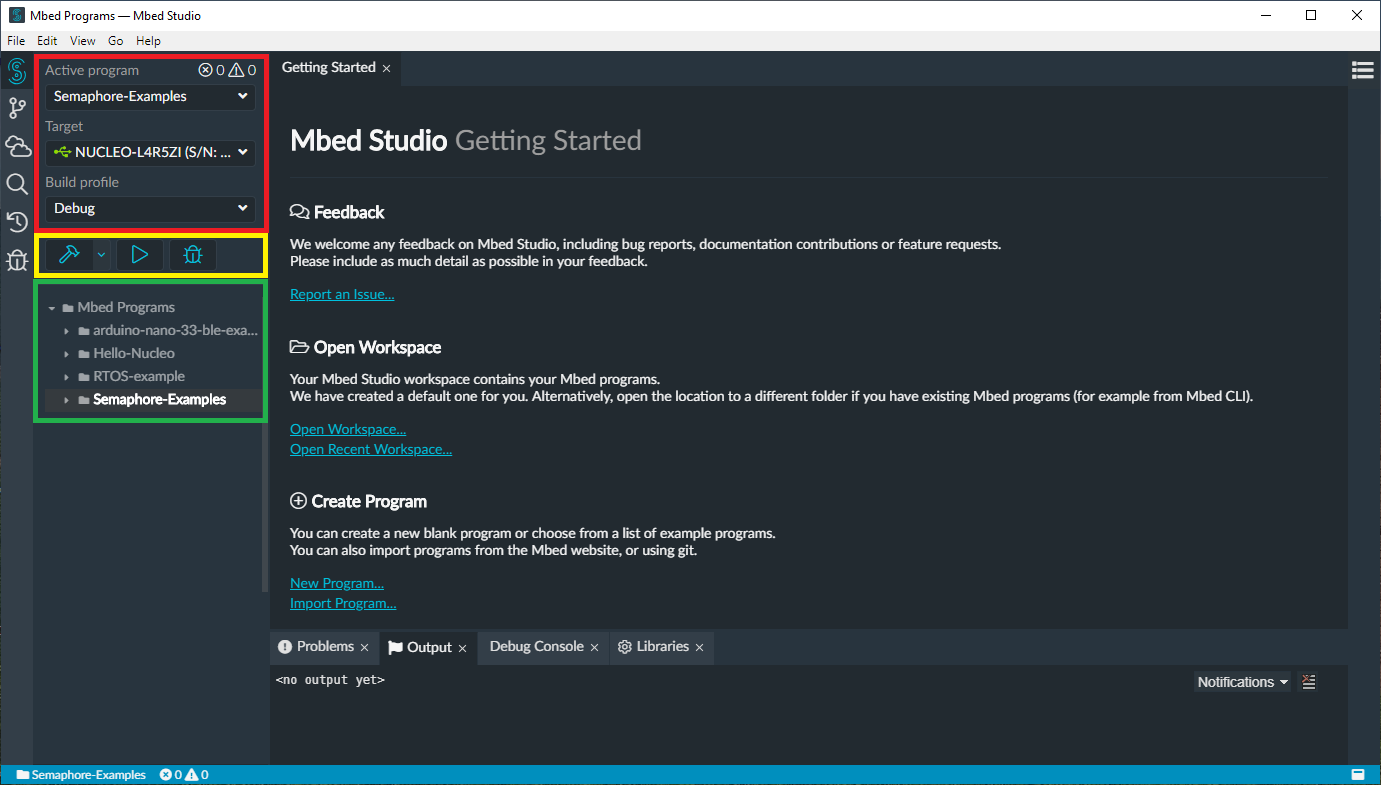
When you first start the application, you’ll be greeted with a screen similar to this:
The red area on the left-hand side of the screen contains your global build settings. You can write multiple programs but you can only have a single active one that can be compiled and uploaded to the connected device. In this area, you can also select the target device for which the code will be compiled. The IDE automatically detects connected devices for you if they are supported and set up correctly.
The yellow area contains buttons for compiling, uploading, and debugging your code.
In the area highlighted in green, you’ll see a list of your local programs. The currently active one is highlighted.
Creating Your First Program
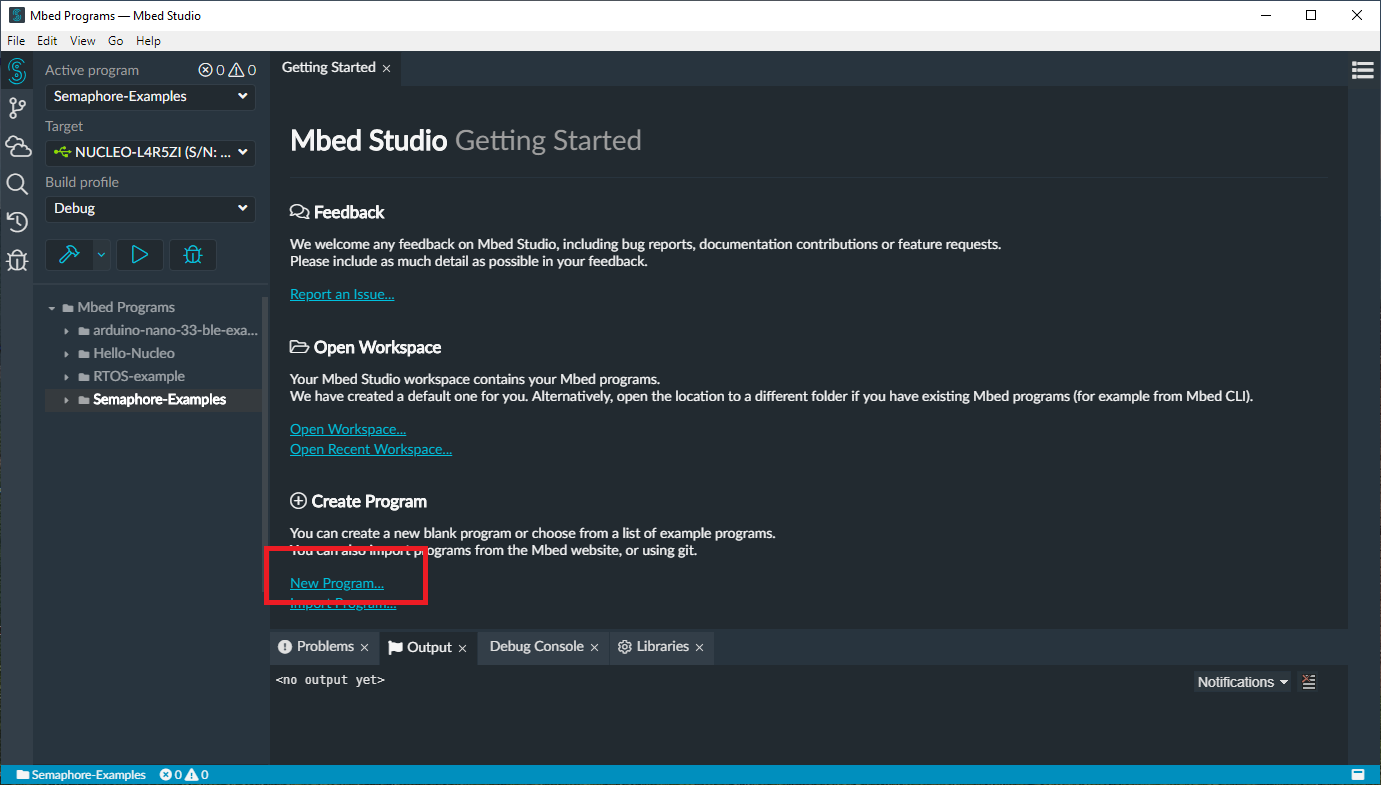
Once you get familiar with the interface, it’s time to create a new program. Click on “File” and then choose “New Program” or use this link on the “Getting Started” page:
Then, you need to enter a name and choose a template. For now, select the empty program, enter a name, and start coding! If you are new to the Mbed platform, I recommend that you read through the incredibly detailed documentation. But for now, let’s enter the following simple program that runs multiple threads and synchronizes them.
#include "mbed.h"

Semaphore lock(1);

DigitalOut top(LED1);
DigitalOut middle(LED2);
DigitalOut bottom(LED3);

InterruptIn button(BUTTON1);

bool interrupted = false;

Thread buttonThread;

void buttonPressed()
{
    interrupted = true;
}

void switchOn()
{
    top = 1;
    middle = 1;
    bottom = 1;
}

void switchOff()
{
    top = 0;
    middle = 0;
    bottom = 0;
}

// The other thread will execute this method:
void buttonThreadMain()
{
    while(true)
    {
        if(interrupted)
        {
            // Wait for the flashing-sequence to
            // finish the current cycle
            lock.acquire();
            interrupted = false;

            switchOn();
            ThisThread::sleep_for(500);
            switchOff();

            lock.release();
        }

        ThisThread::sleep_for(10);
    }
}

// main() runs in its own thread in the OS
int main()
{
    // Use the button as an interrupt and link
    // the buttonPressed function as its callback
    button.rise(&buttonPressed);

    // Start the other thread
    buttonThread.start(buttonThreadMain);

    // The main-thread will execute the following code:
    while (true)
    {
        // Wait until the LEDs are not being
        // used by any other thread
        lock.acquire();

        top = 1;
        ThisThread::sleep_for(150);
        top = 0;

        middle = 1;
        ThisThread::sleep_for(150);
        middle = 0;

        bottom = 1;
        ThisThread::sleep_for(150);
        bottom = 0;

        // This thread is done for now and
        // the LEDs can be used by other threads
        lock.release();

        // Wait for a short time to give other
        // threads and the OS some time to run
        ThisThread::sleep_for(10);
    }
}
Compiling, Uploading, and Debugging
When you are ready to test your application, you can use these buttons to compile, upload, and debug your work:
Make sure that you selected the correct program, board, and profile. It might take a few minutes if you’re compiling a program for the first time or after switching to another build profile. If you want to use an external programmer, you can choose to only compile the code. The output path will be printed to the IDE’s console.
If your code contains output, it prints to the serial interface by default. You can open the serial console by clicking the “Serial Monitor” button in the “View” menu.
As of right now (IDE version 0.6.1), the debugger only supports a handful of boards. And even though mine was listed under “fully supported”, I still had to use external tools to debug it. However, I’m sure these features will be added in later versions of Mbed Studio.
Mbed Studio: Worth Learning but Still in Beta Phase
Right now, the IDE is in its beta phase and a few things are not working as expected. Some boards, like the new Arduino Nano 33 BLE, are only partially supported by it. However, it’s worth taking a look at the new development environment because the code editor is excellent and the user interface is easy to use.