Learn how you can add PlatformIO as an extension in Visual Studio Code to further your Arduino programming.
Visual Studio Code (VS Code) is a popular integrated development environment (IDE) by Microsoft. This freely available code editor offers many advanced features, such as autocomplete and Intellisense, which make programming a much more enjoyable activity. VS Code also has a variety of extensions available, which enhance its functionality. One such extension is PlatformIO.
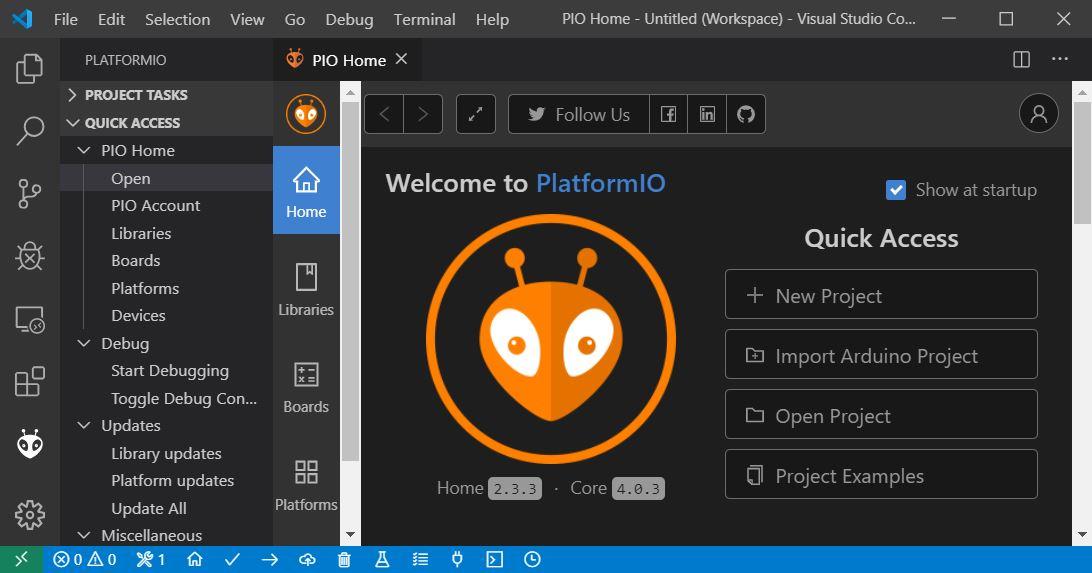
Figure 1. Welcome to PlatformIO. Image courtesy of PlatformIO.
PlatformIO is a cross-platform build system that can be used to develop software platforms for Arduino, ESP32, PIC32, and AVR. PlatformIO can be used with VS Code to provide a powerful set of tools to assist you in development. This tutorial shows you how to install VS Code’s PlatformIO extension for Arduino development.
Requirements
Please note that PlatformIO and Microsoft’s Arduino Extensions may cause conflicts if both are installed simultaneously. I would recommend removing Microsoft’s Arduino Extension prior to starting this process.
Installing PlatformIO Extension in VS Code
To start off, we need to have VS Code installed and ready for Arduino development.
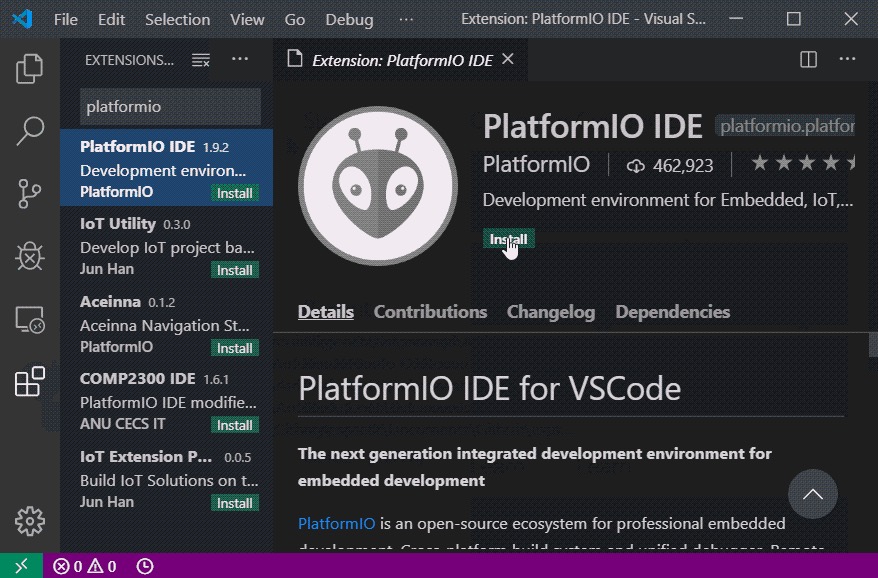
To install an extension we need to open up the extensions viewer by pressing “Ctrl+shift+X”, and then typing “PlatformIO” into the search bar. This should return one result which we can install simply by pressing the red install button, as shown in Figure 2.
Figure 2. Installing the PlatformIO IDE extension.
Installation of PlatformIO can take a bit of time, so please be patient! Once installed, VS Code requires reloading to complete the process.
After reloading we should see the PlatformIO icon in the left-hand margin of VS Code.
Installation of Arduino Framework
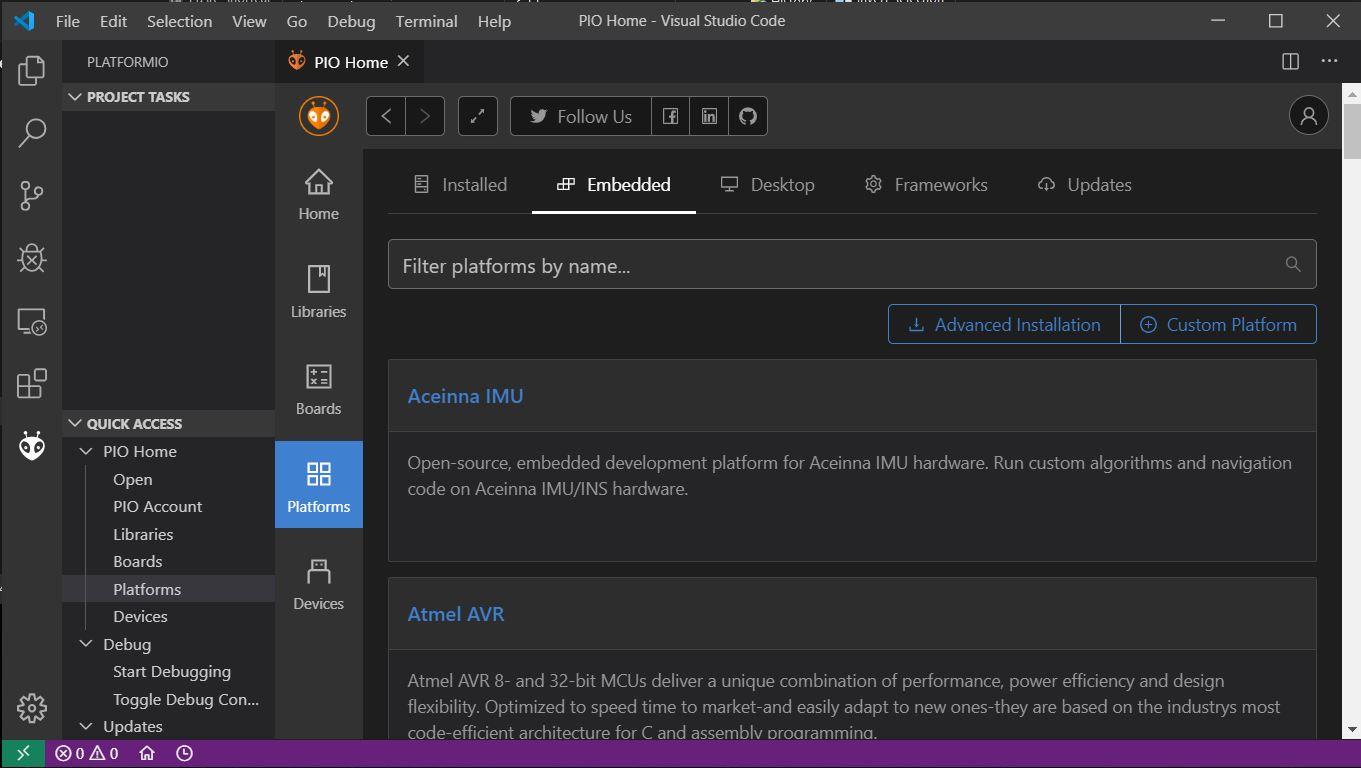
The next step is to download the Arduino framework to VS Code. Click on the PlatformIO icon in the left-hand margin to reveal the “Quick Access” menu. Select “Platforms” and then “Embedded” as shown in Figure 3.
Figure 3. Embedded platform install page
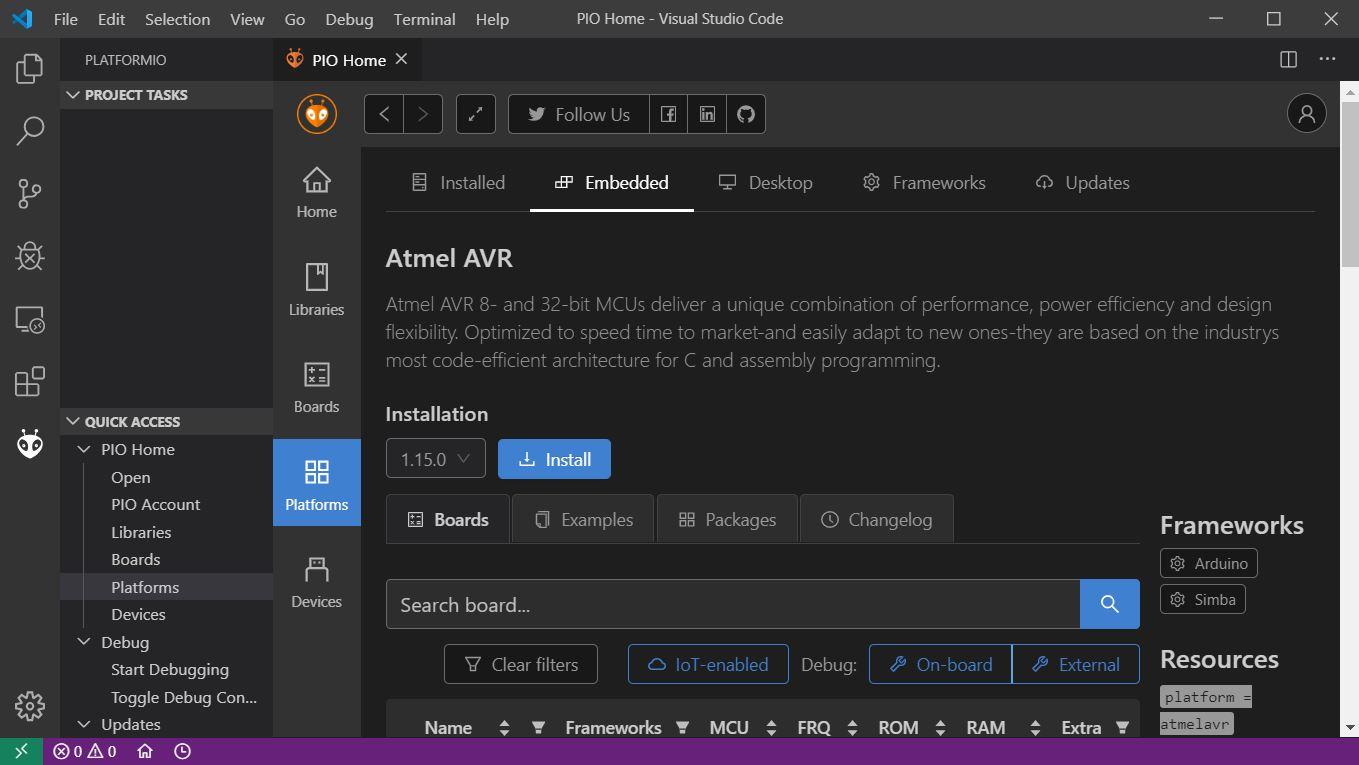
Clicking on Atmel AVR will open its install page (Figure 4), click on the blue “Install” button to continue.
Installing Libraries
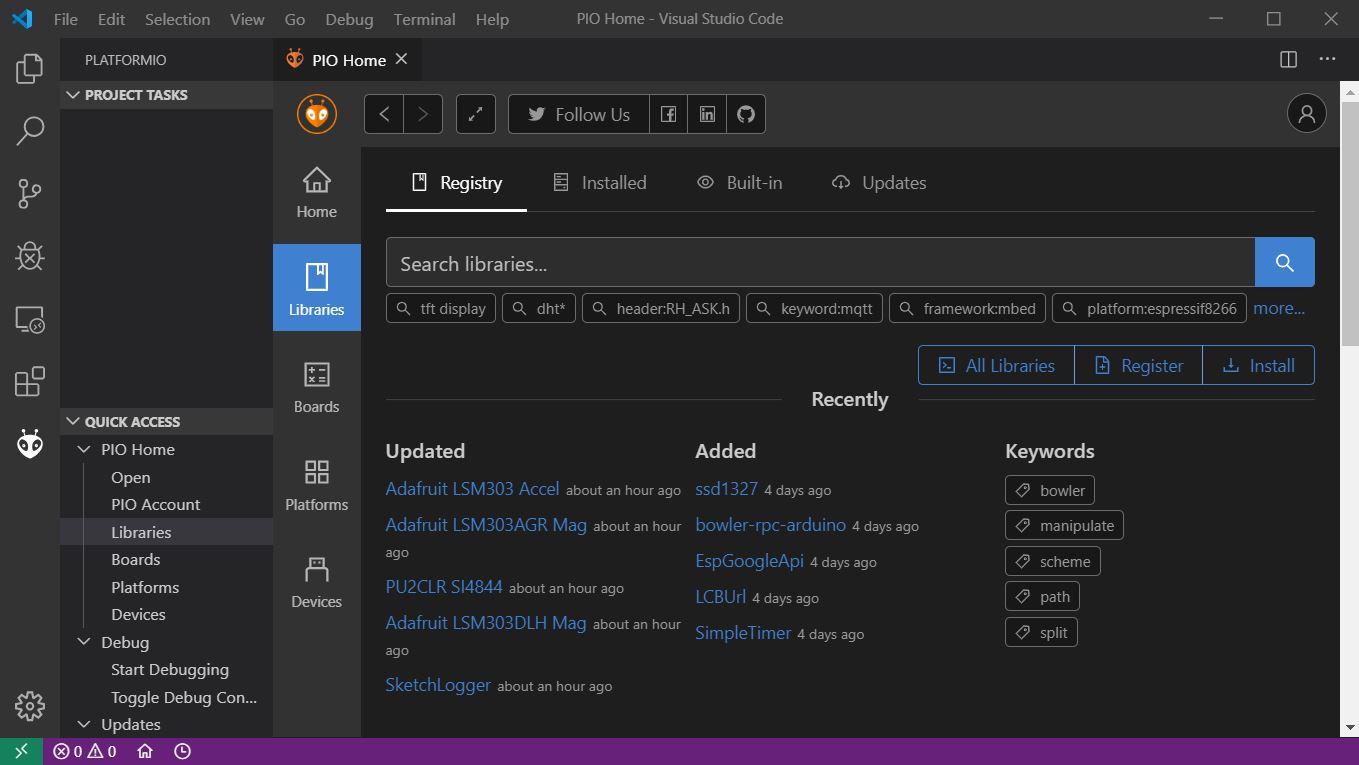
PlatformIO has a simple system for installing third-party libraries which is available through its Quick Access panel. Select “Libraries” from PlatformIO’s menu (Figure 5) and search for the library you want to install. Then click the install button.
Figure 5. Library installation page
Building and Uploading the Blink Sketch
PlatformIO can autodetect which port your Arduino Uno is installed in. For this to work, you need to connect your board to your USB port prior to running VS Code.
We can access the standard set of Arduino examples by selecting “PIO Home” and “Open” from Platform’s quick access menu (Figure 6) and then selecting “Project Examples.”
Figure 6. Quick access to project examples
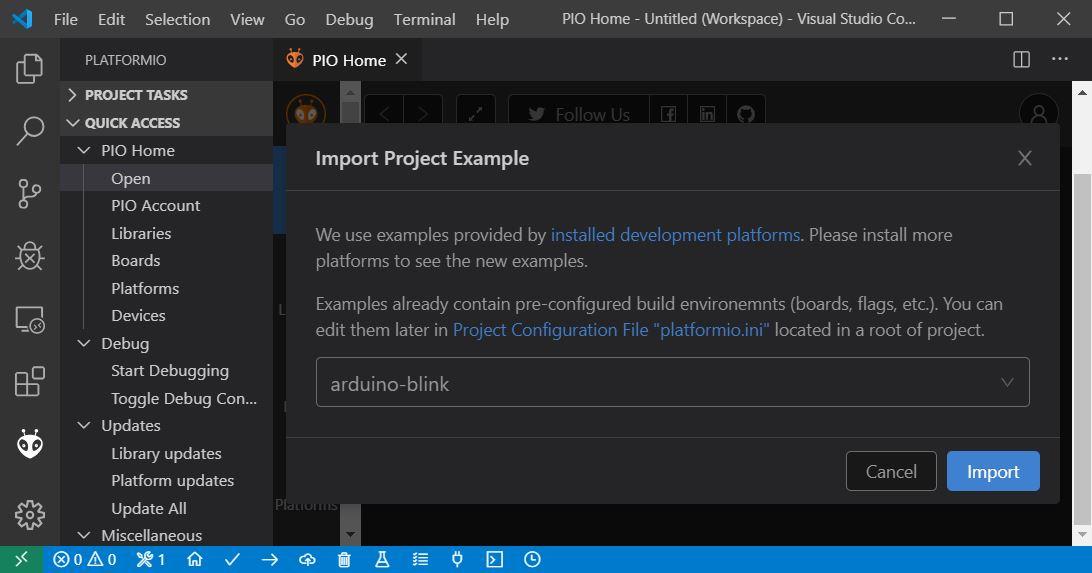
Selecting “Project Examples” opens a dropdown box that lists all examples. Select Arduino-blink and “Import”. VS Code should now open the blink project (Figure 7).
Figure 7. arduino-blink example import
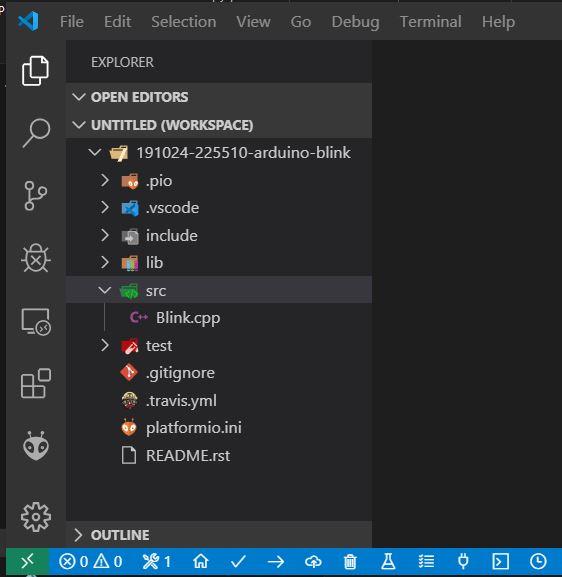
VS Code and PlatformIO have a folder structure that is different from that of a standard Arduino.ino project, as shown in Figure 8. Our main source code file is called Blink.cpp and it is stored in the src folder.
Figure 8. PlatformIO folder structure
The final step is to edit the platformio.ini file. Select this file from the file explorer and replace its contents with the following:
[env:uno]
platform = atmelavr
framework = arduino
board = uno
There are handy shortcuts for building and uploading the blink sketch available on the lower blue bar of VS Code when you have opened an Arduino project. Just hover over the icon to see its functionality (Figure 9).
Figure 9. PlatformIO taskbar
To build our project, click on the Tick icon and to upload it to your board click on the arrow icon. Results are displayed in a terminal. There’s also a shortcut to the serial monitor on the taskbar.
PlatformIO for a Variety of Projects
This tutorial covers an introduction and a small part of the functionality provided by VS Code and PlatformIO. Have you used PlatformIO to program your Arduino? Are you looking to learn more about PlatformIO’s functionalities? Let us know in the comments below!
Images in this article are screenshots using Visual Studio Code and PlatformIO.