Wokwi Arduino simulator is free and useful to all - To students, teachers and other training and tutorial makers to help
Wokwi Arduino simulator supports Arduino UNO, Mega, Nano and several other boards. It simulated various parts (wokwi elements) such as LEDs, Shift registers, Buzzer, sensors (ultrasonic, temperature, humidity etc) SSD display, keypads and much more. You can learn Arduino programming wherever you are. No hardware is necessary. Besides all this, the Arduino simulator is completely free to use!
In this article, you will briefly learn about the "How-Tos" for the Wokwi Arduino Simulator. By the end of the article, you will have learnt a lot of features of the Wokwi Arduino simulator as well as a good knowledge about the buttons and options present in the wokwi Arduino simulator. You will be ready to take on your next Arduino Simulator project confidently. Let us get started!
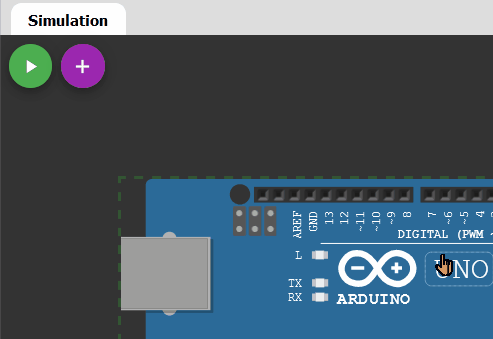
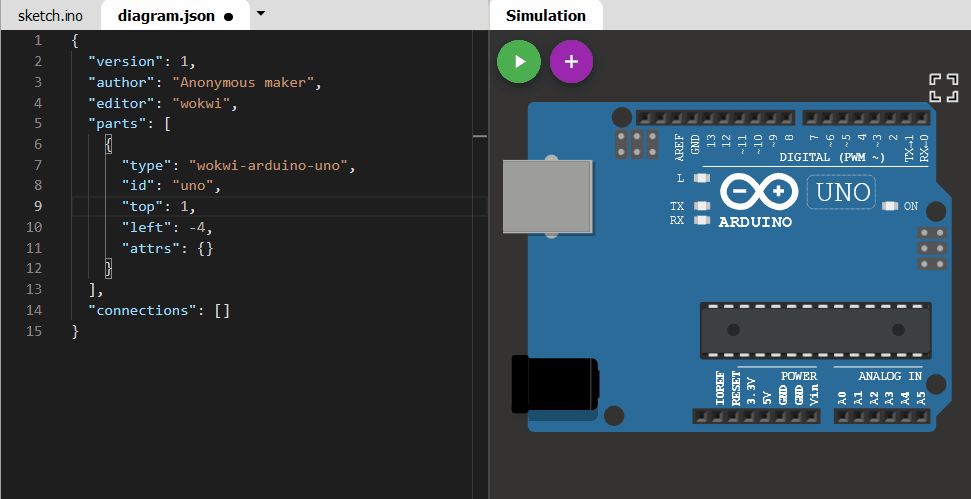
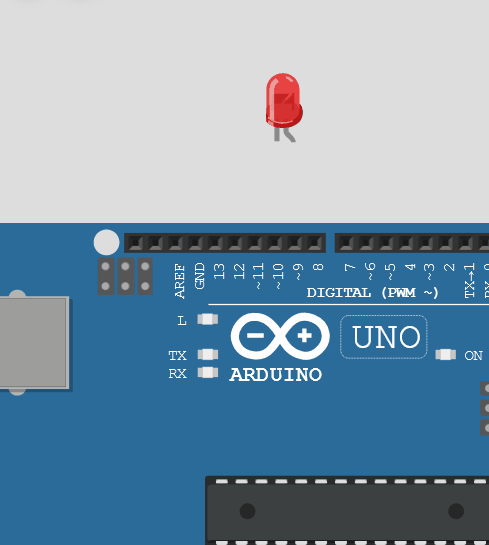
1 How to add a part to the Wokwi Arduino Simulator?
To add the part, you just have to click on the purple "+" button. You will find the button at the top of the diagram editor.
Wokwi Arduino Simulator - how to add a new part
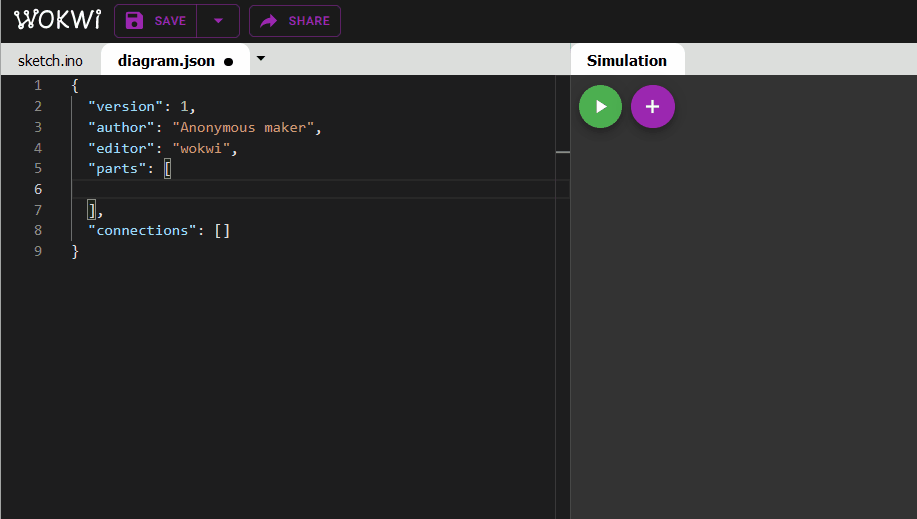
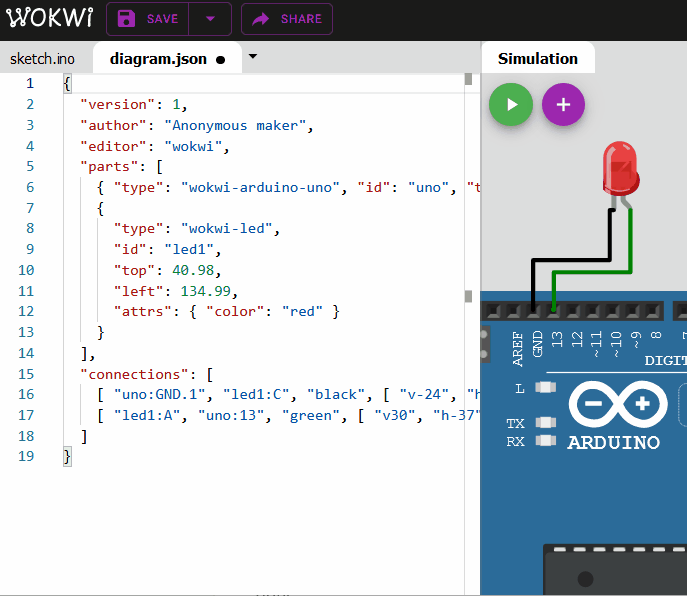
Advanced users can add the element in the diagram.json file. Refer to the homepage for additional useful information.
Wokwi Arduino Simulator - how to add parts - advanced users
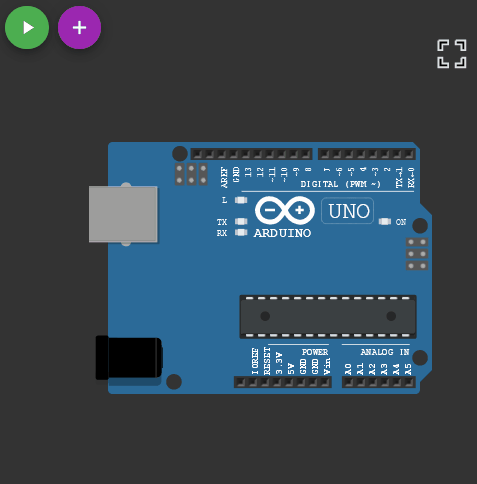
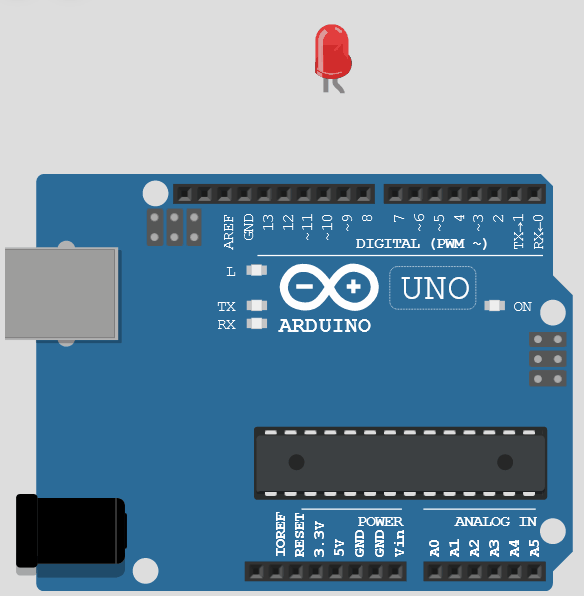
2 How to move the parts on the Wokwi Arduino simulator?
To move the parts around, simply click and drag the parts to the desired position. You can click and hold the part, move it to the desired location and release the mouse click.
You cannot move the parts when the simulation is running.
Wokwi Arduino Simulator - how to move elements
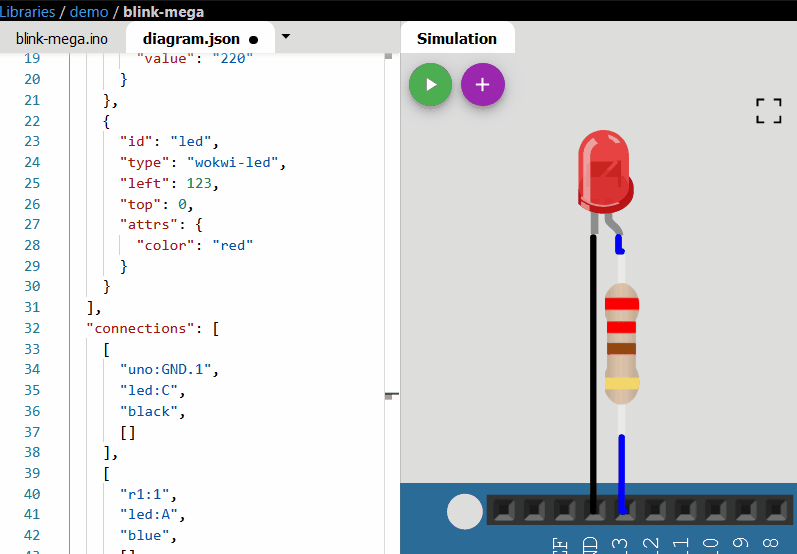
Advanced users can move the element in the diagram.json file. Sometimes, when building complex projects this will help a lot.
Wokwi Arduino Simulator - how to move parts - advanced users
Refer to the homepage for additional useful information.
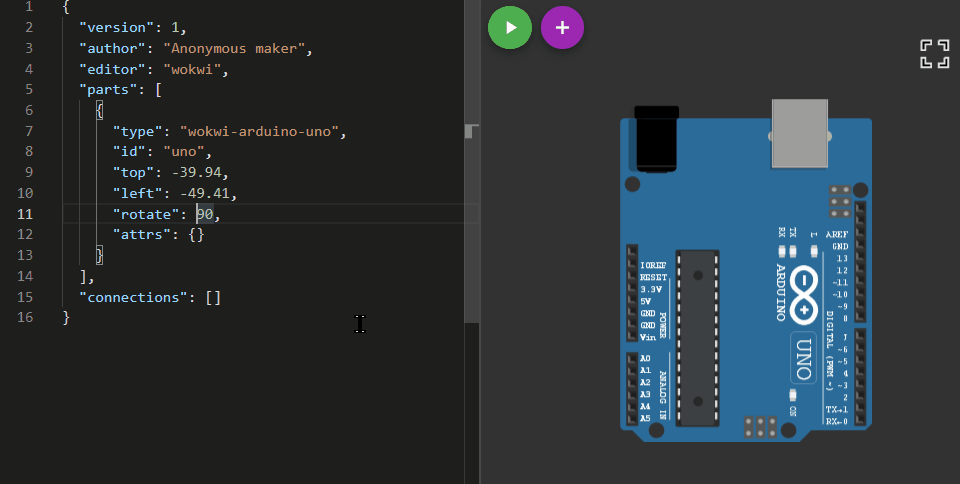
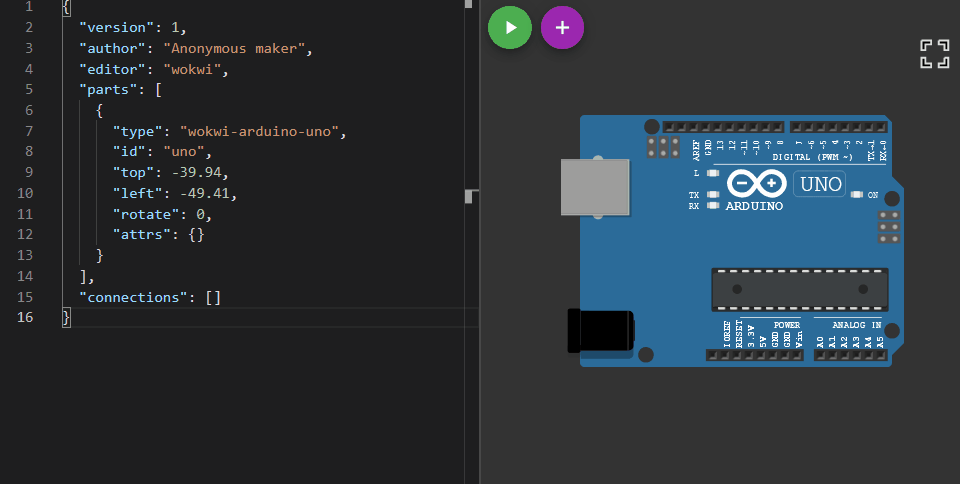
3 How to rotate a part on the Wokwi Arduino simulator?
To rotate the part, click on the part and then press 'R' on your keyboard. You cannot rotate the parts when the simulator is running.
Wokwi Arduino Simulator - how to rotate parts
You can also rotate the element in the diagram.json file. This is also helpful when you want to set the angle of rotation to a certain angle other than (0, 90, 180, 270)
Wokwi Arduino Simulator - how to rotate parts - advanced
4 How to delete the part on the Wokwi Arduino simulator?
Wokwi Arduino Simulator - how to delete parts
You can delete the part by selecting it and then press the 'Delete' button on your keyboard. Deleting only works, when the simulator is not running
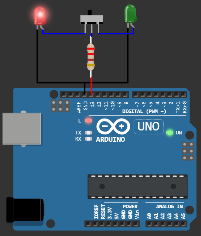
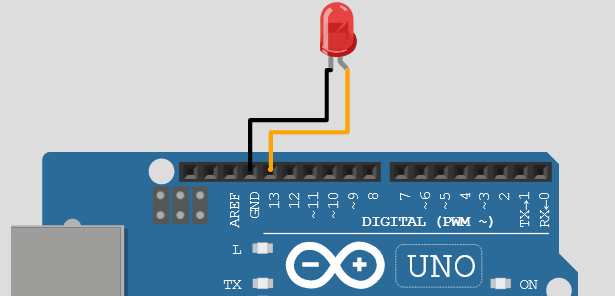
5 How to add a Wire (connect two components) in the Wokwi Arduino simulator?
Wokwi Arduino Simulator -connecting wires
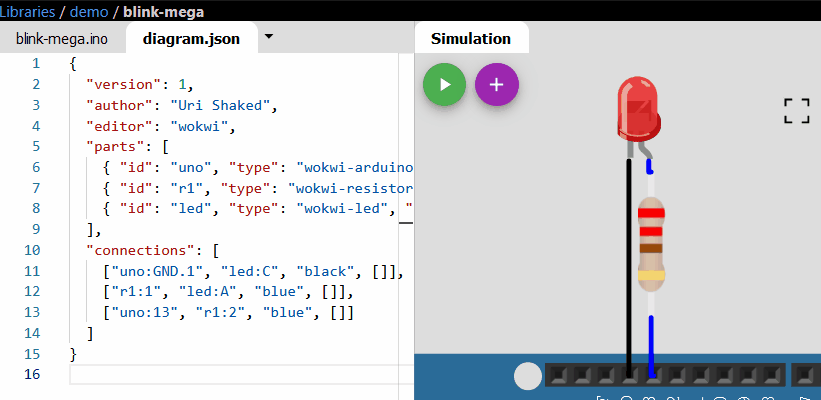
To create a wire between two parts, just point to the pin/pad where you want to start the connection from. Click on the destination pin/pad to complete the connection. Advanced users can also connect the two pins using wires by editing the 'diagram.json' file. By default, the colour of the wire is green. You will find ways to change the colour in the below sections.
If you want the wire to go a specific way you can click on the place where you want the wire to make a turn
Wokwi Arduino Simulator -bending wires
6 How to change the colour of the wire in the Wokwi Arduino simulator?
Changing the colours of the wire is not possible in the simulator window. You can change the colour of the wire by editing the diagram.json file. Here is how it is done
Wokwi Arduino Simulator -changing the color of the wires
7 How to delete the wires on the Wokwi Arduino Simulator?
deleting the wires is super easy on Wokwi Arduino Simulator. you have to just hover over the wire. you will see the marching ant pattern on the wire that the wire changes to click on the wire. You can only do it when the simulation is not running.
Wokwi Arduino Simulator -deleting wires
a list of few shortcuts for you in action:
"-" Zoom out the simulator window
"+" Zoom in into the simulator window
"R" Rotate the selected part
"Delete" Delete the selected part
"?" Open documentation for the selected part
8 How to find more info about any element in the Wokwi Arduino simulator?
Click on the '?' symbol which appears on the top of the element when selected to go to the documentation page of that particular Wokwi Element. You can also hit "?" on the keyboard as a shortcut.
Wokwi Arduino Simulator -Getting help element
In the next sections, we will see some useful tips about everything. Please leave a comment if you have any suggestions or questions!
9 How to change the colour of the LED on the Wokwi Arduino simulator?
You can change the LED colour by editing the diagram.json file. here is one example.
Wokwi Arduino Simulator -changing LED color
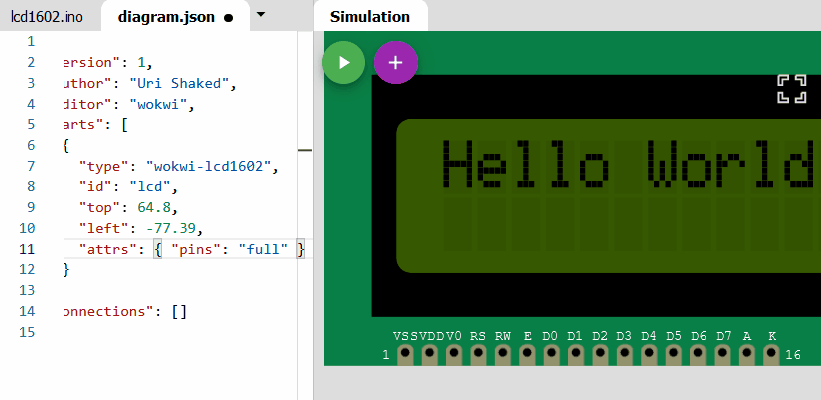
10 How to change the LCD character display pins from the Full version to the I2C version on Wokwi Arduino Simulator?
There are a lot of tricks to customise what you want in the Wokwi Arduino simulator. To change the LCD type from I2C to the full version (8-bit data and control signals)
You have to edit the digram.json file, particularly the LCD element.
{
"type": "wokwi-lcd1602",
"id": "lcd",
"top": 64.8,
"left": -77.39,
"attrs": { "pins": "full" }
}
Wokwi Arduino Simulator -LCD display pins update
The attributes part ('attrs') can be used for a lot of things. To change the LCD to I2C type, change the parameter from 'full' to 'i2c'. If there are no parameters mentioned in the attributes, OR if there are no such attributes at all, you can add one. For more details, visit the docs page for the LCD. If you have doubts or need clarification, or have any suggestions, please leave a comment.
11 How to make wires invisible in the Wokwi Arduino simulator?
Sometimes, we need the wires but we don't want to show them in the simulation window. either you might have routed them in a messy way or there are a lot of wires too. Here is a simple trick. Just make the wires colour attribute empty.
Wokwi Arduino Simulator -Hiding the wires
If you have any questions or topics to be put, feel free to leave a comment. For quick help hop on to Discord Server.
Please support efforts by hitting the LIKE button ?
How to