In this article, we'll take a brief look at how to program an Arduino using Scratch.
First, let's quickly cover what Arduino and Scratch are, respectively.
Arduino
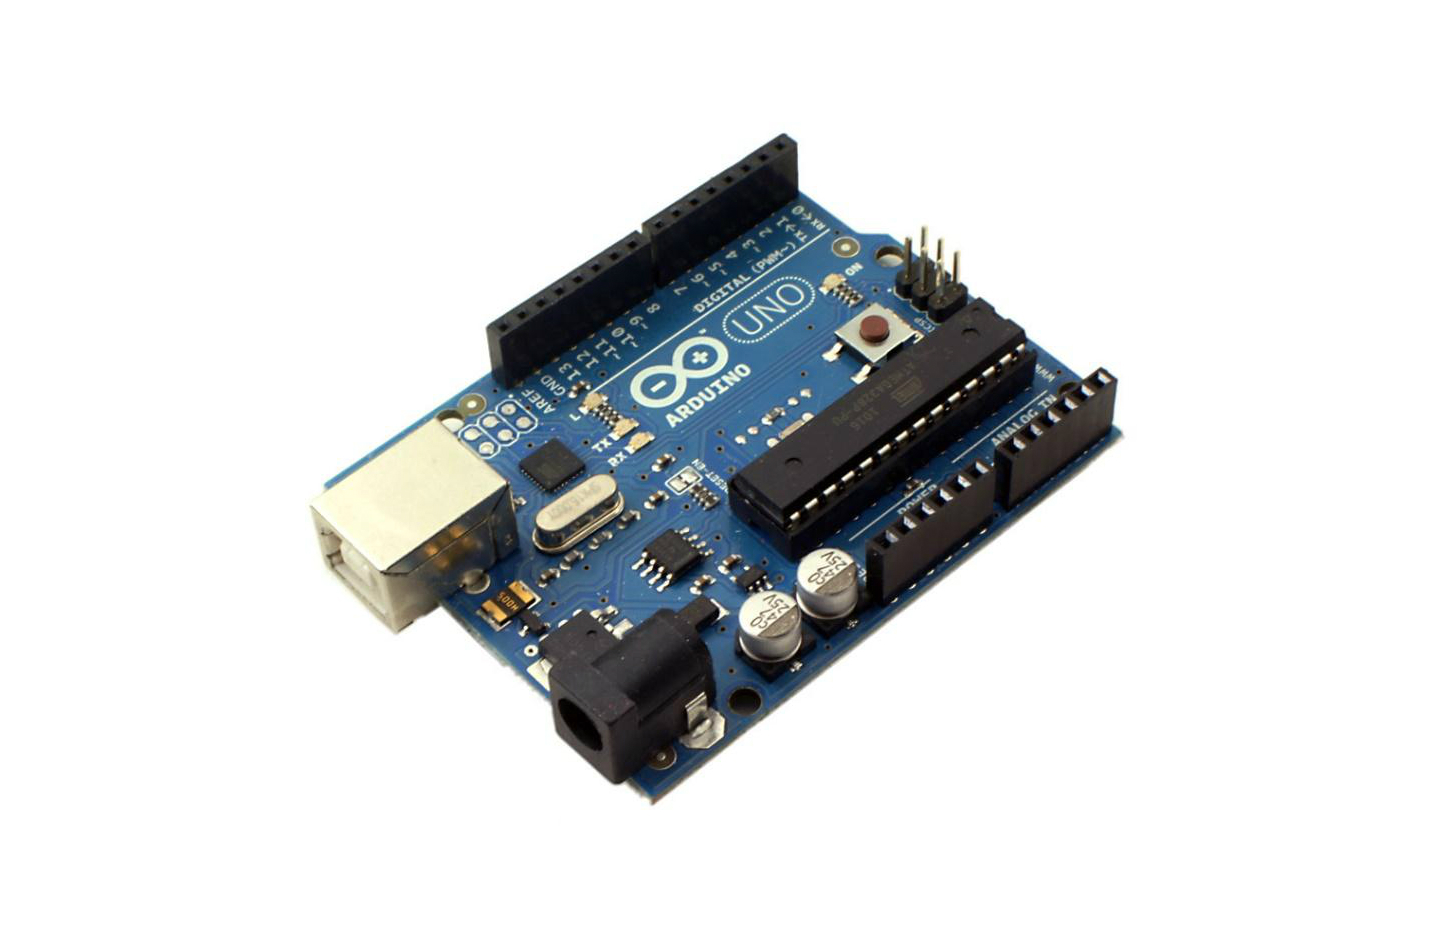
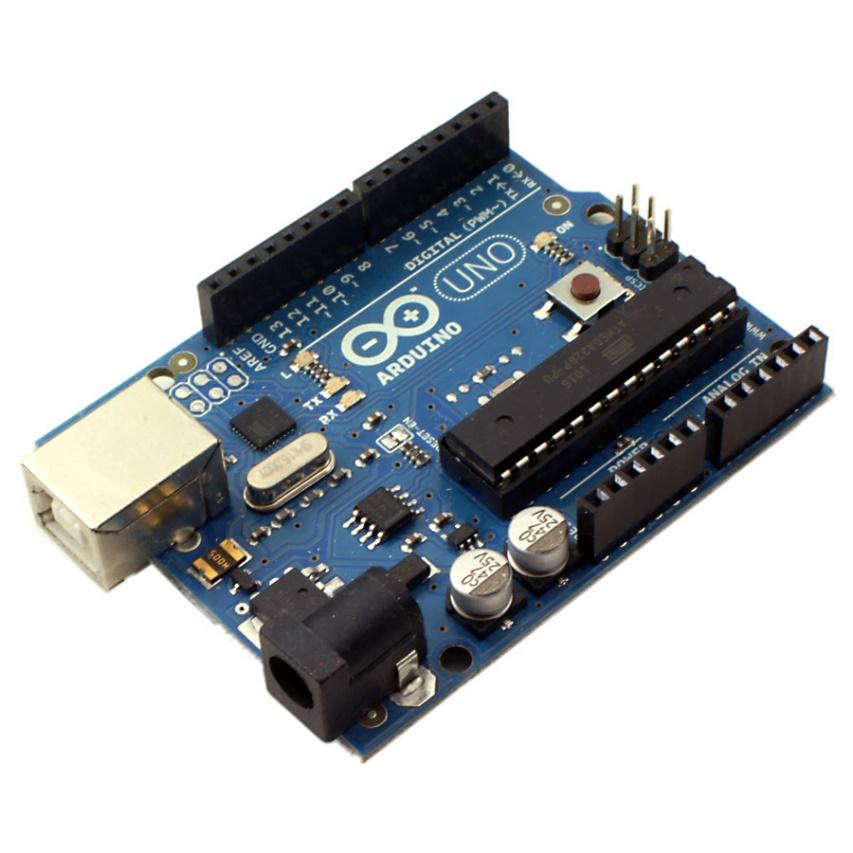
Arduino is a small prototyping board used to bring your ideas to life. Using Arduino, one can make a robot, an electronic gadget, and many other things. The sky is the limit!
As an example, an Arduino that is hooked up to, say, four motors and a motor driver (a small circuit for controlling motors) can be used to run these motors at given intervals. You must instruct the Arduino to control the motors using a programming language, giving the Arduino steps to complete in the form of code.
Arduino is designed to be programmed in its own Arduino language, though this language is composed of functions pulled from C/C++.
You can, however, use other languages to program an Arduino, usually by utilizing a third-party programming tool such as Snap4Arduino, ArduBlock, and others. One such program is mBlock, which allows one to use the Scratch visual programming language with an Arduino.
In this tutorial, we will go over the basics of how to use mBlock to program an Arduino with Scratch.
Scratch
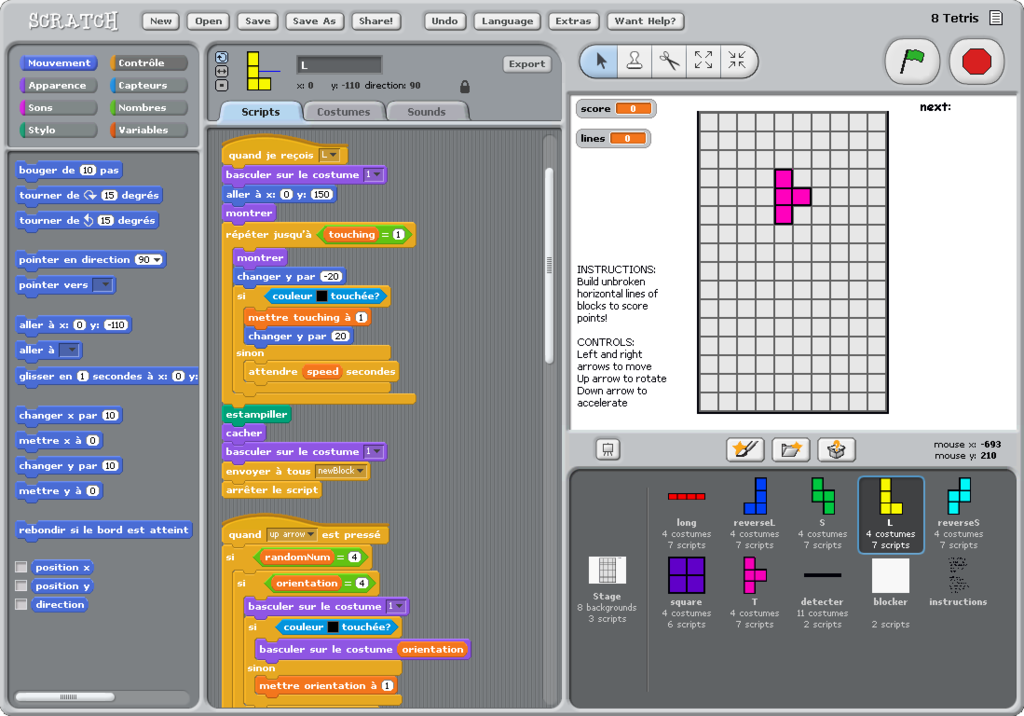
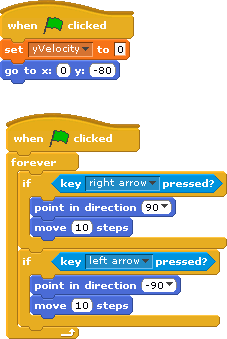
Scratch is a programming language developed for kids to learn programming in an interactive way. In Scratch, you join labeled blocks (which serve as code snippets) to write a full-fledged program or game.
mBlock
Using Scratch, some users have developed another mod of scratch called mBlock. The difference between mBlock and Scratch is that mBlock allows you to program the Arduino in an easy and interactive way.
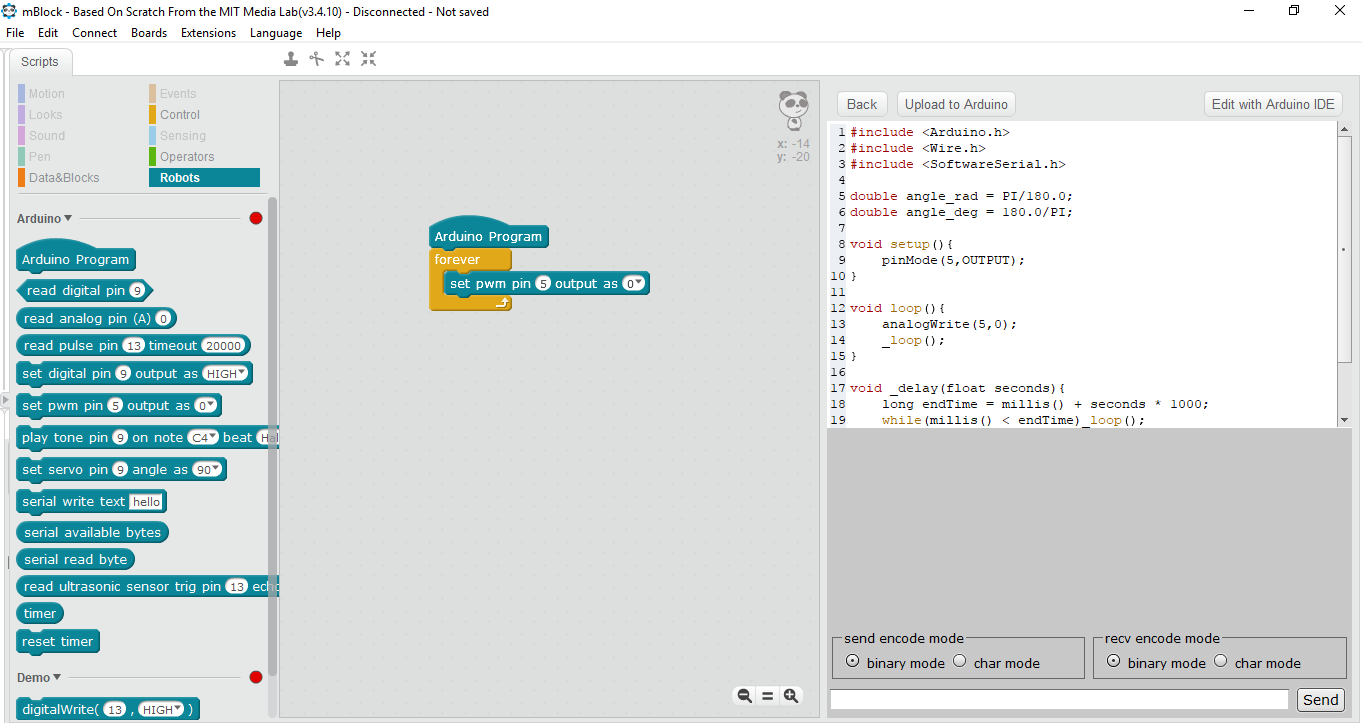
An interesting thing about mBlock is that you can see the original C++ code after programming Arduino.
Making an LED Blink Using mBlock
Let's start small by making an LED blinking program using mBlock.
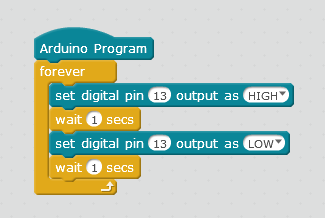
Check out how easy it is:
In the program above, you can see that we have placed an Arduino block and a forever block. These two blocks are musts for programming an Arduino.
The point of using a forever block is, in an Arduino program, the logic should be such that it would run in a loop indefinitely. In our case, we need to blink the LED again and again, so use of a forever block is a must in many cases, and it makes life a lot easier when programming Arduino.
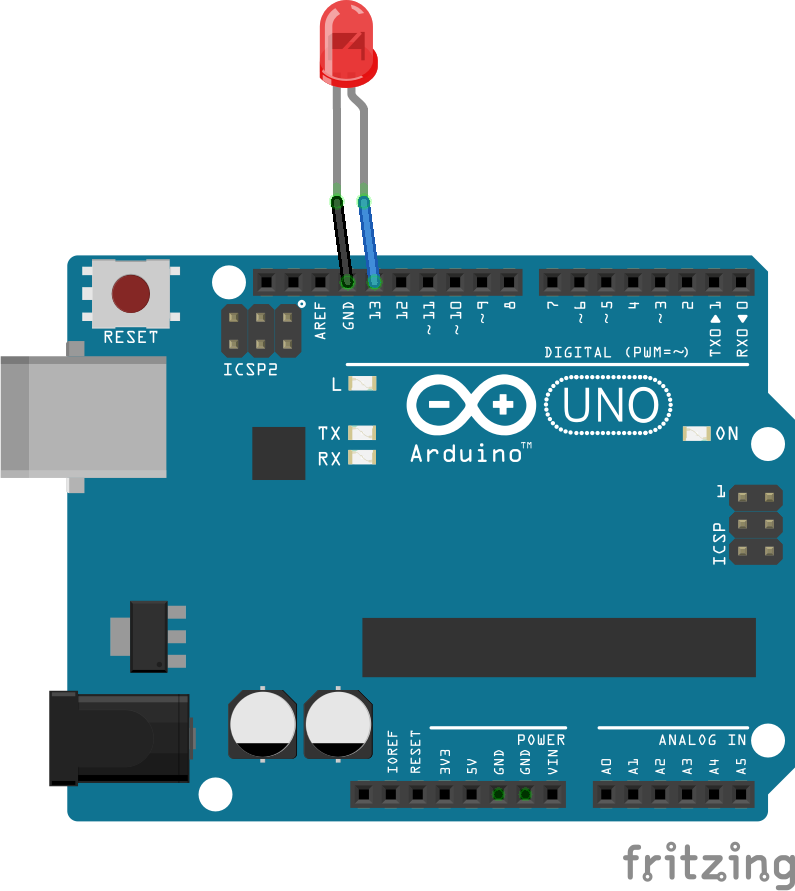
Inside forever, set which digital pin block is used. This block can make a pin voltage high or low. So, if I have an LED connected to pin number 13 of the Arduino (below) and I want to turn it on, I will use “set digital pin 13 output as HIGH”, and my LED will light up.
This program uses delays to pause the program for one second between the ON and OFF states. This way, we can clearly see the LED blinking.
Try hooking up the Arduino to the LED as shown above and running the code after connecting your Arduino to the computer (make sure you select the right board and serial port from mBlock). Then run the code. You will be able to see the LED blink.
This is a good tool for beginners to get started with physical computing. Try exploring the other blocks and see what you can do!
