Learn how to create a simple robotic arm with servo motors that can be controlled with external potentiometers.
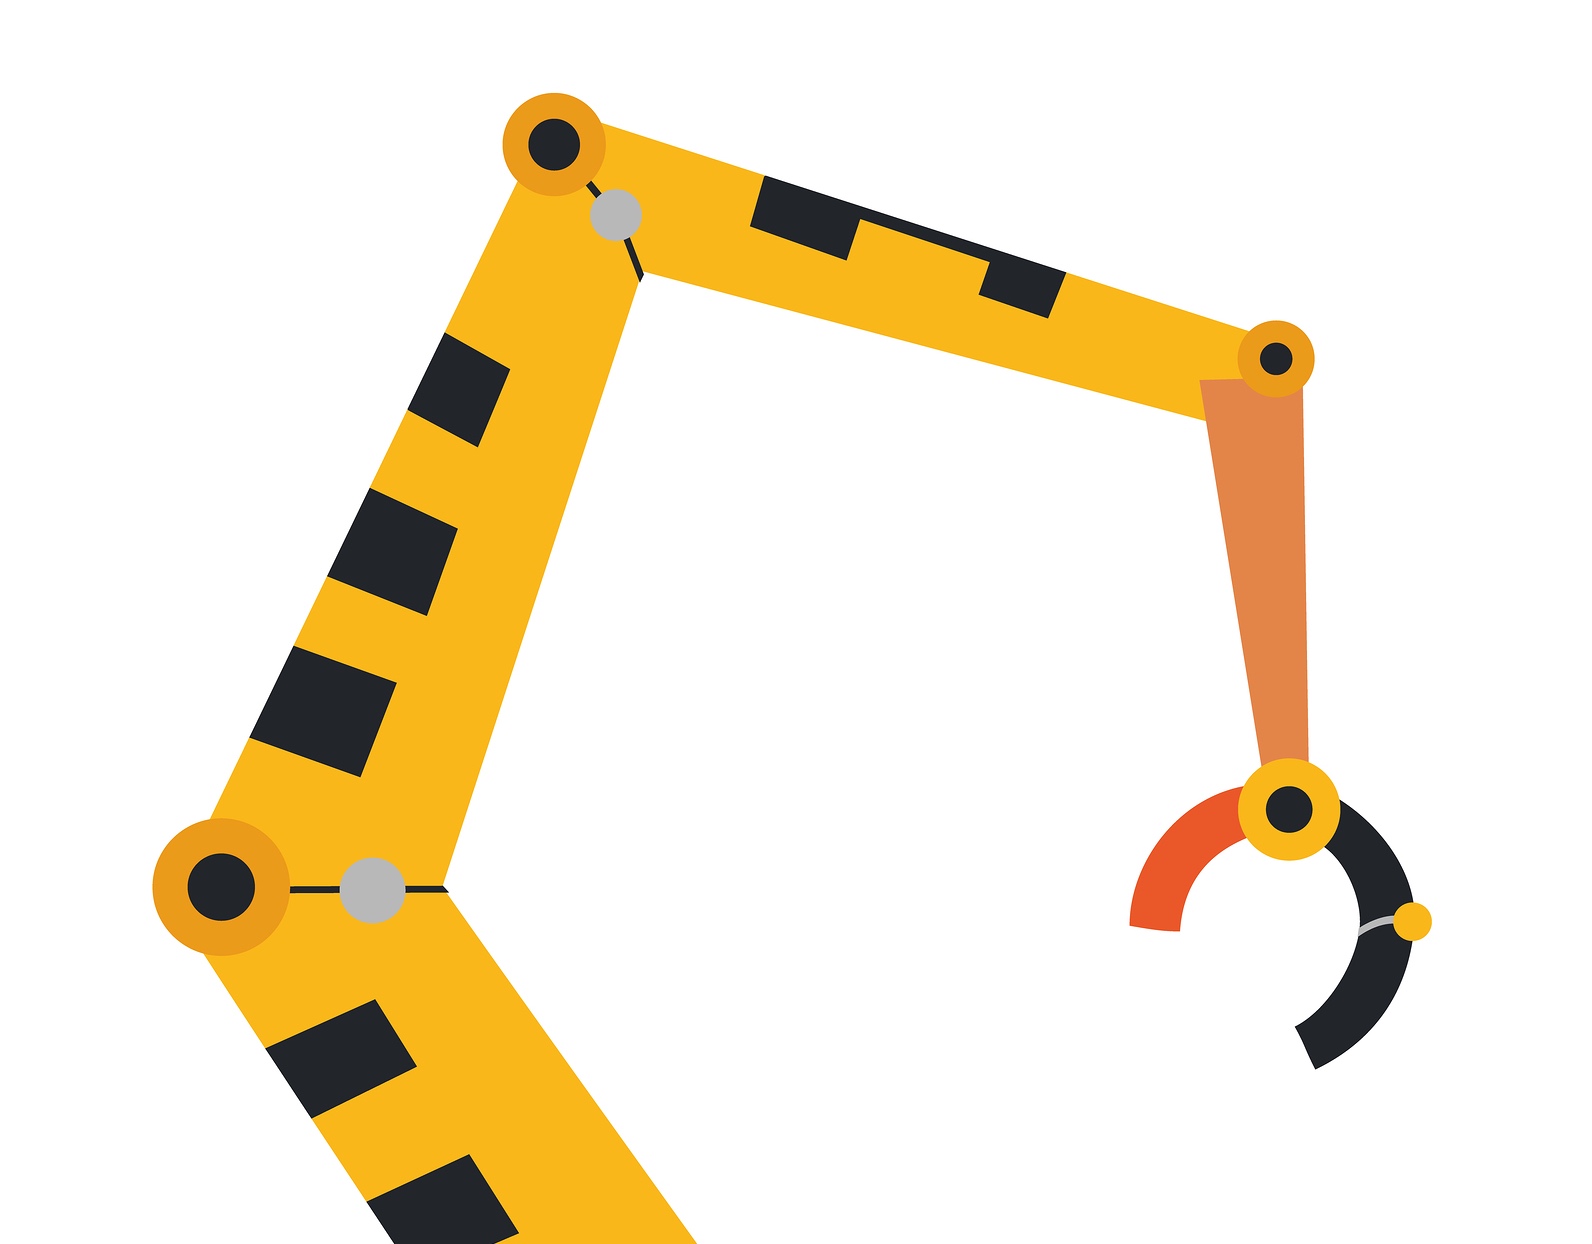
Robots come in many forms including drones, cars, rovers, and even walkers. While getting a robot to move in its environment is important, getting it to interact with its environment is equally important.
This article will show you how to build a simple robotic arm that is able to move around and point at things through external potentiometers.
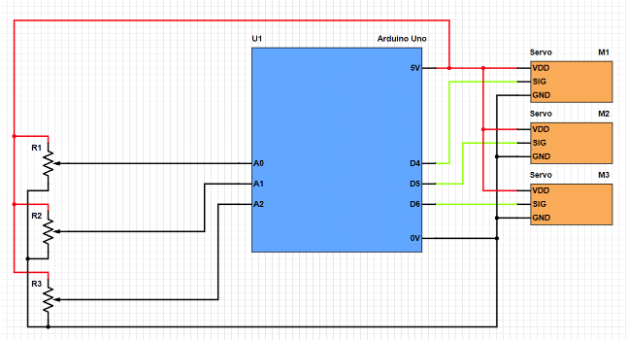
Schematic
How It Works - Hardware
While this project does involve electronics, it relies on the combination of both electronics and mechanical design. This arm functions by using servo motors which are controlled by a PWM signal. The duty cycle of the PWM signal determines the angle at which the servo points.
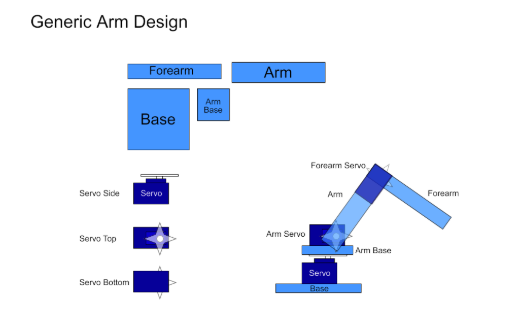
The design of this arm is very simple and only uses three motors:
- The base motor – This rotates the arm around.
- The first arm motor – This raises and lowers the base of the arm.
- The second arm motor – This raises and lowers the forearm.
The construction of the arm is simple. Therefore, other aspects of the arm may need to be considered.
The first consideration is the arm’s construction material. Materials such as cardboard can be very helpful for prototyping, but cardboard is more suited for glue as opposed to screws and bolts. Plastics such as acrylic provide better strength and can be bolted in place, but doing so requires some level of machinery to make. While 3D printed parts are widely popular in the maker community, 3D printers can be costly and require CAD software tools other makers may not have.
One versatile and strong material that allows for quick prototyping is K’NEX. K’NEX is especially useful for those who don't have access to tooling equipment.
In this article, I have opted to use acrylic for a number of reasons:
- Strength: Acrylic is far stronger than cardboard
- Simplicity: Instead of 3D printing a bunch of custom parts, only a few strips are needed
- Adhesion: Acrylic pieces can be glued together with ease
- Availability: I had some spare on my shelf
Robotic arms are often attached to a hand or other mechanized output, but this will be covered in a later article. If you are building the Robotic Project Series, then it is advised that you construct this arm with more solid materials and keep it safe as it will be used later on.
How It Works – Software
The software behind the arm is very trivial and involves the following steps:
- Setup PWM outputs
- Setup analog inputs
- Read each pot individually
- Convert analog readings to angles (0 – 180)
- Write the angle values to the servo motors
Servo control is achieved with the use of the servo library which removes the need for coding the PWM duty cycle. One of the advantages of using the servo library is that any digital I/O pin can be used for timing and control with the use of a global array and a single timer (i.e., the PWM module is not used).