This tutorial gets you started with the STM32CubeIDE software, and explores the similarities and differences between&
Recently, I was reading about alternatives to the Arduino for a specific project and stumbled upon STMicroelectronics’ boards. I attended one of their seminars covering the Nucleo board and discovered how easy it was to build a project for an advanced board. Before we get into programming a Nucleo though, we need to download and install our development environment — in this case, the STM32CubeIDE.
The STM32CubeIDE builds upon the Eclipse IDE (for C/C++) to simplify the programming process. It provides a single location to code, download new libraries, and find out more about STMicroelectronics’ other boards that address automotive, industrial, personal electronics, and communications end markets.
This article will cover the complete installation of the STM32CubeIDE, including some useful libraries, and an overview of what it can do. Download links are available within the article.
Requirements for Running STM32CubeIDE
First off, you need a computer running a 64-bit version of either Windows 7 or Windows 10. Next, you need to create an account on STMicroelectronics’ user portal to download the Cube IDE installer. Once this is downloaded, unzip and run the installer.
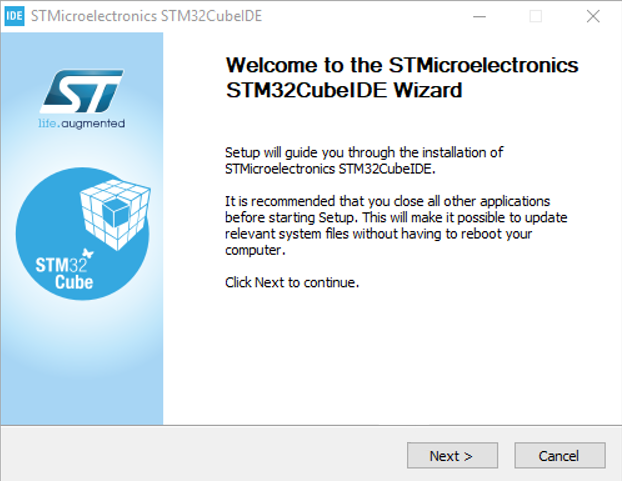
Unzip and run the STM32CubeIDE installer
Follow the installation wizard’s instructions and double-click the launch icon to create a new workspace.
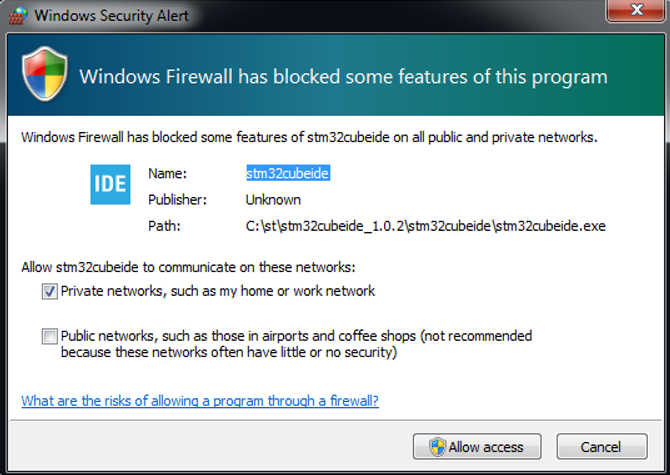
Allow STM32CubeIDE access to directly install packages
If prompted, make sure to allow the IDE to access your network or you will not be able to install packages directly!
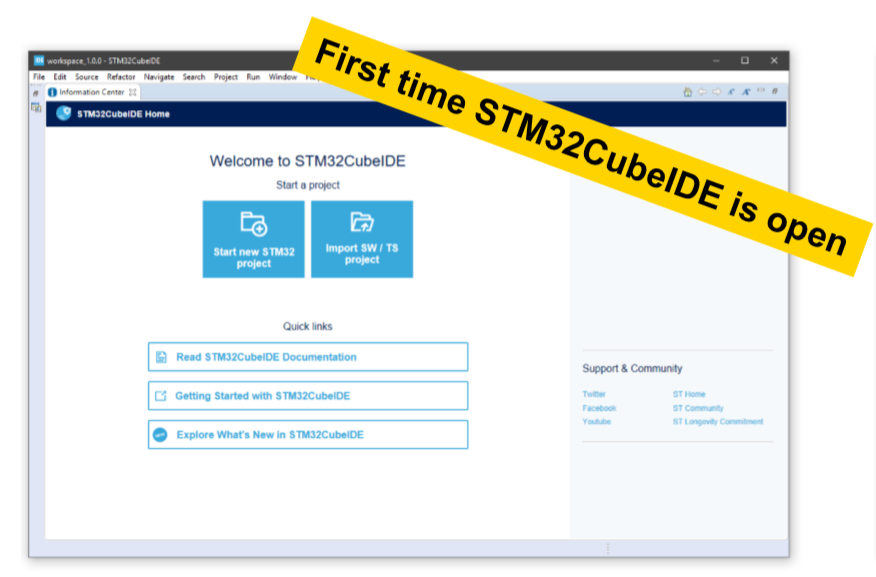
Once the installation is complete, you should be greeted with the image below.
The initial launch of STM32CubeIDE
Note that if you have any Eclipse configuration data on your PC, your configuration settings might pass over to this version. I use Eclipse for Java development, but I noticed Cube IDE started off with a dark theme and my custom text colors. No custom build configurations or anything technical moved over, though. Only aesthetics.
Code Generation in STM32CubeIDE
Alone, the IDE is a nice C++ editor with Eclipse’s shortcuts and toolbars. What interests me most about the STM32CubeIDE, however, is the code generation.
Once the appropriate board is selected, a graphical interface appears and allows the assignation of pins to different functions ranging from simple LED blinking to I2C connectivity. Without needing to use a keyboard, Cube builds code for you depending on what the pins are set to in the graphical interface.
From there, you can debug and run on whatever board you have plugged in.
Installing Necessary Libraries
Before we can generate code, however, we need to download and install the appropriate libraries. Thankfully, this can all be done within the IDE.
Since we will be using the Nucleo-L476RG and X-NUCLEO-IKS01A3 sensor expansion board later on, we need to install the CubeL4 v1.14.0 and X-Cube-MEMS1 v.6.2.0 packages. You may need to install more libraries if you plan on using a different board.
Click File —> New —> STM32 Project.
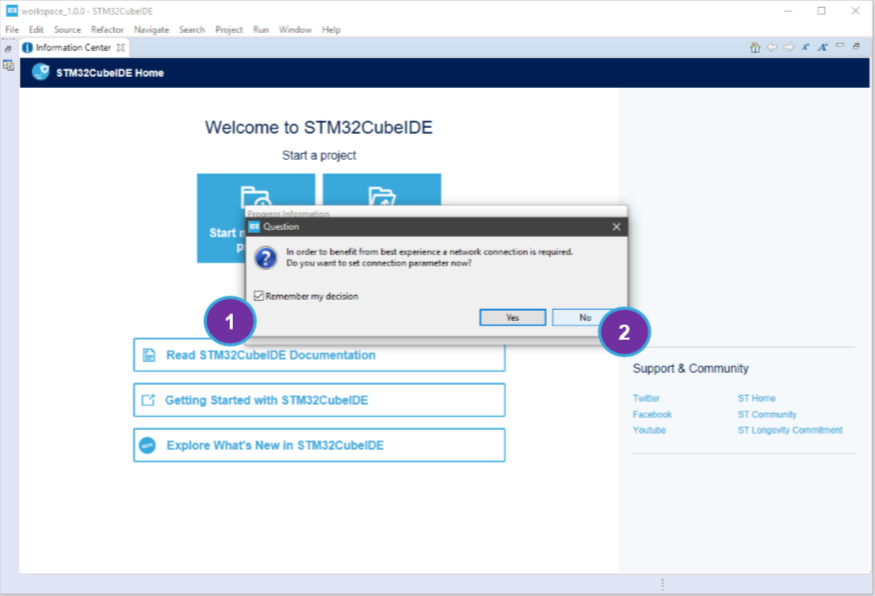
How to use the default network settings
Check “Remember my decision” and then “No” to use the default network settings on your computer. Most users should not need to change these settings unless VPN’s or connection proxies are involved.
Afterward, a background download should begin and the target selection screen will be displayed. Click on the “Board Selector” tab and enter “NUCLEO-L476RG” into the Part Number Search bar. Click “Next”, then “Finish” after typing in “Lab0” (or whatever name you want) as the project name.
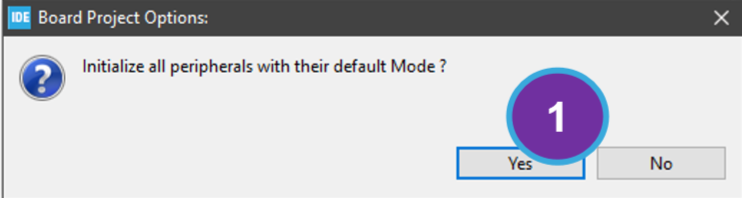
Clicking yes resets board peripherals to the default configuration
Click “Yes”. This resets board peripherals to the default configuration, though it is not really important for new installs
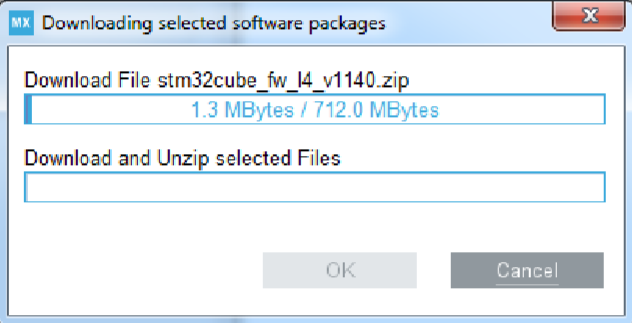
Check “Remember my decision”, then click “Yes”. The STM32CubeMX perspective is the GUI I mentioned earlier. If you click no here accidentally, the perspective can still be opened later from the IDE’s toolbar. A download will begin at this point.
Libraries are downloading
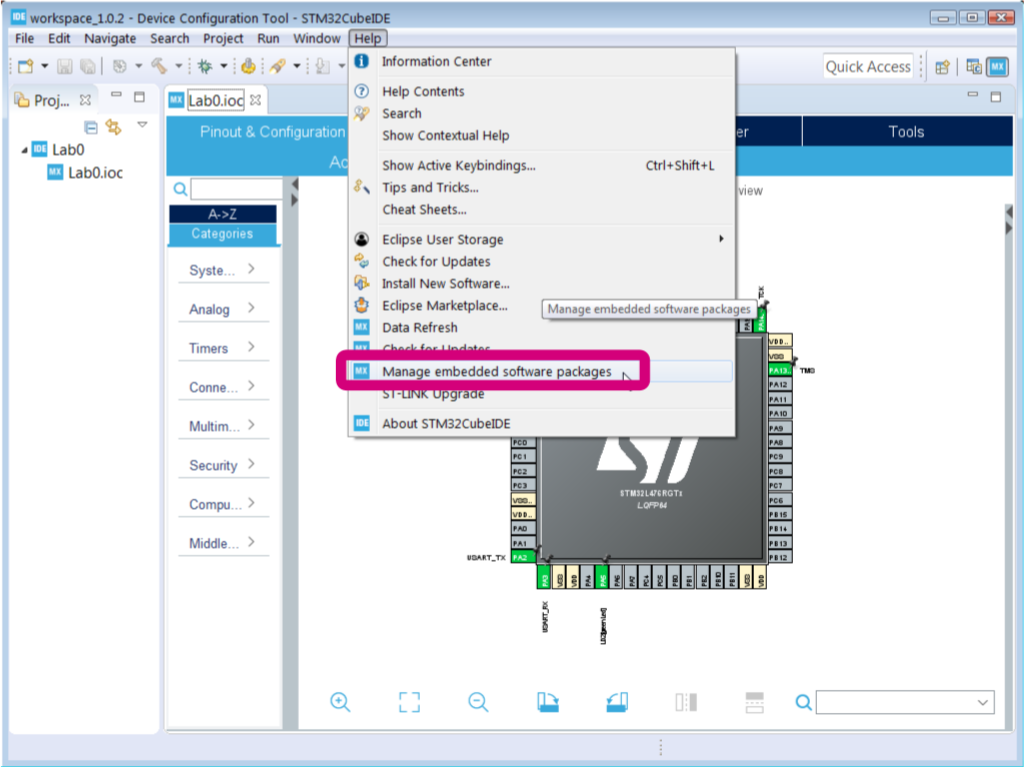
Once completed, click Help —> Manage embedded software packages.
Click Manage embedded software packages
Click on STM32L4 for a drop-down menu and select package version 1.14.0. Next, click on the STMicroelectronics tab and select the X-CUBE-MEMS1 6.2.0 package. Note that while newer versions may be available, this is the recommended version at the time of writing.
Click “Install Now”, accept the terms, and then click “Finish” for the download to begin. Once it is completed, move on to the next step.
At last, the moment of truth has arrived. Select Project —> Generate Code and then open up the newly created src folder. Although, in this case, we did not change any pins, there should still be a main.c file for you to modify.
Congratulations! You have successfully set up the STM32CubeIDE and are ready to experiment with STMicro’s boards.
All images courtesy of STMicroelectronics.