|
/* |
|
* -------------------------------------------------------------------------------------------------------------------- |
|
* Example sketch/program showing how to read data from a PICC to serial. |
|
* -------------------------------------------------------------------------------------------------------------------- |
|
* This is a MFRC522 library example; for further details and other examples see: https://github.com/miguelbalboa/rfid |
|
* |
|
* Example sketch/program showing how to read data from a PICC (that is: a RFID Tag or Card) using a MFRC522 based RFID |
|
* Reader on the Arduino SPI interface. |
|
* |
|
* When the Arduino and the MFRC522 module are connected (see the pin layout below), load this sketch into Arduino IDE |
|
* then verify/compile and upload it. To see the output: use Tools, Serial Monitor of the IDE (hit Ctrl+Shft+M). When |
|
* you present a PICC (that is: a RFID Tag or Card) at reading distance of the MFRC522 Reader/PCD, the serial output |
|
* will show the ID/UID, type and any data blocks it can read. Note: you may see "Timeout in communication" messages |
|
* when removing the PICC from reading distance too early. |
|
* |
|
* If your reader supports it, this sketch/program will read all the PICCs presented (that is: multiple tag reading). |
|
* So if you stack two or more PICCs on top of each other and present them to the reader, it will first output all |
|
* details of the first and then the next PICC. Note that this may take some time as all data blocks are dumped, so |
|
* keep the PICCs at reading distance until complete. |
|
* |
|
* @license Released into the public domain. |
|
* |
|
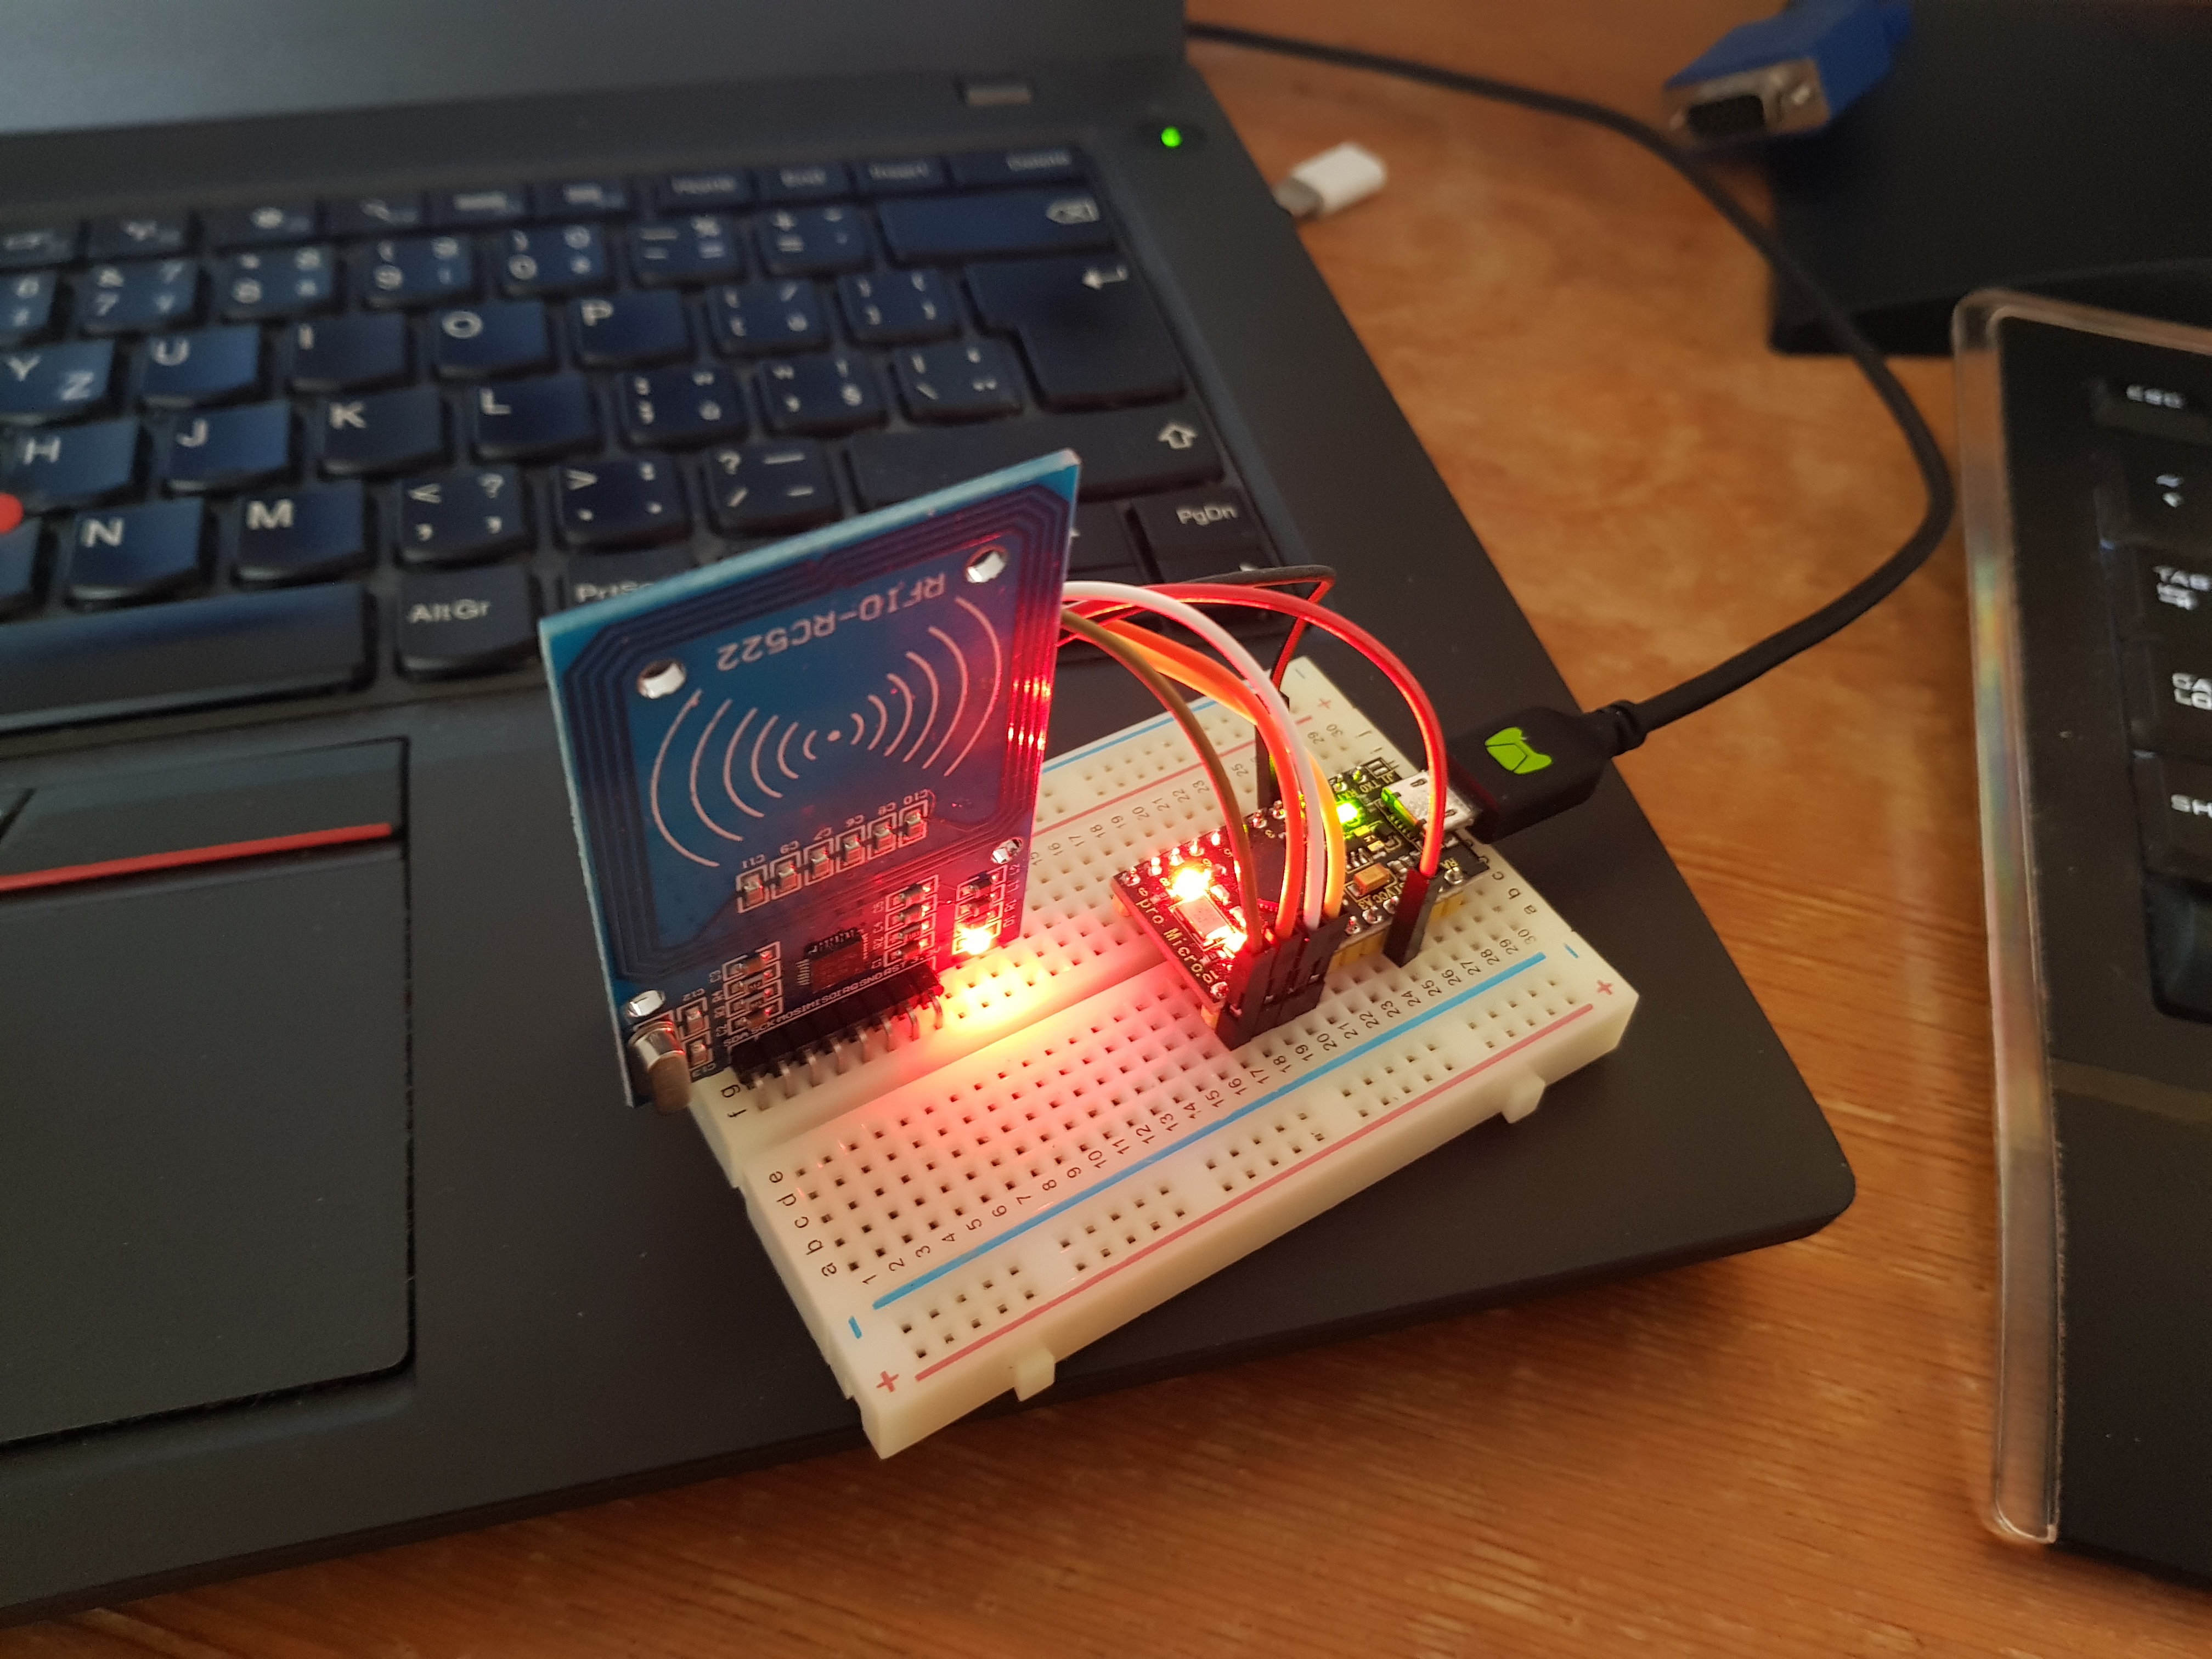
* Typical pin layout used: |
|
* ----------------------------------------------------------------------------------------- |
|
* MFRC522 Arduino Arduino Arduino Arduino Arduino |
|
* Reader/PCD Uno/101 Mega Nano v3 Leonardo/Micro Pro Micro |
|
* Signal Pin Pin Pin Pin Pin Pin |
|
* ----------------------------------------------------------------------------------------- |
|
* RST/Reset RST 9 5 D9 RESET/ICSP-5 RST |
|
* SPI SS SDA(SS) 10 53 D10 10 10 |
|
* SPI MOSI MOSI 11 / ICSP-4 51 D11 ICSP-4 16 |
|
* SPI MISO MISO 12 / ICSP-1 50 D12 ICSP-1 14 |
|
* SPI SCK SCK 13 / ICSP-3 52 D13 ICSP-3 15 |
|
*/ |
|
|
|
#include <SPI.h> |
|
#include <MFRC522.h> |
|
#include <Keyboard.h> |
|
|
|
constexpr uint8_t RST_PIN = 9; // Configurable, see typical pin layout above |
|
constexpr uint8_t SS_PIN = 10; // Configurable, see typical pin layout above |
|
|
|
MFRC522 mfrc522(SS_PIN, RST_PIN); // Create MFRC522 instance |
|
|
|
int RXLED = 17; |
|
|
|
void setup() { |
|
pinMode(RXLED, OUTPUT); |
|
Serial.begin(9600); |
|
//while (!Serial); // Do nothing if no serial port is opened (added for Arduinos based on ATMEGA32U4) |
|
SPI.begin(); // Init SPI bus |
|
mfrc522.PCD_Init(); // Init MFRC522 |
|
mfrc522.PCD_DumpVersionToSerial(); // Show details of PCD - MFRC522 Card Reader details |
|
Keyboard.begin(); |
|
} |
|
|
|
void readHex(byte *buffer, byte bufferSize) { |
|
for (byte i = 0; i < bufferSize; i++) { |
|
Serial.print(buffer[i] < 0x10 ? " 0" : " "); |
|
Serial.print(buffer[i], HEX); |
|
} |
|
} |
|
|
|
void loop() { |
|
// Look for new cards |
|
if ( ! mfrc522.PICC_IsNewCardPresent()) { |
|
digitalWrite(RXLED, HIGH); |
|
return; |
|
} |
|
|
|
// Select one of the cards |
|
if ( ! mfrc522.PICC_ReadCardSerial()) { |
|
return; |
|
} |
|
|
|
digitalWrite(RXLED, LOW); |
|
Serial.print("RFID UID: "); |
|
readHex(mfrc522.uid.uidByte, mfrc522.uid.size); |
|
Serial.println(); |
|
|
|
|
|
// SET YOUR UID HERE (you should see it in your serial monitor) |
|
if (mfrc522.uid.uidByte[0] == 0x00 && |
|
mfrc522.uid.uidByte[1] == 0x00 && |
|
mfrc522.uid.uidByte[2] == 0x00 && |
|
mfrc522.uid.uidByte[3] == 0x00) { |
|
Serial.println("Correct UID"); |
|
} |
|
else { |
|
Serial.println("Incorrect UID"); |
|
delay(5000); |
|
return; |
|
} |
|
|
|
digitalWrite(RXLED, HIGH); |
|
|
|
Serial.println("Printing password..."); |
|
Keyboard.print("<your secret password>"); |
|
delay(1000); |
|
Keyboard.write(10); |
|
|
|
delay(5000); |
|
} |