I made 3D Printed Unicorn Horn. It looks great when going out to the party and especially in the evenings. :)
Hello everyone,
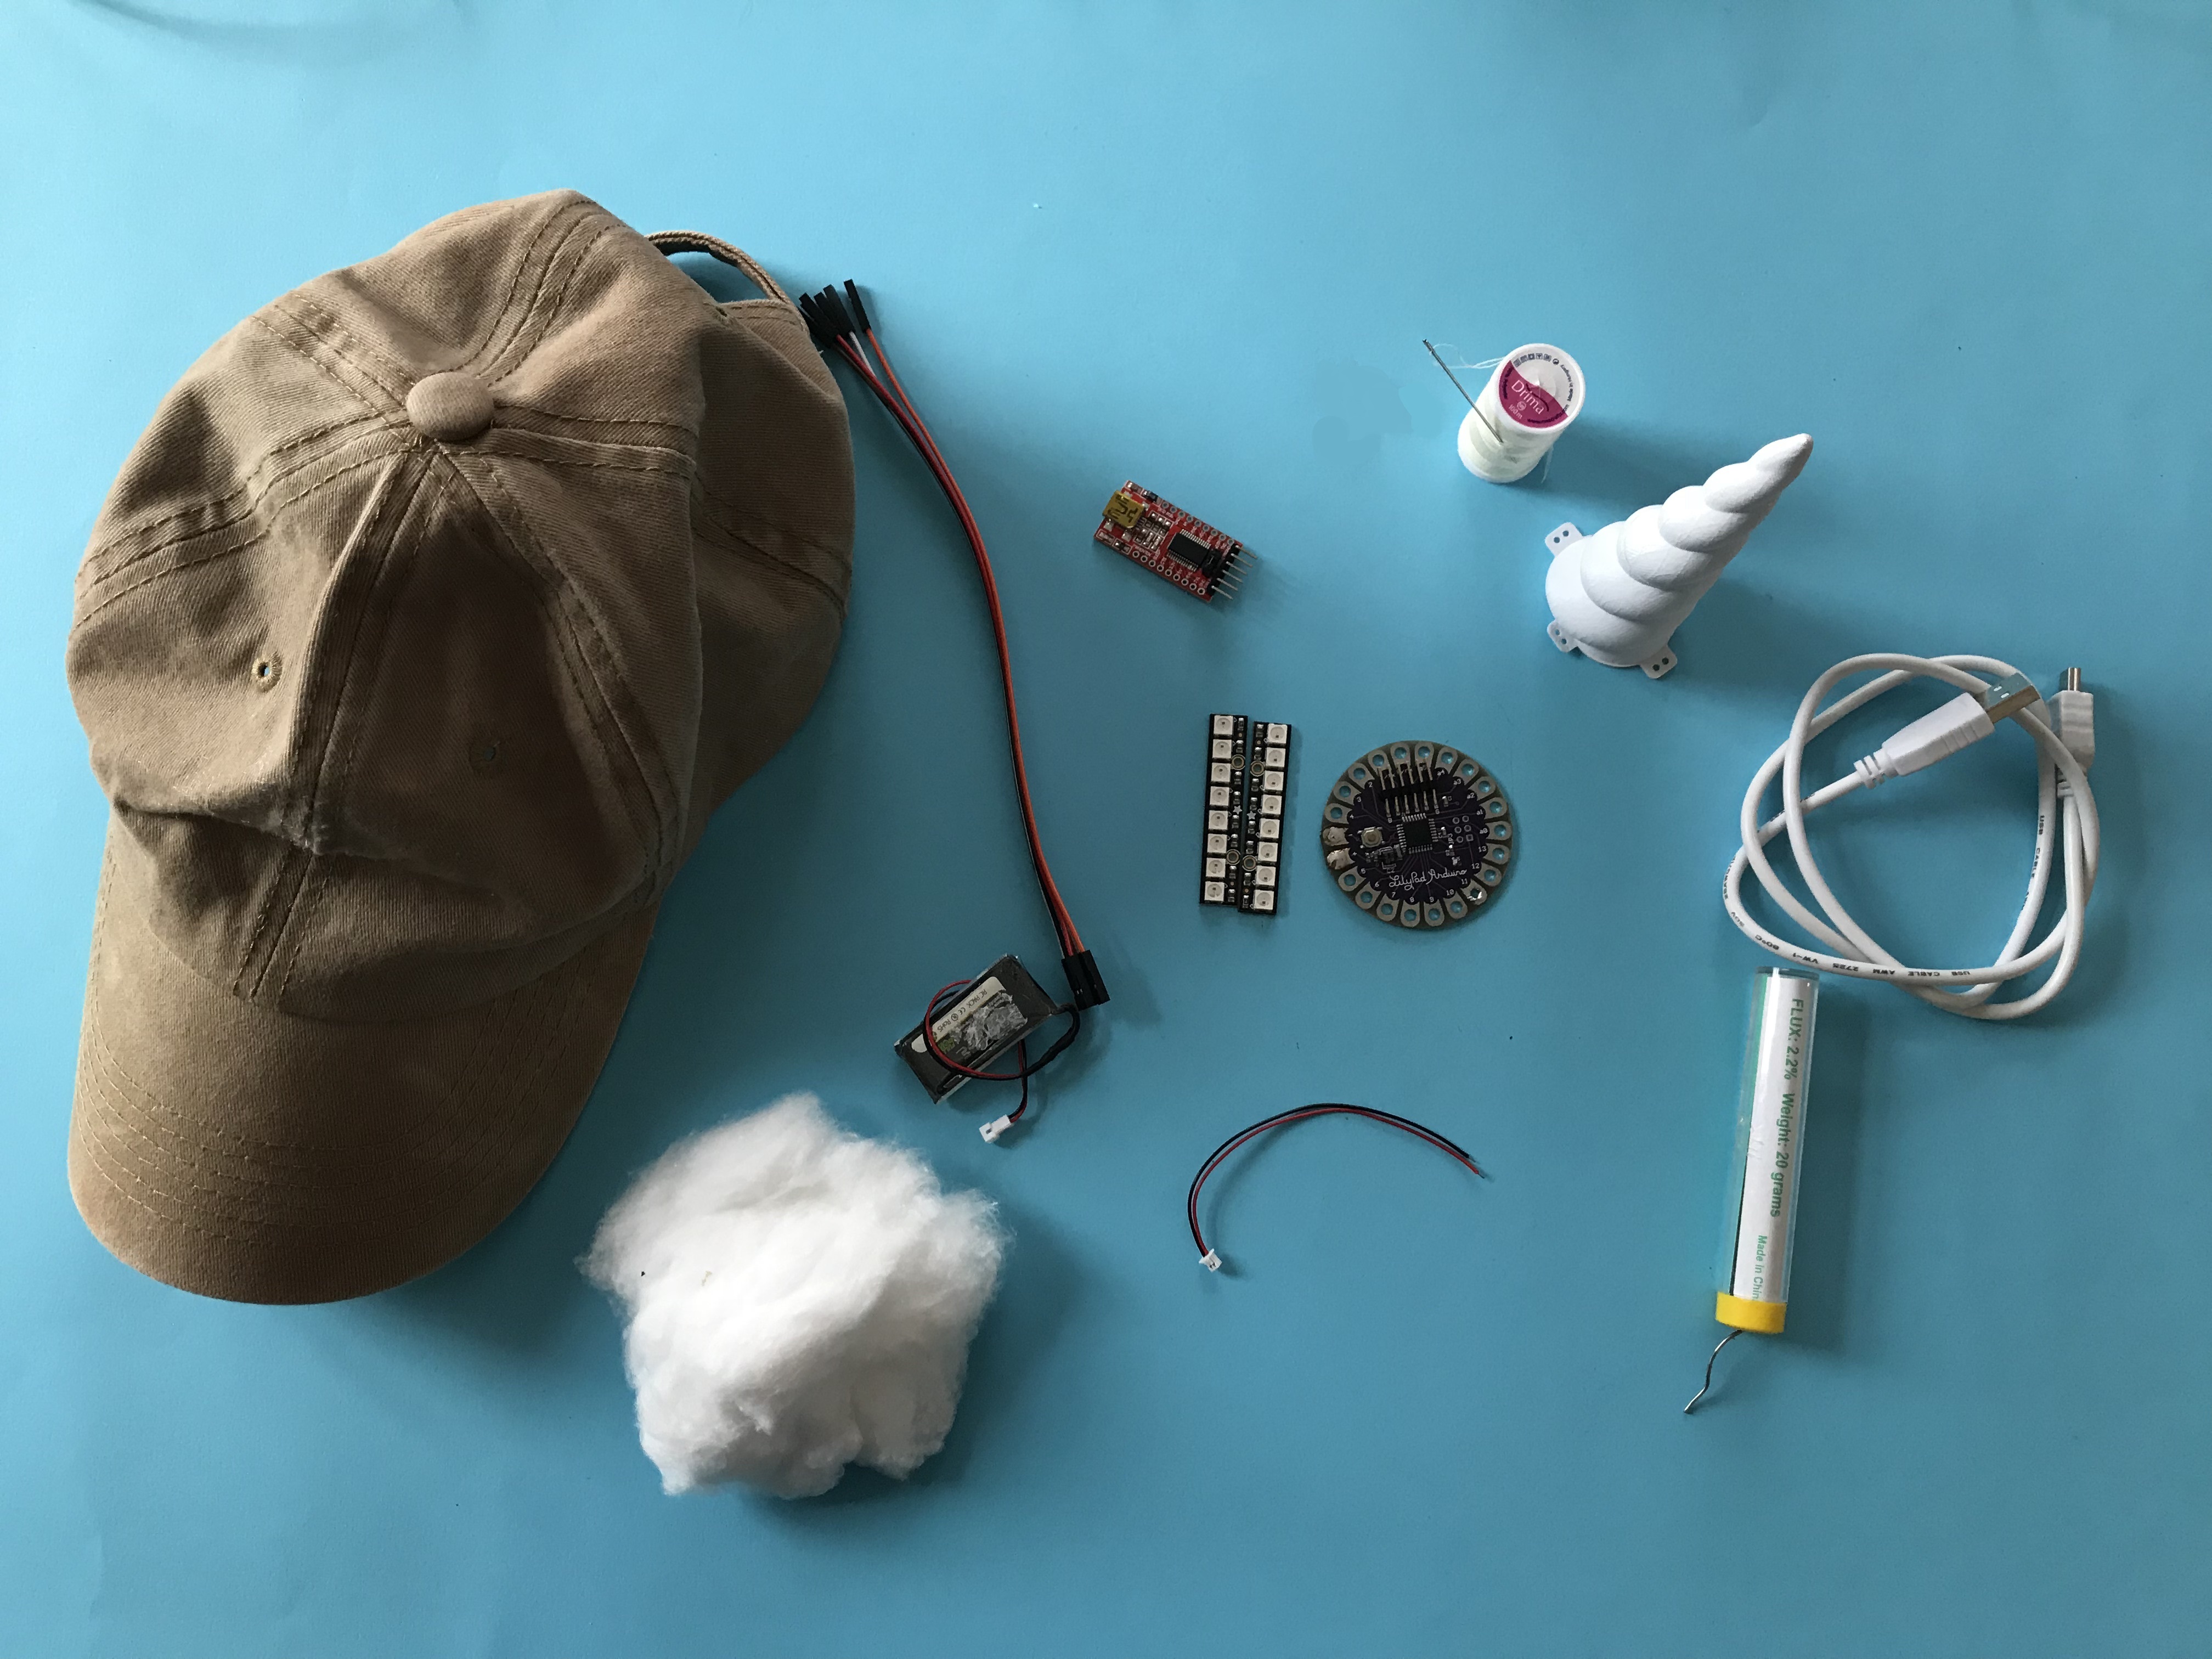
Today I'm gonna make 3D Printed Unicorn Horn. I saw and did the project in Adafruit's website about a year ago but I could not find an opportunity to share it. It looks great when going out to the party and especially in the evenings. :)
I got the horn out of the 3D printer on the project. If you do not have a 3D printer, you can make the horn yourself with the materials what you want.
Let's start !
Step 2: Upload Code to Arduino Lilypad
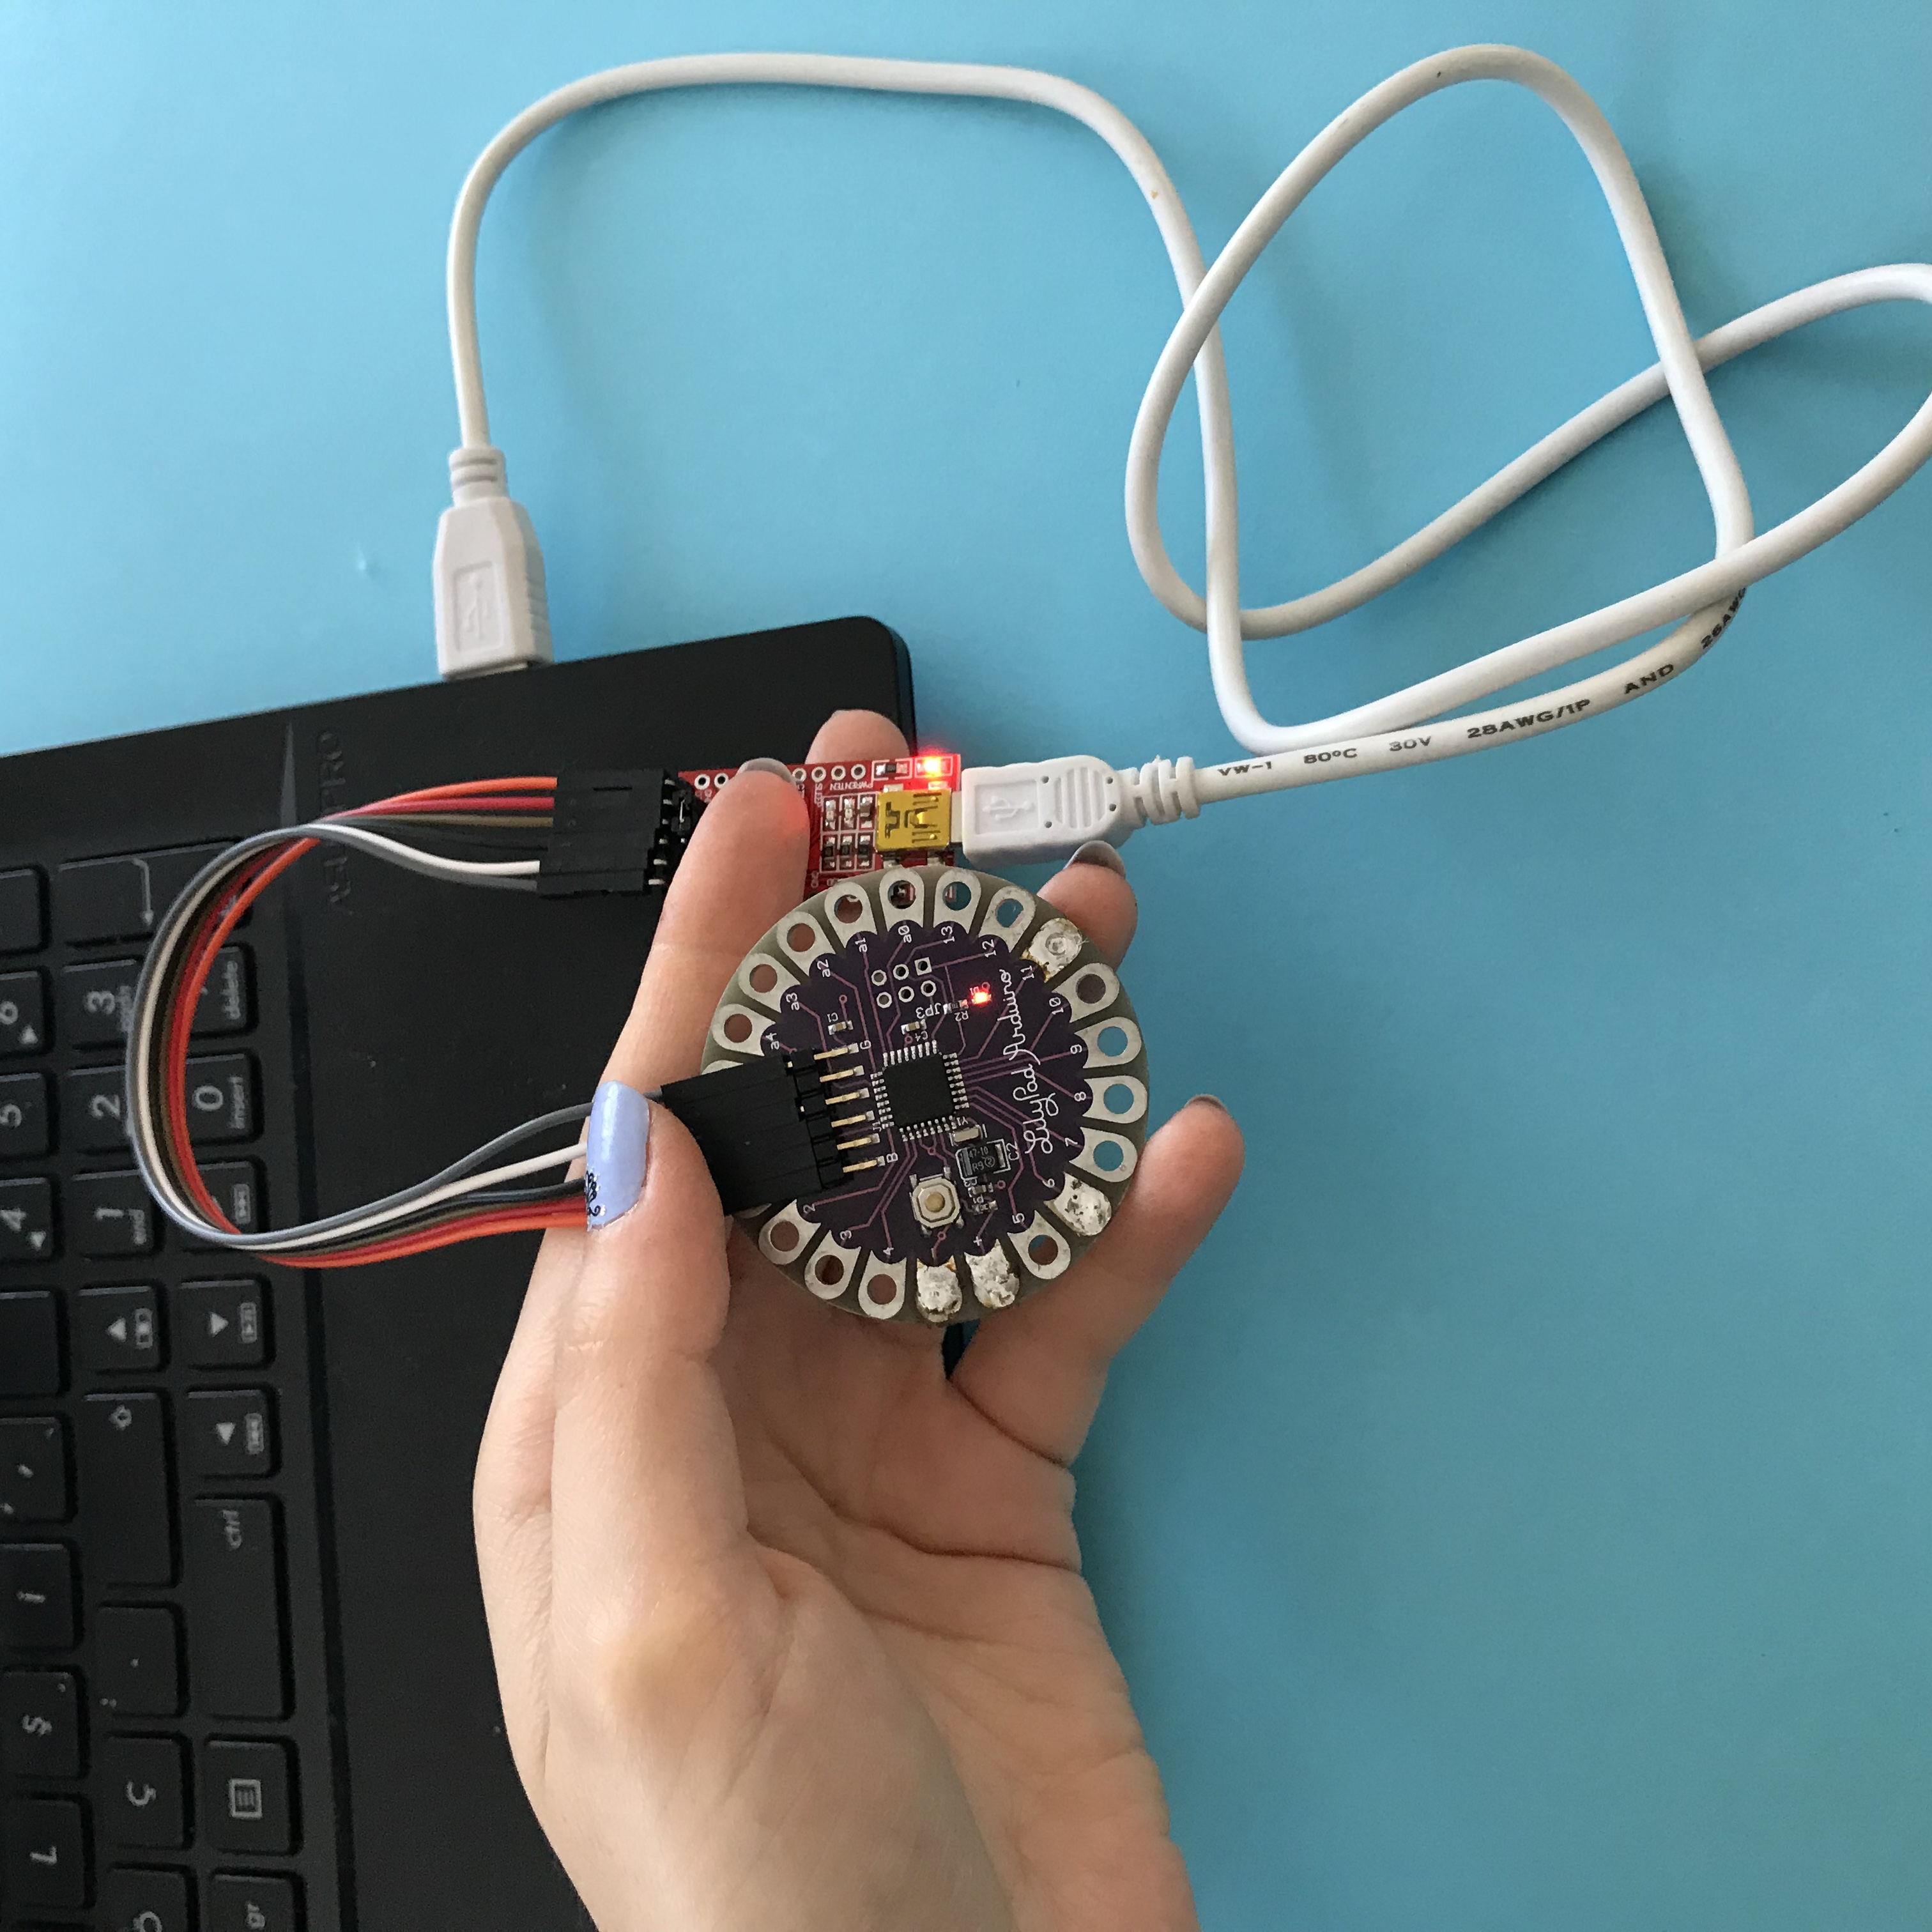
First we start by uploading the code to Lilypad. Let's do the connection of USB Serial Converter - Lilypad as in the image.
- Plug one end of the Micro USB into your computer and the other into the USB Serial Converter input.
- Open the Arduino IDE. In the Cards section, select your Lilypad and port number and load the code Arduino.
You can find the code at Github or from here.
After we upload the code to Lilypad, we are done with FTDI and micro USB.
Step 3: Connection of NeoPixels
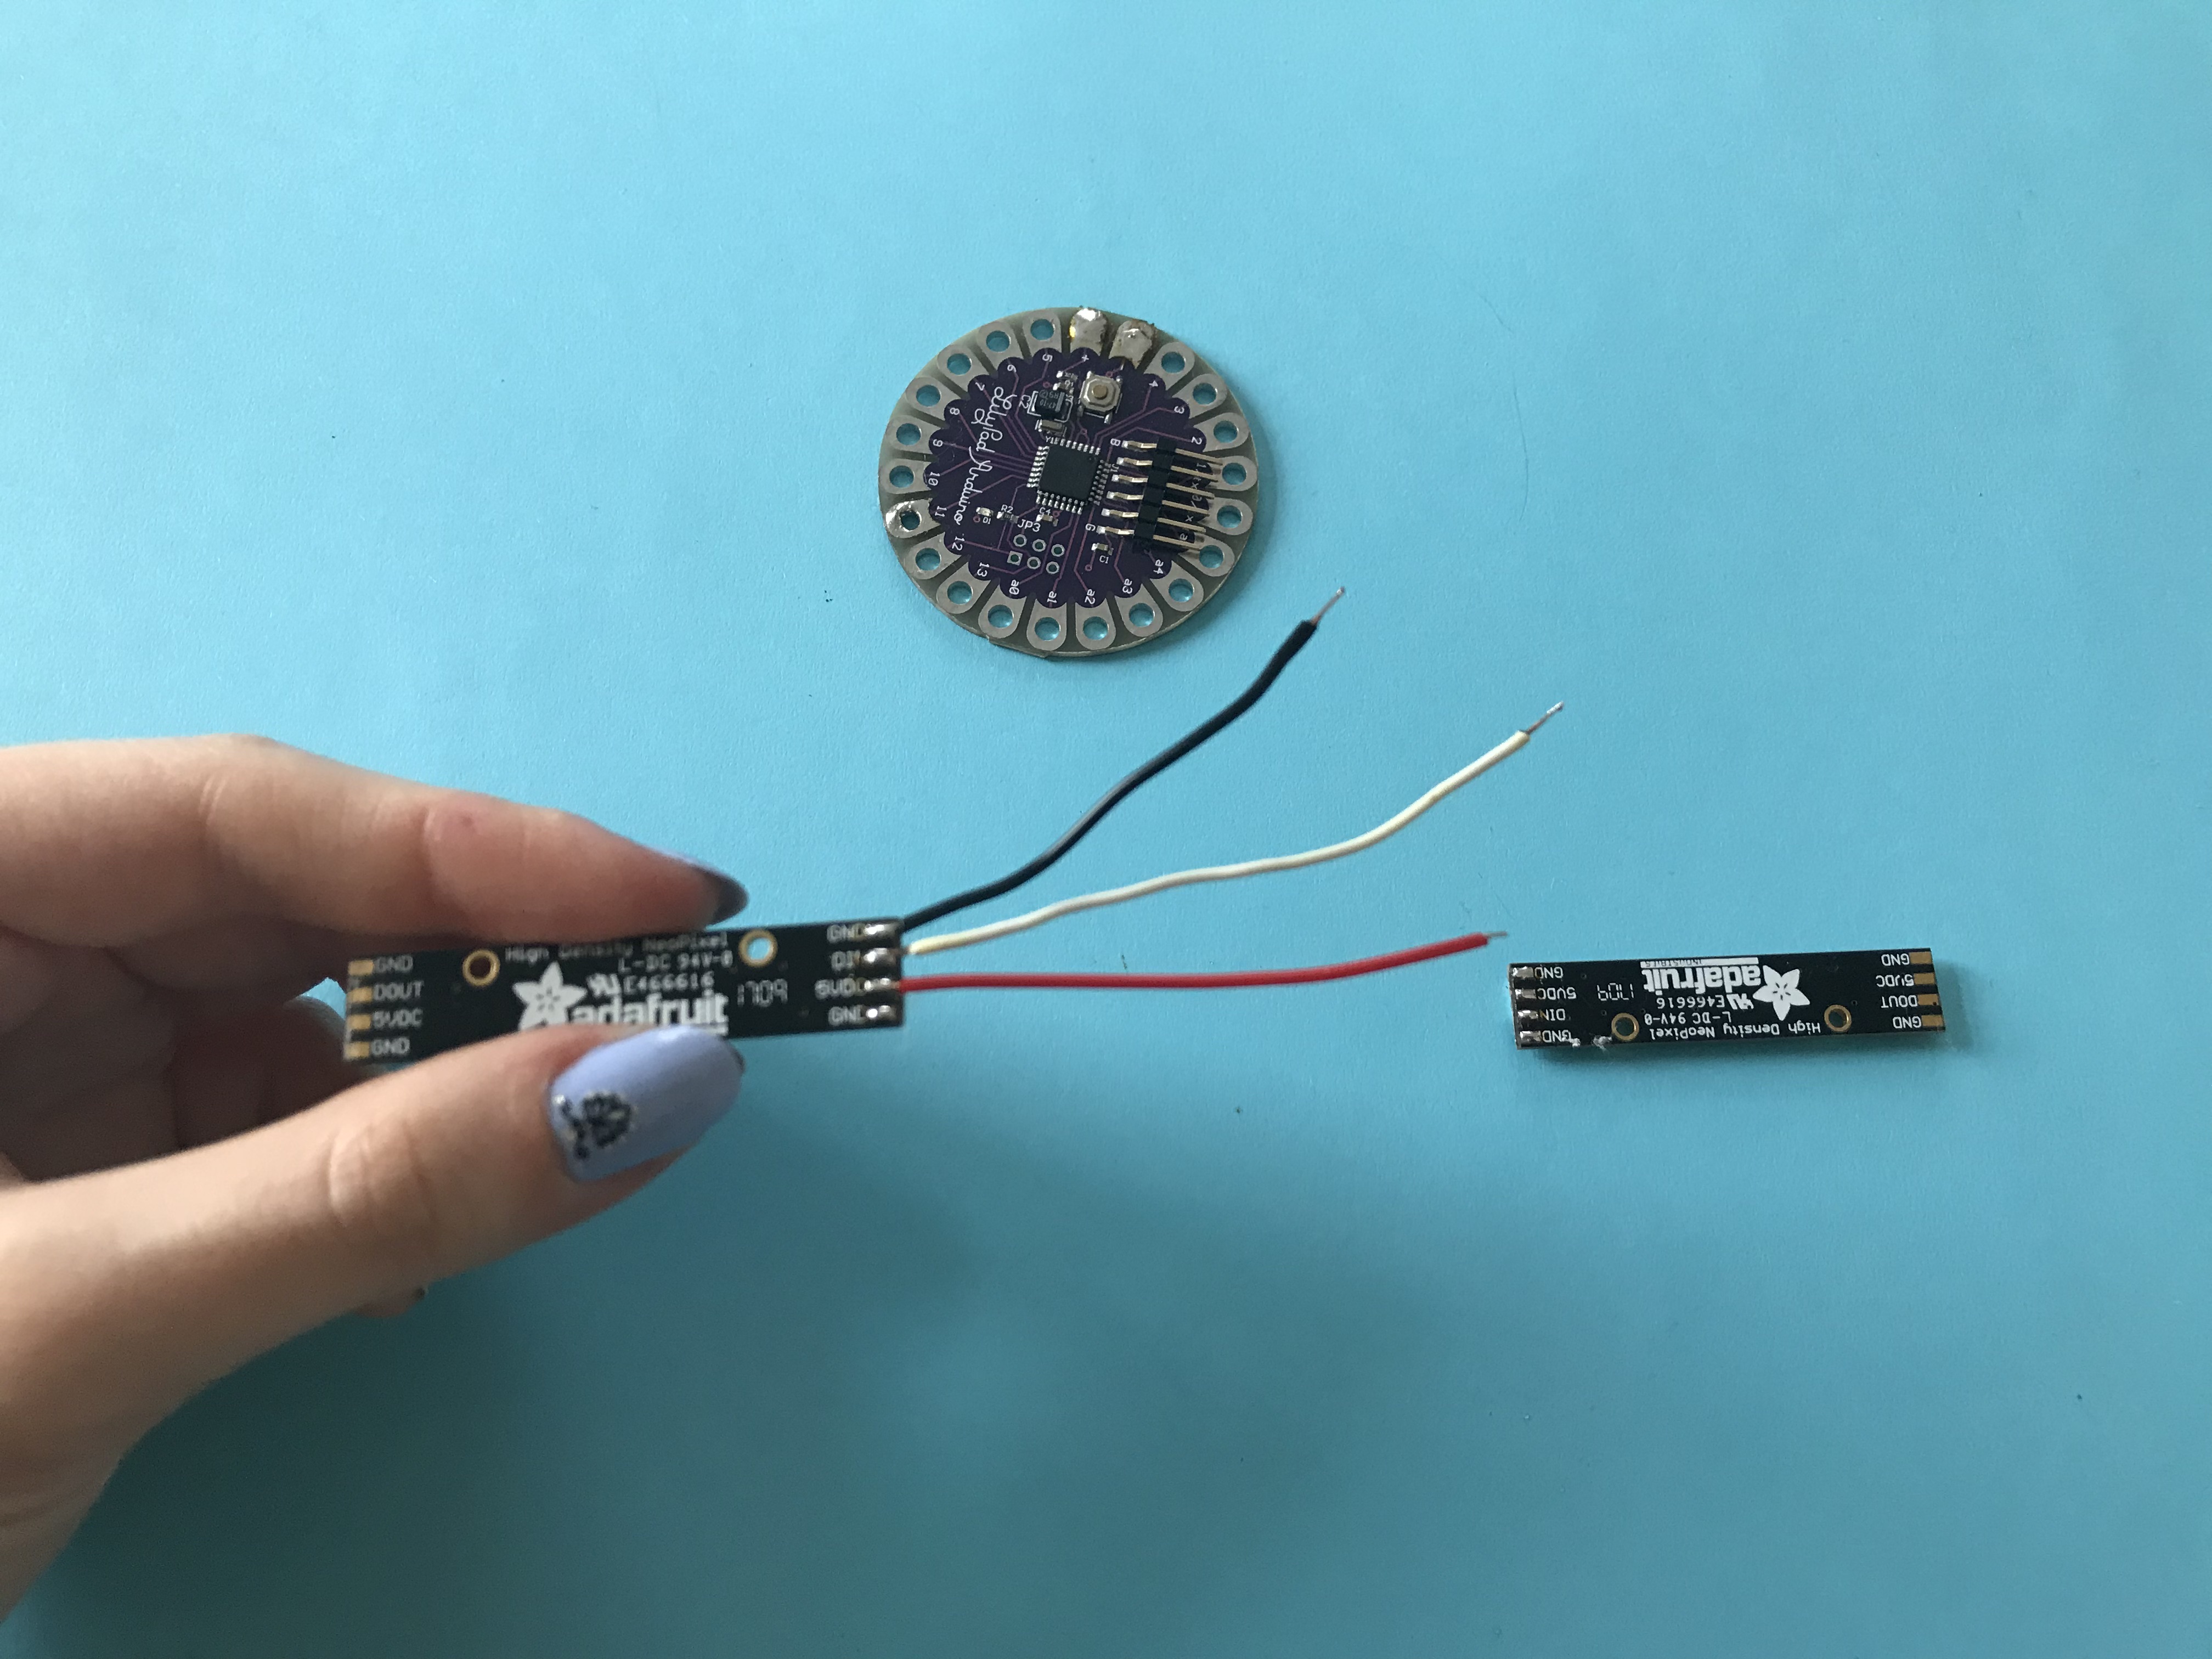
First we connect NeoPixels with each other.
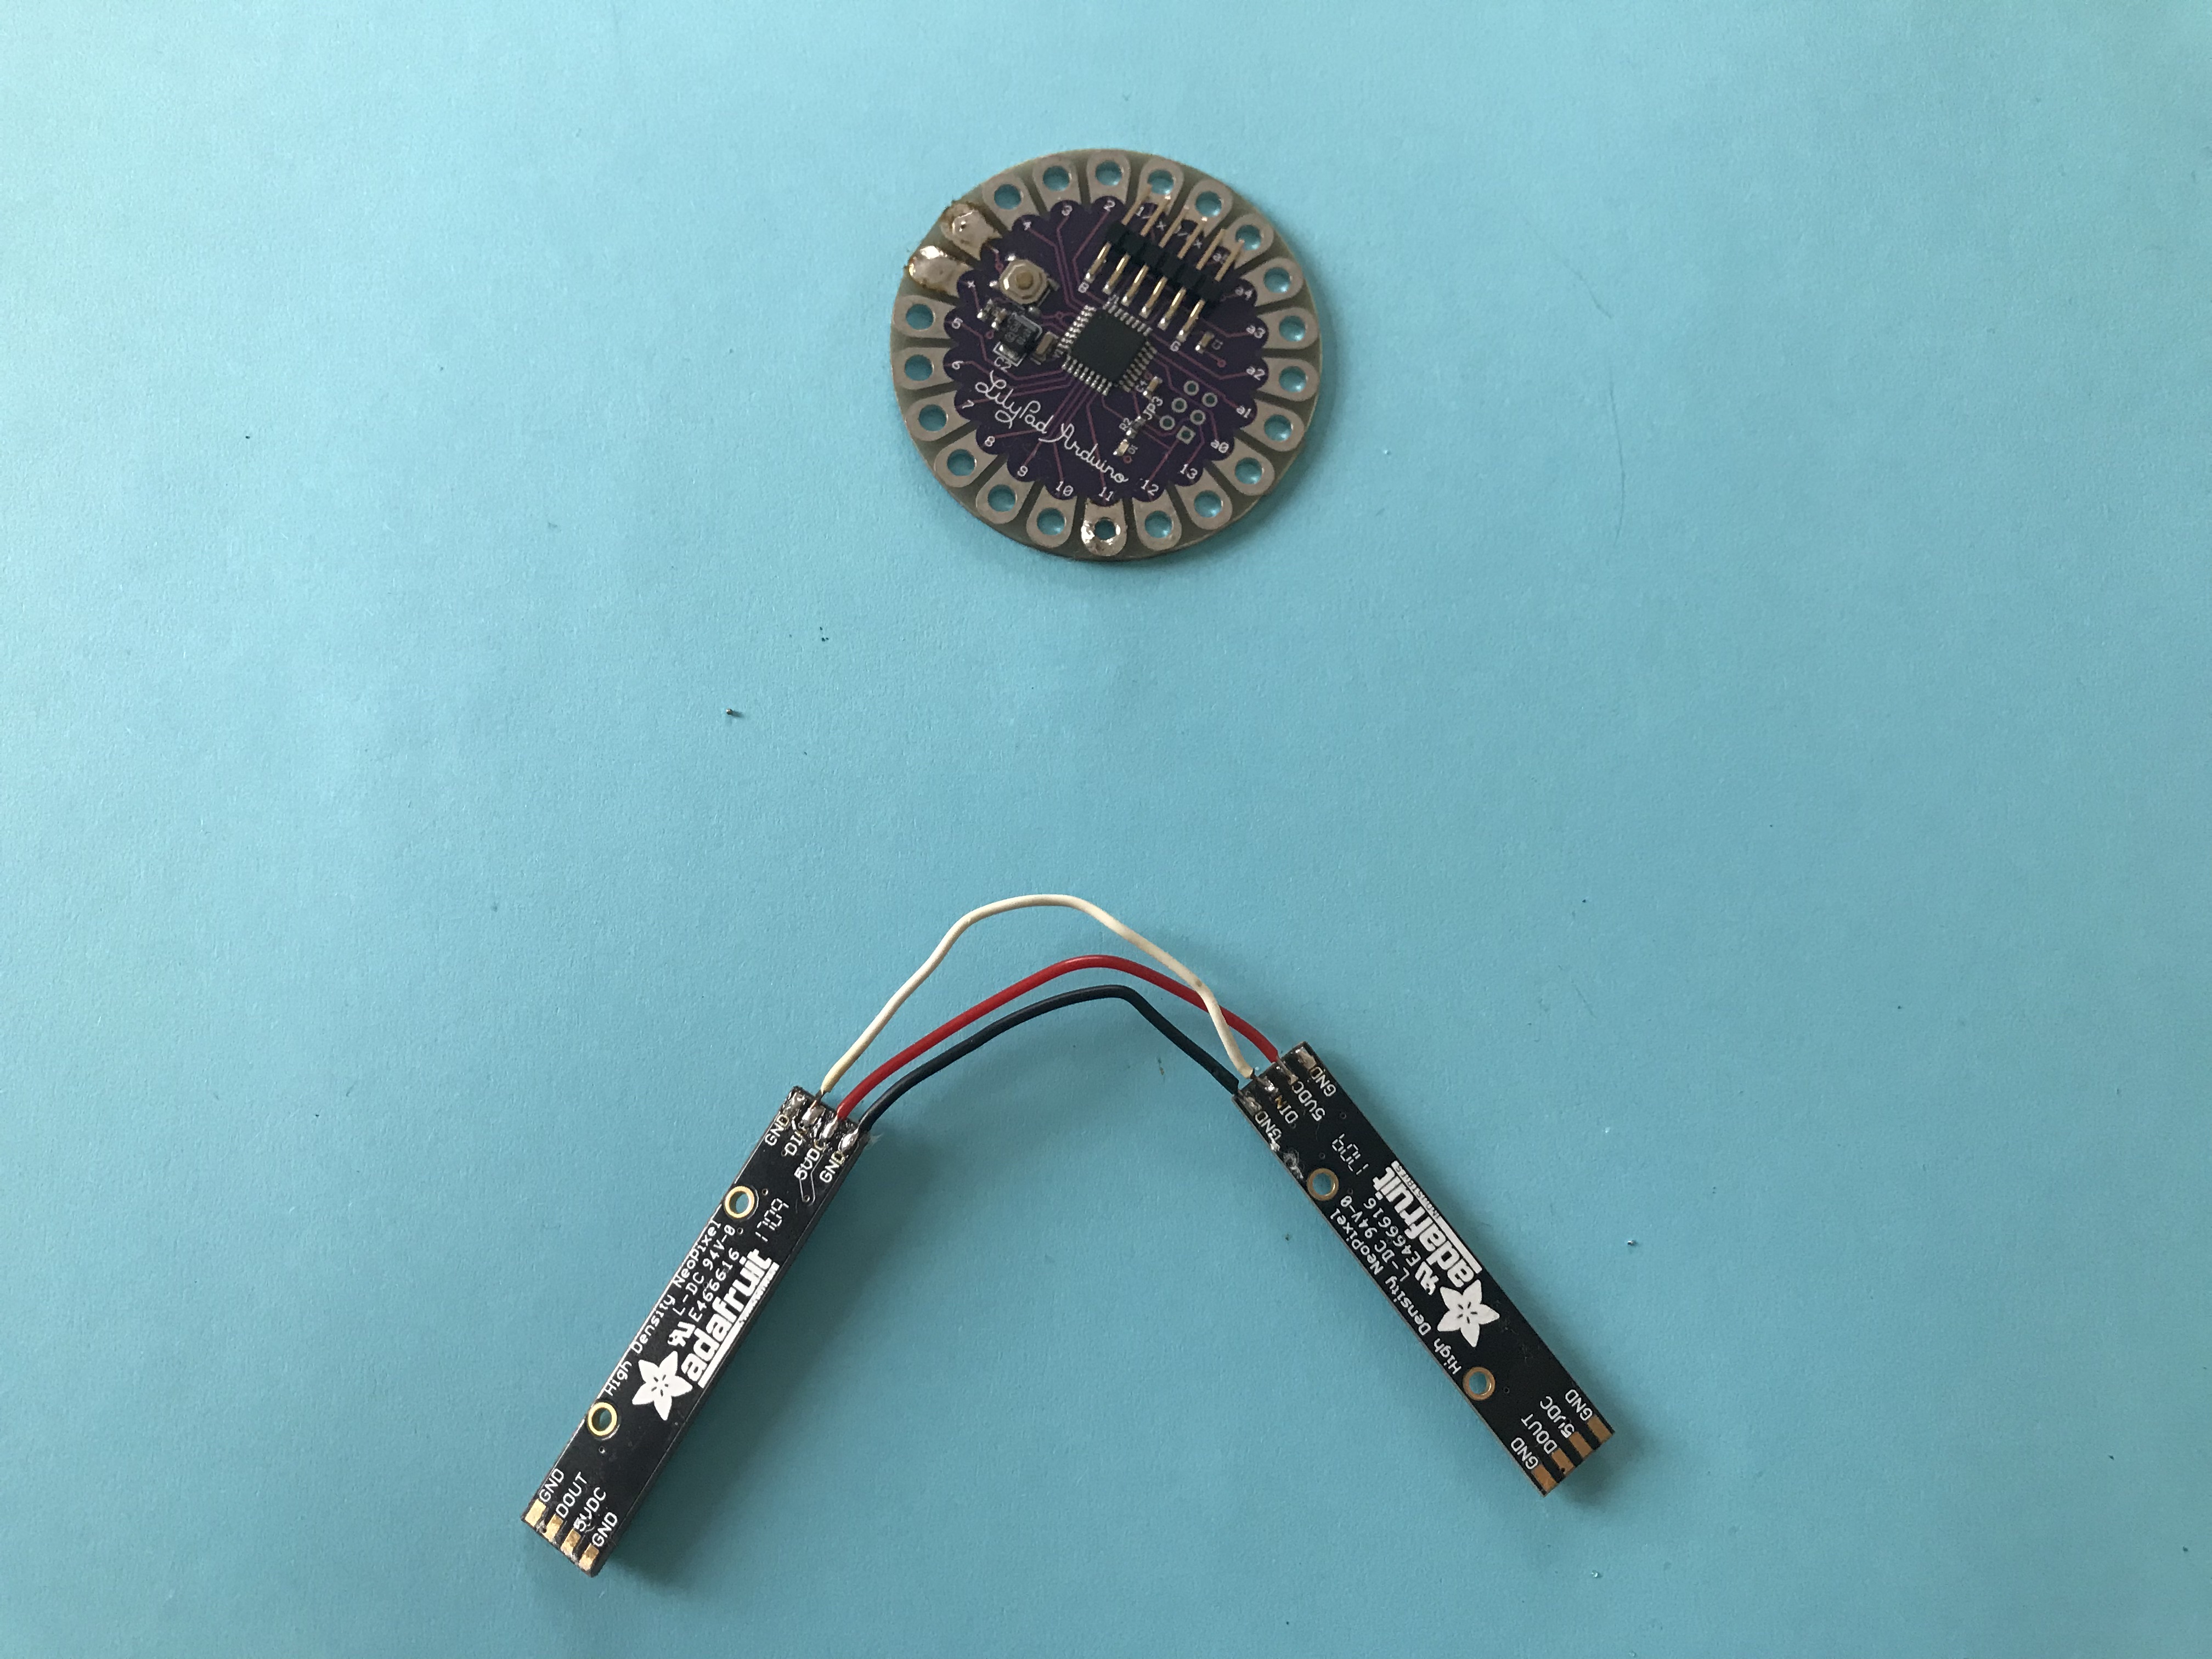
Solder the GND, DIN, 5V pins of the first NeoPixel to GND, DIN and 5V of the second NeoPixel respectively.
* What we need to pay attention in this section is to solder the short cables while connecting the NeoPixels.
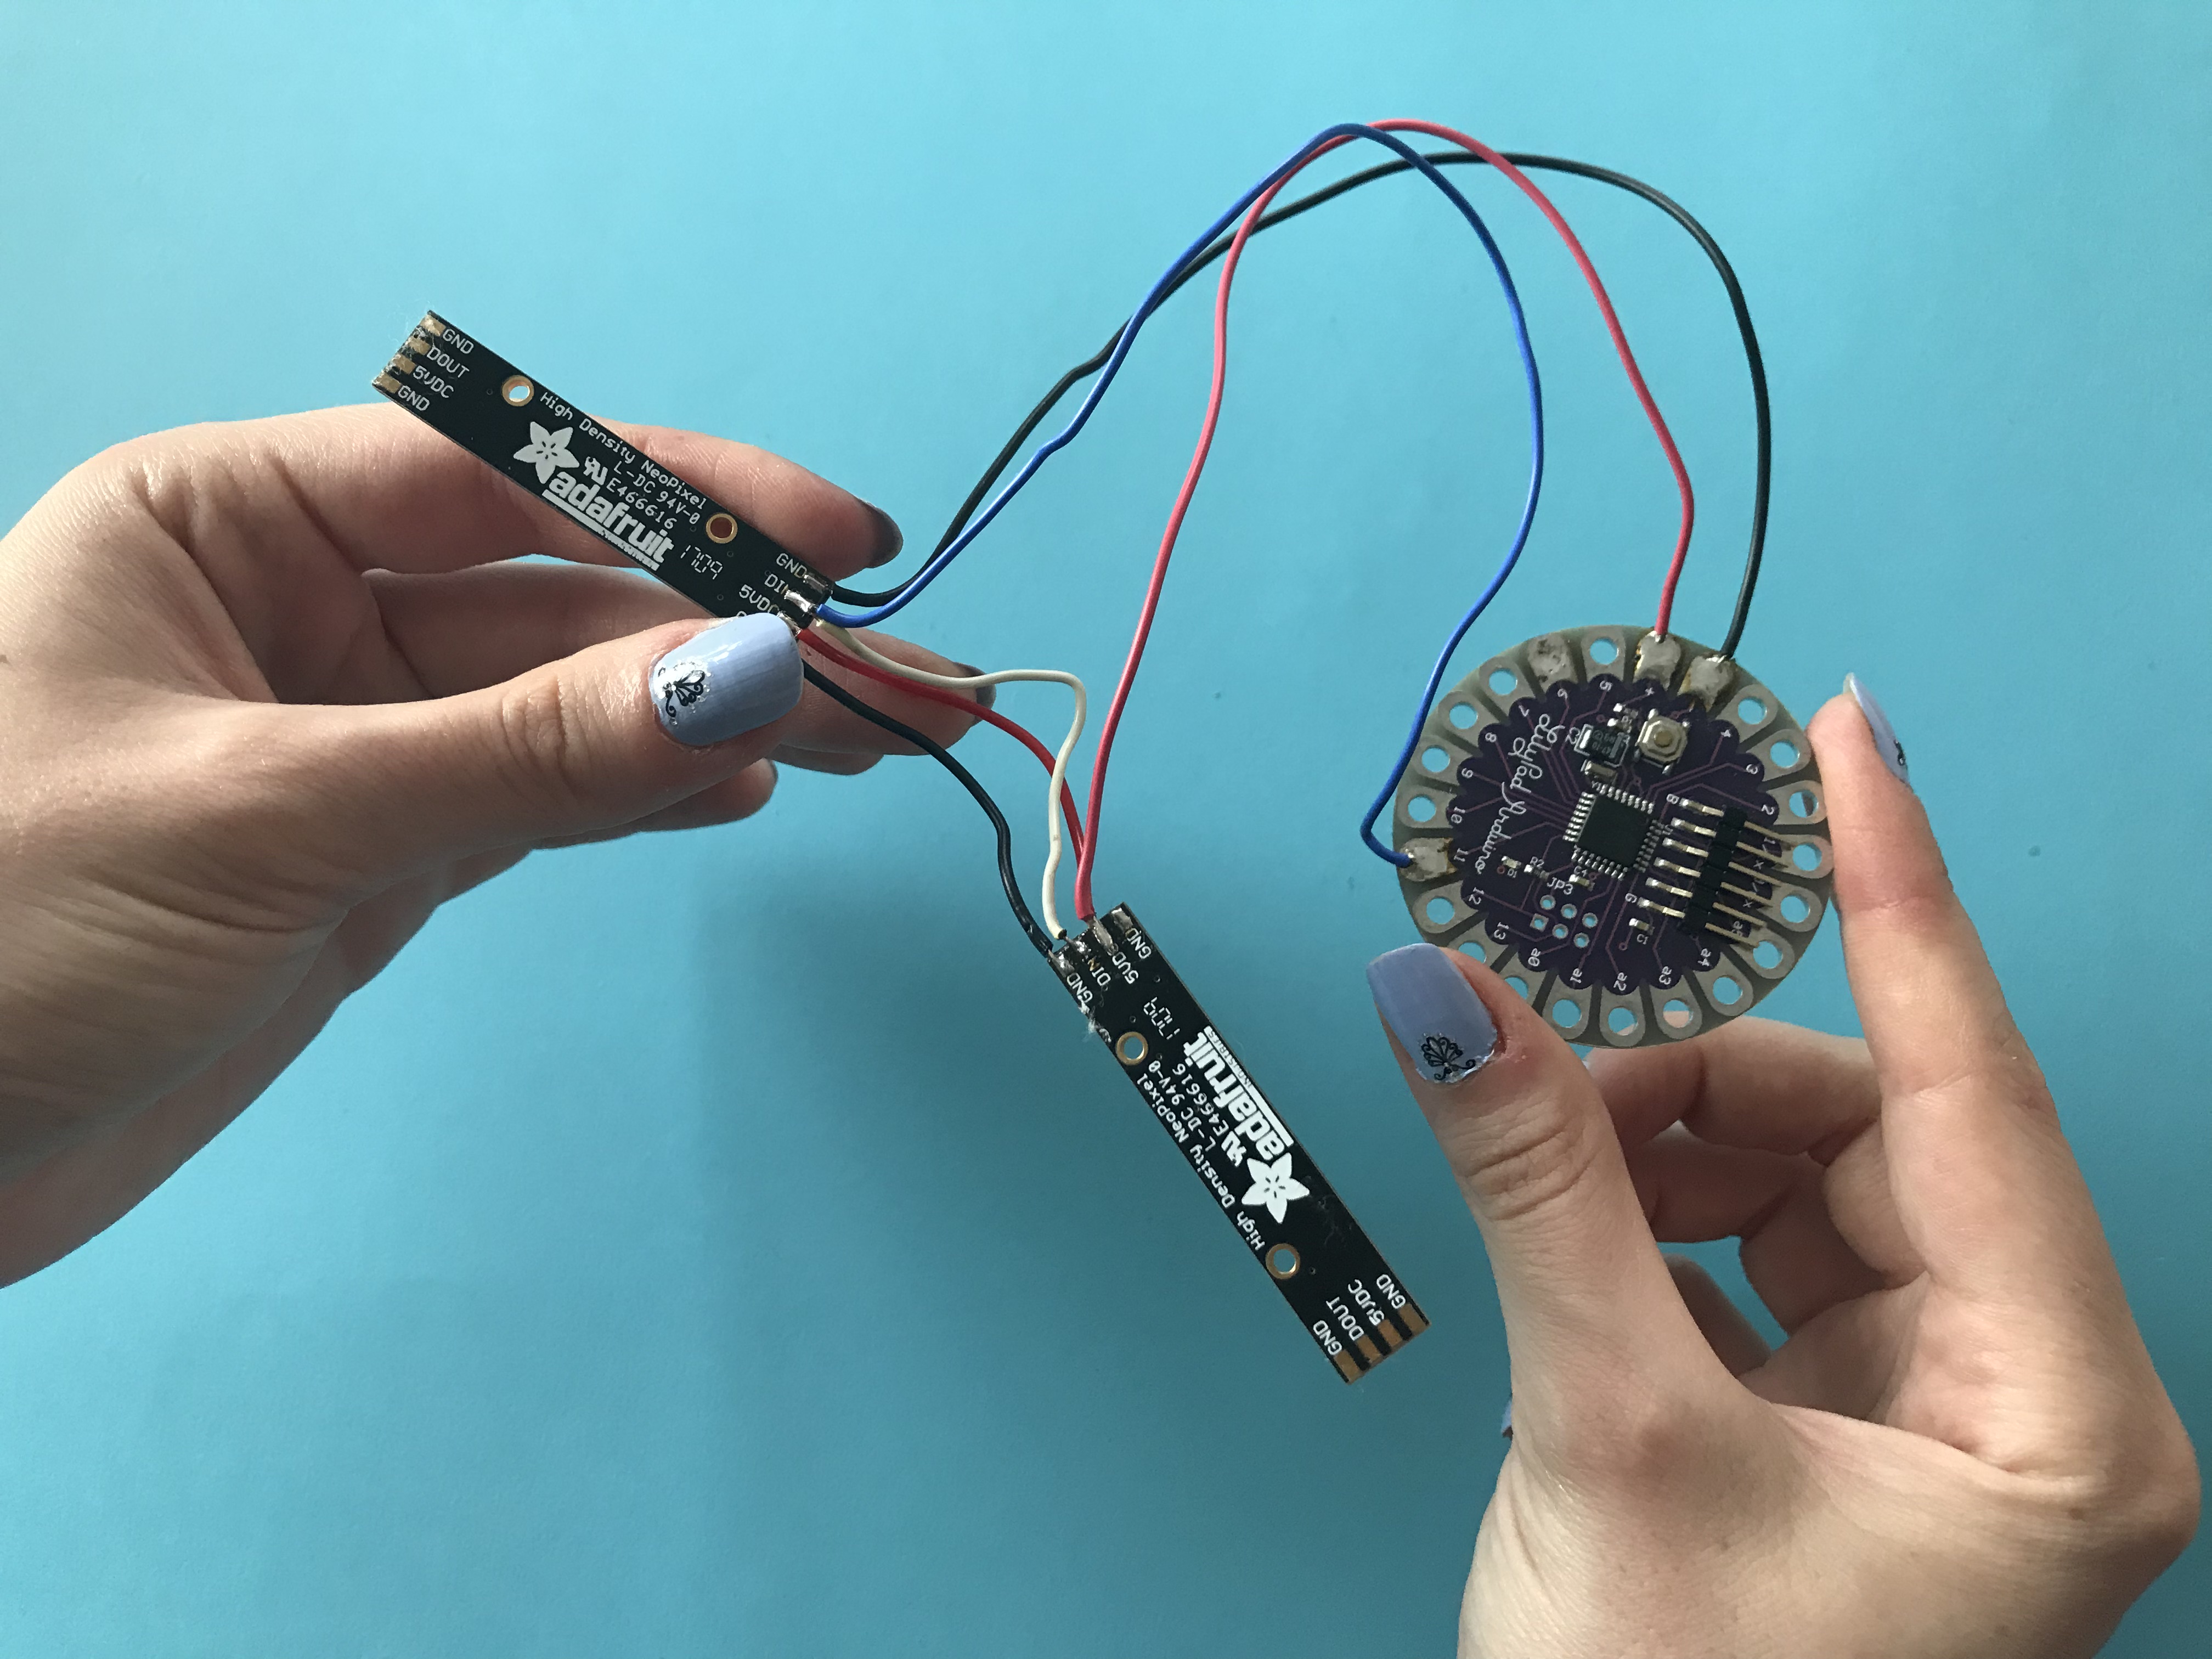
Step 4: NeoPixel-LilyPad Connection
- Solder the GND of the first NeoPixel to the (-) pin (minus pin) of the Lilypad.
- Solder the second NeoPixel 5V to the (+) pin (plus pin) of the Lilypad.
- Solder the DIN of the second NeoPixel to pin 11 of the Lilypad.
Our links are ready!
While doing NeoPixel and Lilypad connection, the cable is soldered a little long so that this can easily placed in the hat.
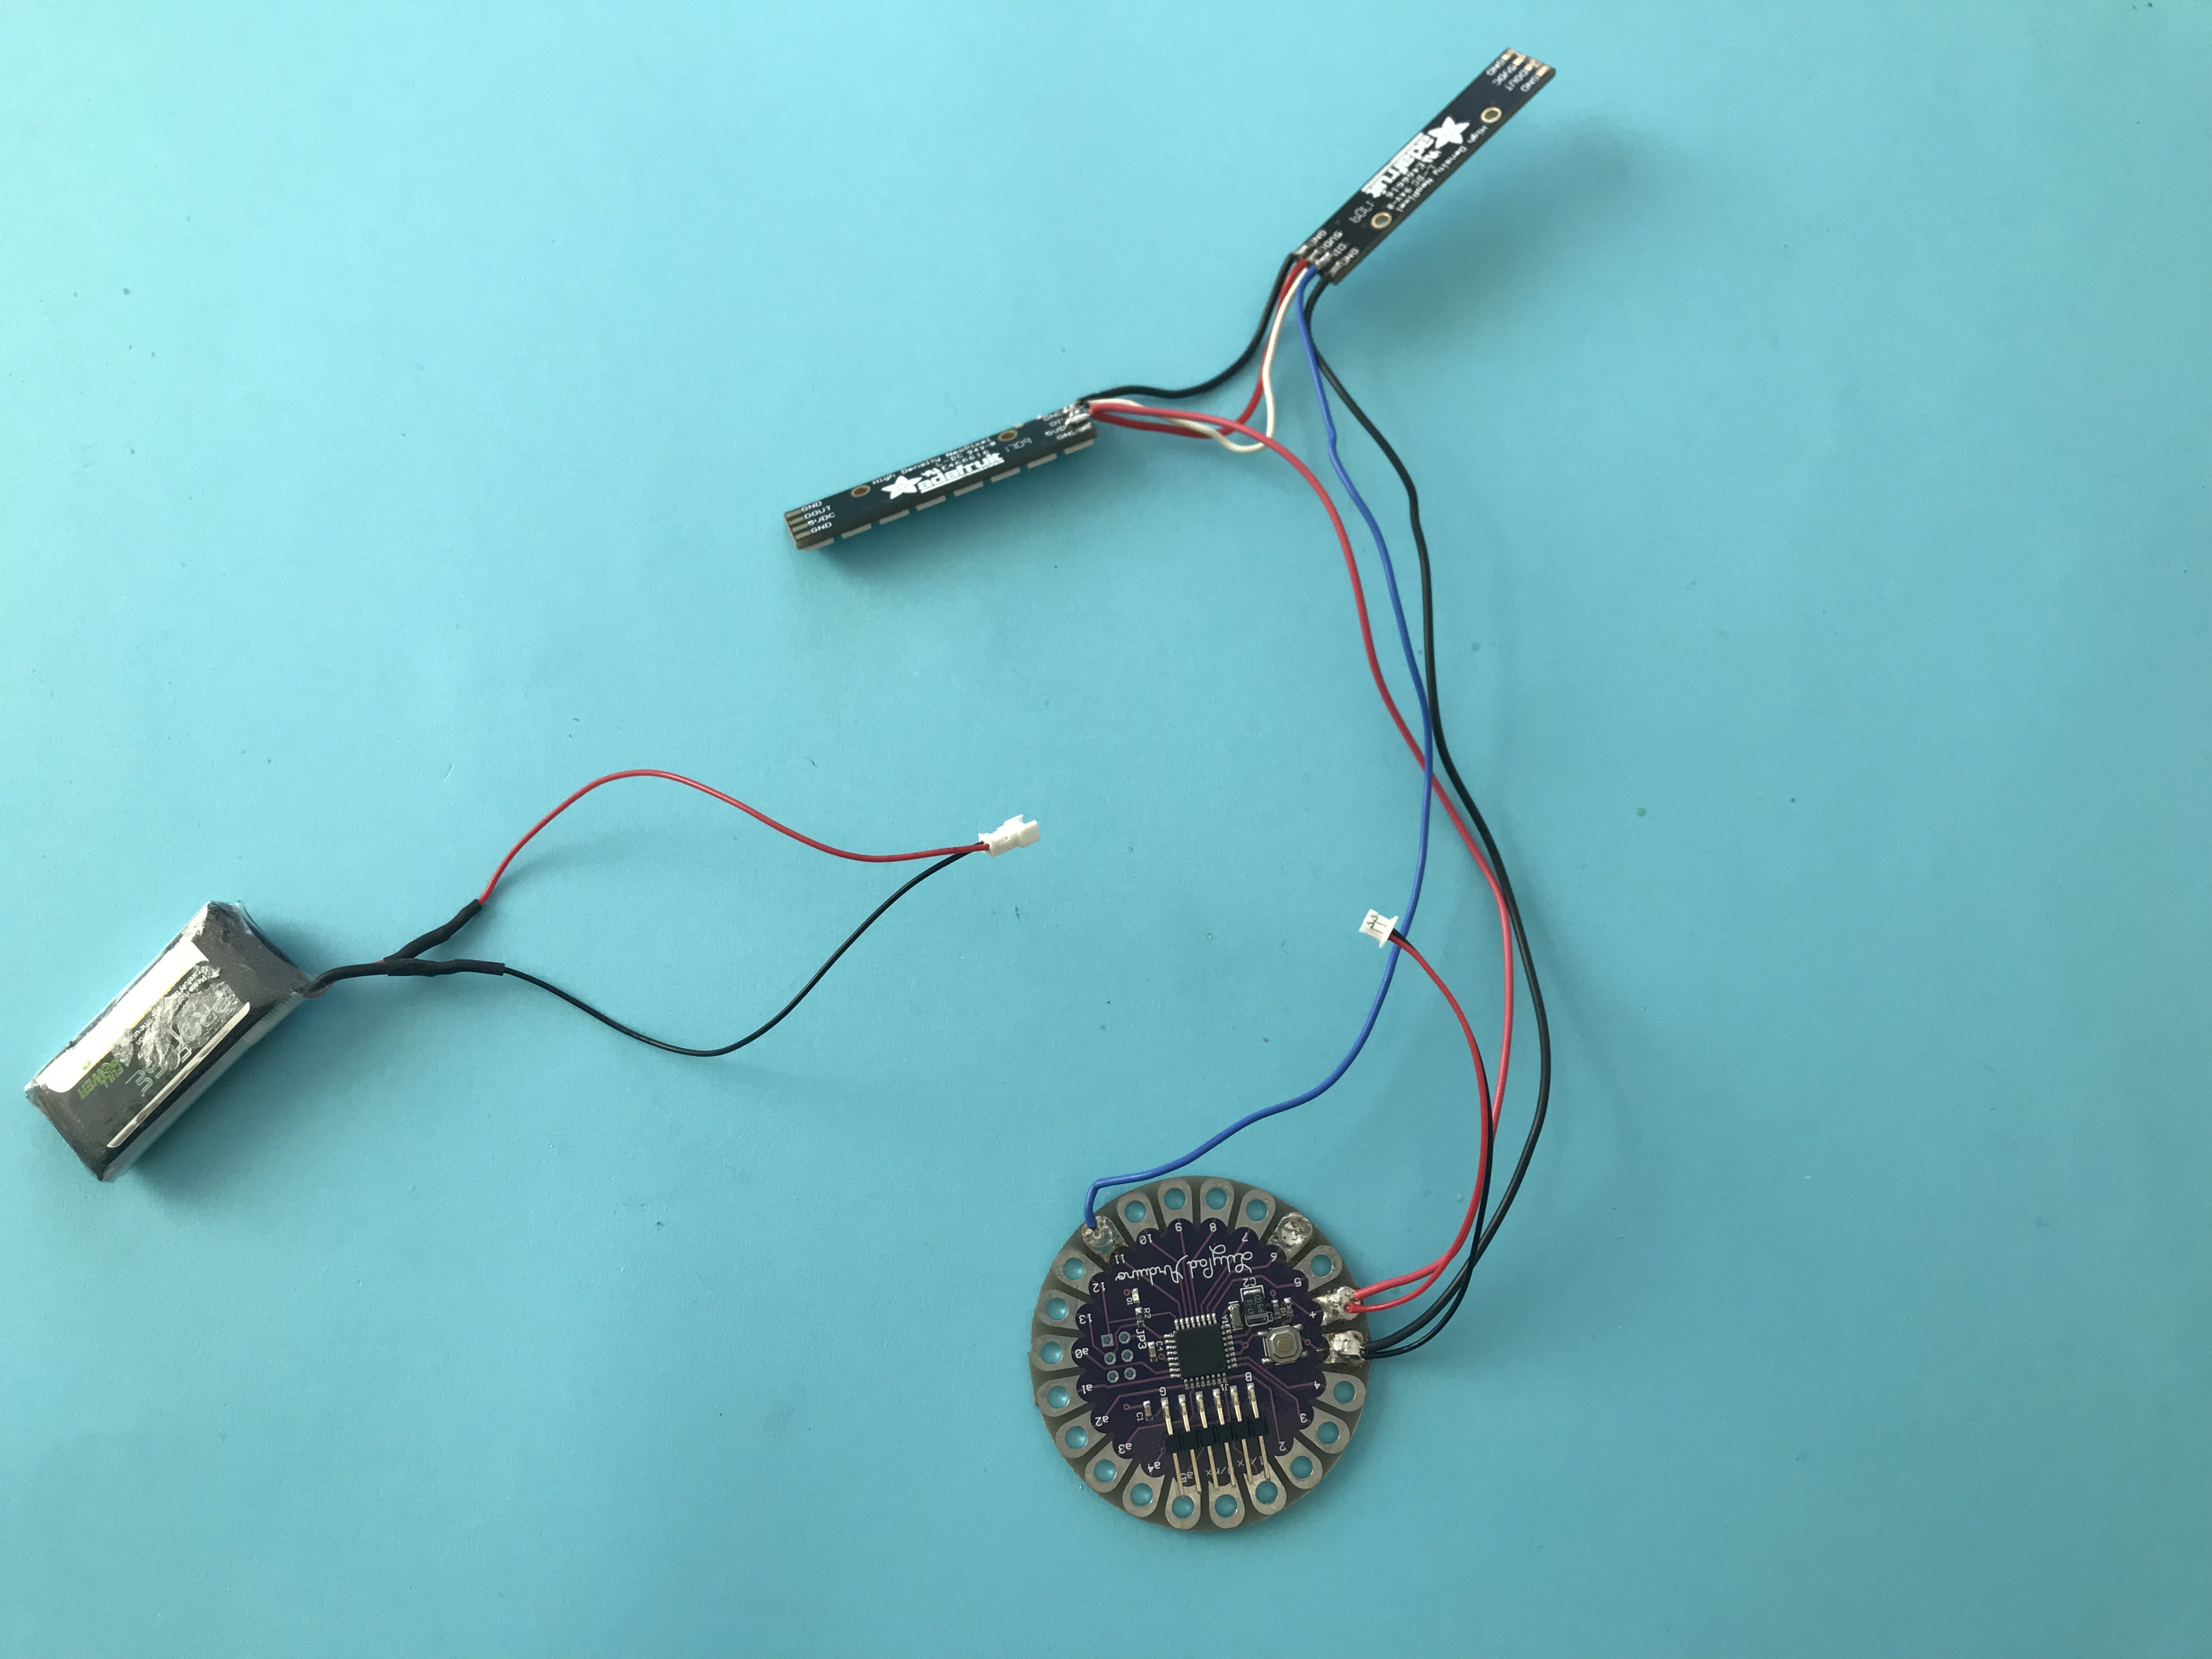
Step 5: Lilypad - Lipo Connection- We will solder JST Lipo cable to the (+) plus and (-) minus inputs of Lilypad.
- Solder the red cable of the JST to the (+) plus pin of the Lilypad, and the black cable of the JST to the Lilypad's (-) minus pin.
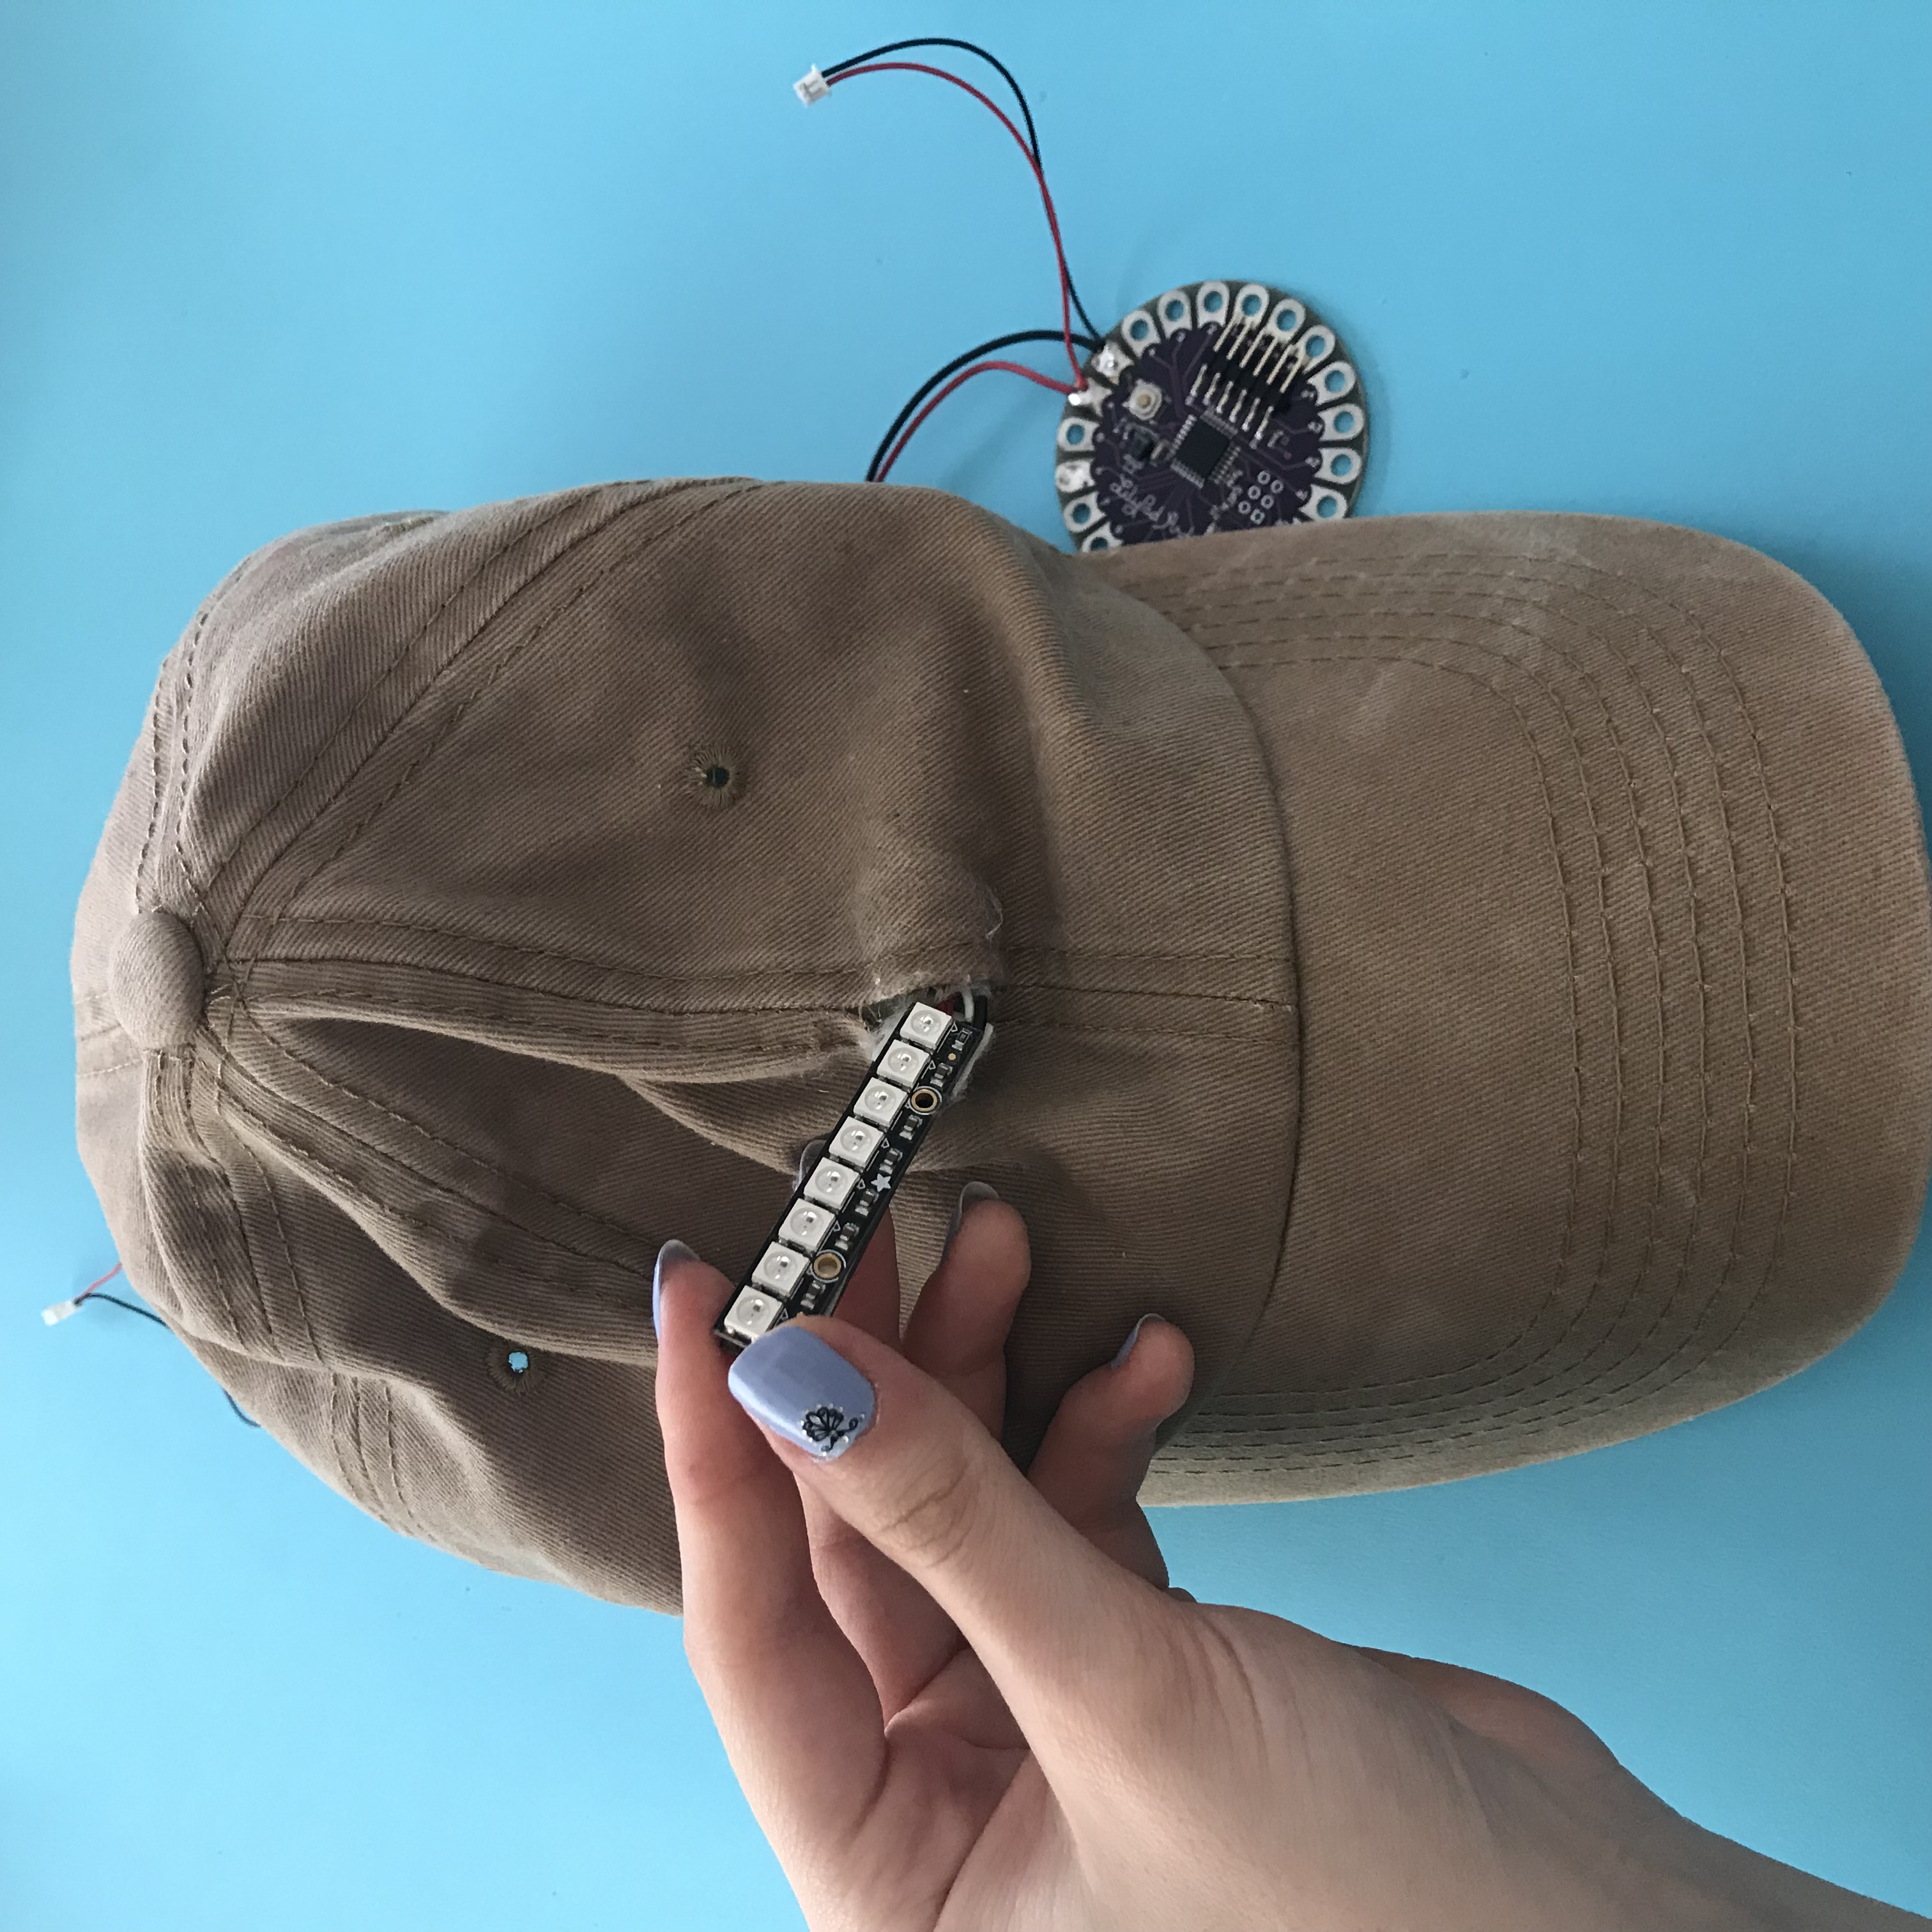
Step 6: UniCorn Horn & Hat
You can reach 3D design of Unicorn horn by the link. Link is here.
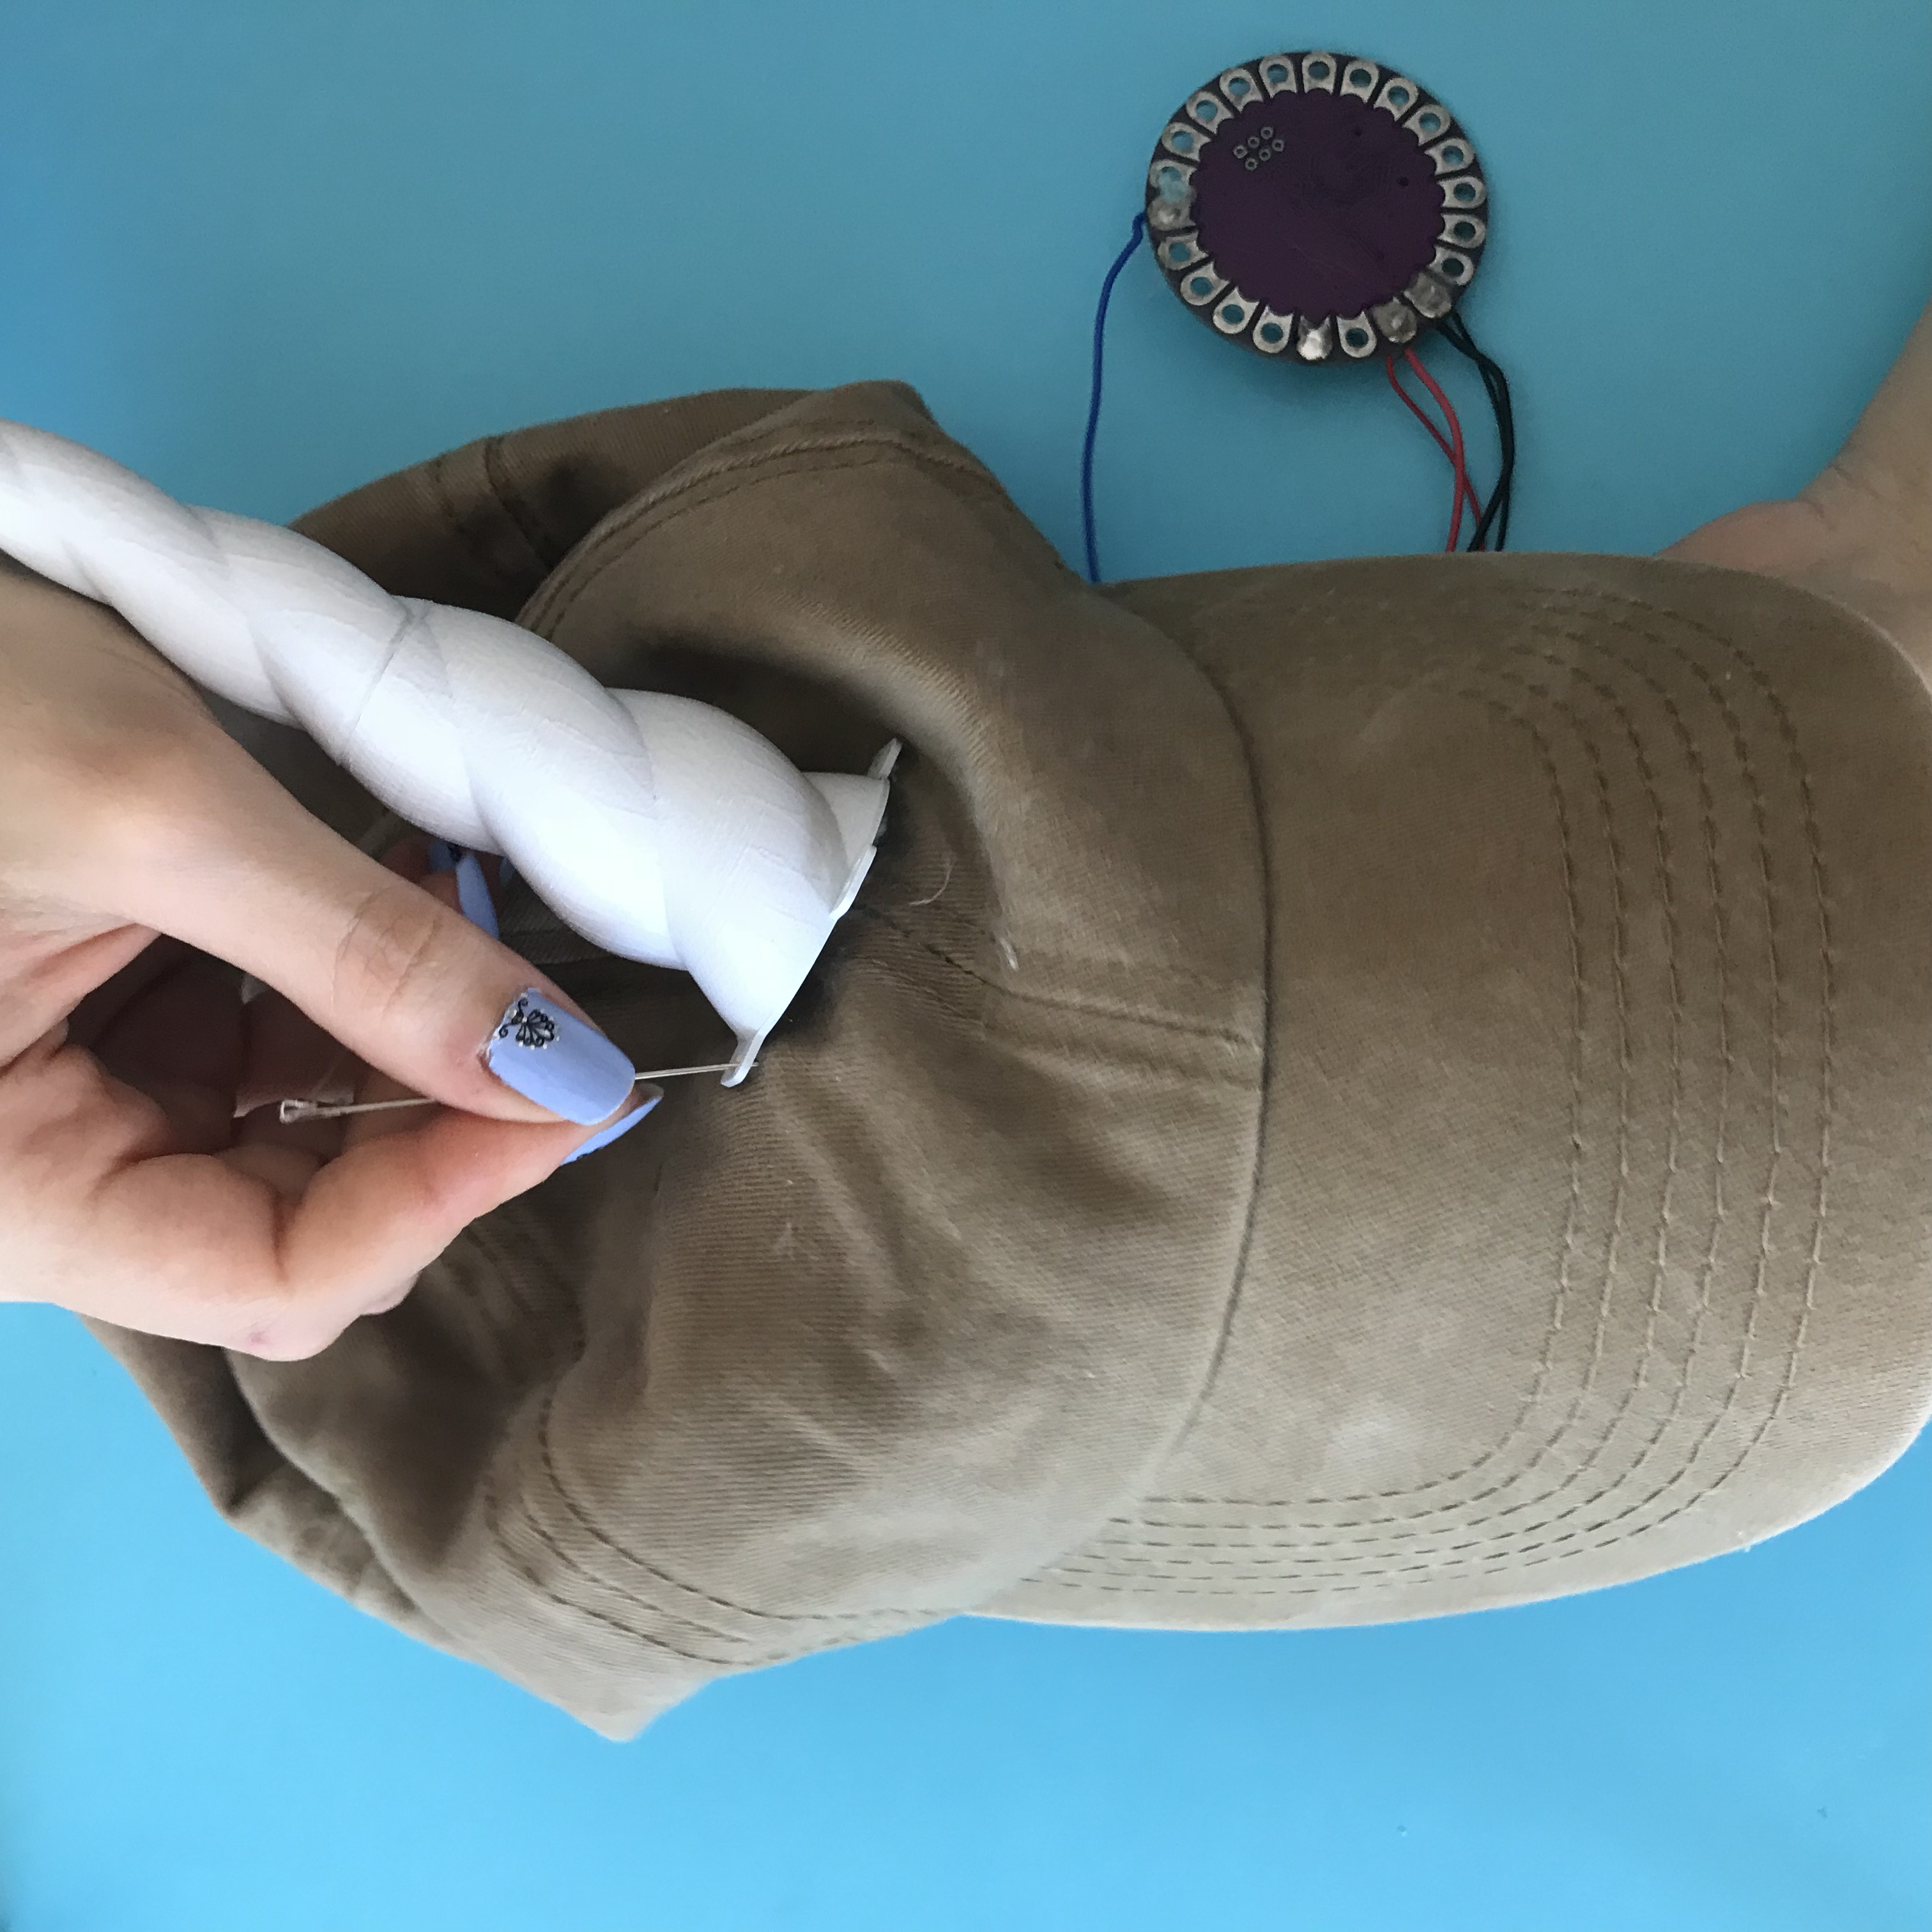
Put a hole in the front of the hat where the NeoPixels can pass. I pulled out the seams on that part, so the hat was not damaged.
Pass the NeoPixels from here.
Place the Unicorn on the horn and sew it in the hat from the holes.
Step 7: Sewing to the Hat
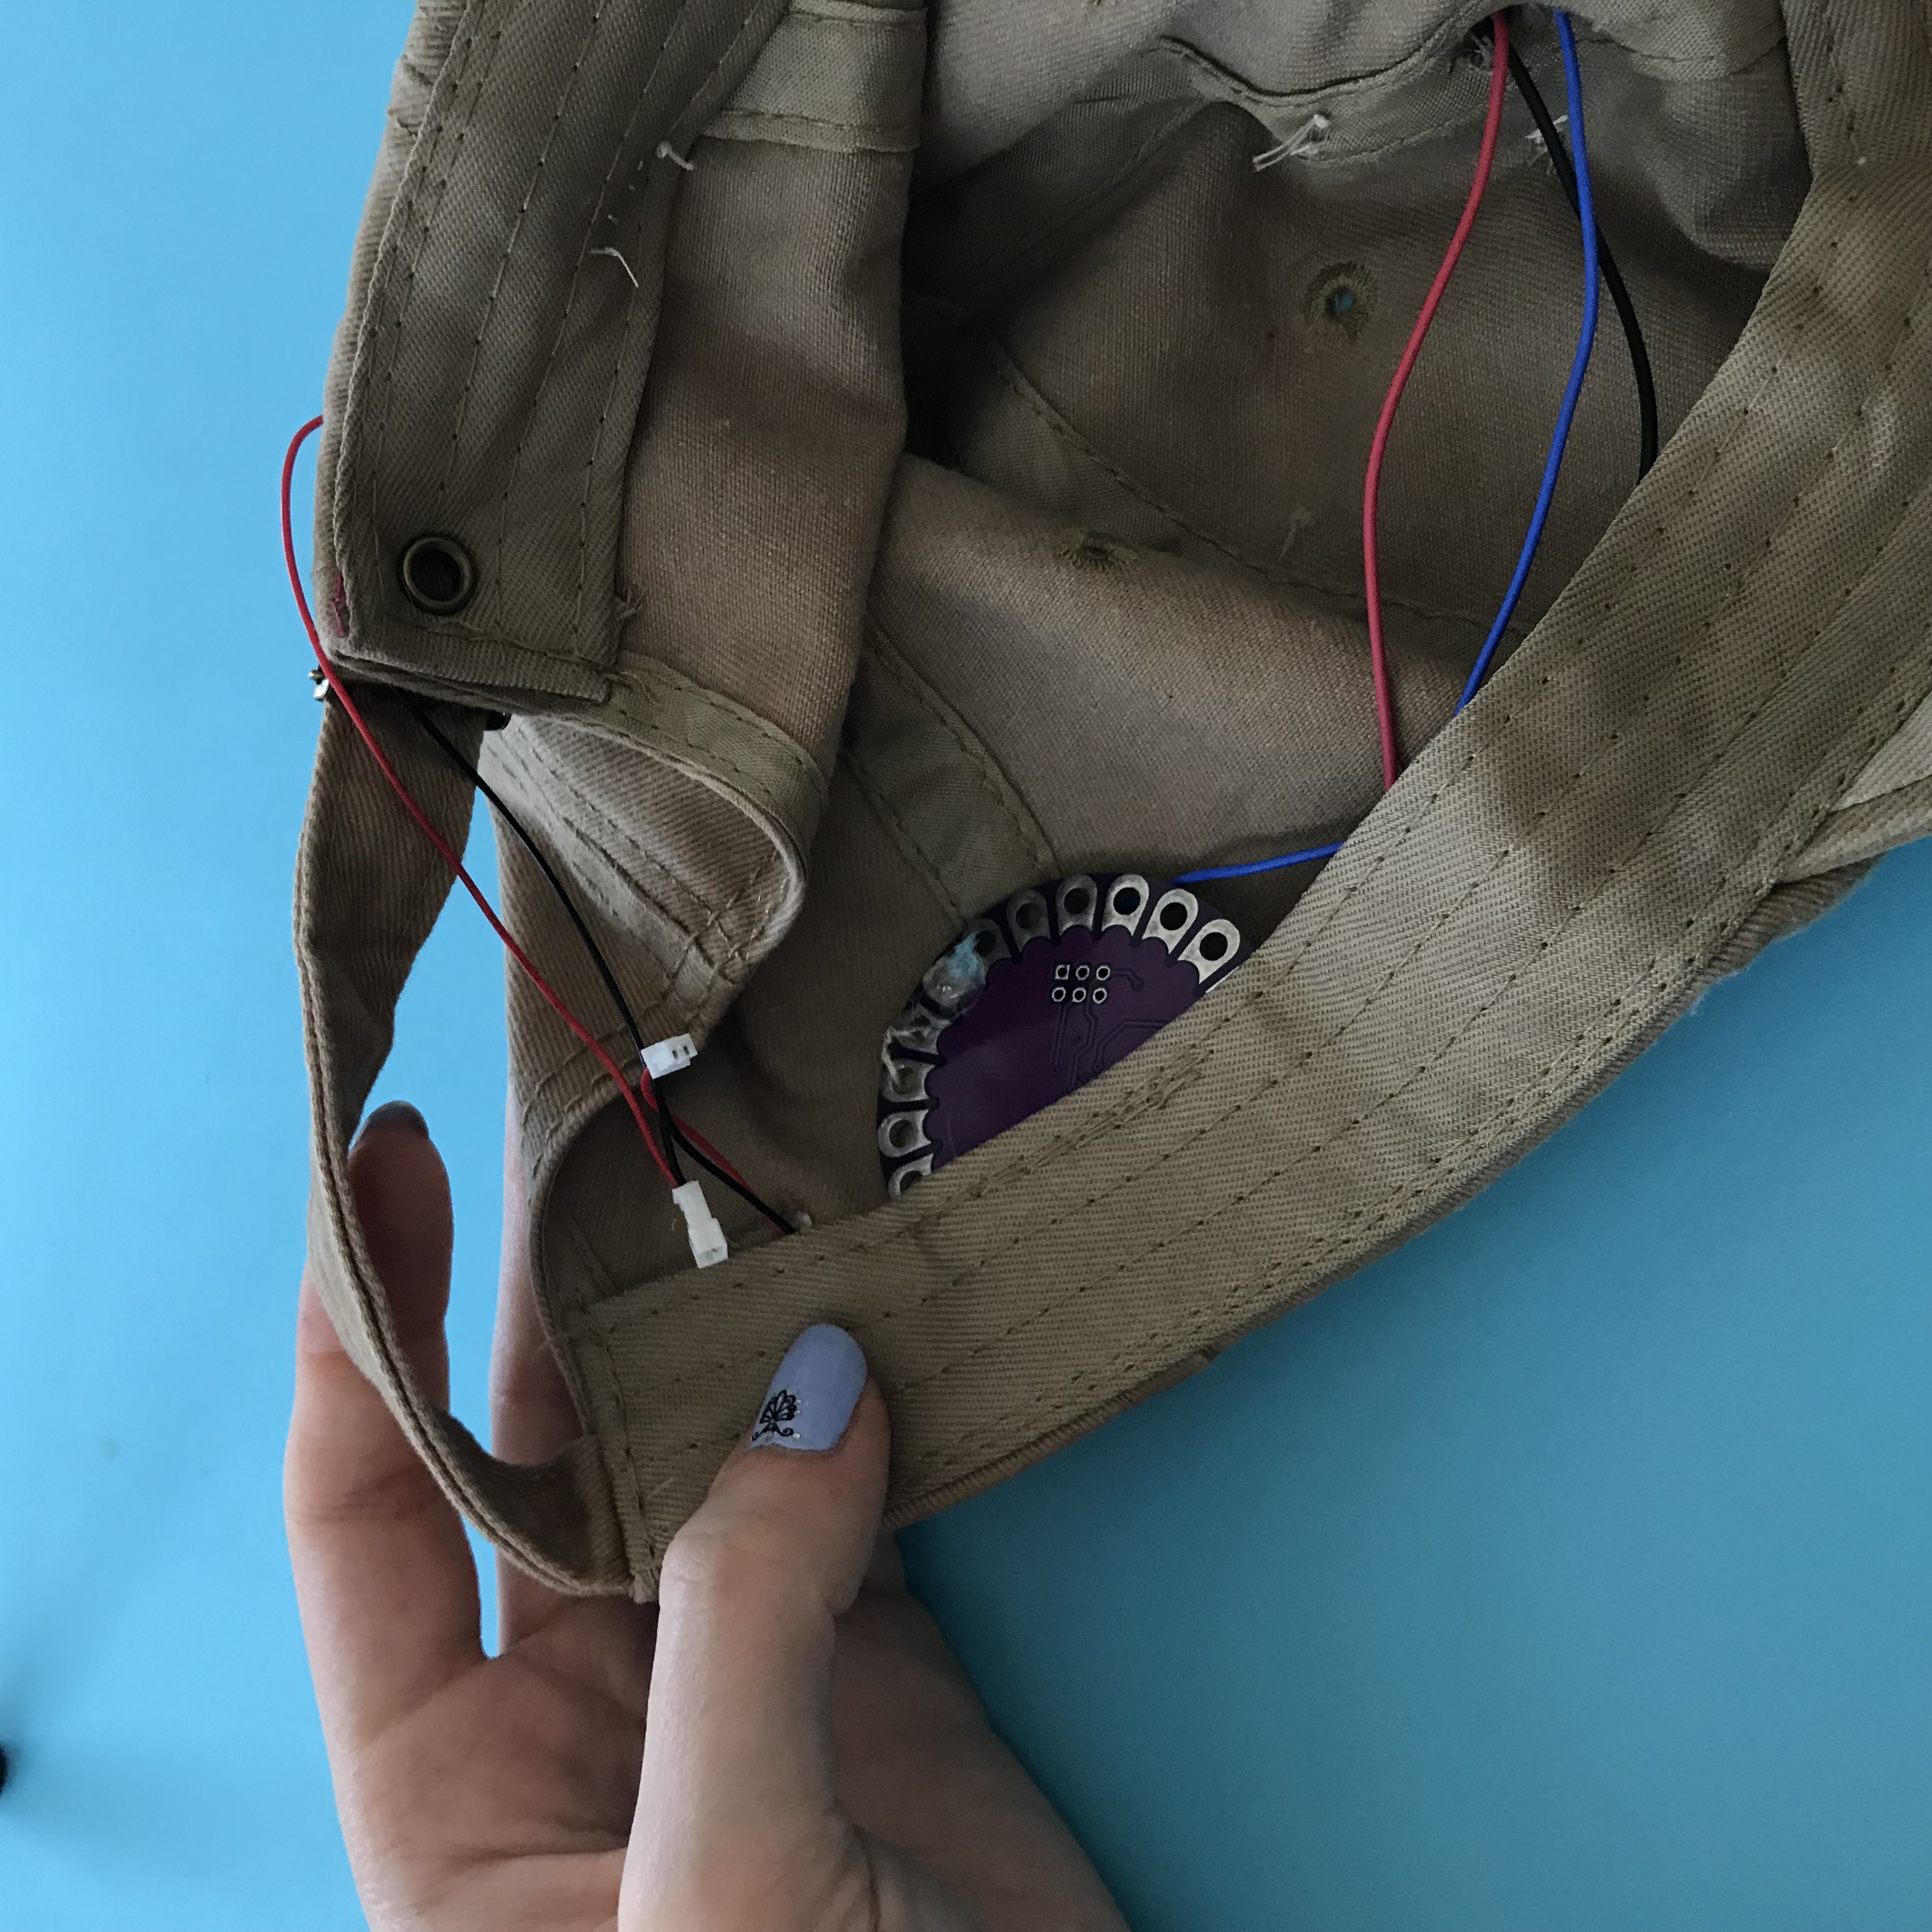
- Place the Lilypad in the gap in the inside of the hat and then sew it in several places to fix it.
- As in the image wrap the Lilypad and Lipo battery connection cables are visible from the back of the hat.
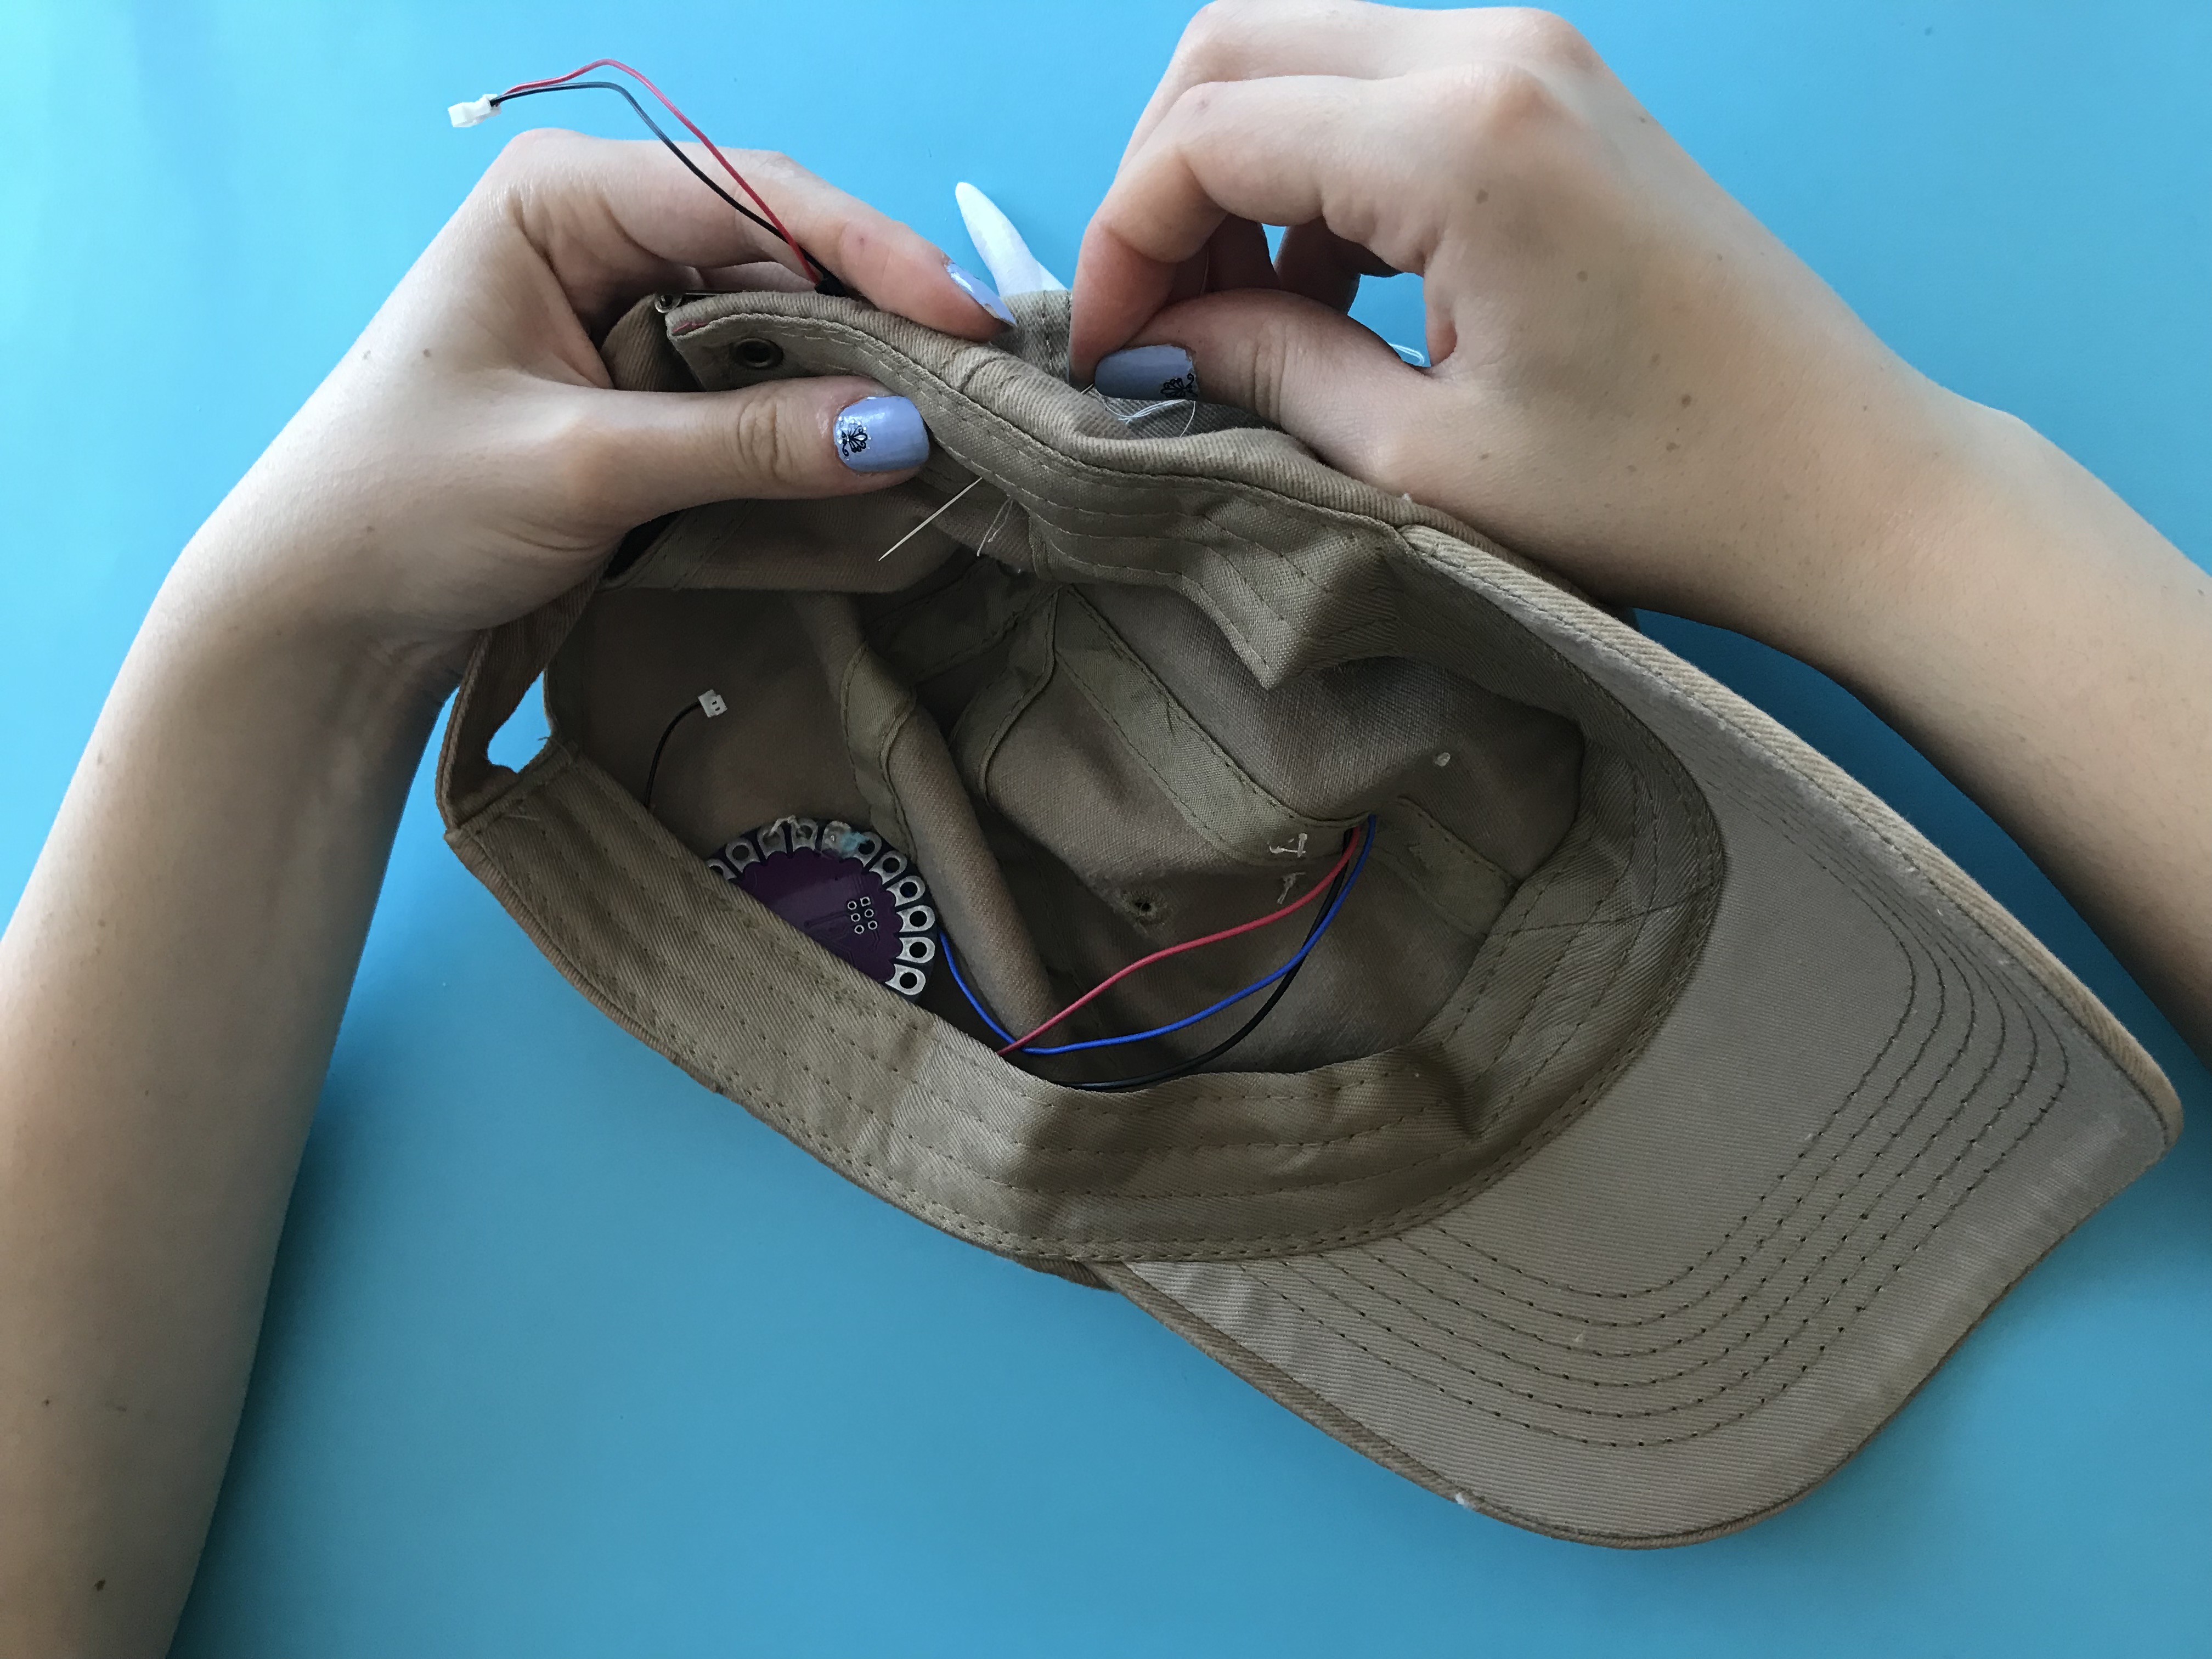
Place the Lipo battery in the cavity inside the hat and sew it up as the same way.
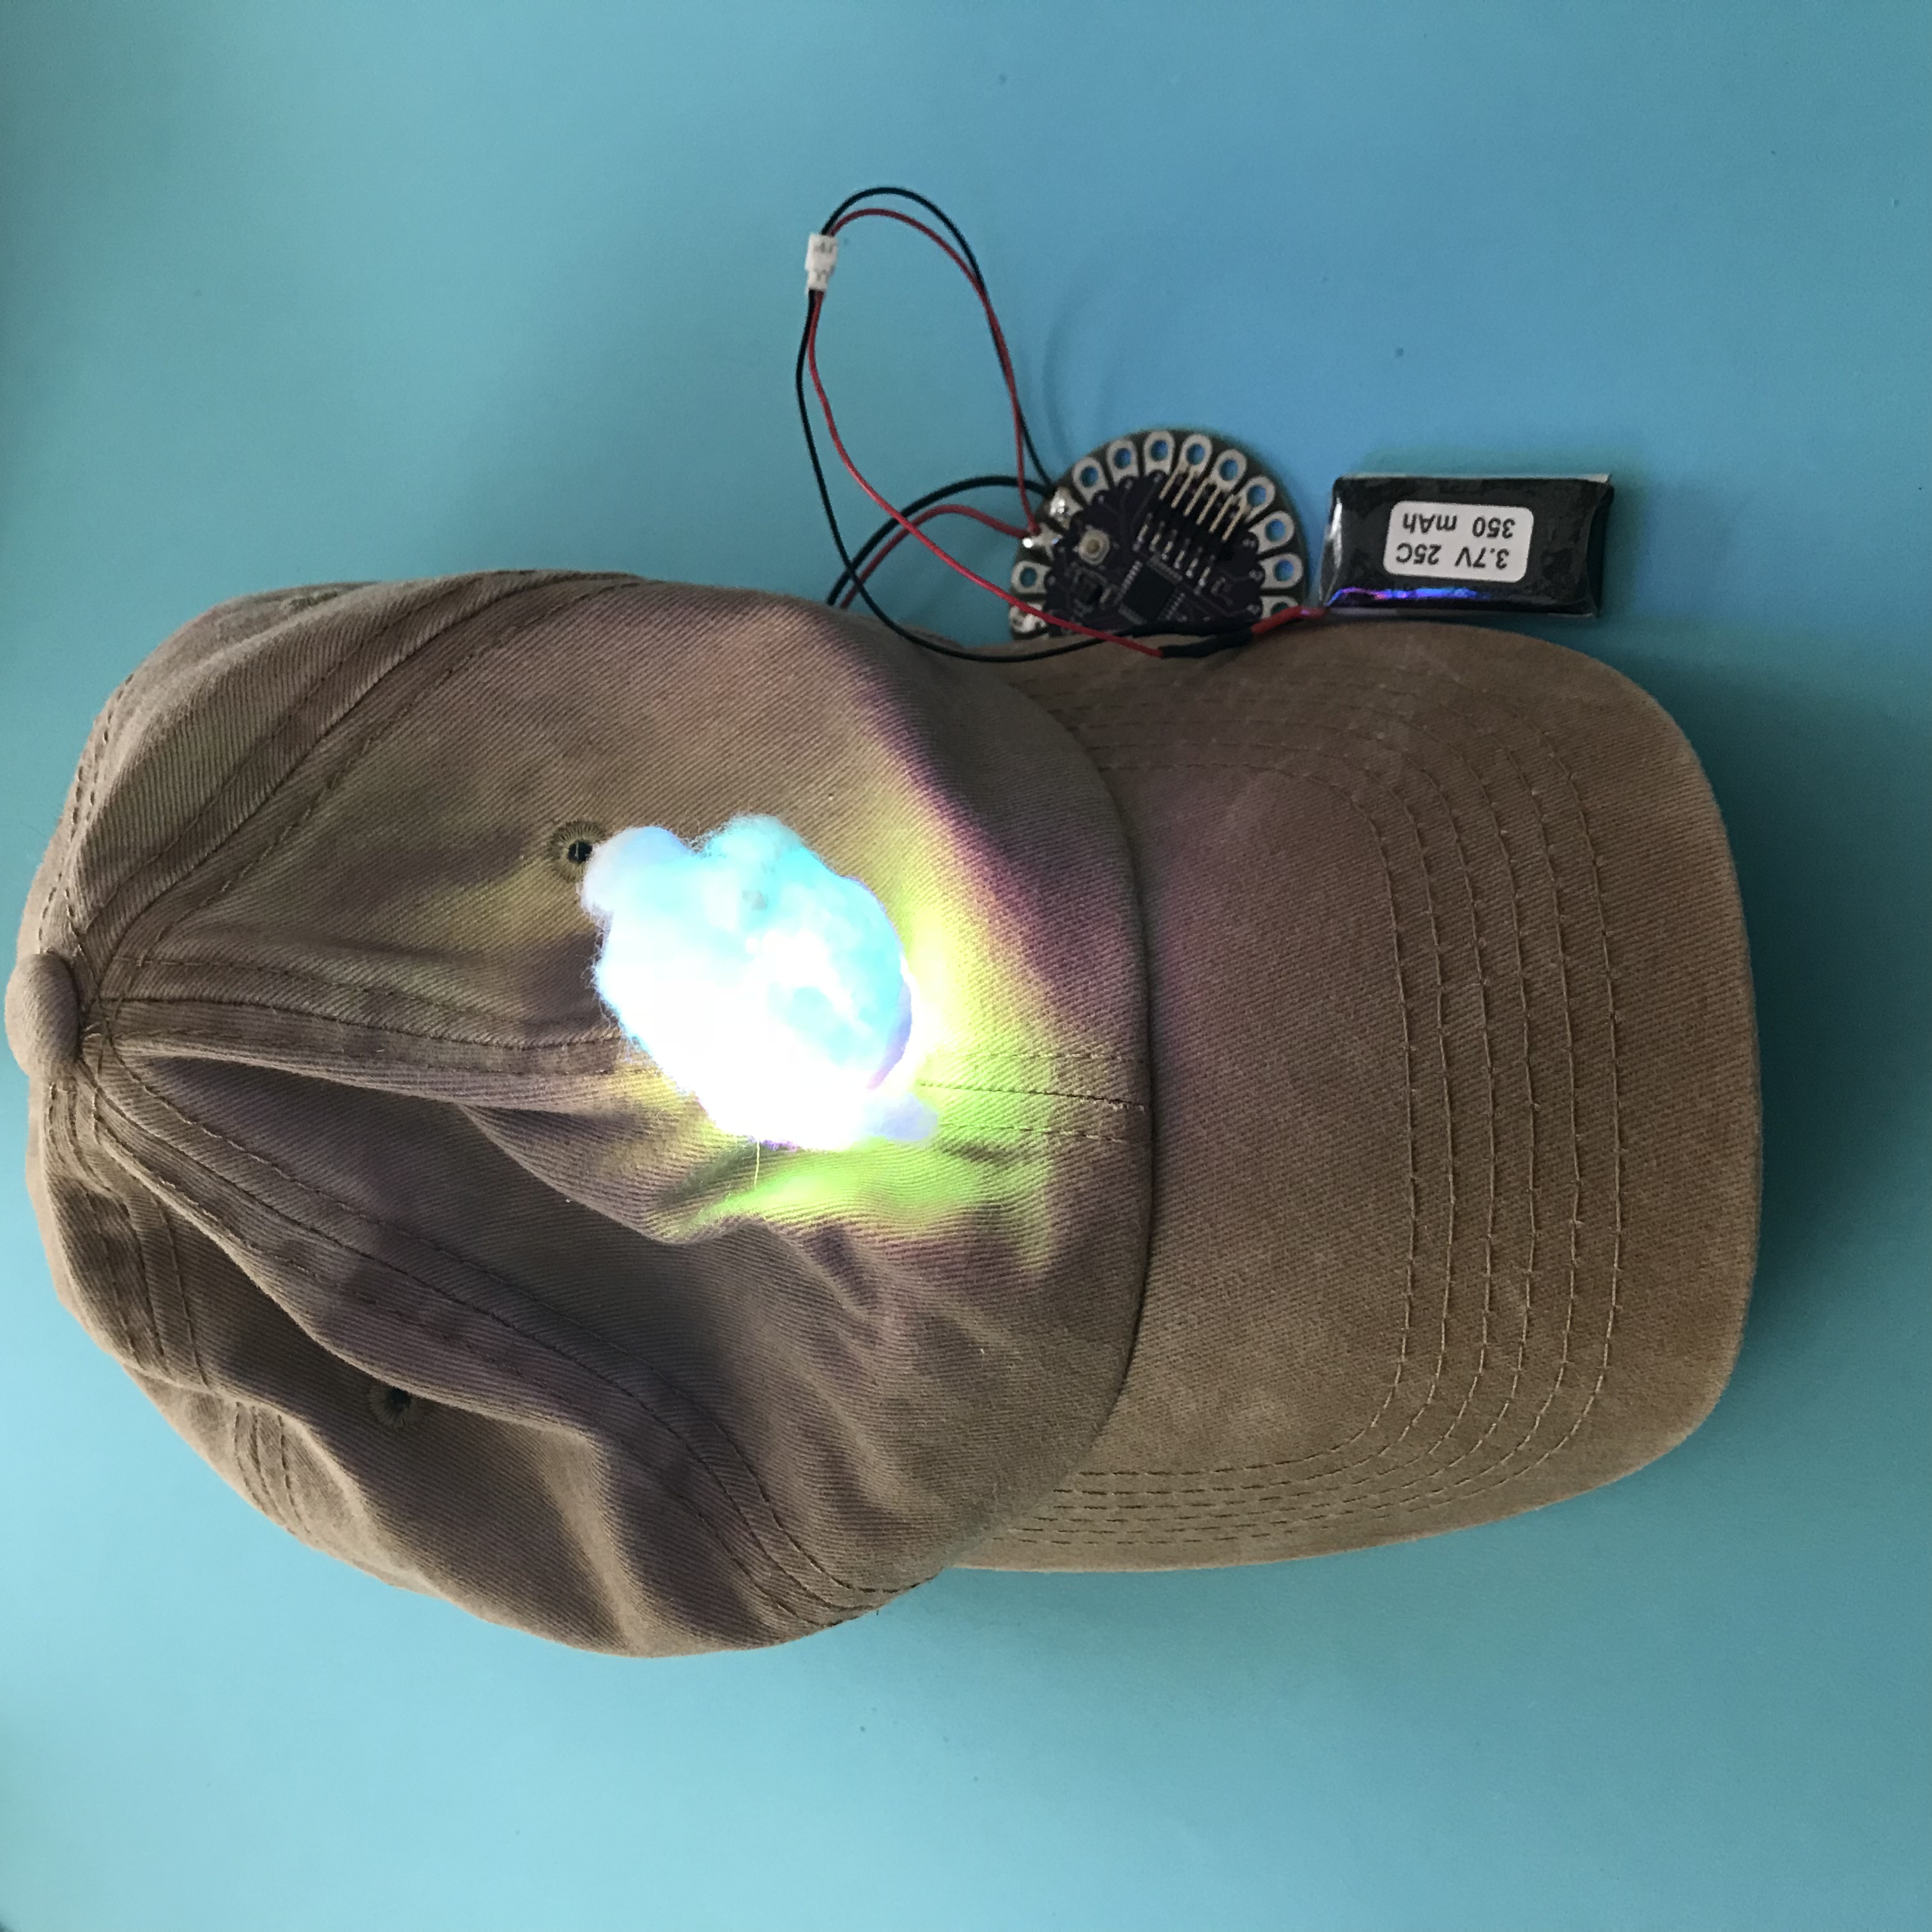
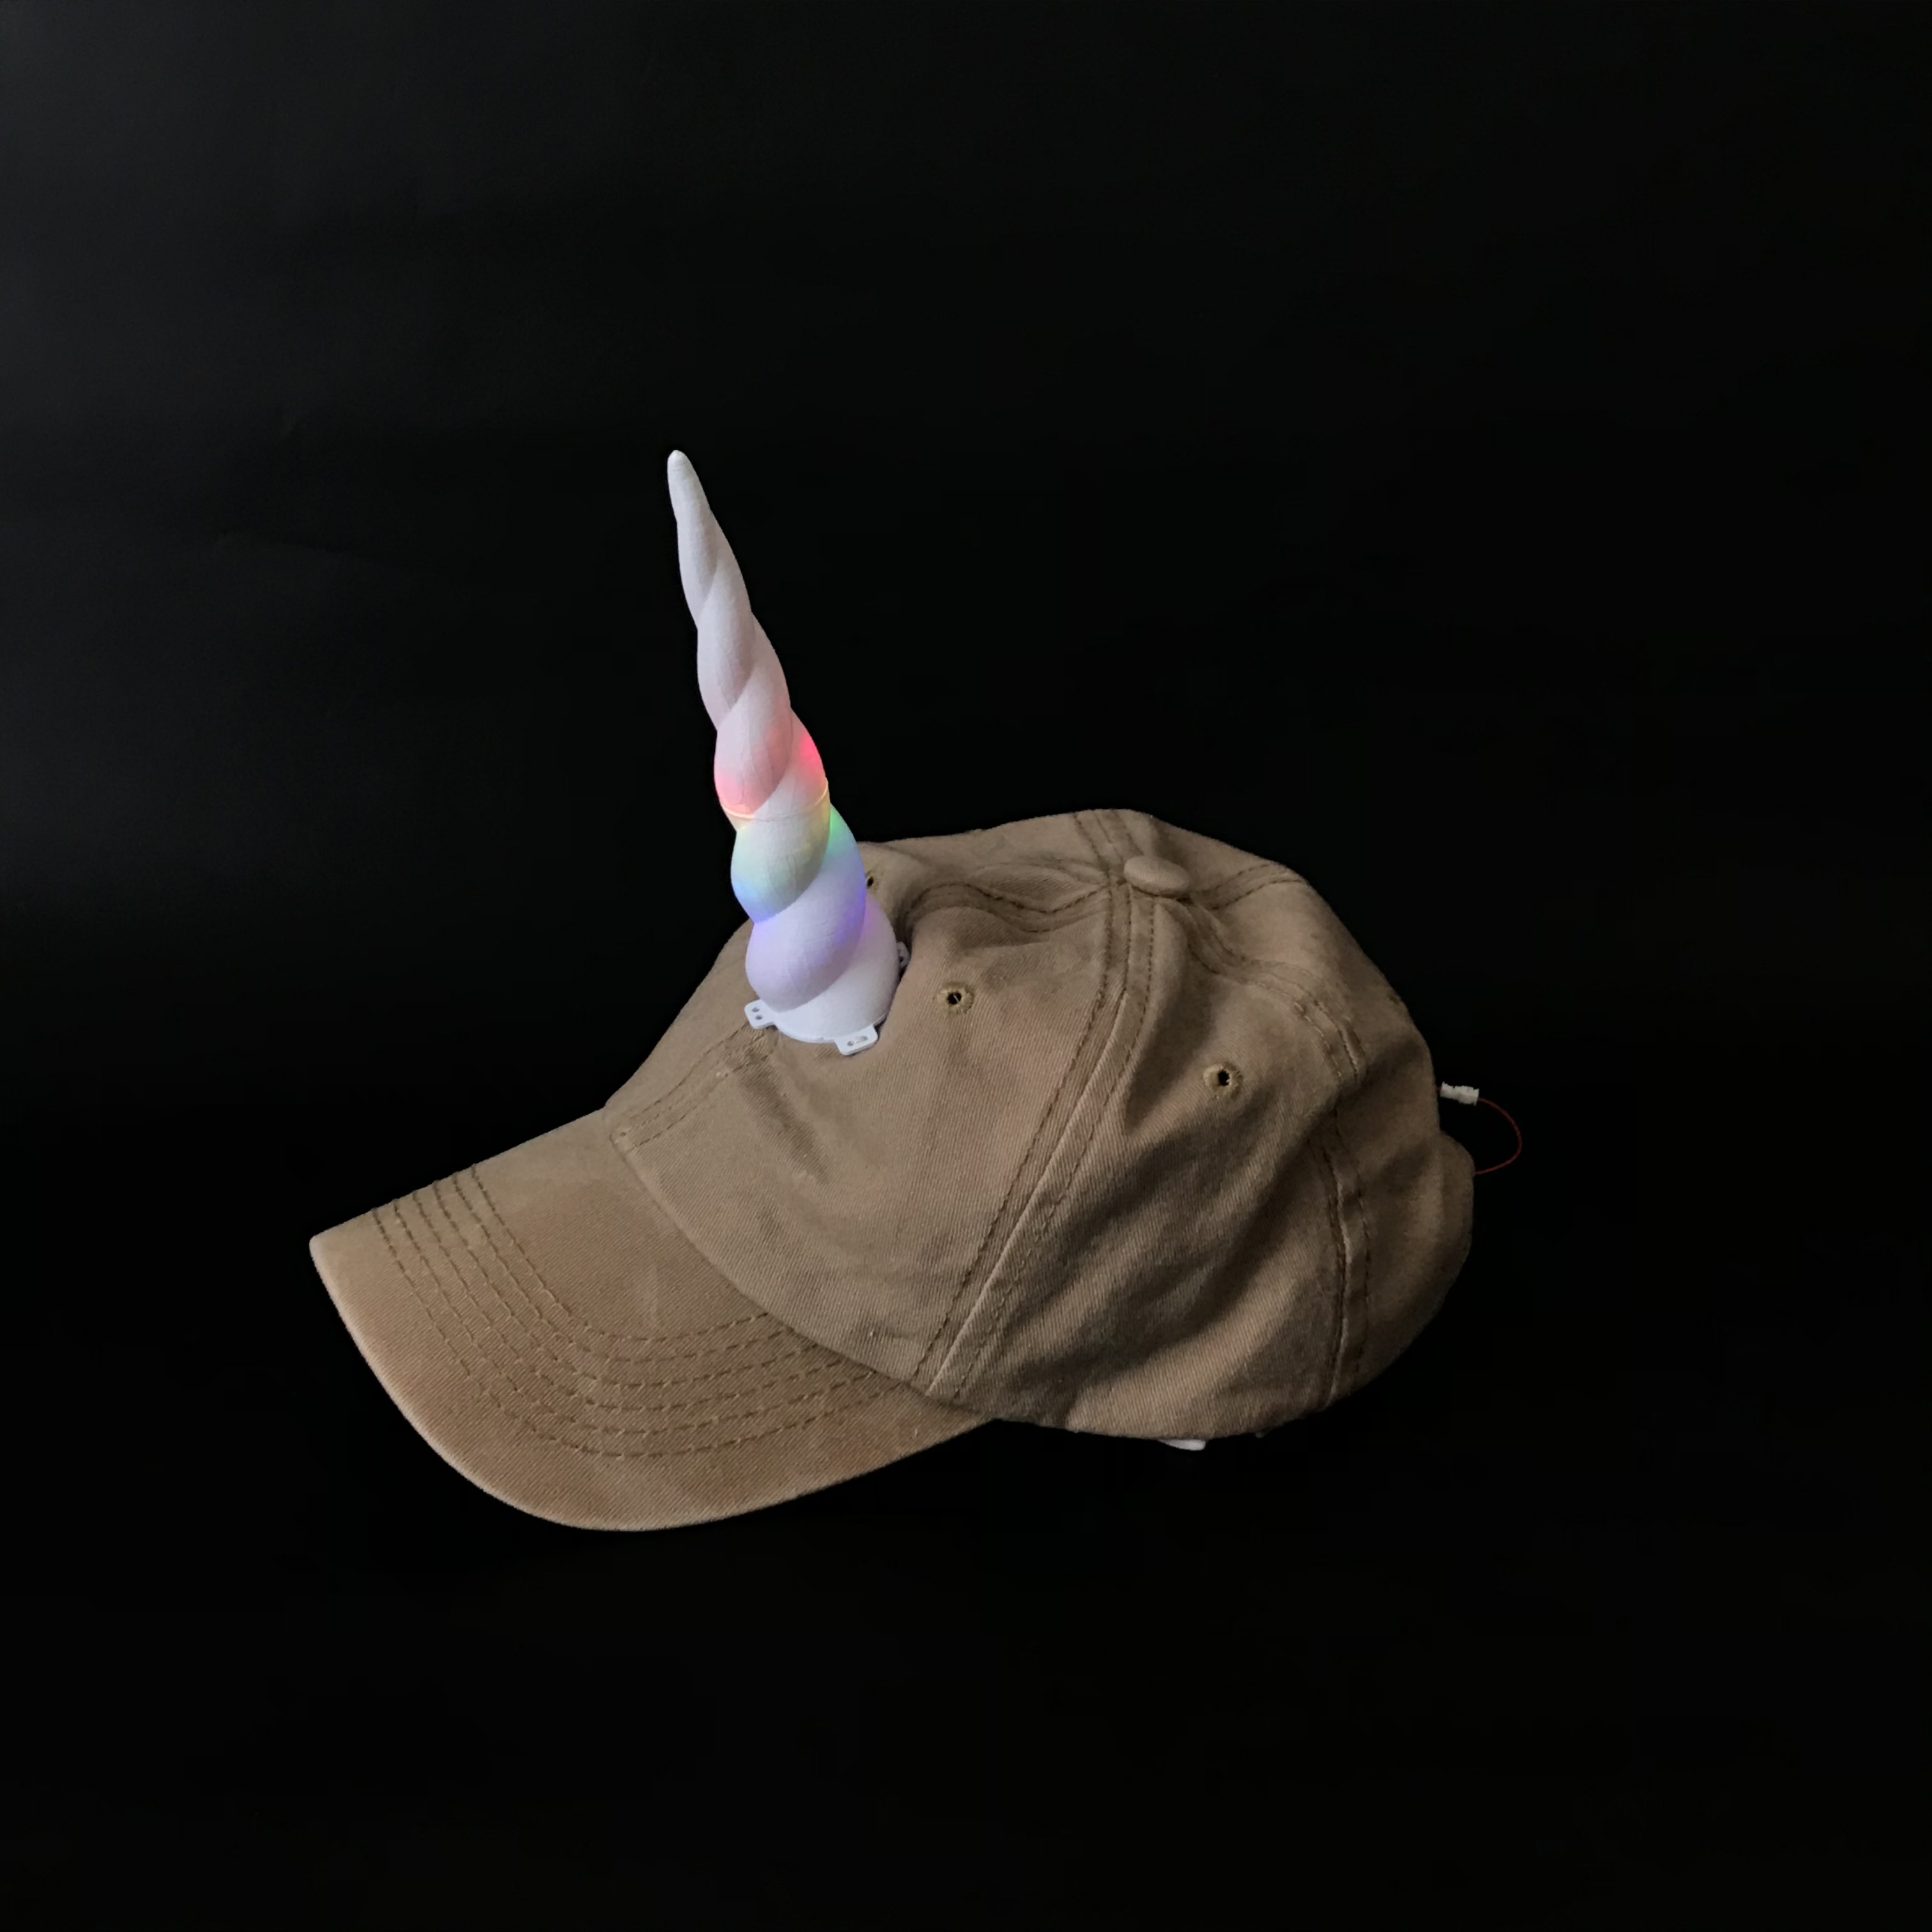
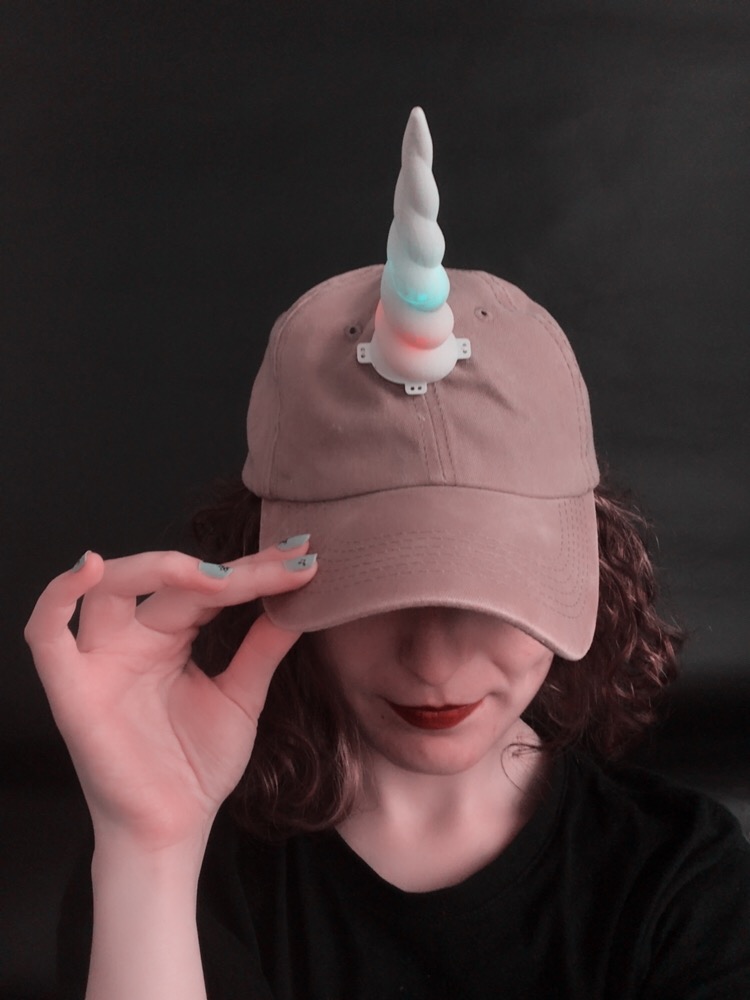
Step 8: Wear It !
After the sewing process is finished, Lilypad and Lipo battery are fixed to the place, you can attach to your hat.
And our project is ready ! When going to the party or going out in the evening, remember to pick up your Unicorn horn hat ! :)