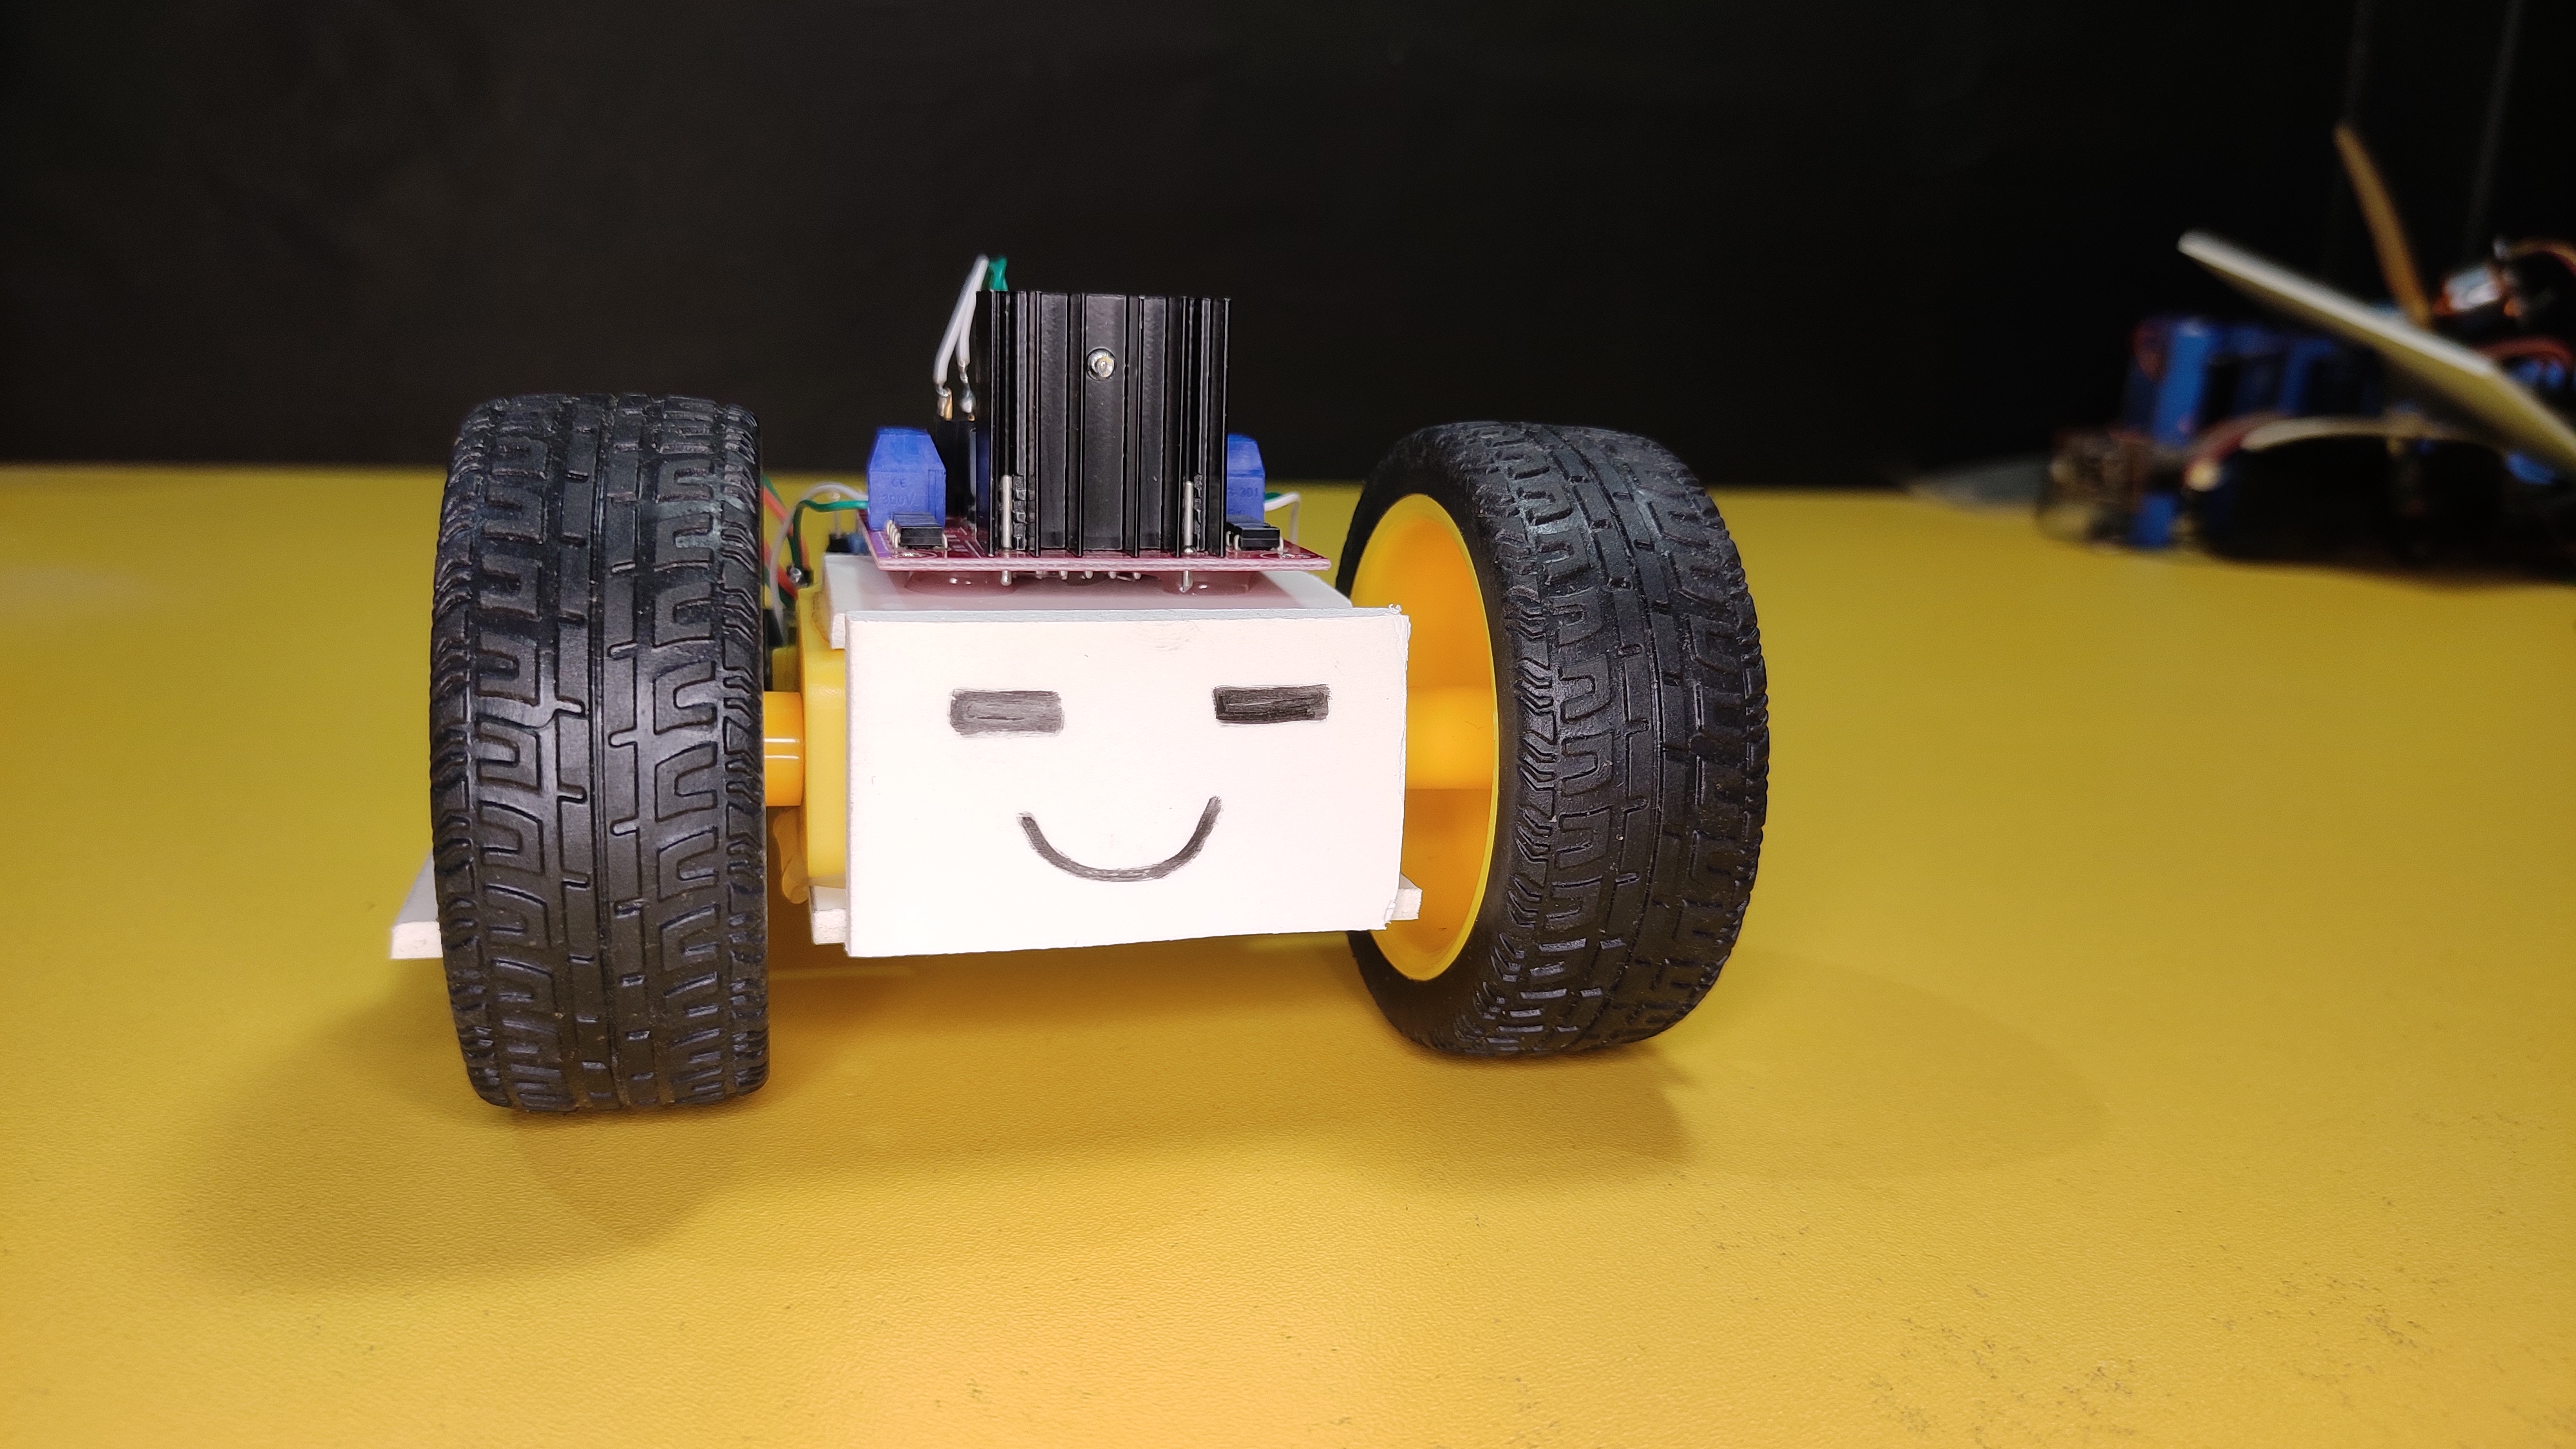
Introduction: Speech Controlled Robot (Easy Version)
Robots are cool. To have a robot that can move around listening to your voice commands is more cool. To make such a Speech or Voice controlled robot with Arduino is more more and more cool. Because Arduino's are cheap and easy to tweak.
Let's start making, you can also watch the video tutorial.
Step 1: Parts Needed
The robot is based on PCB. A PCB I designed to use in different robots. Let's see what other components I used -
- Arduino Nano - 1x
- L298n Motor Driver module - 1x
- Hc05 Bluetooth module - 1x
- DC motor and compatible wheel - 2x
- Multi Purpose Robot Board (from here)
- Some male and female headers
- Arduino.ide
- An App that I made
That's it, now we are good to go.
Step 2: Principle: How Will It Work?
It's always good to have a clear understanding of what you're going to do before starting to actually messing things. May be you don't mess, but I do.
So, Arduino is a mini computer or say, microcontroller. It doesn't have enough power or capability to perform speech recognition (as of now). But lucky for me, my PCB board has a port to connect Bluetooth module. Means, I can connect our Arduino wirelessly to other devices. And I'm taking advantage of that thing. So, I will have to make an Android app that can perform "Speech to Text" operation using google API (requires internet) and after receiving the text, it will command Arduino over Bluetooth.
So, If I say 'Forward' the robot will get 'F' and will move forward. That's the concept. Now let's make it.
Step 3: Make the Body
I made the chassis/body of this robot from a 13cm/13.5cm PVC sheet. It's easier to cut using a blade/knife and works great with glues too.
As you can see in the video, I cut pieces to mount two motors and wheels both inside the board area. And then glued them.
When you will make yours, you don't need to make it look exactly like this. Your bot your choice.
Step 4: Build Circuit or Use PCB?
Here again we come to point where it's completely your choice. But, to make a circuit like this one requires bunch of wiring, and if you make it using bread-board one misconnection can hamper the whole project. That's why I like to use PCB's in my projects.
I designed this PCB using EasyEDA and ordered it from PCBWay.com . PCBWay provides quality at a cheaper rate. You can get 10 multi-layer PCB with just 5$. They also sponsor student projects which feels great to me.
Anyway, I went to Quick Order section where all I needed to do is upload my PCB, the system automatically detected all the parameters for my board and I just selected colors. Black is my favorite and look how shiny and cool it turned out. It's better because they don't take money until their engineering team inspects your PCB, well enough!
Get the PCB board from here.
However, if you can't order or use this PCB, you can do it on bread board or vero board. I have uploaded the fritzing circuit for you. Download it from here.
Step 5: Connect Electronics
Connection is straight forward. Connect all things as shown in the circuit diagram. I'll start from connecting motors to motor driver -
- Motor1 wires goes to one end of driver,
- Motor2 goes to other end.
- Motor1 pins on L298n motor driver connect to Arduino 2 and 3 pins (digital).
- Motor2 connects on 4 and 5
- Tx to Arduino Rx
- Rx to TX
- VCC to 5V/VCC
- Gnd to GND (Ground)
I used 7.4V battery for the motors, that connects to motor driver input and Arduino VIN and Ground Pin. Common ground connection is needed.
Then I connected the battery in all the things lit up. Means, I did no mistake.
Step 6: Programming Arduino
It's a simple program. The program checks for characters and if they are received it goes left right etc. The list is -
- 'F' - Forward
- 'B' - Backward
- 'L' - Left
- 'R' - Right
The Bluetooth module is connected on serial port, so Arduino is communicating over serial in 9600 bps.
I setup section I defined the pins and buad rate -
The in mainloop It checked for data received over serial-
And then the main code, download it from here.
Upload the code and then make the app.
Note: With just this code your robot will become a Bluetooth controlled bot, you can now control it using apps or from your PC.
Step 7: App for SPEECH to TEXT
I made the app using MIT app inventor. You can edit and customize this app as your requirements. Get the aia fie from here.
This app uses Bluetooth connectivity to control the robot. For that I needed to pair HC05 Bluetooth module to my phone. The default password is either 1234 or 0000.
This app uses google Speech to Text API to convert what I say into text form. Then it makes the sentence into lower case, it's easier to process that way. And matches using if else statements. If user says 'forward' send Arduono the 'F' letter and it will go forward. That's it.
Build and save as APK file, or use mine install it on your phone.
Step 8: Power the Bot, Run App and Go!
Now just plug in the battery, and use the Android app to play around with your brand new robot!


