In this article you'll learn how to construct your own Santa Claus PCB Arduino Module.
Through this module, you will be able to control your Santa Claus hand, eyes, and hat. In addition, you can control the song through passive buzzer and use the button to control some functionality with Arduino.
In addition, you can control the song through passive buzzer and use the button to control some functionality with Arduino.
You'll need the following components.
Supplies
The Project
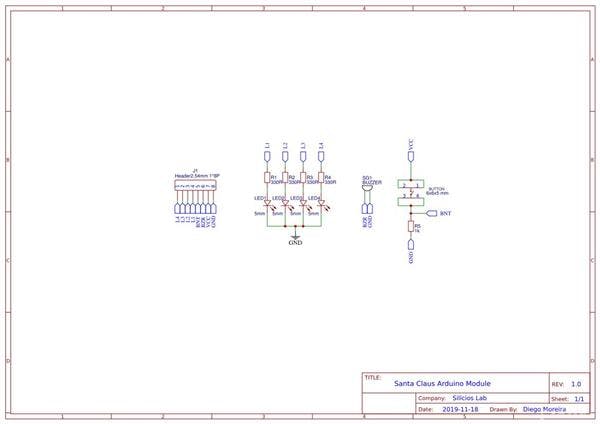
Below, in Figure 1 we have an electronic schematic to easier your assembly process and understand how the circuit was created.
Figure 1 - Electronic Schematic of the Santa Claus Module for Arduino.
As is possible see, was used as a male header with 8 pins. In each pin was connected to the 4 LEDs of 5 mm, the passive Buzzer and a Button for general purpose.
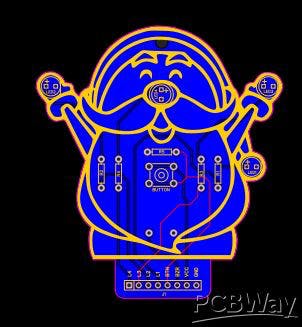
After constructing the circuit, was created the Printed Circuit Board, as is shown in Figure 2.
Figure 2 - Santa Claus Printed Circuit Board.
After this, the user can buy the electronic components, solder and create good Christmas projects with Santa Claus and the Arduino.
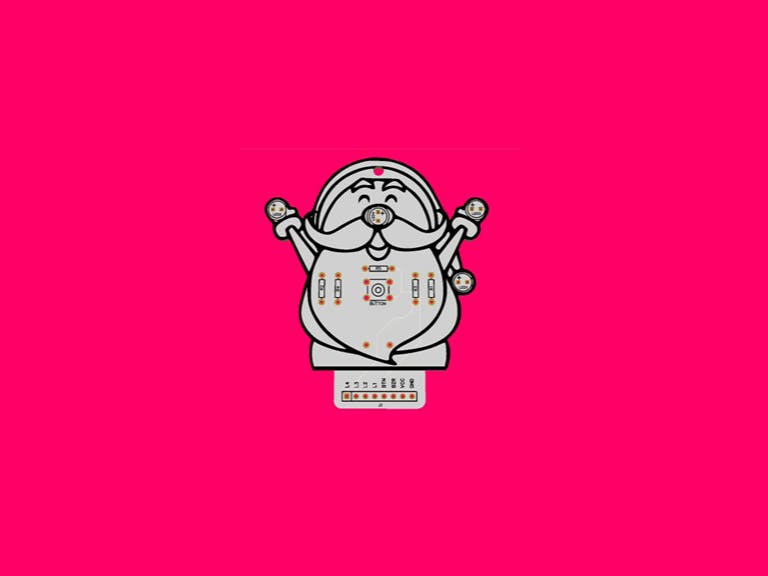
Hereafter, we'll show the 3D printed circuit board of the Santa Claus Arduino Module in Figure 3.
Figure 3 - Santa Claus Module for Arduino in 3D View.
So, if you want to download these files, you can access my repository at PCBWay Shared Projects.
Through this project, you can use it in your Arduino projects to solder and learn about programming with Arduino.
Acknowledgments
Thanks to the PCBWay for supporting our YouTube Channel and producing the PCB.
The Silícios Lab thanks UTSOURCE for providing the electronic components.