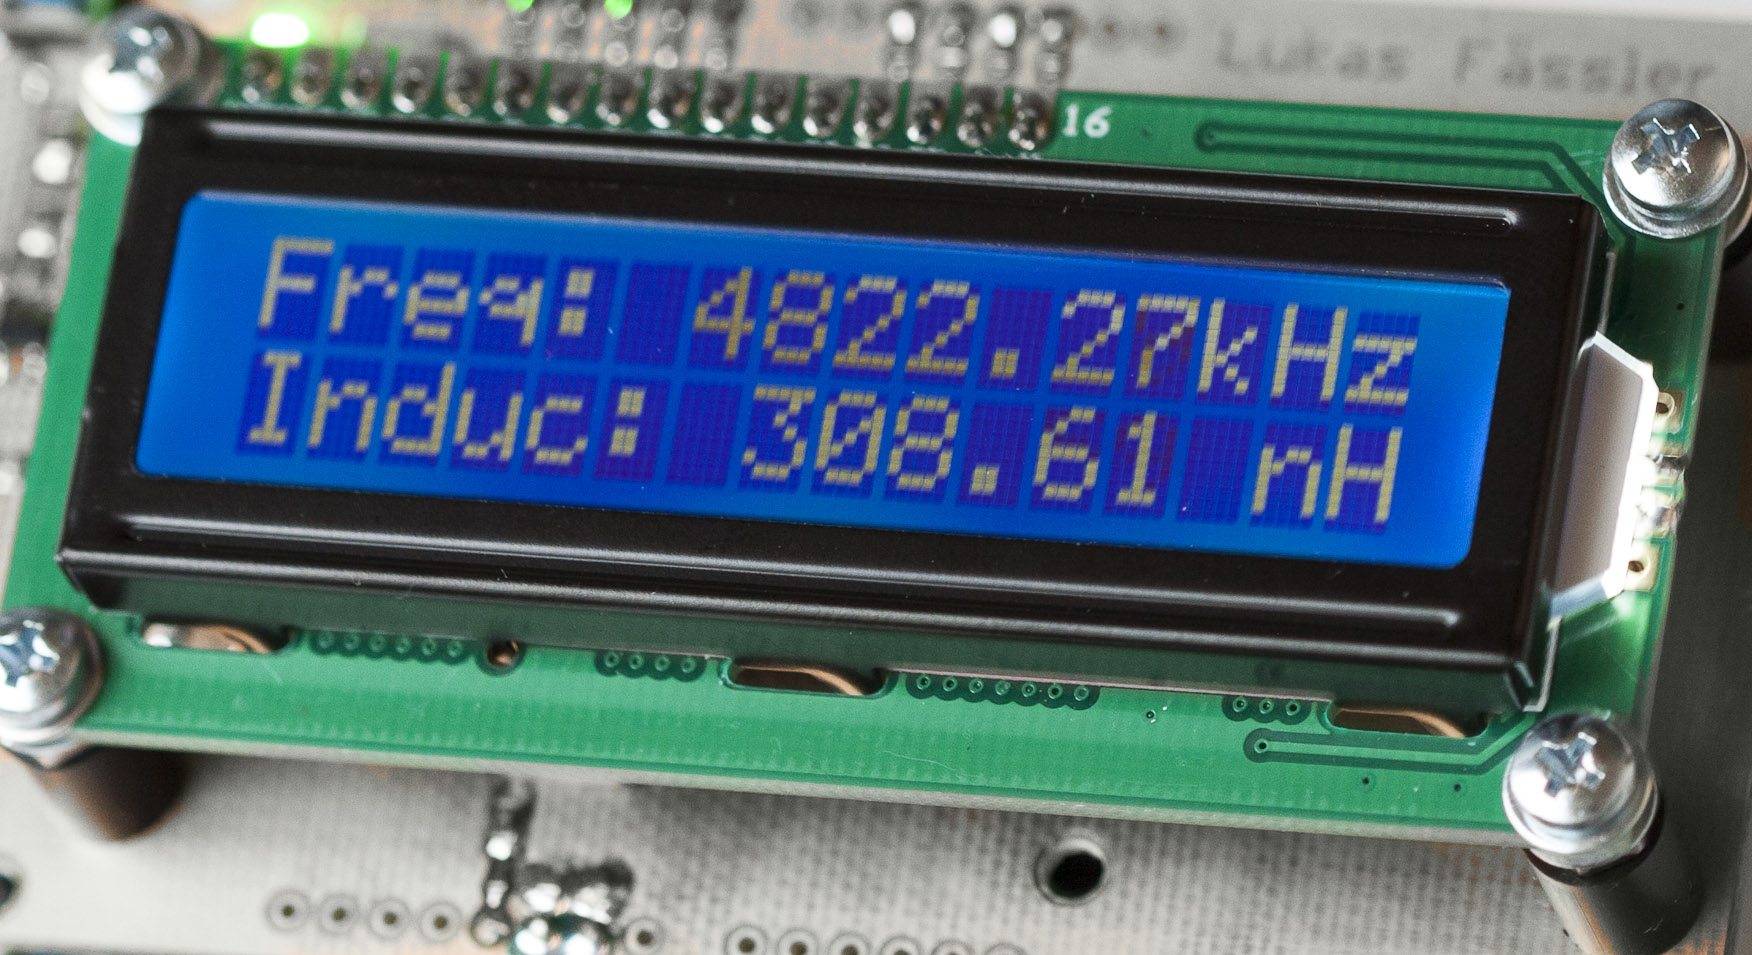
In this project, we will display Inductance as well as capacitance along with frequency on 16X2 LCD.
In this project, we will display Inductance as well as capacitance along with frequency on 16X2 LCD.
About Project
First, we estimate the frequency by utilizing Arduino and by using a few mathematical calculations we can determine the inductance or capacitance.
We are going to use an LC circuit frequency response formula.
f=1/(2*time) where time is output of pulseIn() function
then we have LC circuit Frequency:
f=1/2*Pi* (square root of LC)
by solving the above equations we get inductance as follows
L=1/(4* pi* pi* f* f* c)
We have a frequency that can be turned into inductance by utilizing the above formula.
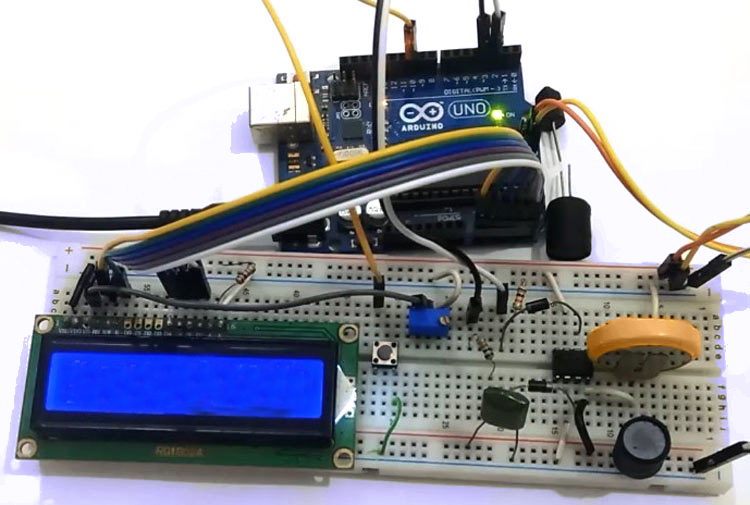
We have used Arduino for further operation. The LC circuit contains an inductor and a capacitor. We have used an operational amplifier ( 741 ) to convert sinusoidal resonance frequency to a digital or square wave. We have used a 3v battery connected in reverse polarity to get the correct output frequency.
Another we have used the push button to change the operation mode (either we are measuring inductance or capacitance). LCD is used for display purposes.
#include<LiquidCrystal.h>
LiquidCrystal lcd(A5, A4, A3, A2, A1, A0);

#define serial

#define charge 3
#define freqIn 2
#define mode 10

#define Delay 15

double frequency, capacitance, inductance;

typedef struct
{
  int flag: 1;
}Flag;

Flag Bit;

void setup()
{
#ifdef serial
  Serial.begin(9600);
#endif
  lcd.begin(16, 2);
  pinMode(freqIn, INPUT);
  pinMode(charge, OUTPUT);
  pinMode(mode, INPUT_PULLUP);
  lcd.print(" LC Meter Using ");
  lcd.setCursor(0, 1);
  lcd.print("     Arduino    ");
  delay(2000);
  lcd.clear();
  lcd.print("Circuit Digest");
  delay(2000);
}

void loop()
{
  for(int i=0;i<Delay;i++)
  {
    digitalWrite(charge, HIGH);
    delayMicroseconds(100);
    digitalWrite(charge, LOW);
    delayMicroseconds(50);
  double Pulse = pulseIn(freqIn, HIGH, 10000);
  if (Pulse > 0.1)
    frequency+= 1.E6 / (2 * Pulse);
    delay(20);
  }
  frequency/=Delay;
#ifdef serial
  Serial.print("frequency:");
  Serial.print( frequency );
  Serial.print(" Hz     ");
#endif

  lcd.setCursor(0, 0);
  lcd.print("freq:");
  lcd.print( frequency );
  lcd.print(" Hz      ");

  if (Bit.flag)
  {
    inductance = 1.E-3;
    capacitance = ((1. / (inductance * frequency * frequency * 4.*3.14159 * 3.14159)) * 1.E9);
    if((int)capacitance < 0)
    capacitance=0;
#ifdef serial
    Serial.print("Capacitance:");
    Serial.print( capacitance,6);
    Serial.println(" uF   ");
#endif
    lcd.setCursor(0, 1);
    lcd.print("Cap: ");
    if(capacitance > 47)
    {
      lcd.print( (capacitance/1000));
    lcd.print(" uF                 ");
    }
    else
    {
       lcd.print(capacitance);
       lcd.print(" nF                 ");
    }
  }

  else
  {
    capacitance = 0.1E-6;
    inductance = (1. / (capacitance * frequency * frequency * 4.*3.14159 * 3.14159)) * 1.E6;
#ifdef serial
    Serial.print("Ind:");
    if(inductance>=1000)
    {
    Serial.print( inductance/1000 );
    Serial.println(" mH");
    }
    else
   {
    Serial.print( inductance );
    Serial.println(" uH");
  }
#endif

    lcd.setCursor(0, 1);
    lcd.print("Ind:");
    if(inductance>=1000)
    {
    lcd.print( inductance/1000 );
    lcd.print(" mH            ");
    }
    else
   {
    lcd.print( inductance );
    lcd.print(" uH              ");
  }
  }

  if (digitalRead(mode) == LOW)
  {
    Bit.flag = !Bit.flag;
    delay(1000);
    while (digitalRead(mode) == LOW);
  }
  delay(50);
}