DIY Temperature and Humidity sensing using NodeMCU ESP8266, MQTT protocol, DHT11 sensor and Ubidots.
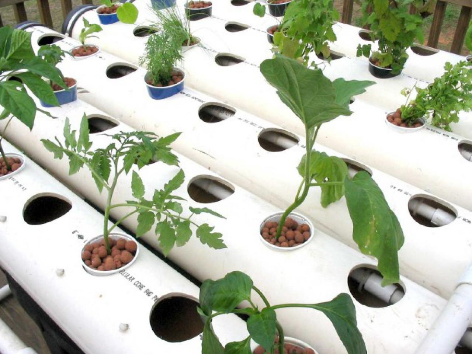
Fresh fruit and vegetables are a crucial component of any healthy diet and yet they can be hard to obtain or grow during the winter months. So why not brush the dust off that hydroponics setup you have got sitting in the roof or in the greenhouse outback and start healthifying your life!
When growing vegetables indoors it is important to maintain the right conditions in order to get the optimal response from your crop. Some plants require very specific conditions and other high value crops are worth spending the extra time and money to ensure a successful grow and yield. ;p
So to simplify and economize the cultivation process we are going to develop an indoor monitoring system that will tell us the temperature and humidity in the greenhouse or grow area at any time. This system will let us know if conditions start to deviate from the ideal and alert us in time to respond.
For this tutorial we will use the IoT optimized protocol with more efficient and faster data transfer than that of HTTP. Although both protocols work well in this particular application, I believe that MQTT is the more reliable communication method so we will go with that.
Requirements
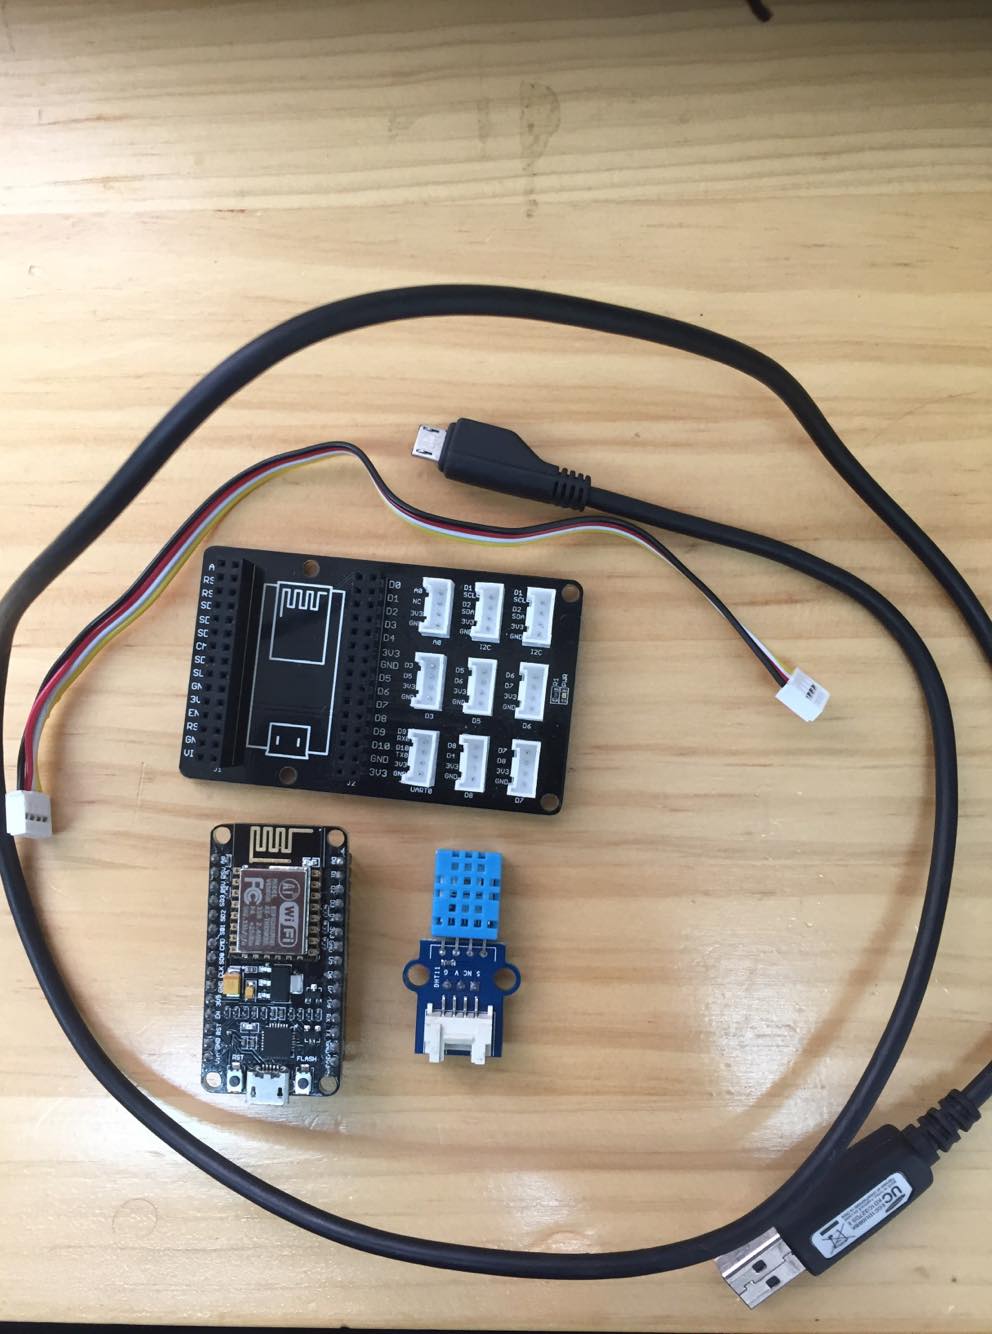
1. DHT11 (temperature and humidity sensor)
2. Grove cable
3. NodeMCU ESP8266 chip
4. Grove base shield for NodeMCU
5. Laptop
6. Micro-USB to USB cord
7. Arduino IDE
8. Ubidots account
Now you should be able to source all of this equipment, computer aside, for under $50 USD. You can easily spend more, expanding your application as you please.
Materials required for sensor
Setup Ubidots and Arduino
Step 1: Ubidots Account Setup
Firstly go to Ubidots and set up an account to manage and visualize the live data. Ubidots supports both the free educational account and the paid license accounts, both are great for this project.
In the top right hand corner of all Ubidots accounts you will find your name containing a the drop down menu your API Credentials. Here you can find your Ubidots TOKEN which will be crucial to making this all work. You will want to copy the Token into the code later on.
Note: we will be using your Ubidots API TOKEN not the API key.
Clicking on this link will take you to the Ubidots help page, which has a huge amount of documentation available to those who cannot find their way in my tutorial.
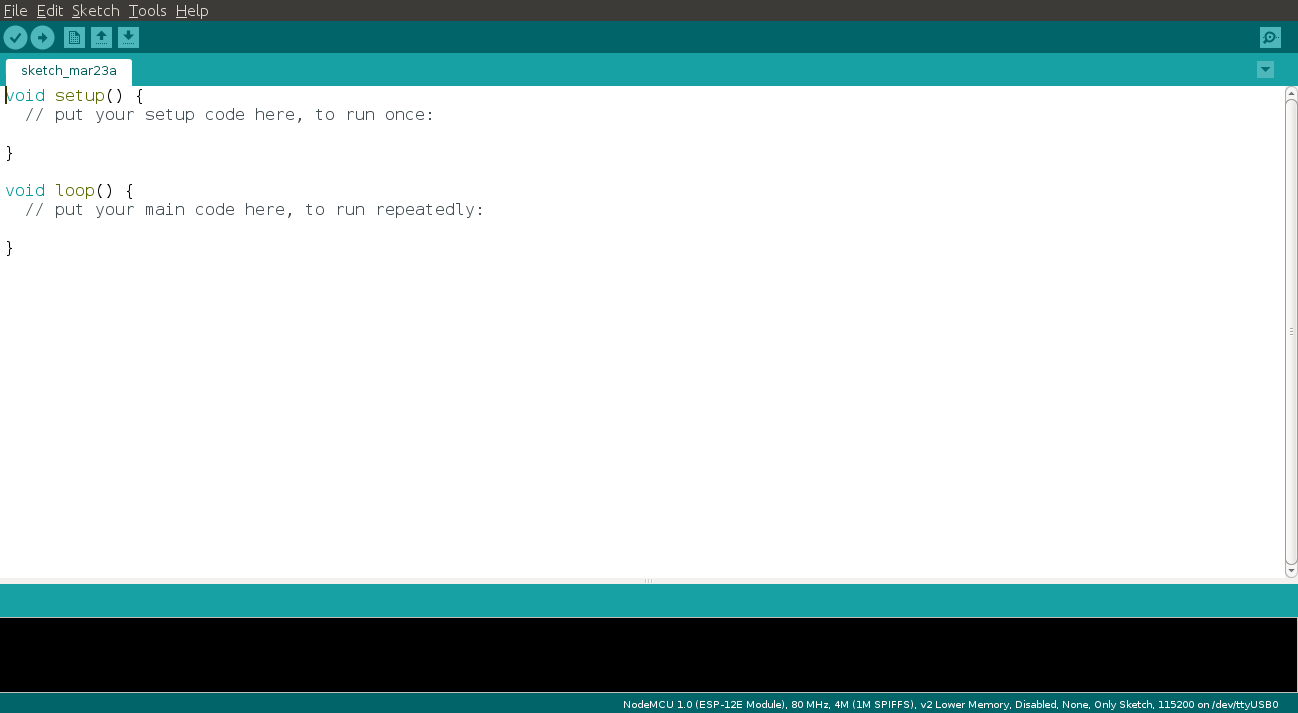
Step 2: Arduino Setup
The next step is to set up the Arduino IDE on your computer. This link will take you to a tutorial that will explain to you how to set up the IDE if you have not already done so.
With your setup complete, you'll see the IDE reflecting as mine does below:
Hardware Setup
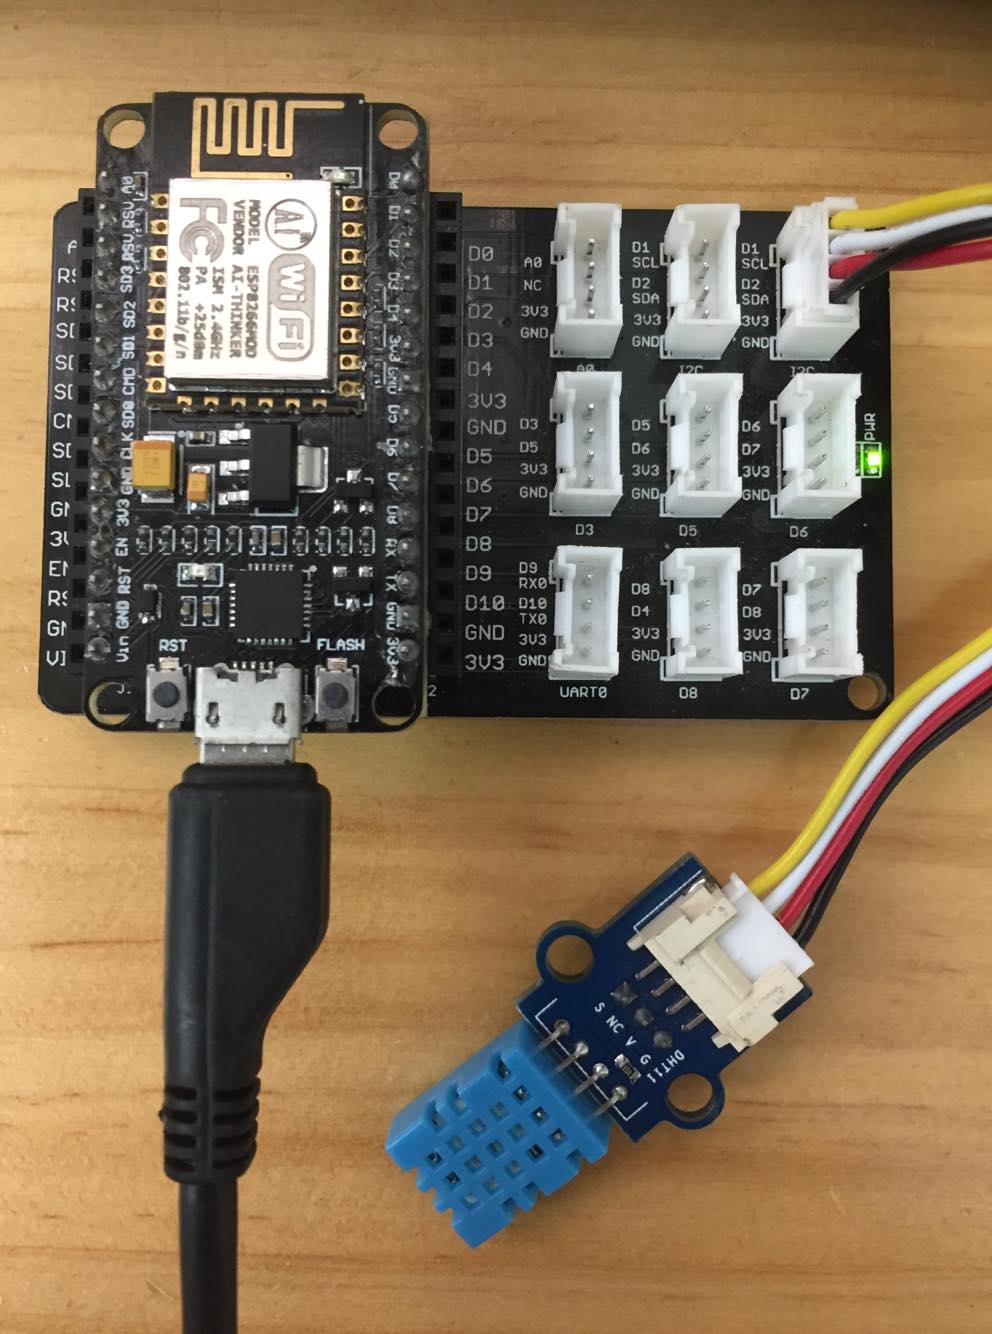
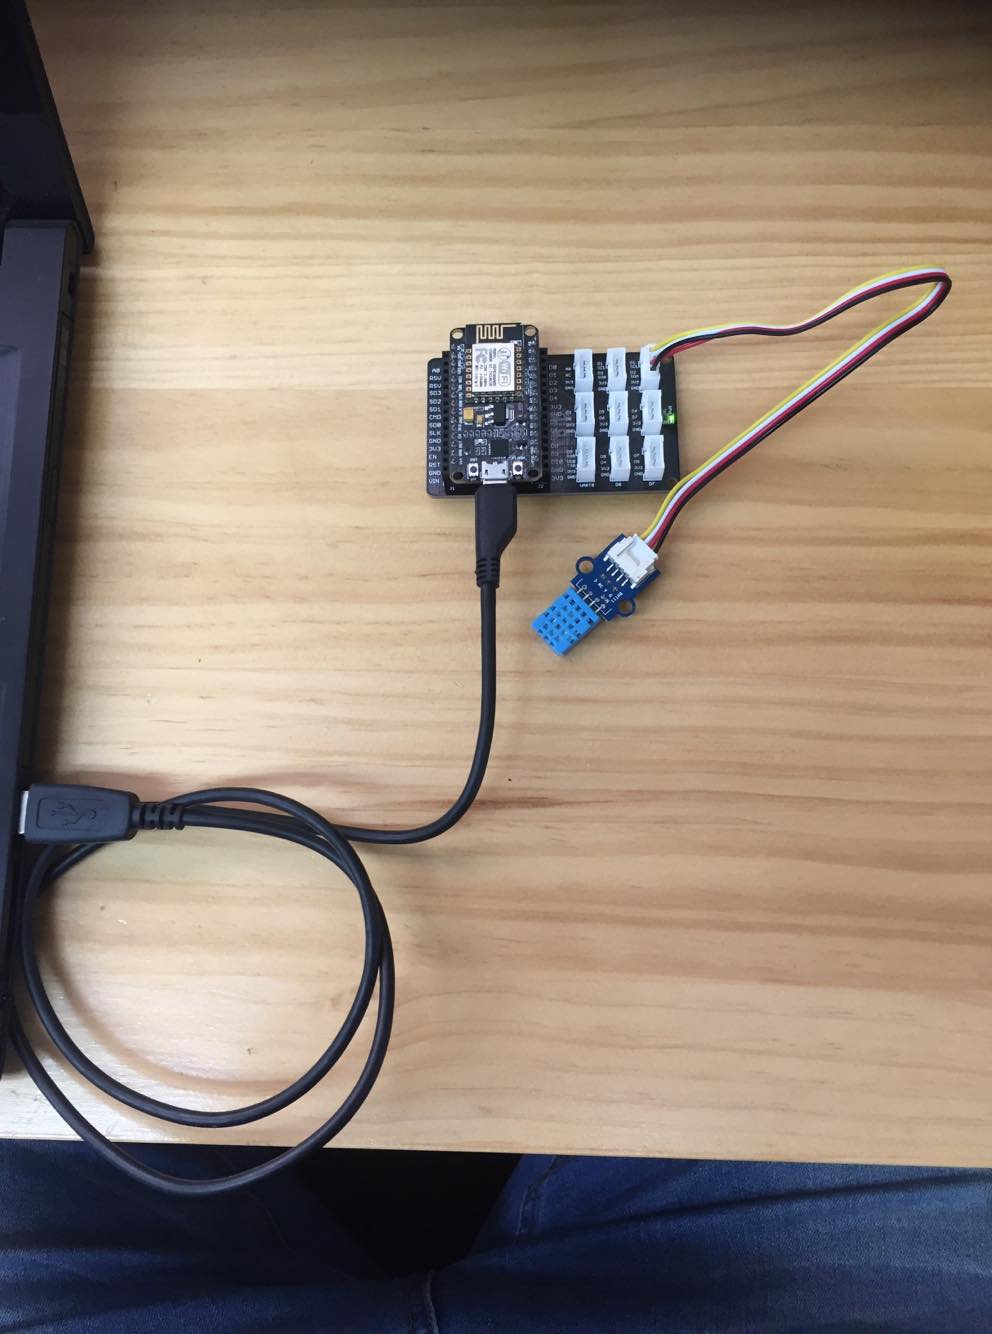
The following steps are best explained with a picture than words. The key thing to note is that the ribbon cable plugs into the D1 PIN. This is crucial because the DHT11 passes data over IIC/I^2C bus and pin D1 is designed to receive data from this sort of bus. While the connector will fit into any of the 9 available plugs the others will not work as expected. This IIC/I^2C pin will change for other devices however it is simply a case of looking at the spec sheet of what ever chip your using and finding the right pin to use. If you use this tutorial as a sample code for your own solutions, be sure to change the pin out in your code reflect their actual sensors or pin requirements.
Past this setup everything as it looks in the picture and we will be ready to get into some code.
Closeup of Micro controller setup with DHT11 Sensor at PIN D1
Overall setup image showing computer attachment
Code
So I am gonna break up the code into sections with associated explanations. Then at the end the complete code can be copied and pasted into the IDE.
Library:
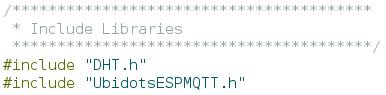
For this hydroponics tutorial we will be using the following libraries:
DHT.h
UbidotsESPMQTT.h
Required libraries for program
Callback():
Right so to me this first line of code is the most complicated line to understand but let me break it down as best as I can...
1. When dealing with MQTT you subscribe to topics that the Broker has. Its like getting a newspaper subscription. Every time news happens, a new newspaper is published and automatically sent with updated news on the things that interest you. If you go into how topics look and are created you can see the structure to maintain:
/v1.6/devices/Hydro_Herb
2. The payload defines specifically what information is being passed to the topic that subscribers can read. So with MQTT there is a Broker that holds topics that are created by whoever needs them. Devices then record data and send it to the topic whenever they get new data. People who subscribe to a topic, like we are in this case, will then receive an update when that information set has updated or changed.
3. The length is a variable that is updated behind the scenes but is used simply for the 'for loop'. It is an integer value dictating the amount of data within the payload. Used solely for printing.
First line of call back function
The next three lines print out "Message arrived ["topic"] " every time a new value arrives from the Broker. You will be able to see the nature of the topic when it is printed out here. But to be honest I have never managed to get this line to print out and yet the code runs just fine. Turns out that the code still runs fine even if you comment out all of the code below. As its an Auxiliary function it is designed to deal with a recurring task or problem. Just because I have not identified what that problem may be does not mean that it should not be in here.
After extensive research I have found out that this piece of code is required when subscribing to a topic. We are not subscribing in this code hence it is not being used however it still needs to be there.
Print statements designed to print out material from a subscription we do not have. Do not concern yourself.
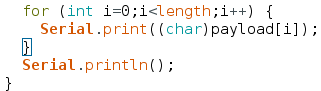
The first two lines of code loop through "length(number)" times. Each time the value of i increases until i is not less than "length" at which point the loop breaks and the code moves on. Every time the value of i increases another character of payload is printed out.
The third line simply prints an empty line. Done to make the output look nice.
For loop of the call back function
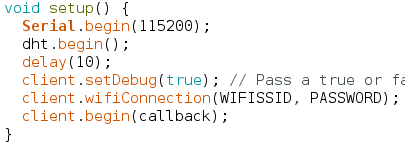
Setup:
The two items I want to note in this part of the code are that the Device name is not called here like it is in the HTTP code. This is a slight difference.
The second thing is that the client.callback() function is here to call the afore mentioned function
Void Loop():
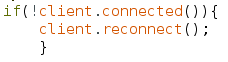
This if statement checks to see if the connection with wifi is established and secure and if it is not then it performs a reconnect effort. As with and data communication, connection is crucial.
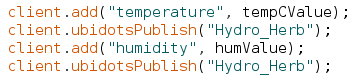
Here we are using the .add function again. The first two lines, as an example, read...
Add the current tempCValue to the temperature component of the client struct that was established at the beginning of the code.
Next publish this value to the Device "Hydro_Herb". This is where the Device name comes in. This occurs the same for the humidity variable as well.
Publishing values to Ubidots
A problem I had:One thing that tripped me up was that I was using a cable that didn't transfer data and was in fact only meant to power a device. Looks identical to the normal cable. In the event that you end up trying to use one of these bad boys you will find that the correct port option will not be available and that the program will not run. The one you want is "/dev/ttyUSBo". If thats not an option then it might be your cord.
Back to the code:
Next, copy and paste the entirety of the code into your IDE.
Once done, assuming that everything has been assembled properly and the device plugged in, click the "right-pointing arrow" under edit to Verify your code. This will run the program and hopefully behave itself.
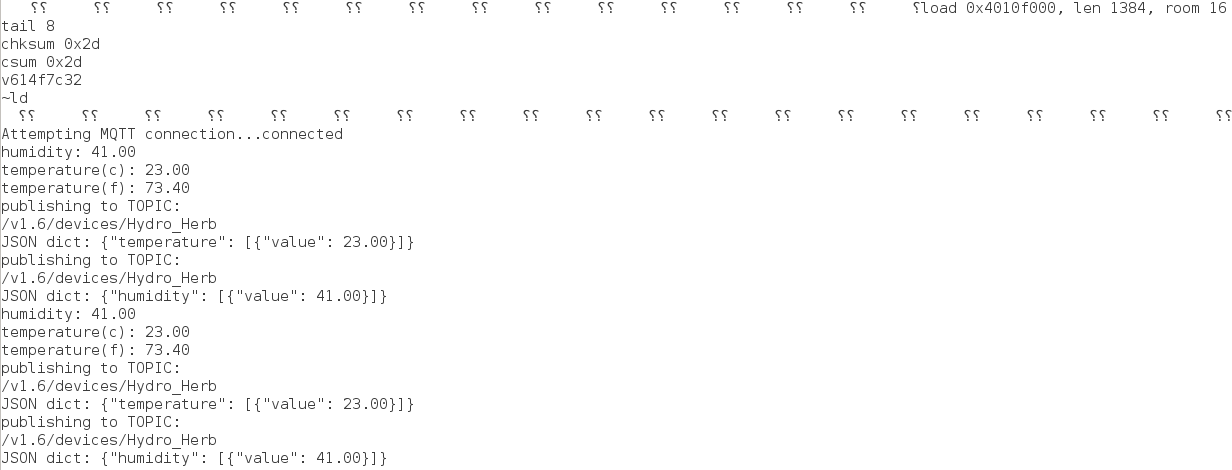
Once the code has finished loading and the system is running go to the serial printout and check that its outputting data like in the first image below. The serial print out can be found by clicking on the "magnifying glass" at the top right corner of the page above the drop down arrow.
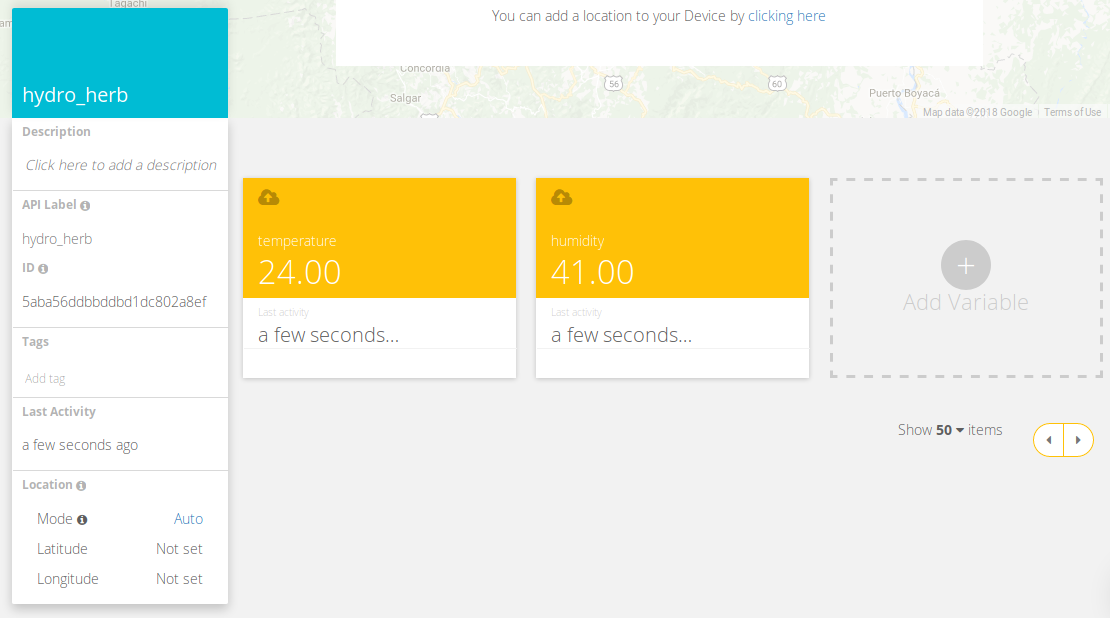
Assuming this is printing out data as desired I want you to then go to your Ubidots account and go to the devices page. There you will find a device called hydro_herb and when you click into it you will be able to visualize the raw data from your device.
If the device is not there try refreshing the page first as I usually have to do this before I see anything.
/****************************************
 * Include Libraries
 ****************************************/
#include "DHT.h"
#include "UbidotsESPMQTT.h"

/****************************************
 * Define Constants
 ****************************************/

#define DHTPIN D1     // pin we're the sensor connected to
// Uncomment whatever type you're using!
#define DHTTYPE DHT11   // DHT 11
//#define DHTTYPE DHT22   // DHT 22  (AM2302), AM2321
//#define DHTTYPE DHT21   // DHT 21 (AM2301)
#define TOKEN  "Token"  /* Put here your Ubidots TOKEN */
#define WIFISSID "Network name" /* Put here your Wi-Fi SSID */
#define PASSWORD "Password for Network" /* Put here your Wi-Fi password */

DHT dht(DHTPIN, DHTTYPE);

Ubidots client(TOKEN);

/****************************************
 * Main Functions
 ****************************************/

/****************************************
 * Auxiliar Functions
 ****************************************/

void callback(char* topic, byte* payload, unsigned int length) {

  Serial.print("Message arrived [");
  Serial.print(topic);
  Serial.print("] ");

  for (int i=0;i<length;i++) {
    Serial.print((char)payload[i]);
  }
  Serial.println();
}

void setup() {
  Serial.begin(115200);
  dht.begin();
  delay(10);
  client.setDebug(true); // Pass a true or false bool value to activate debug messages
  client.wifiConnection(WIFISSID, PASSWORD);
  client.begin(callback);
}

void loop() {

  // Read humidity
  float humValue = dht.readHumidity();
  // Read temperature as Celsius (the default)
  float tempCValue = dht.readTemperature();
  // Read temperature as Fahrenheit (isFahrenheit = true)
  float tempFValue = dht.readTemperature(true);

  if(!client.connected()){
      client.reconnect();
      }

  Serial.print("humidity: ");
  Serial.println(humValue);

  Serial.print("temperature(c): ");
  Serial.println(tempCValue);

  Serial.print("temperature(f): ");
  Serial.println(tempFValue);

  client.add("temperature", tempCValue);
  client.ubidotsPublish("Hydro_Herb");
  client.add("humidity", humValue);
  client.ubidotsPublish("Hydro_Herb");

  delay(1000);
}
Serial output after running the code. You should be able to produce this. You will find it updates continuously and will not stop.
The resulting hydro_herb device in Ubidots with the two variables temperature and humidity showing. Go into Ubidots and click on the device then the variable and you will see the measured values being stored.
Setting up Alert and Events
This section is great for me because this link explained how to set up alerts really well and help me complete my application's development quickly.
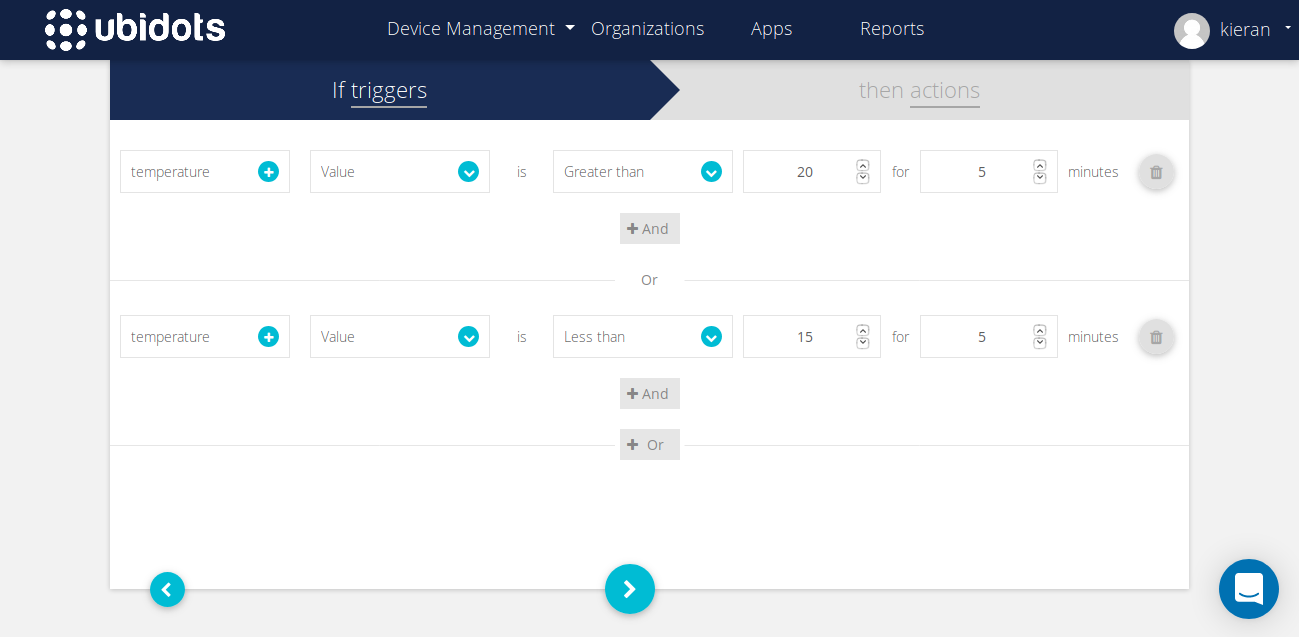
Once you have figured out how to create events you need to decide what humidity and temperature values that you want your system to operate under.
For example if your plants need to be between 15-20c degrees then you would setup an alert to tell you when the temperature has moved outside of this range.
I will leave you to sort this out as you know your plants better than me.
The following is how I setup the temperature alerts if you need an example. You can easily do the same for humidity alerts in the same alerts as Ubidots' events engine is an It...Then conditional logic meaning and / or statements can be included to notify a user when a complex situation has taken place.
Conclusion
I think its safe to say that with this bad boy is keeping an eye on your crops you should be able to pump out some epic vegetables/herbs that will bring a smile to all who indulge in them.
Now this is not a comprehensive guide that explains everything about the process and how to build everything from scratch. This is more of a...here are the pieces alongside some explanations which will allow you to create this generalist application.
I hope you enjoyed this tutorial and shortcuts, please share any of your end-results.