Get familiar with the Blynk platform by creating a project that remotely controls an LED from your smartphone!
In this tutorial, we are going to control Arduino through the Blynk app, so you can control it from anywhere in the world. In this project, we will simply control an LED using the app. We can use different connection types like Bluetooth, Wi-Fi, USB, and many others. The app also supports many boards.
What is Blynk?
First of all, you need to download the Blynk app. It is available for both Android and iOS.
After downloading, open the app. It will ask you to create an account or log in.
According to Blynk’s website, “Blynk is a Platform with iOS and Android apps to control Arduino, Raspberry Pi and the likes over the Internet. It’s a digital dashboard where you can build a graphic interface for your project by simply dragging and dropping widgets."
You can use Blynk's platform quickly without a ton of learning time. It can support both Arduino and Raspberry Pi over Wi-Fi, Ethernet, or an ESP8266 chip.
Getting Started With Blynk
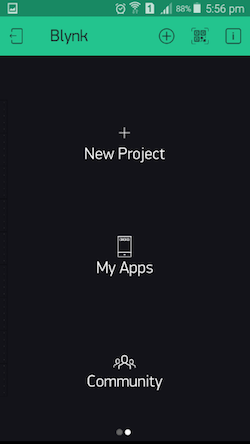
After creating your account, tap on "New Project".
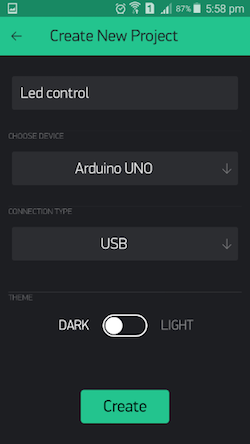
From there, name your project and select the board you are using. I am using the Arduino Uno board. If you have Arduino Mega or any other board, then select that.
Select USB as the connection type, because we are going to control it through serial communication. In USB connection type, you won’t require any other device. If you choose the Bluetooth connection type, you will require the Bluetooth, and the Wi-Fi connection type requires the Ethernet shield or any other Wi-Fi device.
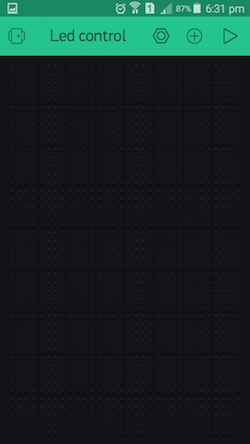
When you press the create button, it will say that the auth token has been sent to your email, and you will see the screen similar to the one shown below. If you have iOS, it may be different.
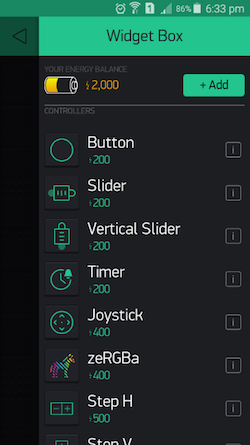
Now tap on the screen and you will see the widget box.
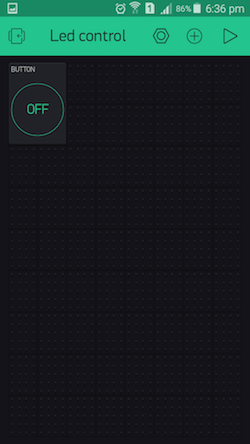
The widget box has a lot of controllers, but we only require the button for this project. So click on button and a button will be placed on your project screen.
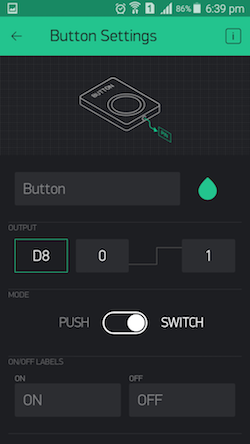
Now press the button and you will see the properties. Select the pin from there and select the push or switch button. In my case, I have selected the pin 8 and switch button.
After that, you will need to download the library for the Arduino IDE which can be found here.
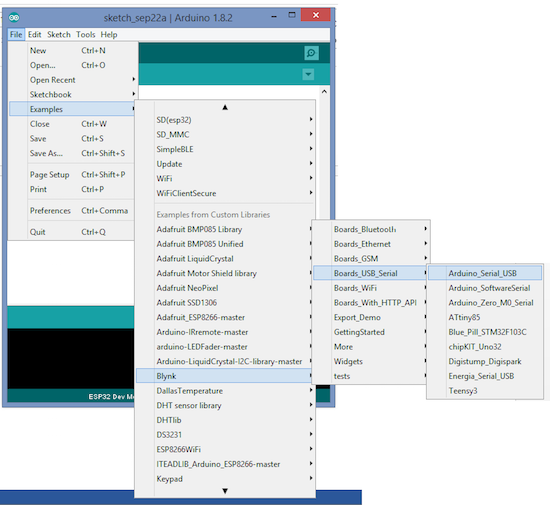
Place the library in the Arduino library folder and open the Arduino IDE. From the examples, select the Arduino Serial USB.
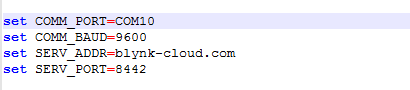
In the sketch, paste the auth token that you received in the email and upload the code.
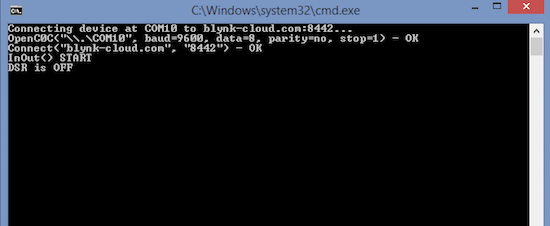
After saving the file, run it and you will see the cmd screen as shown below:
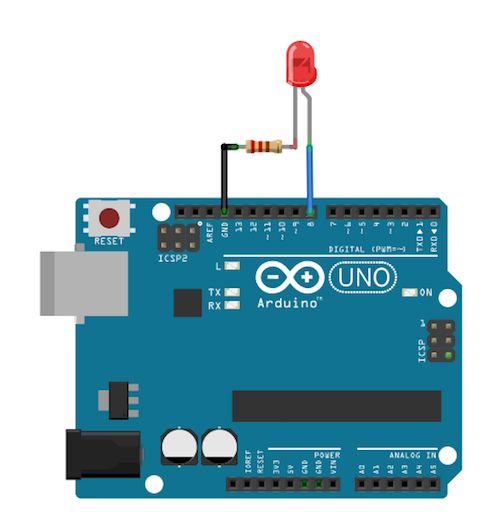
Now connect the circuit as shown below:
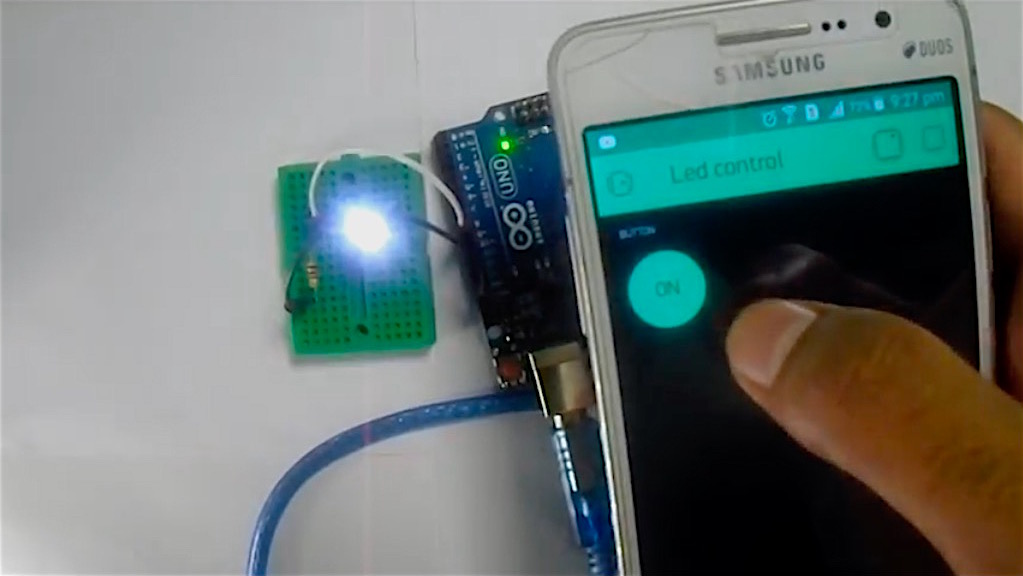
From your app, when you press the button, the LED will turn ON/OFF.
It’s as simple as that! Now you can try playing around with the other functionalities of the app.
To watch the project from start to finish, check out the video below!