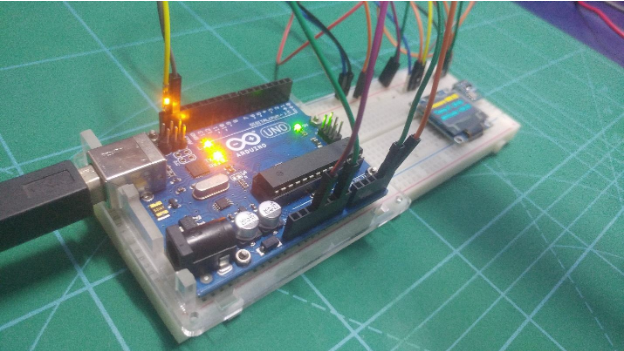
Build a barometric pressure measuring system using the BMP180 sensor, Arduino Uno, and an I2C OLED module.
In this article, I will show you how to build a barometric pressure measuring system using the BMP180 sensor and an Arduino Uno. We are also using a simple I2C OLED module to display the measurements directly on the breadboard.
What is a Barometer?
A barometer is a device that measures atmospheric pressure.
In school, we learn how the first barometer was a plate with mercury with an inverted test tube on it. The inventor was Evangelist Torricelli, an Italian physicist and mathematician.
There are two common types of barometers: alcohol and mercury-based. However, we cannot use such bulky barometers in robotics. We need something smaller and easier to interface with, so we use electronic barometers.
Electronic Barometers
For electronics applications, we need a small and energy-efficient device that easily connects to a microcontroller like the Arduino Uno. Most modern barometers are made using MEMS technology just like gyro-tachometers with accelerometers. MEMS barometers are based on the piezoresistive, or strain gauge method, which uses the effect of changing the resistance of the material under the action of deforming forces.
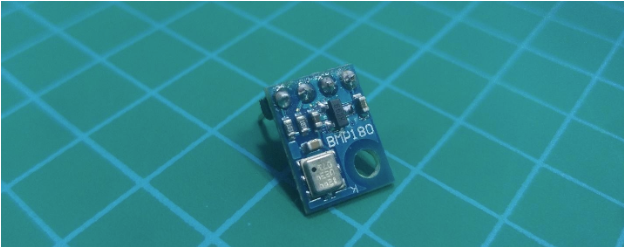
BMP085 and BMP180 Sensors
The most affordable pressure sensors — often used by flight controllers and in various homemade electronic devices — include BOSCH sensors such as BMP085 and BMP180. The second pressure sensor is newer but fully compatible with the old version.
BMP180 Specs
- Range of measured values: from 300 hPa to 1100 hPa (from -500m from + 9000m above sea level).
- Supply voltage from 3.3V to 5V.
- Current strength: 5 μA at a polling rate of 1 Hertz.
- Noise level: 0.06 hPa (0.5m) in coarse mode (ultra-low power mode) and 0.02 hPa (0.17m) in maximum resolution mode (advanced resolution mode).
- We can connect this sensor to any microcontroller and try to estimate the atmospheric pressure.
Required Hardware
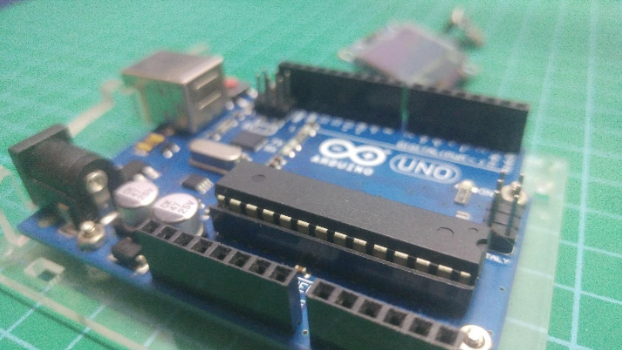
- Arduino UNO/Nano
- BMP180 module
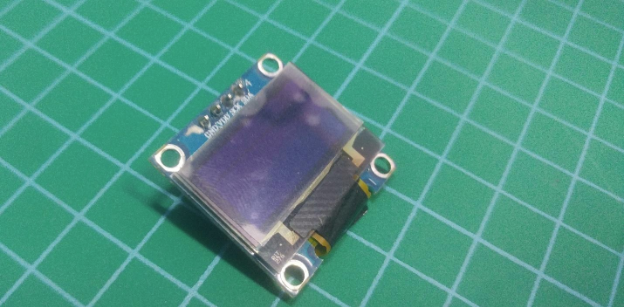
- OLED Display 128X64
Required Software
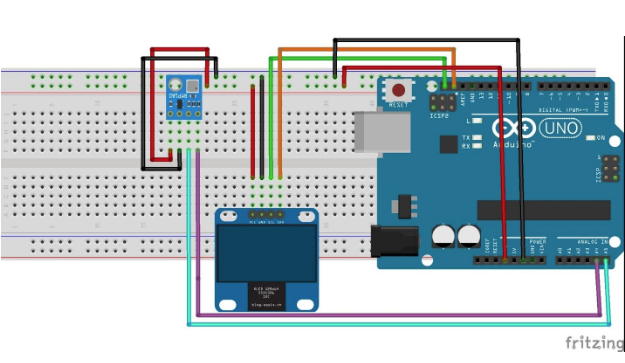
Wiring the Barometer
Wire up everything as shown in the following diagram. Connect the BMP180 with A4 and A5 and the OLED to the other I2C port.
Connections for the BMP180
Both sensors have an I2C interface, so you can easily connect them to any platform from the Arduino family. Here is the connection table for Arduino Uno.
BMP 180 | GND | VCC | SDA | SCL |
|---|
Arduino UNO | GND | + 3.3V | A4 | A5 |
Download the BMP085 Library
In order to interface the BMP180 module and the Arduino, we need to download the BMP085 library which is specifically designed for BMP180 and BMP085 module.
After attaching that library, we can call special functions to make working with the BMP180 sensor easier.
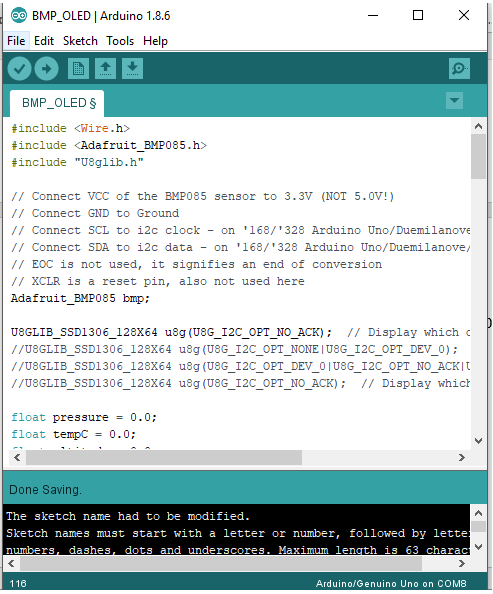
Upload Source Code
#include <Wire.h>
#include <Adafruit_BMP085.h>
#include "U8glib.h"
// Connect VCC of the BMP085 sensor to 3.3V (NOT 5.0V!)
// Connect GND to Ground
// Connect SCL to i2c clock - on '168/'328 Arduino Uno/Duemilanove/etc thats Analog 5
// Connect SDA to i2c data - on '168/'328 Arduino Uno/Duemilanove/etc thats Analog 4
// EOC is not used, it signifies an end of conversion
// XCLR is a reset pin, also not used here
Adafruit_BMP085 bmp;
U8GLIB_SSD1306_128X64 u8g(U8G_I2C_OPT_NO_ACK); // Display which does not send AC
//U8GLIB_SSD1306_128X64 u8g(U8G_I2C_OPT_NONE|U8G_I2C_OPT_DEV_0); // I2C / TWI
//U8GLIB_SSD1306_128X64 u8g(U8G_I2C_OPT_DEV_0|U8G_I2C_OPT_NO_ACK|U8G_I2C_OPT_FAST); // Fast I2C / TWI
//U8GLIB_SSD1306_128X64 u8g(U8G_I2C_OPT_NO_ACK); // Display which does not send AC
float pressure = 0.0;
float tempC = 0.0;
float altitude = 0.0;
void BmpSensorRead(float* pressure, float* tempC, float* altitude);
void DisplayPresTemp(float* pressure, float* tempC, float* altitude);
void setup(void)
{
Serial.begin(9600);
// assign default color value
if (u8g.getMode() == U8G_MODE_R3G3B2)
{
u8g.setColorIndex(255); // white
}
else if (u8g.getMode() == U8G_MODE_GRAY2BIT)
{
u8g.setColorIndex(3); // max intensity
}
else if (u8g.getMode() == U8G_MODE_BW)
{
u8g.setColorIndex(1); // pixel on
}
else if (u8g.getMode() == U8G_MODE_HICOLOR)
{
u8g.setHiColorByRGB(255, 255, 255);
}
for (int a = 0; a < 30; a++)
{
u8g.firstPage();
do
{
u8g.setFont(u8g_font_fub11);
u8g.setFontRefHeightExtendedText();
u8g.setDefaultForegroundColor();
u8g.setFontPosTop();
u8g.drawStr(4, a, "MAKER . PRO ");
}
while (u8g.nextPage());
}
delay(3000);
if (!bmp.begin())
{
u8g.firstPage();
do
{
u8g.setFont(u8g_font_fub11);
u8g.setFontRefHeightExtendedText();
u8g.setDefaultForegroundColor();
u8g.setFontPosTop();
u8g.drawStr(4, 0, "BMP085 Sensor");
u8g.drawStr(4, 20, " ERROR!");
}
while (u8g.nextPage());
Serial.println("BMP085 sensor, ERROR!");
while (1) {}
}
}
void loop(void)
{
BmpSensorRead(&pressure, &tempC, &altitude);
DisplayPresTemp(&pressure, &tempC, &altitude);
delay(1000);
}
void DisplayPresTemp(float* pressure, float* tempC, float* altitude)
{
u8g.firstPage();
do
{
u8g.setFont(u8g_font_fub11);
u8g.setFontRefHeightExtendedText();
u8g.setDefaultForegroundColor();
u8g.setFontPosTop();
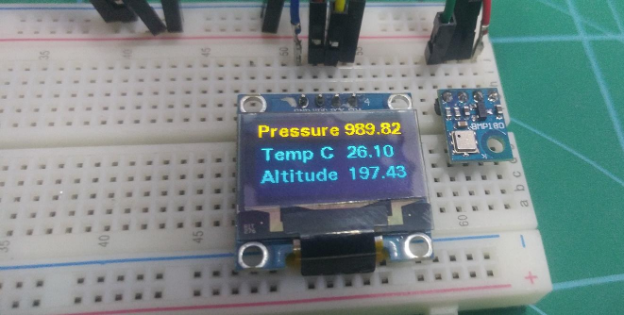
u8g.drawStr(2, 0, "Pressure");
u8g.setPrintPos(75, 0);
u8g.print(*pressure);
u8g.drawStr(4, 20, "Temp C");
u8g.setPrintPos(75, 20);
u8g.print(*tempC);
u8g.drawStr(4, 40, "Altitude");
u8g.setPrintPos(75, 40);
u8g.print(*altitude);
}
while (u8g.nextPage());
}
void BmpSensorRead(float* pressure, float* tempC, float* altitude)
{
*tempC = bmp.readTemperature();
Serial.print("Temperature = ");
Serial.print(*tempC);
Serial.println(" *C");
*pressure = bmp.readPressure() / 100.0;
Serial.print("Pressure = ");
Serial.print(*pressure / 100.0);
Serial.println(" hPa");
// Calculate altitude assuming 'standard' barometric
// pressure of 1013.25 millibar = 101325 Pascal
*altitude = bmp.readAltitude();
Serial.print("Altitude = ");
Serial.print(*altitude);
Serial.println(" meters");
}
Check out the video below to see the completed project in action!