Have fun playing games with this DIY game console using Arduboy programming and Arduino!
In this article, I will explain how to use an Arduino Leonardo to create a handheld game console using programming from Arduboy and a handful of hardware.
Arduboy is an 8-bit, credit-card-sized Arduino-based gaming system inspired by Nintendo Gameboy. It is based on an open-source project, which is really easy to learn, share, and play, allowing us to learn to code and create our own games.
This portable game console can install classic 8-bit games and can be reprogrammed from a library of open source games available online. Since this is an open-source project, I decided to try making my own version of it. The original Arduboy costs $50 USD but in this article, I will show you how to make it for around $12 USD.
Required Hardware
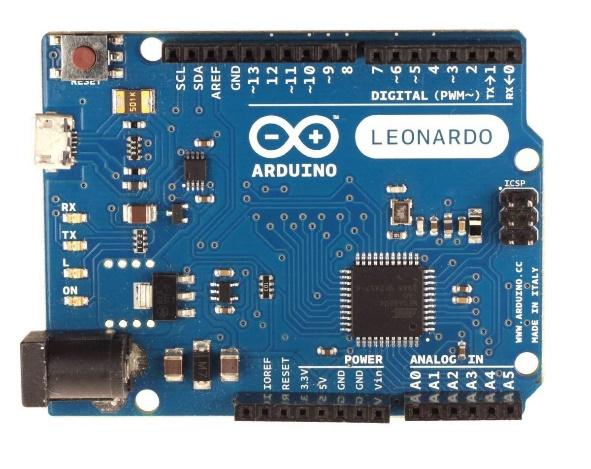
- Arduino Leonardo (NOT Arduino UNO) OR any other ATmega32U4 supported board
- 6-pin SPI OLED display
- 6 Push Buttons
- Piezo electric buzzer plate or speaker
- Some jumper cables
NOTE: You must make sure that you have an ATmega32u4-based Arduino microcontroller and a 6-pin SPI Based OLED display. Otherwise, this project won't be supported.
Required Arduino Arduboy Libraries
Download the following Arduino libraries:
Wiring the Hardware
OLED | Arduino Leonardo
|
|---|
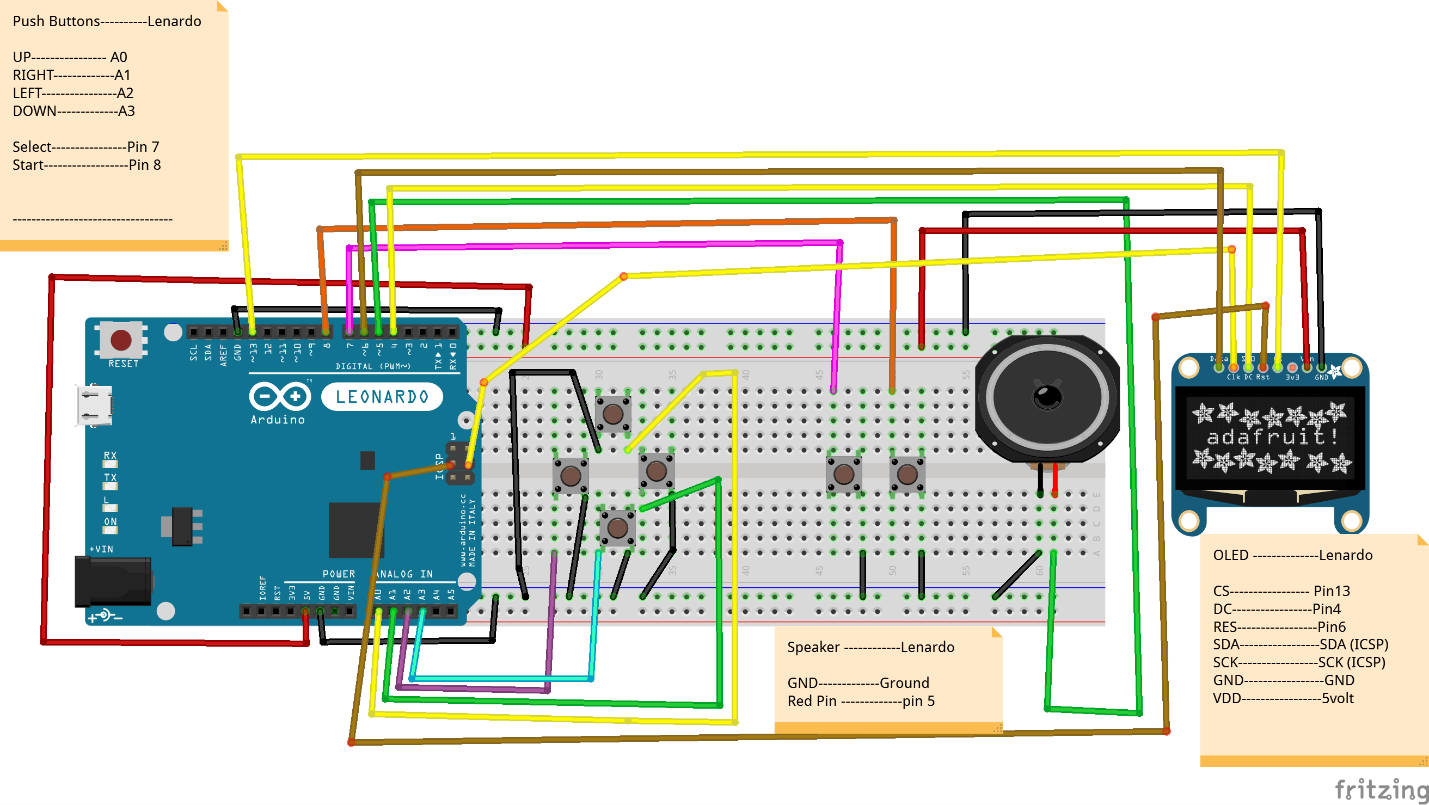
CS | Pin 13 |
DC | Pin 4 |
RES | Pin 6 |
SDA | SDA (ICSP)
|
SCK | SCK (ICSP)
|
GND | GND |
VDD | 5 Volt
|
Speaker | Arduino Leonard
|
|---|
GND | Ground |
Red Pin
| Pin 5
|
Push Buttons
| Arduino Leonardo
|
|---|
UP | A0 |
RIGHT | A1 |
LEFT | A2 |
DOWN | A3 |
Select | Pin 7
|
Start | Pin 8
|
Connect one pin of all the buttons to the GND of Arduino and the other pin should be connected with the Arduino pins as mentioned below in the list or you can also check the figure.
Fritzing diagram of the connected hardware
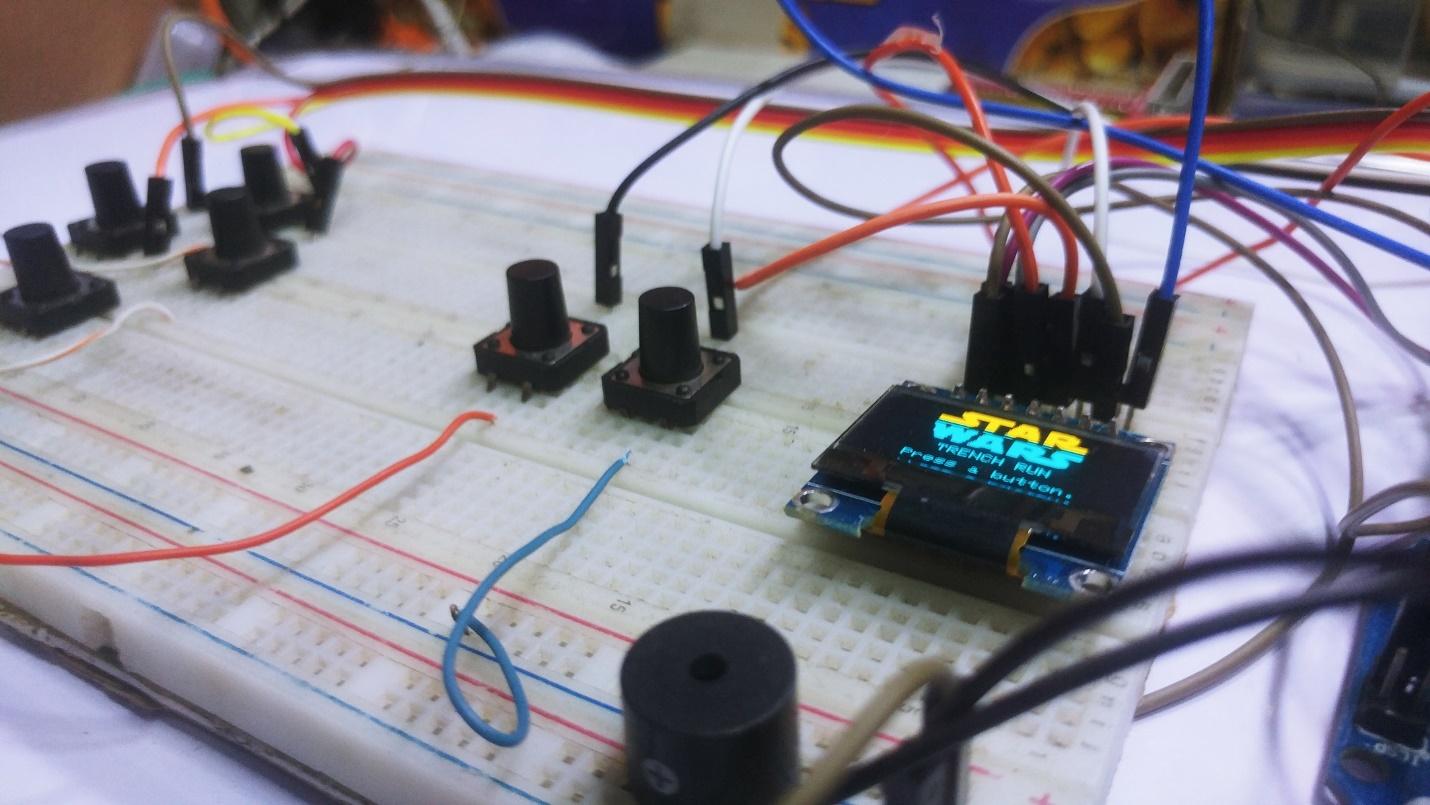
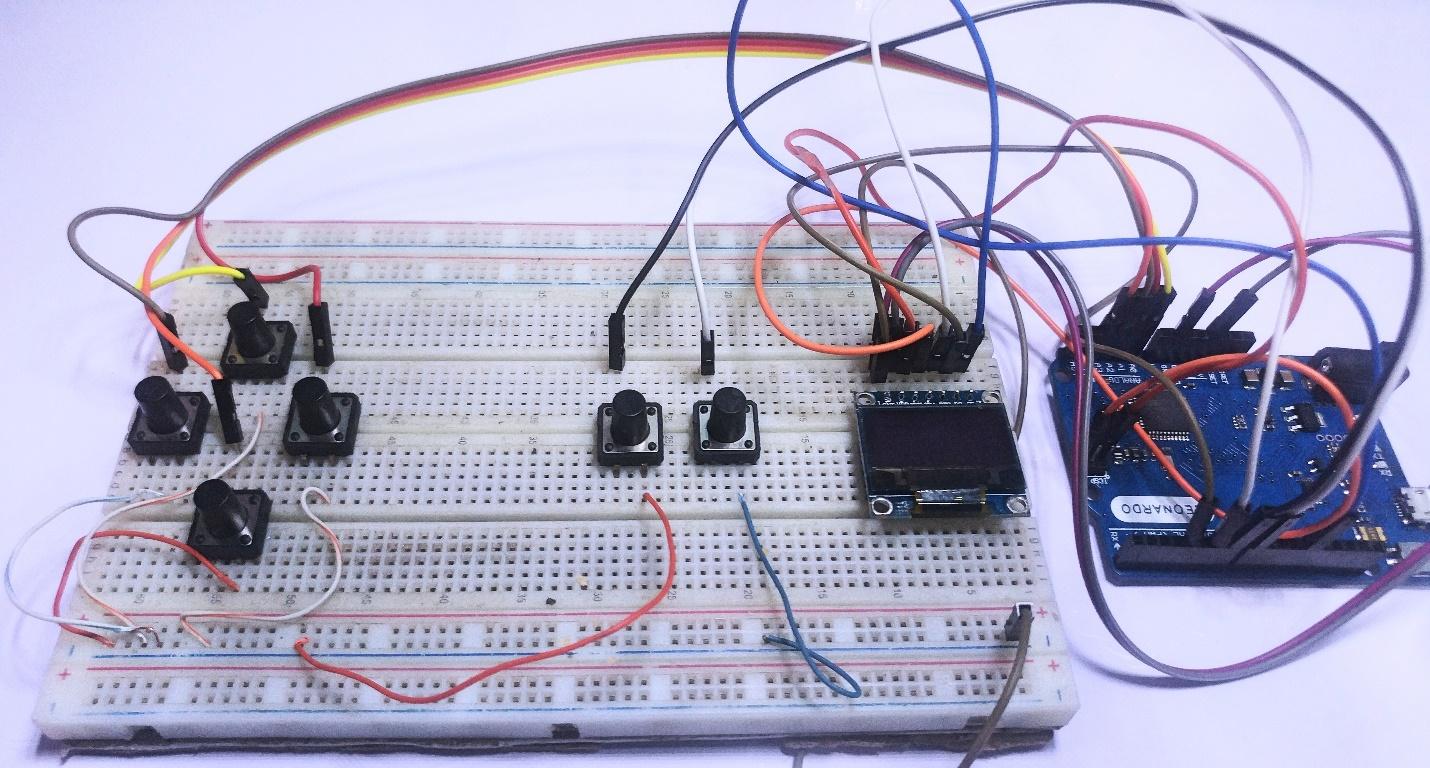
How the hardware looks once it’s all connected
You can connect everything on a double breadboard, which will make it easy for you to push the buttons and arrange them into your desired layout.
Downloading Arduboy Libraries to Arduino IDE
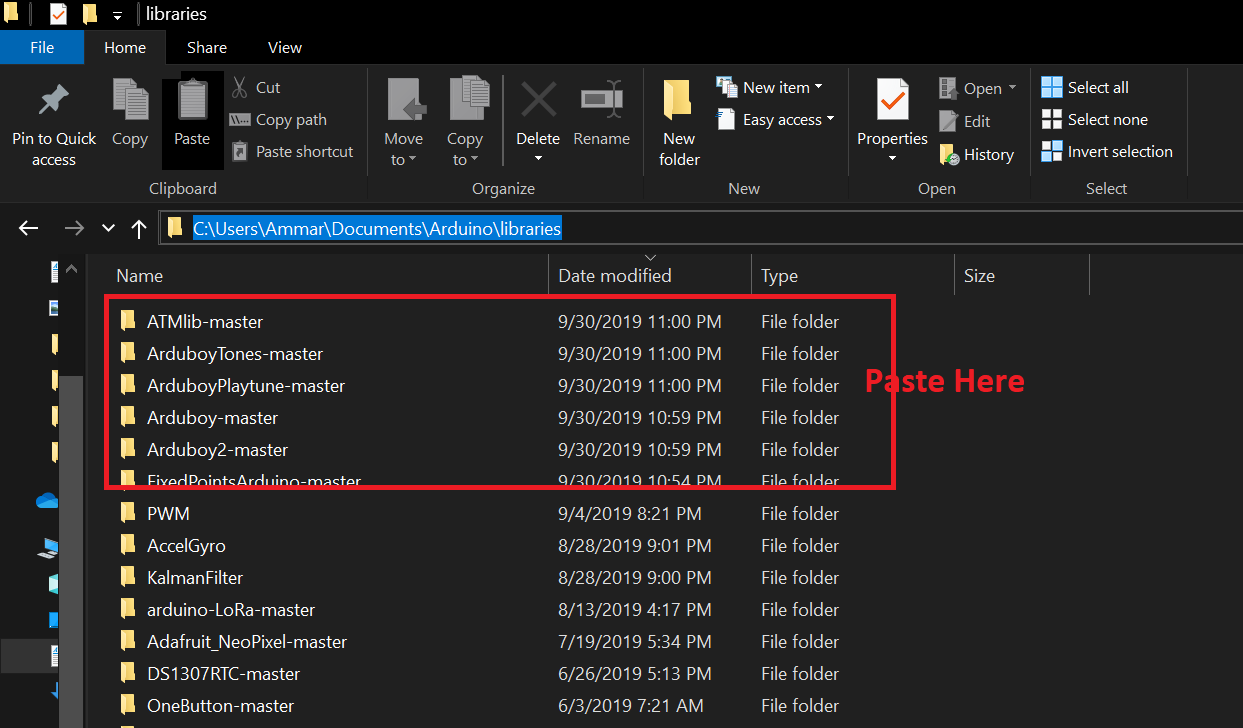
After wiring everything up, download the necessary library files from the links shared above and copy those files to the Arduino folder by going to Documents —> Arduino —> Libraries and paste all the library files. (C:\Users\Your_Username\Documents\Arduino\libraries)
Copy the Arduboy libraries into Arduino IDE.
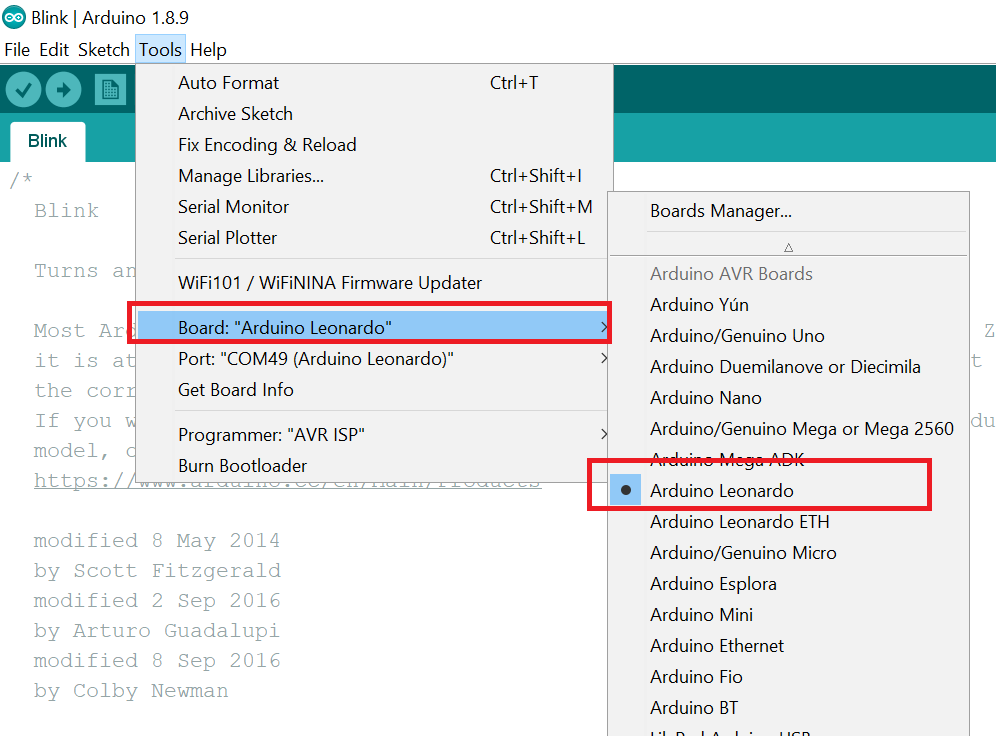
Next, open Arduino IDE and make the following configurations:
Go to Tools —> Boards —> Select Arduino Loenardo
Then go back to Tools —> Port. Select your COMPort. In my case, it’s COM49 port.
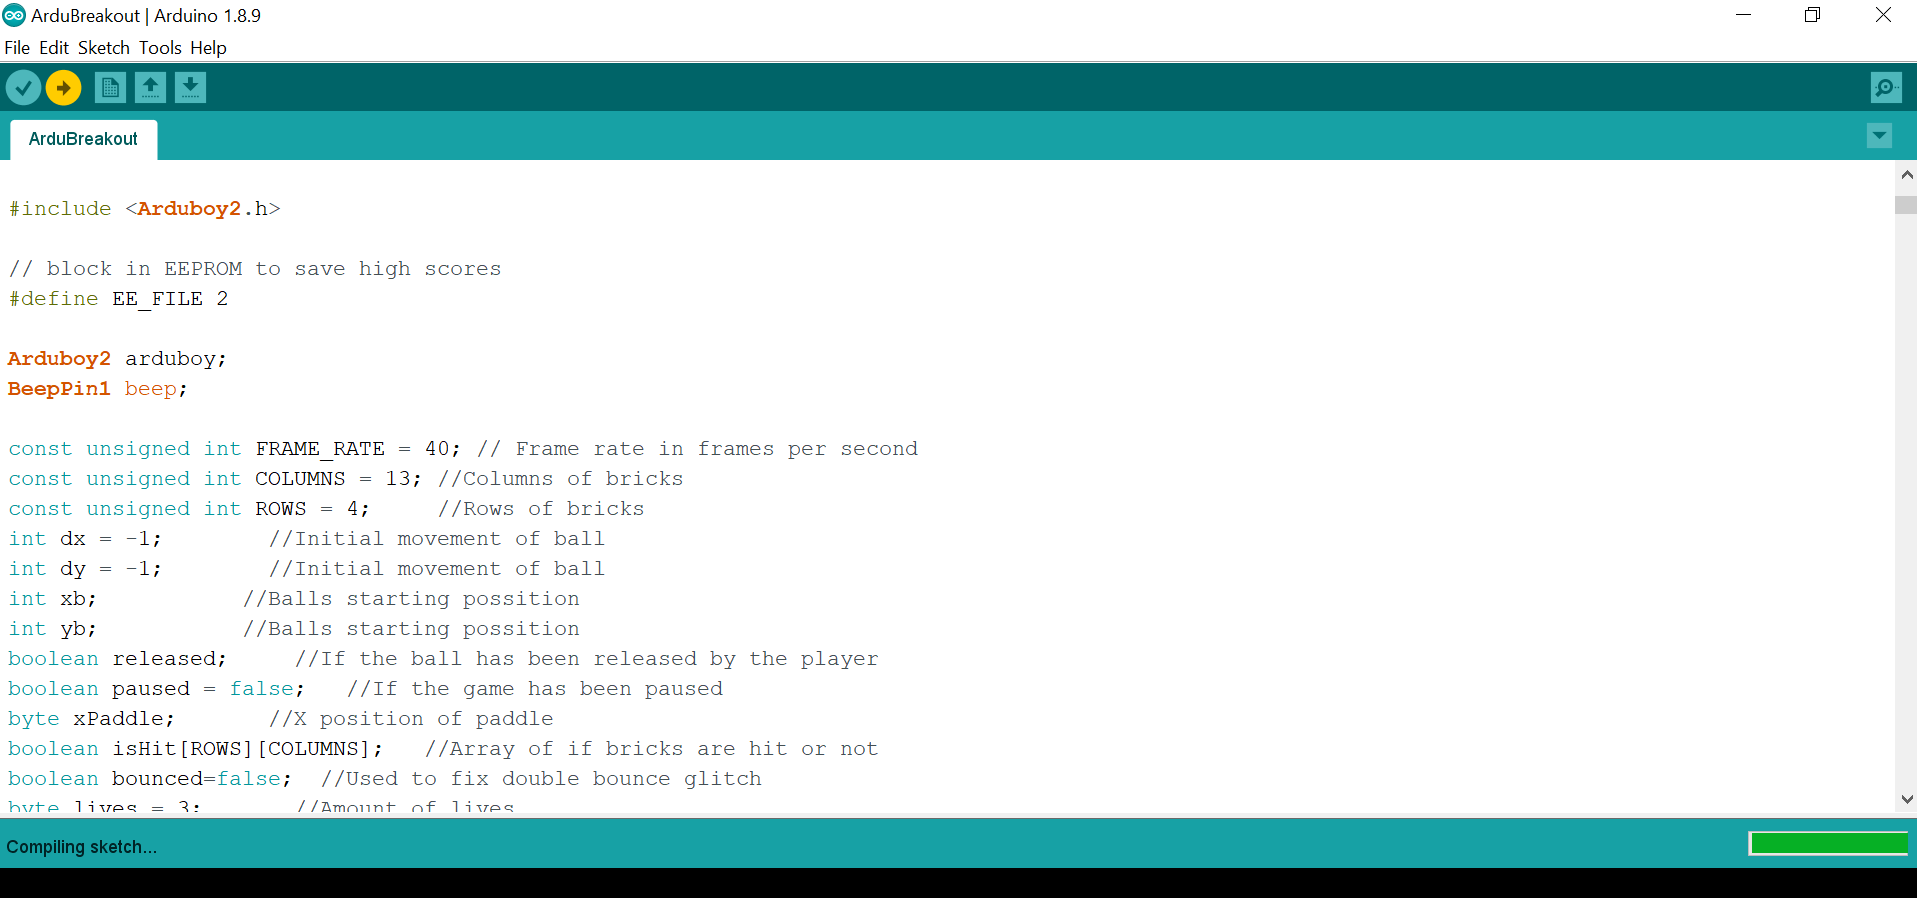
Uploading an Arduboy Game
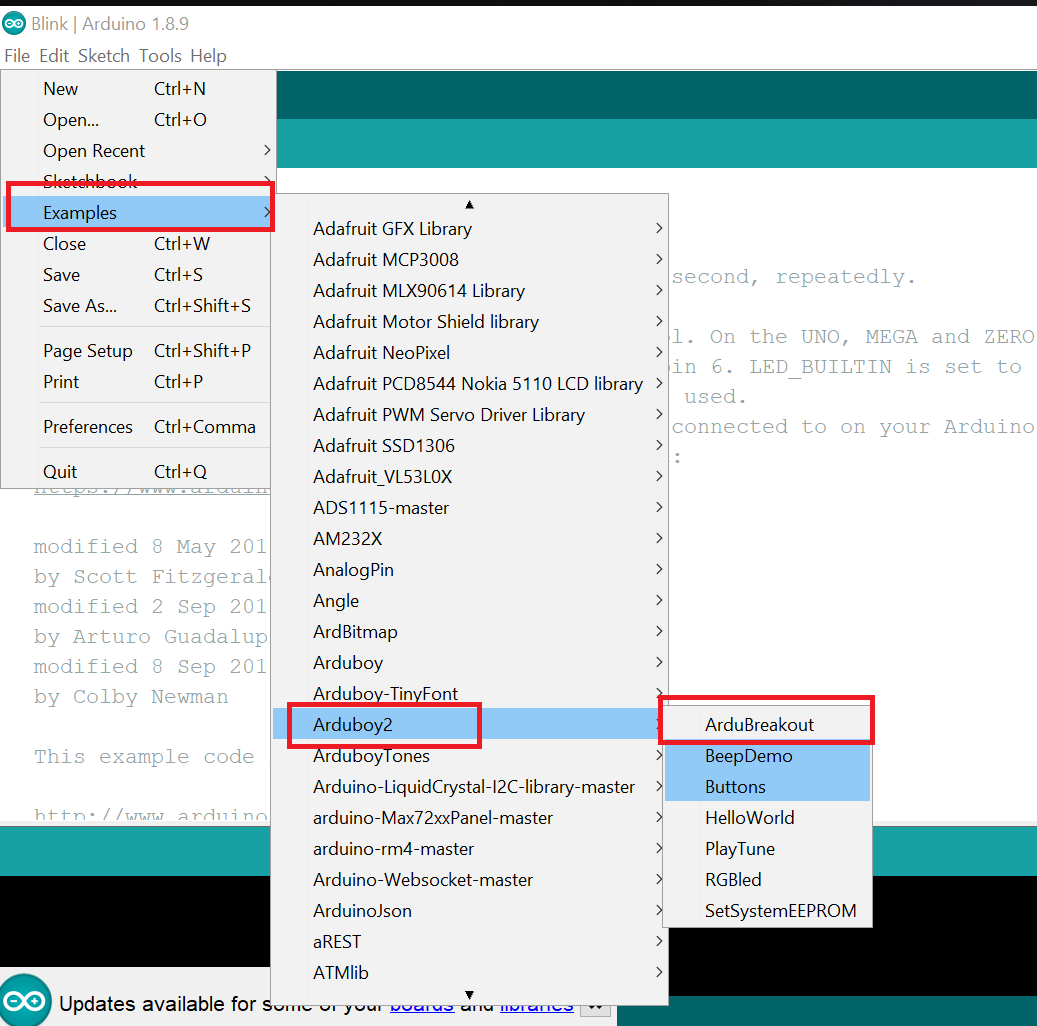
Now let’s upload a simple example Arduboy game called Breakout. You can find this game in the example folder “Arduboy2”.
Go to File —> Examples —> Arduboy2 —> Select “ArduBreakout” as shown in the images below.
How to find Arduboy2 in Arduino IDE
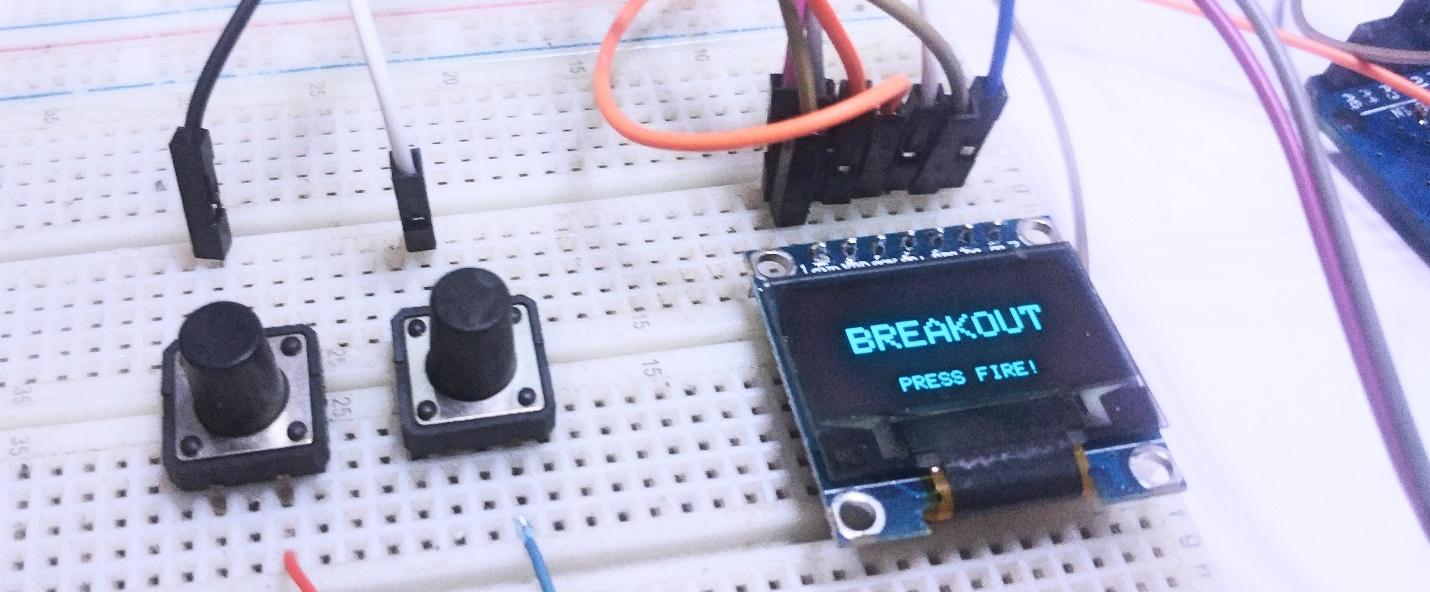
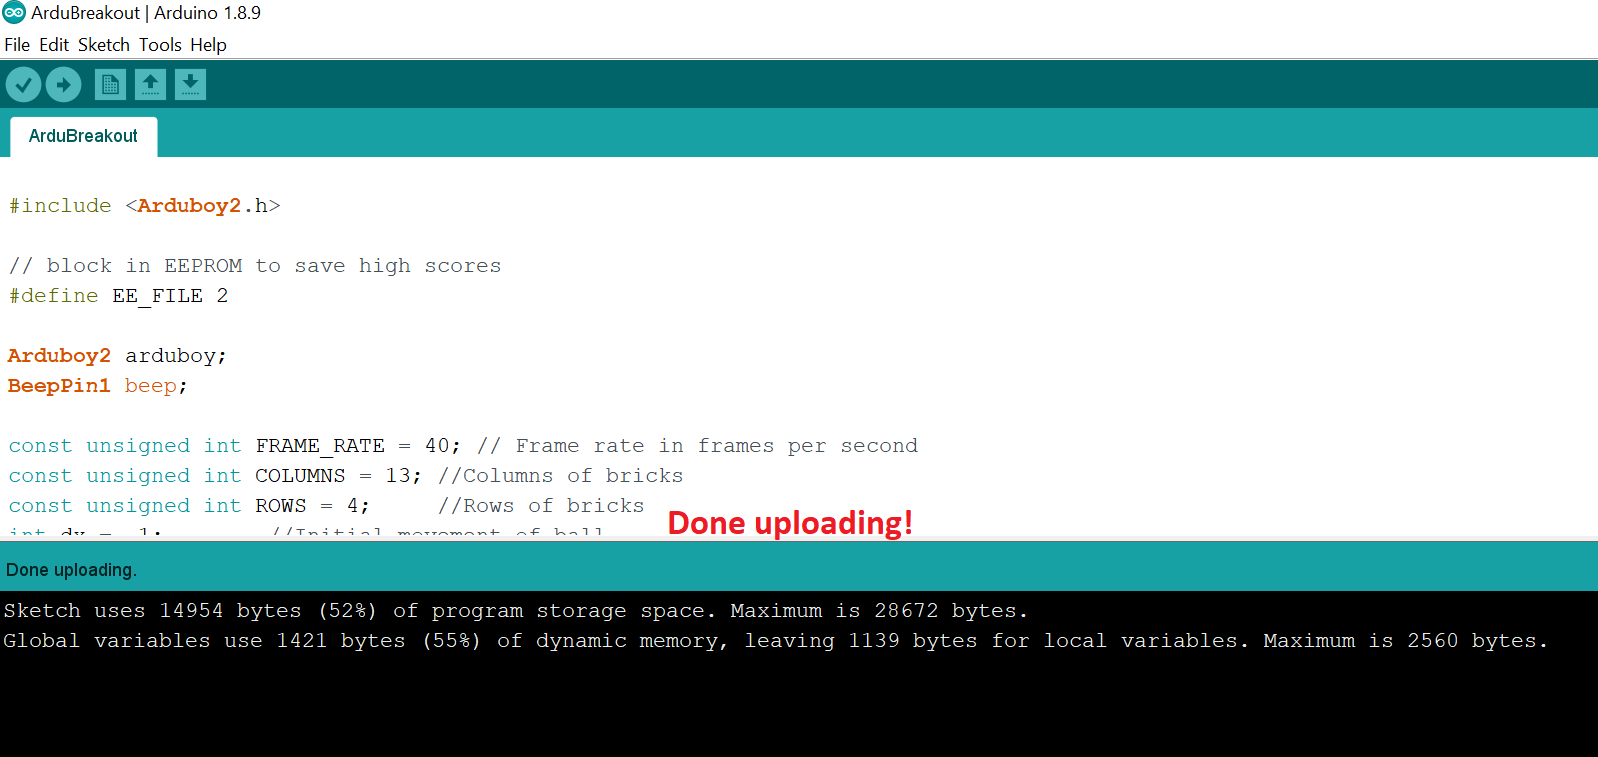
After uploading the source code, the OLED display will start up a demo of the game.
Breakout is ready to play on your new game console!
You can also explore more Arduboy games from the Arduboy community or from Team Arg.
Troubleshooting the Games
If you run into this error when uploading the games:
fatal error: ArduboyPlaytune0.h: No such file or directory
#include
^
compilation terminated.
exit status 1 Error compiling for board Arduino/Genuino Micro.
Simply search for the missing library name on GitHub. Then download and copy those libraries as explained in the earlier steps.
Happy gaming!